Home>Gardening & Outdoor>Pool & Spa Care>How To Repair A Polaris 380 Pool Cleaner
Pool & Spa Care
How To Repair A Polaris 380 Pool Cleaner
Published: January 4, 2024
Learn how to repair a Polaris 380 pool cleaner with our expert guide. Keep your pool and spa in top condition with our pool and spa care tips.
(Many of the links in this article redirect to a specific reviewed product. Your purchase of these products through affiliate links helps to generate commission for Storables.com, at no extra cost. Learn more)
Introduction
Owning a pool is a delightful luxury, but it also comes with the responsibility of maintenance. A well-maintained pool not only enhances the aesthetics of your home but also ensures a safe and enjoyable swimming experience for you and your loved ones. One crucial component of pool maintenance is the pool cleaner, and if you have a Polaris 380, you’re in luck. This advanced pool cleaner is designed to efficiently and effectively clean your pool, keeping it sparkling and inviting.
However, like any mechanical device, the Polaris 380 may encounter issues over time. Whether it’s a clogged filter, a worn-out belt, or a malfunctioning wheel, knowing how to repair your Polaris 380 pool cleaner can save you time and money. In this comprehensive guide, we will walk you through the step-by-step process of repairing your Polaris 380 pool cleaner, empowering you to tackle common issues with confidence.
So, grab your tools and let’s dive into the world of pool cleaner maintenance. With a little know-how and a willingness to get your hands wet, you can keep your Polaris 380 in top-notch condition, ensuring that your pool remains a refreshing oasis for years to come.
Key Takeaways:
- Keep your Polaris 380 pool cleaner in top shape by regularly inspecting, cleaning, and replacing worn parts. This ensures a sparkling and inviting pool for your enjoyment.
- With the right tools and know-how, you can confidently repair your Polaris 380 pool cleaner, saving time and money while maintaining a safe and enjoyable swimming experience.
Read more: How To Adjust The Polaris Pool Cleaner
Tools and Materials Needed
Before embarking on the repair process, it’s essential to gather the necessary tools and materials. Having these items at hand will streamline the repair process and ensure that you can address the issues with your Polaris 380 pool cleaner effectively. Here’s what you’ll need:
- Screwdriver Set: A set of screwdrivers, including both flathead and Phillips head varieties, will be indispensable for disassembling and reassembling the pool cleaner.
- Pliers: Both needle-nose and standard pliers will aid in gripping and manipulating small components during the repair process.
- Soft Bristle Brush: A soft bristle brush will be useful for cleaning and removing debris from various parts of the pool cleaner.
- Replacement Parts: Depending on the specific issue with your Polaris 380, you may need to have replacement parts on hand. This could include belts, filters, wheels, and other components.
- Lubricant: A silicone-based lubricant can help ensure smooth operation of moving parts within the pool cleaner.
- Clean Cloth: Keeping a clean cloth or rag nearby will allow you to wipe down components and ensure that no dirt or debris compromises the repair process.
- Replacement Hose Section: If the hose of your Polaris 380 is damaged, having a replacement section on hand will expedite the repair.
- Owner’s Manual: The Polaris 380 owner’s manual is an invaluable resource, providing detailed information on the construction and maintenance of the pool cleaner.
By ensuring that you have these tools and materials ready, you’ll be well-prepared to tackle the repair process and restore your Polaris 380 pool cleaner to peak performance.
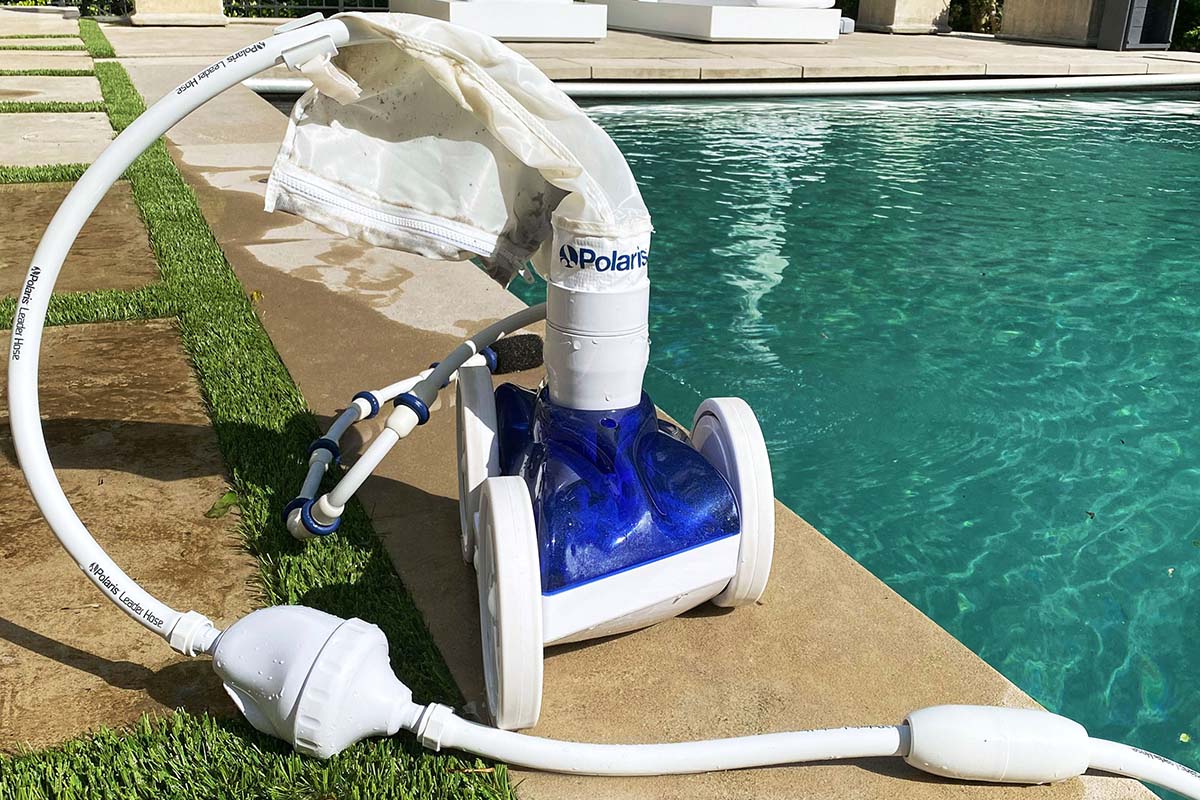
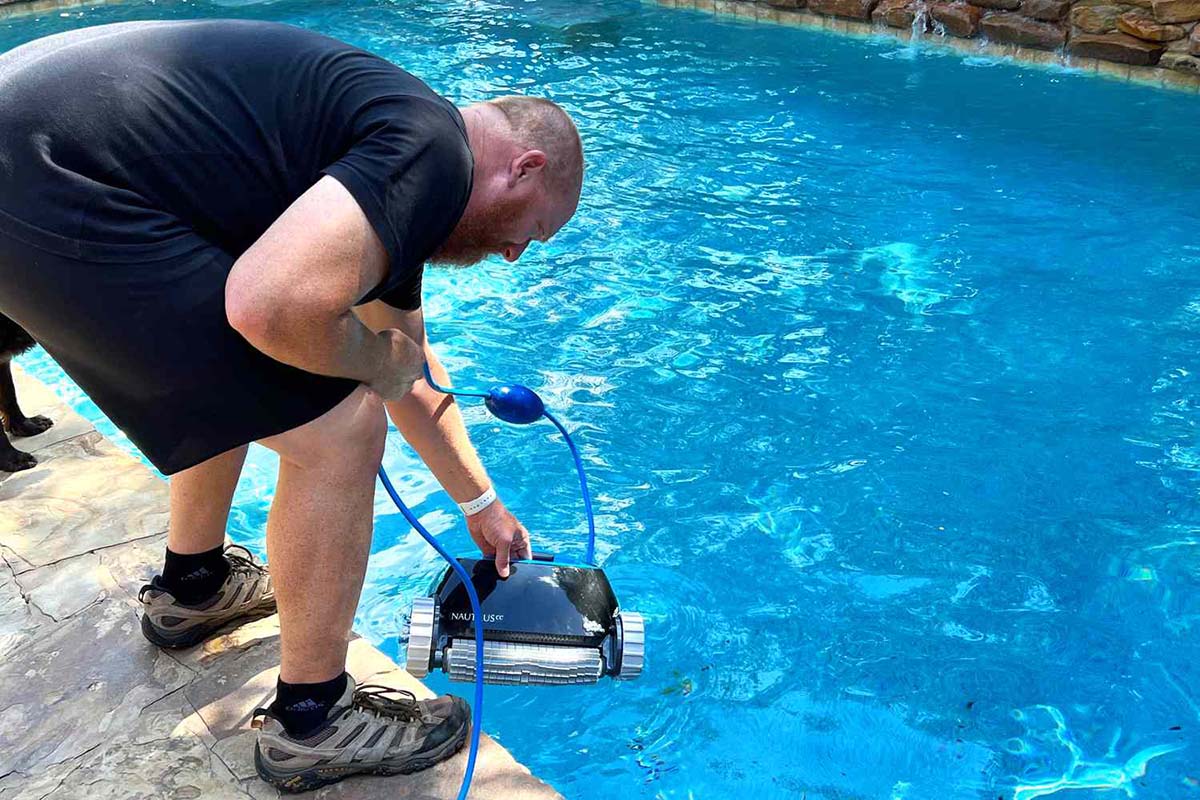
Step 1: Disconnecting the Polaris 380
Before diving into the repair process, it’s crucial to ensure the safety of both yourself and the equipment. Begin by turning off the pool pump to halt the flow of water. This will prevent any potential mishaps while working on the pool cleaner. Once the pump is off, carefully disconnect the Polaris 380 from the pool’s return line. This is typically achieved by releasing the quick disconnect fitting or collar that secures the cleaner to the pool’s plumbing.
With the Polaris 380 detached, carefully lift it out of the water and place it on a flat, stable surface near the pool. It’s essential to choose a location where you can comfortably work on the pool cleaner without any risk of it falling back into the water. Additionally, ensure that the area is well-ventilated and well-lit to facilitate the repair process.
As you prepare to inspect and repair the Polaris 380, take a moment to survey the exterior of the cleaner. Note any visible damage or wear, as this initial assessment will help guide your subsequent repair efforts. By disconnecting the Polaris 380 and situating it in an optimal workspace, you’ve set the stage for a thorough and effective repair process.
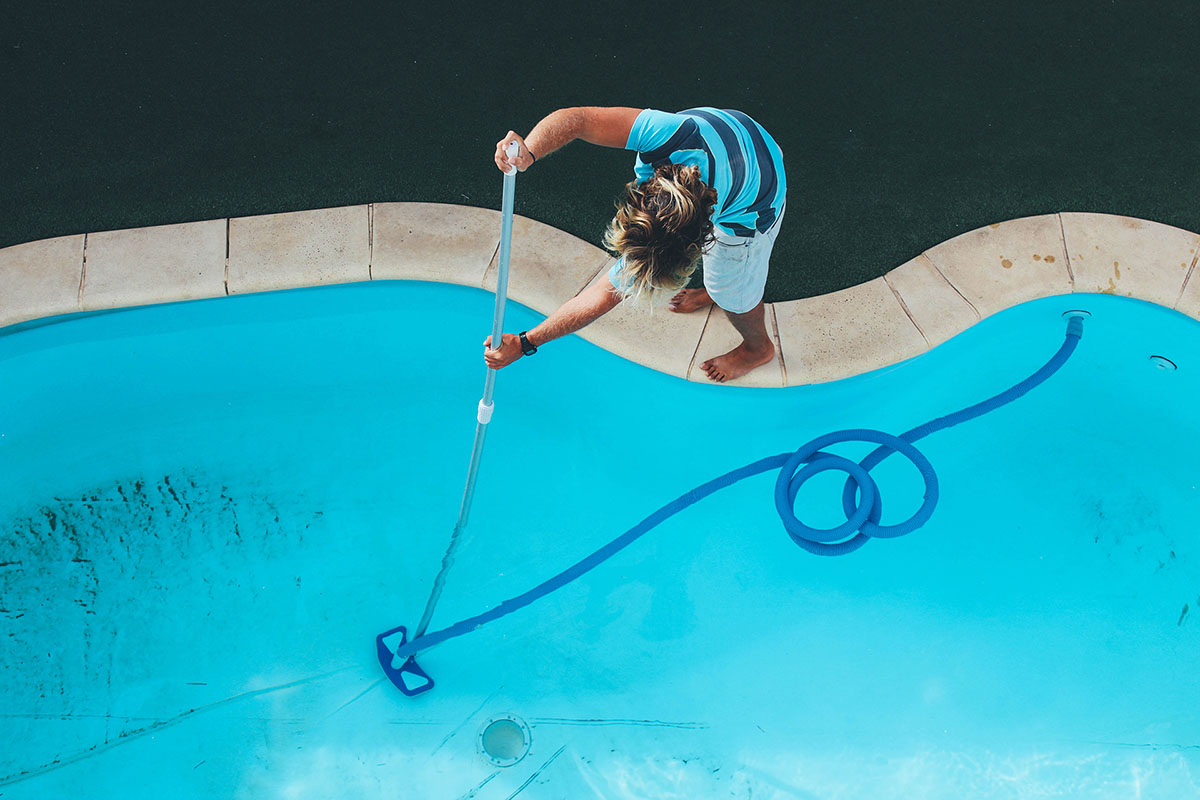
Step 2: Inspecting and Cleaning the Pool Cleaner
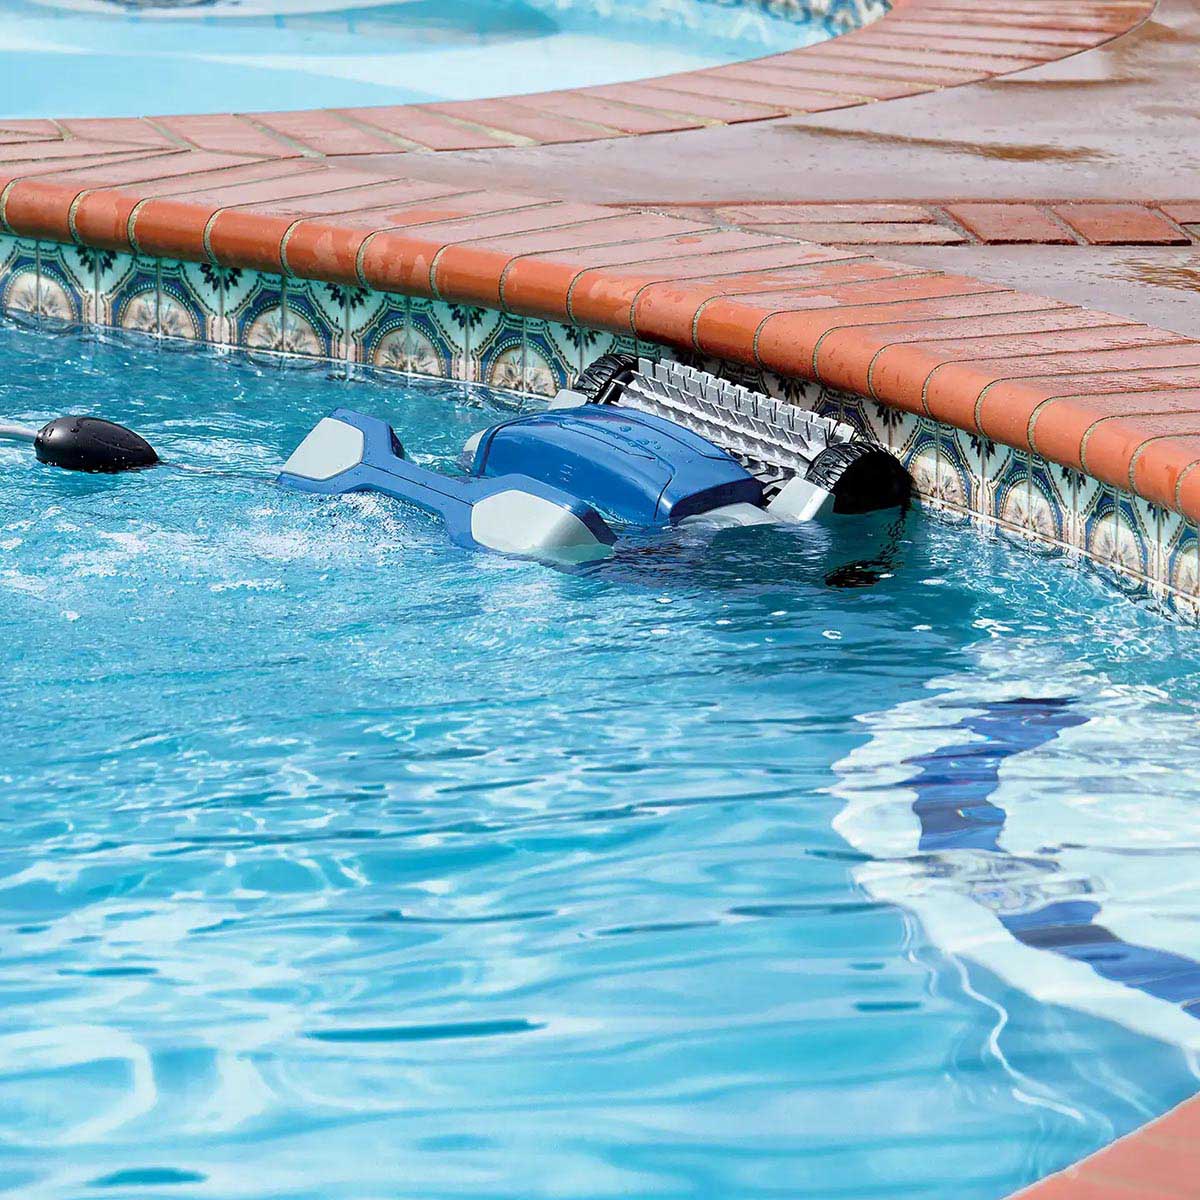
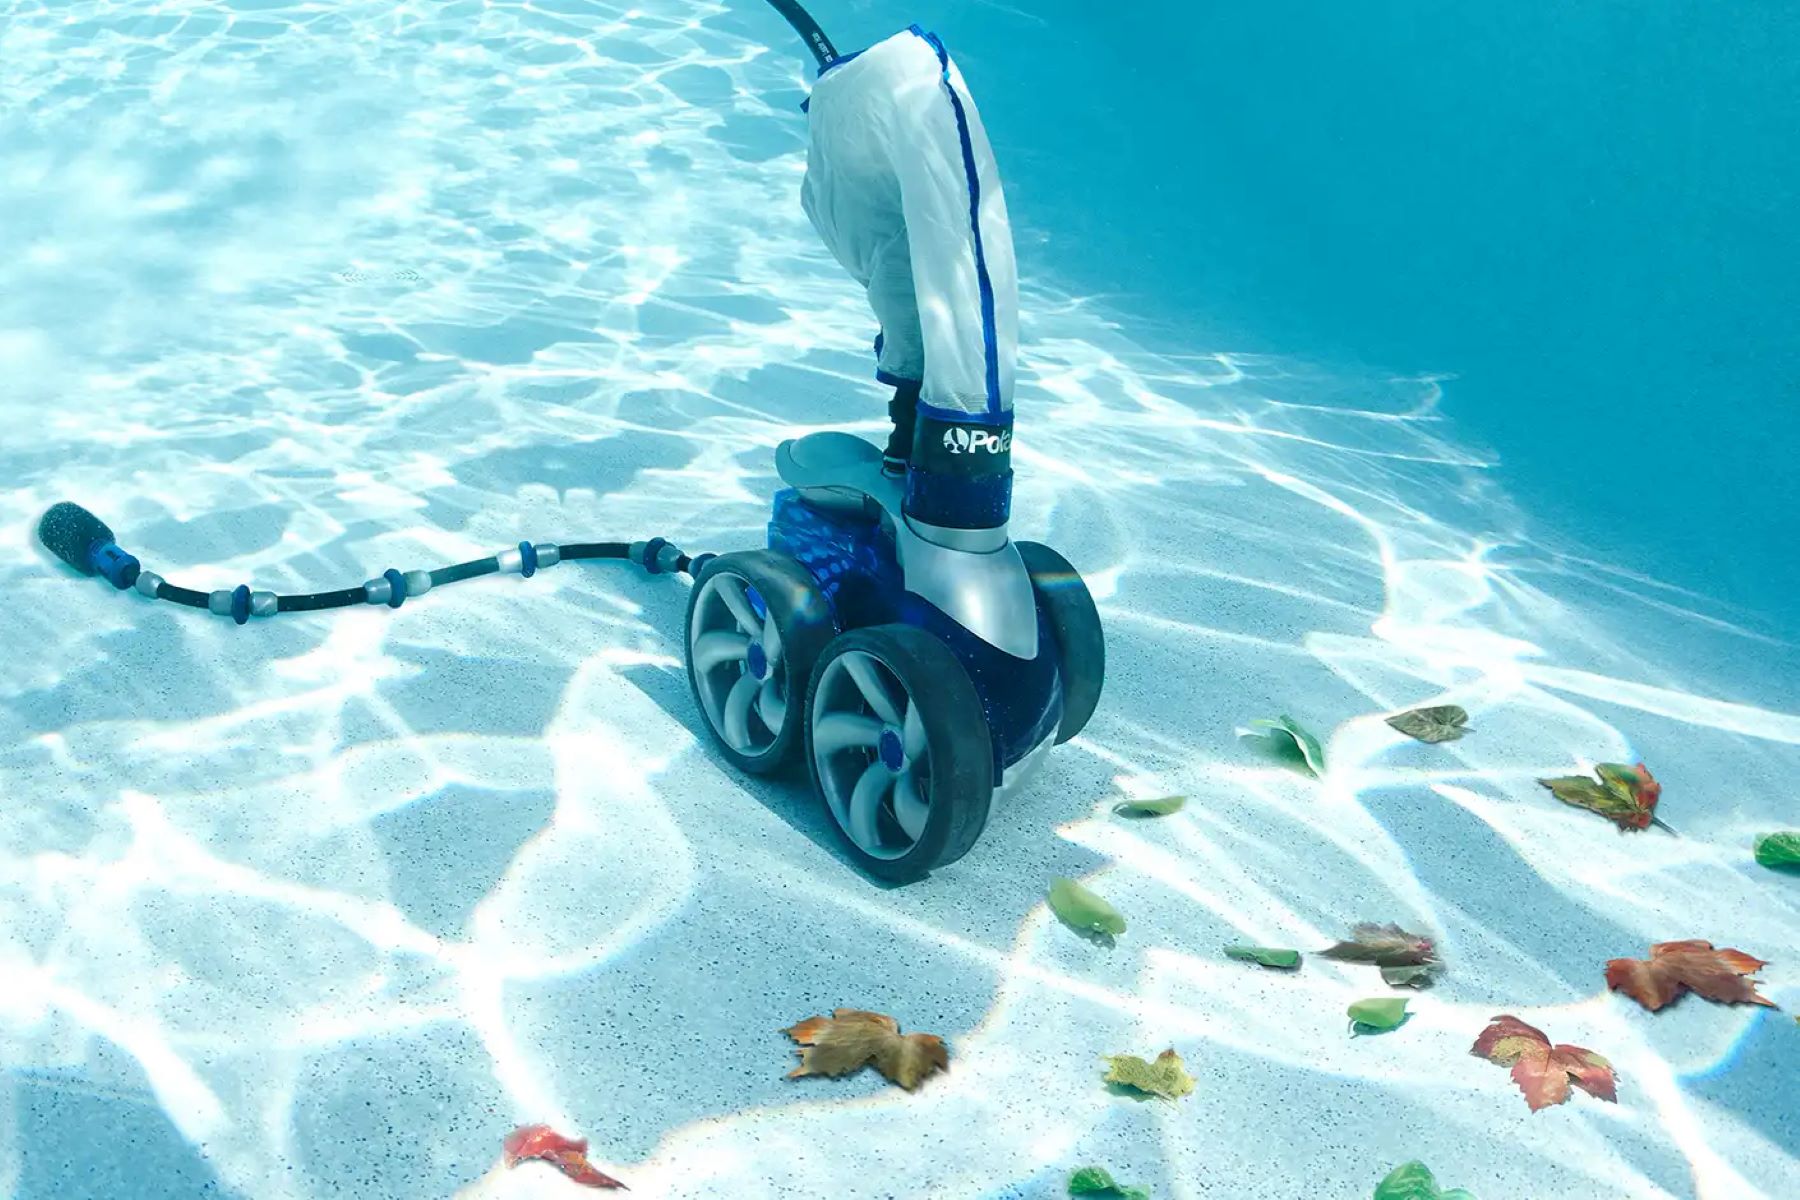
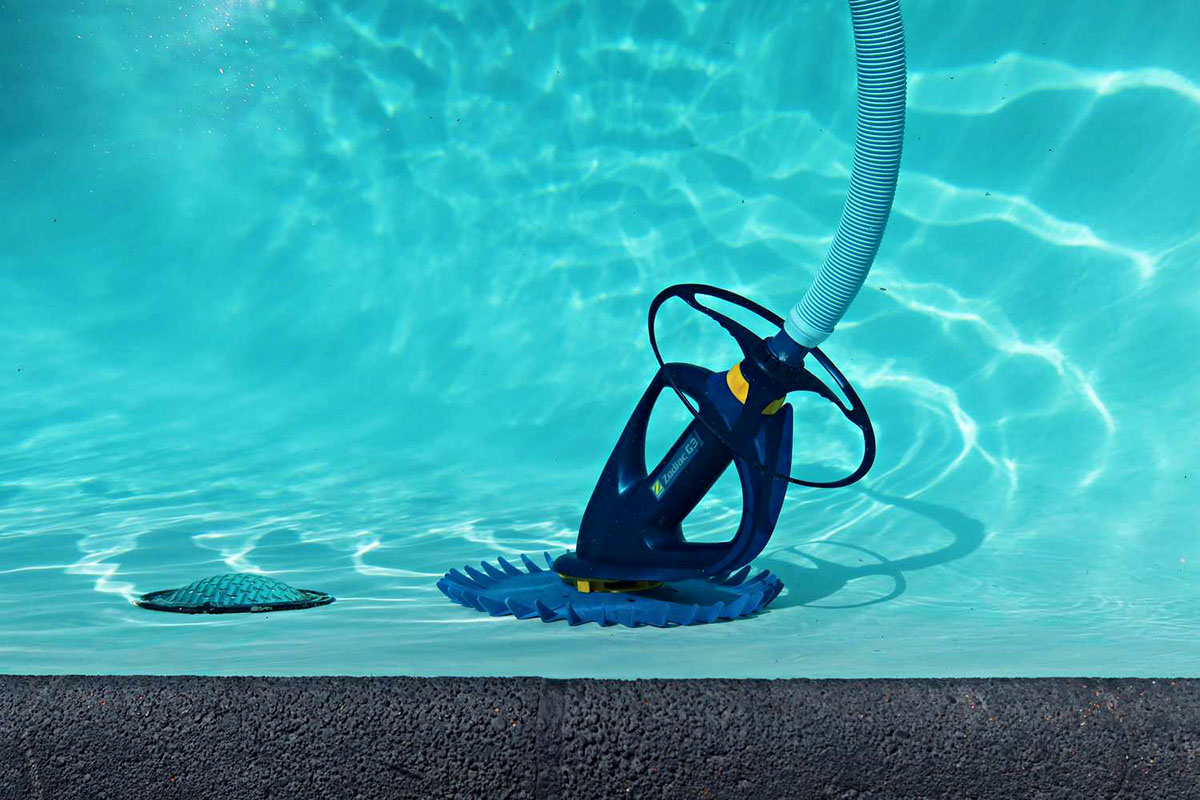
With the Polaris 380 safely disconnected and positioned for repair, it’s time to conduct a detailed inspection and cleaning of the pool cleaner. Begin by visually examining the exterior of the cleaner, paying close attention to the wheels, hoses, and the main body. Look for any signs of wear, damage, or obstruction that may be impeding the cleaner’s performance.
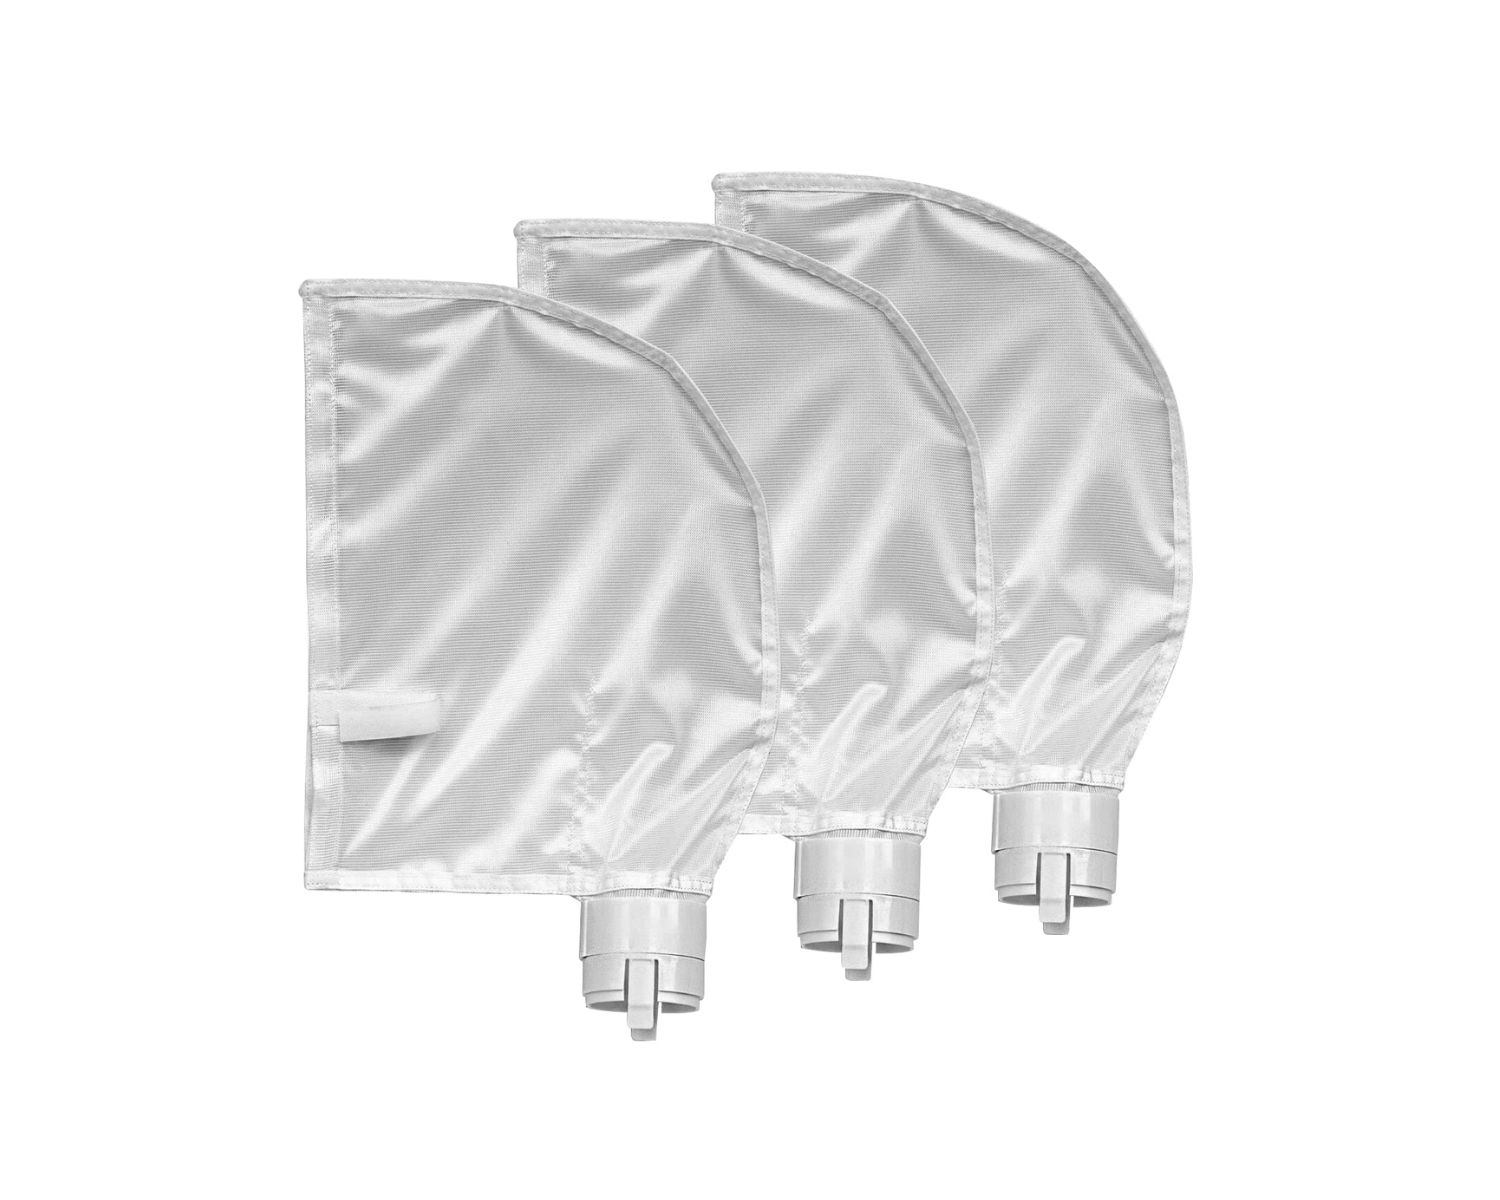
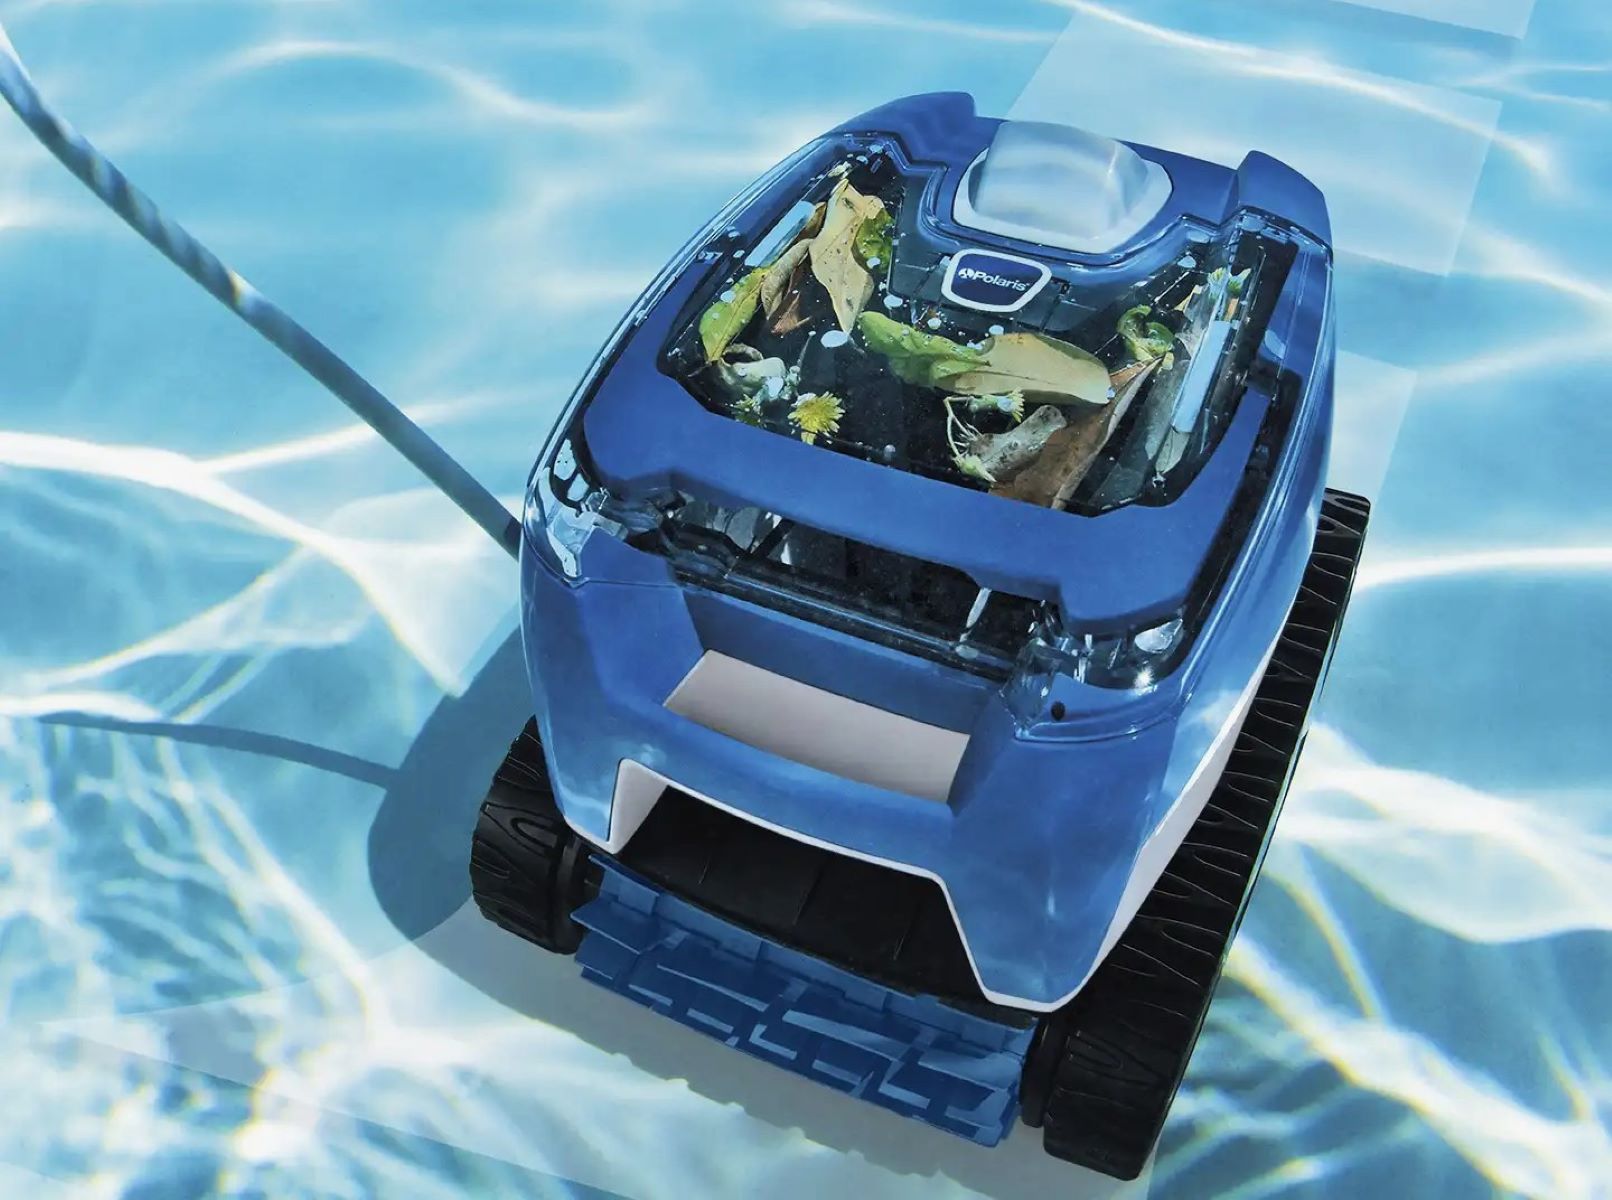
Next, remove the debris bag or canister from the Polaris 380 and inspect it for accumulated dirt, leaves, or other debris. Empty the contents and use a soft bristle brush to gently clean the interior of the bag or canister, ensuring that it’s free from any obstructions that could hinder the cleaner’s suction power.
Proceed to inspect the hoses for any signs of damage, such as cracks or leaks. If any issues are detected, it may be necessary to replace the damaged sections of the hose to restore the Polaris 380’s functionality. Additionally, check the wheels for debris or tangled materials that may impede their rotation. Clear any obstructions and ensure that the wheels can move freely.
As you inspect and clean the various components of the Polaris 380, take note of any parts that may require replacement. Whether it’s a worn-out filter, a damaged hose, or a malfunctioning wheel, identifying these issues during the inspection phase will streamline the repair process and ensure that the pool cleaner is restored to optimal condition.
By conducting a thorough inspection and cleaning of the Polaris 380, you’re laying the groundwork for a successful repair, setting the stage for the subsequent steps in the maintenance process.
When repairing a Polaris 380 pool cleaner, always start by checking the filter bag for debris and cleaning it thoroughly. This can often solve common performance issues.
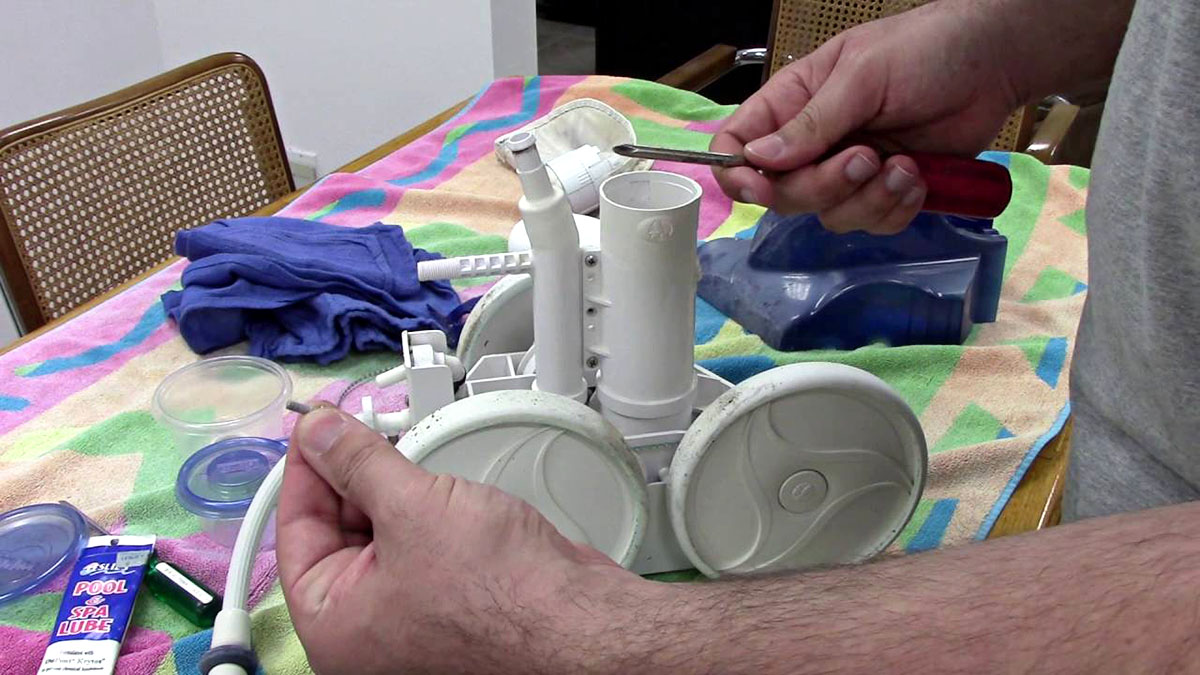
Step 3: Replacing Parts
After inspecting and cleaning the Polaris 380, you may have identified components that require replacement to restore the pool cleaner to peak performance. Whether it’s a worn-out filter, a damaged hose, or malfunctioning wheels, replacing these parts is a key aspect of the repair process.
Begin by referring to the Polaris 380 owner’s manual to identify the specific replacement parts needed for your pool cleaner. If you have the replacement parts on hand, carefully follow the manual’s instructions to remove the old components. For instance, if you’re replacing a worn-out filter, locate the filter housing, remove the old filter, and install the new one according to the manufacturer’s guidelines.
If you don’t have the replacement parts readily available, take this opportunity to order them from a reputable supplier. Ensure that you select genuine Polaris 380 parts to guarantee compatibility and optimal performance. Once the replacement parts have been acquired, proceed with the installation process, carefully following the manufacturer’s instructions to ensure proper fit and functionality.
When replacing parts, it’s essential to handle the components with care and precision. Avoid forcing parts into place or overtightening connections, as this could lead to damage or operational issues. Additionally, take note of any seals, gaskets, or O-rings that may need to be replaced along with the main components to prevent leaks and ensure a secure fit.
By methodically replacing worn or damaged parts with genuine Polaris 380 components, you’re taking a proactive approach to maintaining your pool cleaner, ensuring that it operates at its best and prolonging its lifespan.
Read more: How Long To Run The Polaris Pool Cleaner
Step 4: Reassembling the Polaris 380
With the necessary parts replaced and the Polaris 380 thoroughly inspected and cleaned, it’s time to reassemble the pool cleaner. This step is crucial to ensure that all components are properly aligned and secured, allowing the Polaris 380 to operate efficiently and effectively.
Begin by carefully following the owner’s manual to guide the reassembly process. If you documented the disassembly process or took photographs, use these references to ensure that each component is returned to its correct position. Pay close attention to the alignment of hoses, wheels, and any replaced parts to prevent potential issues during operation.
As you reassemble the Polaris 380, take the opportunity to lubricate moving parts, such as wheel axles and bearings, with a silicone-based lubricant. This will promote smooth operation and reduce friction, enhancing the overall performance and longevity of the pool cleaner.
When reconnecting hoses and fittings, ensure that they are securely fastened to prevent leaks and maintain optimal suction throughout the cleaner. Take care not to overtighten connections, as this could lead to damage or distortion of components. Additionally, inspect any seals or gaskets for signs of wear and replace them if necessary to maintain a watertight seal.
Throughout the reassembly process, maintain a methodical approach, double-checking each step to confirm that all components are properly installed and secured. By taking the time to reassemble the Polaris 380 with precision and care, you’re setting the stage for a successful and reliable pool cleaning experience.
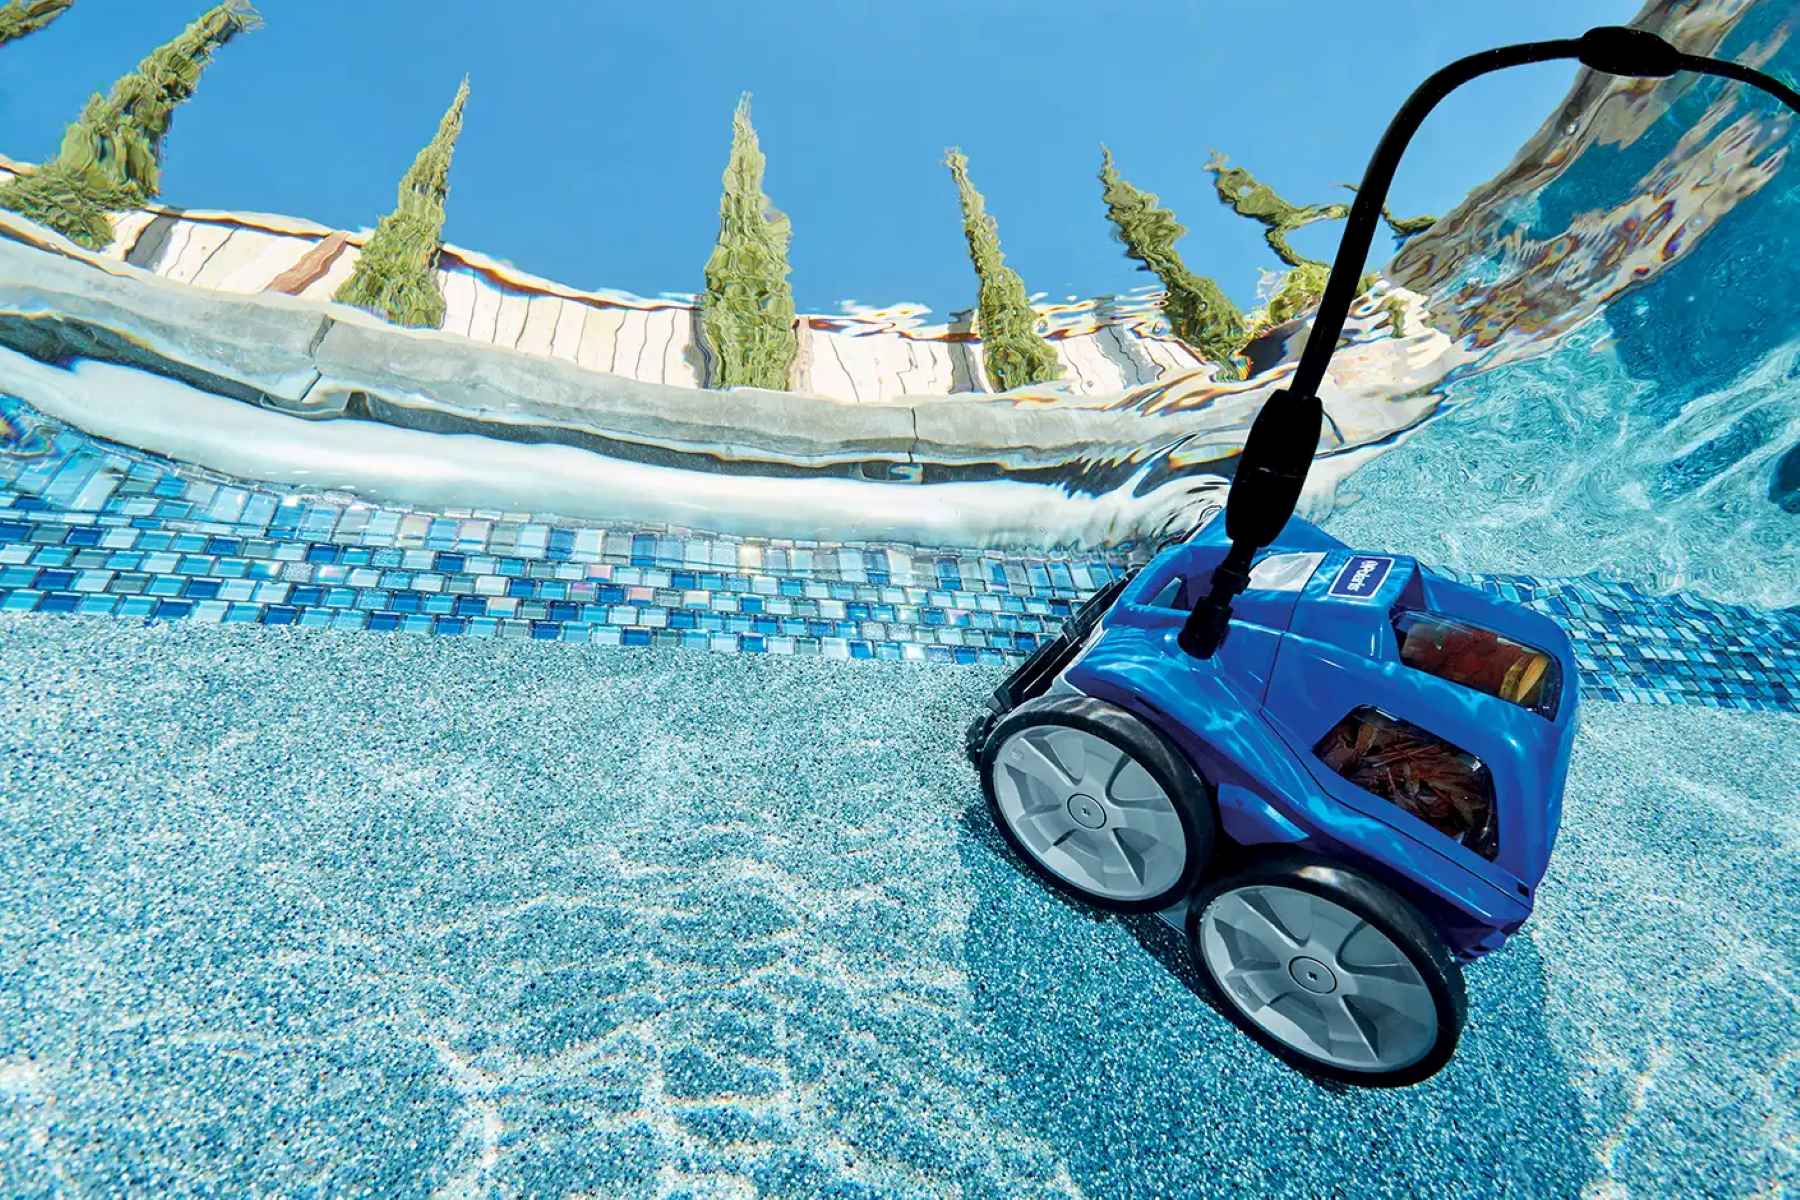
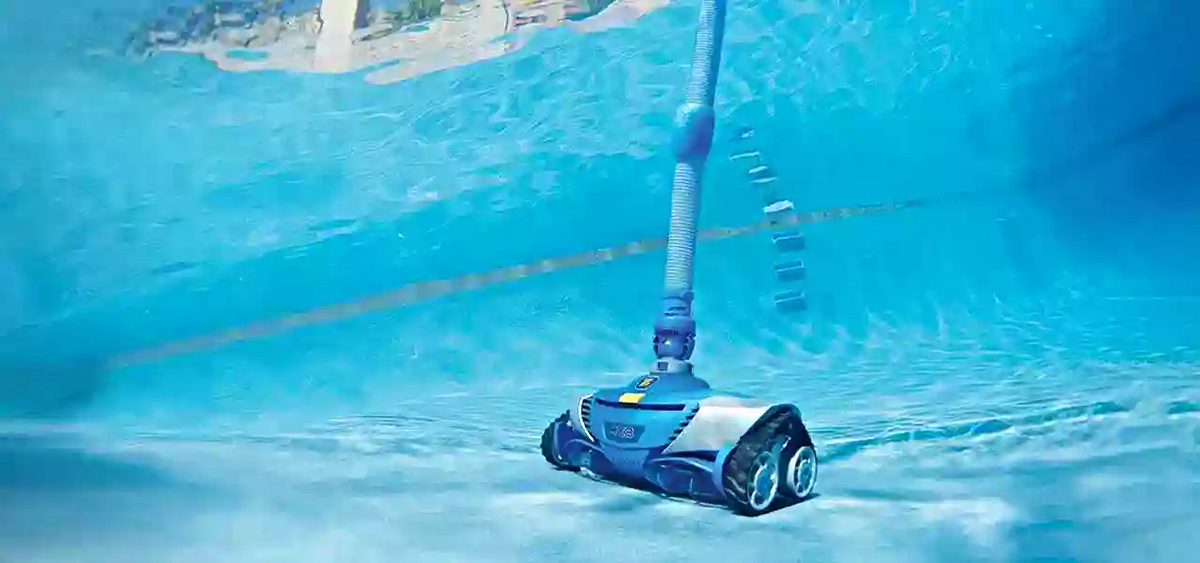
Step 5: Testing the Pool Cleaner
After completing the reassembly of the Polaris 380, it’s time to put the pool cleaner to the test. This crucial step allows you to verify that the repair process has been successful and that the Polaris 380 is operating at its full potential. By conducting a thorough test, you can identify any remaining issues and address them before returning the cleaner to regular use.
Before testing the Polaris 380, ensure that the pool pump is turned on to facilitate water flow. Carefully lower the pool cleaner back into the water, allowing it to submerge and initiate its cleaning cycle. Observe the cleaner’s movements, paying close attention to the rotation of the wheels, the suction power, and the overall coverage of the pool surface.
As the Polaris 380 operates, monitor its performance for any signs of irregularity or malfunction. If the cleaner appears to be struggling, making unusual noises, or exhibiting erratic behavior, immediately power off the pool pump and remove the cleaner from the water. This will allow you to investigate any potential issues and make any necessary adjustments or corrections.
If the Polaris 380 operates smoothly and effectively during the test, you can proceed with confidence, knowing that the repair process has been successful. However, if any issues are identified during testing, refer to the owner’s manual and the troubleshooting section to diagnose and address the problem. Whether it’s a matter of readjusting components, fine-tuning settings, or seeking further assistance, addressing any remaining issues during the testing phase will ensure that the Polaris 380 is ready to resume its essential role in maintaining your pool.
By conducting a comprehensive test of the Polaris 380, you’re verifying the success of the repair process and ensuring that your pool cleaner is primed for reliable and effective operation, keeping your pool in pristine condition for your enjoyment.
Conclusion
Repairing a Polaris 380 pool cleaner is a rewarding endeavor that empowers pool owners to maintain the efficiency and functionality of this essential piece of equipment. By following the step-by-step process outlined in this guide, you’ve gained the knowledge and confidence to address common issues and keep your pool cleaner in top-notch condition.
From disconnecting the Polaris 380 and conducting a thorough inspection to replacing worn or damaged parts and meticulously reassembling the cleaner, you’ve taken a proactive approach to pool maintenance. By testing the Polaris 380 and ensuring that it operates smoothly and effectively, you’ve verified the success of your repair efforts, setting the stage for continued enjoyment of a clean and inviting pool.
Remember, regular maintenance and attentive care are key to prolonging the lifespan of your Polaris 380 pool cleaner. By staying attuned to the performance of the cleaner and addressing any issues promptly, you can ensure that it continues to deliver exceptional cleaning results, keeping your pool a refreshing oasis for relaxation and enjoyment.
Armed with the knowledge and skills acquired through this repair process, you’re well-equipped to tackle any future maintenance needs that may arise with your Polaris 380 pool cleaner. By embracing the role of a proactive caretaker for your pool equipment, you’re investing in the long-term enjoyment and functionality of your pool, creating a welcoming and pristine environment for leisure and recreation.
So, as you bid farewell to the repair process, take pride in your accomplishment and the enhanced understanding of your Polaris 380 pool cleaner. With your newfound expertise, you can approach pool maintenance with confidence, ensuring that your pool remains a source of relaxation and delight for years to come.
Frequently Asked Questions about How To Repair A Polaris 380 Pool Cleaner
Was this page helpful?
At Storables.com, we guarantee accurate and reliable information. Our content, validated by Expert Board Contributors, is crafted following stringent Editorial Policies. We're committed to providing you with well-researched, expert-backed insights for all your informational needs.


0 thoughts on “How To Repair A Polaris 380 Pool Cleaner”