Home>Home Appliances>Bathroom Appliances>How To Repair A Hair Dryer
Bathroom Appliances
How To Repair A Hair Dryer
Modified: August 17, 2024
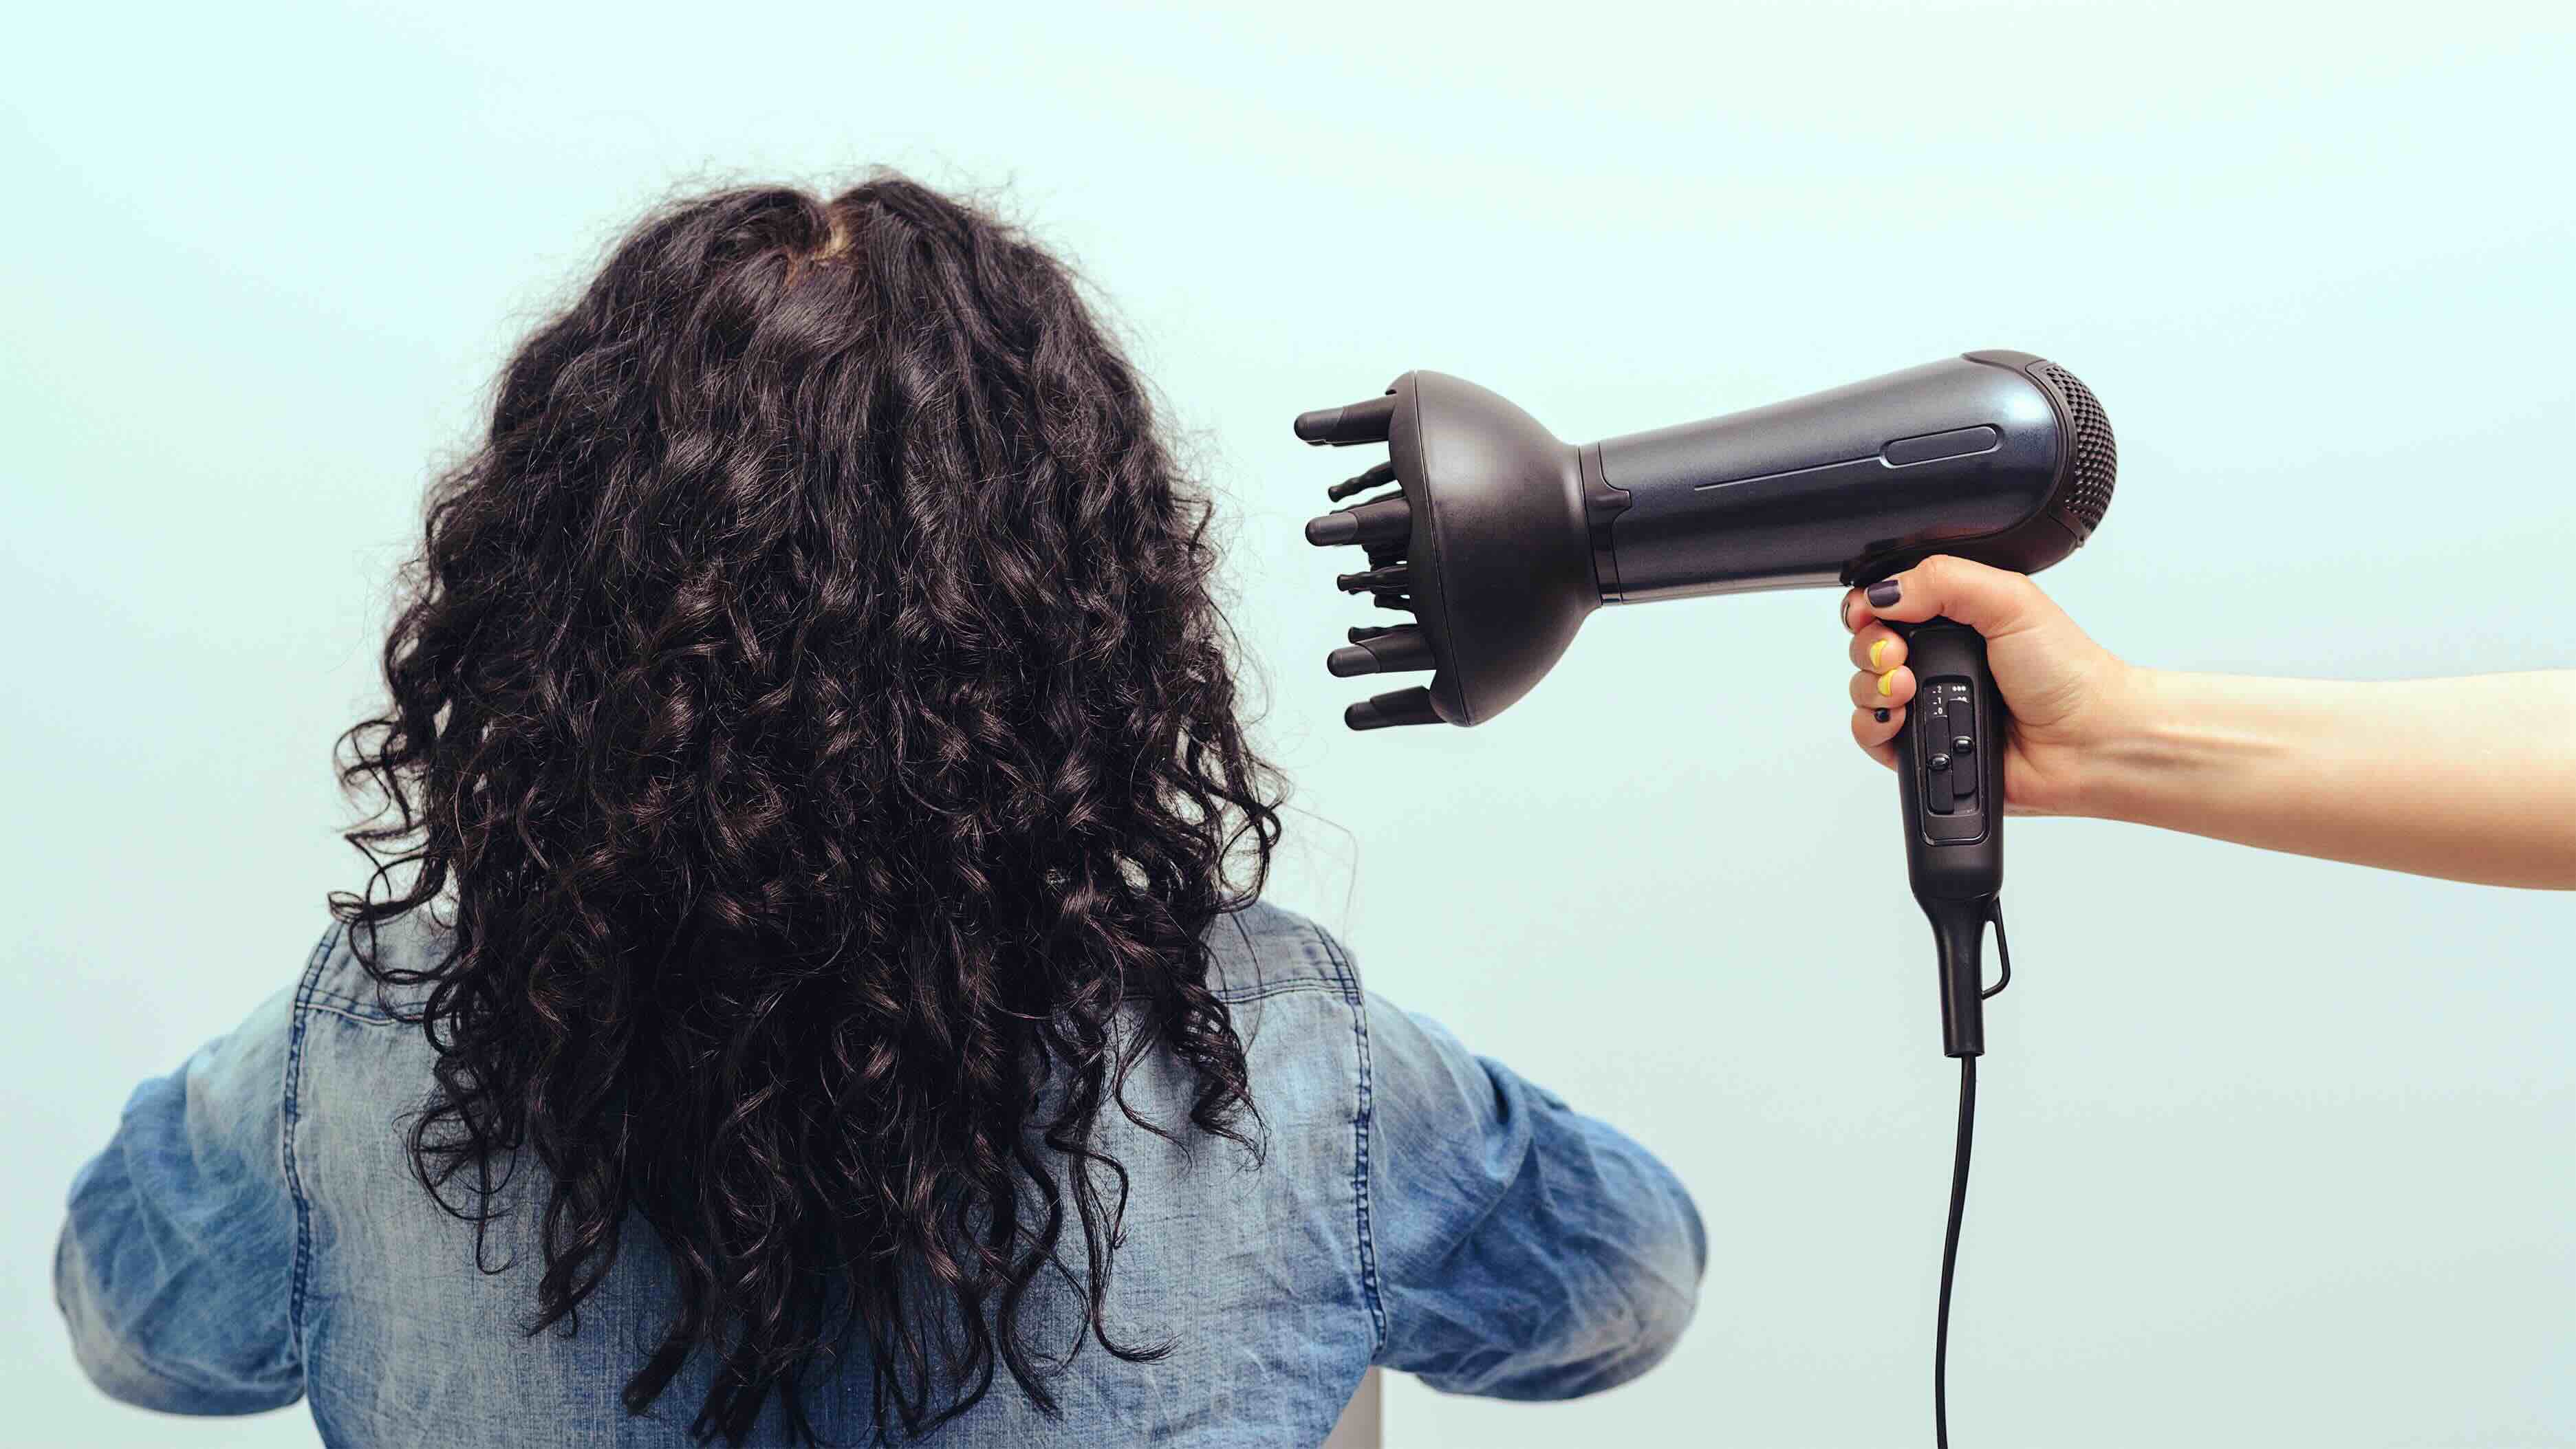
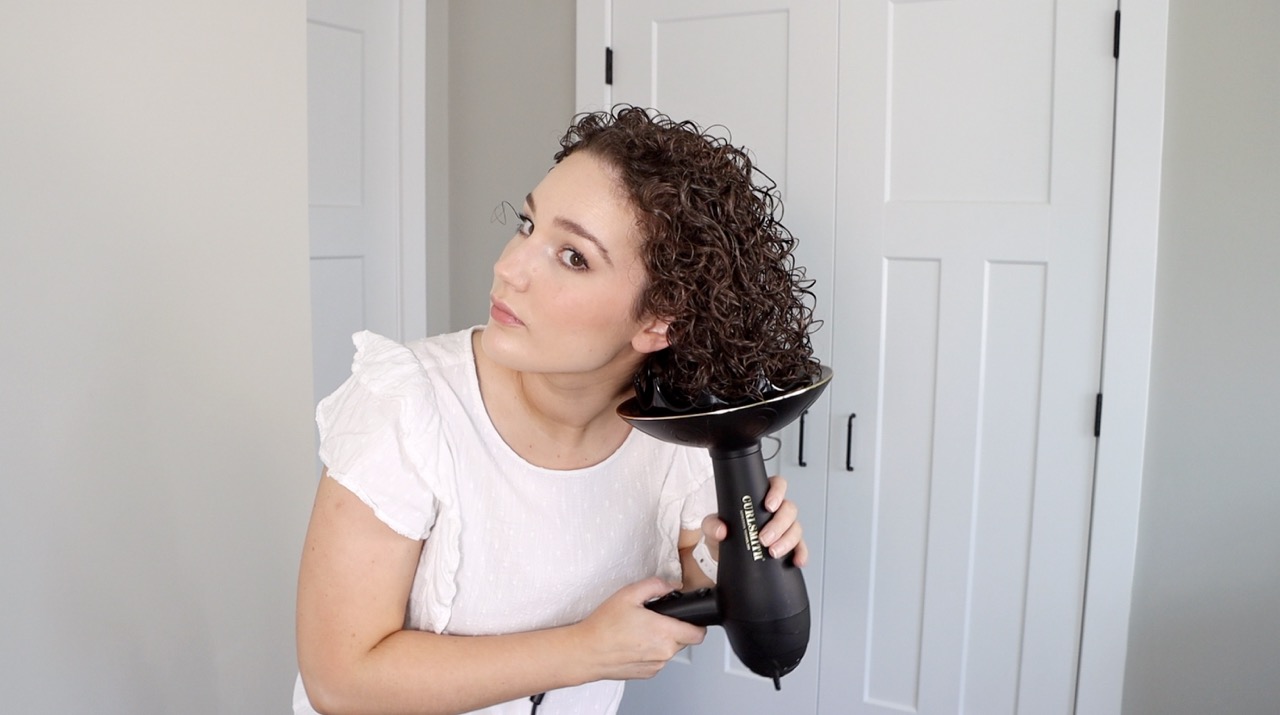
Learn how to repair a hair dryer and save money on bathroom appliances. Our step-by-step guide will help you fix your hair dryer quickly and easily.
(Many of the links in this article redirect to a specific reviewed product. Your purchase of these products through affiliate links helps to generate commission for Storables.com, at no extra cost. Learn more)
**
Introduction
**
So, your trusty hair dryer has suddenly stopped working, leaving you in a lurch with wet hair and no way to style it. Before you rush out to buy a new one, consider trying to repair it yourself. With a little know-how and the right tools, you may be able to troubleshoot and fix the issue, saving both money and the environment.
In this comprehensive guide, we will walk you through the step-by-step process of repairing a hair dryer. From identifying the problem to disassembling the appliance and conducting repairs, we will cover everything you need to know to get your hair dryer up and running again.
By the end of this guide, you will have the confidence and skills to tackle hair dryer repairs with ease. So, grab your tools and let’s get started on bringing your hair dryer back to life!
Key Takeaways:
- Save money and the environment by repairing your hair dryer yourself. With the right tools and know-how, you can troubleshoot, fix, and extend the lifespan of your appliance, all while gaining valuable DIY skills.
- Repairing your hair dryer is a cost-effective, eco-friendly, and empowering DIY project. By taking the initiative to troubleshoot and fix it, you not only save money but also contribute to reducing electronic waste and minimizing your environmental impact.
Read more: How To Make Hair Fluffy With Hair Dryer
Tools and Materials Needed
Before diving into the repair process, it’s essential to gather the necessary tools and materials. Here’s what you’ll need:
Tools:
- Screwdriver Set: A set of precision screwdrivers, including Phillips and flathead types, will be essential for opening the hair dryer casing and accessing its internal components.
- Multimeter: This tool is crucial for testing the continuity and voltage of the heating element and motor, helping you pinpoint the source of the problem.
- Needle-Nose Pliers: These will come in handy for handling small components and making precise adjustments during the repair process.
- Wire Strippers: If you need to replace any wiring or connectors, a pair of wire strippers will be invaluable for preparing the wires for proper connections.
- Soldering Iron and Solder: In case you need to repair or replace electrical connections, a soldering iron and solder will be necessary for secure and durable jointing.
- Safety Gloves and Goggles: When working with electrical components, it’s crucial to prioritize safety. Wear insulated gloves and protective goggles to minimize the risk of electric shock and protect your eyes from any debris.
- Work Mat: Having a designated work mat or a clean, soft surface to lay out the hair dryer components during disassembly will help prevent damage and keep everything organized.
Materials:
- Replacement Parts: Depending on the issue identified during troubleshooting, you may need replacement components such as a new heating element, motor, power cord, or switches.
- Electrical Tape: This will be useful for insulating and securing any repaired or spliced wires.
- Cleaning Solution and Brush: A mild cleaning solution and a small brush can help remove dust and debris from the internal components of the hair dryer, ensuring optimal performance after the repair.
- Owner’s Manual or Schematics: If available, having the hair dryer’s owner’s manual or electrical schematics can provide valuable insights into its internal wiring and components, aiding in the troubleshooting and repair process.
With these tools and materials at your disposal, you’ll be well-equipped to tackle the repair of your hair dryer with confidence and precision.
Troubleshooting the Hair Dryer
Before delving into the repair process, it’s crucial to troubleshoot the hair dryer to identify the underlying issue. Here are the steps to troubleshoot a malfunctioning hair dryer:
1. Power Supply Check: Start by ensuring that the power outlet is functioning properly. Plug another device into the outlet to verify that it’s supplying electricity. If the outlet is working, move on to the next steps.
2. Inspect the Power Cord: Examine the power cord for any visible damage such as fraying, cuts, or exposed wires. If the cord is damaged, it may be the source of the problem and will need to be replaced.
3. Test the Power Switch: Toggle the power switch on the hair dryer to see if it feels loose or fails to engage. A faulty power switch can prevent the hair dryer from turning on and will require replacement.
4. Check the Heating Element: Turn on the hair dryer and feel if the heating element is producing heat. If it remains cold, there may be an issue with the heating element or its electrical connections.
5. Assess the Motor: Listen for any unusual noises or vibrations coming from the motor when the hair dryer is turned on. An excessively noisy or non-operational motor may be the root cause of the malfunction.
6. Test for Continuity: Using a multimeter set to the continuity or resistance setting, test the power cord, power switch, heating element, and motor for continuity. Lack of continuity in any of these components indicates a potential fault that needs to be addressed.
By systematically troubleshooting the hair dryer, you can narrow down the potential causes of the malfunction, making it easier to pinpoint the specific component that requires repair or replacement.
Disassembling the Hair Dryer
Before delving into the internal repairs, you’ll need to carefully disassemble the hair dryer to access its components. Here’s a step-by-step guide to disassembling the hair dryer:
1. Unplug the Hair Dryer: Prior to disassembly, ensure that the hair dryer is unplugged from the power source to eliminate the risk of electric shock.
2. Remove the Screws: Most hair dryers have screws that secure the outer casing. Use the appropriate screwdriver to carefully remove these screws, placing them in a secure location to prevent loss.
3. Separate the Casing: Gently pry apart the two halves of the hair dryer casing, taking care not to force or damage the internal components. Some hair dryers may have clips or latches that need to be disengaged to separate the casing.
4. Identify Internal Components: Once the casing is removed, take note of the internal layout and components. Pay attention to the location of the power cord, power switch, heating element, motor, and any other relevant parts.
5. Document the Disassembly: If needed, take photographs or make notes of the disassembly process to aid in reassembling the hair dryer later. This documentation can be particularly helpful if it’s your first time working on this specific model of hair dryer.
6. Organize the Components: As you remove internal components for repair or inspection, keep them organized and labeled to ensure they can be reinstalled correctly. Using small containers or a segmented work mat can help prevent misplacement of parts.
By following these steps, you can safely and methodically disassemble the hair dryer, gaining access to its internal workings for troubleshooting and repair. With the components exposed, you’ll be ready to identify and address the underlying issues causing the malfunction.
Identifying the Problem
With the hair dryer disassembled, it’s time to identify the specific problem that has caused the malfunction. Here are the key areas to focus on when pinpointing the issue:
1. Visual Inspection: Thoroughly examine the internal components for any visible signs of damage, such as burnt wires, melted insulation, or discolored areas. These visual cues can provide valuable insights into the nature of the problem.
2. Heating Element Assessment: If the hair dryer failed to produce heat during the troubleshooting phase, inspect the heating element for any breaks, discoloration, or signs of wear. A damaged heating element will hinder the appliance’s ability to generate heat effectively.
3. Motor Evaluation: For issues related to the motor, check for obstructions, excessive dust buildup, or signs of mechanical wear. Additionally, listen for any irregular noises or vibrations that may indicate motor damage.
4. Electrical Connectivity: Test the continuity of the power cord, power switch, and internal wiring using a multimeter. Any interruptions in electrical connectivity could disrupt the hair dryer’s functionality and will need to be addressed.
5. Component Compatibility: Ensure that any replacement components, such as a new heating element or motor, are compatible with the specific make and model of the hair dryer. Using incompatible parts can lead to further issues and may compromise the appliance’s safety.
6. Owner’s Manual Reference: If available, refer to the hair dryer’s owner’s manual or electrical schematics to gain insights into the typical failure points and recommended repair procedures specific to the model.
By meticulously assessing these areas, you can narrow down the root cause of the hair dryer’s malfunction, paving the way for targeted repairs that will effectively restore the appliance’s functionality.
When repairing a hair dryer, always unplug it before attempting any repairs. This will prevent the risk of electric shock or injury.
Read more: What Is Hair Dryer
Repairing the Heating Element
If the hair dryer’s heating element is identified as the source of the malfunction, you can attempt to repair or replace it to restore the appliance’s heat-generating capability. Here’s a step-by-step guide to repairing the heating element:
1. Removal of the Heating Element: Carefully detach the heating element from its housing, following the manufacturer’s guidelines or disassembly process. Take note of the element’s orientation and connections to ensure proper reinstallation.
2. Visual Inspection: Examine the heating element for any visible damage, such as breaks, cracks, or discoloration. If damage is evident, the element may need to be replaced. If no visible damage is present, proceed to test its functionality.
3. Testing for Continuity: Using a multimeter set to the continuity or resistance setting, test the heating element for continuity. A lack of continuity indicates a break in the element, necessitating repair or replacement.
4. Repairing a Broken Element: If the heating element exhibits a break or discontinuity, carefully solder the broken ends together using a soldering iron and appropriate solder. Ensure a secure and durable joint to restore the element’s continuity.
5. Replacement of the Element: If the heating element is extensively damaged or fails to respond to repair attempts, it may be necessary to replace it with a compatible replacement part. Follow the manufacturer’s guidelines for installation and wiring.
6. Reassembly and Testing: Once the heating element has been repaired or replaced, reassemble the hair dryer, ensuring that all components are securely reinstalled. Plug in the appliance and test its functionality to verify that the heating element is now operational.
By addressing issues with the heating element through repair or replacement, you can effectively restore the hair dryer’s ability to generate heat, ensuring that it functions optimally for your styling needs.
Repairing the Motor
If the hair dryer’s motor is identified as the culprit behind the malfunction, you can attempt to repair or replace it to restore the appliance’s operational efficiency. Here’s a comprehensive guide to repairing the motor:
1. Motor Inspection: Begin by visually inspecting the motor for signs of damage, such as burnt areas, unusual odors, or excessive dust accumulation. These indicators can offer valuable insights into the motor’s condition.
2. Testing the Motor: Use a multimeter to test the motor for continuity and proper voltage. A lack of continuity or irregular voltage readings may signify internal motor damage that requires attention.
3. Lubrication and Cleaning: If the motor exhibits signs of mechanical resistance or stiffness, carefully lubricate its moving parts using a suitable lubricant. Additionally, clean the motor’s internal components to remove any debris or obstructions that may impede its operation.
4. Repairing Faulty Connections: Inspect the motor’s electrical connections for loose or damaged wires. If any issues are identified, carefully re-solder or replace the affected connections to ensure secure electrical contact.
5. Replacement of Motor Components: In cases of severe motor damage, consider replacing specific components such as the brushes or bearings to restore the motor’s functionality. Follow the manufacturer’s guidelines for component replacement.
6. Reassembly and Testing: After addressing the motor issues, reassemble the hair dryer, ensuring that all components are securely installed. Plug in the appliance and test the motor to verify that it operates smoothly and without unusual noises or vibrations.
By following these steps, you can effectively address motor-related issues, restoring the hair dryer’s motor to optimal working condition and ensuring reliable performance for your styling needs.
Reassembling the Hair Dryer
After completing the necessary repairs and maintenance, it’s time to reassemble the hair dryer to prepare it for testing and eventual use. Here’s a detailed guide to reassembling the hair dryer:
1. Component Alignment: Ensure that all internal components, including the heating element, motor, power switch, and wiring, are correctly positioned and aligned within the hair dryer housing before proceeding with reassembly.
2. Secure Fastenings: Use the appropriate screws and fasteners to secure the hair dryer’s casing, ensuring a snug fit that prevents any internal components from shifting or coming loose during operation.
3. Wiring and Connection Check: Double-check all electrical connections, ensuring that wires are correctly routed and securely connected to their respective terminals. Verify that no loose wires or exposed connections are present.
4. Reinstallation of Components: Carefully reinstall any removed components, such as the rear grille, concentrator nozzle, or diffuser attachment, ensuring that they are securely attached and properly aligned with the hair dryer’s housing.
5. Functional Testing: Prior to fully securing the hair dryer’s casing, conduct a brief functional test by plugging in the appliance and ensuring that it powers on, produces heat (if applicable), and operates smoothly without any irregular noises or vibrations.
6. Final Inspection: Once the hair dryer has been reassembled, perform a final visual inspection to confirm that all components are in place, the casing is properly secured, and there are no loose screws or parts remaining.
By carefully following these steps, you can confidently reassemble the hair dryer, ensuring that all internal components are correctly aligned and secured, and that the appliance is ready for testing to verify its restored functionality.
Testing the Hair Dryer
After completing the repair and reassembly process, it’s essential to thoroughly test the hair dryer to ensure that it operates reliably and safely. Here’s a comprehensive guide to testing the hair dryer:
1. Power On and Warm-Up: Plug in the hair dryer and turn it on to allow it to warm up. Verify that the appliance powers on smoothly and that the heating element, if applicable, begins to generate heat as expected.
2. Airflow Assessment: Feel the airflow emitted by the hair dryer to ensure that it is consistent and strong, indicating proper functionality of the motor and fan components. Verify that the airflow remains steady across different heat and speed settings.
3. Heat Output Verification: If the hair dryer features heat settings, confirm that it produces the desired level of heat without any fluctuations or irregularities. Ensure that the appliance maintains a consistent temperature during operation.
4. Operational Noise Check: Listen for any unusual or excessive operational noise coming from the hair dryer. An abnormally loud or irregular noise may indicate lingering issues that require further attention.
5. Safety Features Test: If the hair dryer is equipped with safety features such as an automatic shutoff mechanism, verify that these functions operate as intended to ensure user safety during use.
6. Long-Term Operation: Run the hair dryer for an extended period, simulating typical usage conditions, to confirm that it maintains consistent performance and does not exhibit any signs of overheating or component failure.
7. User Experience Evaluation: Consider the overall user experience, including the ergonomic comfort of the hair dryer’s design, ease of use, and the effectiveness of any styling attachments or accessories.
By meticulously testing the hair dryer across various parameters, you can confidently ascertain that the appliance has been successfully repaired and restored to optimal functionality, ensuring reliable performance for your styling needs.
Read more: How To Use A Hair Dryer?
Conclusion
Congratulations on successfully repairing your hair dryer! By following the step-by-step process outlined in this guide, you’ve not only saved money on purchasing a new appliance but also contributed to sustainable practices by extending the lifespan of your existing hair dryer. Here’s a recap of the key takeaways from this repair journey:
Empowerment through DIY Repair: Taking the initiative to troubleshoot, disassemble, diagnose, and repair your hair dryer has equipped you with valuable DIY skills that can be applied to other household appliances and devices.
Environmental Impact: By opting to repair your hair dryer instead of discarding it, you’ve played a part in reducing electronic waste and minimizing your environmental footprint.
Cost-Effective Maintenance: Repairing your hair dryer represents a cost-effective approach to appliance maintenance, allowing you to enjoy continued use of a reliable and familiar device without the expense of purchasing a replacement.
Safety and Quality Assurance: Through thorough testing and inspection, you’ve ensured that your repaired hair dryer operates safely and efficiently, providing peace of mind and reliable performance for your styling needs.
As you continue to use your revitalized hair dryer, remember to prioritize regular cleaning and maintenance to prolong its lifespan and optimize its performance. Additionally, consider documenting the repair process for future reference, empowering yourself to tackle similar challenges with confidence.
Thank you for embarking on this repair journey with us. We hope this experience has not only restored your hair dryer but also sparked a sense of accomplishment and resourcefulness. Happy styling!
Frequently Asked Questions about How To Repair A Hair Dryer
Was this page helpful?
At Storables.com, we guarantee accurate and reliable information. Our content, validated by Expert Board Contributors, is crafted following stringent Editorial Policies. We're committed to providing you with well-researched, expert-backed insights for all your informational needs.


0 thoughts on “How To Repair A Hair Dryer”