Home>Home Appliances>Home Automation Appliances>Why Is My Thermostat On, But There’s No Heat

Home Automation Appliances
Why Is My Thermostat On, But There’s No Heat
Published: January 2, 2024
Discover why your thermostat is running without producing heat and learn how home automation appliances can optimize your comfort. Explore solutions now!
(Many of the links in this article redirect to a specific reviewed product. Your purchase of these products through affiliate links helps to generate commission for Storables.com, at no extra cost. Learn more)
Introduction
So, you've come home on a chilly evening, expecting to be greeted by the comforting warmth of your home, only to find that your thermostat is on, but there's no heat. It's a frustrating scenario that can leave you feeling puzzled and cold. However, fear not, as there are several potential reasons for this issue, and many of them can be resolved with a bit of troubleshooting.
In this article, we'll delve into the common causes of a thermostat being on without producing heat, and explore the steps you can take to identify and potentially resolve the issue. By the end of this guide, you'll have a clearer understanding of what might be causing the problem and how to address it, whether through simple DIY solutions or by seeking professional assistance.
Let's embark on this journey to uncover the mysteries behind a non-heating thermostat and equip you with the knowledge to restore warmth and comfort to your living space.
Key Takeaways:
- Don’t panic if your thermostat is on but there’s no heat. Start by checking the settings and inspecting the furnace. It could be a simple fix like a clogged air filter or a more complex issue that requires professional help.
- Regular maintenance and troubleshooting can keep your heating system running smoothly. If all else fails, don’t hesitate to call a professional to diagnose and fix the problem. A well-maintained system ensures warmth and comfort for your home.
Read more: Why Is My Vivint Thermostat Not Heating
Check the Thermostat Settings
Before delving into the internal components of your heating system, it’s essential to start with the most basic step: checking the thermostat settings. Sometimes, the issue may be as simple as an incorrect setting or a temporary glitch.
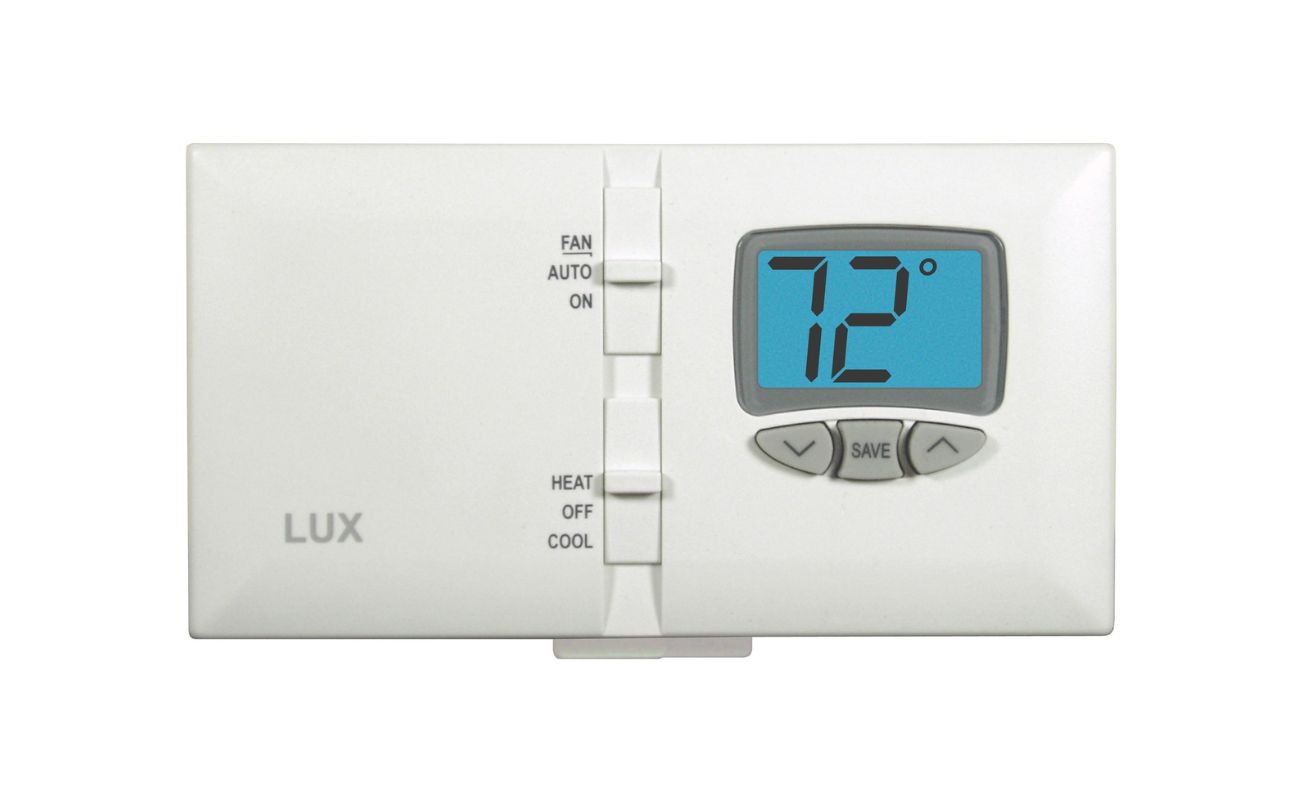
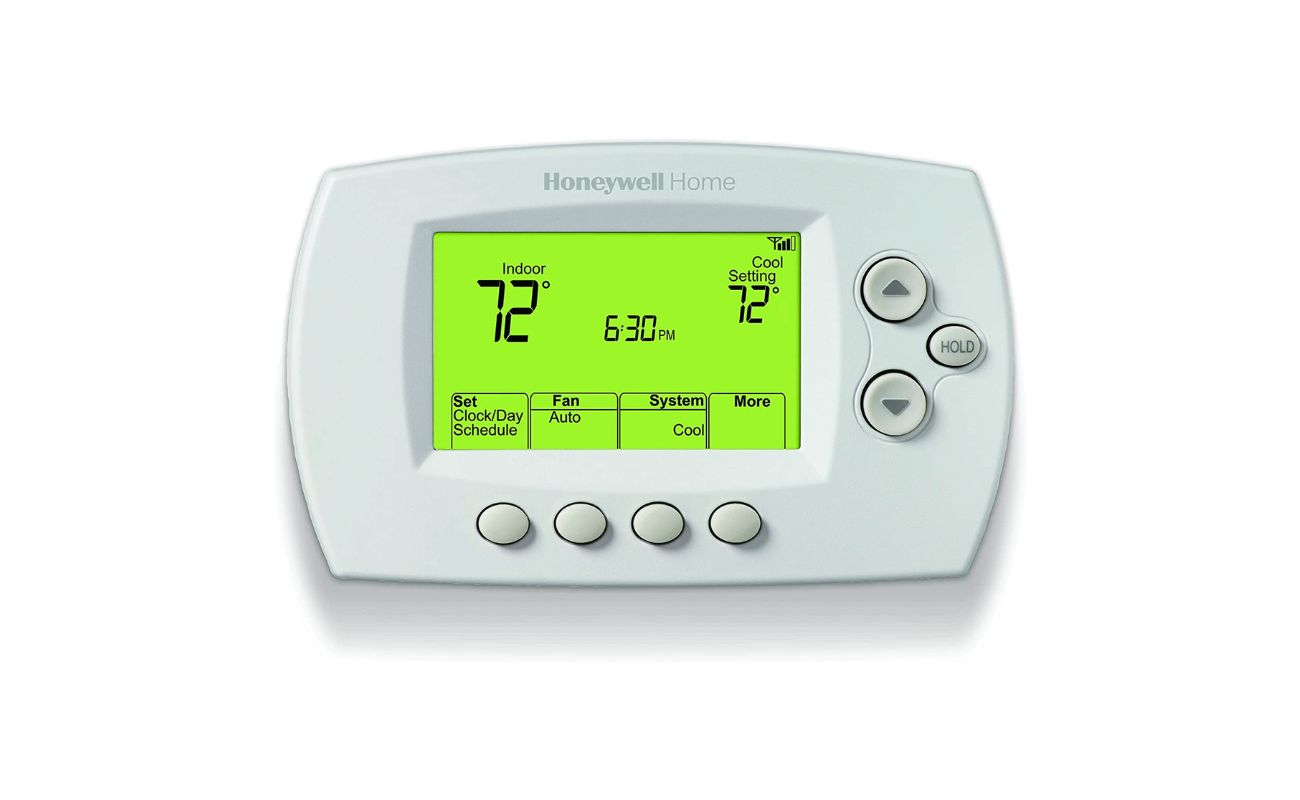
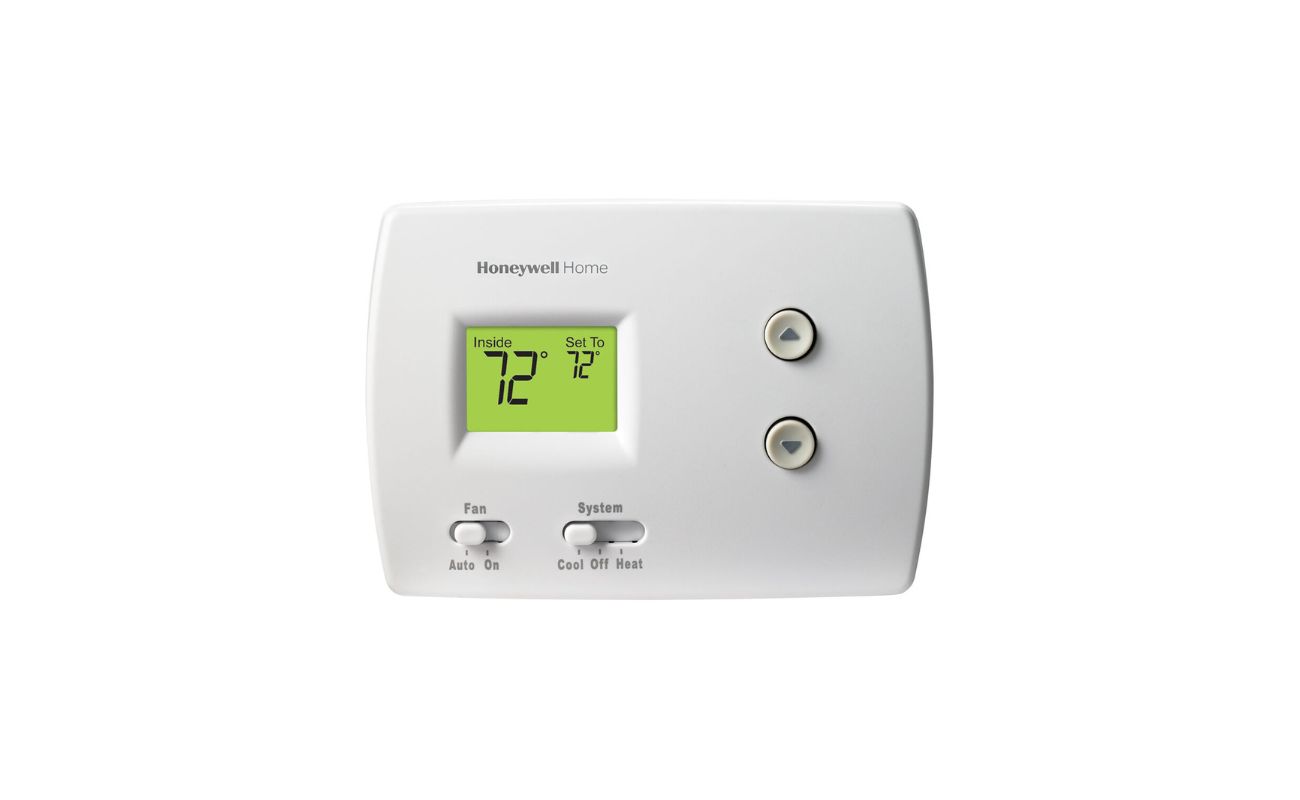
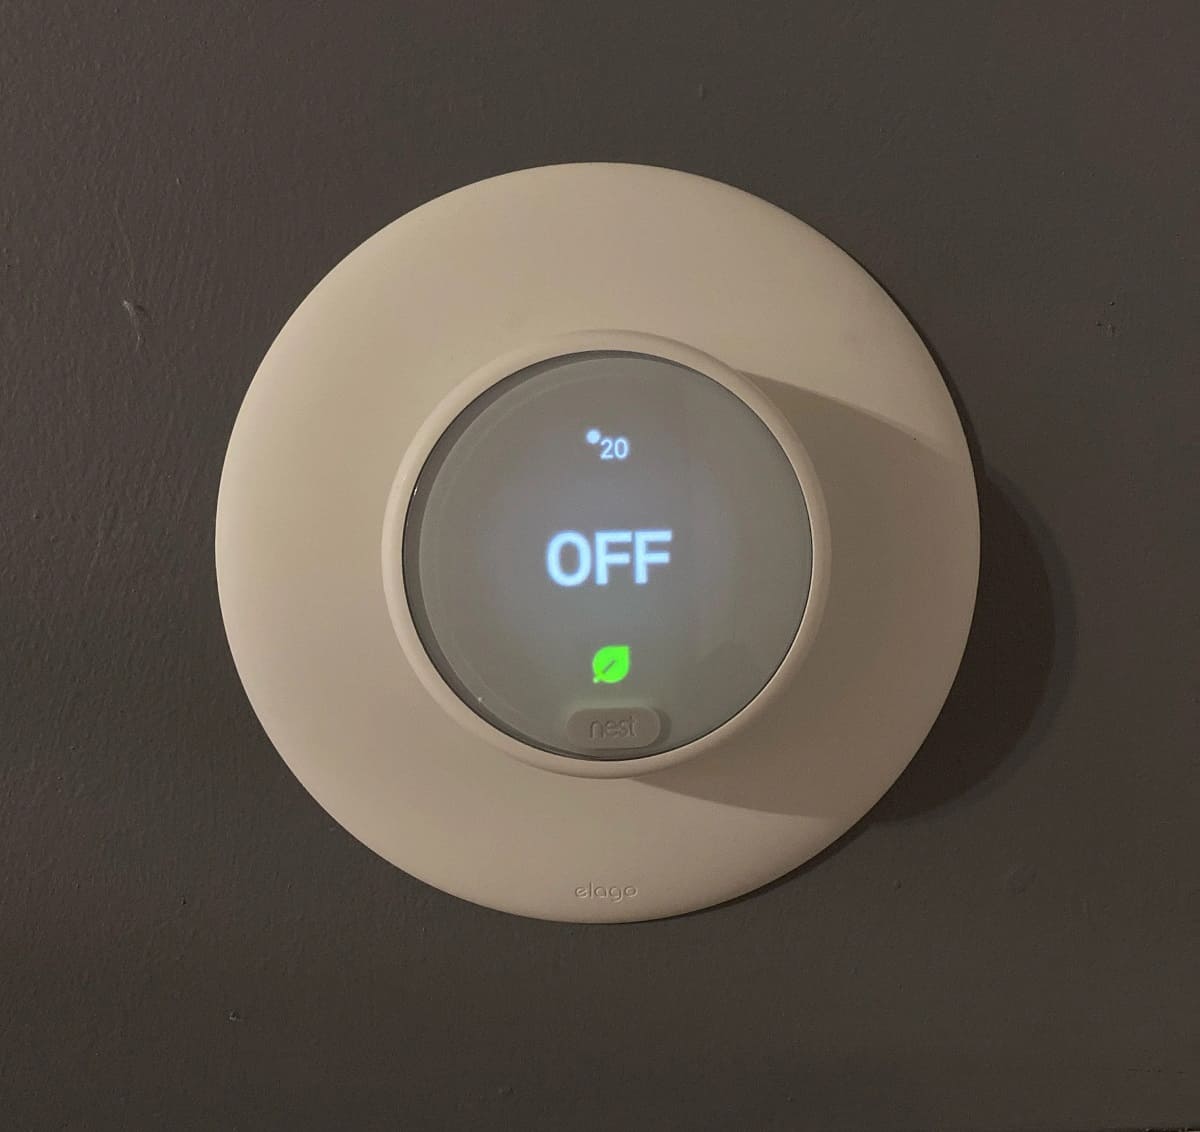
Begin by ensuring that the thermostat is set to “heat” mode rather than “cool” or “off.” It’s not uncommon for the settings to be inadvertently adjusted, especially if there are multiple users in the household or if the thermostat has been recently reprogrammed.
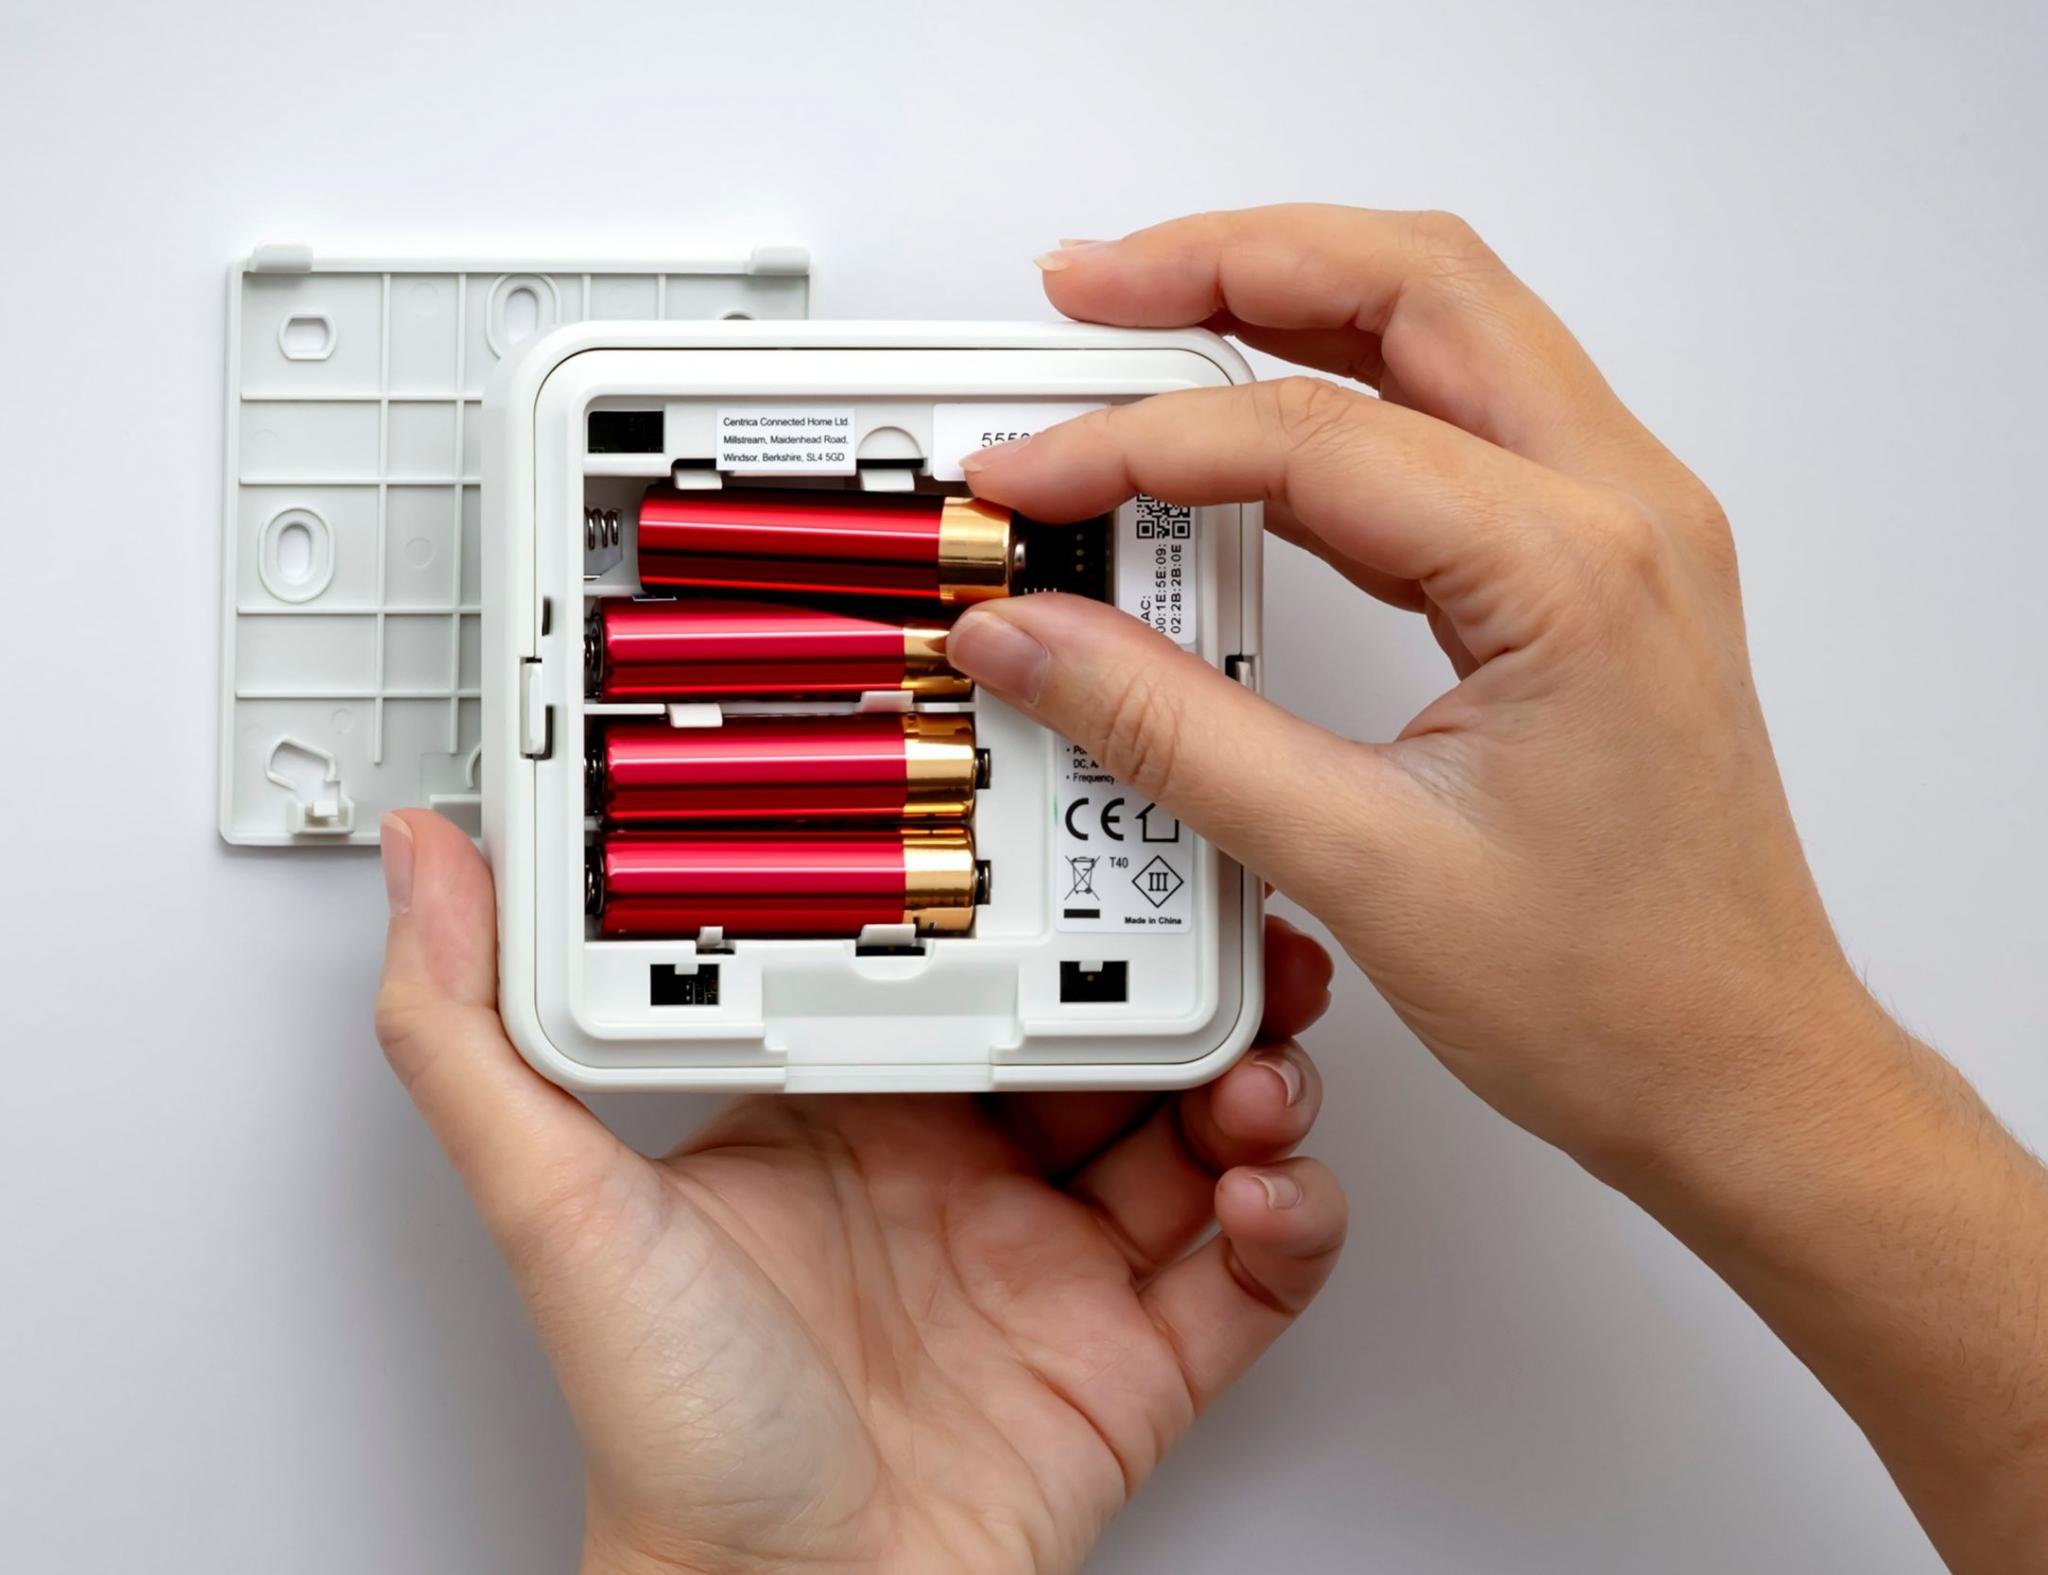
If the thermostat is battery-operated, it’s also important to verify that the batteries are functional. A low battery can cause the thermostat to display incorrect information or fail to communicate with the heating system effectively. Replacing the batteries, if necessary, can resolve this issue swiftly.
Furthermore, check the temperature setting to ensure that it’s higher than the current room temperature. If the set temperature is lower than the actual temperature, the heating system won’t activate. Adjust the temperature setting and observe whether the heating system responds accordingly.
Lastly, if your thermostat is equipped with a scheduling feature, review the programmed schedule to confirm that it aligns with your heating requirements. It’s possible that a preset schedule is preventing the system from operating when needed.
By meticulously examining and adjusting the thermostat settings, you may uncover a simple solution to the absence of heat despite the thermostat being on. If these checks don’t resolve the issue, it’s time to move on to the next troubleshooting step.
Inspect the Furnace
When the thermostat is set to heat, but no warmth emanates from the vents, it’s crucial to evaluate the condition of the furnace. The furnace is the heart of your heating system, responsible for generating and distributing heat throughout your home. Several factors related to the furnace itself could be contributing to the absence of heat.
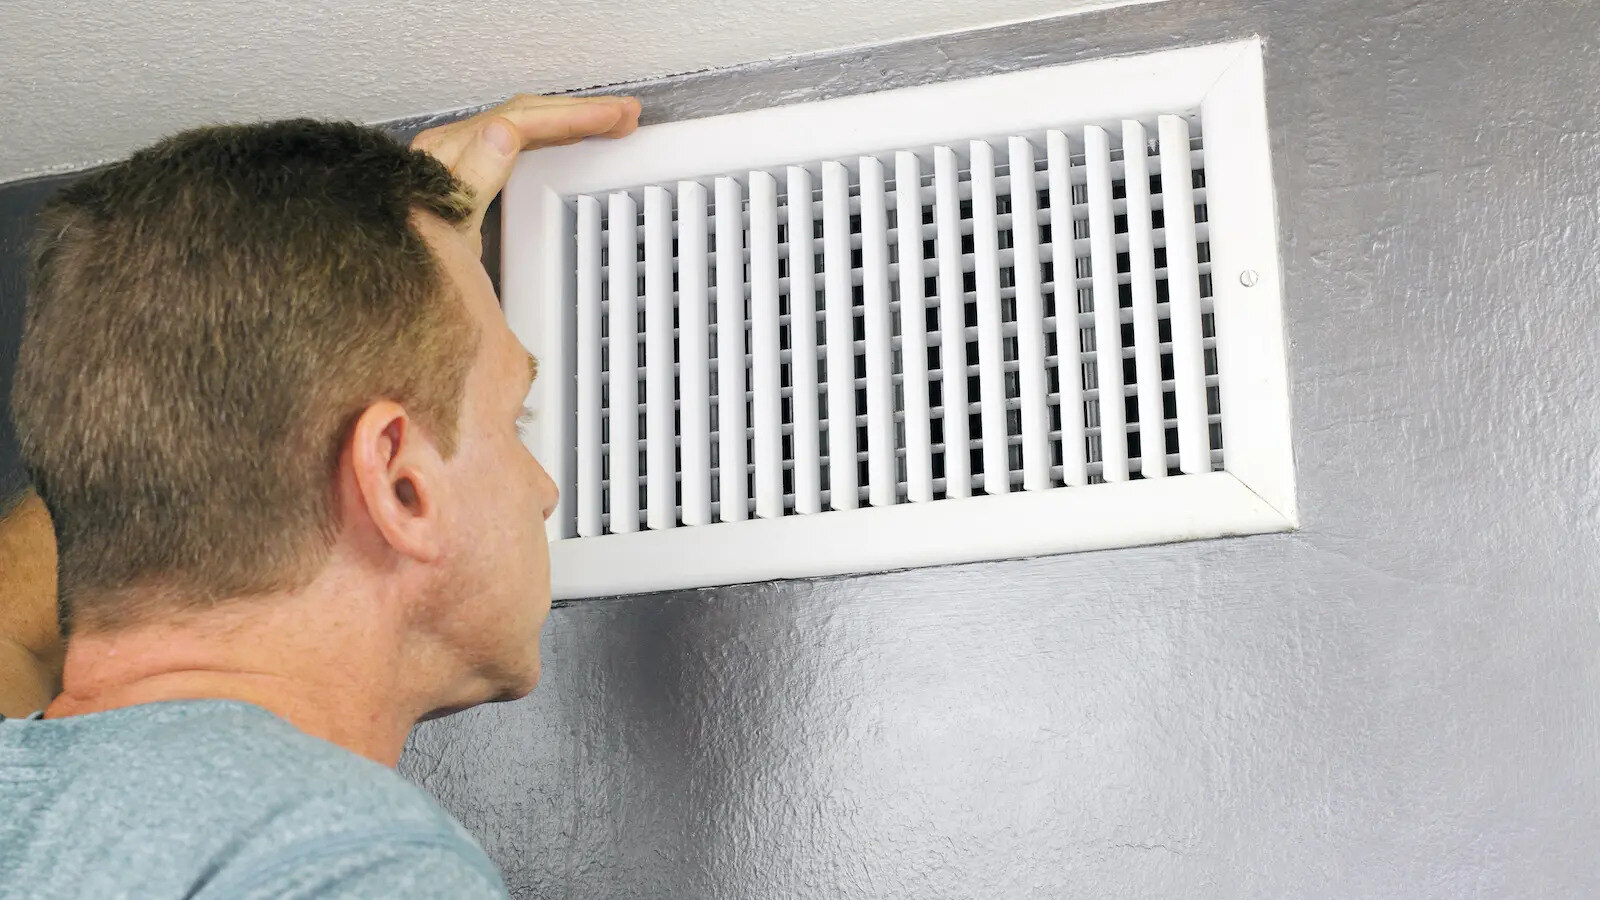
Begin by locating the furnace and examining its exterior. Look for any visible signs of damage, such as dents, rust, or loose panels. If the furnace appears to be in good condition externally, proceed to check the air intake and exhaust vents. Ensure that these vents are unobstructed and free from debris, as blockages can impede the furnace’s performance.
Next, inspect the pilot light if you have a gas furnace. The pilot light is a small, continuously burning flame that ignites the gas when the furnace is activated. If the pilot light is extinguished, follow the manufacturer’s instructions to relight it. However, if you detect a gas odor near the furnace, refrain from attempting to relight the pilot light and seek professional assistance immediately.
Another potential issue within the furnace is a malfunctioning blower motor. The blower motor is responsible for circulating heated air throughout your home. If the blower motor is faulty, even a functioning heating element will fail to distribute warmth effectively. Listen for any unusual noises emanating from the furnace, as this may indicate a problem with the blower motor.
Finally, if your furnace utilizes a filter, examine and replace it if necessary. A clogged or dirty filter can obstruct airflow, leading to reduced heating efficiency. Regularly replacing the filter is essential for maintaining the furnace’s performance and prolonging its lifespan.
By conducting a thorough inspection of the furnace, you can identify potential issues that may be causing the lack of heat despite the thermostat being on. If the furnace appears to be functioning properly, it’s time to explore additional factors that could be contributing to the issue.
Check the Air Filter
One often overlooked yet critical component of a heating system is the air filter. A clogged or dirty air filter can significantly impair the efficiency of your heating system, leading to reduced airflow and, consequently, inadequate heat distribution. Therefore, it’s imperative to inspect and, if necessary, replace the air filter regularly.
Locate the air filter, which is typically situated within the furnace or air handler. The filter may be housed in a dedicated compartment or slot, easily accessible for inspection and replacement. If you’re unsure of its location, consult the furnace’s user manual or seek guidance from a professional.
Upon locating the air filter, visually assess its condition. A dirty or clogged filter will be visibly obstructed by dust, debris, and accumulated particles. If the filter is disposable, check if it’s due for replacement based on the manufacturer’s recommendations. Disposable filters are designed to be replaced at regular intervals, typically every one to three months, depending on usage and environmental factors.
If your heating system is equipped with a reusable filter, remove it and clean it according to the manufacturer’s instructions. This may involve rinsing the filter with water or using a vacuum to remove accumulated debris. Once cleaned, ensure that the filter is completely dry before reinstalling it in the furnace.
By maintaining a clean and unobstructed air filter, you facilitate optimal airflow throughout the heating system, allowing for efficient heat distribution. Additionally, a clean filter contributes to improved indoor air quality by capturing airborne particles and allergens.
If the air filter is found to be dirty or clogged, replacing or cleaning it may alleviate the issue of a non-heating thermostat. However, if the filter is in good condition, it’s essential to explore other potential causes for the lack of heat.
Check if the thermostat is set to “heat” mode and the temperature is higher than the current room temperature. If it’s still not working, try changing the batteries or checking the circuit breaker. If the issue persists, contact a professional for help.
Inspect the Pilot Light
If your heating system relies on a gas furnace, the pilot light plays a pivotal role in igniting the gas to generate heat. A malfunctioning or extinguished pilot light can result in the thermostat being on, yet no heat being produced. Therefore, it’s essential to inspect the pilot light to determine if it’s functioning as intended.
Locate the access panel to the furnace and carefully remove it to gain visibility of the pilot light. If the pilot light is not illuminated, follow the manufacturer’s instructions to relight it. Typically, this involves turning the gas control valve to the “off” position, waiting for the gas to dissipate, and then following the specific relighting procedure outlined in the furnace’s manual.
When relighting the pilot light, exercise caution and attentiveness to ensure safety. If you detect a strong smell of gas near the furnace, refrain from attempting to relight the pilot light and promptly seek professional assistance. Gas odors can indicate a potential gas leak, necessitating immediate attention from a qualified technician.
After successfully relighting the pilot light, observe its flame. A steady, blue flame indicates that the pilot light is functioning correctly. However, if the flame appears weak, flickering, or discolored, it may signify an issue that requires professional assessment and potential repair.
It’s important to note that modern furnaces may utilize electronic ignition systems instead of a continuously burning pilot light. In such cases, the electronic ignition system should be inspected by a qualified technician if the heating system fails to operate despite the thermostat being on.
By ensuring that the pilot light is operational and emitting a consistent, robust flame, you can eliminate this potential cause of a non-heating thermostat. If the pilot light appears to be functioning correctly, it’s time to investigate other factors that may be contributing to the issue.
Read more: Why Is My HVAC Not Heating
Check for Power Supply Issues
When troubleshooting a heating system that’s failing to produce warmth despite the thermostat being on, it’s crucial to assess the power supply to the system. Various power-related issues can impede the operation of the heating system, necessitating thorough inspection and potential intervention.
Begin by verifying that the heating system is receiving an adequate power supply. Check the circuit breaker or fuse box to ensure that the circuit supplying power to the heating system is not tripped or the fuse is not blown. If a tripped breaker or blown fuse is identified, reset the breaker or replace the fuse as necessary.
Inspect the power cord and plug of the heating system to confirm that they are securely connected and undamaged. If the heating system is hardwired, ensure that the electrical connections are intact and free from corrosion or disconnection.
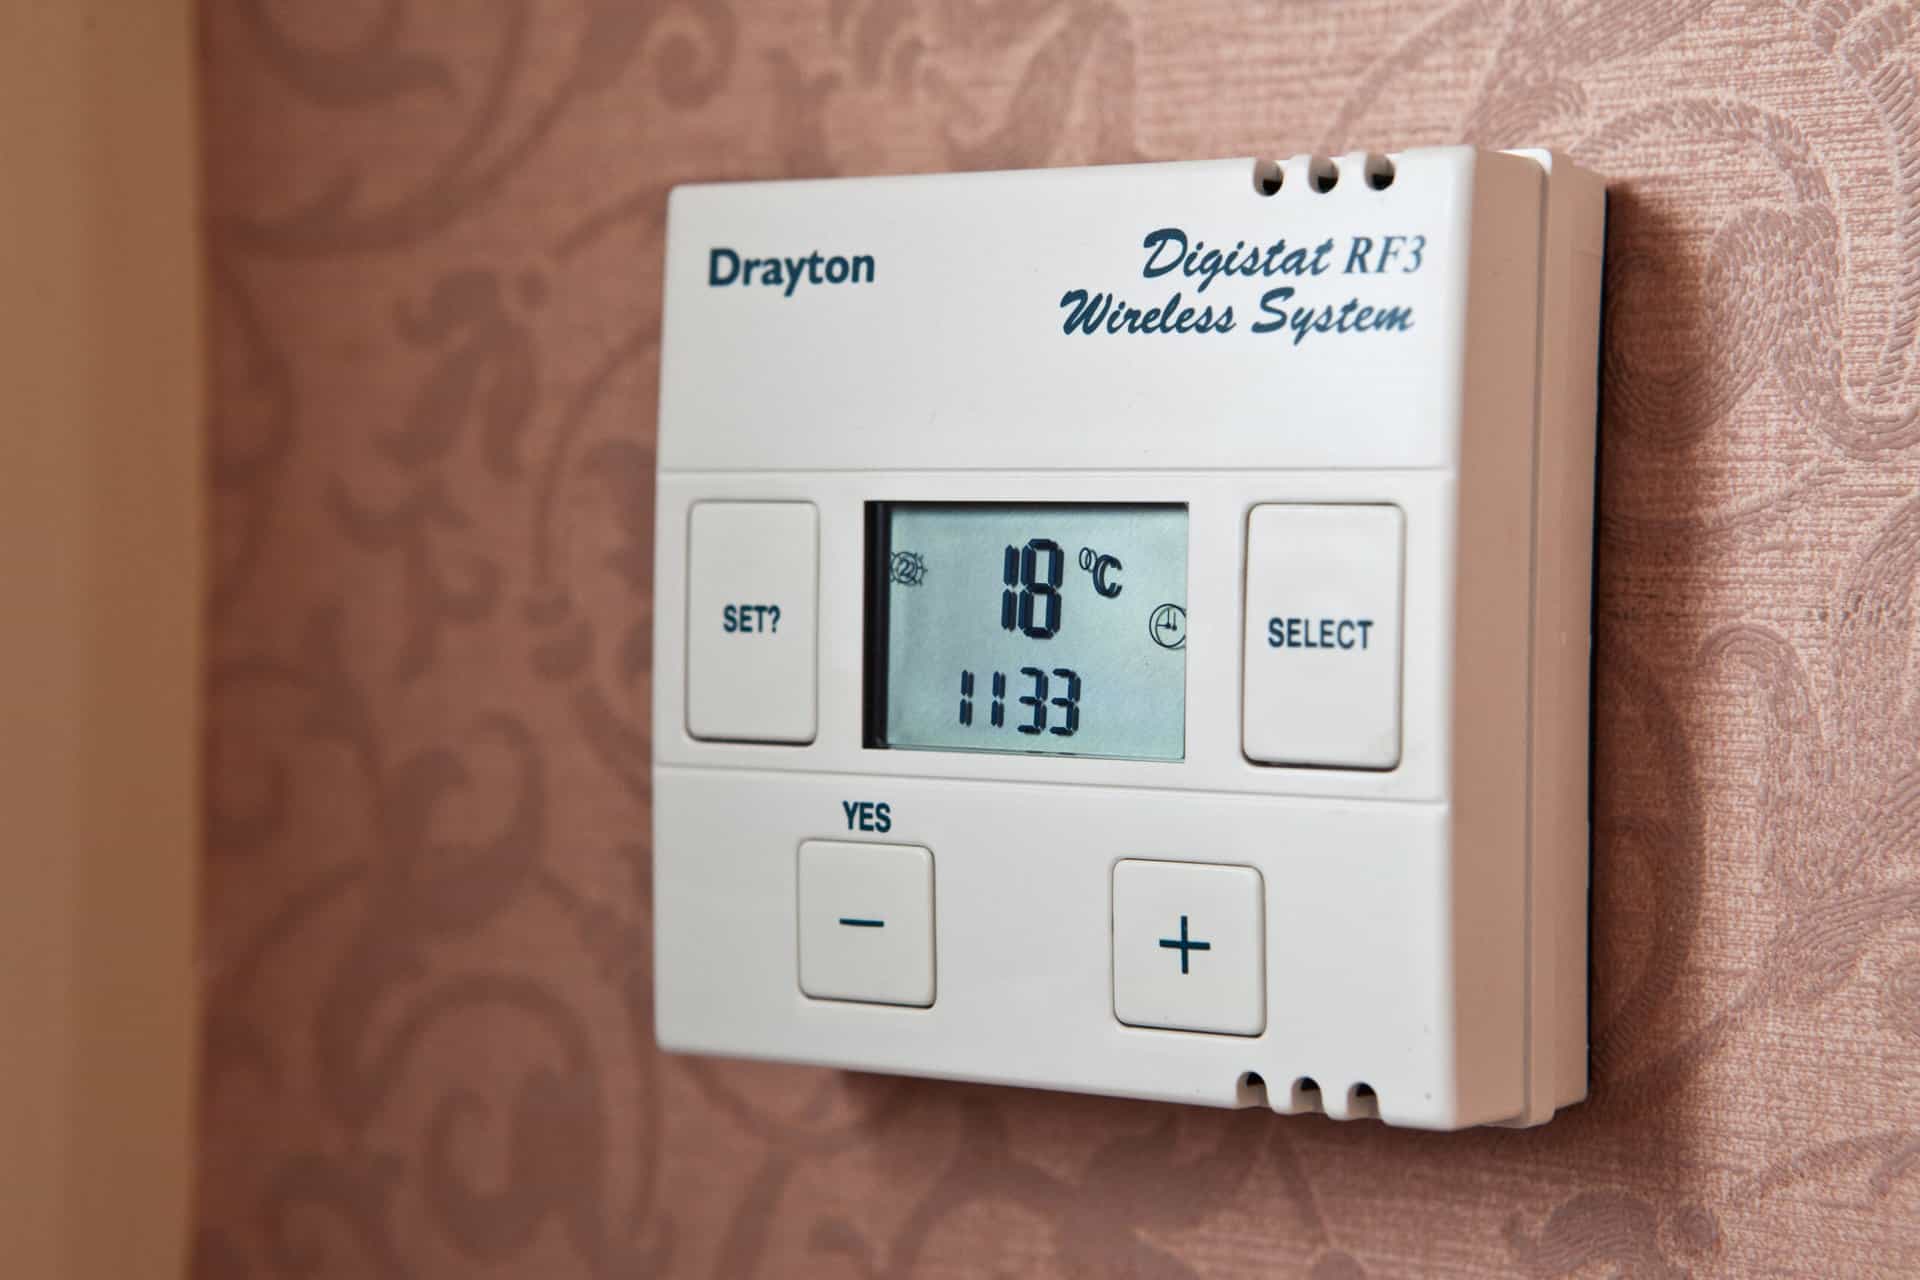
Furthermore, if your heating system is equipped with a digital thermostat, ensure that it has a functioning power supply. If the thermostat’s display is blank or unresponsive, it may indicate a power supply issue that is preventing the thermostat from effectively communicating with the heating system.
It’s also advisable to check for any power outages in your area that may be affecting the operation of your heating system. Contact your utility provider or check for local outage notifications to ascertain if there are any ongoing power disruptions that could be impacting your home’s electrical supply.
If your heating system is part of a larger HVAC (heating, ventilation, and air conditioning) system, it’s essential to evaluate the overall power supply to the HVAC system. Issues with the power supply to the HVAC system can affect the operation of the heating component, leading to a lack of warmth despite the thermostat being on.
By meticulously examining and addressing any power supply issues, you can potentially resolve the issue of a non-heating thermostat. However, if power-related concerns are ruled out, it’s advisable to proceed with further troubleshooting or seek professional assistance to pinpoint and address the underlying cause.
Call a Professional
When all troubleshooting efforts have been exhausted and the issue of a thermostat being on without producing heat persists, it’s prudent to enlist the expertise of a qualified heating system professional. A skilled technician possesses the knowledge, experience, and specialized tools necessary to diagnose and rectify complex heating system issues effectively.
Upon contacting a reputable heating system service provider, schedule a service appointment to have a technician evaluate your heating system. During the service visit, the technician will conduct a comprehensive assessment of the entire heating system, including the furnace, thermostat, electrical connections, and other pertinent components.
The technician will utilize diagnostic tools and techniques to identify the root cause of the heating issue and propose appropriate solutions. Whether the problem stems from a faulty heating element, a malfunctioning thermostat, or an underlying mechanical issue within the furnace, the technician’s expertise is instrumental in providing a precise diagnosis and implementing targeted remedies.
It’s important to communicate any observations or specific symptoms you’ve noticed regarding the heating system’s behavior. This information can aid the technician in narrowing down potential causes and expediting the diagnostic process.
Upon identifying the source of the heating issue, the technician will present their findings and recommended course of action. This may involve repairing or replacing specific components, recalibrating the thermostat, or implementing corrective measures to restore the heating system’s functionality.
By engaging the services of a professional heating system technician, you can gain peace of mind knowing that your heating system concerns are being addressed by a qualified expert. Additionally, professional maintenance and repairs can extend the longevity of your heating system and optimize its performance, contributing to enhanced comfort and energy efficiency in your home.
Remember that attempting complex repairs or modifications to your heating system without the requisite expertise can pose safety risks and may exacerbate the issue. Therefore, entrusting the resolution of heating system issues to a professional is a prudent and responsible course of action.
By collaborating with a skilled technician, you can navigate the intricacies of heating system diagnosis and repair with confidence, ultimately restoring warmth and comfort to your living space.
Conclusion
Encountering a scenario where the thermostat is on, yet no heat is being produced, can be a perplexing and discomforting experience. However, by methodically investigating potential causes and implementing targeted solutions, you can effectively address this issue and restore warmth to your home.
Commence your troubleshooting journey by checking the thermostat settings, ensuring that it’s configured for heating mode and that the temperature settings align with your comfort requirements. Additionally, inspect the power supply to the heating system, verifying that all electrical connections are secure and that there are no power supply disruptions affecting its operation.
Delve into the internal components of your heating system, beginning with a thorough inspection of the furnace. Examine the exterior of the furnace for any visible damage and ensure that the air intake and exhaust vents are unobstructed. If your furnace utilizes a pilot light, meticulously inspect and, if necessary, relight it to facilitate the ignition of the heating element.
Don’t overlook the significance of the air filter in maintaining optimal heating system performance. Regularly inspect and replace the air filter to promote efficient airflow and prevent obstructions that can impede heat distribution.
Should your troubleshooting efforts prove inconclusive, it’s advisable to seek the expertise of a professional heating system technician. A skilled technician possesses the knowledge and diagnostic capabilities to pinpoint and address complex heating system issues, ensuring the restoration of warmth and comfort in your home.
By combining attentive maintenance practices, diligent troubleshooting, and professional intervention when necessary, you can sustain the optimal functionality of your heating system and enjoy consistent warmth and comfort throughout the colder months.
Remember that a well-maintained and efficiently operating heating system not only enhances your comfort but also contributes to energy efficiency and cost savings. By addressing and resolving the issue of a non-heating thermostat, you can create a cozy and inviting indoor environment for you and your loved ones to relish.
Embrace the process of troubleshooting and maintaining your heating system, and leverage the expertise of professionals when needed, to ensure that your home remains a haven of warmth and comfort, regardless of the weather outside.
Frequently Asked Questions about Why Is My Thermostat On, But There's No Heat
Was this page helpful?
At Storables.com, we guarantee accurate and reliable information. Our content, validated by Expert Board Contributors, is crafted following stringent Editorial Policies. We're committed to providing you with well-researched, expert-backed insights for all your informational needs.



0 thoughts on “Why Is My Thermostat On, But There’s No Heat”