Home>Home Maintenance>How To Turn On Amana Heating And Air Conditioning

Home Maintenance
How To Turn On Amana Heating And Air Conditioning
Modified: March 6, 2024
Learn how to turn on your Amana heating and air conditioning system with our easy-to-follow home maintenance guide.
(Many of the links in this article redirect to a specific reviewed product. Your purchase of these products through affiliate links helps to generate commission for Storables.com, at no extra cost. Learn more)
Introduction
Welcome to our comprehensive guide on how to turn on your Amana heating and air conditioning unit. As a homeowner, it’s crucial to familiarize yourself with the operation of your HVAC system to ensure optimal comfort in your home.
Amana heating and air conditioning units are known for their reliability and efficiency, providing exceptional heating and cooling performance. Whether you’re looking to warm up your space during the cold winter months or cool it down in the scorching summer heat, understanding how to turn on your Amana unit is essential.
In this article, we will walk you through a step-by-step process to help you easily activate your Amana heating and air conditioning unit. By following these instructions, you’ll be able to enjoy the ideal temperature in your home with just a few simple adjustments.
So, let’s get started on learning how to turn on your Amana heating and air conditioning unit and create a comfortable living space all year round.
Key Takeaways:
- To turn on your Amana heating and air conditioning unit, first locate it, check the power source, adjust the thermostat, set the desired temperature, select the heating or cooling mode, and then turn it on.
- After turning it on, monitor the unit’s operation by checking airflow, temperature, and listening for unusual noises. Regular maintenance and professional inspections will ensure your Amana unit functions efficiently.
Step 1: Locating the Amana Heating and Air Conditioning Unit
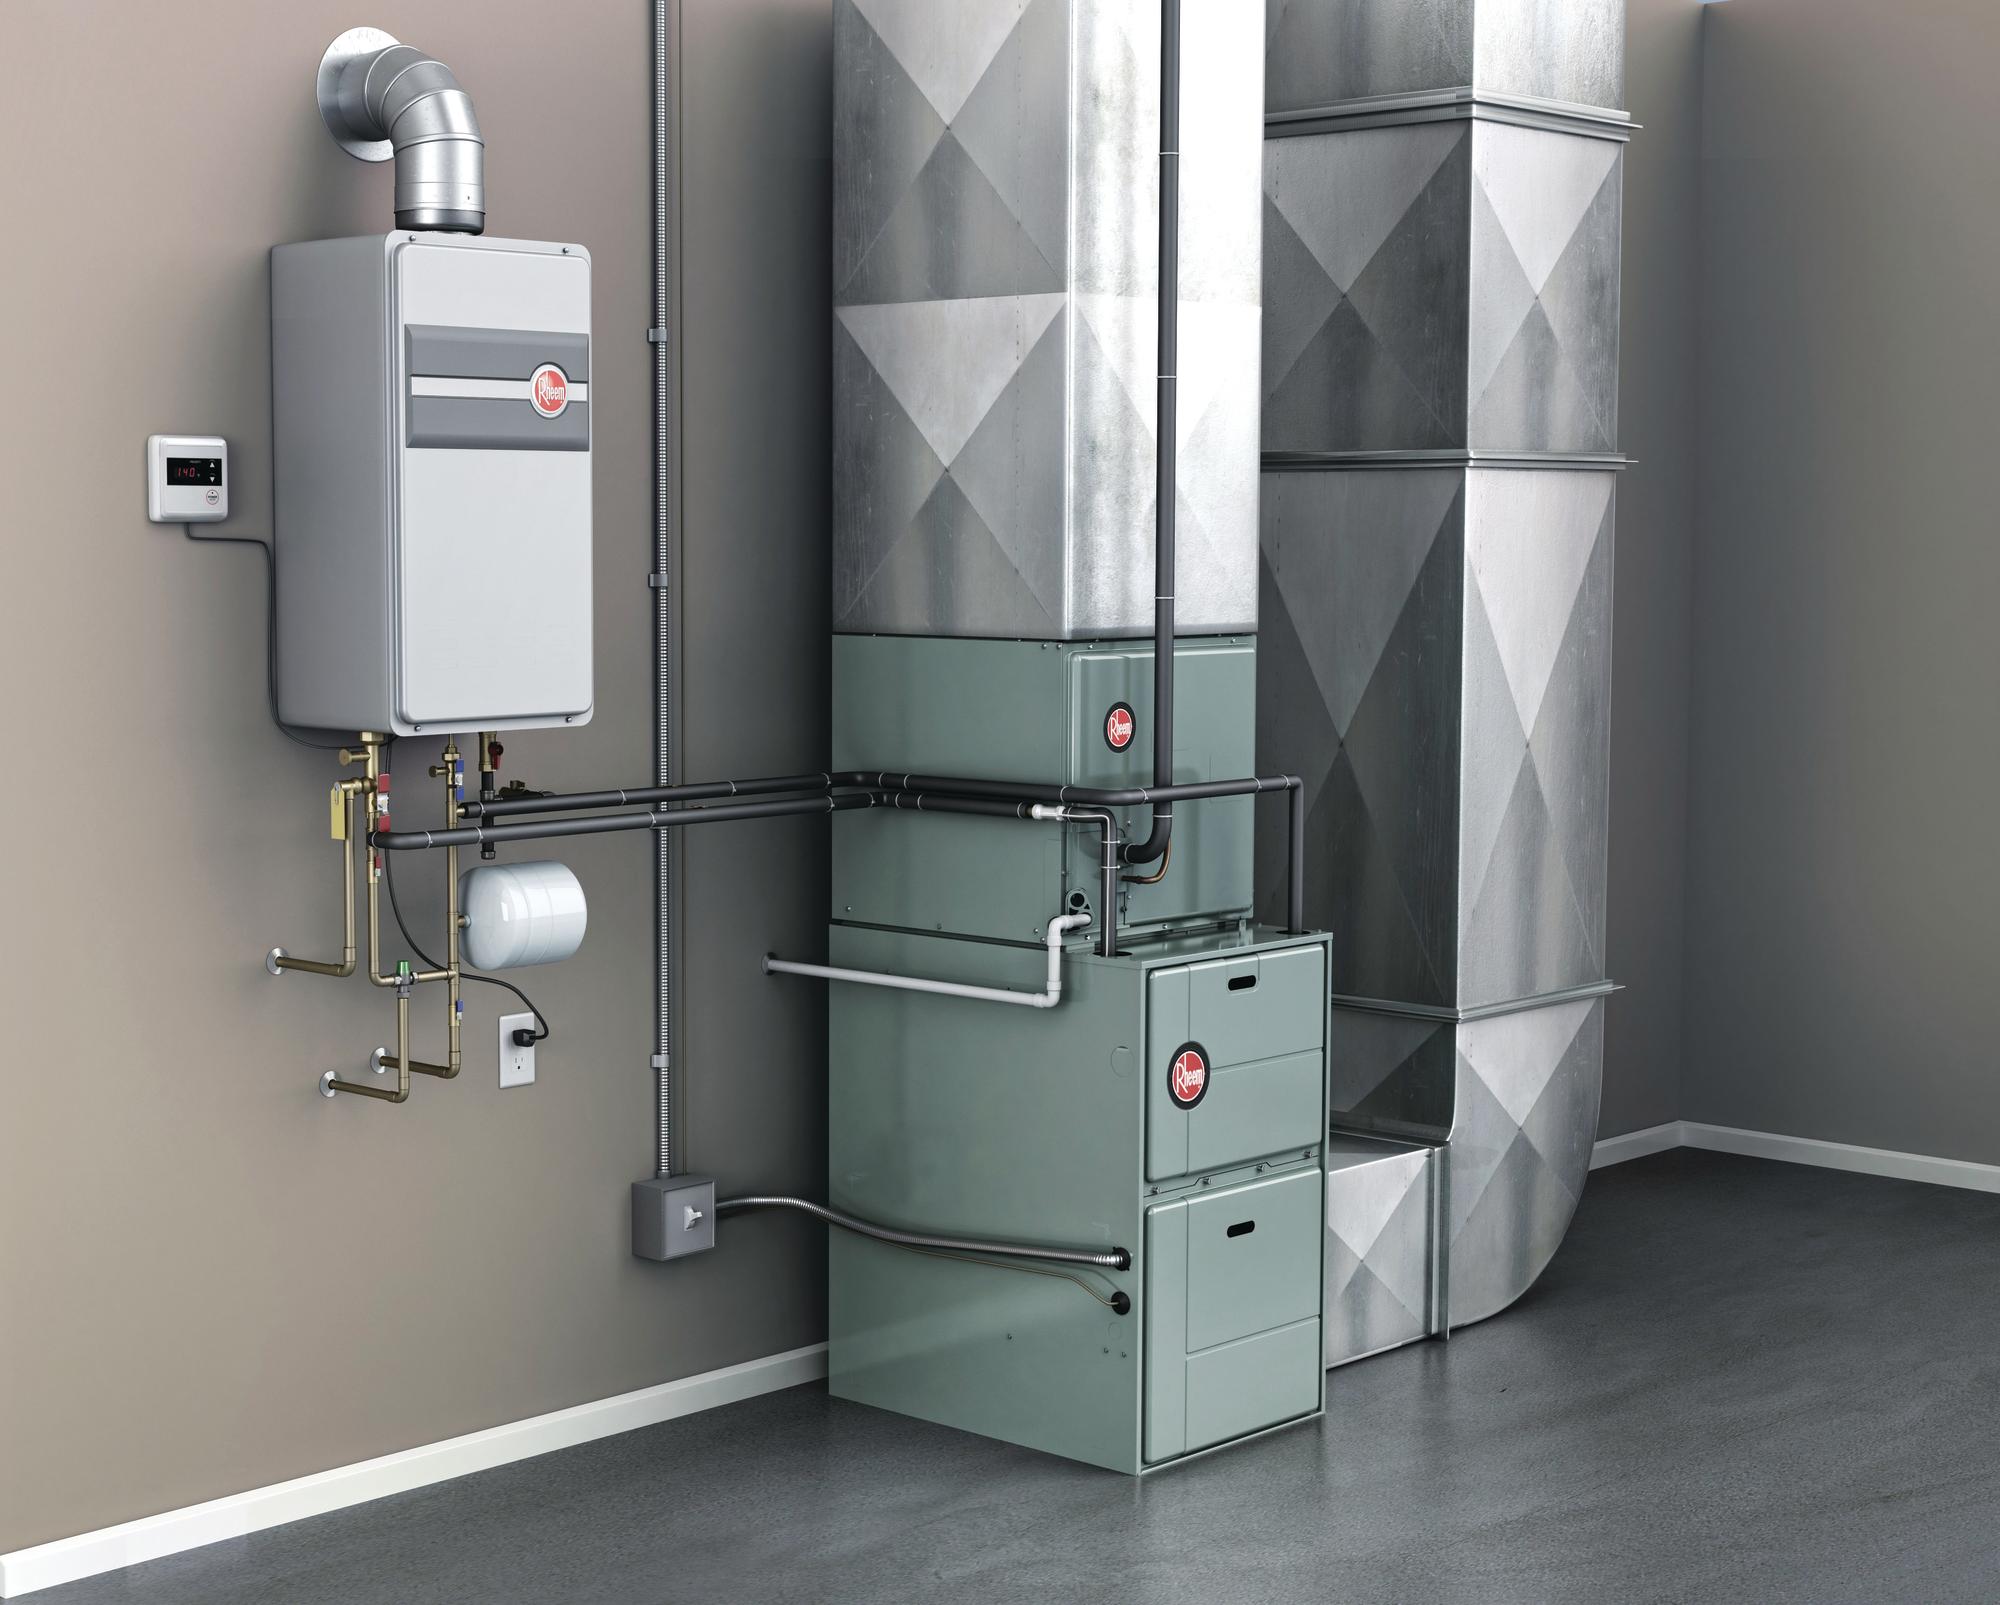
The first step in turning on your Amana heating and air conditioning unit is to locate its physical position within your home. In most houses, the Amana unit is installed either outside or in a designated area, such as a utility room or basement.
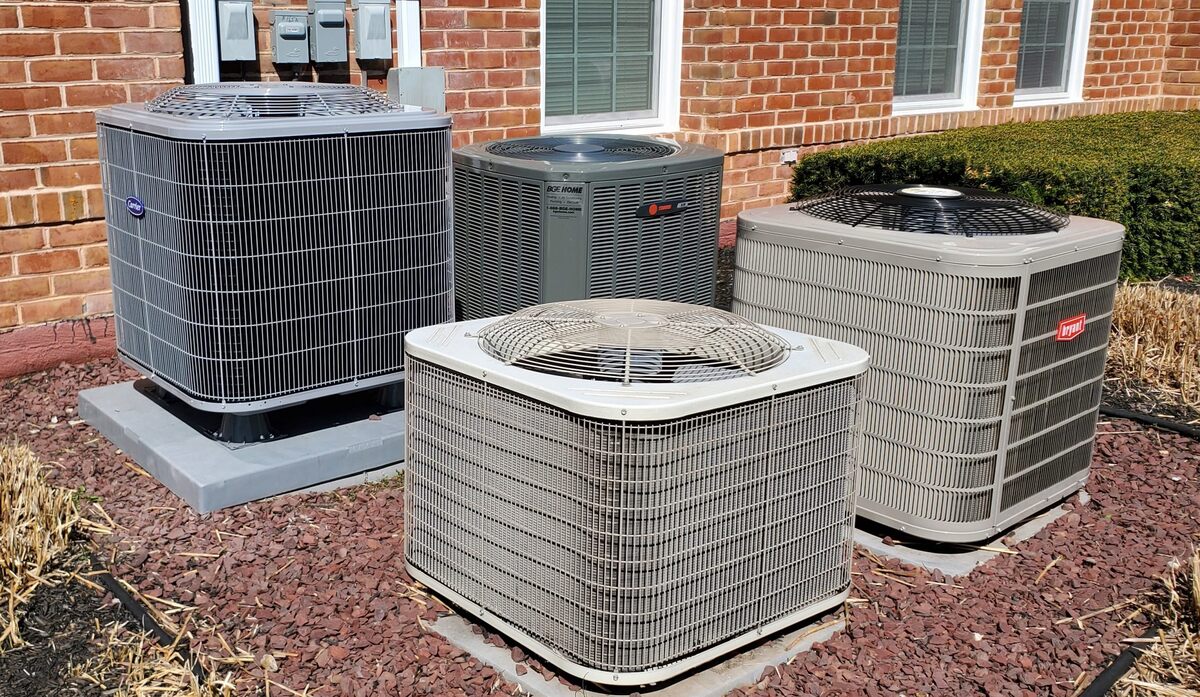
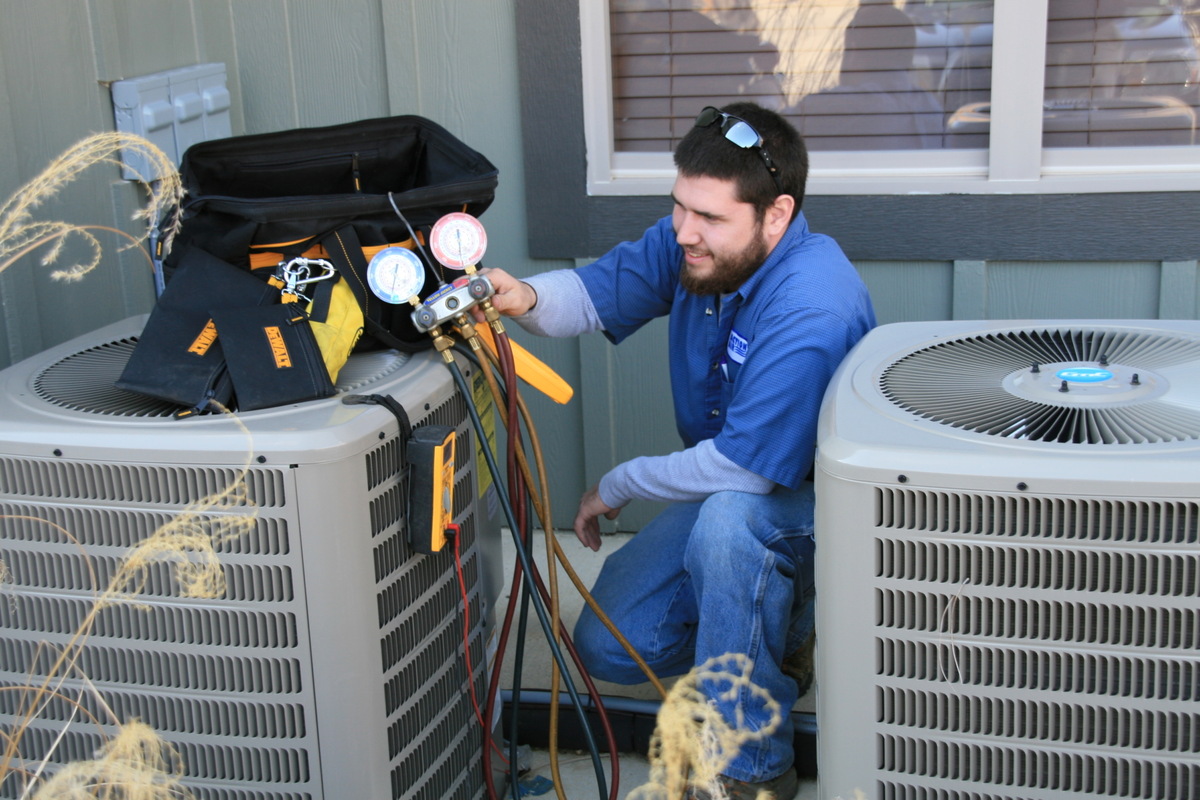
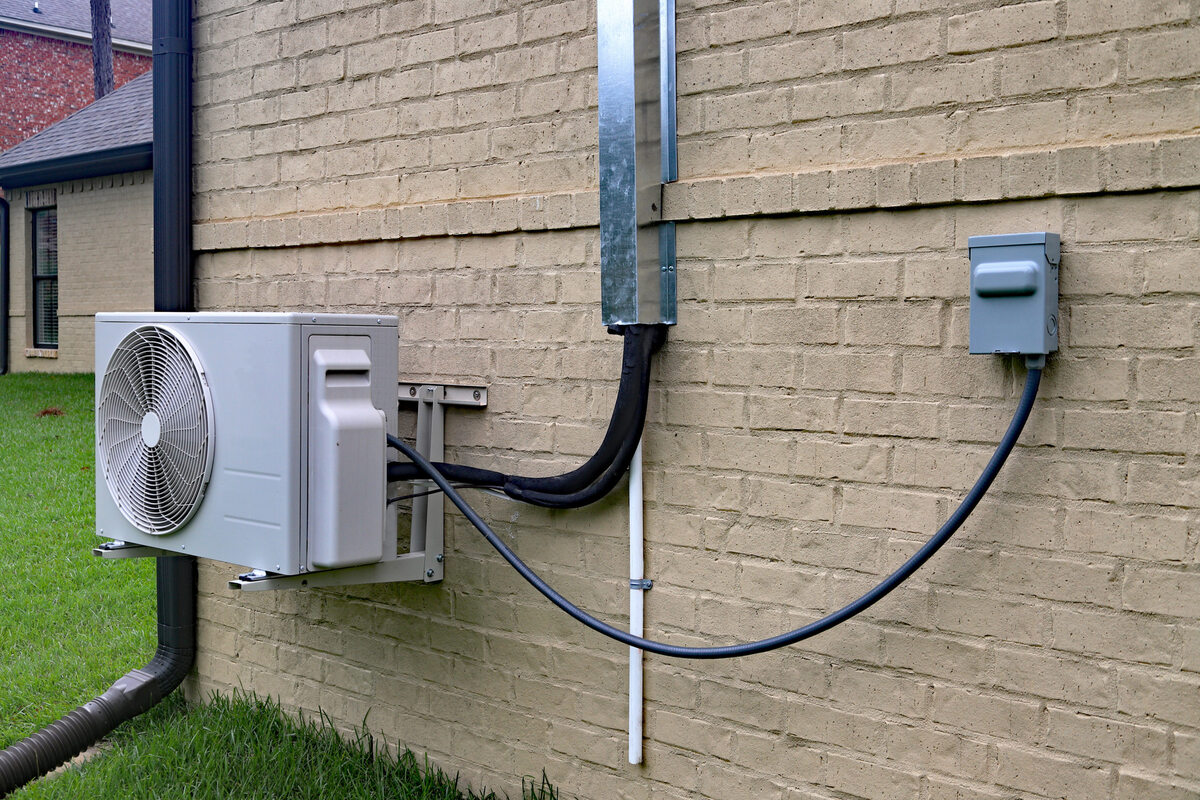
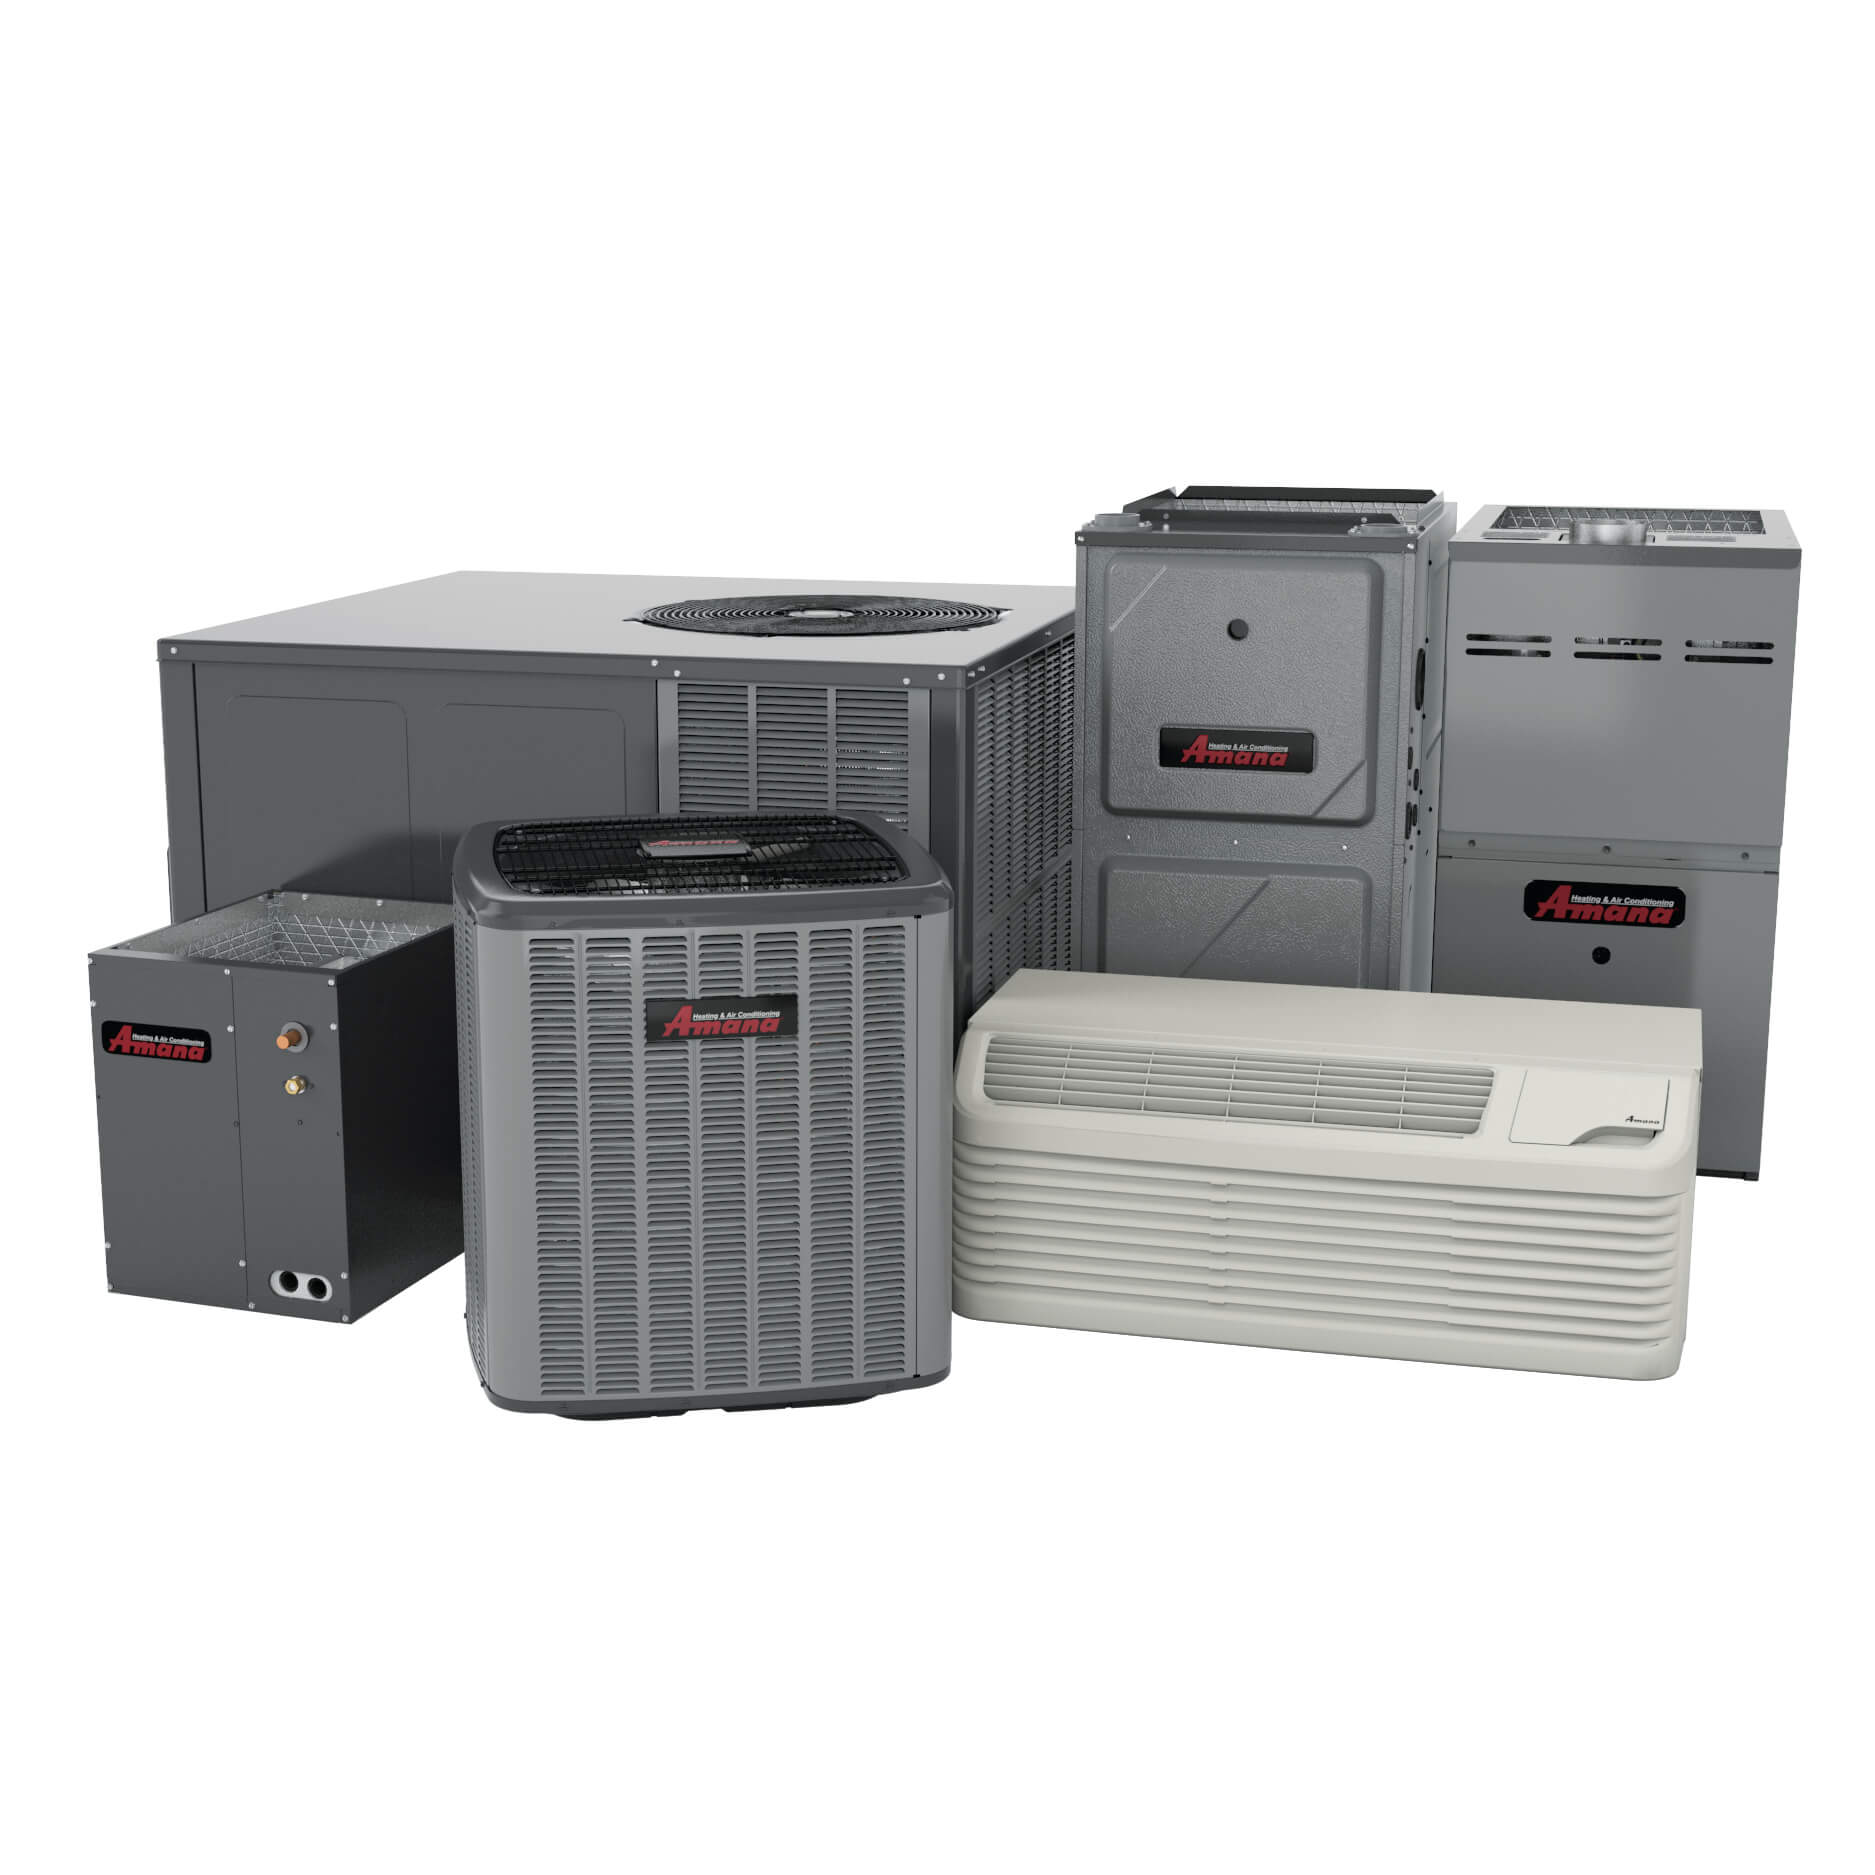
If you have a central heating and air conditioning system, the Amana unit is likely to be situated outside your home. It is typically placed on a concrete pad or mounted on the side of the house. Look for a metal cabinet with vents and fans.
In the case of a ductless mini-split system, the Amana unit will be installed inside the room or area you wish to heat or cool. It will usually be positioned high on a wall or ceiling.
Once you have located your Amana heating and air conditioning unit, you’ll be ready to move on to the next step in the process of turning it on.
Step 2: Checking the Power Source
Before turning on your Amana heating and air conditioning unit, it’s essential to ensure that it is properly connected to a power source. This step will help you avoid any potential electrical issues and ensure the smooth operation of your unit.
Start by locating the power switch or breaker for your Amana unit. In most cases, the power switch is located near the unit or on the electrical control panel. It is usually marked with “On” and “Off” positions.
If you have a central heating and air conditioning system, the power switch is commonly found near the outdoor unit. Look for a small metal box with a hinged cover. Open the cover to reveal the power switch inside.
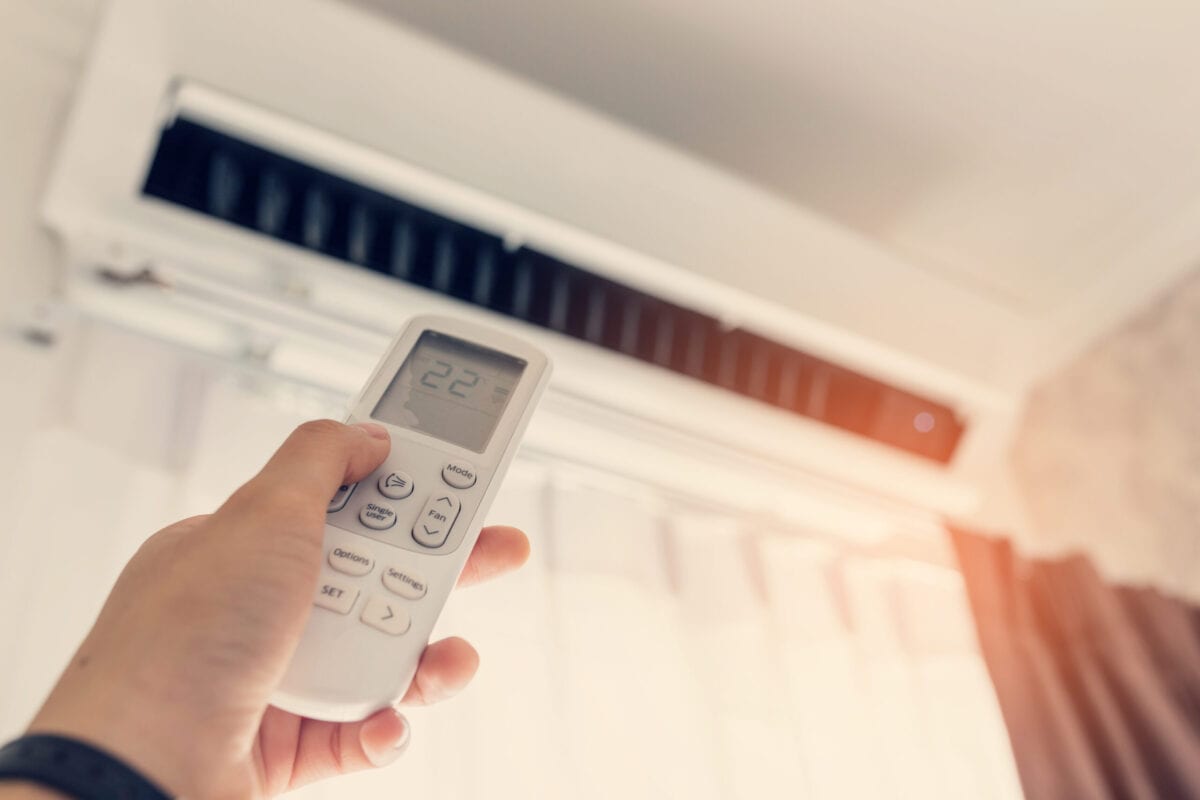
For ductless mini-split systems, the power switch can be located either near the indoor unit or on the remote control. Consult the user manual or look for a power button symbol on the remote control to identify the power switch’s location.
Once you’ve located the power switch, ensure that it is in the “Off” position before proceeding. This is an important safety precaution to prevent any electrical shocks or damages during the next steps.
Next, check the power supply to the Amana unit. Make sure that the electrical circuit breaker or fuse associated with the unit is in the “On” position. If you find that the breaker is tripped or the fuse is blown, you may need to reset the breaker or replace the fuse to restore power to your Amana unit.
After confirming that the power switch is off and the power supply is active, you are ready to move on to the next step and prepare your unit for operation.
Step 3: Adjusting the Thermostat
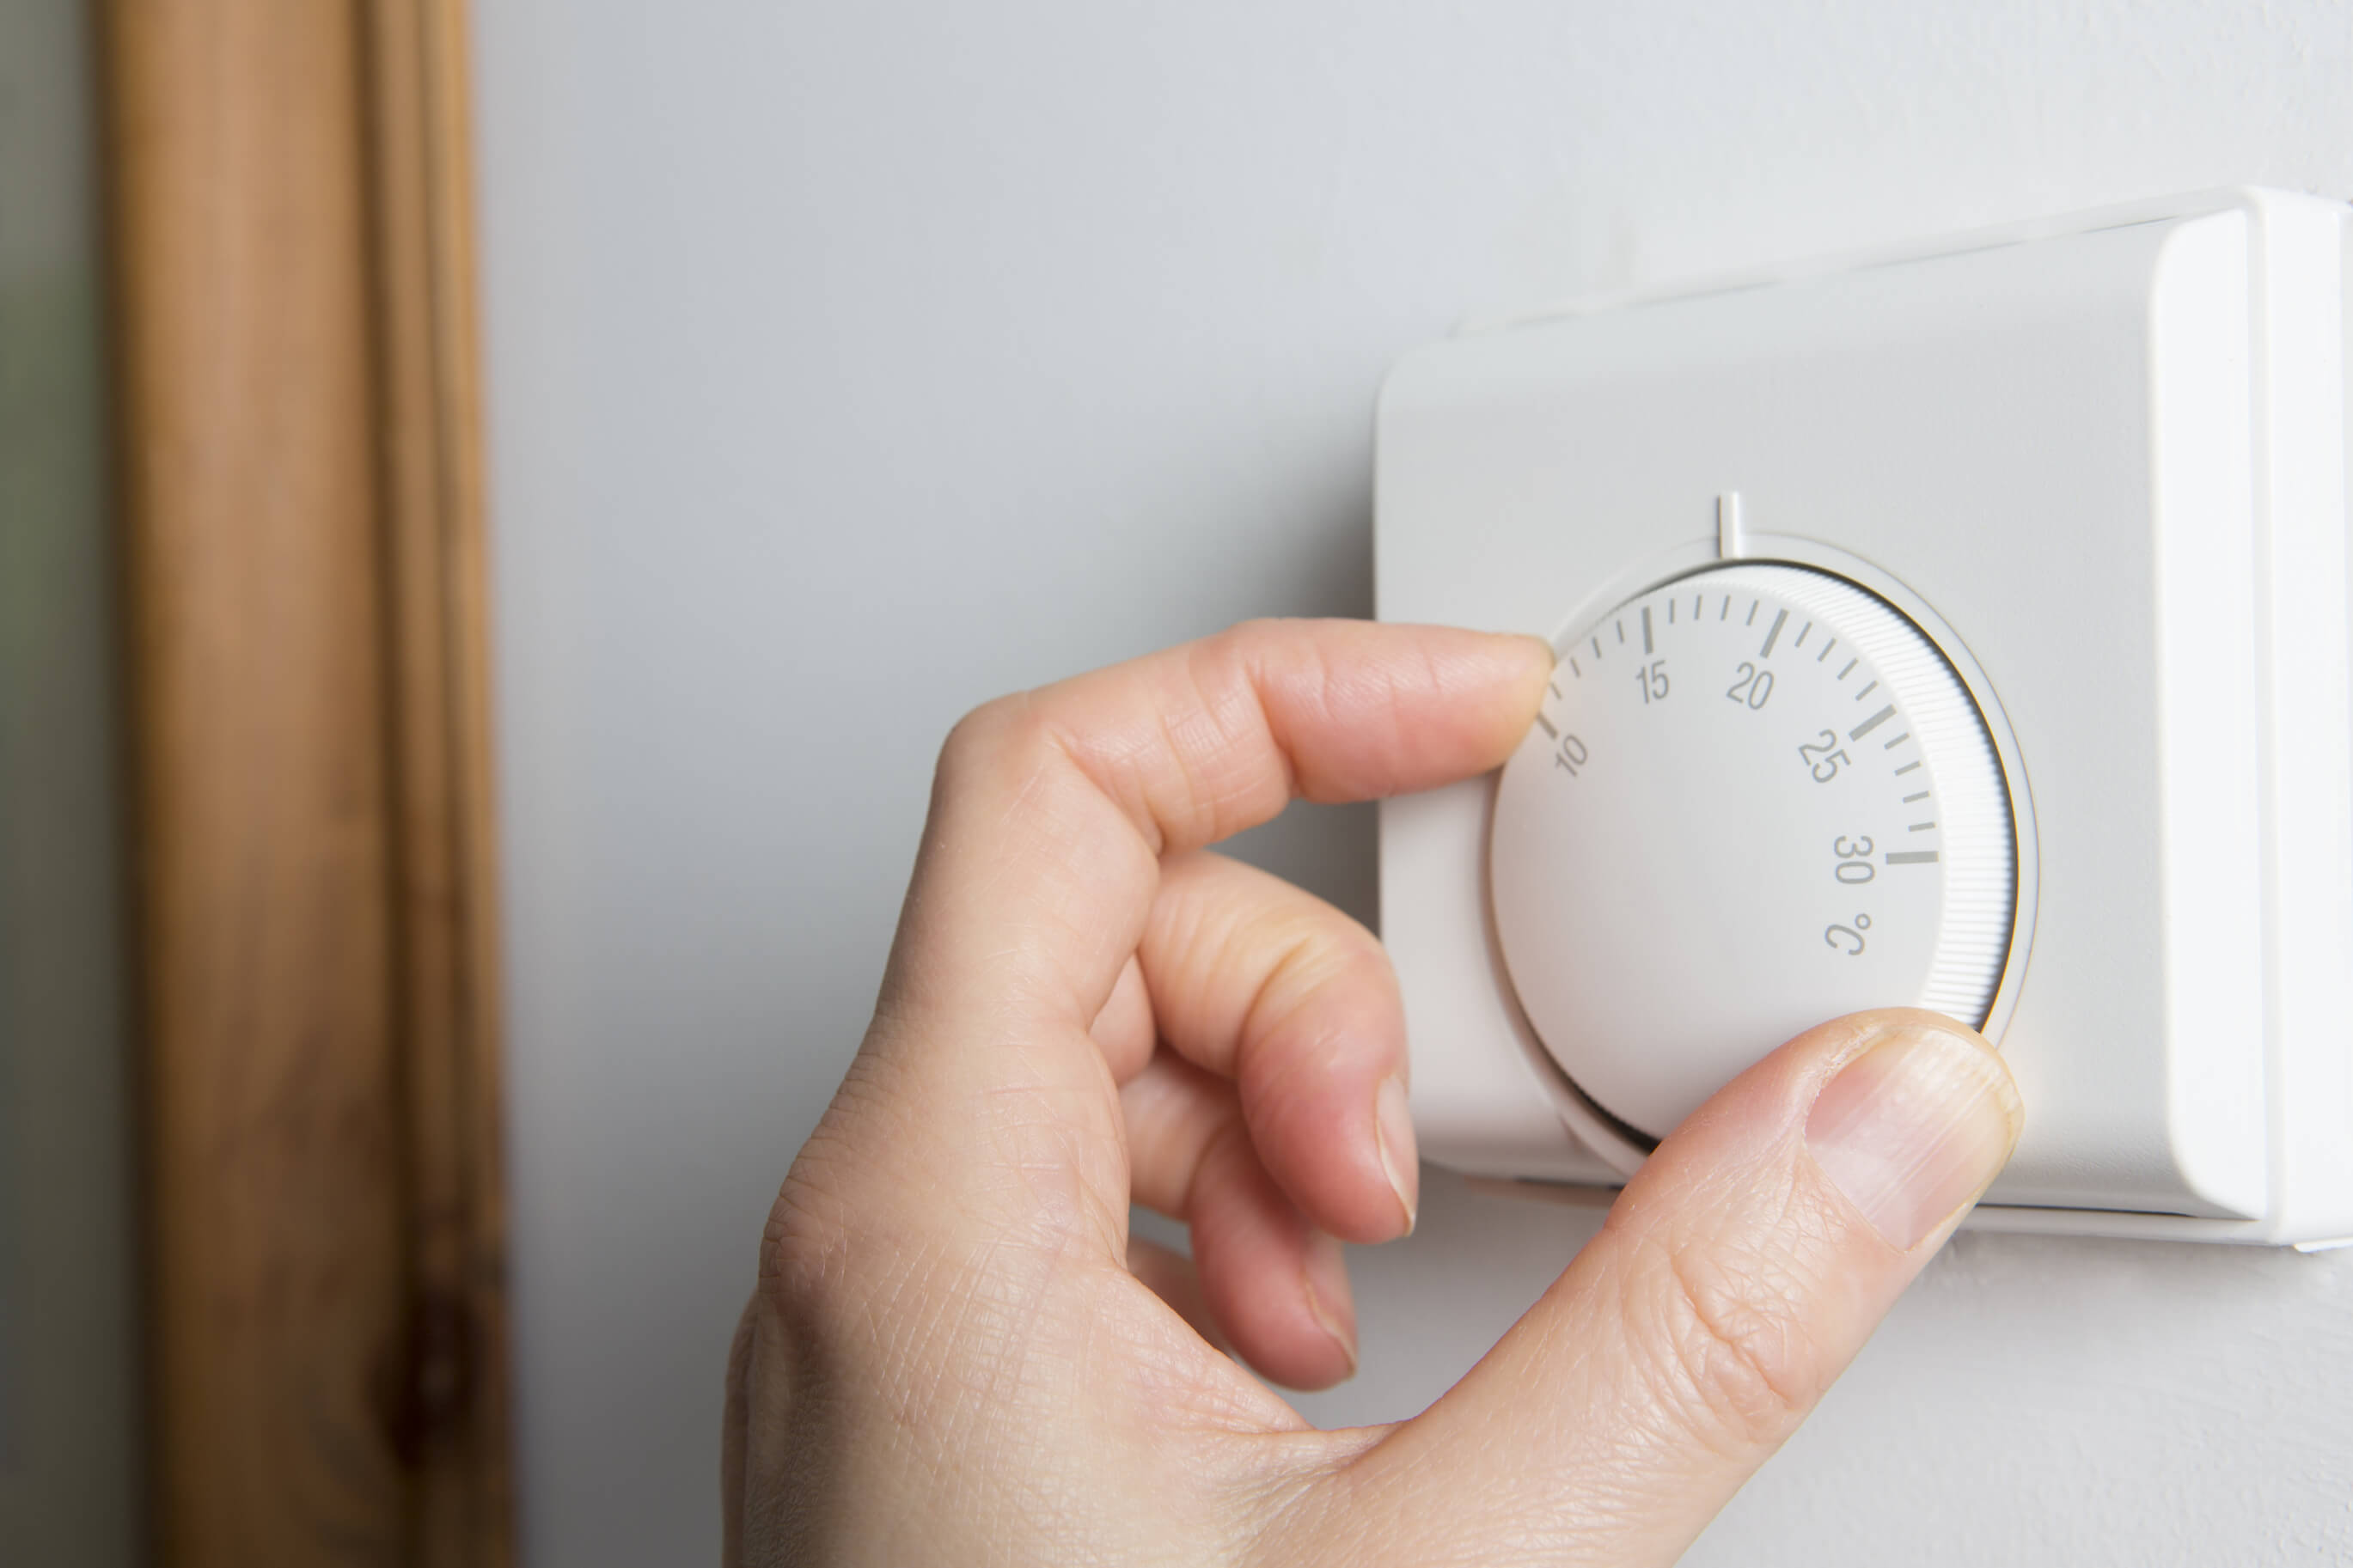
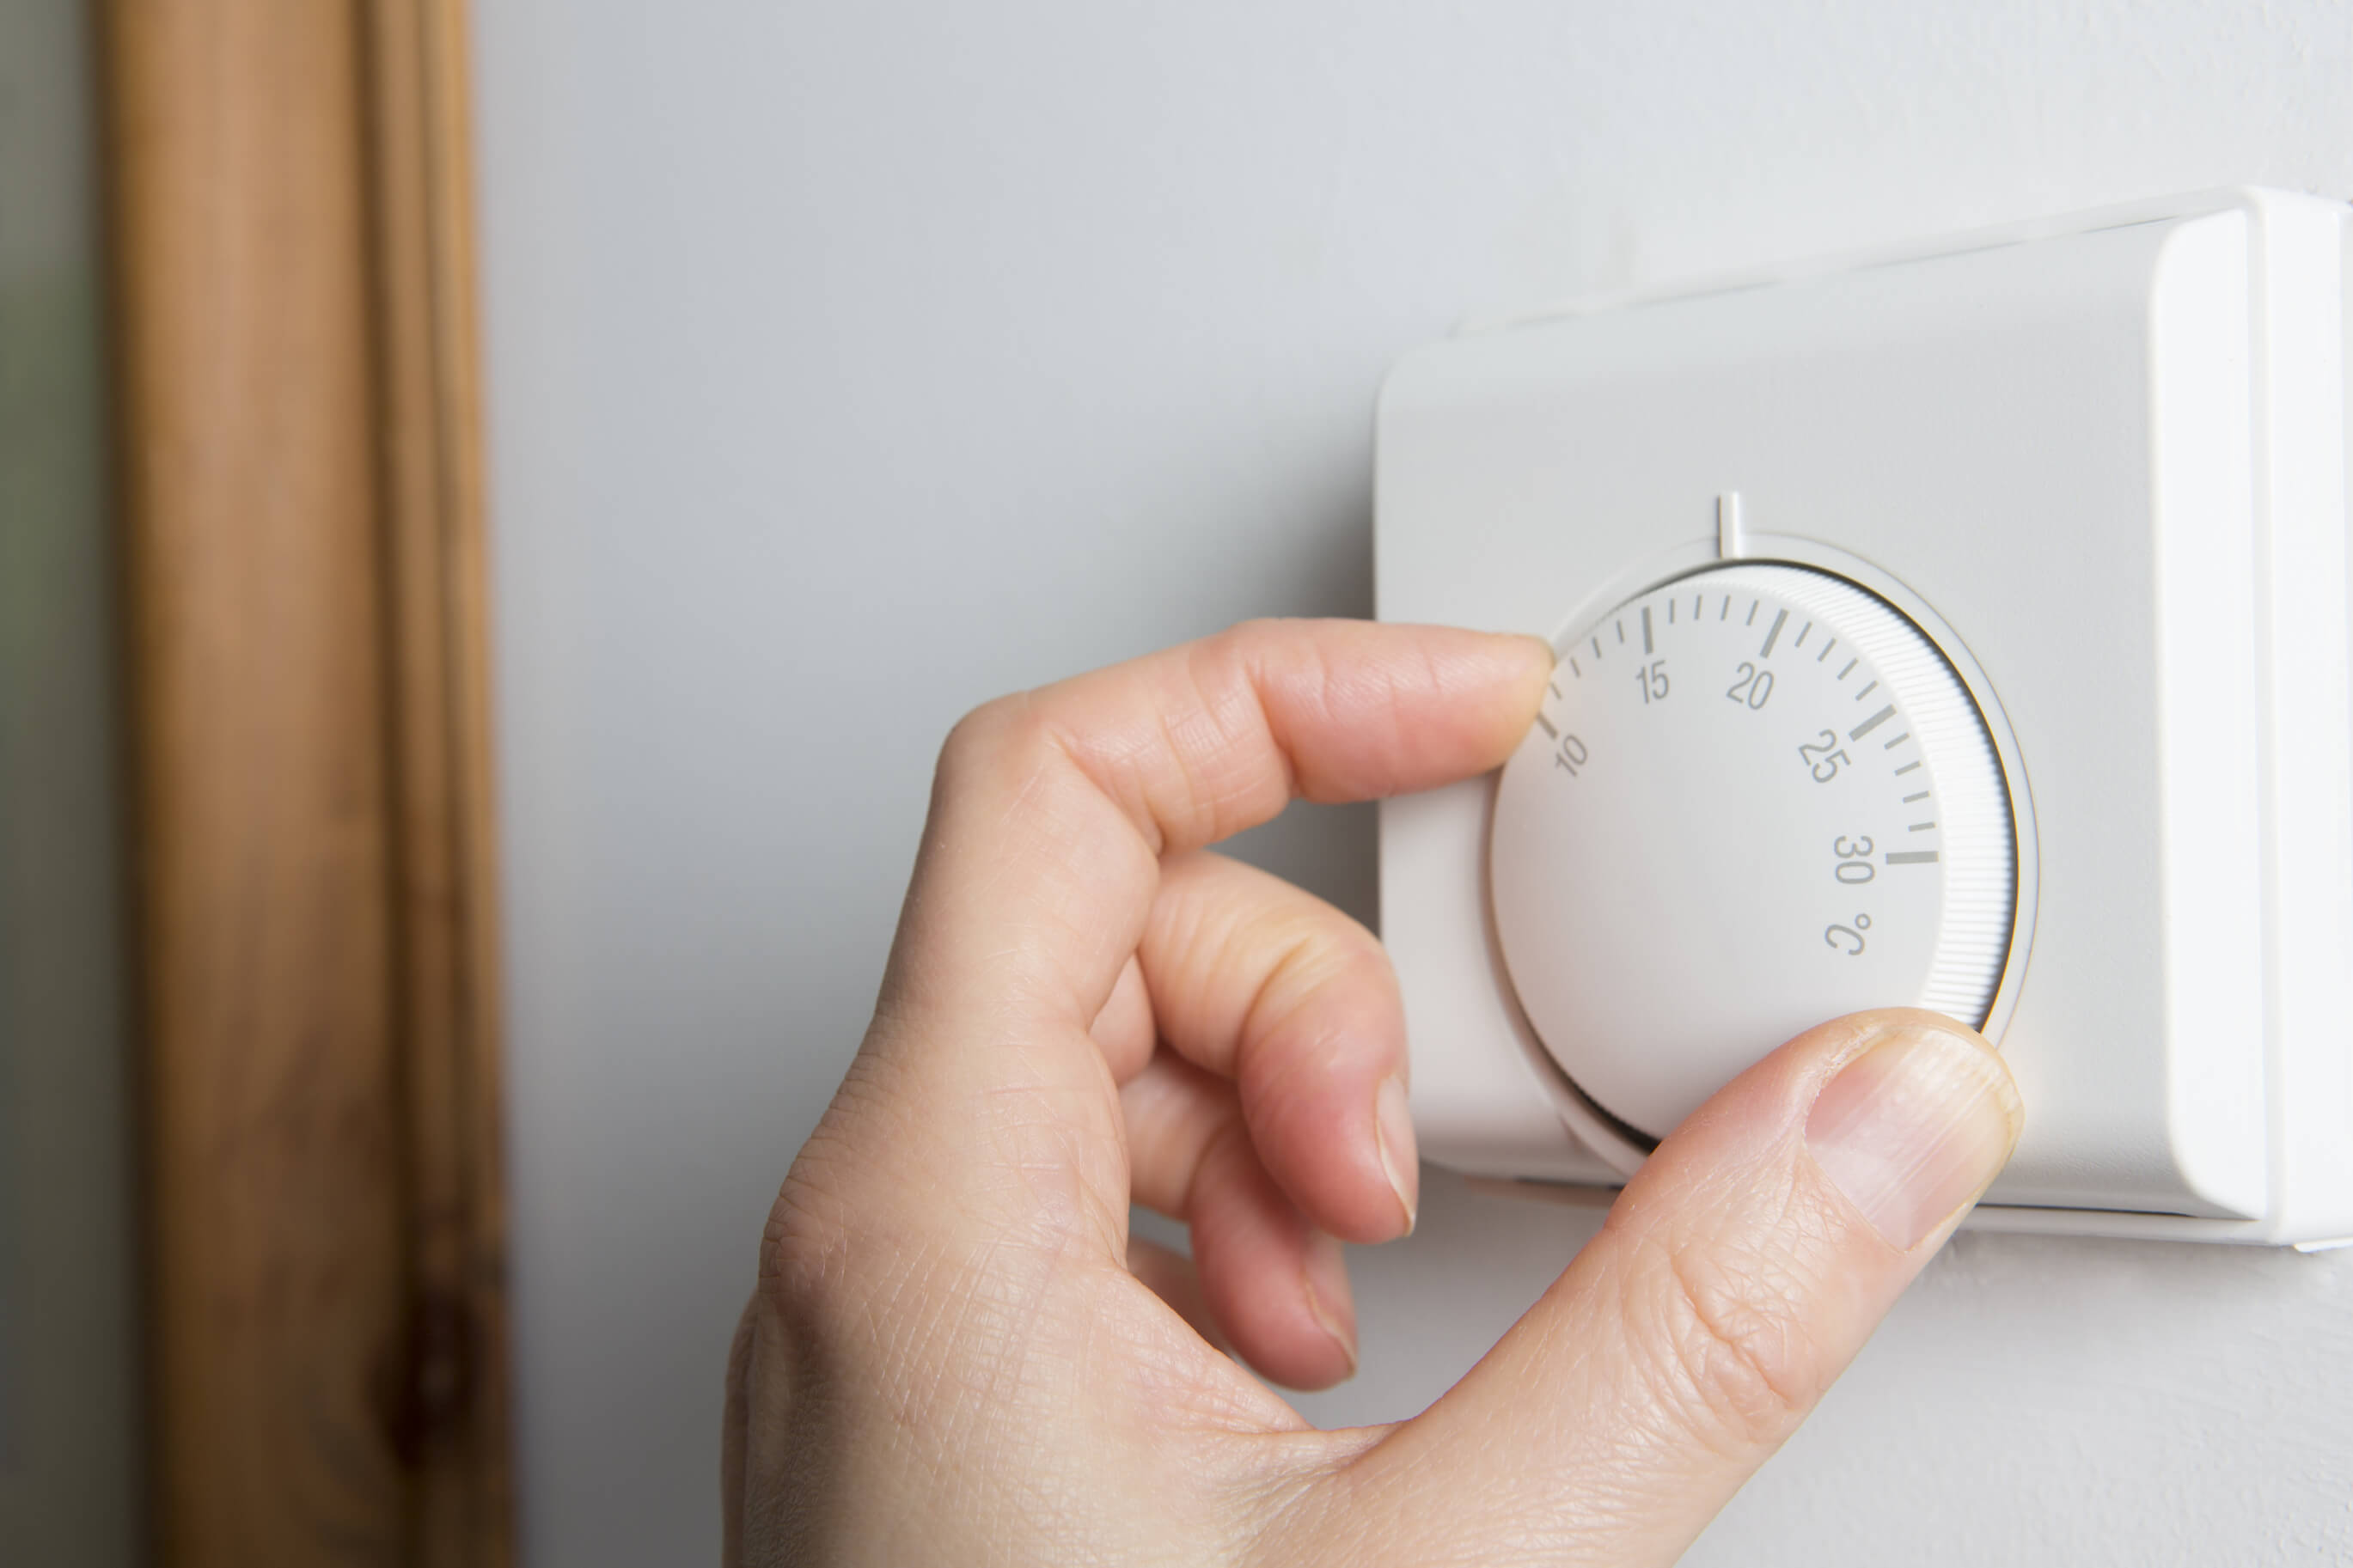
Now that you have confirmed the power source for your Amana heating and air conditioning unit, it’s time to adjust the thermostat. The thermostat is the control panel that allows you to set the desired temperature for your home.
Locate the thermostat in your home. In central heating and air conditioning systems, the thermostat is typically mounted on a wall in a central area, such as the living room or hallway. For ductless mini-split systems, the thermostat may be integrated into the remote control or a separate unit mounted on the wall.
Once you’ve located the thermostat, check if it has batteries. Some thermostats require battery power to function properly. If the batteries are low or dead, replace them with new ones to ensure the thermostat operates correctly.
After confirming the thermostat has power, it’s time to adjust the temperature settings. Most thermostats have buttons or a touch screen for temperature control. Press the “+” or “-” buttons to raise or lower the desired temperature, or use the arrows on the touch screen to adjust the settings.
When adjusting the temperature, consider the current season and your comfort preferences. In colder months, you may want to set the temperature higher for heating, while in warmer months, setting the temperature lower for cooling is more appropriate.
Some thermostats may also offer additional features, such as programmable settings or energy-saving modes. Explore the user manual or online resources for your specific thermostat model to familiarize yourself with these advanced options and make the most of your Amana unit’s capabilities.
Once you have set the desired temperature and adjusted any additional settings, you are ready to proceed to the next step and select the heating or cooling mode.
Step 4: Setting the Desired Temperature
Now that you have adjusted the thermostat, it’s time to set the desired temperature for your Amana heating and air conditioning unit. Setting the temperature will ensure that your unit works to maintain a comfortable environment in your home.
First, consider the current temperature in your home. If you’re looking to warm up your space during colder months, set the temperature higher than the current room temperature. For cooling purposes, set the temperature lower than the current room temperature.
Use the controls on the thermostat to increase or decrease the temperature until you reach your desired comfort level. Some thermostats have digital displays that show the current and set temperature, making it easy to make precise adjustments.
It’s important to note that setting the temperature too extreme can lead to energy wastage. Aim for a temperature that provides comfort without putting excessive strain on your Amana unit or increasing your energy bills.
For optimal energy efficiency, consider using programmable thermostats that allow you to set different temperatures for different times of the day. This feature can help you save energy and money by automatically adjusting the temperature according to your schedule, such as lowering the temperature when you’re away from home or asleep.
Once you have set the desired temperature, you’re ready to move on to the next step and select the heating or cooling mode for your Amana unit.
To turn on your Amana heating and air conditioning system, locate the power switch on the unit or the thermostat and set it to the “on” position. Then, adjust the temperature setting to your desired level.
Read more: How To Turn Off An Air Conditioning Unit
Step 5: Selecting the Heating or Cooling Mode
After setting the desired temperature, it’s time to choose the heating or cooling mode for your Amana heating and air conditioning unit. This step is crucial as it determines whether the unit will provide warm air or cool air to maintain your preferred temperature.
Look for the mode selection button on your thermostat. It is usually labeled with icons representing heating and cooling. Press the button to toggle between the different modes until you reach the desired setting.
In colder months, when you want to heat your home, select the heating mode by pressing the appropriate button on your thermostat. This will activate the Amana unit’s heating function, allowing it to generate warm air and distribute it throughout your home.
For warmer months, when you want to cool your home, select the cooling mode. This will activate the air conditioning function of your Amana unit, enabling it to remove heat from the indoor air and provide cool, refreshing air to keep your home comfortable.
Some thermostats may also offer additional modes, such as fan-only mode or auto mode. The fan-only mode circulates air without heating or cooling it, while the auto mode allows the Amana unit to automatically switch between heating and cooling based on the temperature settings.
Depending on your specific needs and preferences, choose the appropriate mode for your Amana unit. Once you have made your selection, you’re ready to move on to the next step and turn on the heating and air conditioning unit.
Step 6: Turning on the Amana Heating and Air Conditioning Unit
Now that you have set the desired temperature and selected the heating or cooling mode, it’s time to turn on your Amana heating and air conditioning unit and start enjoying the comfortable air in your home.
Find the power switch or button for your Amana unit. In most cases, it is located near the unit itself or on the control panel. Ensure that the power switch is in the “On” position to activate the unit.
Once you have turned on the power switch, you should hear the Amana unit spring to life. You may hear the sound of the fans or the hum of the compressor, indicating that the unit is running and preparing to heat or cool your home.
Observe the display or indicators on your thermostat to confirm that the Amana unit is operational. Some thermostats have LED displays or status lights that indicate when the unit is running or when the desired temperature has been reached.
If you have a central heating and air conditioning system, you may need to wait a few minutes for the unit to reach its full operating capacity. During this time, the unit will work to condition the air and adjust the temperature according to your settings.
For ductless mini-split systems, the Amana unit should start delivering heated or cooled air immediately after being turned on. You should feel a noticeable difference in the air temperature as the unit works to reach the set temperature.
Once you have confirmed that the Amana unit is running smoothly, you’re ready to move on to the final step and monitor its operation to ensure optimal performance.
Step 7: Monitoring the Unit Operation
After turning on your Amana heating and air conditioning unit, it’s important to monitor its operation to ensure that it is functioning properly and providing the desired heating or cooling effect in your home.
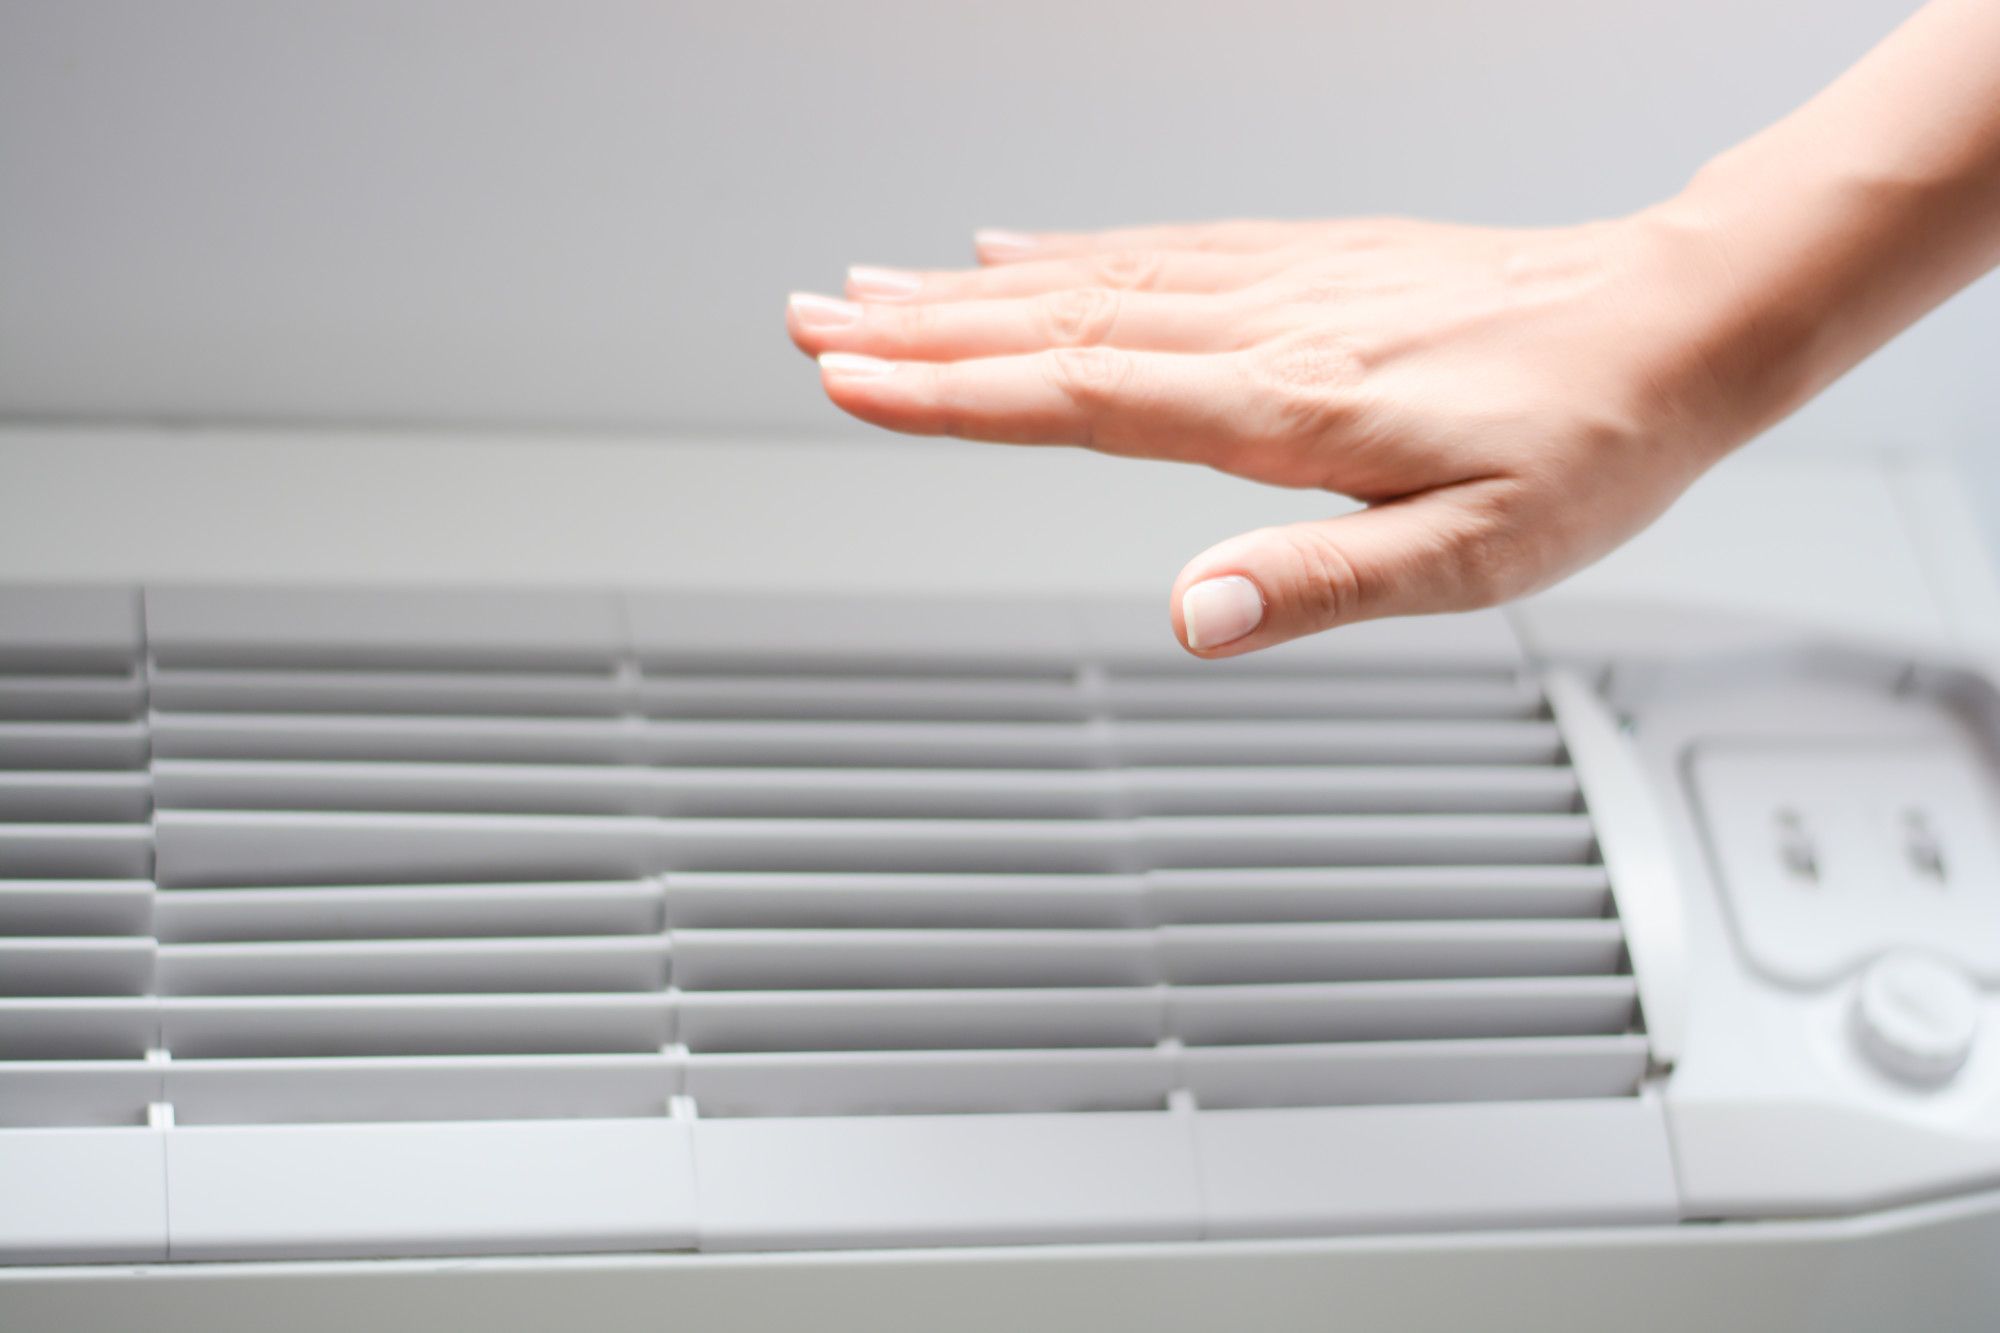
Pay attention to the airflow coming from the vents or registers in your home. You should feel a steady stream of warm or cool air, depending on the mode you have selected. If you notice weak airflow or no airflow at all, it could be a sign of a potential issue with the unit or the ductwork. In such cases, it’s best to contact a professional HVAC technician to diagnose and resolve the problem.
Observe the temperature in your home and compare it to the set temperature on the thermostat. The Amana unit should work to maintain the set temperature and adjust the heating or cooling output accordingly. If you notice significant temperature variances or if the unit continuously runs without reaching the desired temperature, it may indicate a problem that requires professional attention.
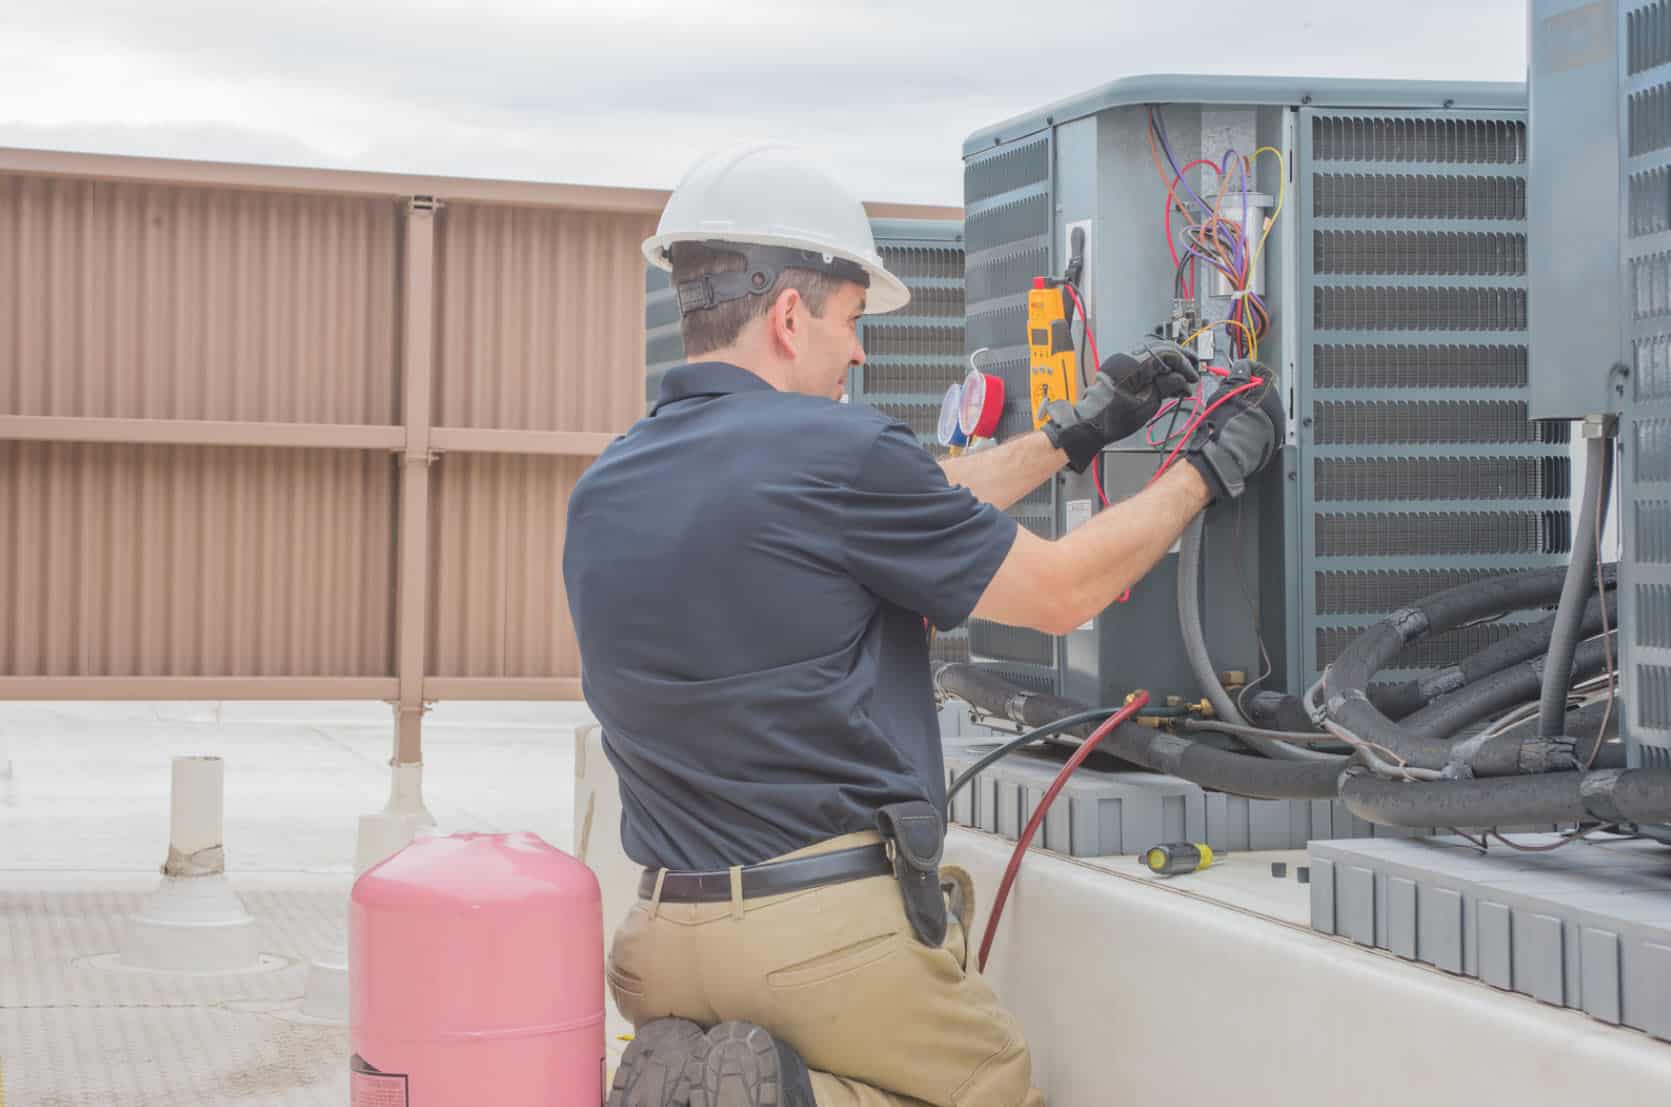
Listen for any unusual noises coming from the Amana unit. While some operational sounds, like the hum of the compressor or the whir of the fans, are normal, any loud or unusual noises could be a sign of a malfunctioning component. If you hear grinding, rattling, or screeching sounds, it’s recommended to schedule a maintenance visit with a qualified HVAC technician to prevent further damage.
Regularly check the air filters in your Amana unit and clean or replace them as needed. Dirty or clogged filters can restrict airflow and affect the unit’s performance. Proper maintenance of the filters ensures better air quality and increased energy efficiency.
Additionally, keep an eye on your energy bills. If you notice a sudden spike in energy consumption or if your bills are consistently higher than usual, it may indicate that your Amana unit is not operating efficiently. In such cases, scheduling a professional inspection can help identify and address any underlying issues.
By actively monitoring the operation of your Amana heating and air conditioning unit, you can catch any potential problems early and ensure that your HVAC system continues to provide optimal comfort in your home.
Conclusion
Congratulations! You’ve successfully learned how to turn on your Amana heating and air conditioning unit. By following the step-by-step process outlined in this guide, you can now enjoy a comfortable indoor environment tailored to your preferences.
Remember, locating your Amana unit, checking the power source, adjusting the thermostat, setting the desired temperature, selecting the heating or cooling mode, turning on the unit, and monitoring its operation are essential steps to ensure the efficient and effective functioning of your HVAC system.
Regular maintenance, such as cleaning or replacing air filters, scheduling professional inspections, and staying vigilant for any unusual signs or sounds, will help prolong the lifespan of your Amana unit while maximizing its performance.
If you encounter any difficulties or notice any issues with your Amana heating and air conditioning unit, it’s always recommended to seek the assistance of a qualified HVAC technician. They will have the expertise to diagnose and resolve any problems, ensuring that your unit operates at its best.
Now that you have the knowledge and confidence to turn on your Amana unit, you can experience the comfort and convenience it provides year-round. Whether you’re seeking warmth during chilly winters or cool relief on sweltering summer days, your Amana unit is there to create a pleasant indoor environment for you and your family.
Enjoy the benefits of your Amana heating and air conditioning unit and create a cozy and inviting home where you can relax and thrive.
Frequently Asked Questions about How To Turn On Amana Heating And Air Conditioning
Was this page helpful?
At Storables.com, we guarantee accurate and reliable information. Our content, validated by Expert Board Contributors, is crafted following stringent Editorial Policies. We're committed to providing you with well-researched, expert-backed insights for all your informational needs.
