Home>Ideas and Tips>Backyard Outdoor Art Studio Design: Creative Space Construction
Ideas and Tips
Backyard Outdoor Art Studio Design: Creative Space Construction
Published: September 3, 2024
Create a backyard outdoor art studio with our design tips. Learn how to build a creative space that inspires both children and adults.
(Many of the links in this article redirect to a specific reviewed product. Your purchase of these products through affiliate links helps to generate commission for Storables.com, at no extra cost. Learn more)
Creating an outdoor art studio in your backyard is an excellent way to encourage children's creative expression and provide a dedicated space for adults to pursue their artistic passions. An outdoor art studio offers numerous benefits, including the freedom to create without the constraints of an indoor space, exposure to natural elements that stimulate creativity, and the ability to work in a variety of weather conditions. In this article, we will guide you through the process of designing and constructing a backyard outdoor art studio, highlighting essential components, design considerations, and practical tips for creating a functional and visually appealing space.
The Value of Outdoor Art Studios
Outdoor art studios are not just functional spaces; they are also inspirational environments that foster creativity and imagination. By engaging children in outdoor art activities, you provide them with opportunities to explore their creativity in a more natural setting. This can include activities such as drawing or painting with different media on various surfaces, designing, modeling, or transforming materials in new ways.
Art is both a language and a process. Children’s feelings, thoughts, ideas, and reactions are communicated through doing art. When children engage with open-ended materials in an art studio, they explore and experiment, make decisions, solve problems, and develop concepts. Providing loose parts from the environment helps children interact more directly with their physical world and gain conceptual understandings.
Open-ended art fosters curiosity, flexibility, innovation, investigation, and resourcefulness. Art in an outdoor studio with loose parts enhances children’s creative expression, originality, and individuality. There is no right or wrong way to create when an art studio is filled with loose parts; children are in control of changing their ideas as they desire.
Essential Components of an Outdoor Art Studio
-
Space:
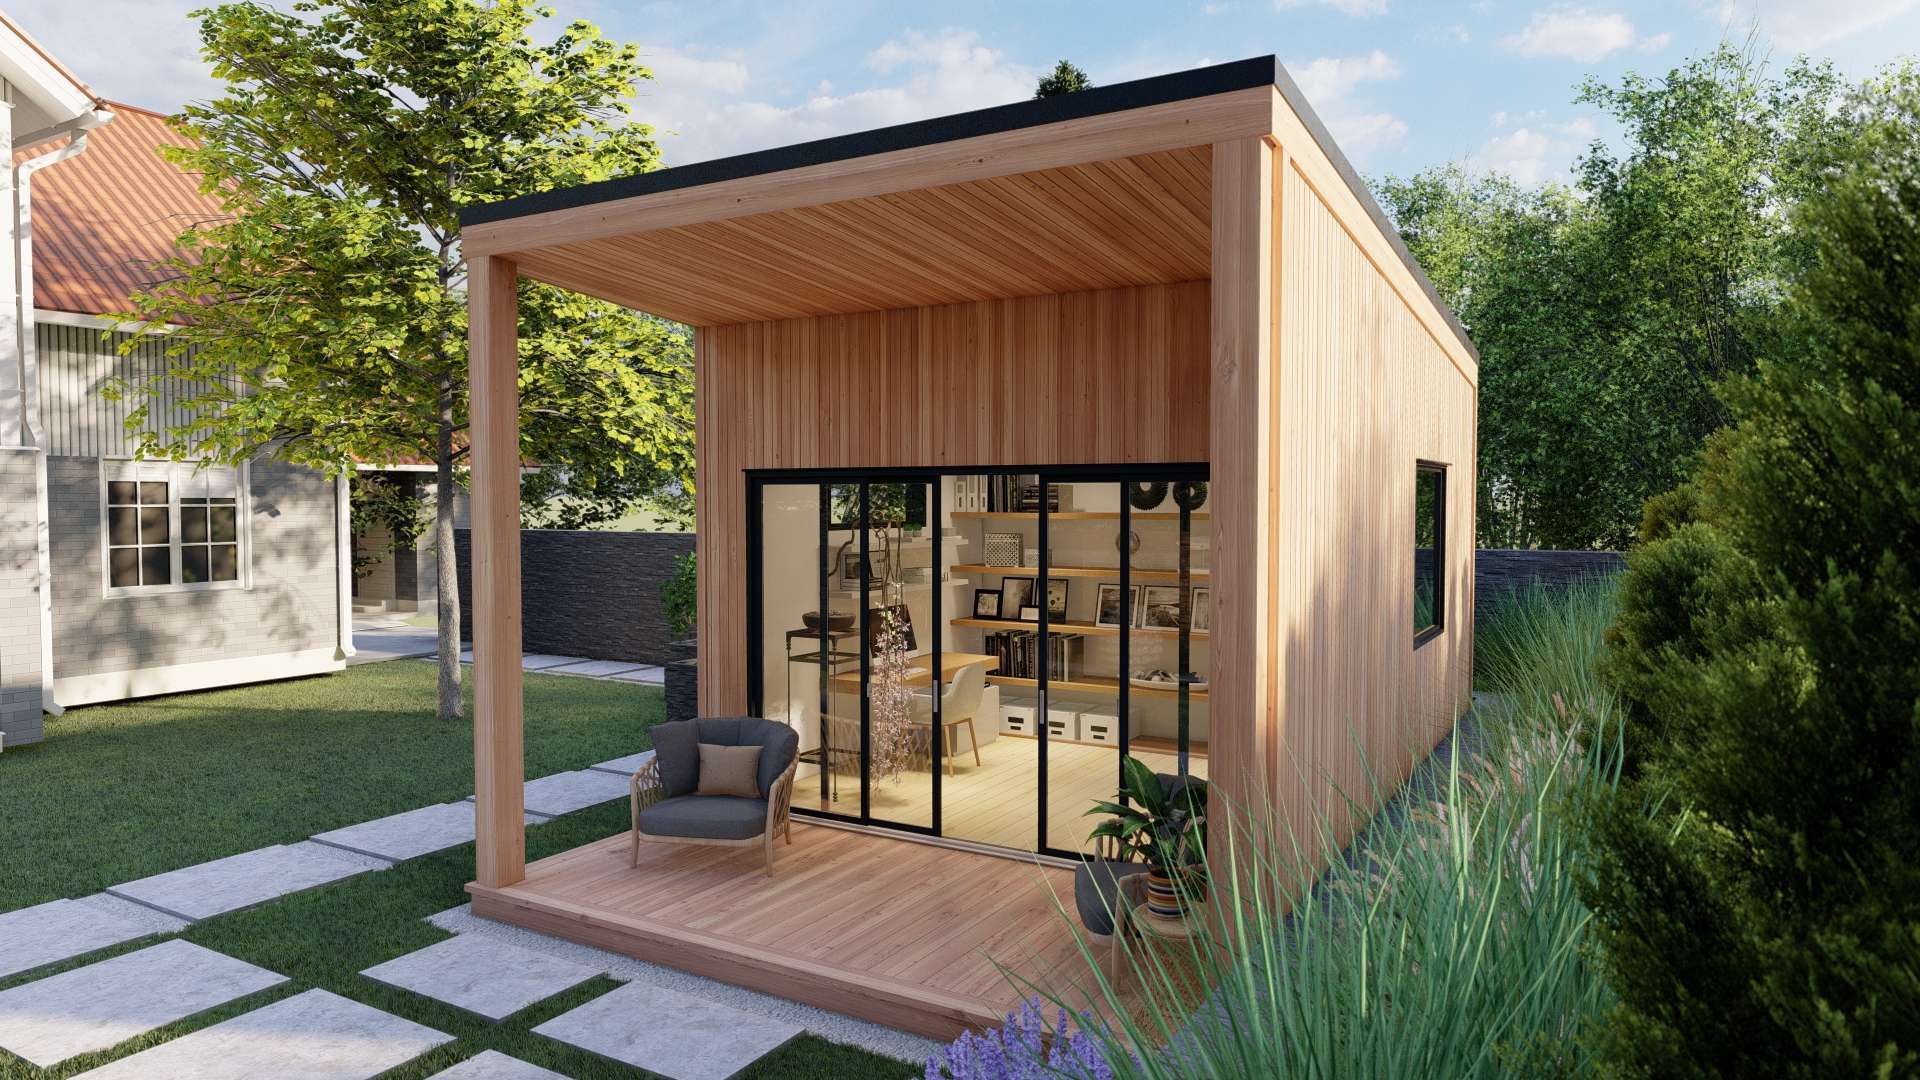
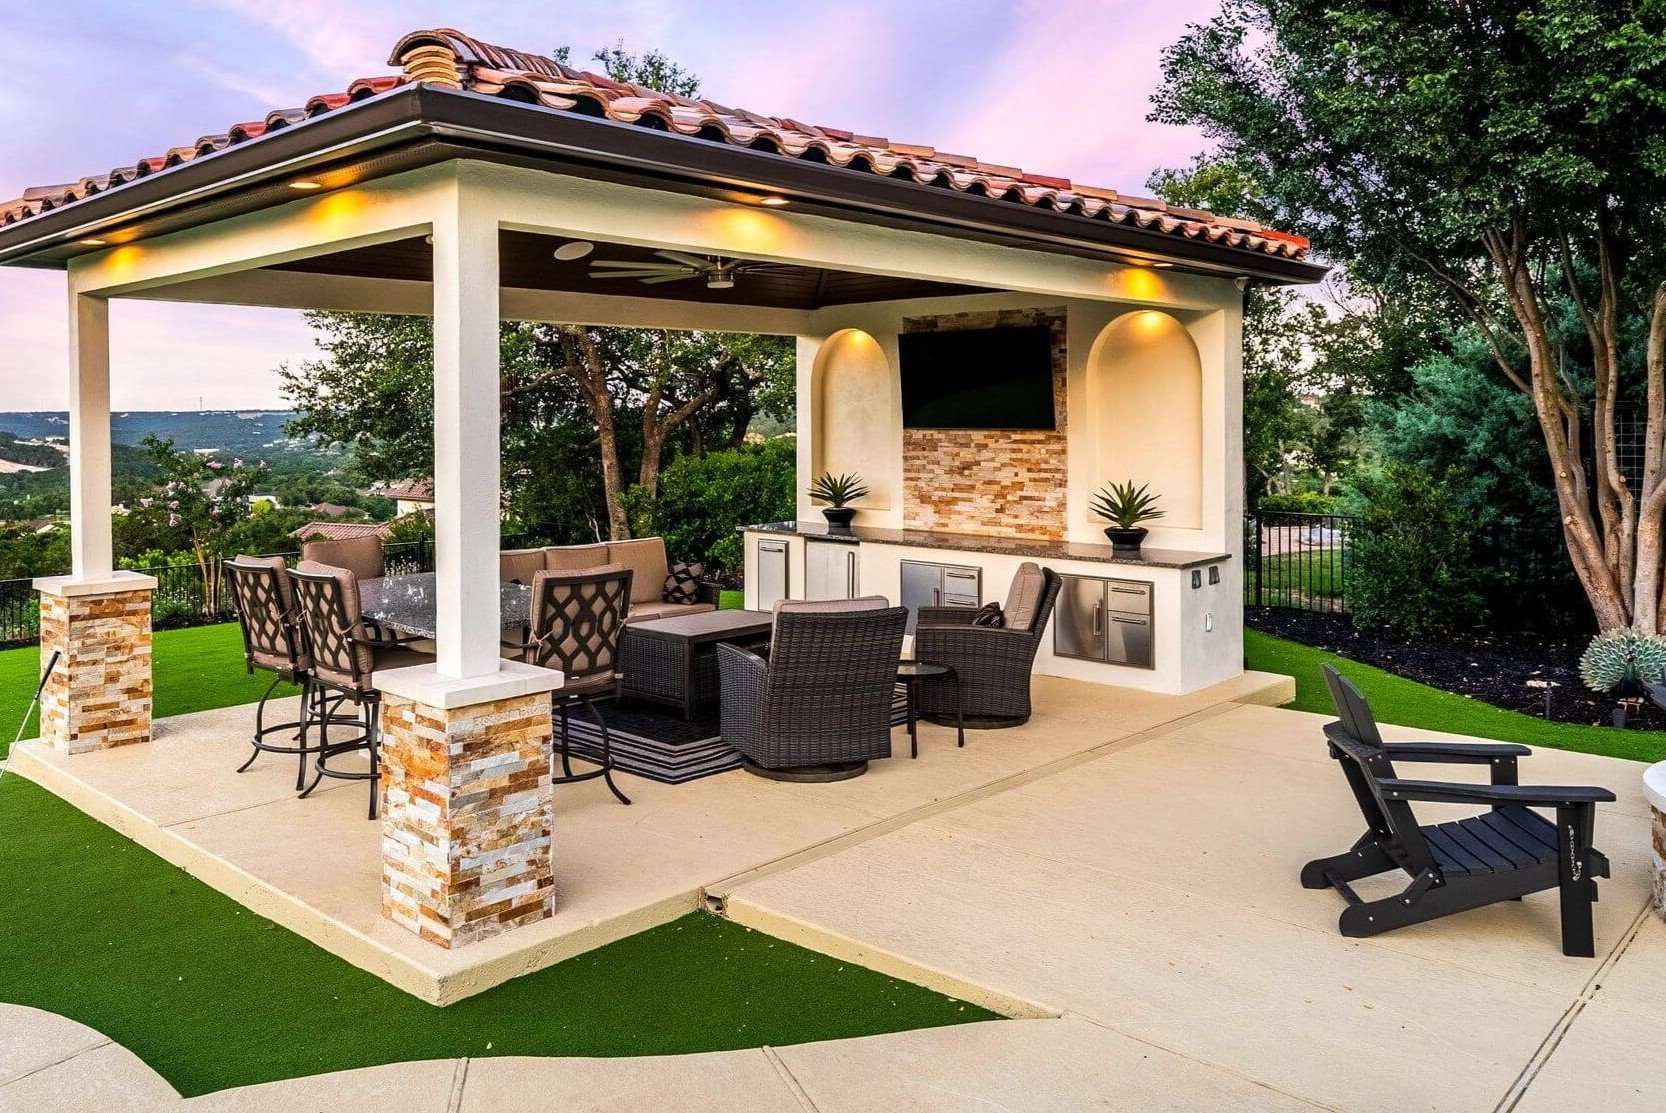
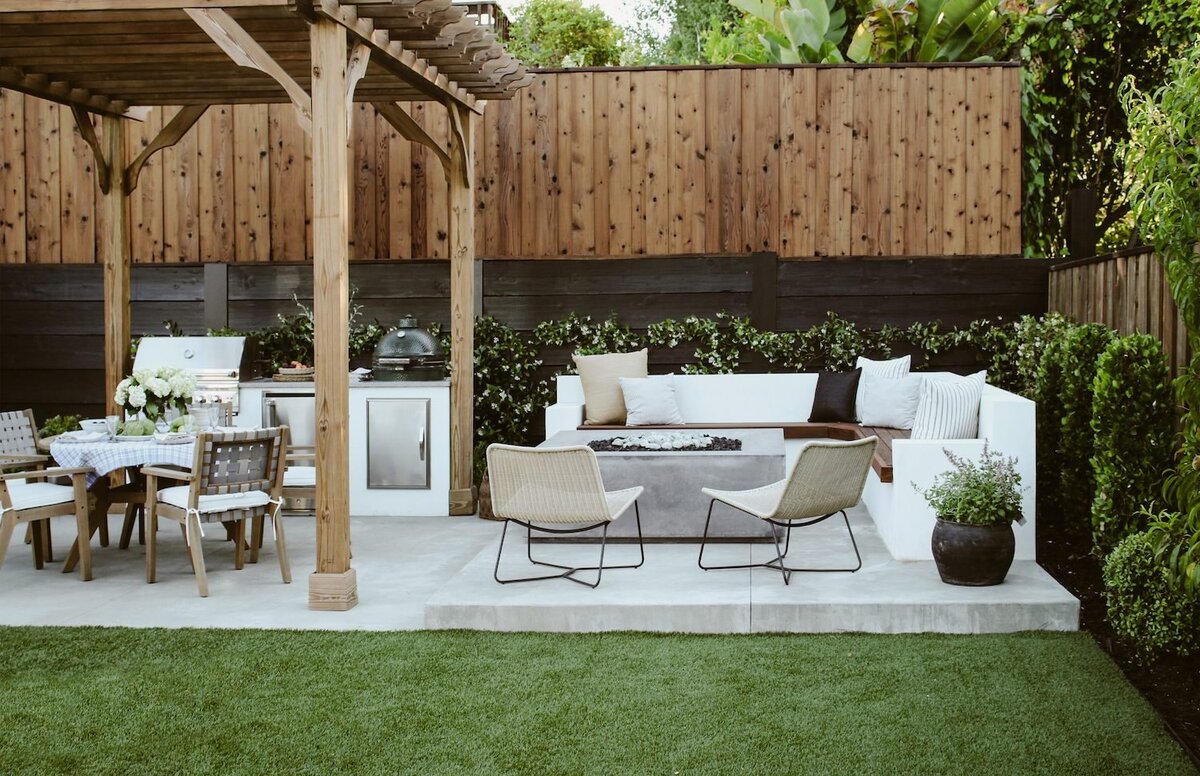
- Location: Outdoor art studios work well on a patio, porch, or deck. It is essential to choose a location that provides protection from the elements, such as a cover that shields children from sun and rain. Covers can include a pergola, gazebo, canopy, sunshade, or awning, which can be constructed or purchased at a big box retail store. Umbrellas may be adjusted or moved as needed to shield sun and rain.
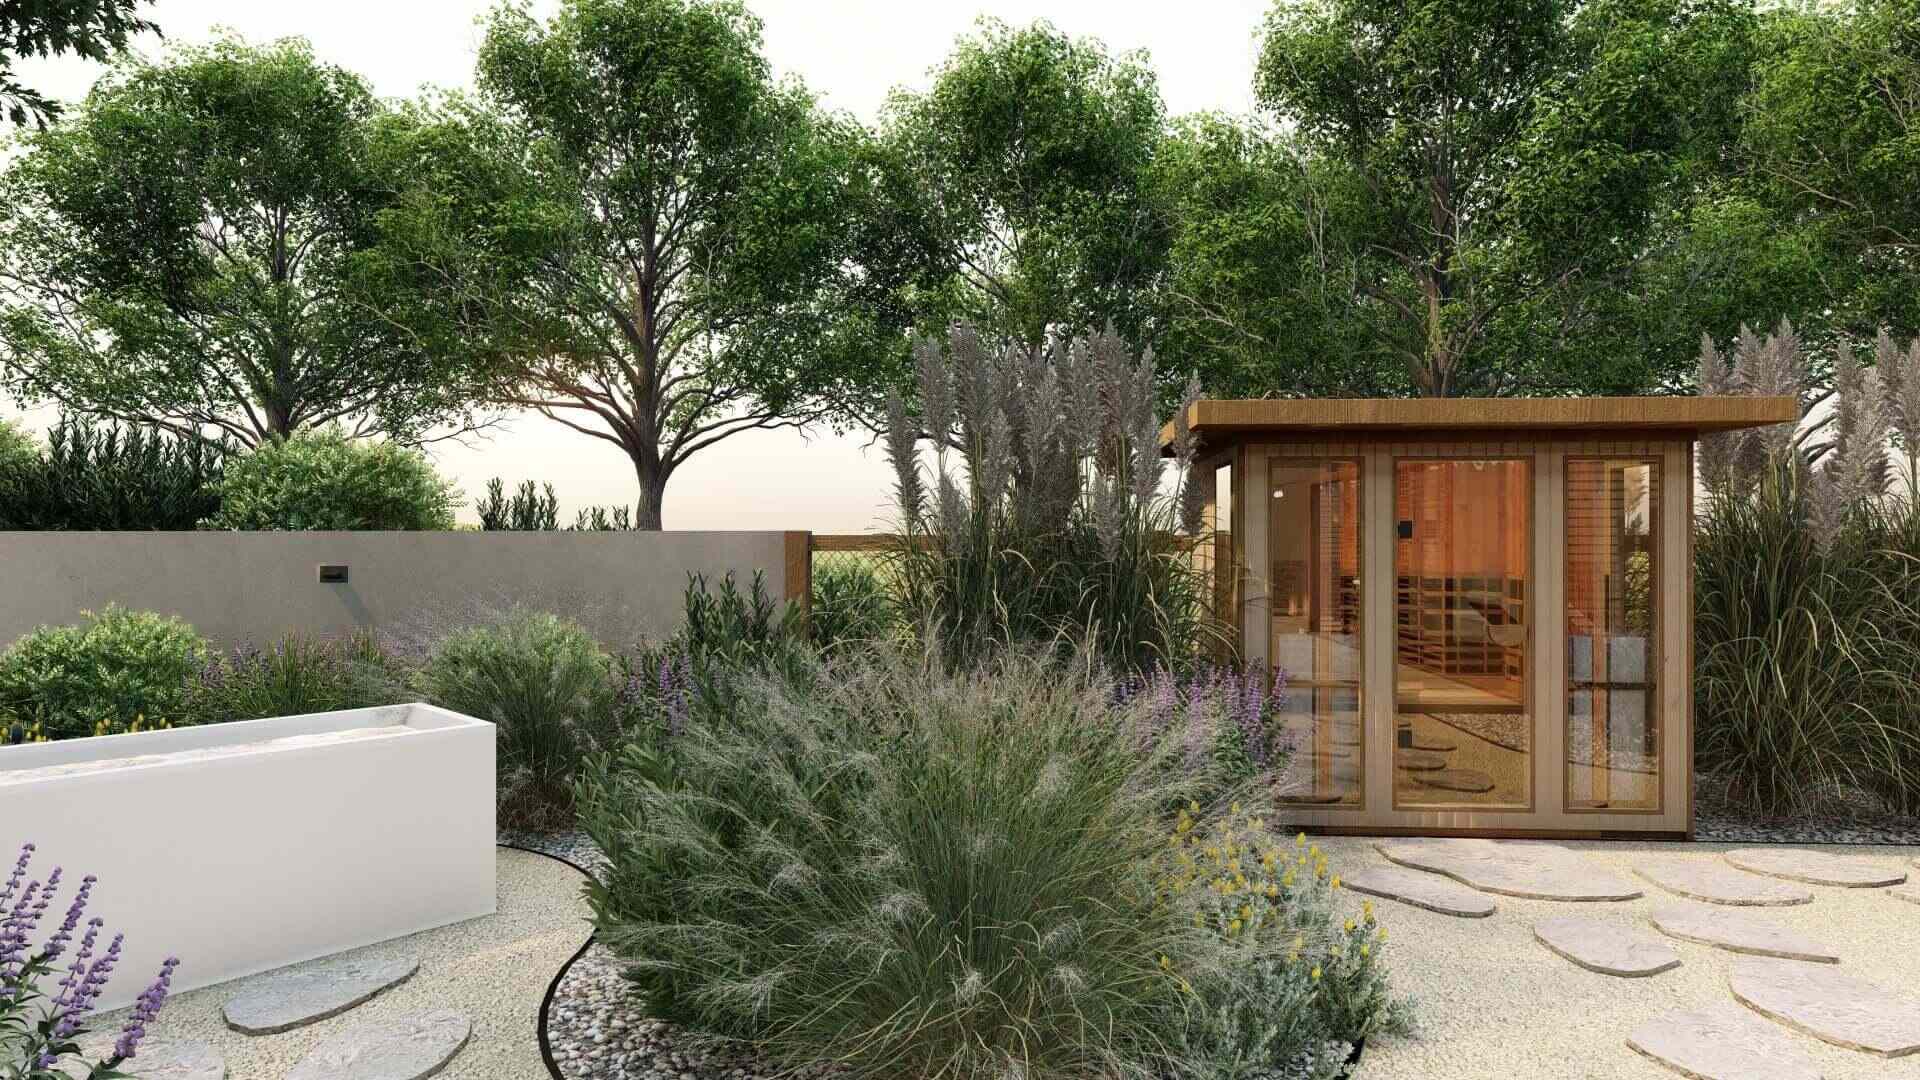
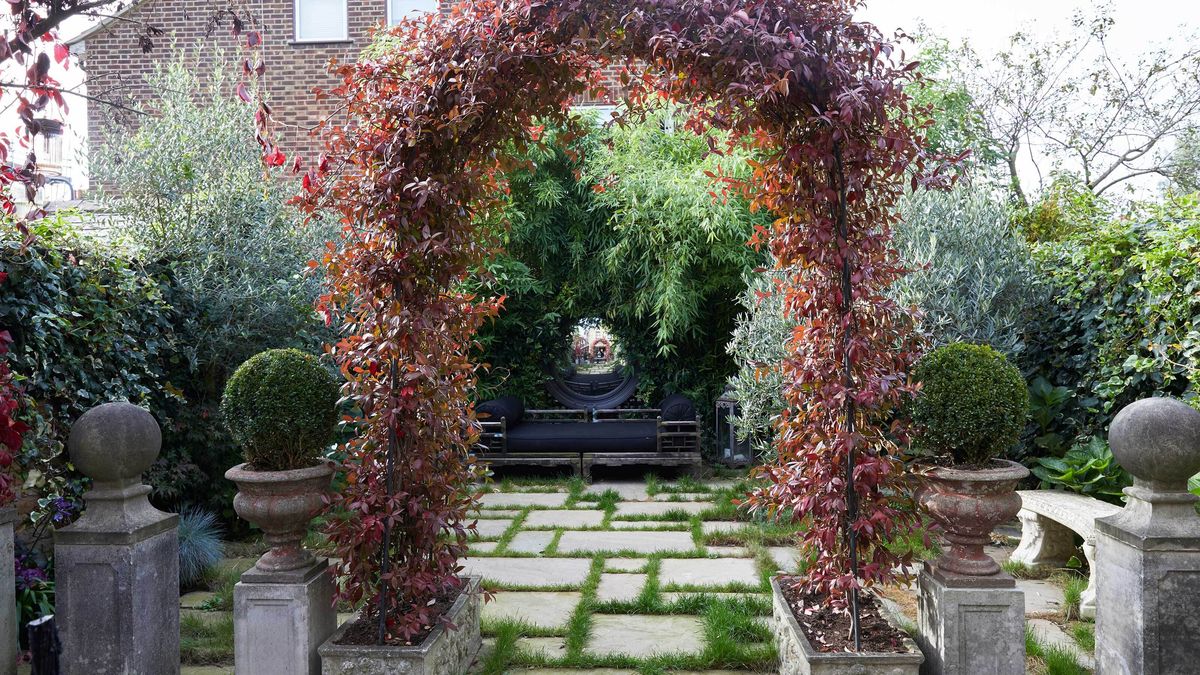
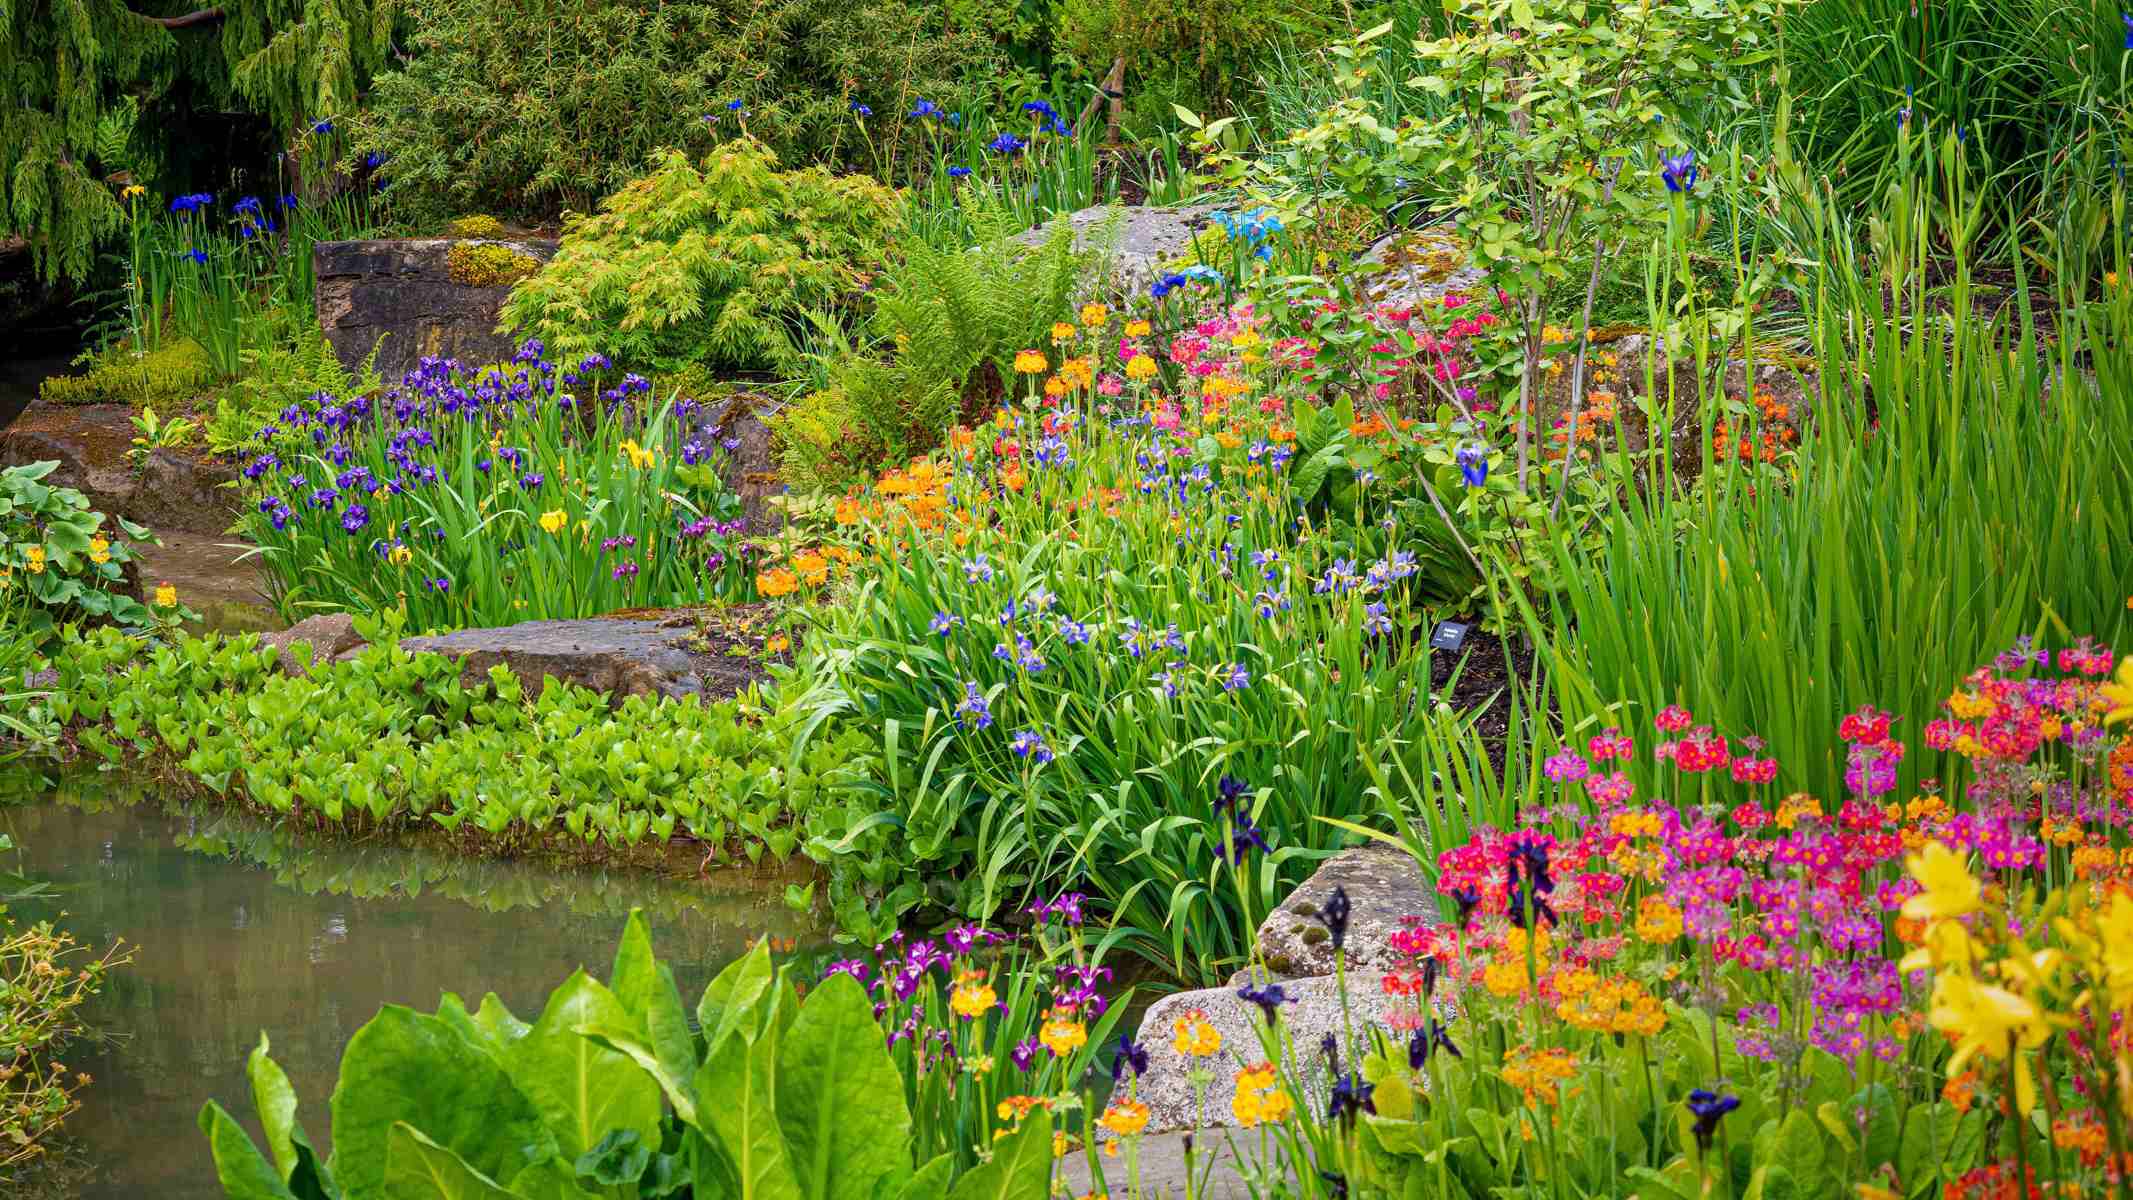
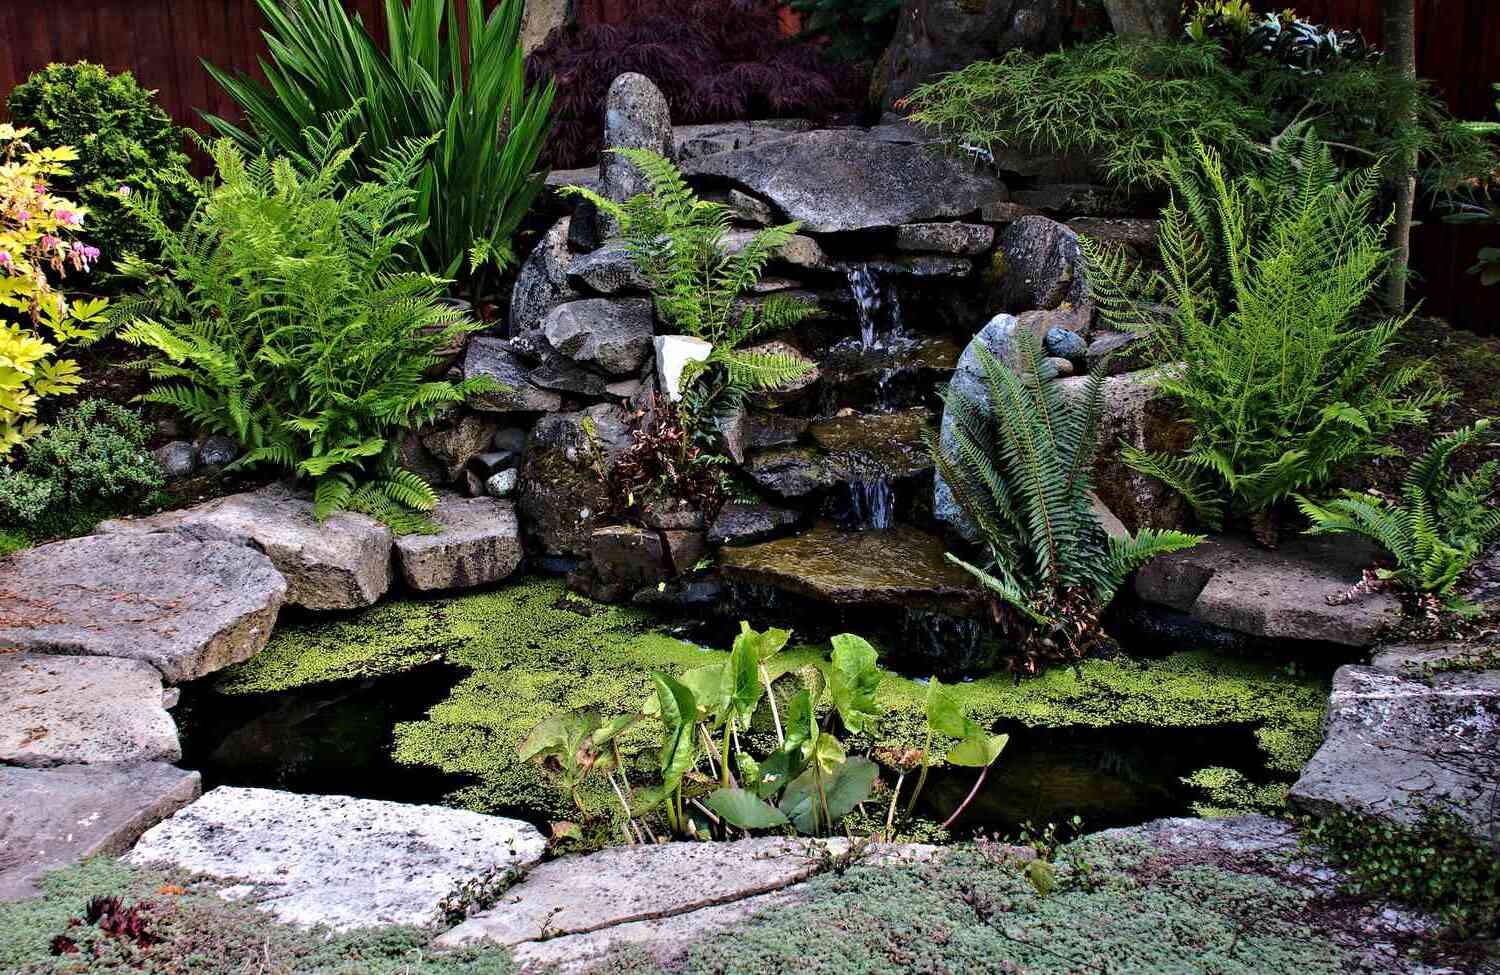
- Natural Elements: To enhance the beauty of the space, surround it with natural elements like trees, tall grasses, or bushes that provide variations in color and textures. Place plants in attractive ceramic pots nearby to add visual appeal.
-
Workspace:
- Functionality: When designing an art studio, start with functionality. Materials need to be available and easily accessible, and there must be different spaces for creating. A hard work surface such as a tabletop is essential. For a group of 24 children, table space for six children is plenty, since not all children will be doing art at the same time. Consider setting up workspace on the ground for children who like to spread out or are unable to sit at a table. This could be a low wooden platform or smooth carpeted area. Low benches, inverted crates, or tree stumps make unexpected workspaces.
- Defined Work Areas: Create defined work areas with picture frames, large tiles, placemats, wood cutting boards, wood trays, or acrylic mirrors. These objects provide a visually appealing look in addition to defining space. Strive for a minimum surface size of 12" x 12" to accommodate children’s creations. Place these work areas around the tabletop’s perimeter, one frame in front of each chair. Note that children may create their own boundaries and place materials on top of, around, or inside designated workspaces.
-
Materials and Supplies:
- Loose Parts: Fill your art studio with loose parts that encourage creativity and experimentation. These can include materials like canning lids, keys, metal rings, snap hooks, and small metal washers. These pieces have been used by children to create various objects such as turtles, castles, robots, suns, insects, helicopters, monsters, people, and more.
- Art Supplies: Ensure that you have a variety of art supplies available. This can include paints, markers, crayons, scissors, glue, and other materials that children can use to express themselves creatively.
-
Cleaning and Maintaining the Space:
- Predictability: Predictability is key when it comes to maintaining an outdoor art studio. Establishing routines for cleaning up after each session can help keep the space organized and functional. Encourage children to clean up their materials and put them back in their designated places after use.
Building Your Backyard Art Studio
Building a backyard art studio can be a rewarding project, but it requires careful planning and execution. Here are some steps you can follow to build your own backyard art studio:
-
Plan Your Space:
- Purpose: Determine what you will use the studio for. Will it be for painting, sculpting, or other activities? Identifying the purpose will help you decide on the size and structure of your studio as well as any supplies or appliances you will need.
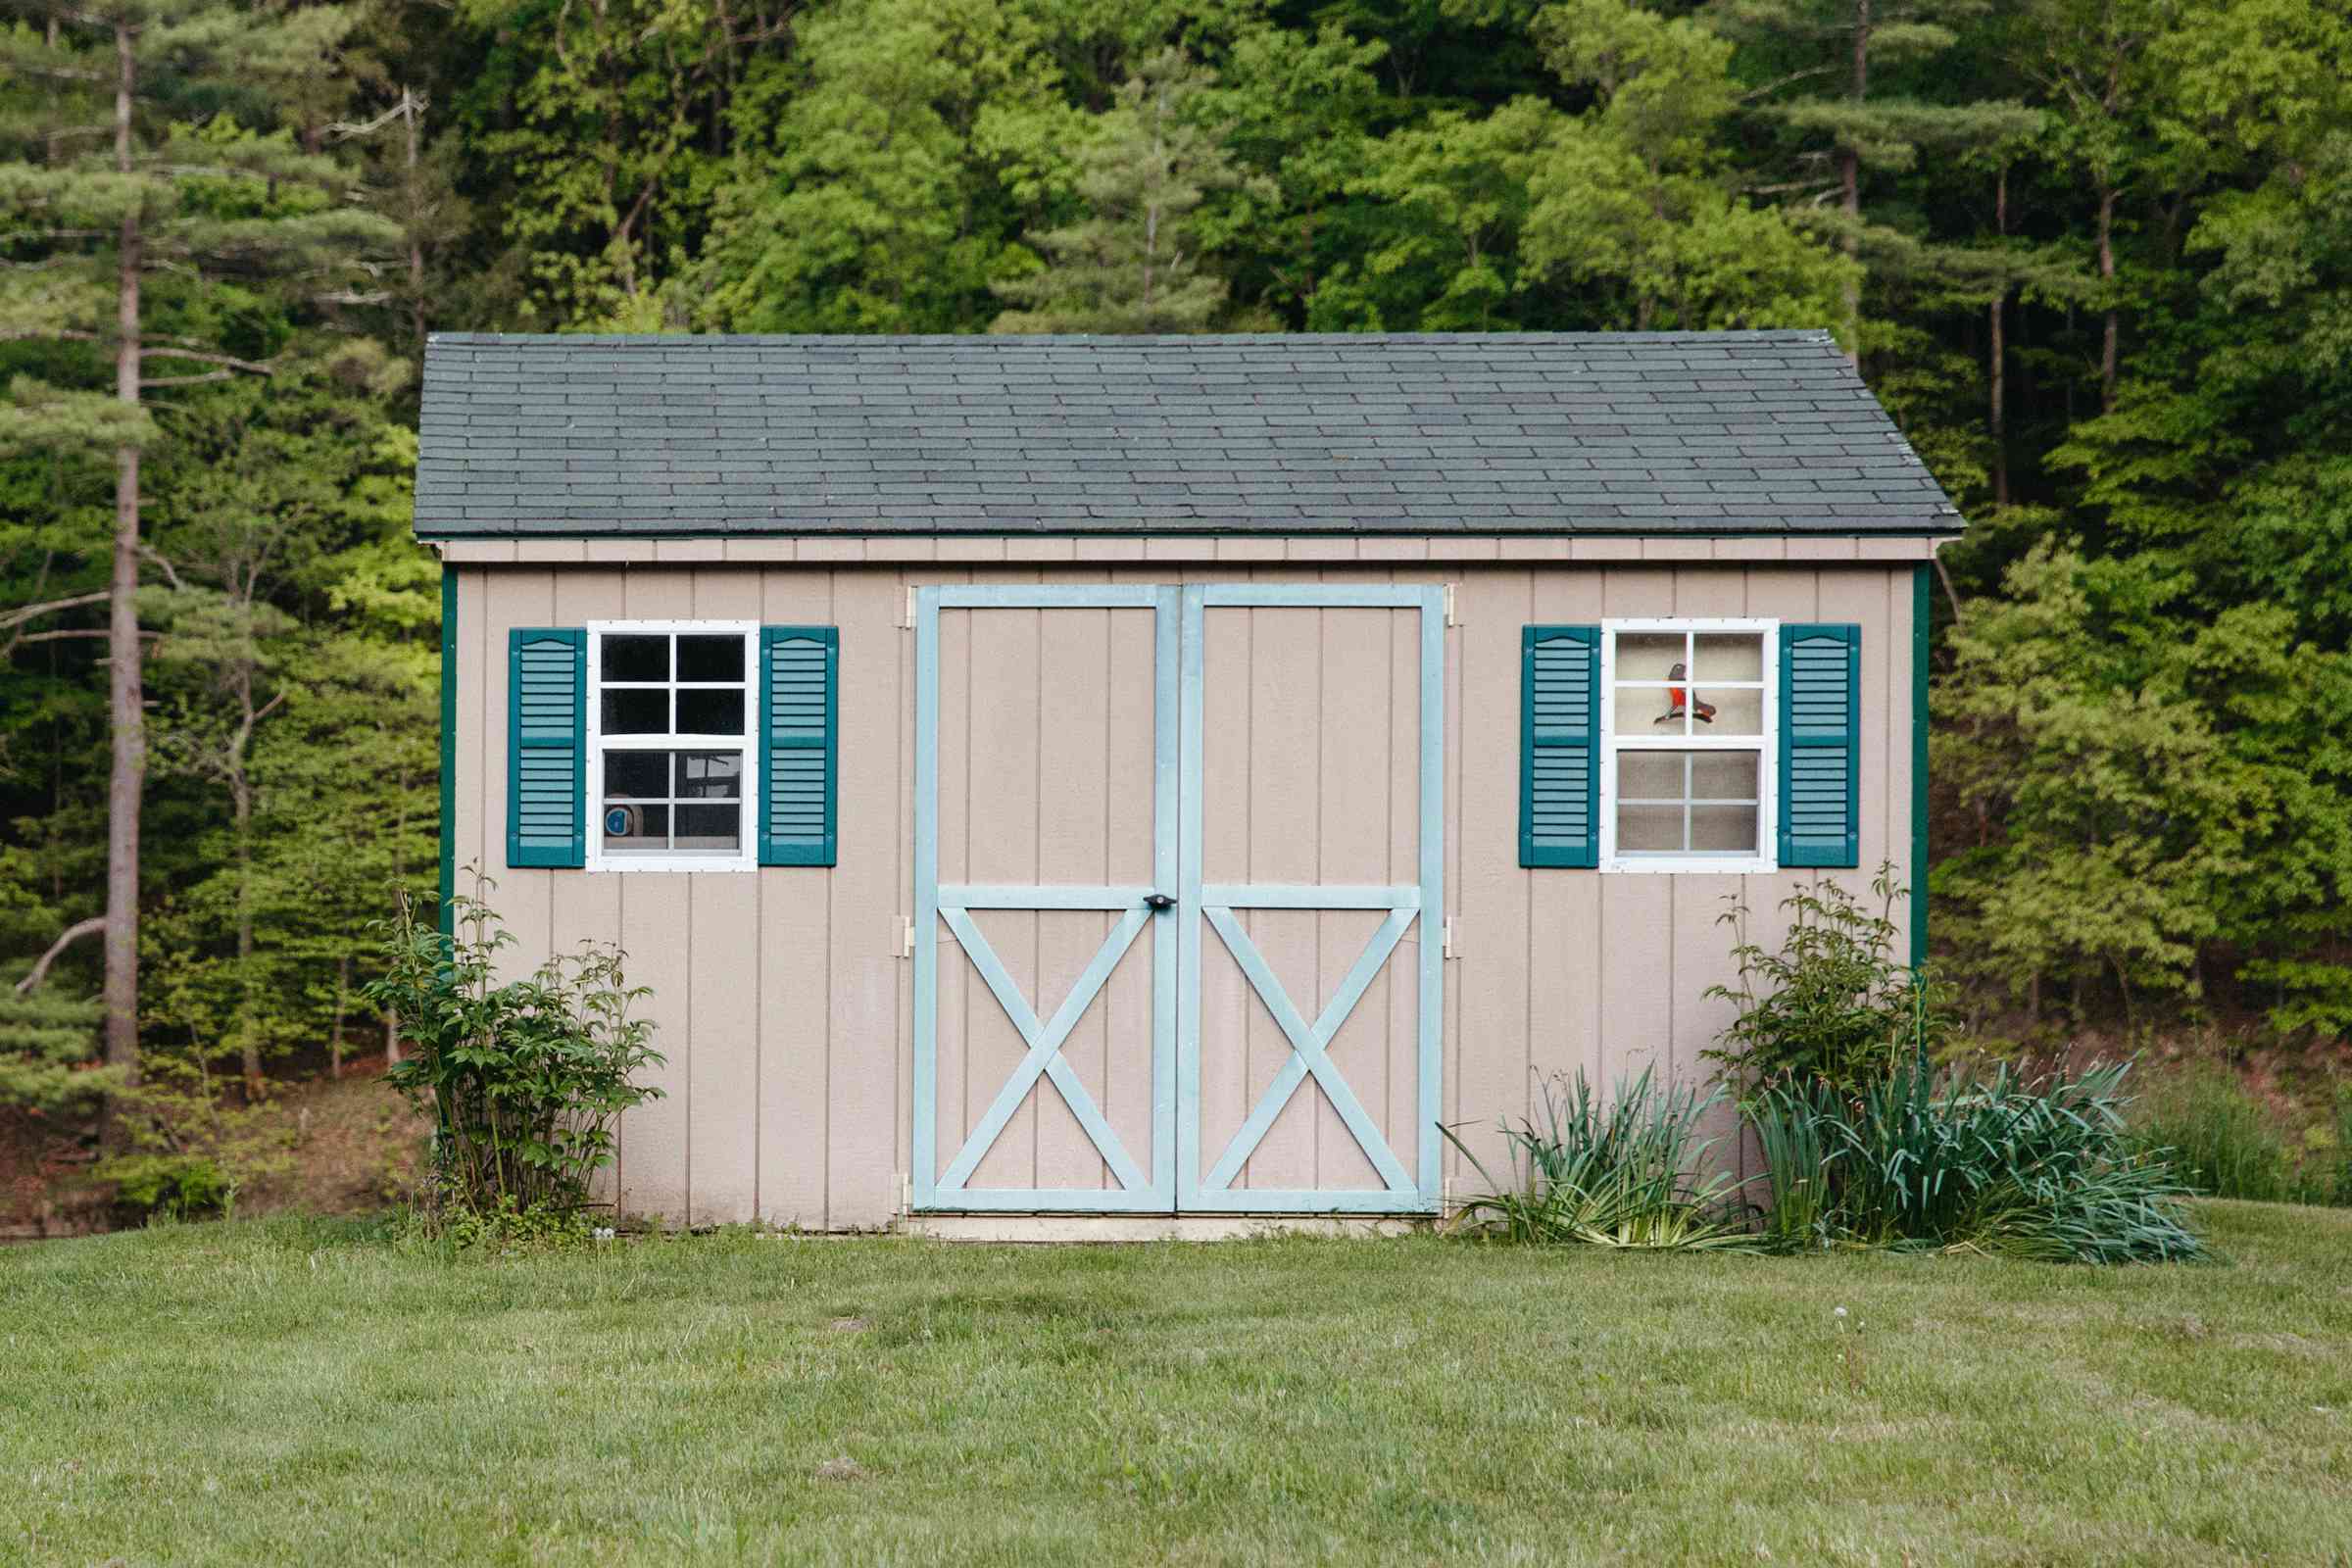
- Size: Consider the size of your studio based on your needs. A 10 by 12 feet shed is a common size but can be adjusted according to your requirements. Ensure that the space is large enough to accommodate all your materials and supplies.
-
Design Your Studio:
- Layout: Think about how you will use the space. Will you need separate areas for different activities? Consider setting up different zones for painting, drawing, and other activities. This will help keep the space organized and functional.
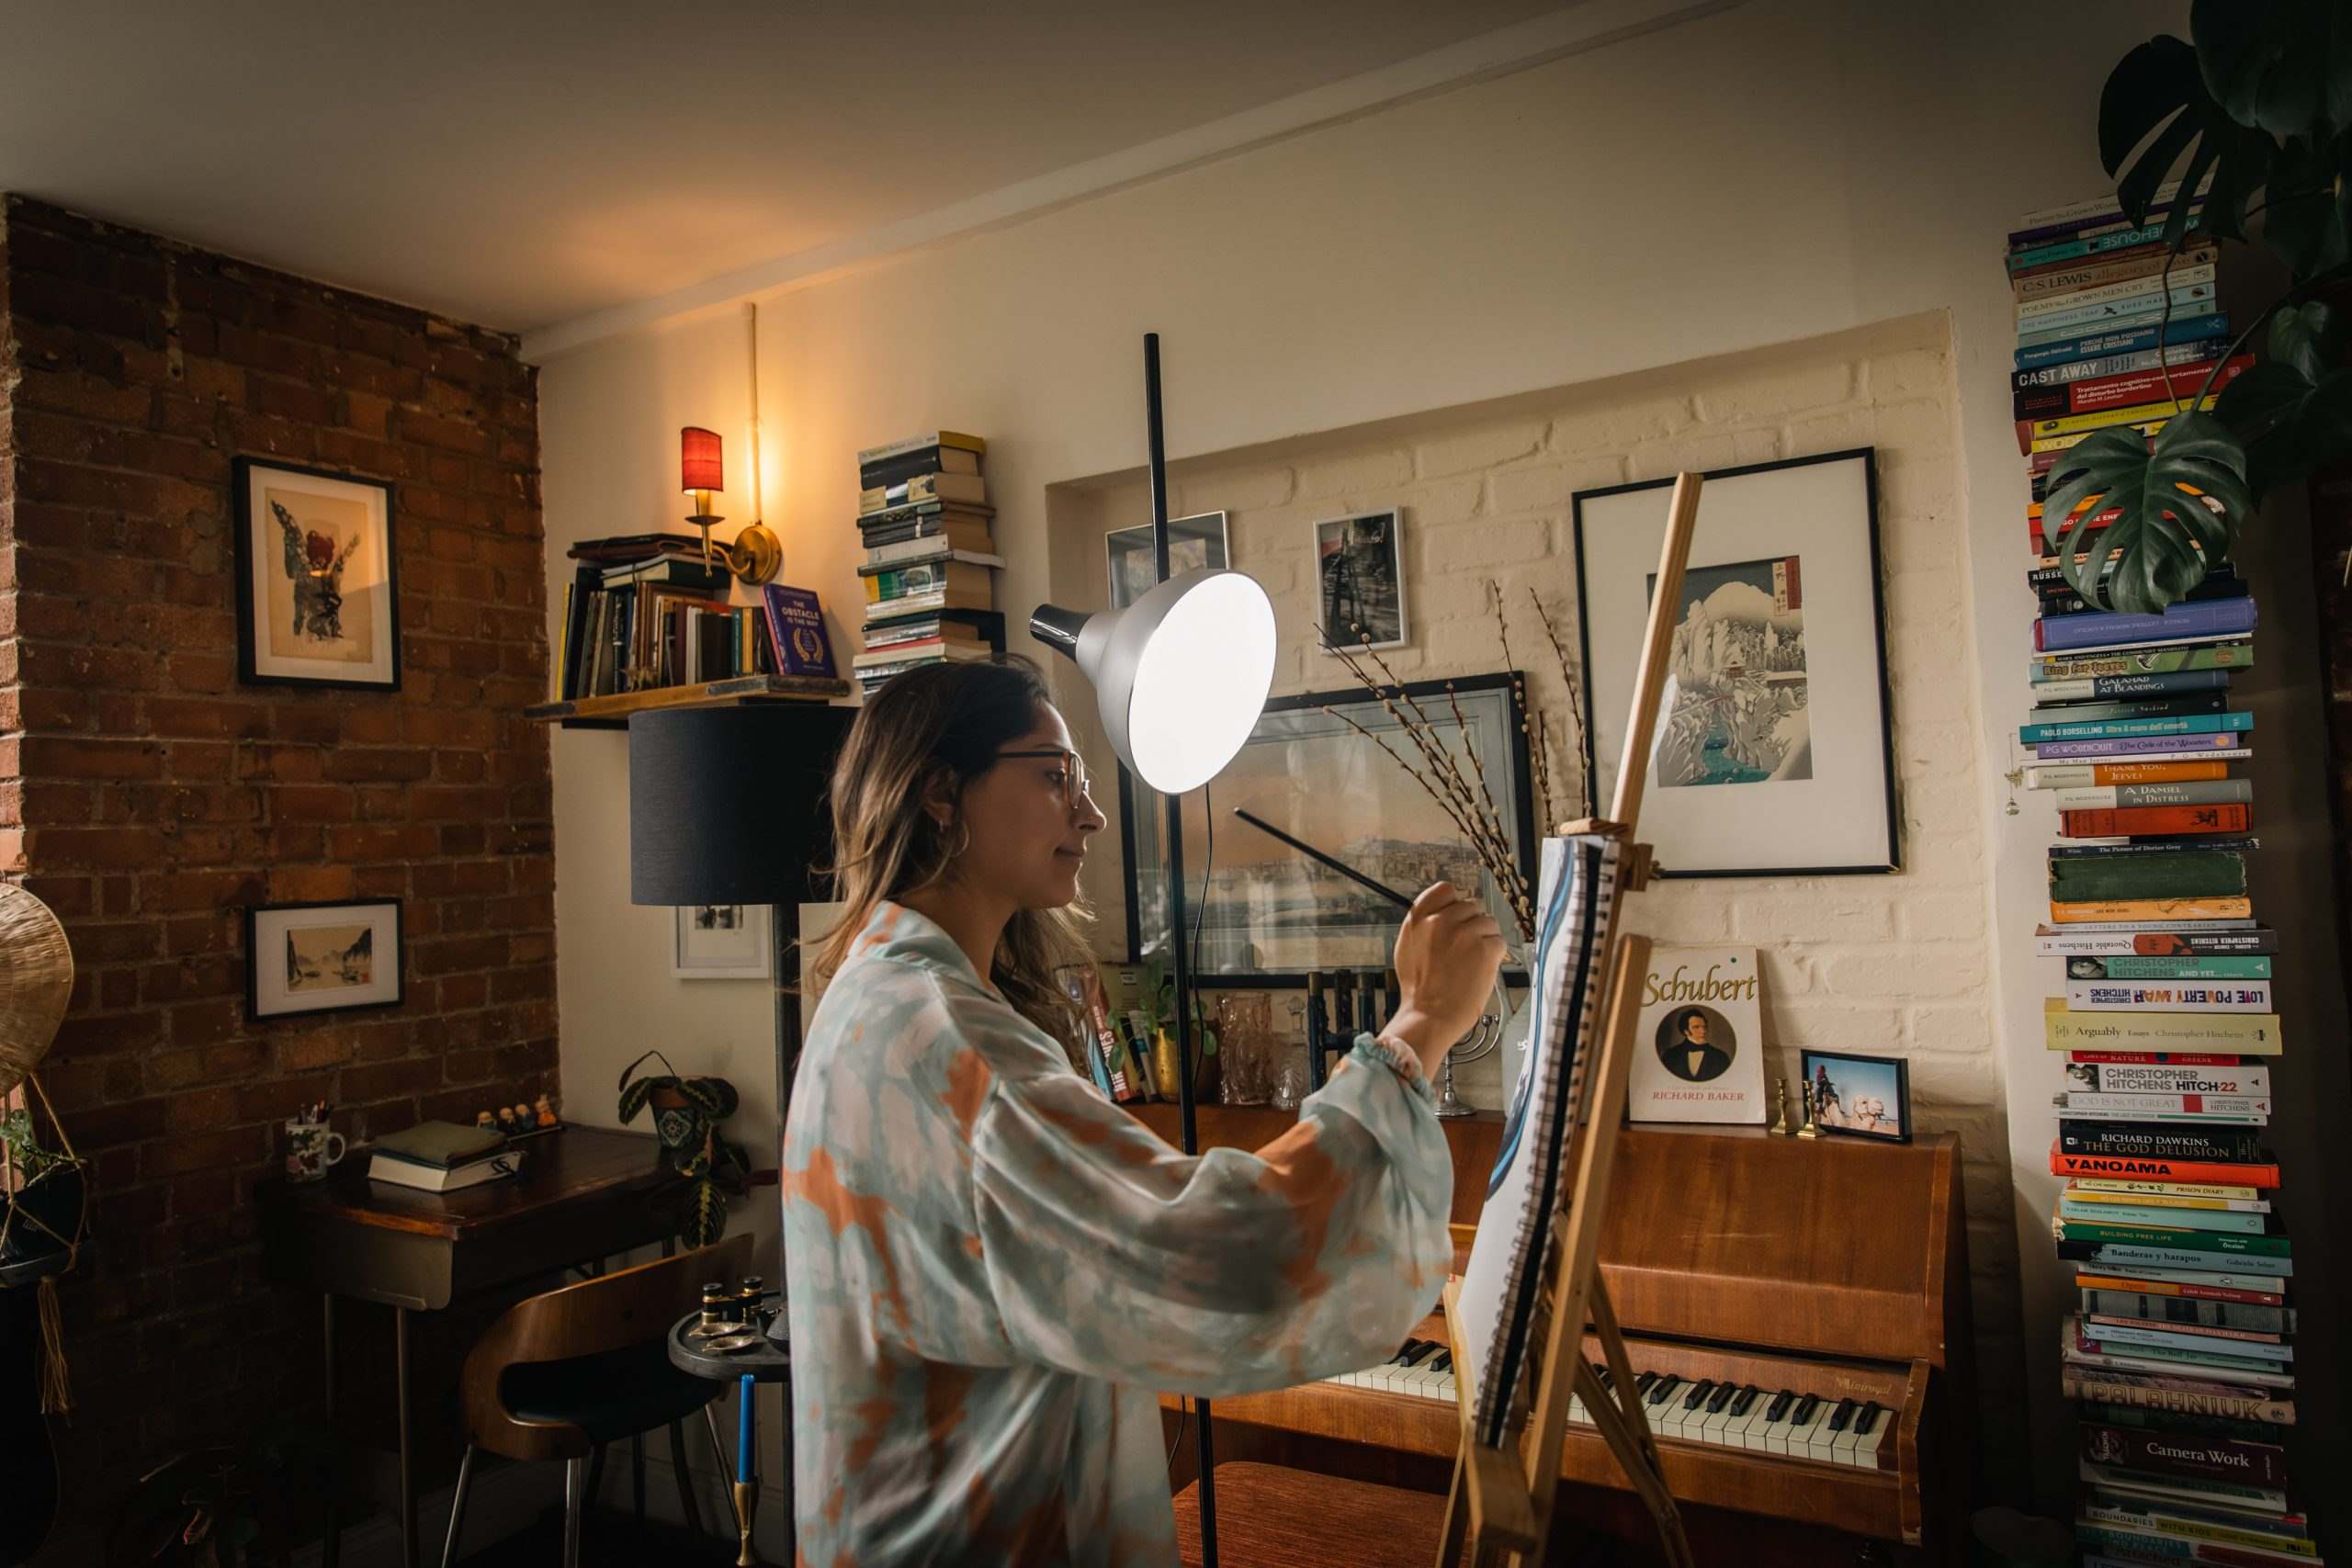
- Lighting: Natural light is essential for an art studio. Consider adding windows or skylights to ensure that the space is well-lit. You can also add artificial lighting if needed.
-
Choose Your Materials:
- Prefabricated Kits: Prefabricated kits are a convenient option for building a backyard art studio. These kits contain all the materials and sections you need to construct an expertly built home art studio without needing to be a professional contractor.
- Customization: If you prefer to build from scratch, choose materials that are durable and easy to clean. Consider using materials like wood or metal for the structure and walls. Add a roof that provides adequate protection from the elements.
-
Add Functional Elements:
- Workbenches: Install workbenches or tables that provide ample space for creating. Ensure that the workbenches are sturdy and easy to clean.
- Storage: Add storage units like shelves or cabinets to keep your materials organized. This will help keep the space clutter-free and make it easier to find what you need.
-
Finishing Touches:
- Decorations: Add decorations that inspire creativity. This can include artwork, inspirational quotes, or colorful rugs.
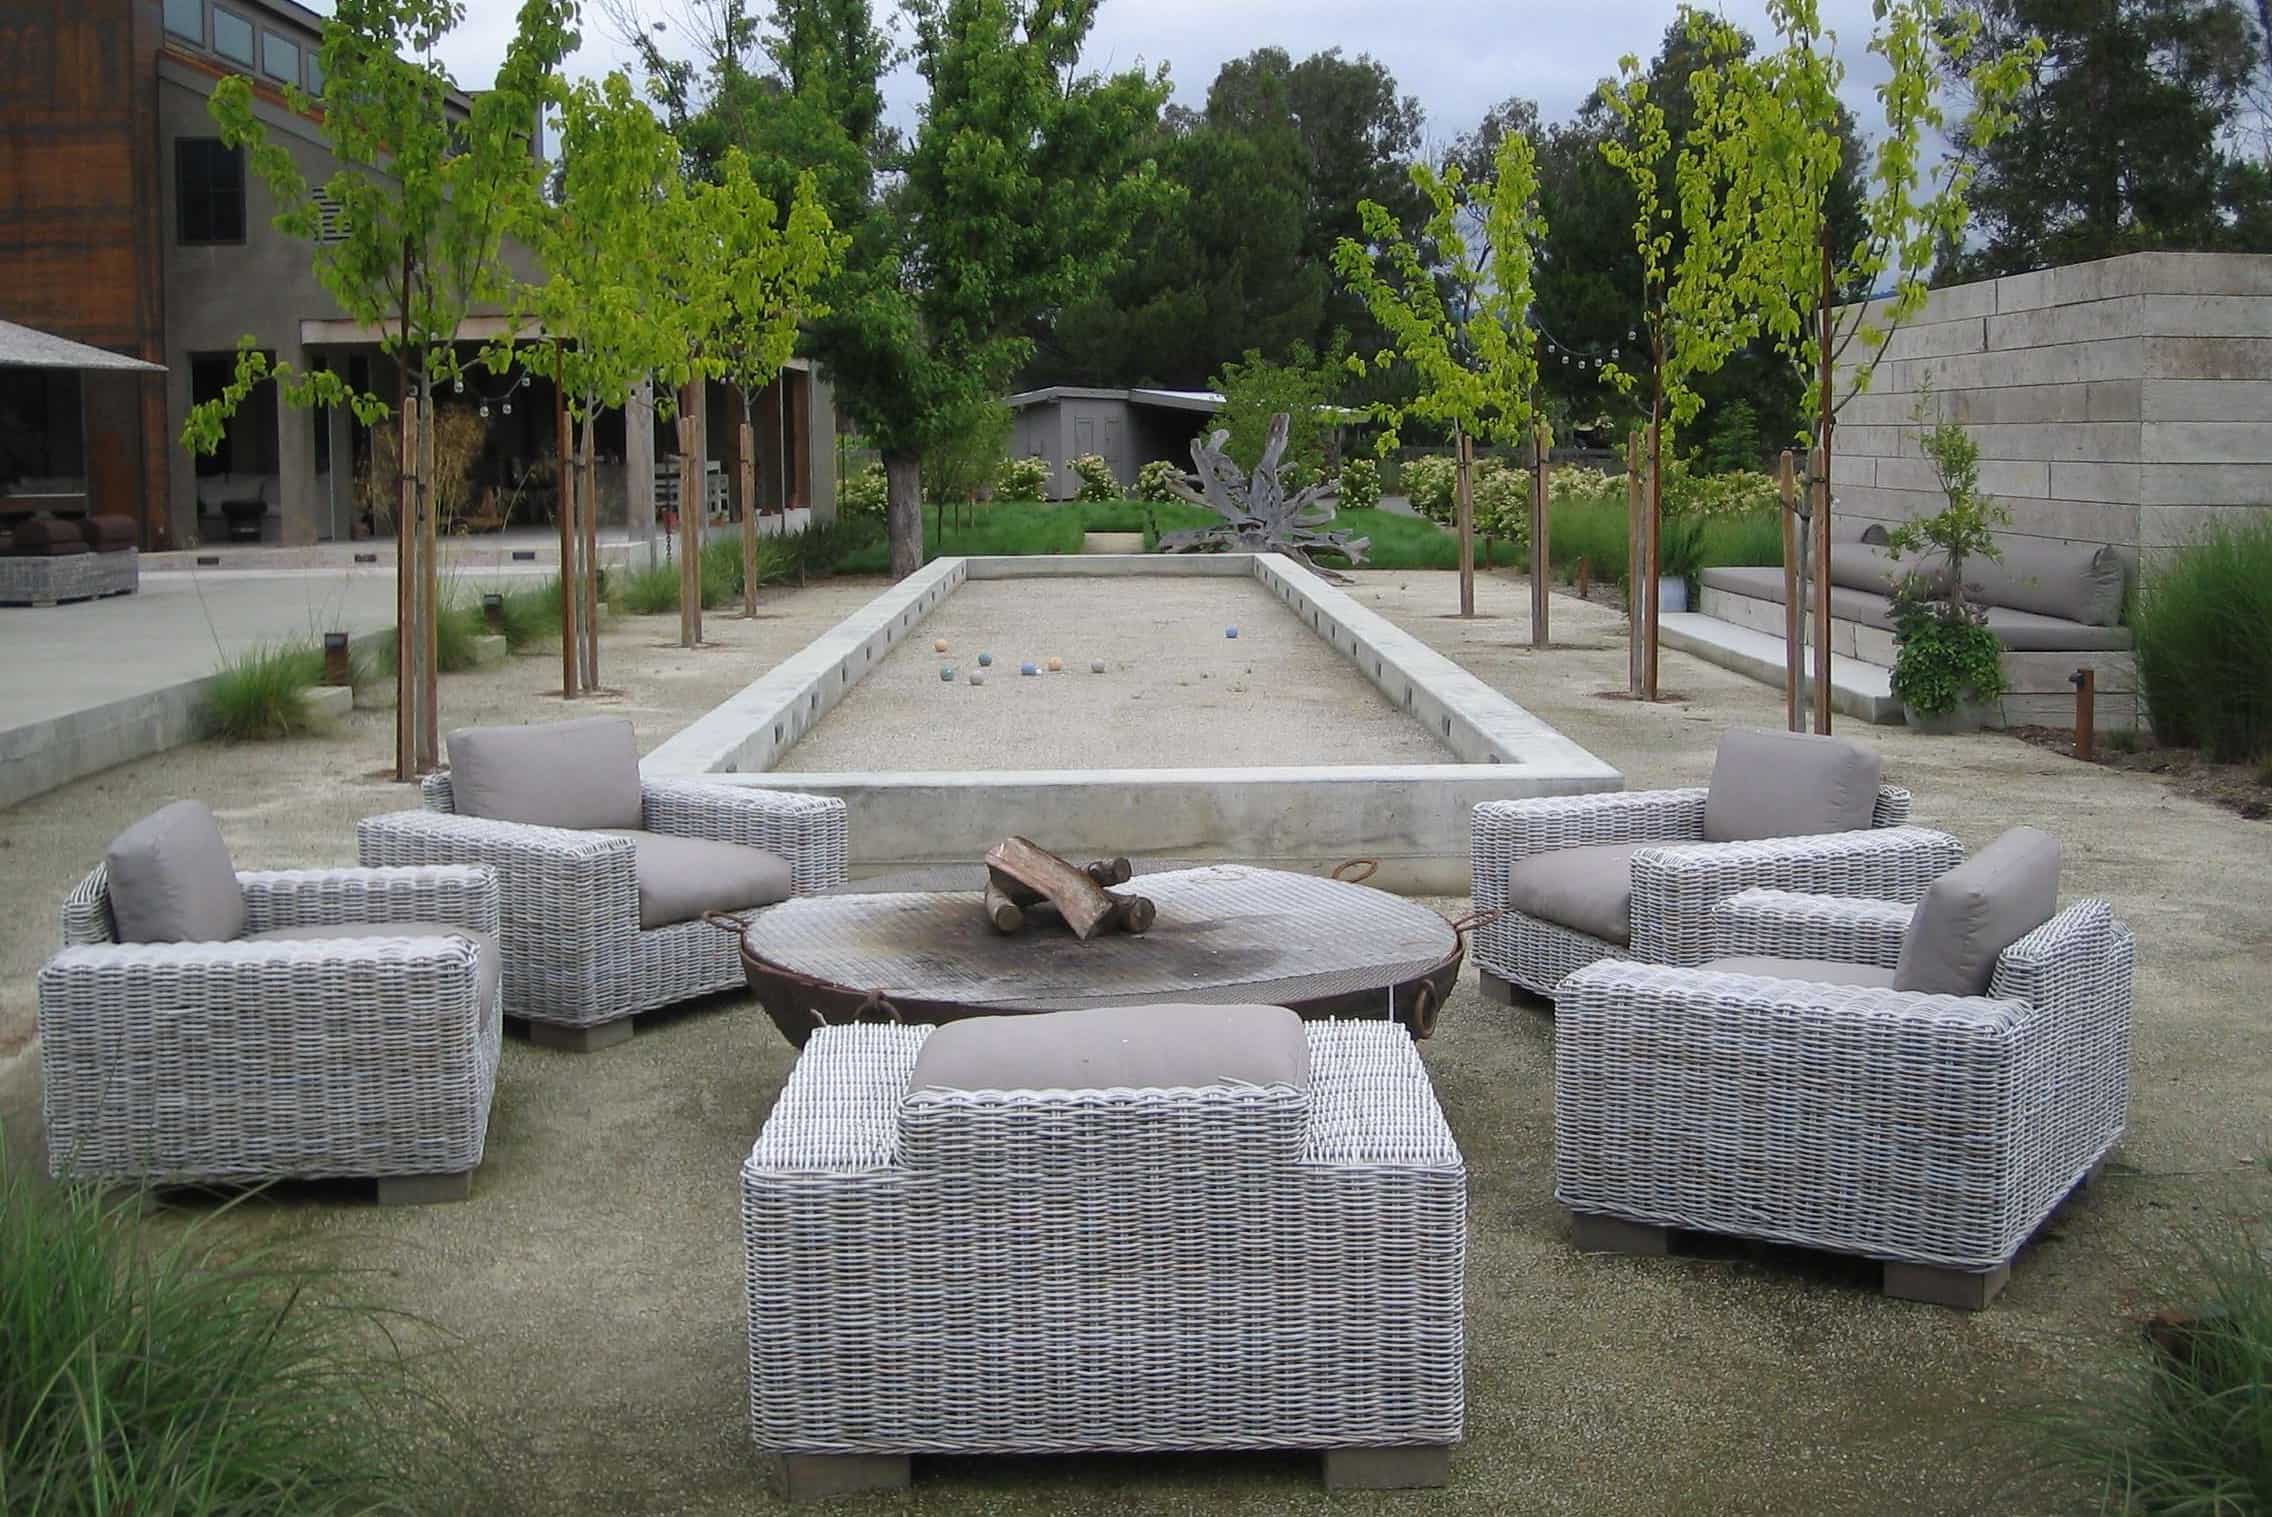
- Comfort: Ensure that the space is comfortable. Add seating areas or benches where you can rest while working on your art.
Tips for Creating a Functional and Visually Appealing Space
Creating a functional and visually appealing outdoor art studio requires careful planning and attention to detail. Here are some tips to help you achieve this:
- Inviting Space: Make sure the space is inviting and beautiful. Surround the area with natural elements like plants or trees to create a visually appealing environment.
- Accessibility: Ensure that the space is accessible for all users. Consider setting up workspace on the ground for children who like to spread out or are unable to sit at a table.
- Storage: Add storage units like shelves or cabinets to keep your materials organized. This will help keep the space clutter-free and make it easier to find what you need.
- Lighting: Natural light is essential for an art studio. Consider adding windows or skylights to ensure that the space is well-lit. You can also add artificial lighting if needed.
- Flexibility: Design the space to be flexible. Use loose parts and open-ended materials that encourage creativity and experimentation.
Conclusion
Creating an outdoor art studio in your backyard is a rewarding project that provides numerous benefits for both children and adults. By following the steps outlined in this article, you can design and construct a functional and visually appealing space that fosters creativity and imagination. Remember to consider essential components like space, workspace, materials, and cleaning and maintenance routines to ensure that your outdoor art studio remains a creative sanctuary for years to come.
Whether you are a budding artist looking for a dedicated space to hone your craft or a parent seeking to encourage your child’s creative expression, having an outdoor art studio is an investment in both you and your artwork. With careful planning and execution, you can create a space that inspires creativity and nurtures artistic growth in any setting.
Was this page helpful?
At Storables.com, we guarantee accurate and reliable information. Our content, validated by Expert Board Contributors, is crafted following stringent Editorial Policies. We're committed to providing you with well-researched, expert-backed insights for all your informational needs.

0 thoughts on “Backyard Outdoor Art Studio Design: Creative Space Construction”