Home>Ideas and Tips>Creating A Functional Craft Corner In Any Room
Ideas and Tips
Creating A Functional Craft Corner In Any Room
Published: August 29, 2024
Create a functional craft corner in any room with our step-by-step guide. Maximize space, organize supplies, and add personal touches for a creative haven.
(Many of the links in this article redirect to a specific reviewed product. Your purchase of these products through affiliate links helps to generate commission for Storables.com, at no extra cost. Learn more)
Creating a functional craft corner in any room is a great way to enhance your home's aesthetic while providing a dedicated space for creative activities. Whether you're an avid crafter, a DIY enthusiast, or simply someone who enjoys making things, having a designated area for crafting can be incredibly beneficial. In this article, we'll explore the steps to create a functional craft corner that fits seamlessly into your home's decor.
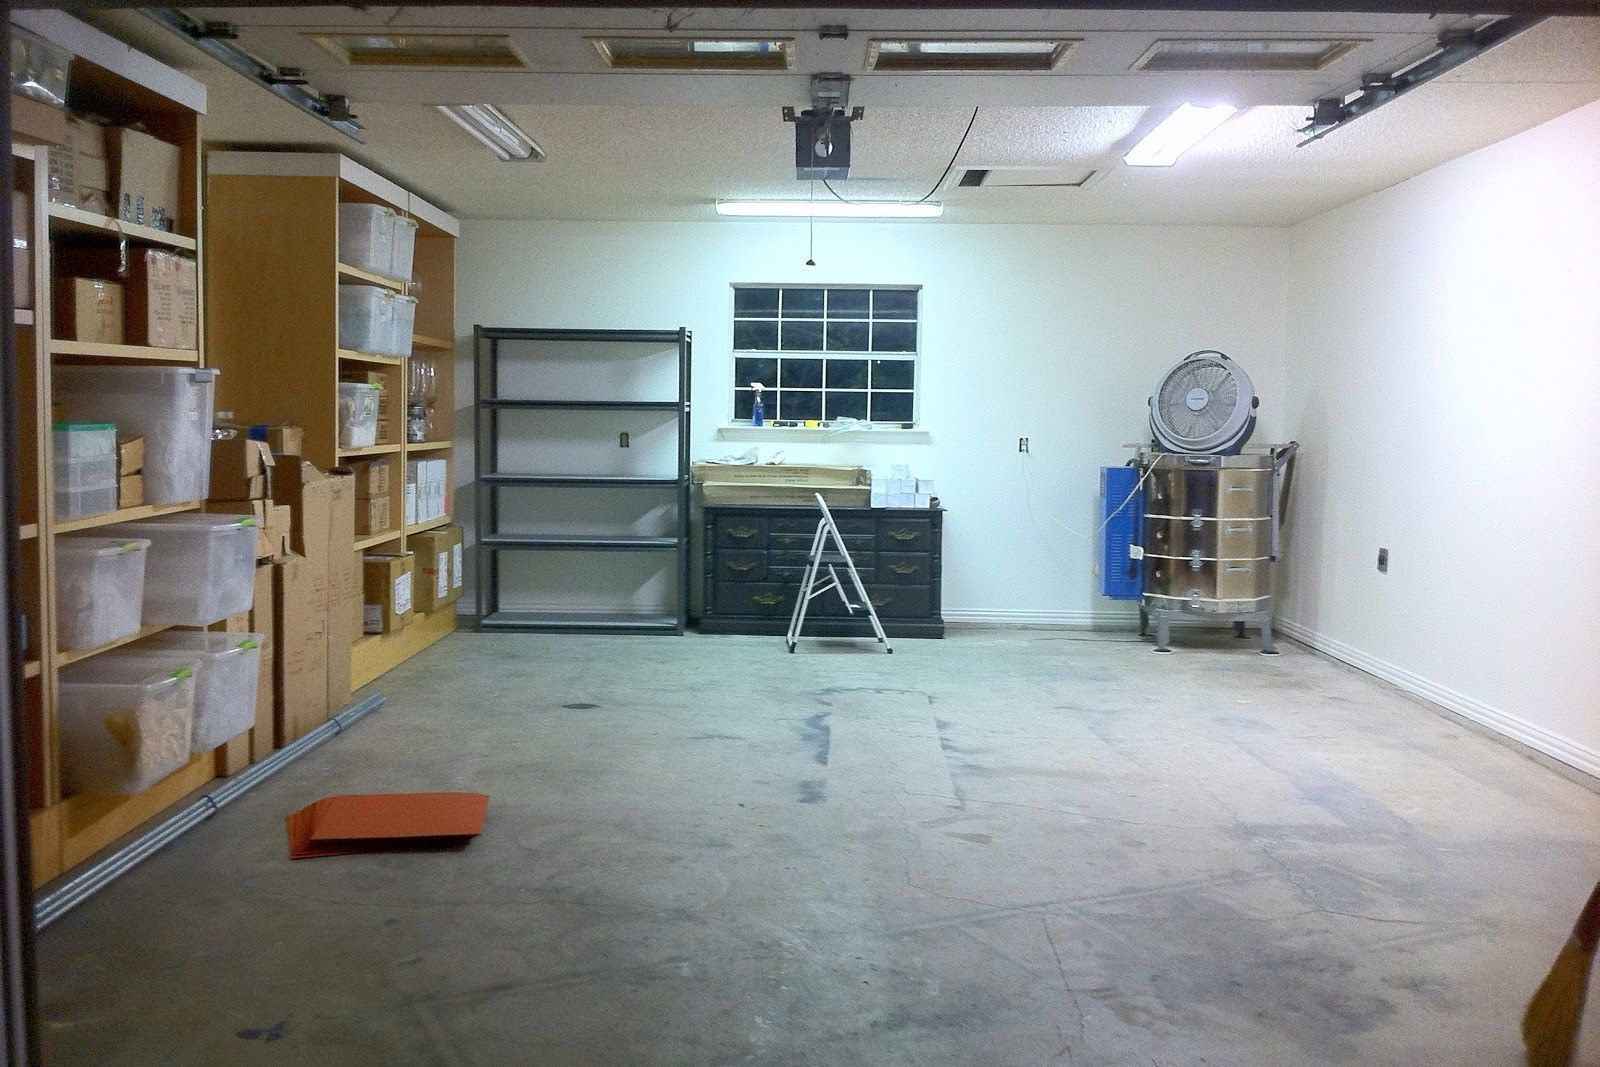
Step 1: Assess Your Space
Before you start planning your craft corner, it's essential to assess the space you have available. Consider the size of the room and the amount of natural light it receives. If you're working with a small space, think about how you can maximize the area without cluttering it. Here are a few questions to ask yourself:
- Location: Where is the best place to set up your craft corner? Ideally, it should be in a spot that receives good natural light.
- Size: How much space do you have available? Measure the area to determine the dimensions of your craft corner.
- Layout: Think about the layout of the room and how you can incorporate your craft corner without disrupting the flow of the space.
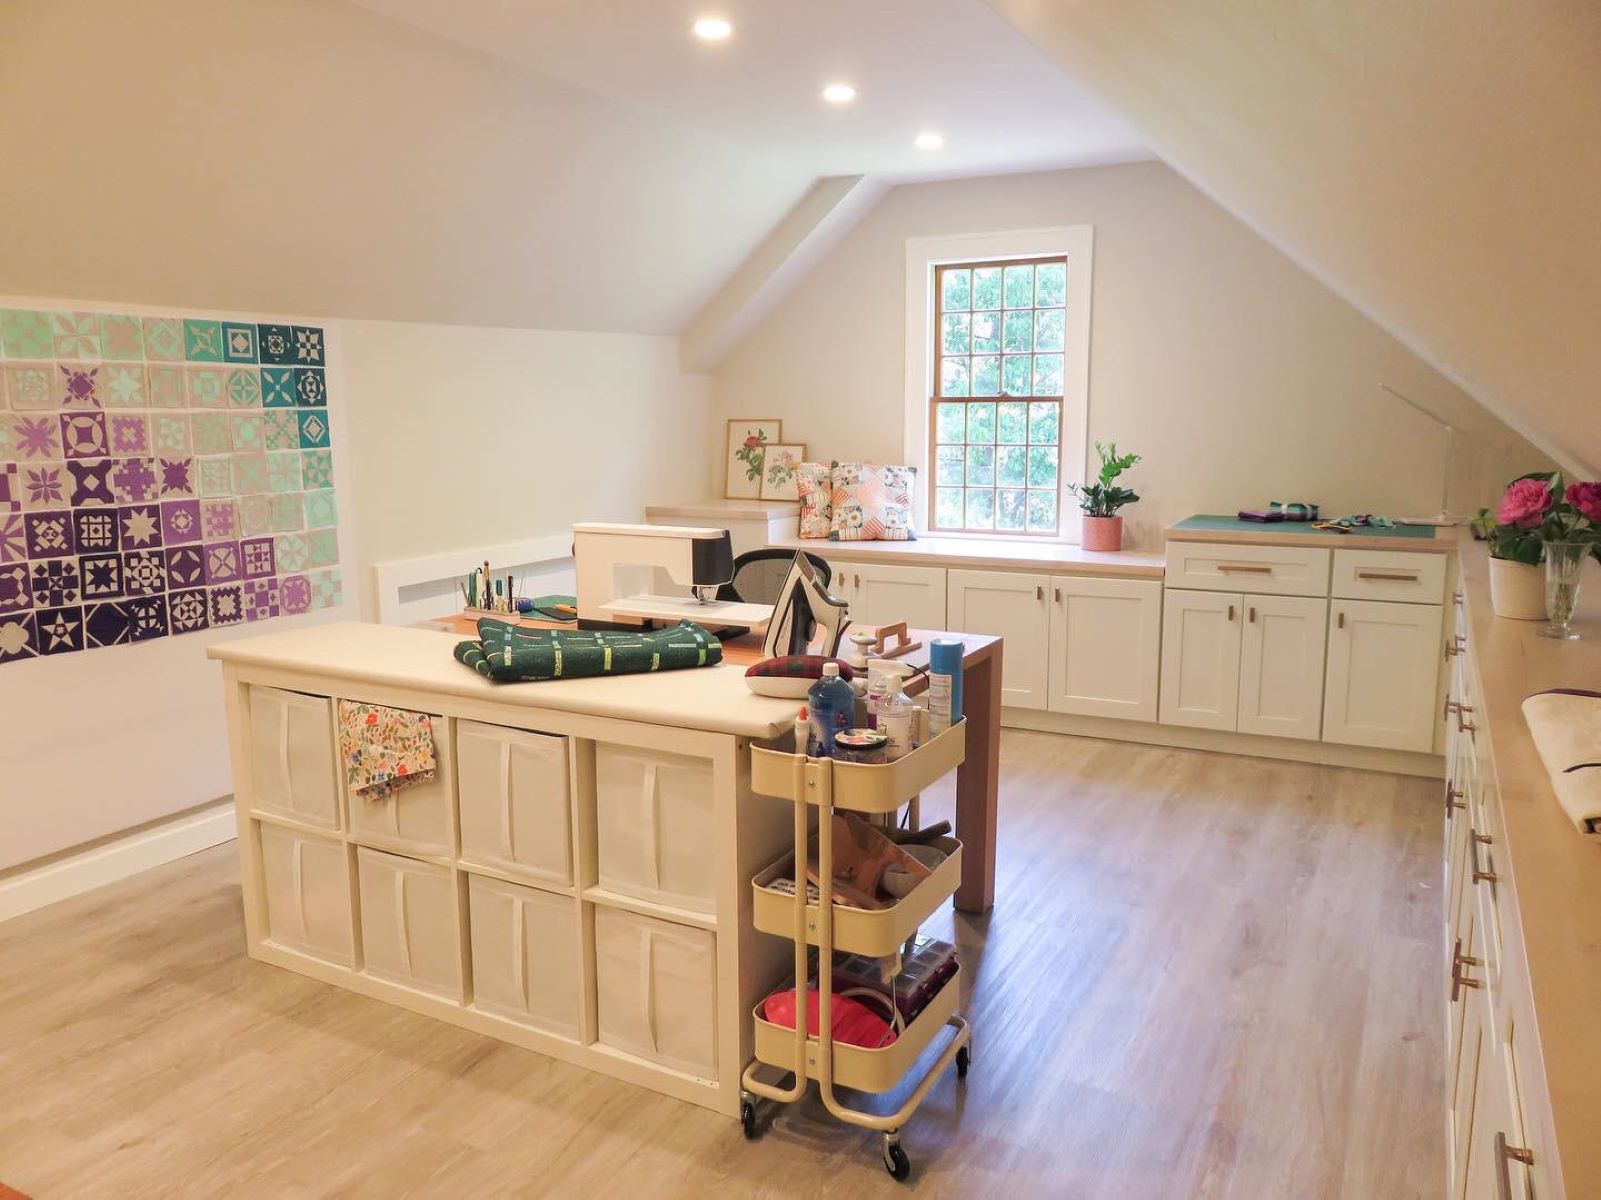
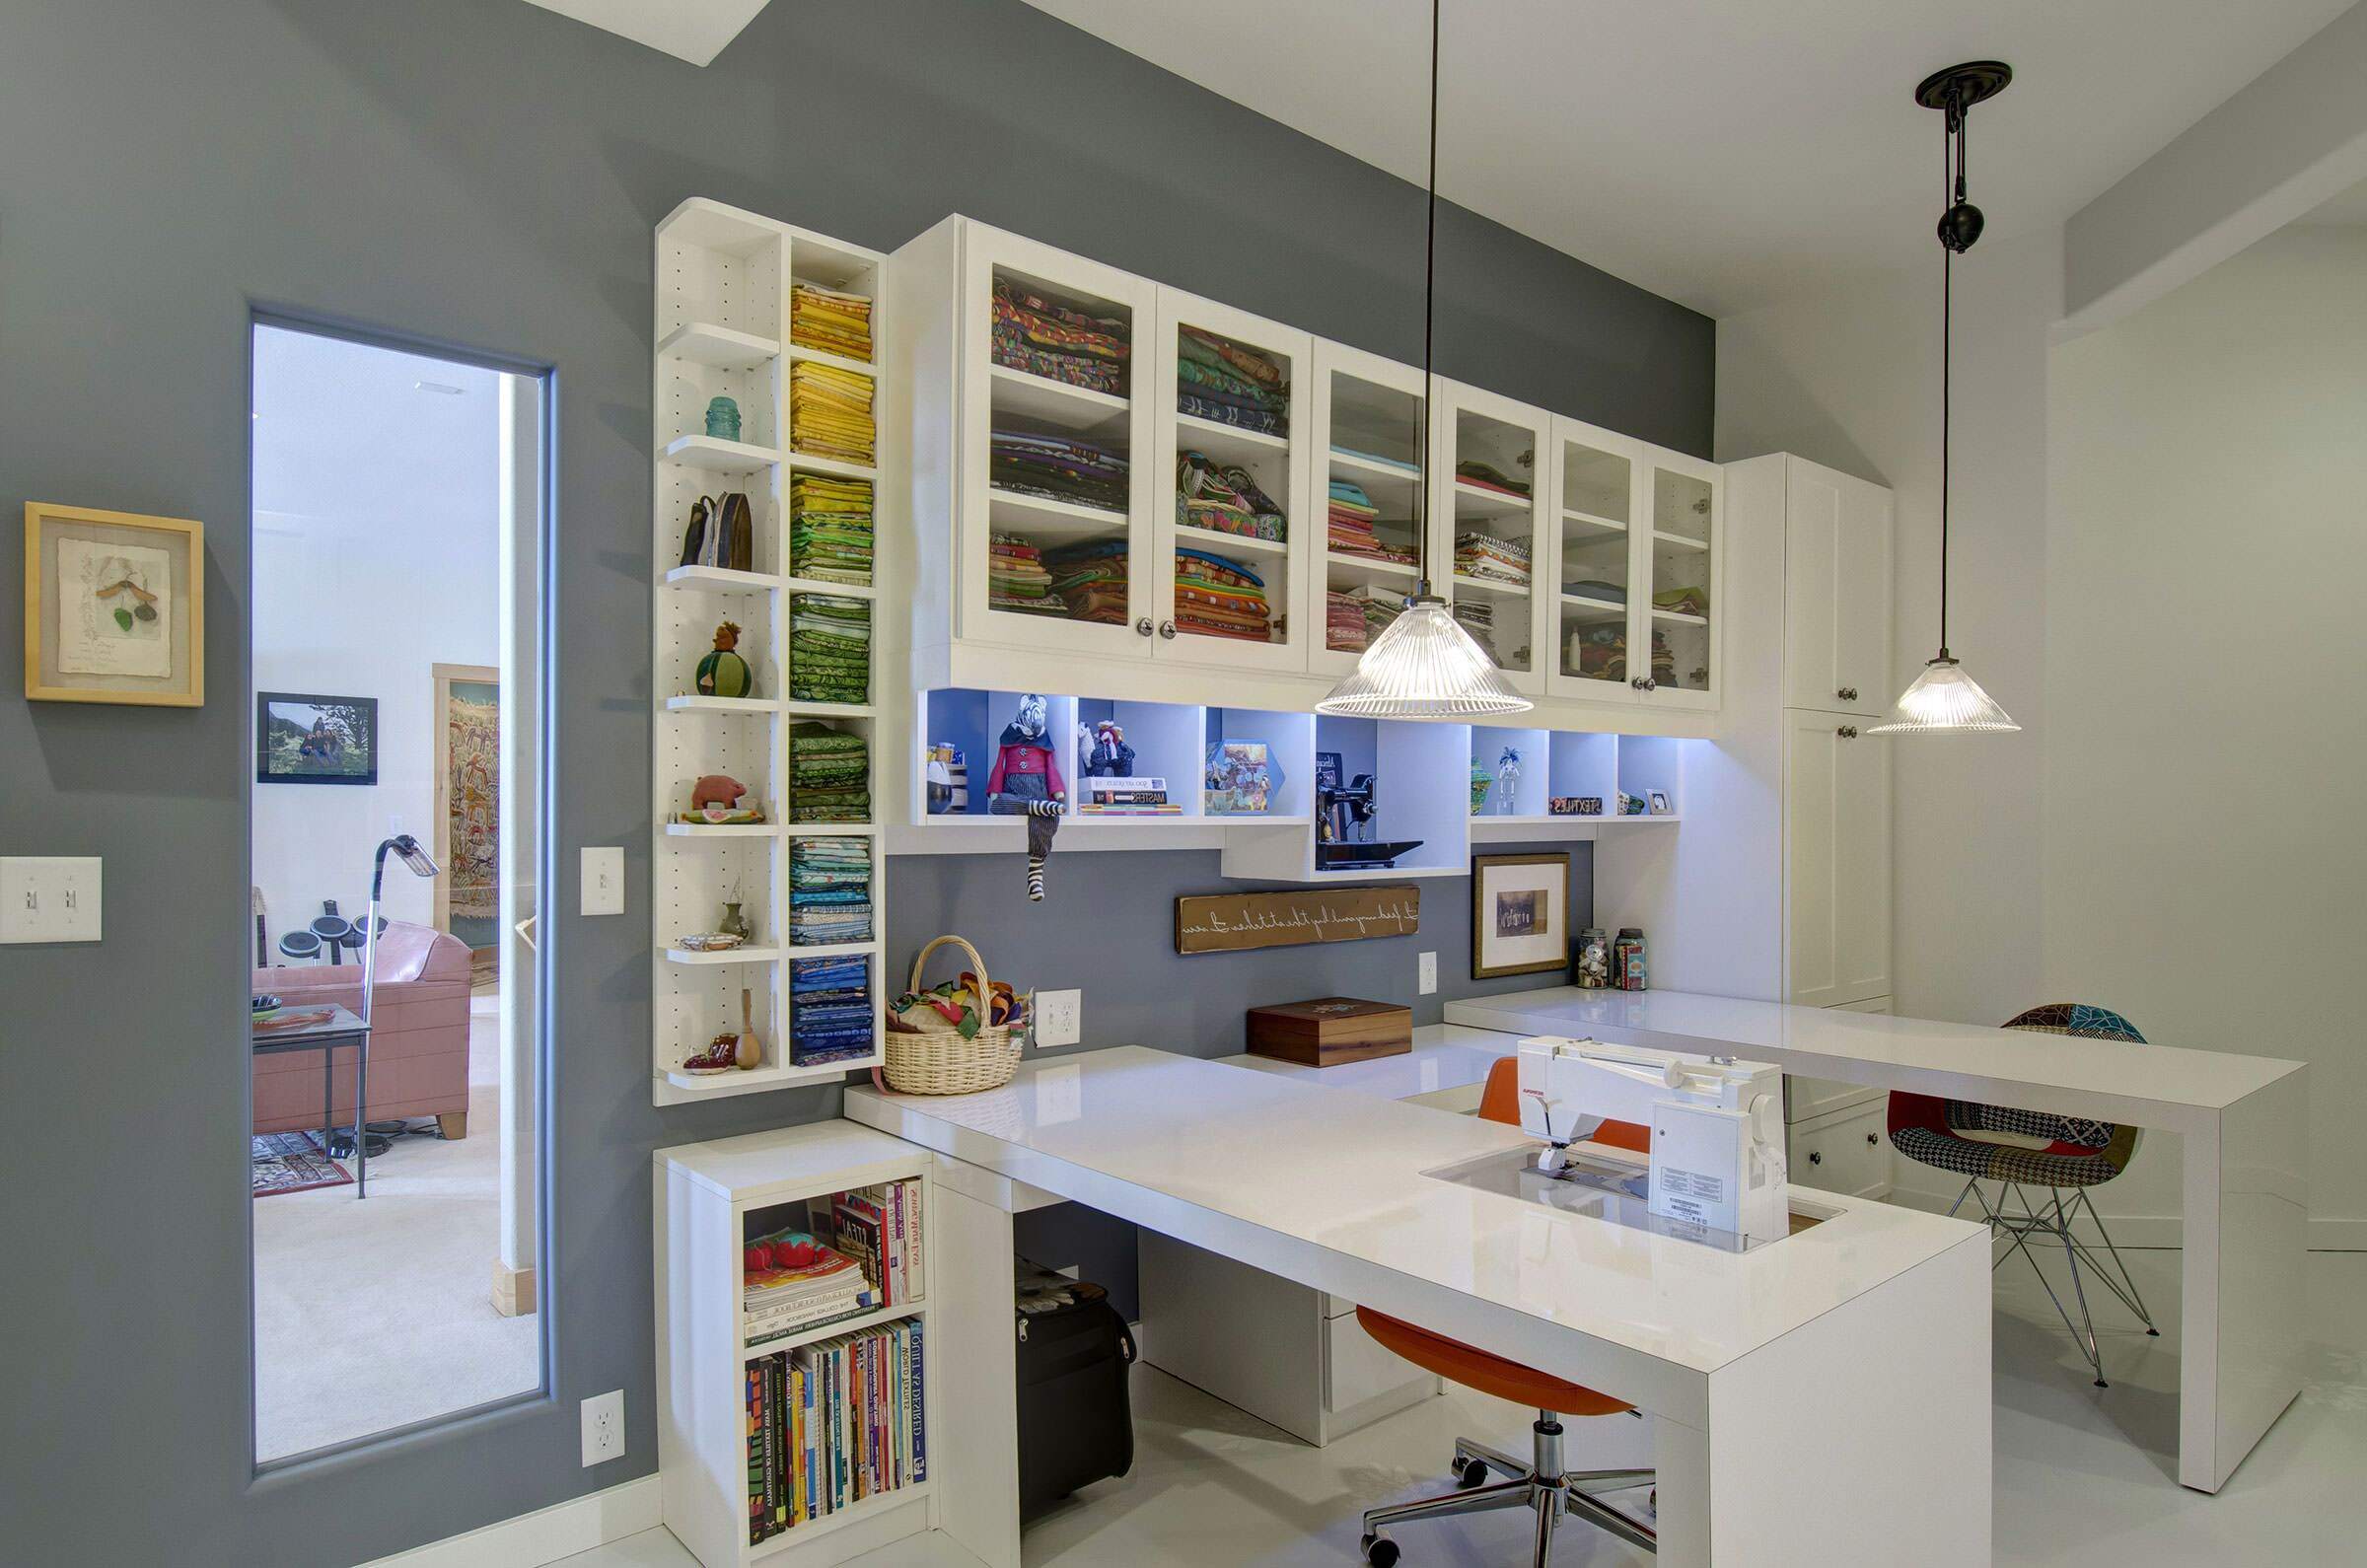
Step 2: Choose Your Furniture
Selecting the right furniture is crucial for creating a functional craft corner. You'll want pieces that are both practical and aesthetically pleasing. Here are some essential items to consider:
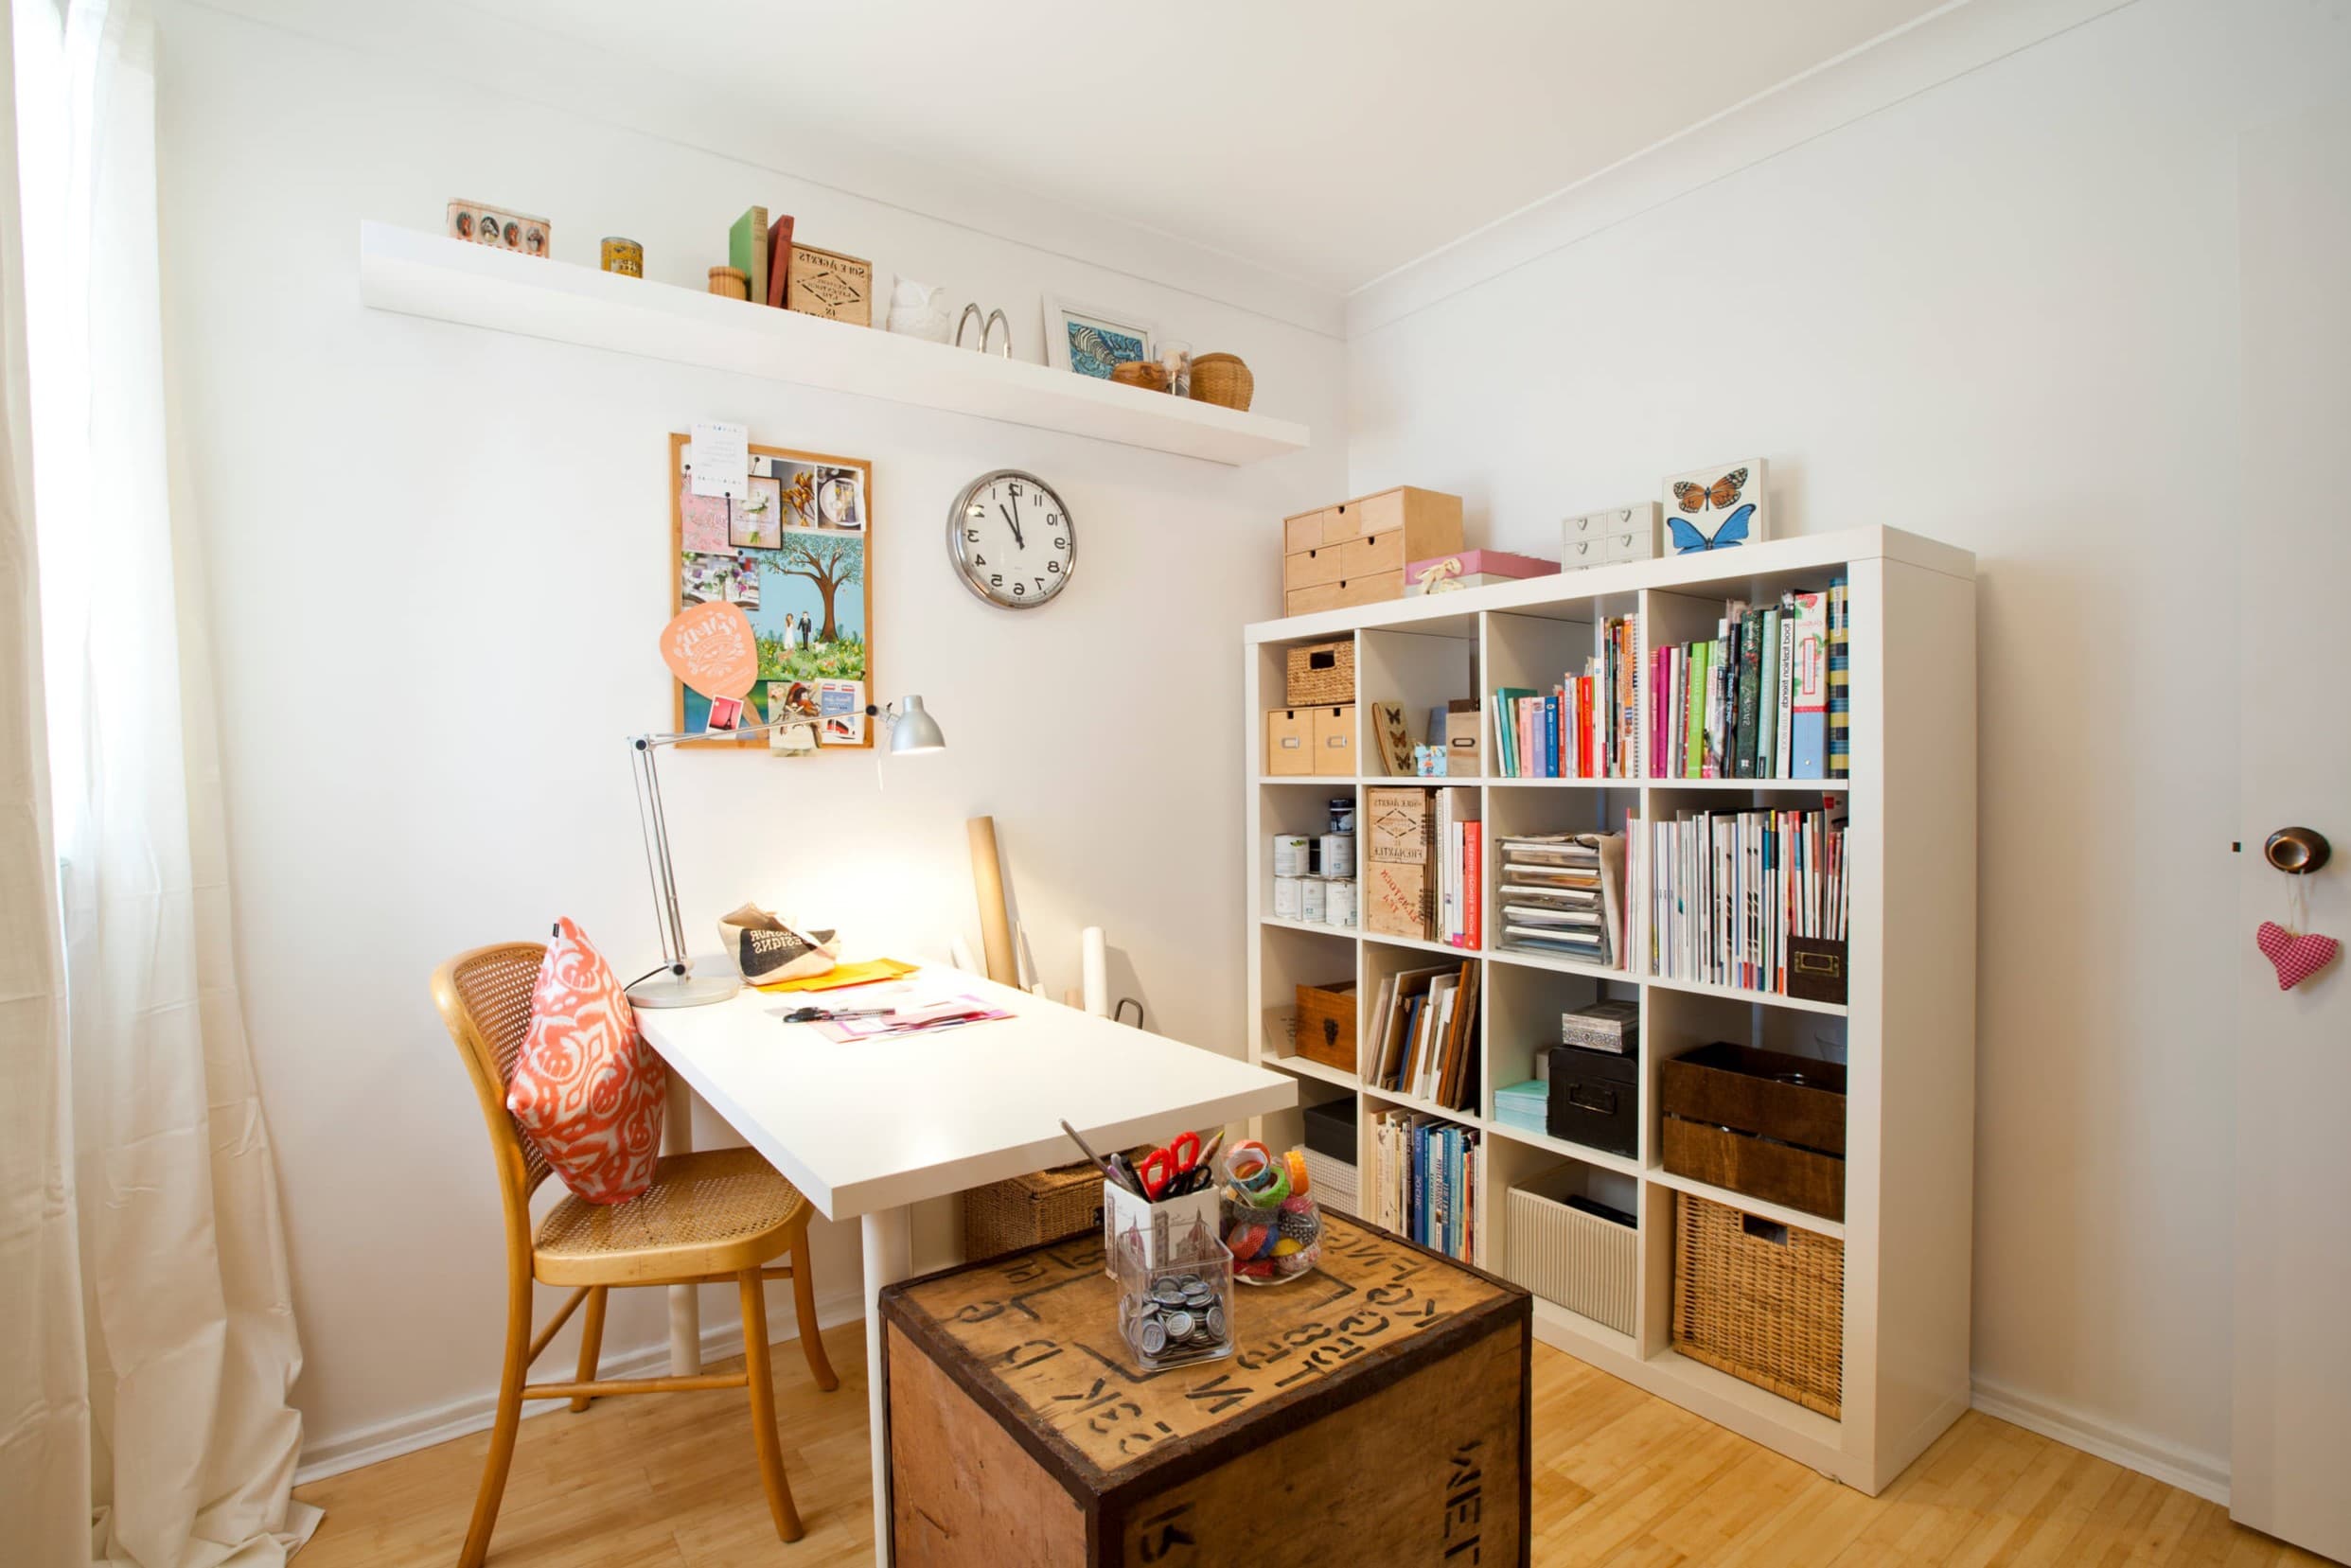
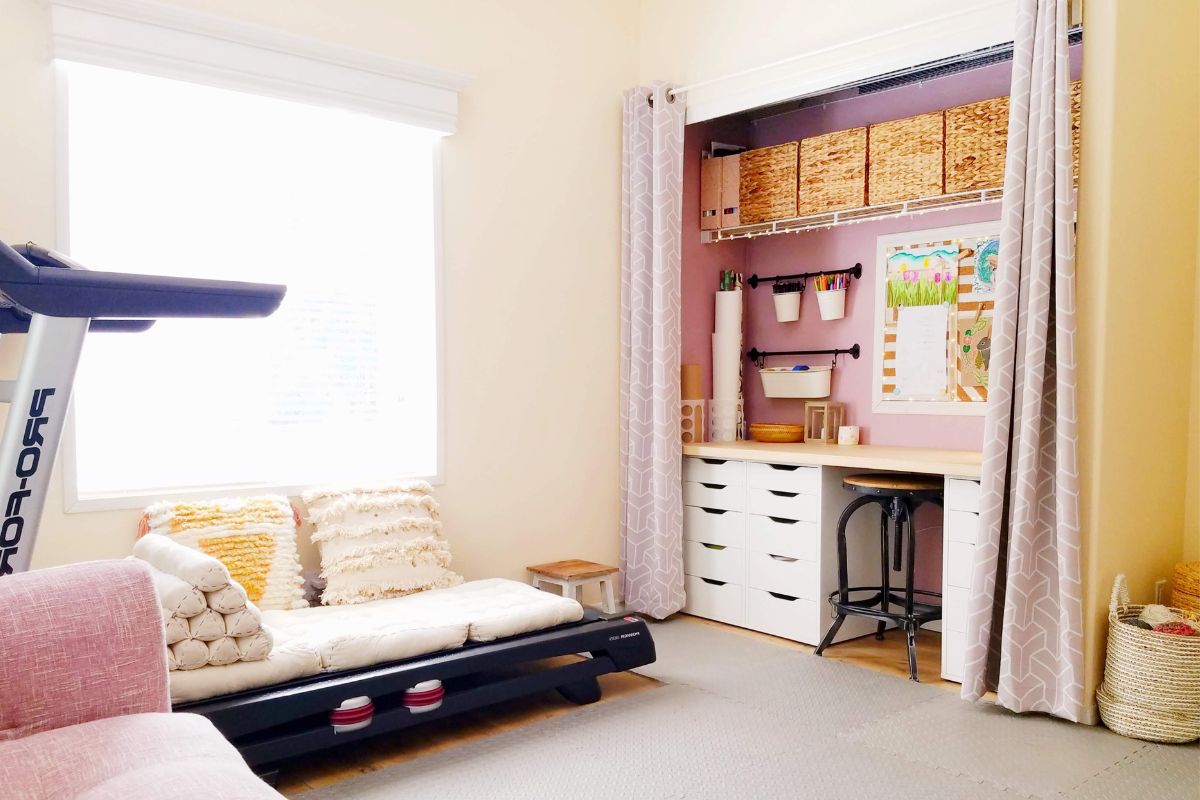
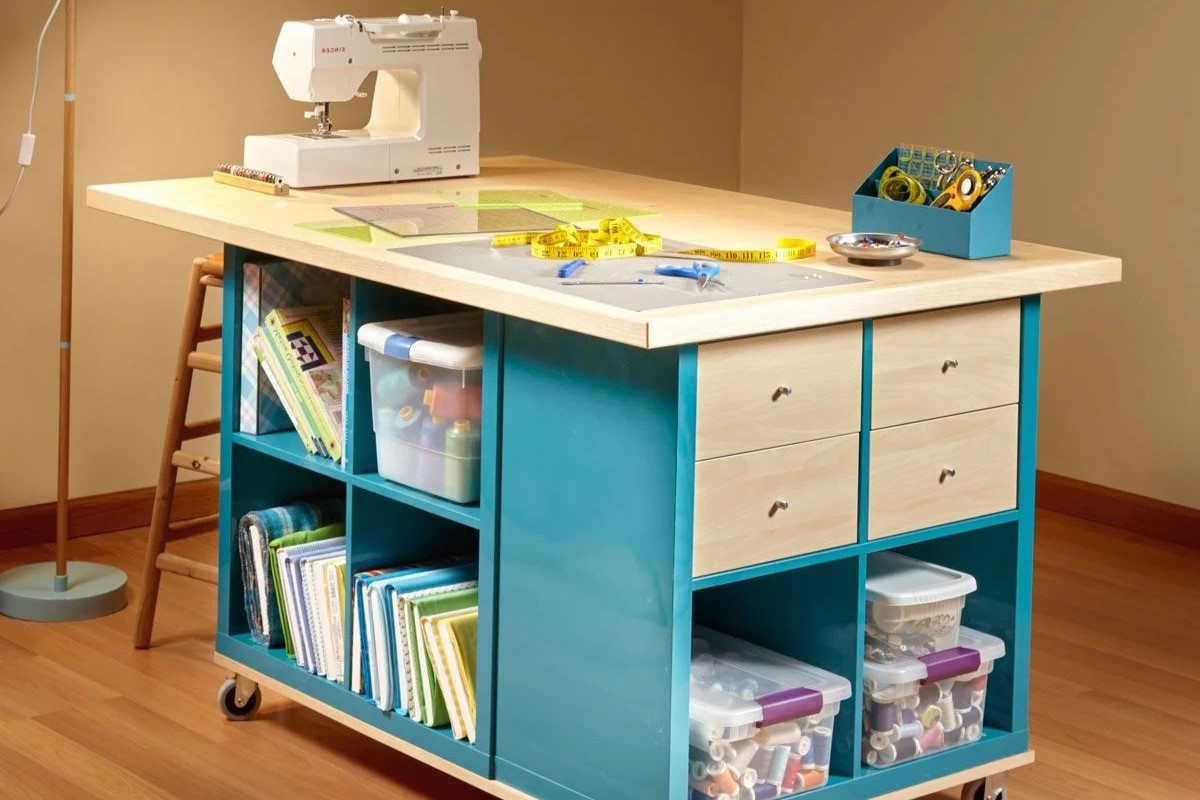
1. Worktable or Desk
A sturdy worktable or desk is the centerpiece of any craft corner. Look for one that has ample surface space and storage options. Consider a table with built-in drawers or shelves to keep your supplies organized.
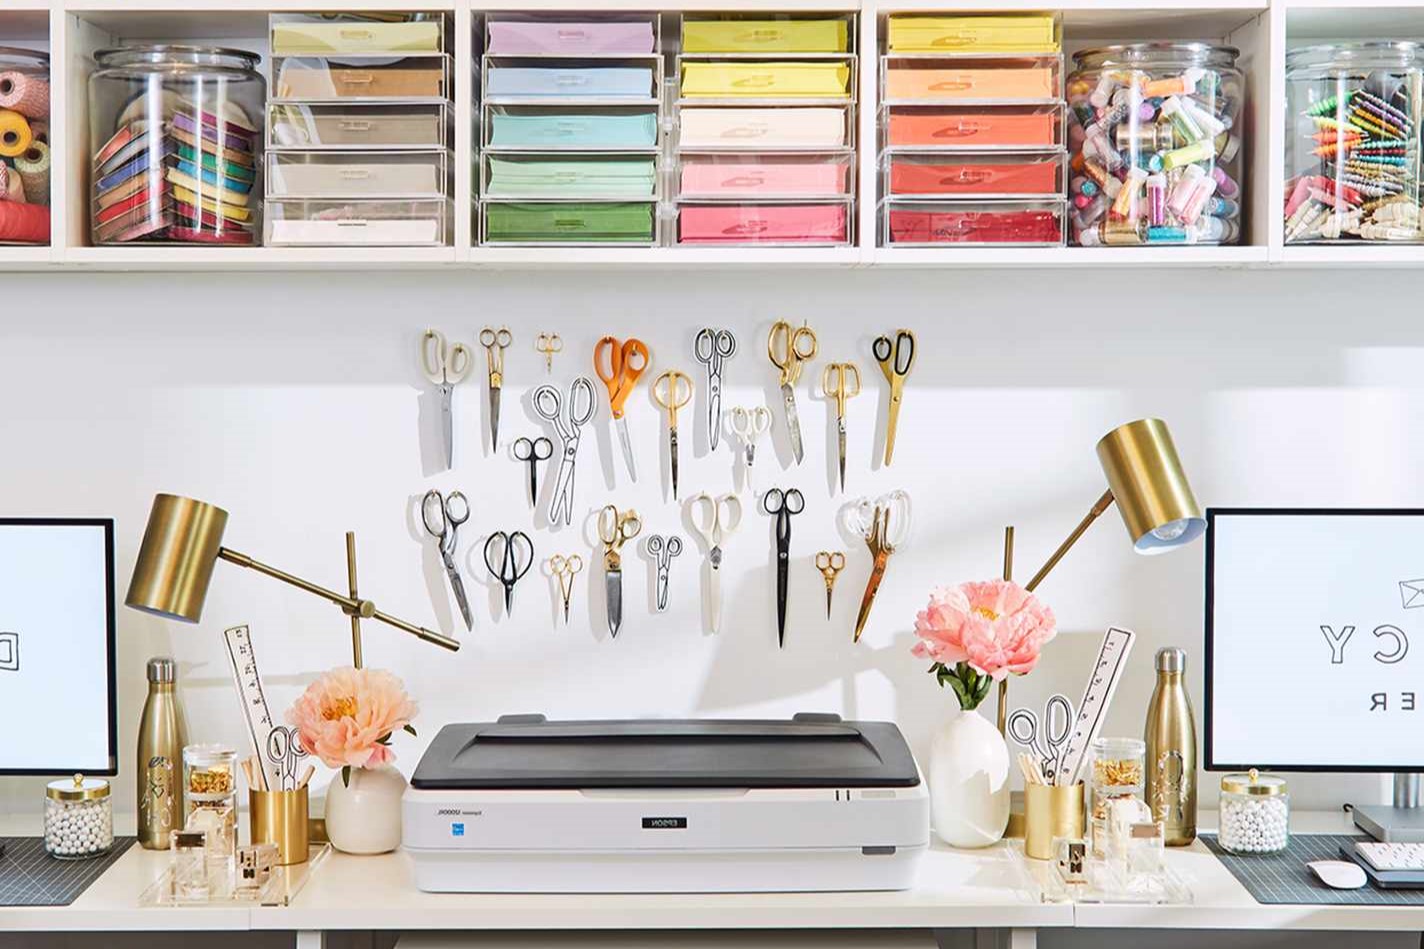
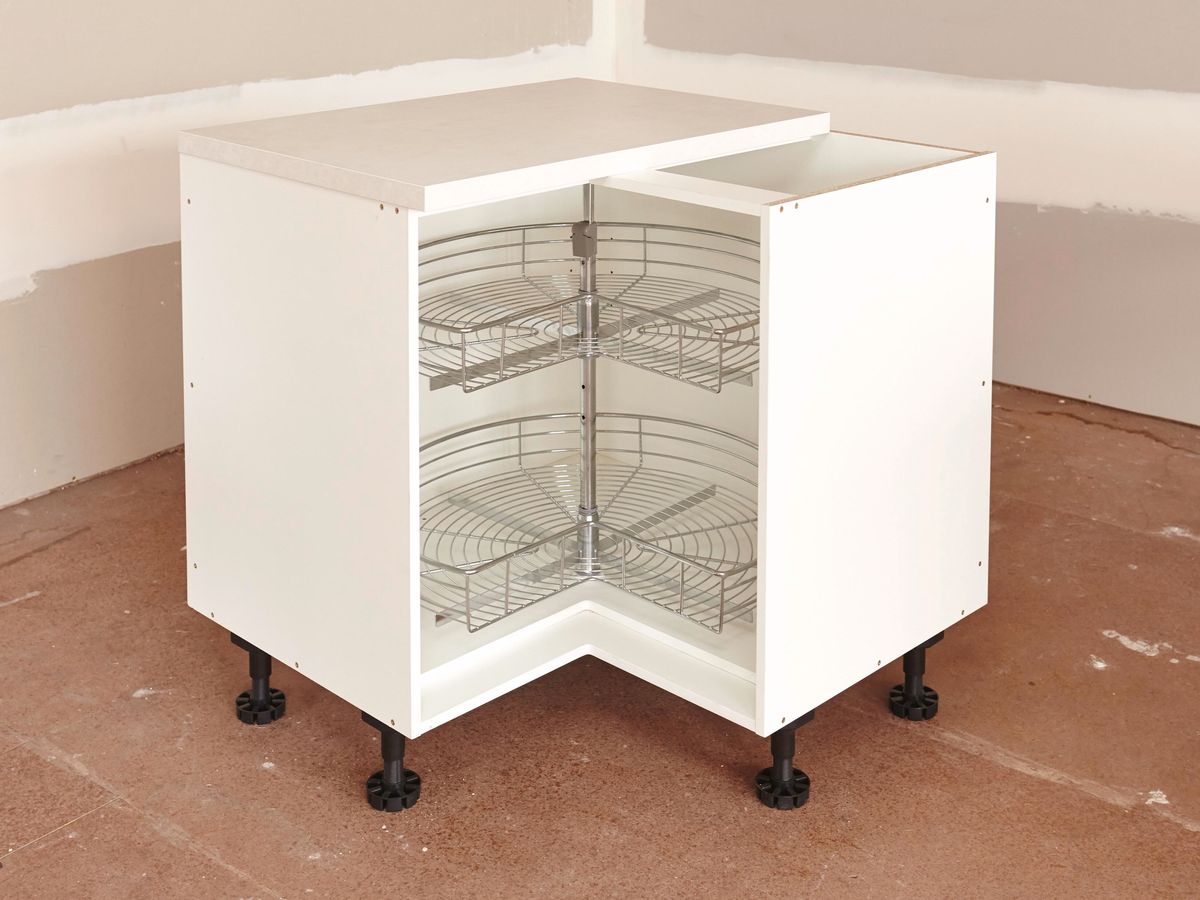
2. Storage Units
Storage units such as cabinets, shelves, or drawers are vital for keeping your supplies organized and within reach. You can choose units that match your existing furniture or go for a contrasting style to add visual interest.
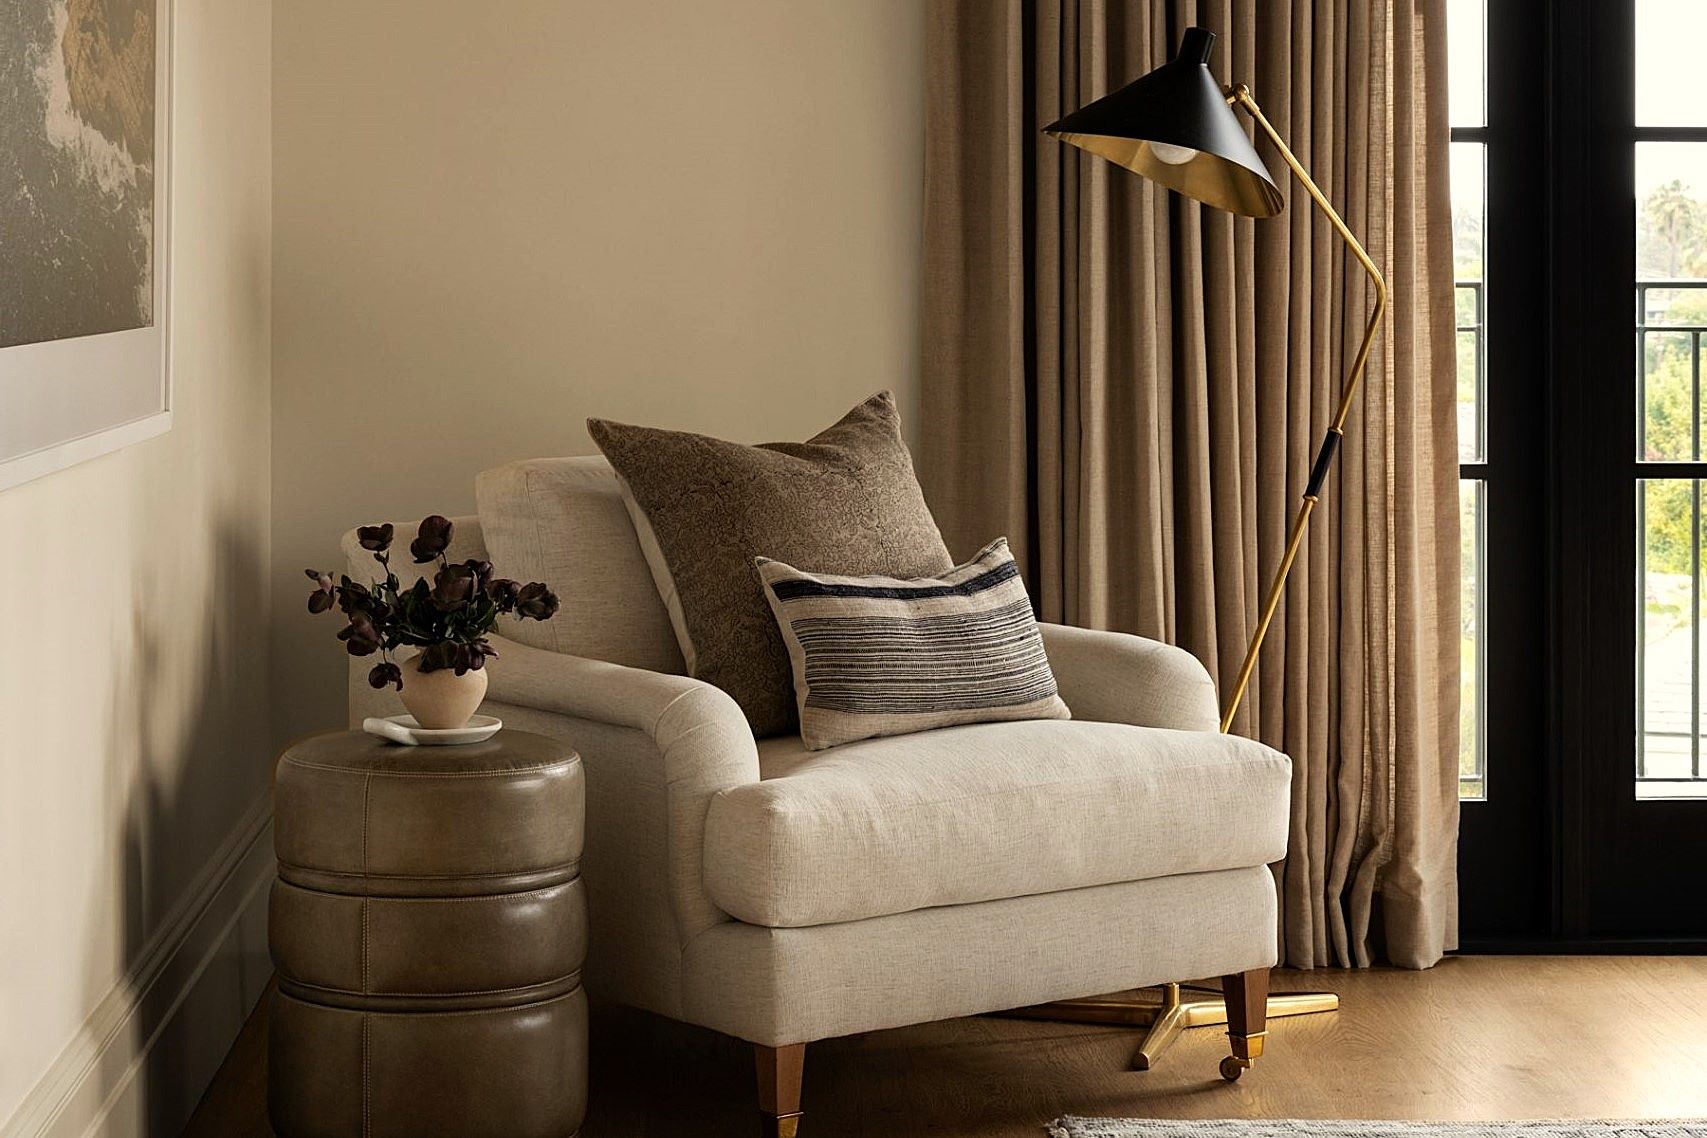
3. Seating
A comfortable chair or stool can be a great addition to your craft corner, especially if you plan on spending extended periods working on projects. Look for something ergonomic and stylish.
4. Shelving
Shelving units can be used to display your finished projects or store supplies. Floating shelves are a great option as they add a touch of elegance without taking up too much floor space.
Step 3: Plan Your Layout
Once you have your furniture pieces, it's time to plan out the layout of your craft corner. Here are some tips to help you create an efficient and inviting space:
1. Zone Your Space
Divide your craft corner into different zones based on the activities you'll be performing there. For example:
- Work Zone: This is where you'll set up your worktable or desk.
- Storage Zone: This is where you'll place your storage units.
- Display Zone: This is where you'll showcase your finished projects.
2. Consider Ergonomics
Make sure that your workspace is ergonomically designed to prevent discomfort and fatigue. Position your chair and worktable at comfortable heights, and ensure that there is enough space between them for easy movement.
3. Add Lighting
Proper lighting is essential for any workspace, especially one dedicated to crafting. Consider using a combination of overhead lighting and task lighting to illuminate specific areas where you'll be working.
Step 4: Organize Your Supplies
A well-organized craft corner is essential for productivity and efficiency. Here are some tips on how to keep your supplies organized:
1. Categorize Supplies
Categorize your supplies into different groups such as paints, fabrics, papers, etc., and store them accordingly.
2. Use Containers
Use containers like bins, baskets, or drawers to store small items like buttons, beads, or threads.
3. Label Everything
Labeling your containers can help you quickly locate what you need without having to dig through everything.
4. Keep Frequently Used Items Accessible
Store frequently used items in easy-to-reach locations so that you can quickly access them when needed.
Step 5: Add Decorative Touches
While functionality is important, it's also crucial to make your craft corner visually appealing. Here are some decorative touches you can add:
1. Color Scheme
Choose a color scheme that complements the rest of your home's decor but also reflects your personality as a crafter.
2. Artwork and Prints
Hang artwork or prints related to crafting or DIY projects around the room to add visual interest.
3. Plants
Adding plants can not only purify the air but also bring life into your space.
4. Inspirational Quotes
Display inspirational quotes related to creativity and craftsmanship on walls or shelves.
Step 6: Incorporate Technology
Incorporating technology into your craft corner can enhance your experience and make certain tasks easier:
1. Smart Lighting
Install smart lighting systems that can be controlled via an app or voice assistant for optimal lighting conditions.
2. Ergonomic Tools
Invest in ergonomic tools like standing desks or adjustable chairs that can be customized according to your needs.
3. Digital Storage Solutions
Use digital storage solutions like cloud storage services or external hard drives to store digital files related to your projects.
Step 7: Make It Personal
Finally, make sure that your craft corner reflects your personality as a crafter:
1. Display Personal Projects
Display personal projects proudly on shelves or walls as a reminder of your accomplishments.
2. Incorporate Personal Items
Incorporate personal items like family photos or heirlooms into your decor for added warmth and character.
3. Create a Vision Board
Create a vision board with images of projects you want to complete in the future for inspiration.
Conclusion
Creating a functional craft corner in any room requires careful planning and attention to detail but ultimately leads to a more organized and creative workspace. By following these steps—assessing your space, choosing the right furniture, planning your layout, organizing your supplies, adding decorative touches, incorporating technology, and making it personal—you'll be able to create an inviting space where you can express yourself creatively without any distractions.
Remember that every craft corner is unique because it reflects its owner's personality and style; therefore, don't hesitate to experiment with different layouts until you find what works best for you
Was this page helpful?
At Storables.com, we guarantee accurate and reliable information. Our content, validated by Expert Board Contributors, is crafted following stringent Editorial Policies. We're committed to providing you with well-researched, expert-backed insights for all your informational needs.

0 thoughts on “Creating A Functional Craft Corner In Any Room”