Articles
How To Update Laminate Bathroom Vanity
Modified: December 7, 2023
Learn how to update your laminate bathroom vanity with these helpful articles. Transform your space with step-by-step instructions and expert tips.
(Many of the links in this article redirect to a specific reviewed product. Your purchase of these products through affiliate links helps to generate commission for Storables.com, at no extra cost. Learn more)
Introduction
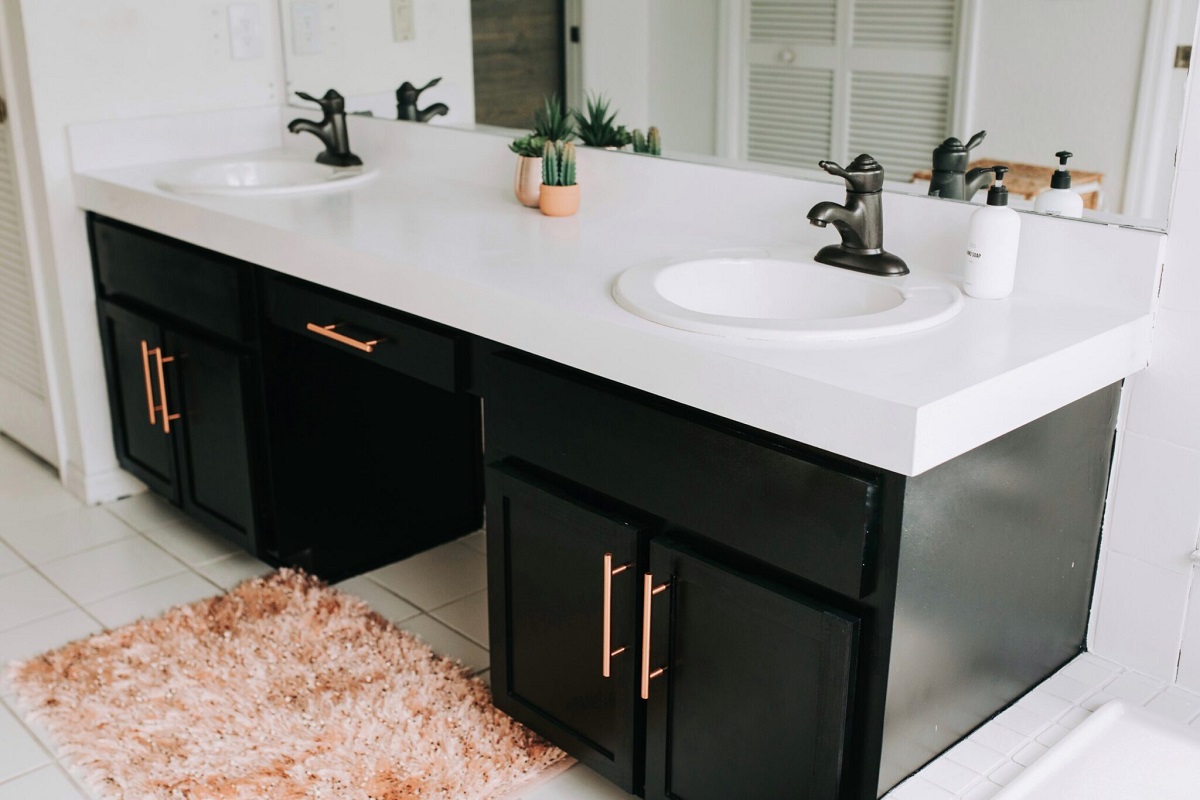
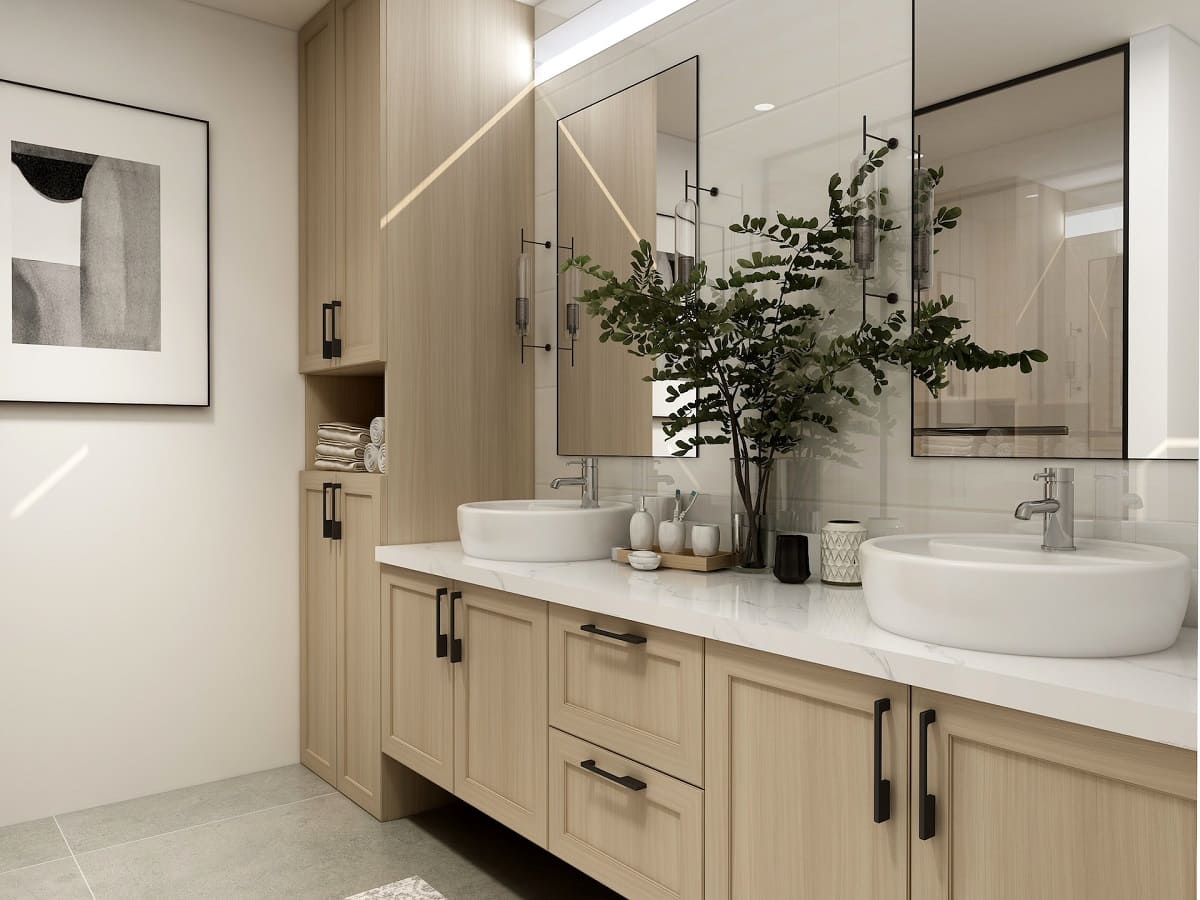
Updating your laminate bathroom vanity is a cost-effective way to give your bathroom a fresh new look. Laminate is a popular material used for bathroom vanities due to its durability and affordability. However, over time, the laminate may become outdated or show signs of wear and tear. Instead of replacing the entire vanity, you can easily update it with a fresh coat of paint and some simple DIY techniques.
In this article, we will guide you through the step-by-step process of updating your laminate bathroom vanity. From gathering the necessary materials to reattaching hardware and accessories, we will cover everything you need to know to successfully transform your outdated vanity into a stylish focal point in your bathroom.
Before you begin, it is important to note that the process of updating a laminate bathroom vanity requires some time and effort. However, the end result will be worth it, as you will have a customized vanity that reflects your personal style and enhances the overall look of your bathroom.
So, without further ado, let’s dive into the step-by-step process of updating your laminate bathroom vanity.
Key Takeaways:
- Transform your outdated laminate bathroom vanity into a stylish focal point with a fresh coat of paint and simple DIY techniques, saving time and money on replacing the entire vanity.
- By following the step-by-step guide, you can achieve a durable and beautiful finish that reflects your personal style, enhances your bathroom’s ambiance, and withstands the test of time.
Read more: How To Organize A Vanity
Step 1: Gather necessary materials
Before you start updating your laminate bathroom vanity, it is essential to gather all the necessary materials. Having everything prepared beforehand will save you time and ensure a smoother process. Here are the materials you will need:
- Paint and primer: Choose a high-quality paint suitable for laminate surfaces. Look for paints specifically designed for bathroom use, as they are more resistant to moisture and humidity. Additionally, pick up a primer to ensure proper adhesion of the paint.
- Sandpaper: You will need sandpaper with different grits, such as 120-220, to smooth out the surface and create a better bonding surface for the paint.
- Cleaners: Use a mild all-purpose cleaner or degreaser to thoroughly clean the vanity surface and remove any dirt, grime, or greasy residue.
- Paintbrushes and rollers: Depending on the size and shape of your vanity, choose appropriate paintbrushes and rollers for smooth and even application of paint.
- Drop cloths or plastic sheets: To protect the surrounding areas from paint splatters and drips, have drop cloths or plastic sheets on hand.
- Masking tape: Use masking tape to tape off any areas that you don’t want to be painted, such as the countertop or hardware.
- Screwdriver: You will need a screwdriver to remove any hardware or accessories attached to the vanity.
- Topcoat: Consider applying a protective topcoat to add durability and longevity to the newly painted vanity.
Once you have gathered all the necessary materials, you are ready to move on to the next step: removing hardware and excesses.
Step 2: Remove hardware and excesses
Before you start updating your laminate bathroom vanity, it is important to remove any hardware and excesses from the vanity. This will make the painting process easier and ensure a smooth and even finish. Here’s how to remove hardware and excesses:
- Start by emptying the vanity and removing any items such as toiletries, towels, or decorative objects.
- Next, use a screwdriver to carefully remove any hardware attached to the vanity, such as drawer pulls, knobs, or hinges. Place the hardware in a safe place to avoid misplacing them.
- If there are any excesses such as caulk or putty around the edges of the vanity, use a scraper or putty knife to gently remove them. This will create a clean surface for painting.
- Ensure that the vanity is completely empty and free from any obstructions before proceeding to the next step.
By removing the hardware and excesses, you will have a clean and blank canvas to work with for updating your laminate bathroom vanity. Now that the vanity is prepared, it’s time to move on to the next step: cleaning the vanity surface.
Step 3: Clean the vanity surface
Cleaning the vanity surface is an essential step before painting. It helps to remove any dirt, grease, or residue that may affect the adhesion of the paint. Follow these steps to clean the vanity surface effectively:
- Start by removing any loose dust or debris from the vanity surface using a dry cloth or brush.
- Next, prepare a solution of mild all-purpose cleaner or a degreaser mixed with water according to the manufacturer’s instructions.
- Dip a sponge or a soft cloth into the cleaning solution and thoroughly wipe down the entire surface of the vanity, including the doors, drawers, and sides. Pay close attention to areas that tend to accumulate grime, such as corners and edges.
- Rinse the sponge or cloth with clean water and go over the surface again to remove any remaining cleaning solution.
- Allow the vanity surface to dry completely before proceeding to the next step. This usually takes about 30 minutes to an hour.
By cleaning the vanity surface, you ensure that the paint will adhere properly and result in a smooth finish. It also creates a clean and hygienic surface for your updated bathroom vanity. Now that the vanity is clean and dry, it’s time to move on to the next step: sanding the laminate.
Step 4: Sand the laminate
Sanding the laminate is an important step in the process of updating your bathroom vanity. It helps to create a rough surface that allows the primer and paint to adhere better. Here’s how to sand the laminate:
- Start by using a medium-grit sandpaper (around 120-150 grit) to gently sand the entire surface of the vanity. This will help remove any glossy finishes and prepare the laminate for better adhesion.
- Apply even pressure while sanding, moving in a circular motion or back and forth to ensure that the sanding is consistent across the entire surface.
- Pay extra attention to areas where the laminate may be peeling or chipped. Sand these areas thoroughly to ensure a smooth surface.
- After sanding with the medium-grit sandpaper, switch to a fine-grit sandpaper (around 220 grit) to further smooth out the surface. This will help remove any remaining imperfections and create a uniform texture.
- Once you have finished sanding, use a clean, dry cloth to wipe away any dust or debris from the surface. It’s important to remove all particles to ensure a clean and smooth painting surface.
By sanding the laminate, you create a rough texture that allows the primer and paint to adhere more effectively, resulting in a long-lasting and durable finish. Now that the laminate is properly sanded and cleaned, it’s time to move on to the next step: applying the primer.
When updating a laminate bathroom vanity, consider painting it with a high-quality, durable paint specifically designed for laminate surfaces. This can give your vanity a fresh, updated look without the cost of replacing it.
Read more: What Is A Vanity?
Step 5: Apply primer
Applying primer is a crucial step in the process of updating your bathroom vanity. Primer creates a smooth and even base for the paint to adhere to, ensuring better coverage and durability. Follow these steps to apply primer to your laminate bathroom vanity:
- Start by thoroughly stirring the primer to ensure that it is well mixed.
- Using a paintbrush or a foam roller, apply an even coat of primer to the entire surface of the vanity. Make sure to cover all areas, including the doors, drawers, and sides.
- Apply the primer in long, even strokes, working with the grain of the wood (if your vanity has a wood grain pattern).
- Prioritize applying the primer to the areas that will be most visible, such as the front of the doors and drawers.
- Allow the primer to dry according to the manufacturer’s instructions. This typically takes about 1-2 hours, but it’s essential to check the specific drying time mentioned on the primer can.
- Once the primer is completely dry, lightly sand the surface with a fine-grit sandpaper (around 220 grit) to remove any bumps or imperfections.
- After sanding, use a clean, dry cloth to wipe away any dust or debris from the surface.
By applying primer, you ensure that the paint will adhere smoothly and provide better coverage, enhancing the overall appearance and longevity of your updated bathroom vanity. Now that the primer has been applied, it’s time to move on to the next step: painting the vanity.
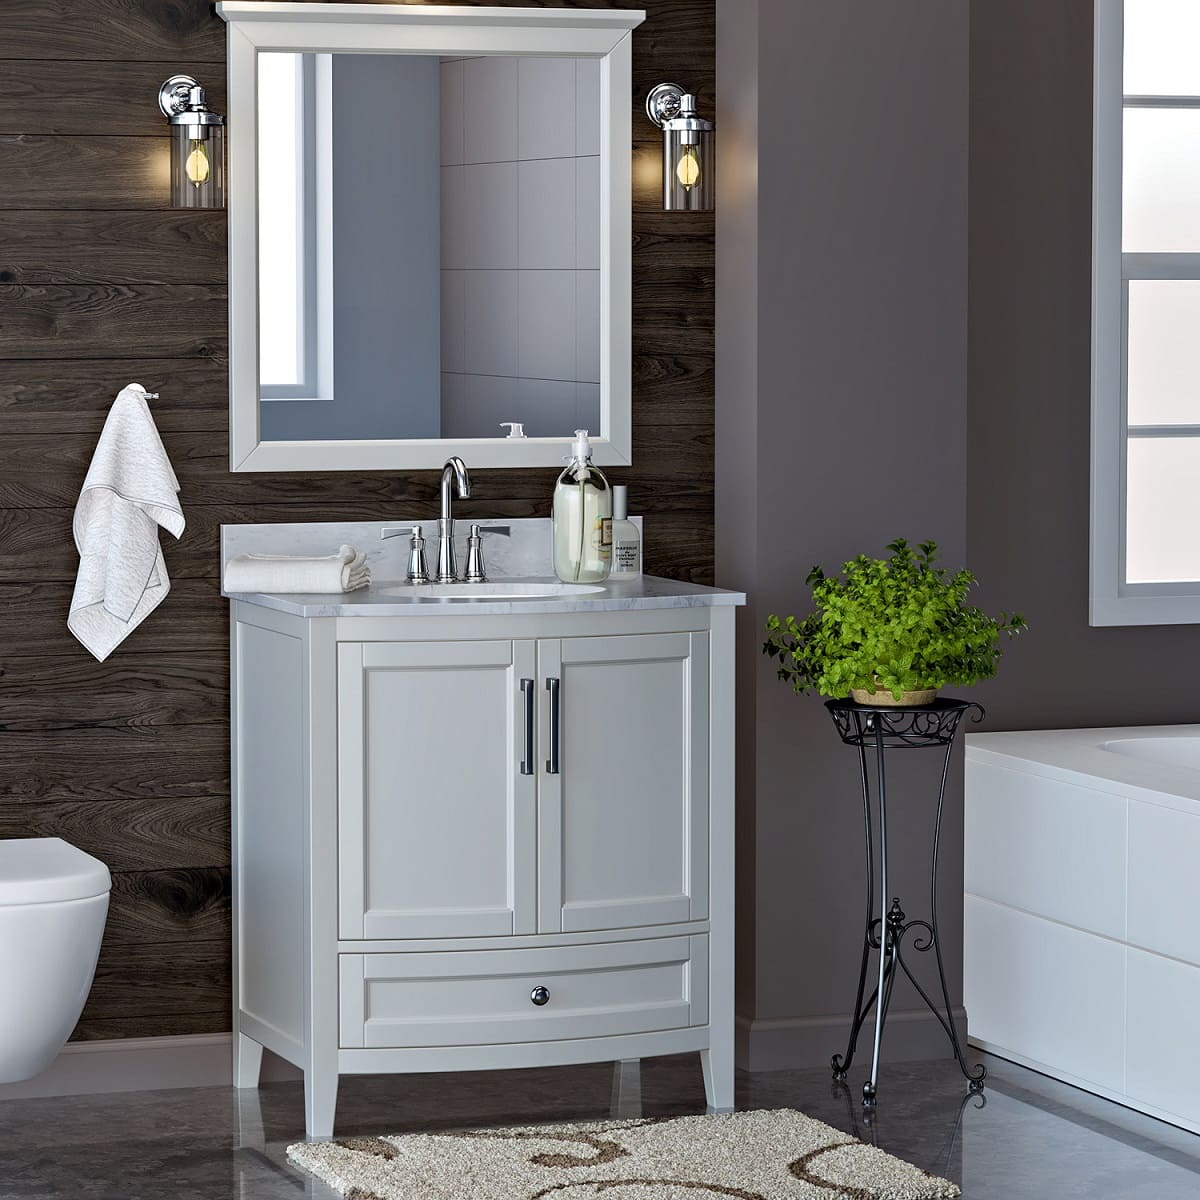
Step 6: Paint the vanity
Painting the vanity is the transformative step in updating your bathroom. It’s the stage where you can get creative and add your personal touch to the vanity. Follow these steps to paint your laminate bathroom vanity:
- Choose a high-quality paint that is specifically formulated for use on laminate surfaces. Select a color that complements your bathroom’s aesthetic and your personal style.
- Stir the paint thoroughly to ensure an even consistency throughout.
- Start by using a paintbrush to cut in around the edges and corners of the vanity, ensuring precise application.
- Next, use a foam roller or a paintbrush to apply an even coat of paint to the flat surfaces of the vanity. Work in long, smooth strokes to achieve a seamless finish.
- Allow the first coat of paint to dry completely, which usually takes around 2-4 hours. Follow the drying time suggested by the paint manufacturer.
- Once the first coat is dry, evaluate the coverage and decide if a second coat is necessary. If needed, repeat the process of applying paint, allowing it to dry in between coats.
- Remember to always paint with the grain of the laminate, if visible, for a more natural and seamless look.
- After applying the final coat of paint, let it dry completely according to the manufacturer’s instructions before proceeding to the next step.
By painting the vanity, you can completely transform its appearance and give it a fresh, updated look. Take your time during this step, ensuring that the paint is applied evenly and smoothly. Now that the vanity is painted, it’s time to move on to the next step: applying a protective topcoat.
Step 7: Apply a protective topcoat
Applying a protective topcoat is an important final step in updating your bathroom vanity. A topcoat adds an extra layer of protection to the painted surface, increasing its durability and resistance to moisture. Follow these steps to apply a protective topcoat to your laminate bathroom vanity:
- Choose a clear, water-based topcoat that is designed for use on painted surfaces. Opt for a finish that suits your preference, such as matte, satin, or glossy.
- Ensure that the painted surface is completely dry and free from any dust or debris.
- Using a clean paintbrush or foam brush, apply an even coat of the topcoat to the entire vanity, including the doors, drawers, and sides. Work in long, smooth strokes to achieve an even finish.
- Allow the first coat of topcoat to dry according to the manufacturer’s instructions. This usually takes around 2-4 hours, but be sure to check the drying time mentioned on the topcoat can.
- If desired, you can apply a second coat of topcoat for added protection and durability. Follow the same process of applying the topcoat and allowing it to dry between coats.
- Once the topcoat is completely dry, inspect the vanity for any imperfections or areas that may need touch-ups. Use a fine-grit sandpaper to lightly buff out any rough spots.
- After sanding, use a clean, dry cloth to remove any dust or debris from the surface.
By applying a protective topcoat, you are safeguarding the painted surface of your vanity against everyday wear and tear, making it more resistant to moisture and ensuring its longevity. Now that the protective topcoat has been applied, it’s time for the final step: reattaching hardware and accessories.
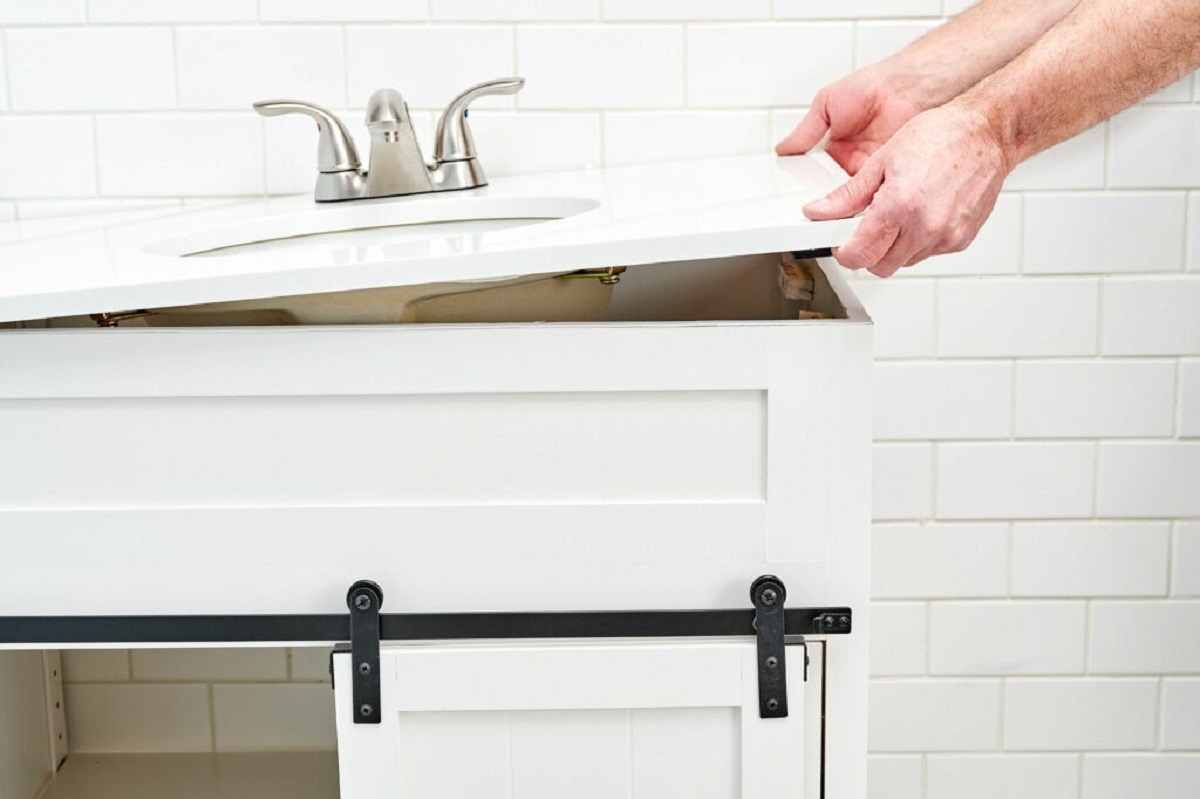
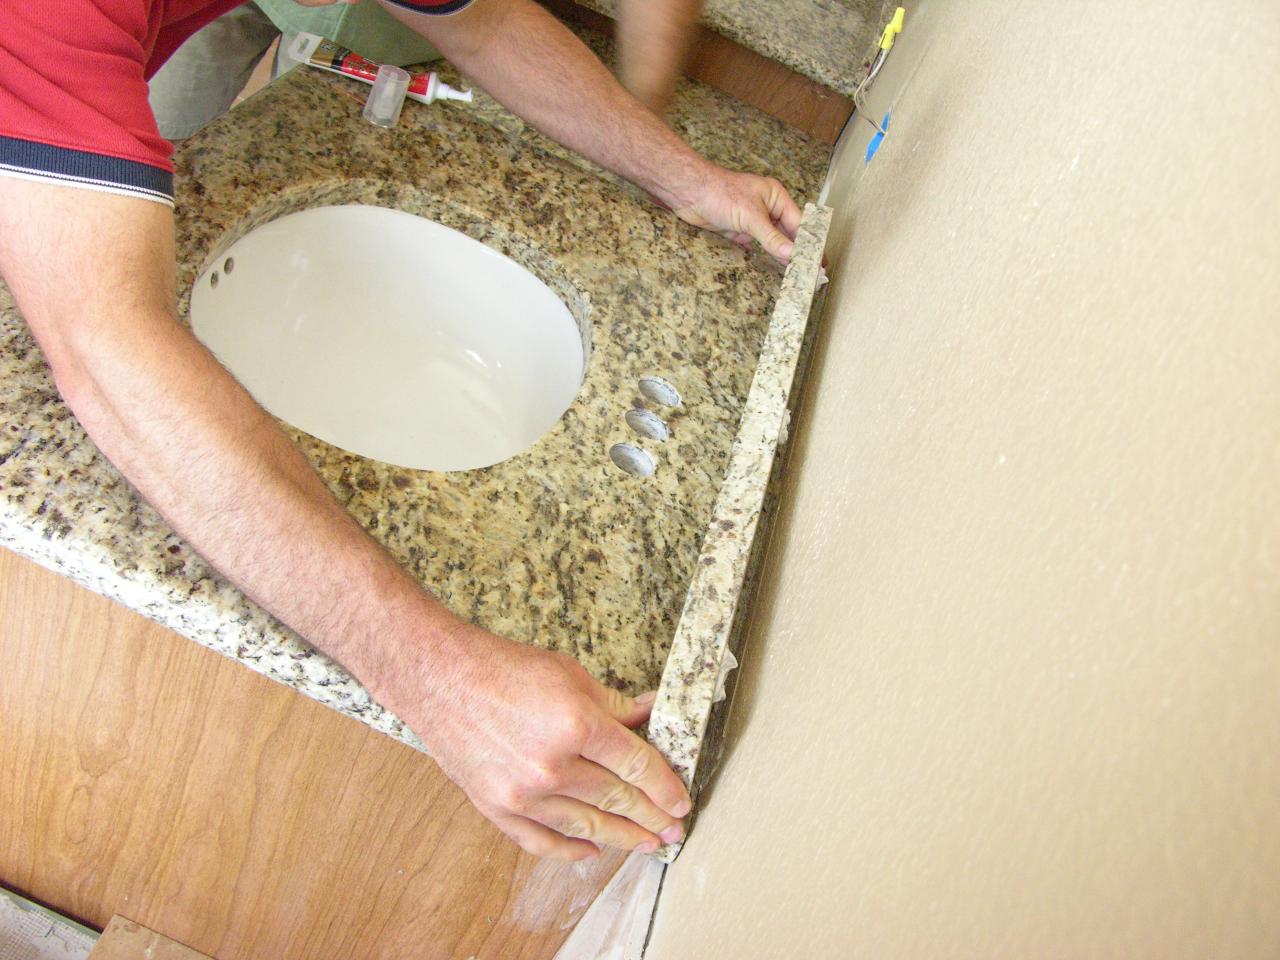
Step 8: Reattach hardware and accessories
With the majority of the updating process complete, it’s time to reattach the hardware and accessories to your newly painted bathroom vanity. This final step will bring the whole look together and give your vanity a polished and finished appearance. Follow these steps to reattach the hardware and accessories:
- Retrieve the hardware that was removed earlier and ensure that it is clean and free from any paint residue.
- Align the hardware with their respective holes on the vanity.
- Using a screwdriver, carefully secure the hardware in place by tightening the screws. Be cautious not to overtighten, as it may damage the laminate surface.
- If there were any additional accessories, such as towel bars or mirrors, reinstall them according to their specific instructions.
- Step back and admire your newly updated laminate bathroom vanity! Take a moment to appreciate the transformation and how it has revitalized the look of your bathroom.
With the hardware and accessories reattached, your updated bathroom vanity is now complete. The fresh coat of paint, along with the protective topcoat, will provide a durable and stylish finish that will withstand daily use and add a touch of elegance to your bathroom.
Remember to properly maintain and care for your updated vanity by regularly cleaning it with gentle, non-abrasive cleaners, and avoiding harsh chemicals or abrasive sponges that could damage the painted surface. This will help preserve the beauty and longevity of your newly updated laminate bathroom vanity for years to come.
Congratulations on successfully updating your bathroom vanity! Enjoy the fresh look and the satisfaction of completing a DIY project that has transformed your space.
Thank you for following along with the step-by-step guide to updating your laminate bathroom vanity. We hope this article has been helpful and inspiring for your home improvement endeavors.
Read more: How To Paint A Vanity
Conclusion
Updating your laminate bathroom vanity is a rewarding project that can breathe new life into your bathroom. By following the step-by-step guide provided in this article, you can transform the look of your vanity and create a focal point that reflects your personal style and enhances the overall ambiance of your bathroom.
From gathering the necessary materials to reattaching hardware and accessories, each step in the process has been carefully outlined to ensure a successful and satisfying outcome. By taking the time to properly prepare the surface, apply primer and paint, and finish with a protective topcoat, you can achieve a durable and beautiful finish that will withstand the test of time.
Updating your laminate bathroom vanity not only offers a cost-effective alternative to replacing the entire vanity but also allows you to unleash your creativity and customize your bathroom to your liking. Whether you choose a subtle and neutral color or a bold and vibrant hue, the choices are endless, and the end result will be a vanity that suits your style and preferences.
Remember to maintain your updated vanity by using gentle cleaners and avoiding harsh chemicals or abrasive materials that may damage the painted surface. With proper care, your updated laminate bathroom vanity will continue to add elegance and appeal to your bathroom for years to come.
So, what are you waiting for? Take the plunge and start updating your laminate bathroom vanity today. Enjoy the process, have fun, and see the stunning transformation that awaits!
Frequently Asked Questions about How To Update Laminate Bathroom Vanity
Was this page helpful?
At Storables.com, we guarantee accurate and reliable information. Our content, validated by Expert Board Contributors, is crafted following stringent Editorial Policies. We're committed to providing you with well-researched, expert-backed insights for all your informational needs.


0 thoughts on “How To Update Laminate Bathroom Vanity”