Home>Ideas and Tips>Creating a Functional Craft Corner with an Augmented Reality Design Table
Ideas and Tips
Creating a Functional Craft Corner with an Augmented Reality Design Table
Published: September 1, 2024
Transform your craft corner with an AR design table. Enhance visualization, efficiency, and collaboration in your creative space.
(Many of the links in this article redirect to a specific reviewed product. Your purchase of these products through affiliate links helps to generate commission for Storables.com, at no extra cost. Learn more)
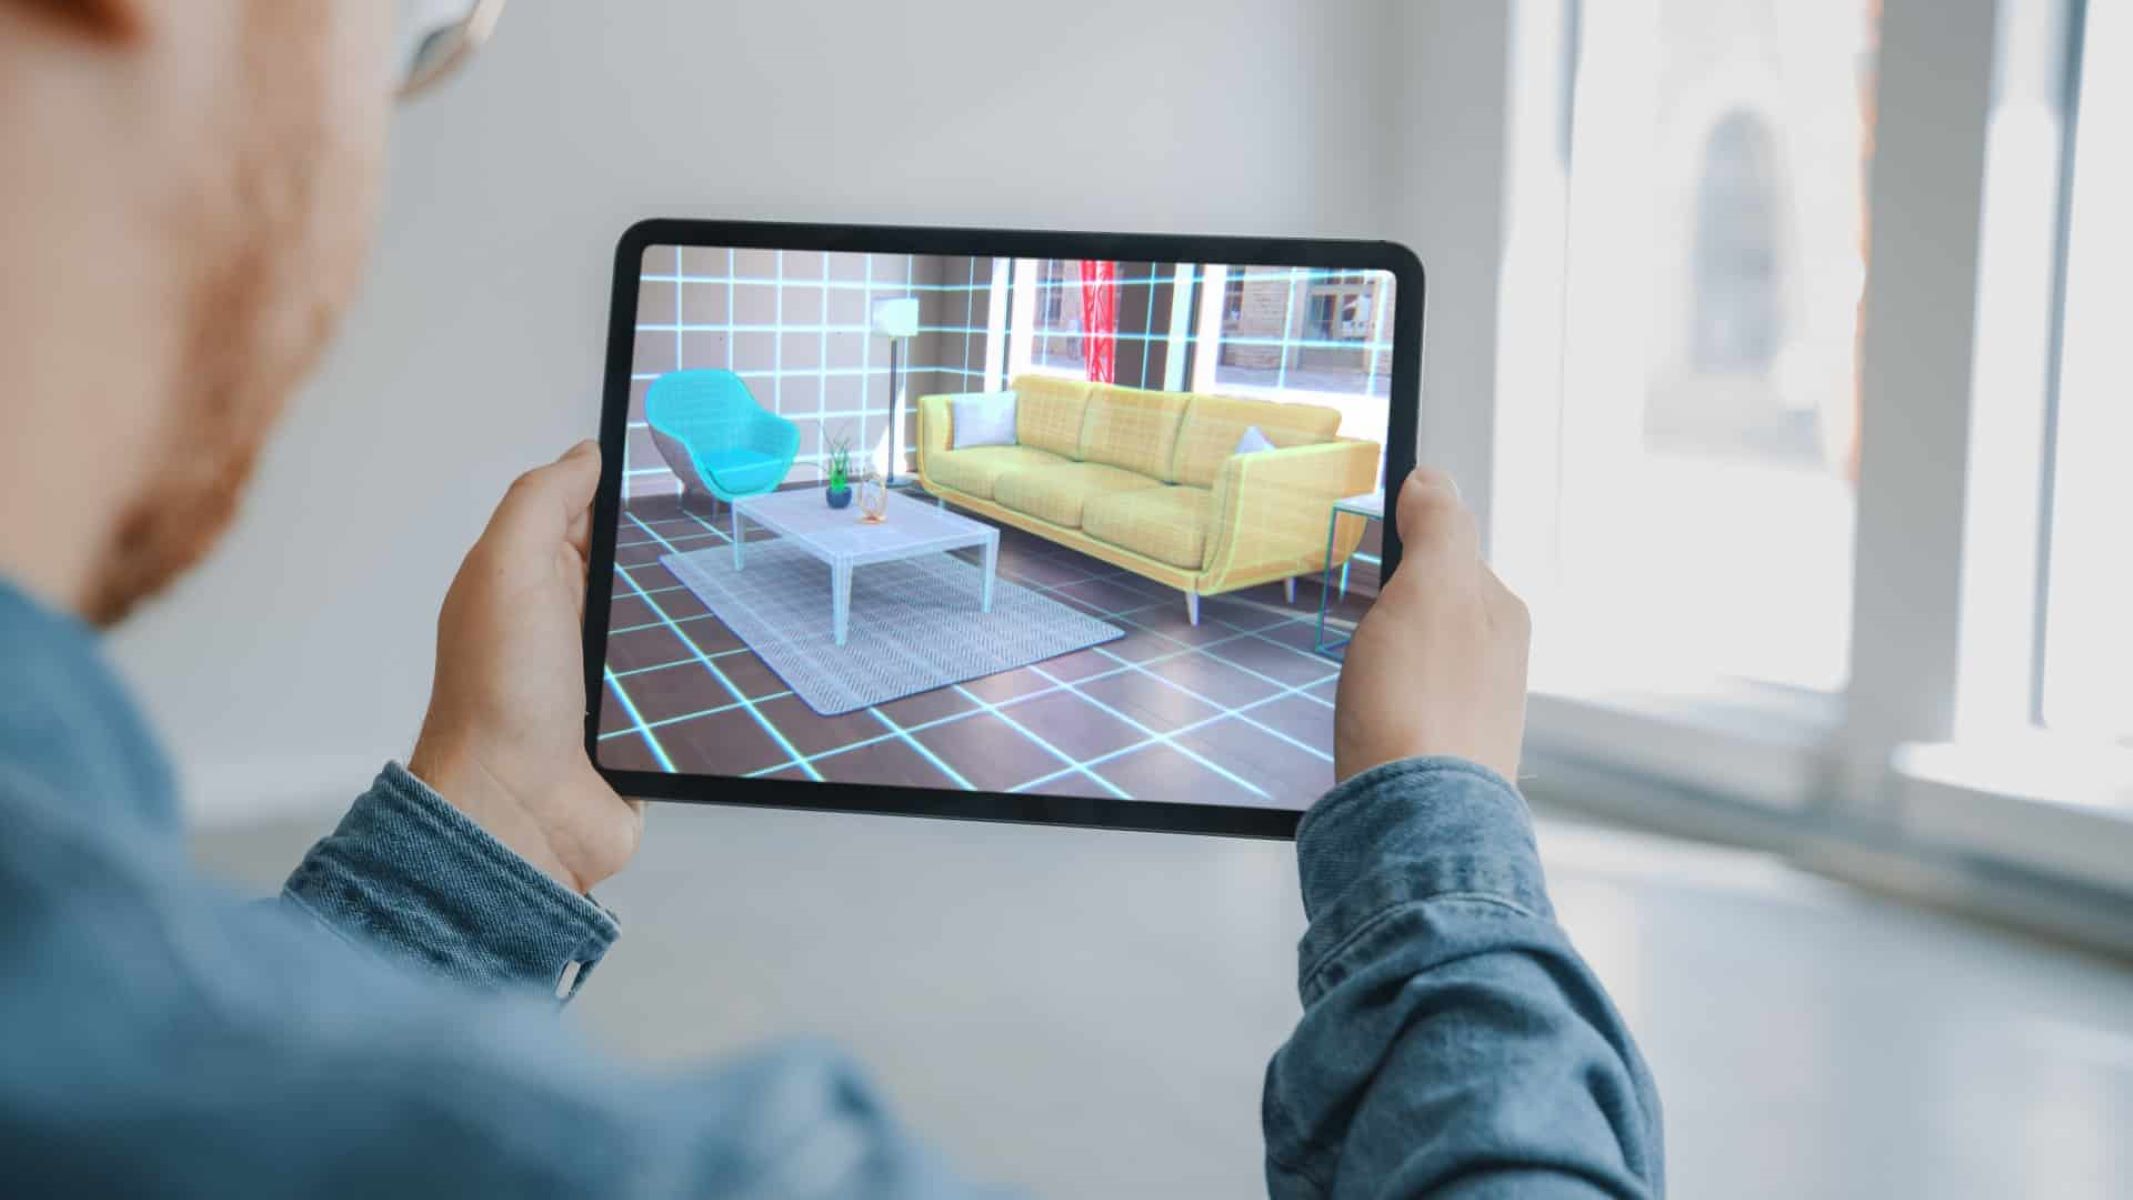
Creating a functional craft corner with an augmented reality (AR) design table is a game-changer for anyone who loves crafting. But how exactly do you go about setting up such a space? Let's dive right in and break it down step-by-step.
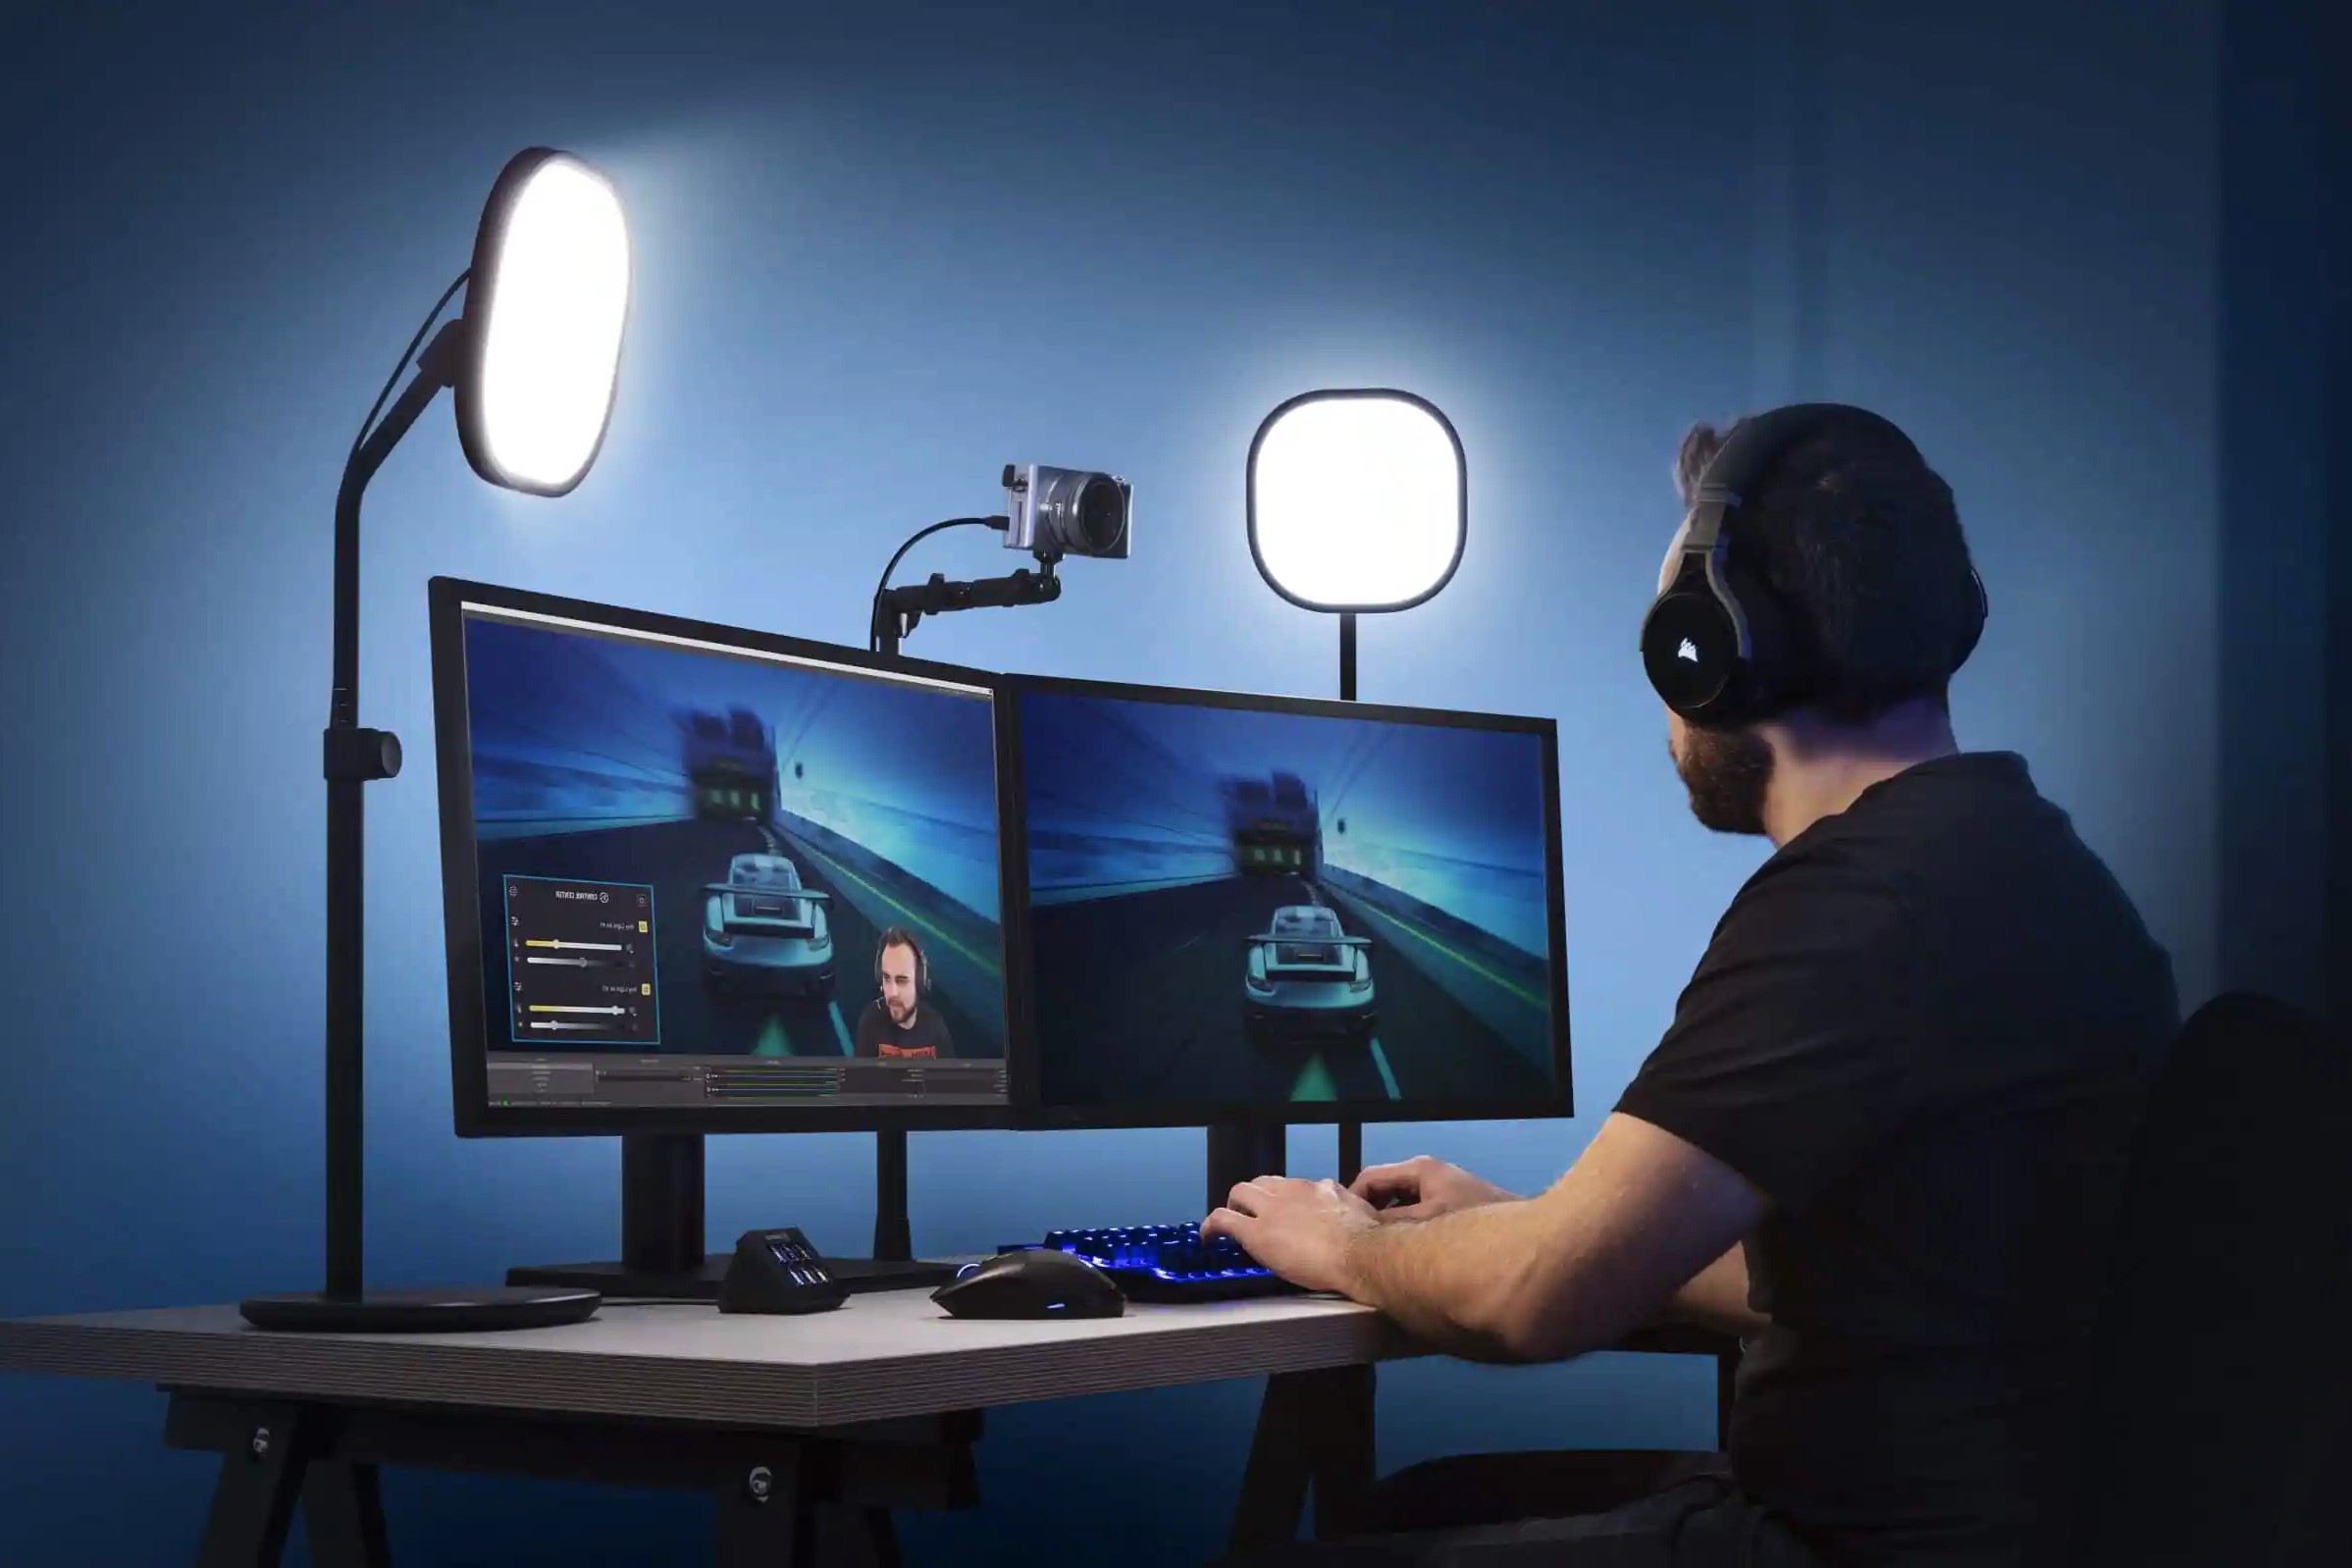
Benefits of an AR Design Table
An AR design table brings a bunch of benefits to your craft corner. First off, it enhances visualization. Traditional design methods often rely on 2D sketches or physical prototypes, which can be time-consuming and limited in their ability to accurately represent the final product. With an AR design table, you can see your designs in 3D, giving you a more realistic and immersive experience.
Another big plus is the interactive design. The interactive nature of AR technology lets you manipulate designs in real-time. This feature is super useful for crafters who need to experiment with different layouts, colors, and textures without the need for physical prototypes.
Collaboration is also a breeze with an AR design table. It allows multiple users to view and interact with the same design simultaneously. This is especially beneficial for group projects or when seeking feedback from others.
Efficiency is another key benefit. By reducing the need for physical prototypes and manual measurements, AR design tables streamline the design process. This efficiency can save time and resources, making it easier to iterate through different designs quickly.
Lastly, customization is a breeze. Users can customize their designs using various tools and features provided by the AR software. This level of customization ensures that the final product meets their specific needs and preferences.
Practical Considerations
Before you jump in, there are some practical considerations to keep in mind. First, think about the space requirements. When setting up a craft corner with an AR design table, it's essential to consider the available space. The table should be large enough to accommodate the AR display and any additional tools or materials needed for crafting.
Next, consider hardware and software compatibility. Ensure that your AR design table is compatible with your computer or mobile device. The software should be user-friendly and offer seamless integration with the hardware.
Cost is another factor to consider. AR technology can be expensive, especially high-end models with advanced features. However, investing in a good-quality AR design table can pay off in the long run by enhancing productivity and reducing errors.
A user-friendly interface is crucial for an AR design table. The software should be intuitive, allowing users to easily navigate through different features and tools without extensive training.
Lastly, think about maintenance and updates. Regular maintenance and updates are necessary to ensure that the AR design table continues to function optimally. This includes updating software, checking for compatibility issues, and performing routine hardware checks.
Step-by-Step Instructions
1. Planning Your Craft Corner
-
Assess Your Space:
- Begin by assessing the available space where you plan to set up your craft corner. Measure the room and consider the layout of any existing furniture or obstacles.
-
Define Your Needs:
- Determine what you need from your craft corner. This could include a workspace for cutting, sewing, painting, or other activities. Make a list of essential tools and materials required for each activity.
-
Create a Layout Plan:
- Use graph paper or an online tool to create a layout plan for your craft corner. Include the placement of the AR design table, storage units for supplies, and any other necessary elements like lighting or seating.
2. Setting Up Your AR Design Table
-
Choose Your Hardware:
- Select an AR design table that fits within your budget and meets your specific needs. Consider factors like display size, resolution, and compatibility with your devices.
-
Install Software:
- Download and install the AR software compatible with your chosen hardware. Follow the manufacturer's instructions for installation and initial setup.
-
Calibrate Your Device:
- Calibrate your device according to the manufacturer's guidelines to ensure optimal performance of the AR technology.
-
Test Your Setup:
- Test your setup by running through some basic designs or tutorials provided by the software manufacturer. This will help you understand how to use the AR design table effectively.
3. Integrating AR Technology into Your Craft Corner
-
Design Your First Project:
- Start designing your first project using the AR software on your table. Begin with simple designs like furniture layouts or decorative items before moving on to more complex projects.
-
Experiment with Tools and Features:
- Experiment with various tools and features offered by the AR software such as 3D modeling tools, texture editors, and color palettes.
-
Collaborate with Others (Optional):
- If you're working on a group project or seeking feedback from others, use the collaborative features of the AR software to share designs and receive input in real-time.
-
Save and Export Designs:
- Once you're satisfied with your design, save it for future reference and export it if needed for further editing or printing purposes.
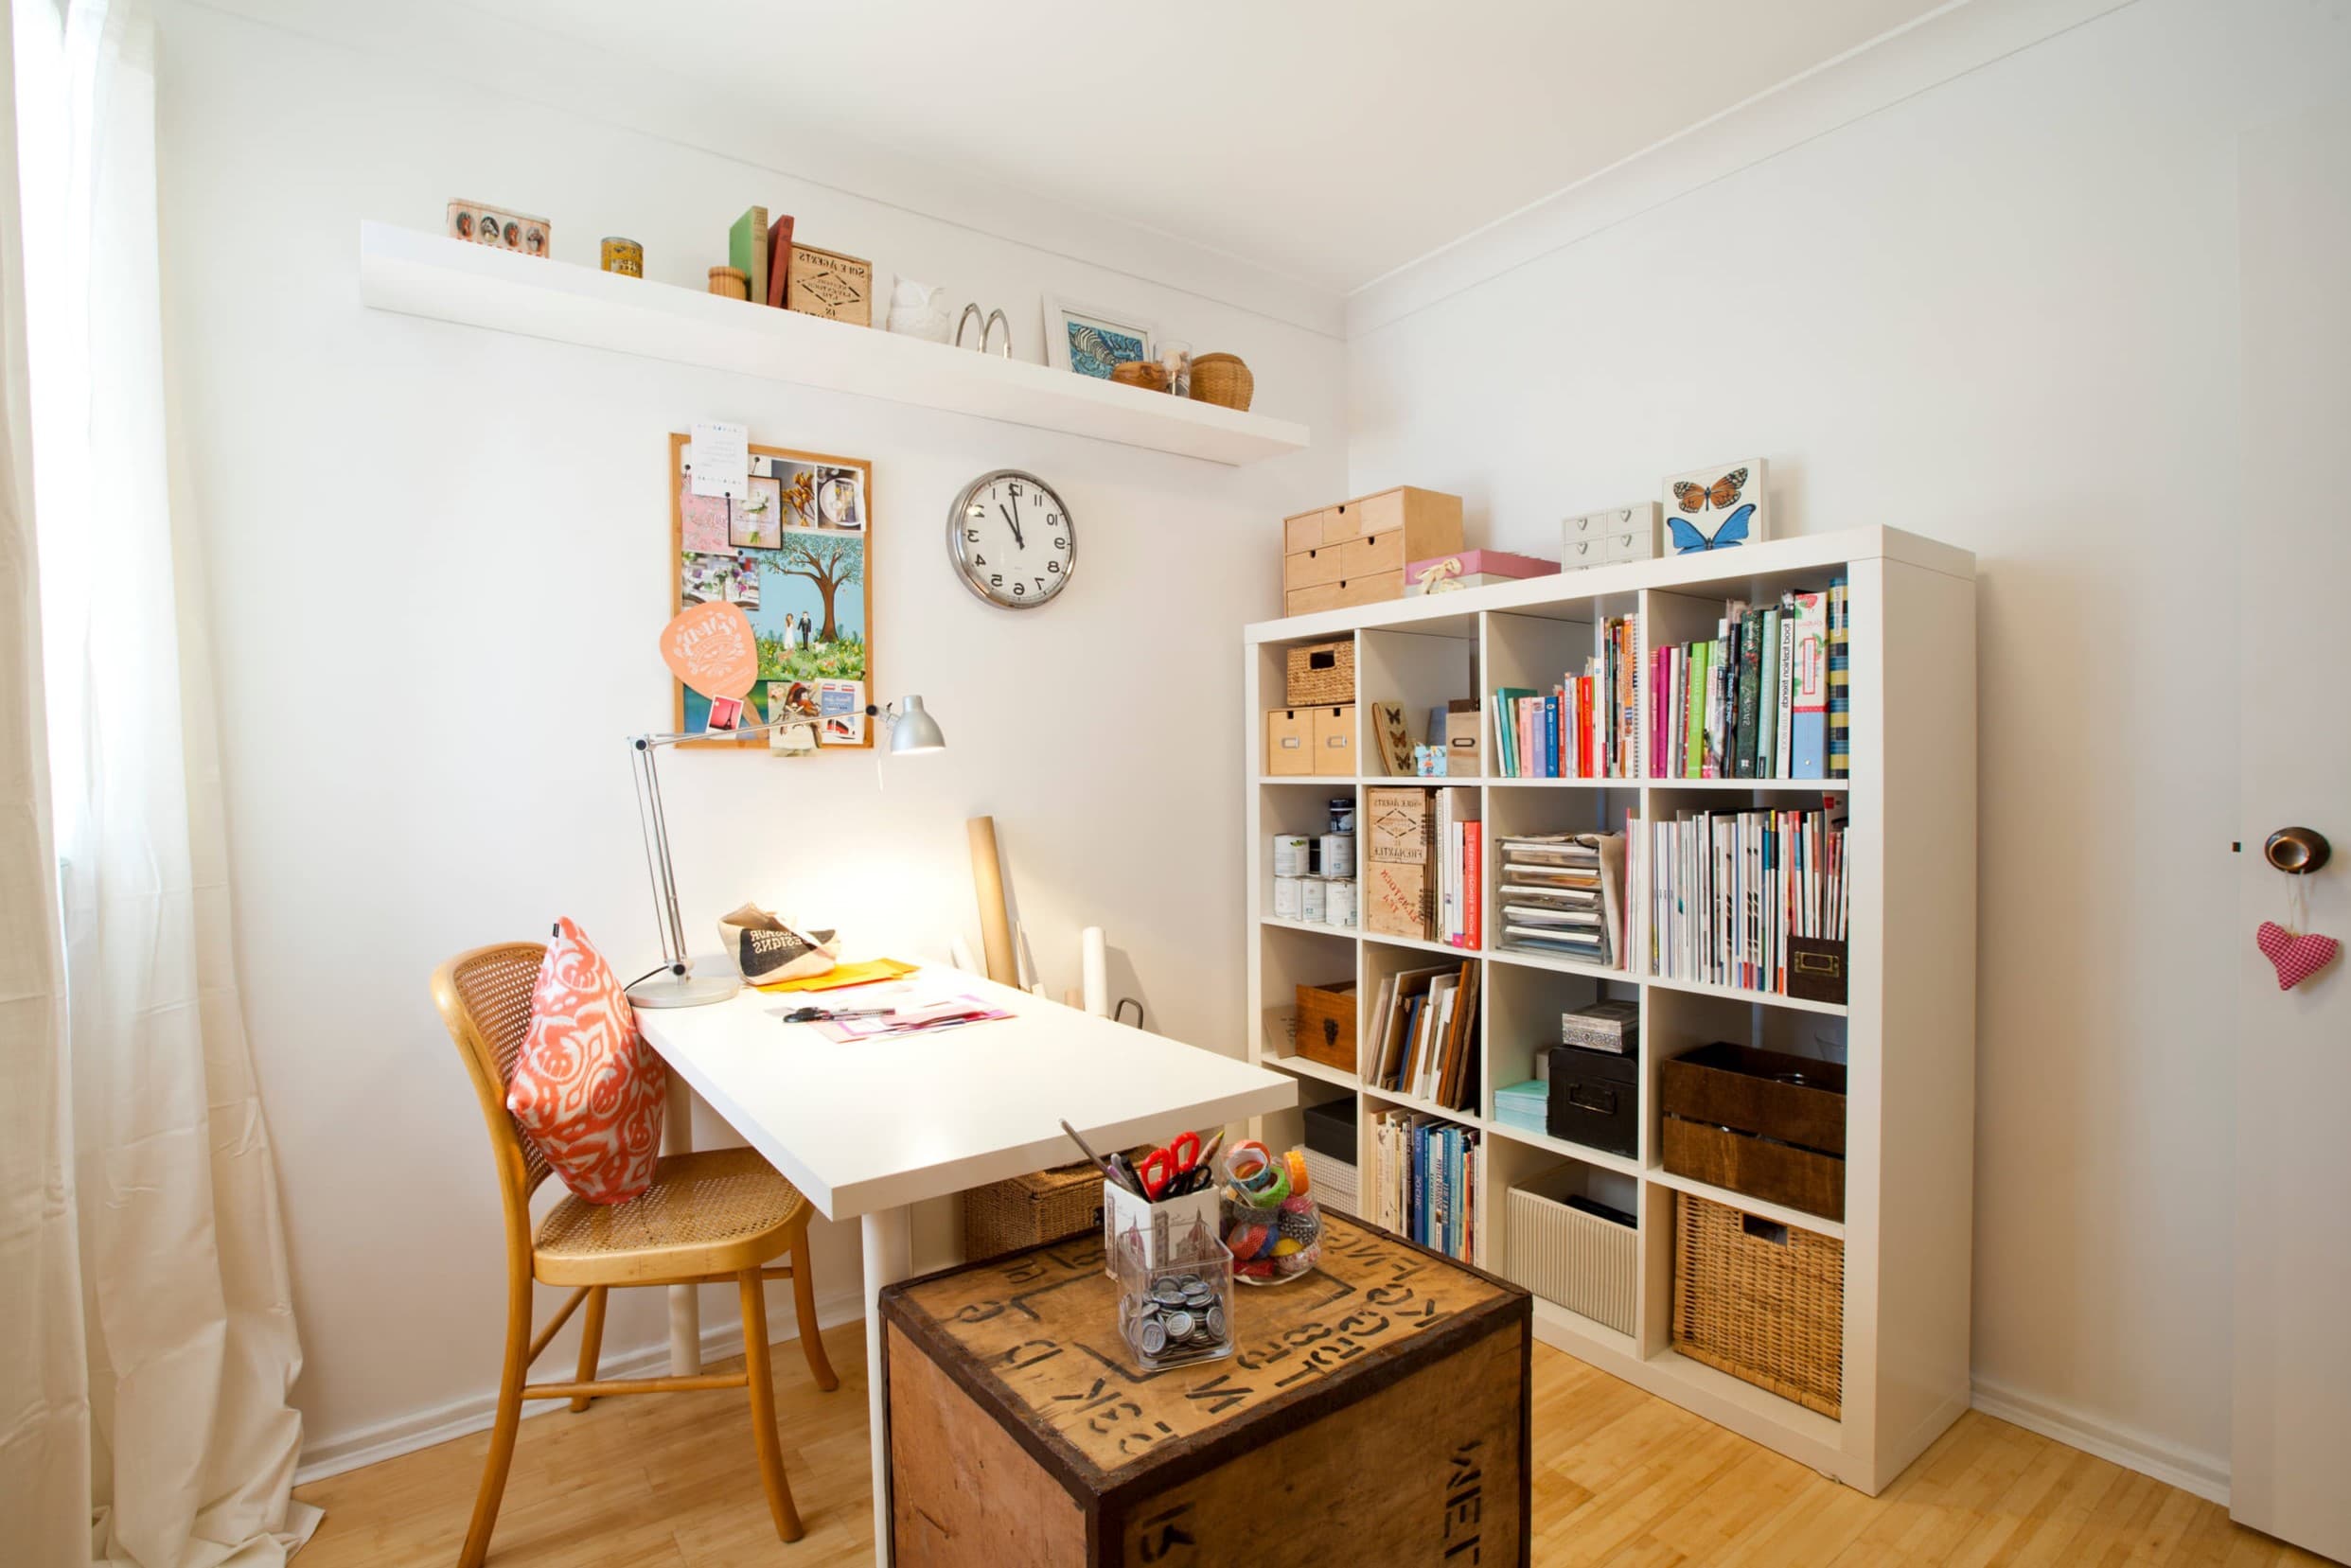
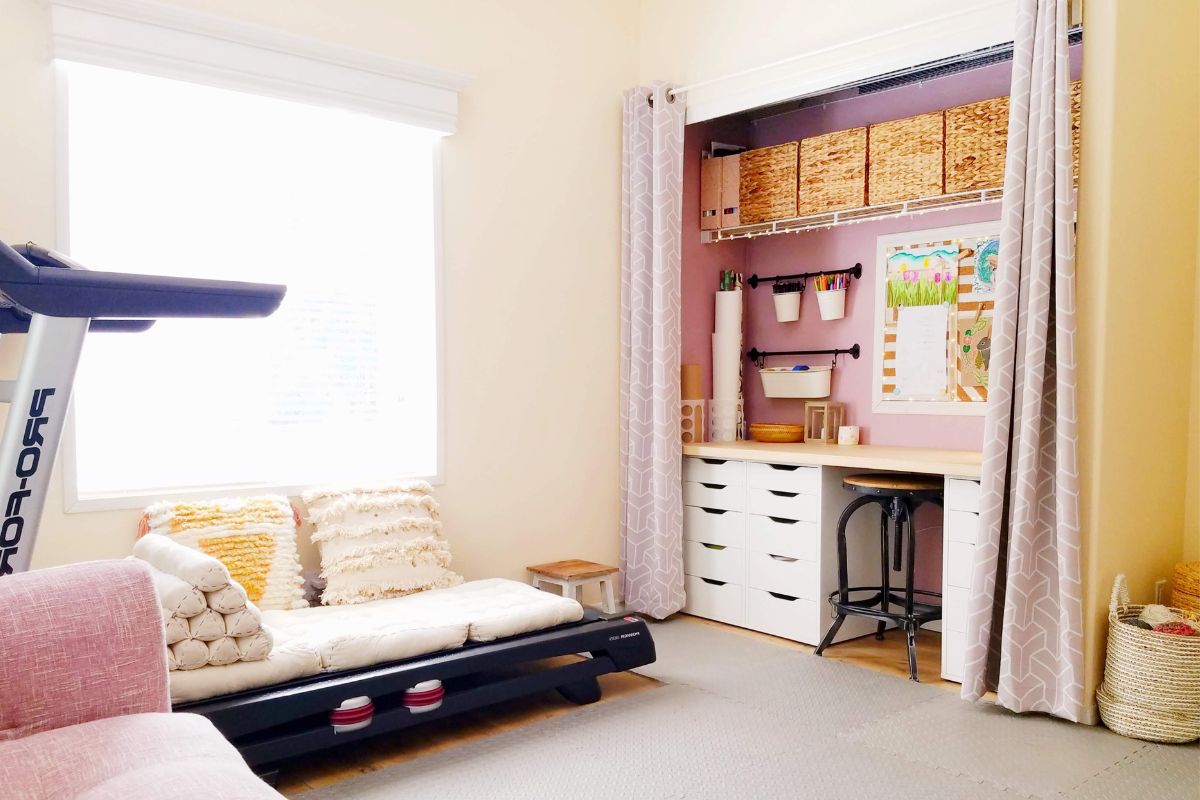
4. Enhancing Your Craft Corner with Additional Features
-
Lighting:
- Proper lighting is essential for any workspace, especially one that involves detailed work like crafting or painting. Consider installing LED lights specifically designed for workspaces which provide both brightness and color accuracy.
-
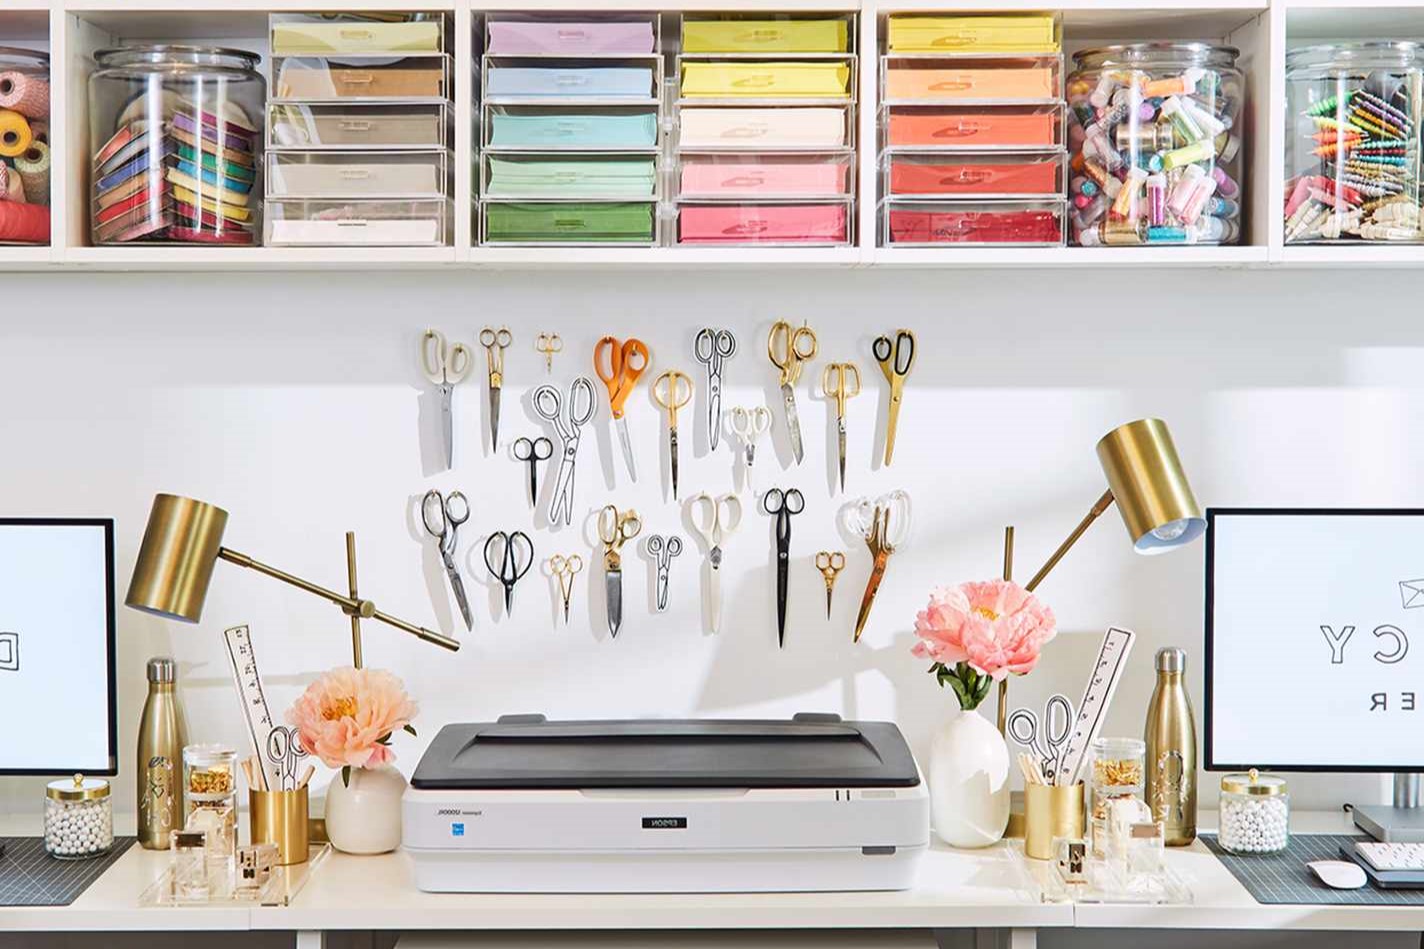
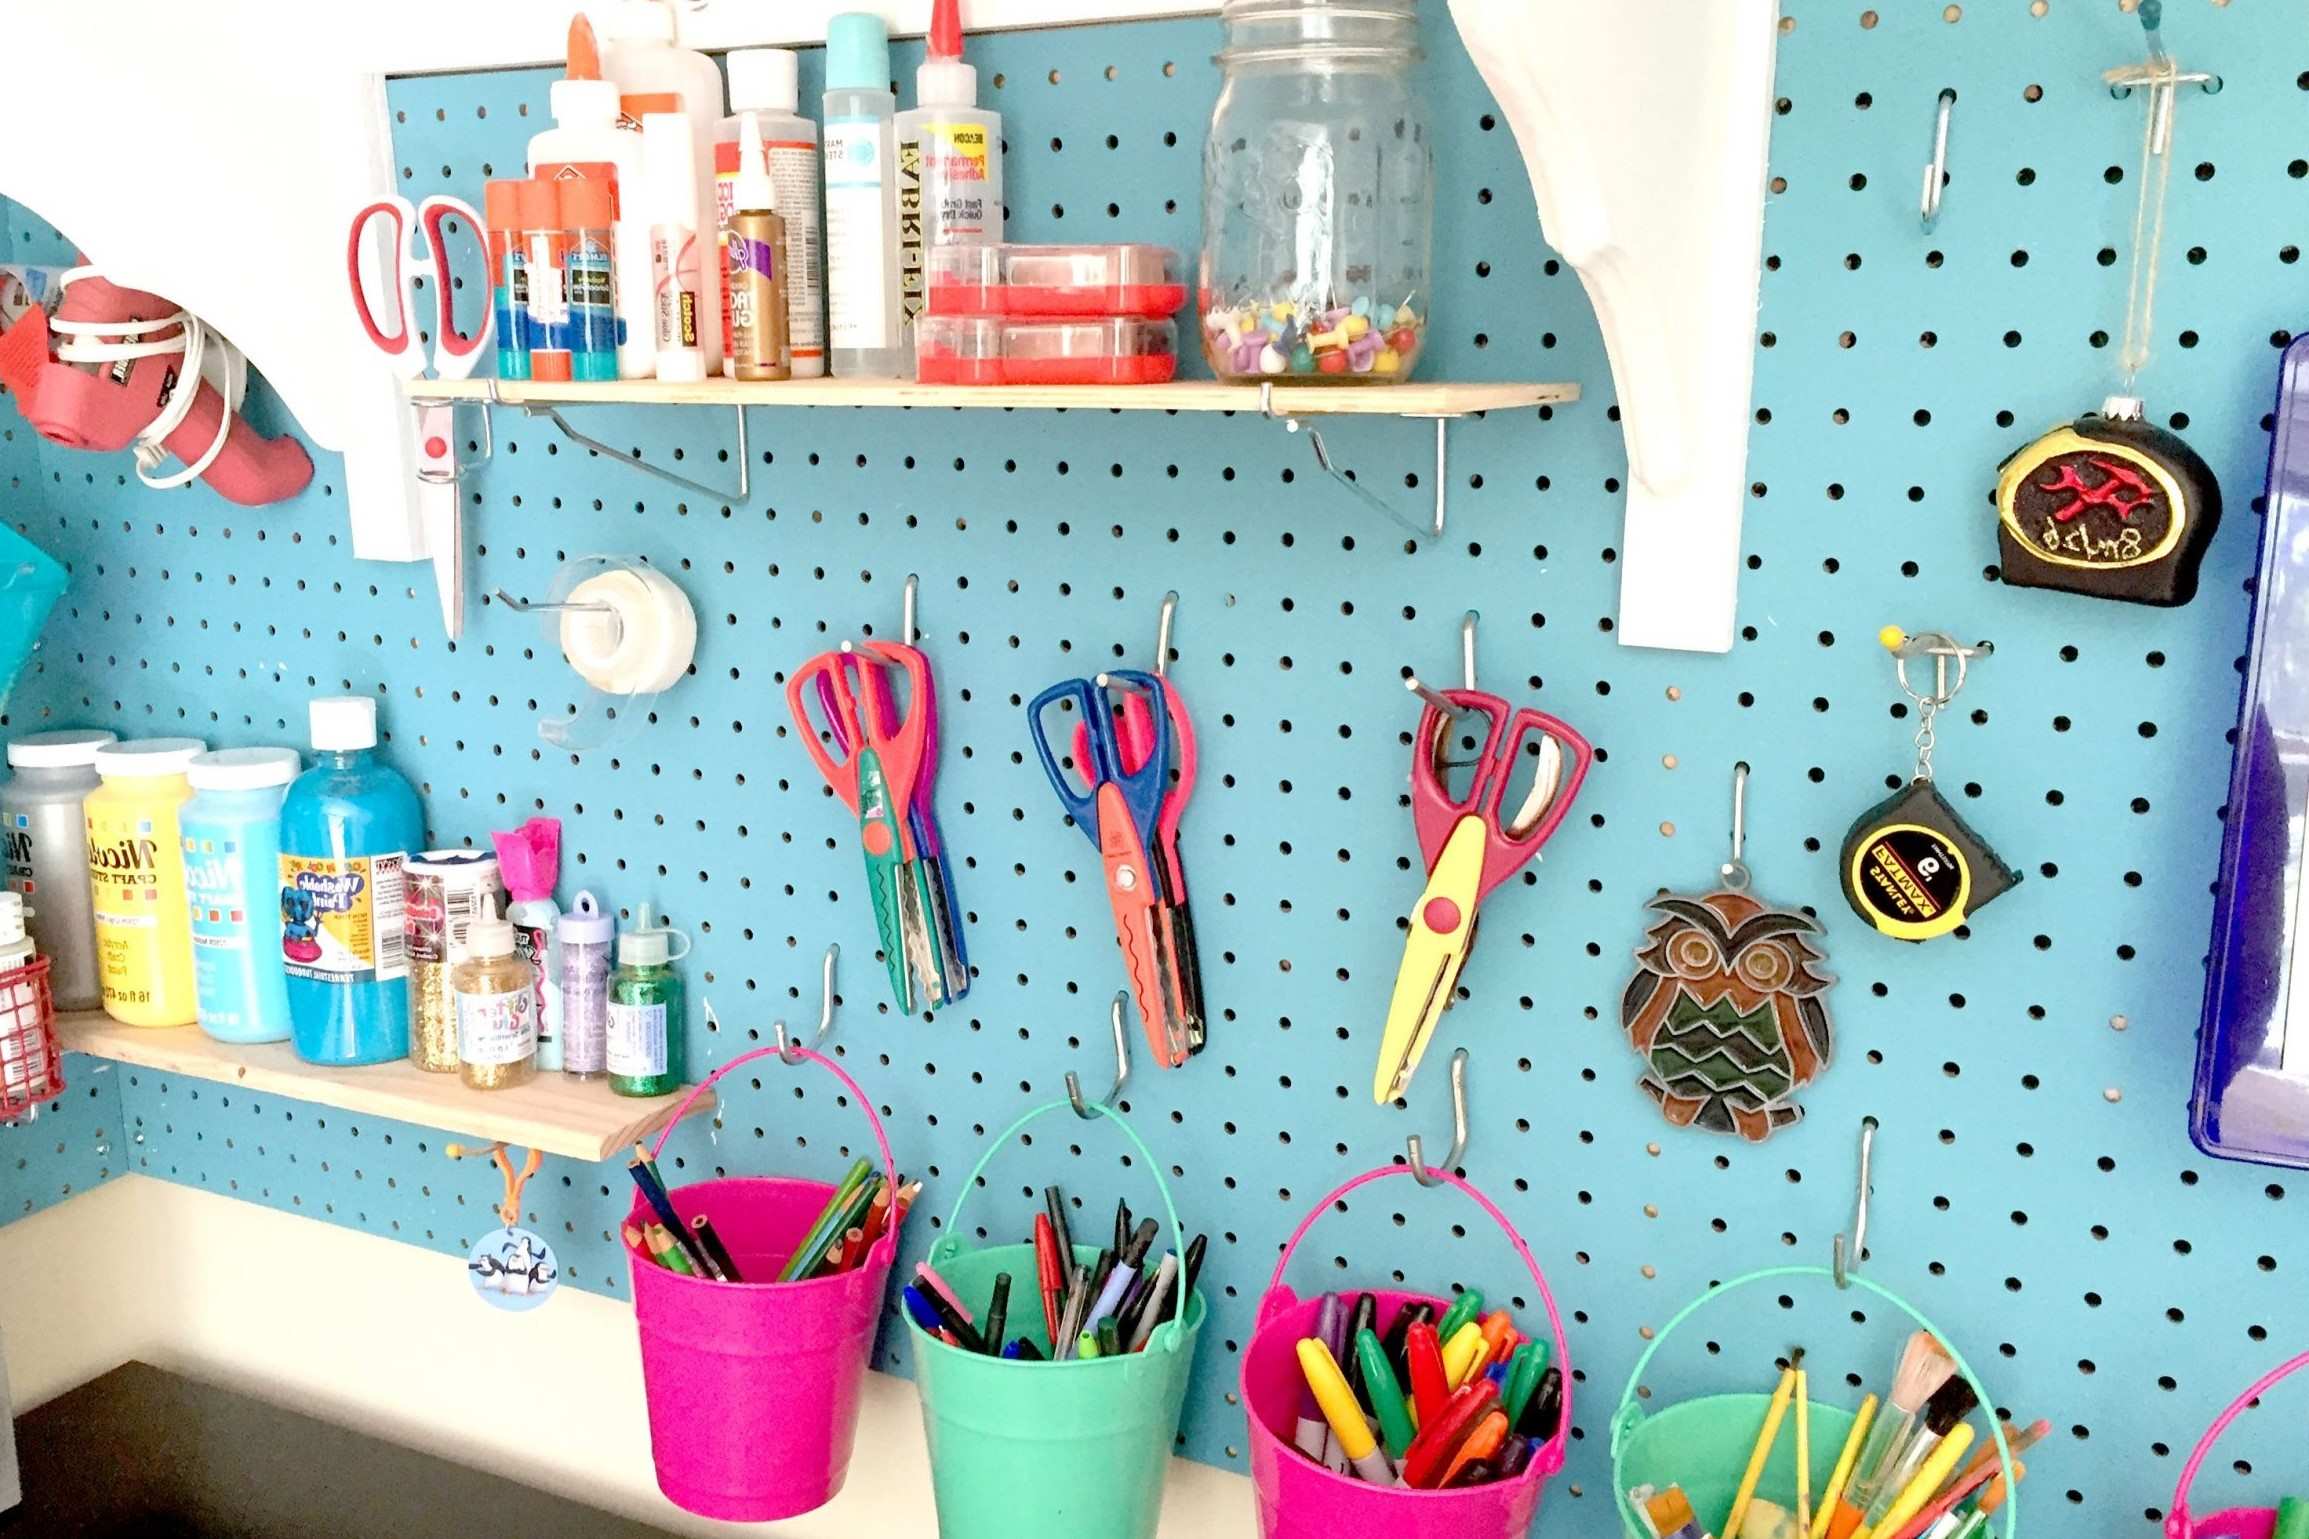
Storage Solutions:
- Invest in storage solutions like shelves or cabinets to keep supplies organized and within reach without cluttering the workspace.
-
Ergonomic Seating:
- Ensure that seating is ergonomic to prevent fatigue during extended periods of work on the AR design table or other crafting activities.
-
Inspiration Board:
- Create an inspiration board where you can pin up images of designs you like or ideas that come to mind while working on projects.
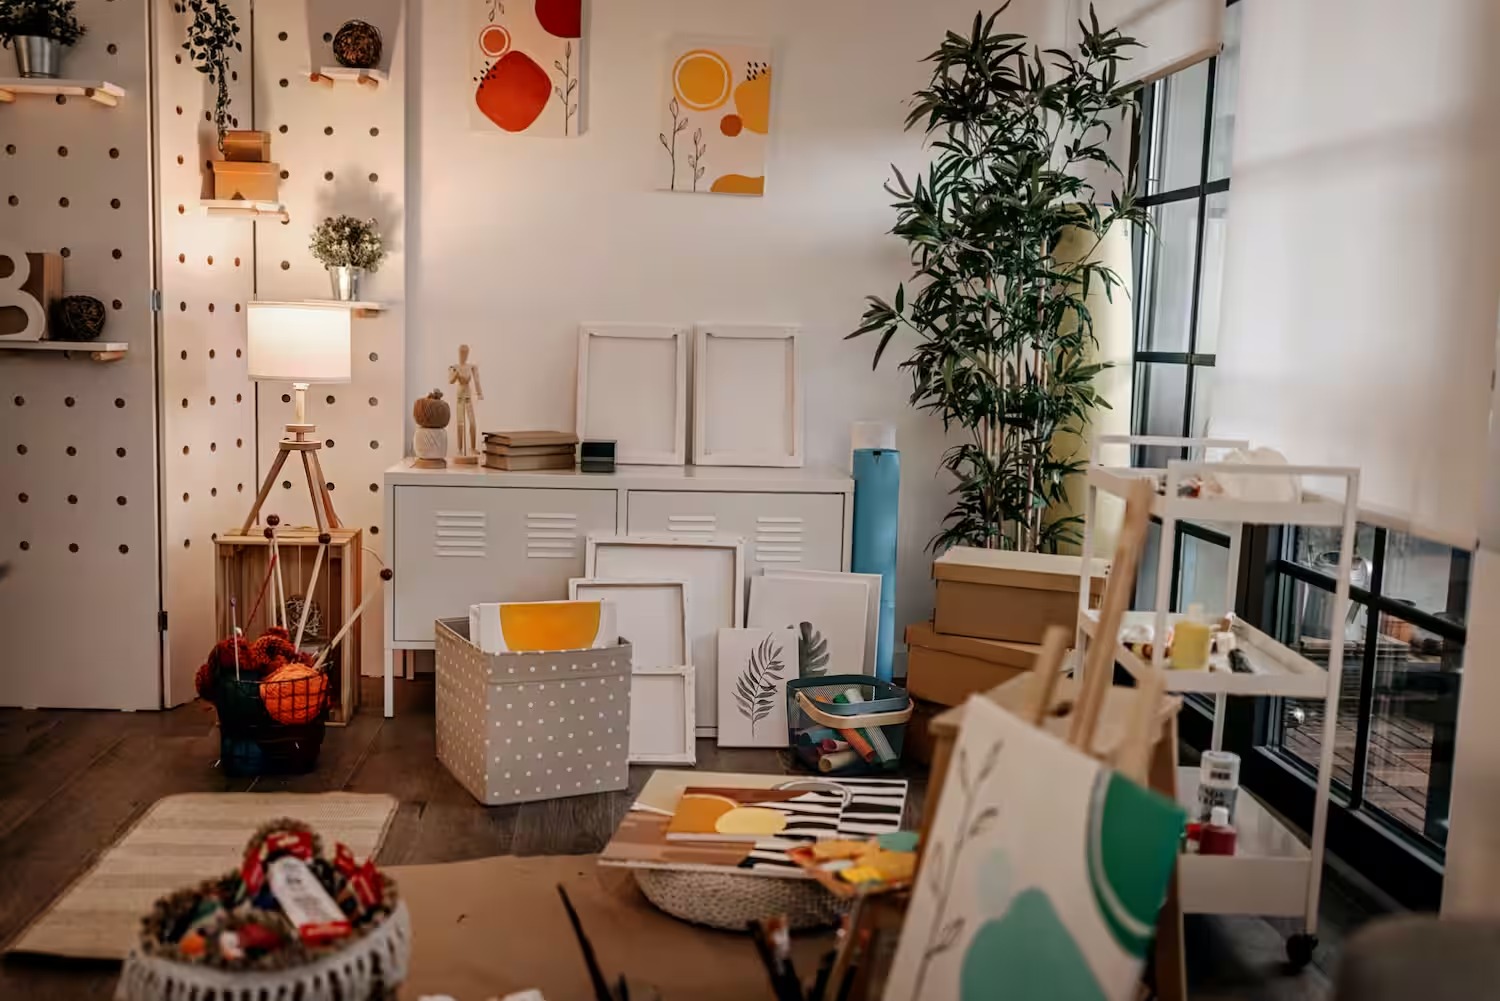
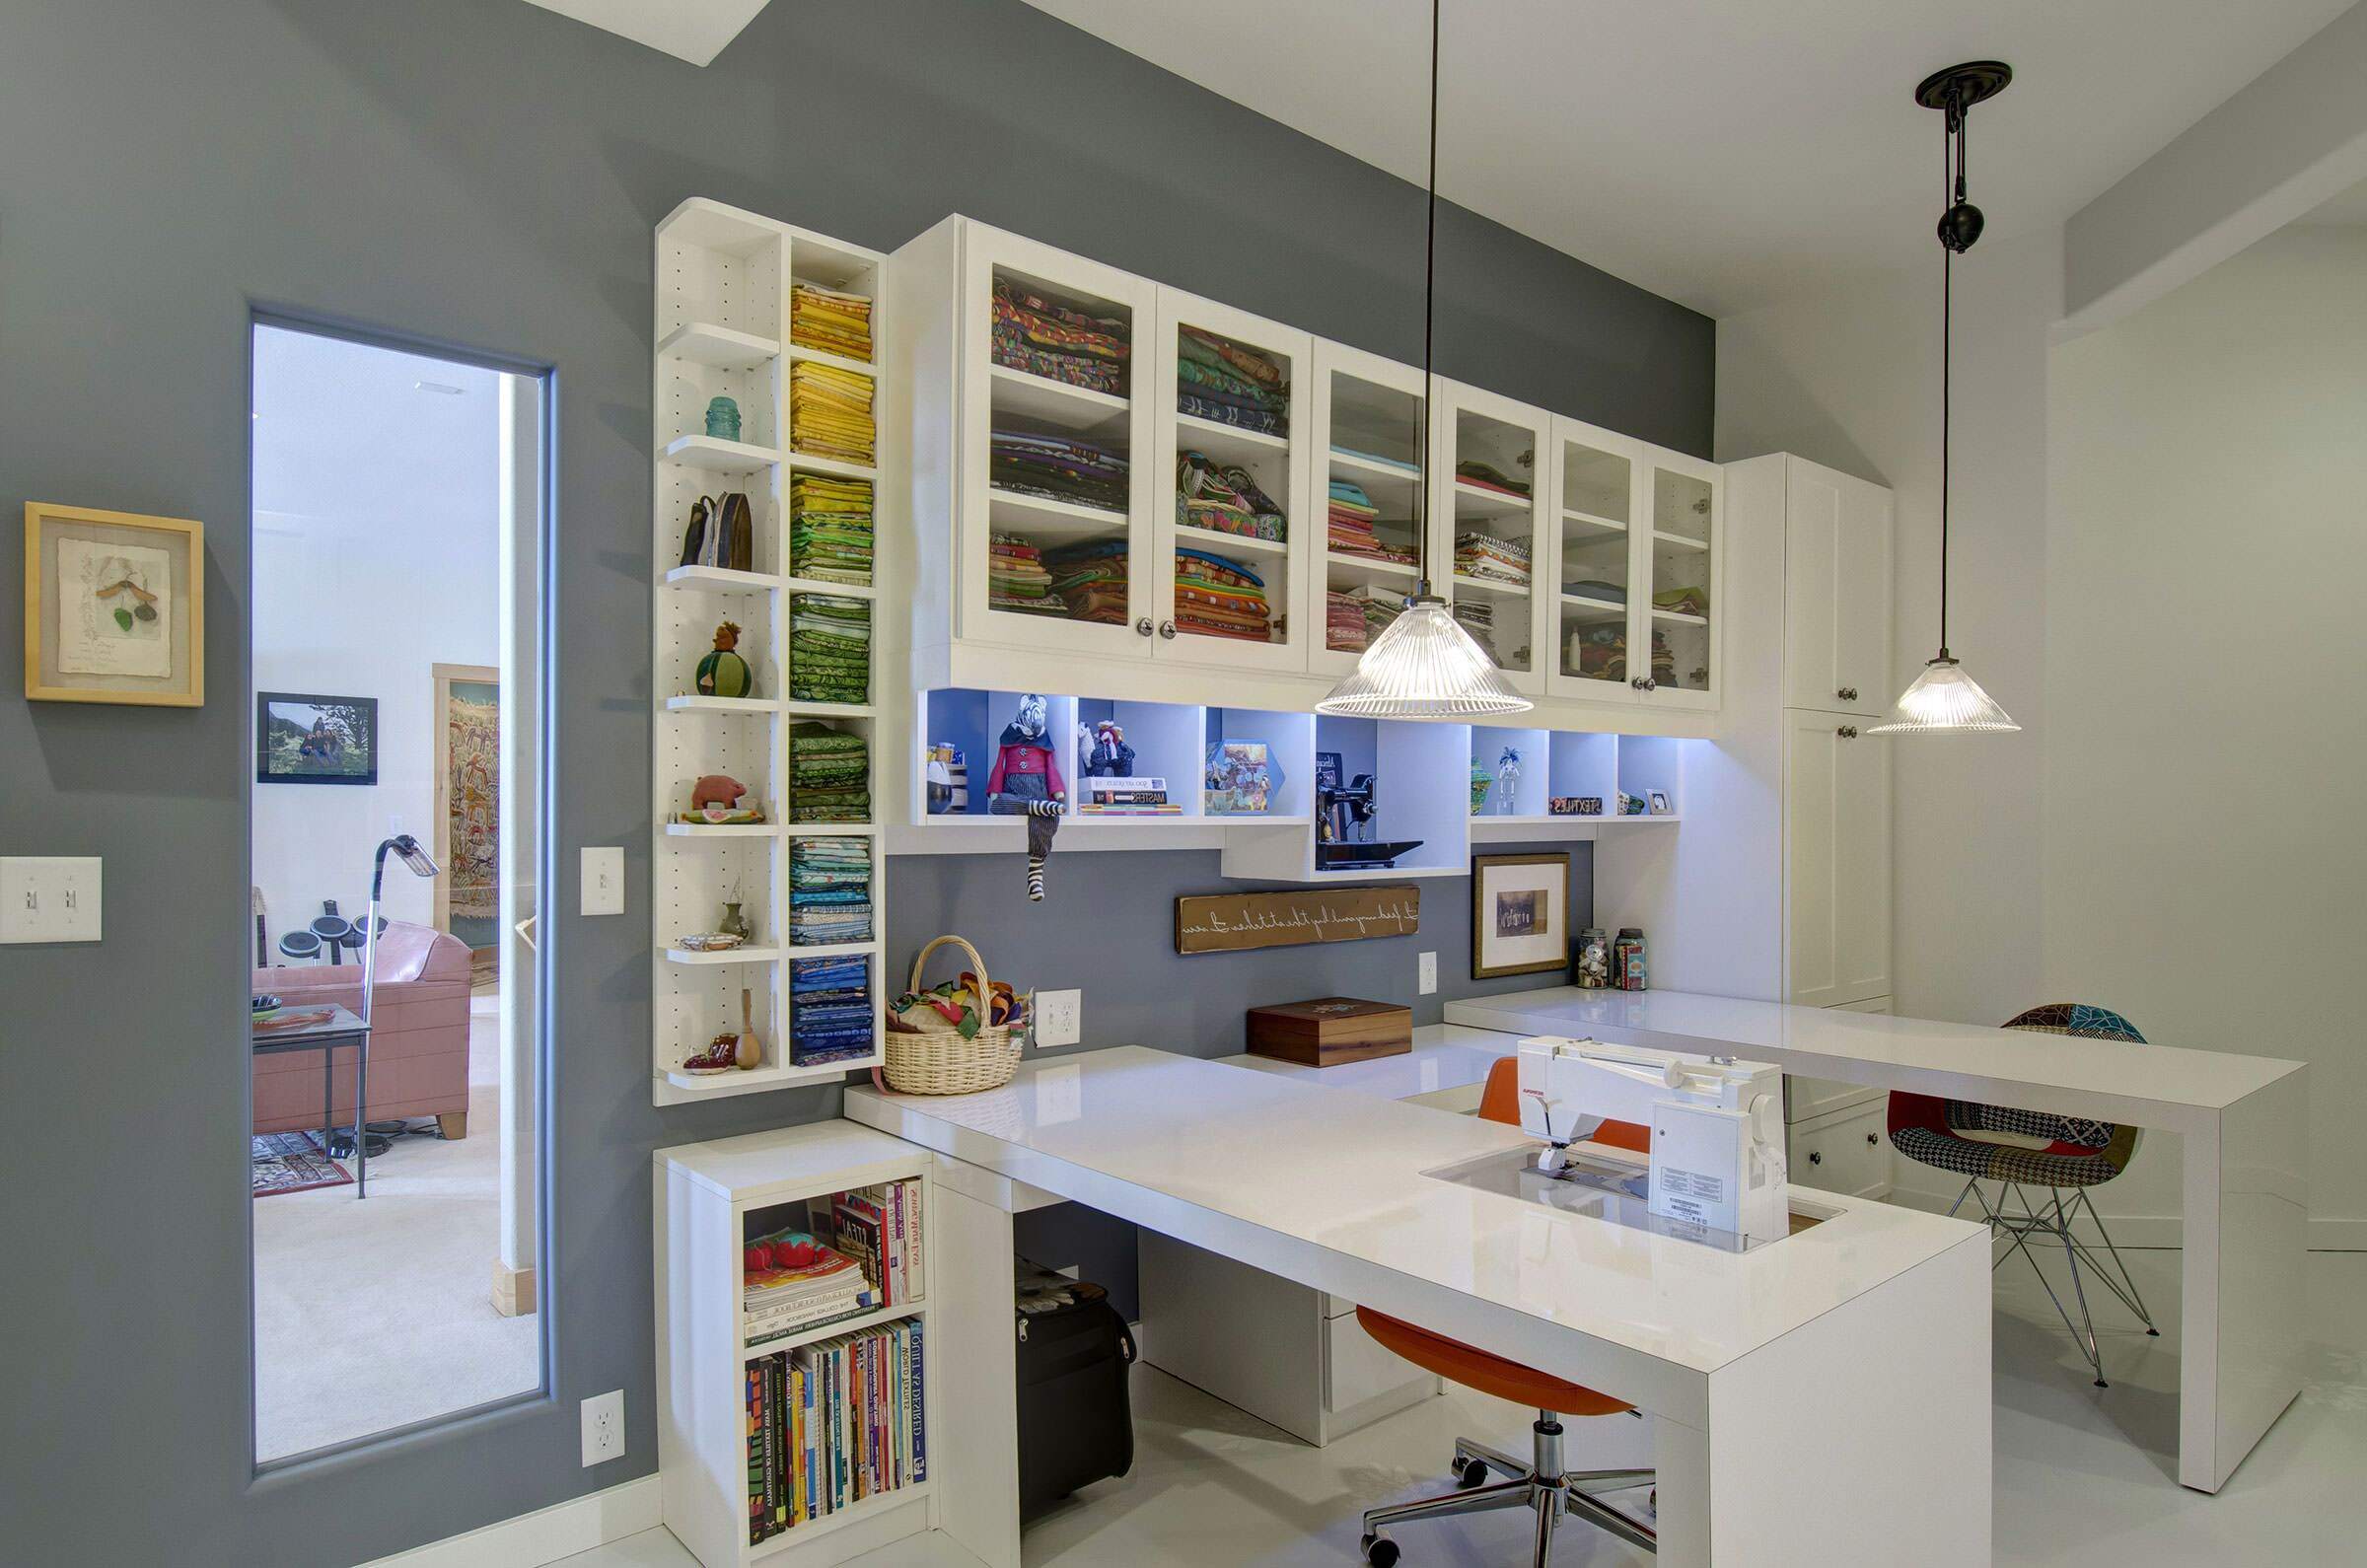
Case Study: Transforming a Room into a Functional Craft Corner
Initial Assessment
Sarah had always dreamed of turning her spare room into a functional craft corner where she could spend hours designing and creating various projects using her AR design table. The room measured approximately 12 feet by 15 feet and had large windows that let in plenty of natural light.
Planning Phase
Sarah began by assessing the space and defining her needs:
- She wanted a dedicated workspace for her AR design table.
- She needed storage units for supplies like fabric, paint, and crafting tools.
- She wanted ergonomic seating to prevent fatigue during extended periods of work.
- She wanted an inspiration board where she could pin up images of designs she liked.
Layout Plan
Using graph paper, Sarah created a detailed layout plan:
- AR Design Table Placement: She placed the AR design table in the center of the room, ensuring it was far enough from the windows to avoid glare but still benefiting from natural light.
- Storage Units: Along one wall, she installed shelves and cabinets specifically designed for storing crafting supplies.
- Ergonomic Seating: She placed an ergonomic chair in front of the AR design table with a small side table for holding tools or reference materials.
- Inspiration Board: Above her workspace, she hung an inspiration board where she could pin up images or notes related to her projects.
Execution Phase
-
Hardware Selection: Sarah selected an AR design table with high-resolution display and compatibility with her devices.
-
Software Installation: She downloaded and installed the AR software compatible with her chosen hardware following manufacturer’s instructions.
-
Calibration & Testing: After calibrating her device according to manufacturer’s guidelines, she tested her setup by running through some basic designs provided by tutorials offered by software manufacturer.
-
Integration & Collaboration:
- She started designing simple projects like furniture layouts before moving onto more complex ones like decorative items or personalized gifts.
- When working on group projects or seeking feedback from friends/family members who were interested in crafting too; she utilized collaborative features offered by AR software allowing real-time sharing/sharing feedback respectively
-
Enhancements:
- Proper lighting was ensured through installation LED lights specifically designed workspaces providing both brightness/color accuracy respectively
- Storage solutions were implemented through shelves/cabinets keeping supplies organized/reachable without cluttering workspace ergonomically designed seating ensured comfort during extended periods work inspiration board pinned images/designs liked/ideas came mind while working projects
Was this page helpful?
At Storables.com, we guarantee accurate and reliable information. Our content, validated by Expert Board Contributors, is crafted following stringent Editorial Policies. We're committed to providing you with well-researched, expert-backed insights for all your informational needs.

0 thoughts on “Creating a Functional Craft Corner with an Augmented Reality Design Table”