Home>Ideas and Tips>Creating A Functional Craft Room In An Attic

Ideas and Tips
Creating A Functional Craft Room In An Attic
Modified: October 28, 2024
Transform your attic into a functional craft room with our step-by-step guide. Learn tips on planning, designing, and organizing for an inspiring workspace.
(Many of the links in this article redirect to a specific reviewed product. Your purchase of these products through affiliate links helps to generate commission for Storables.com, at no extra cost. Learn more)
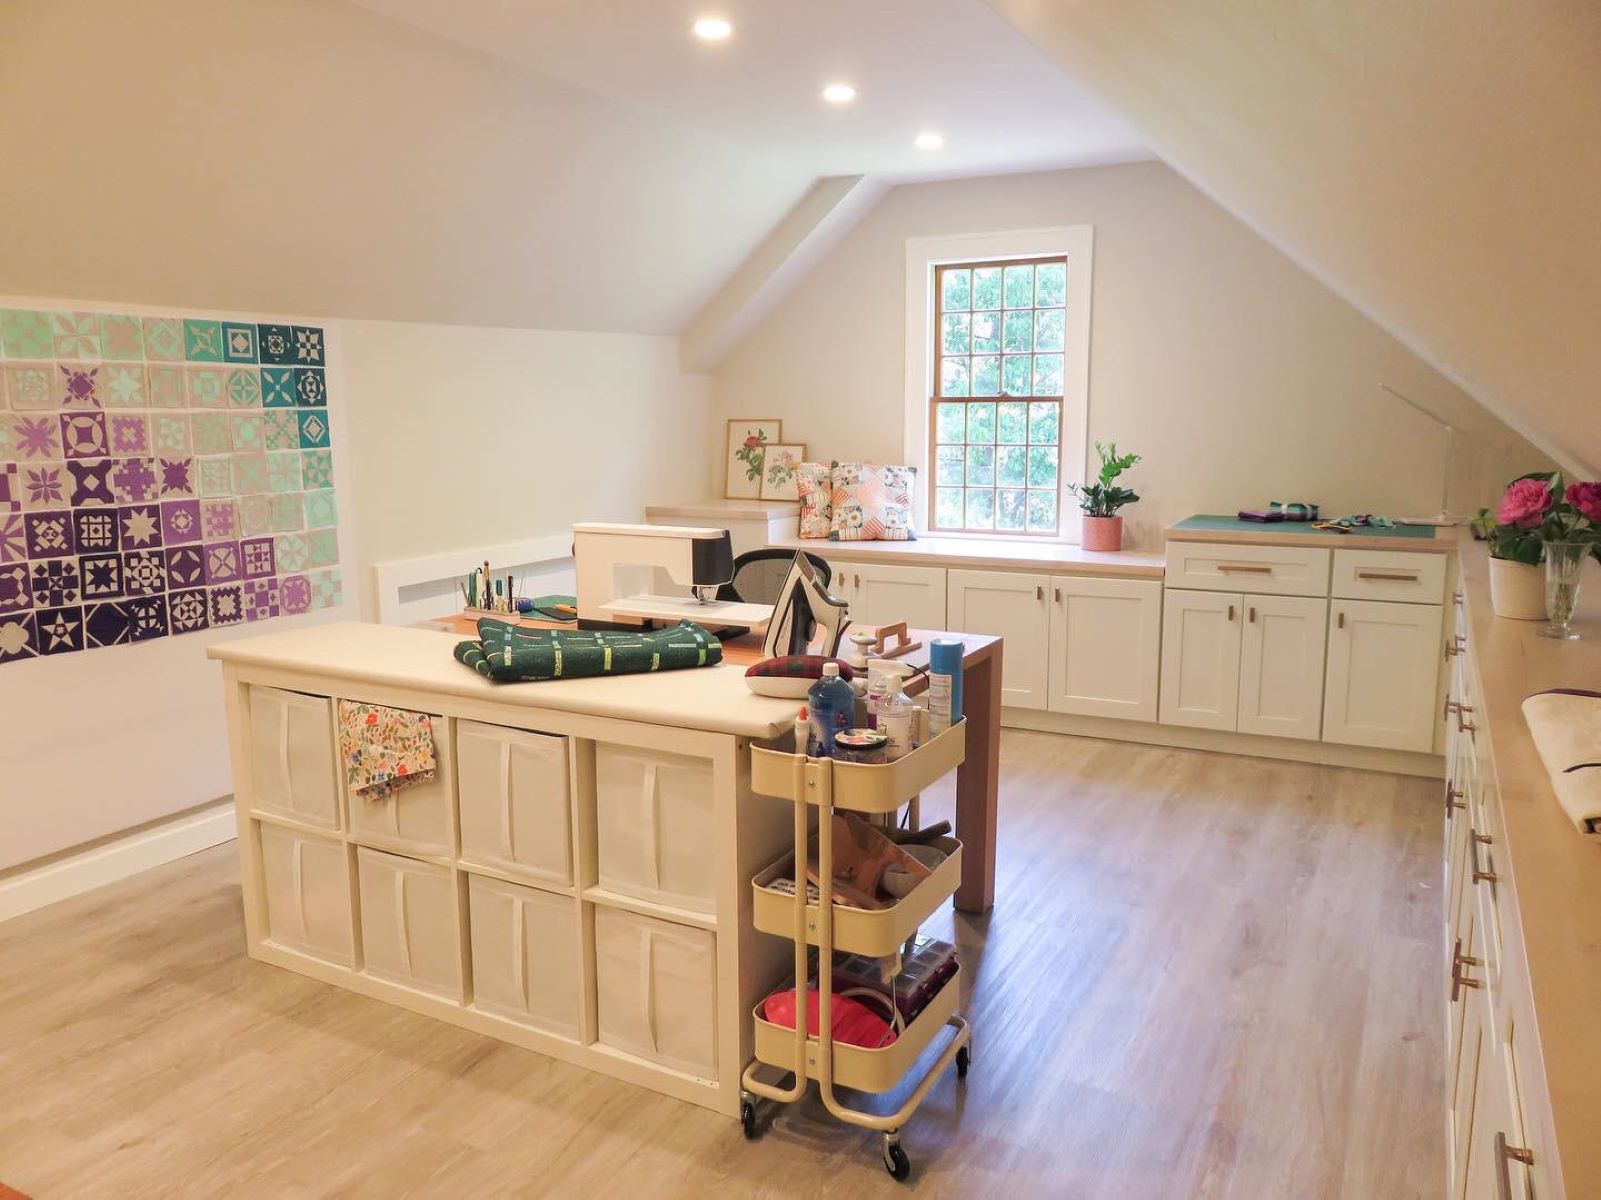
Transforming an attic into a functional craft room is a fantastic way to utilize often underutilized space. This project requires careful planning, creativity, and a bit of elbow grease. In this article, we will guide you through the process of designing and building a craft room that is both efficient and inspiring.
Assessing the Space
Before you begin, it's essential to assess the attic space you have available. Consider the following factors:
- Size and Layout: Measure the attic's dimensions to determine how much space you have to work with. Think about the layout you want to achieve. Will you have separate areas for different crafts or a single open space?
- Natural Light: Attics often have limited natural light. If possible, consider installing skylights or larger windows to improve lighting.
- Insulation and Ventilation: Ensure that the attic is well-insulated and ventilated to maintain a comfortable working environment.
Read more: Creating A Functional Craft Room In A Garage
Planning Your Craft Room
Once you have a clear understanding of your space, it's time to plan your craft room. Here are some key considerations:
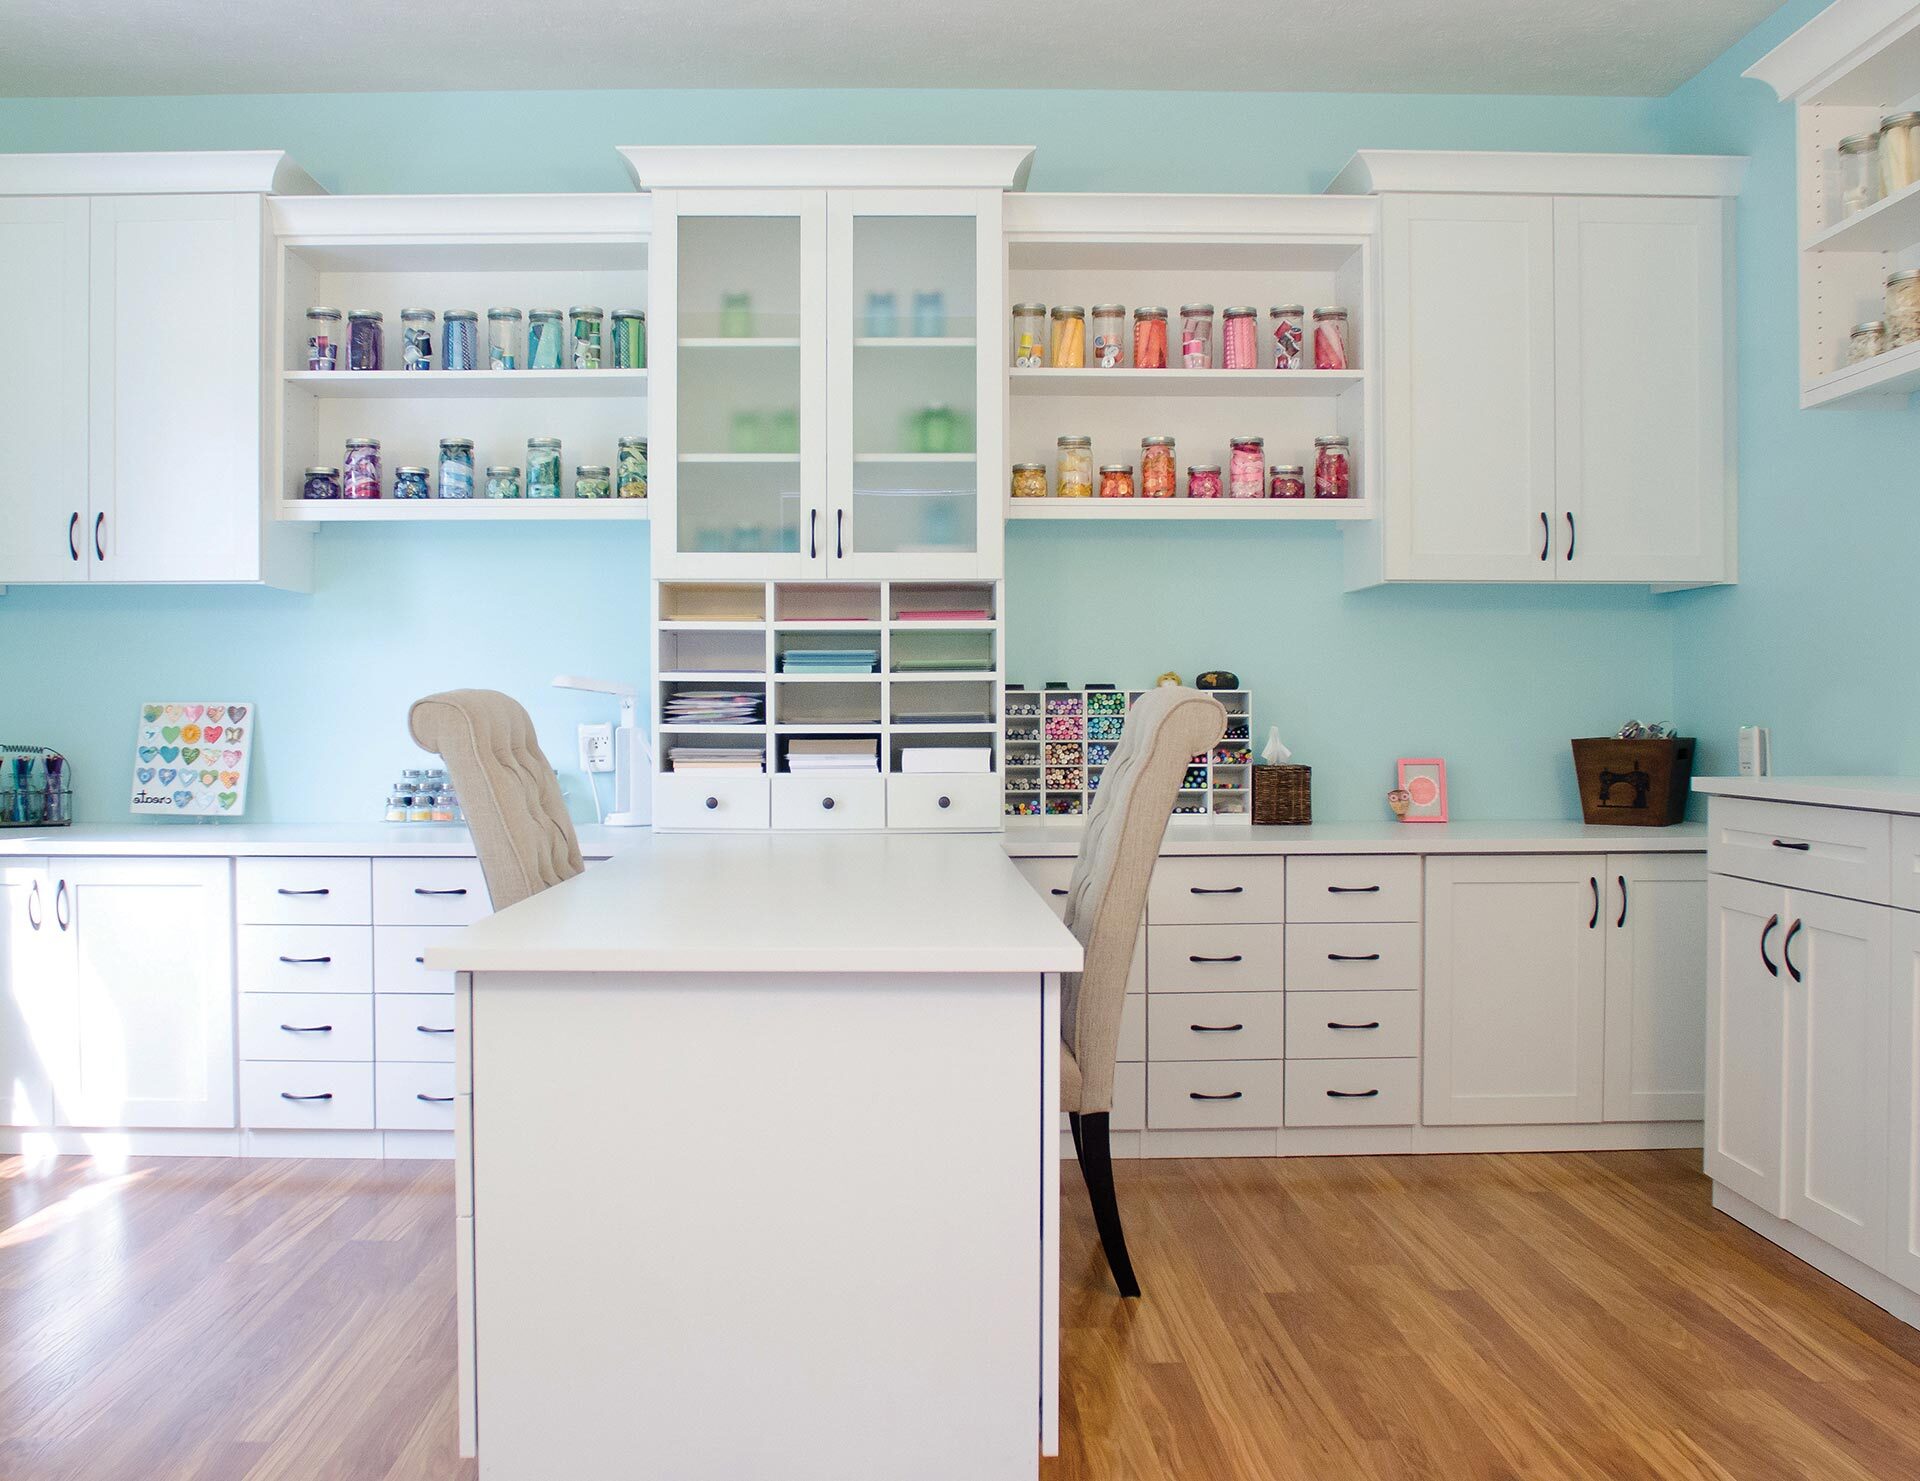
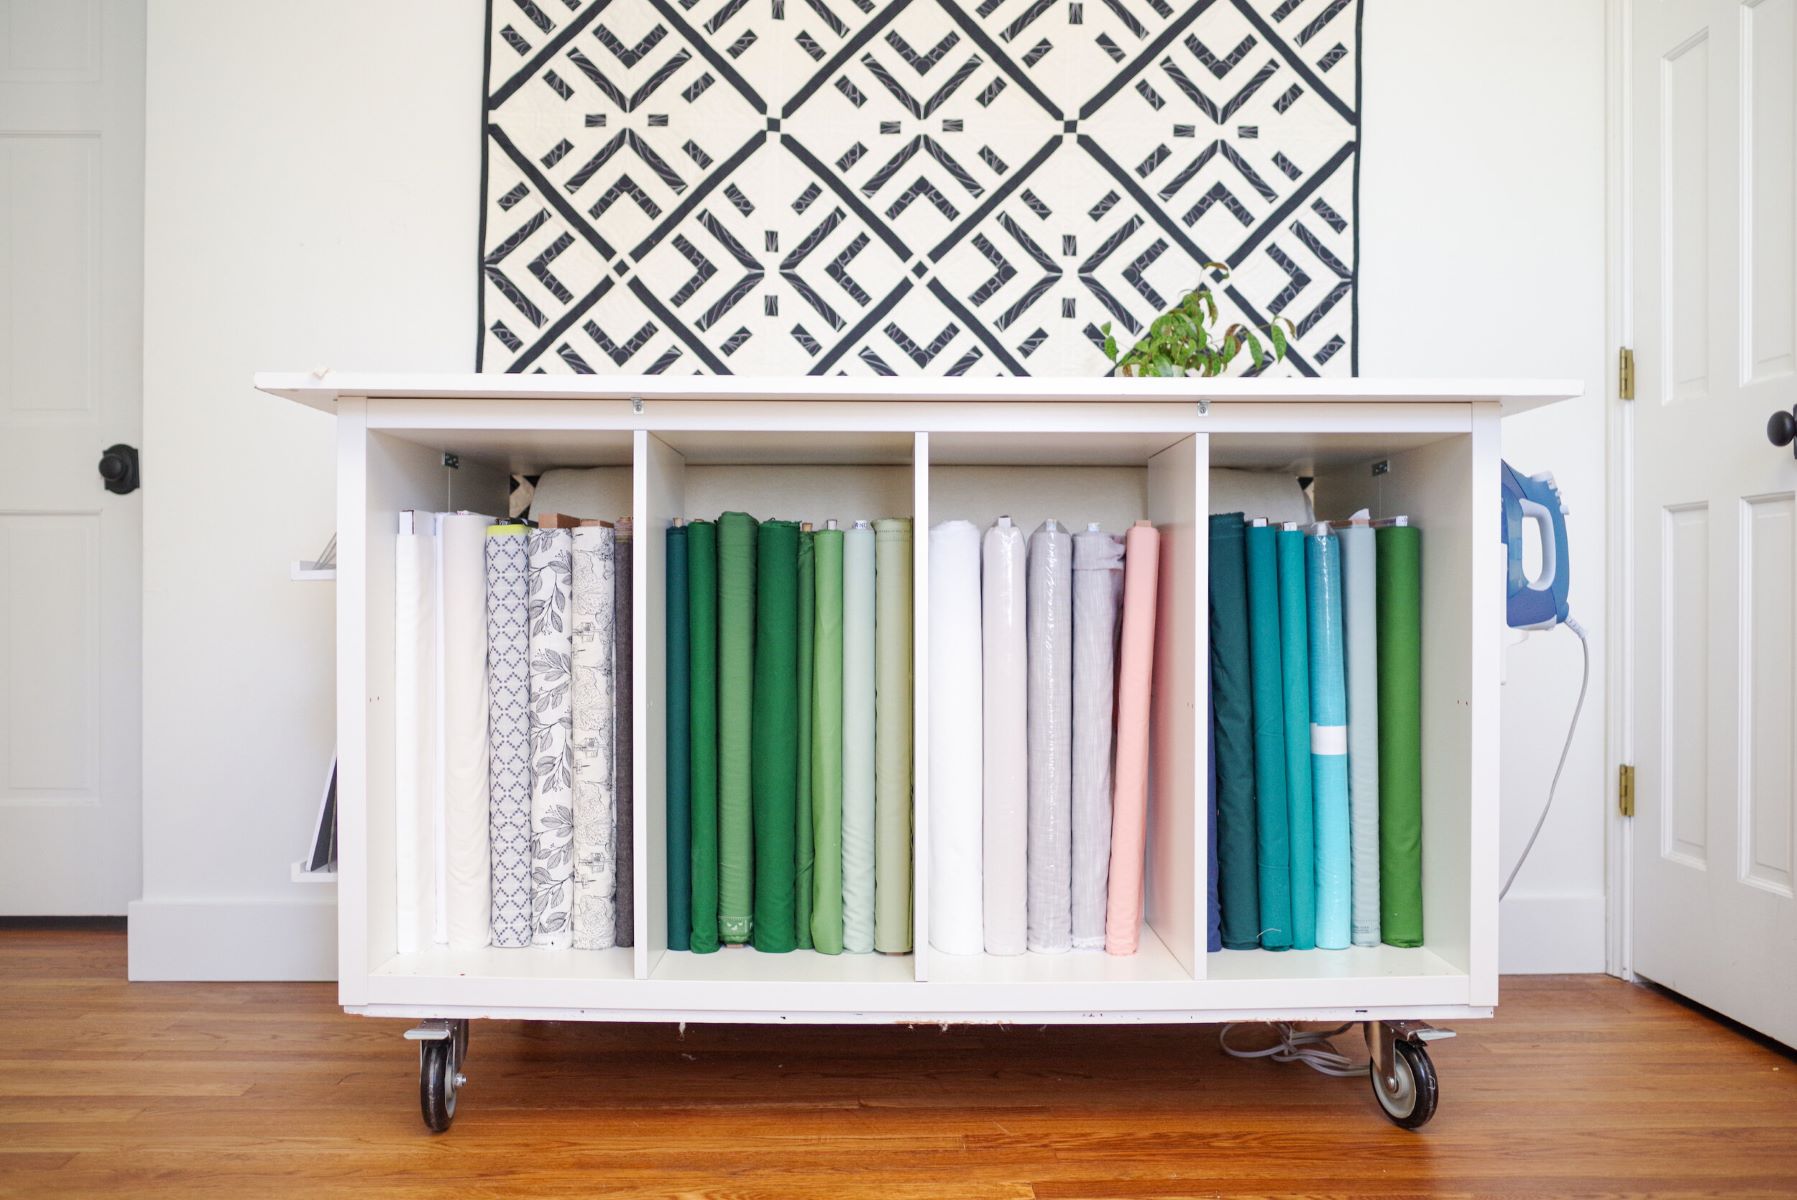
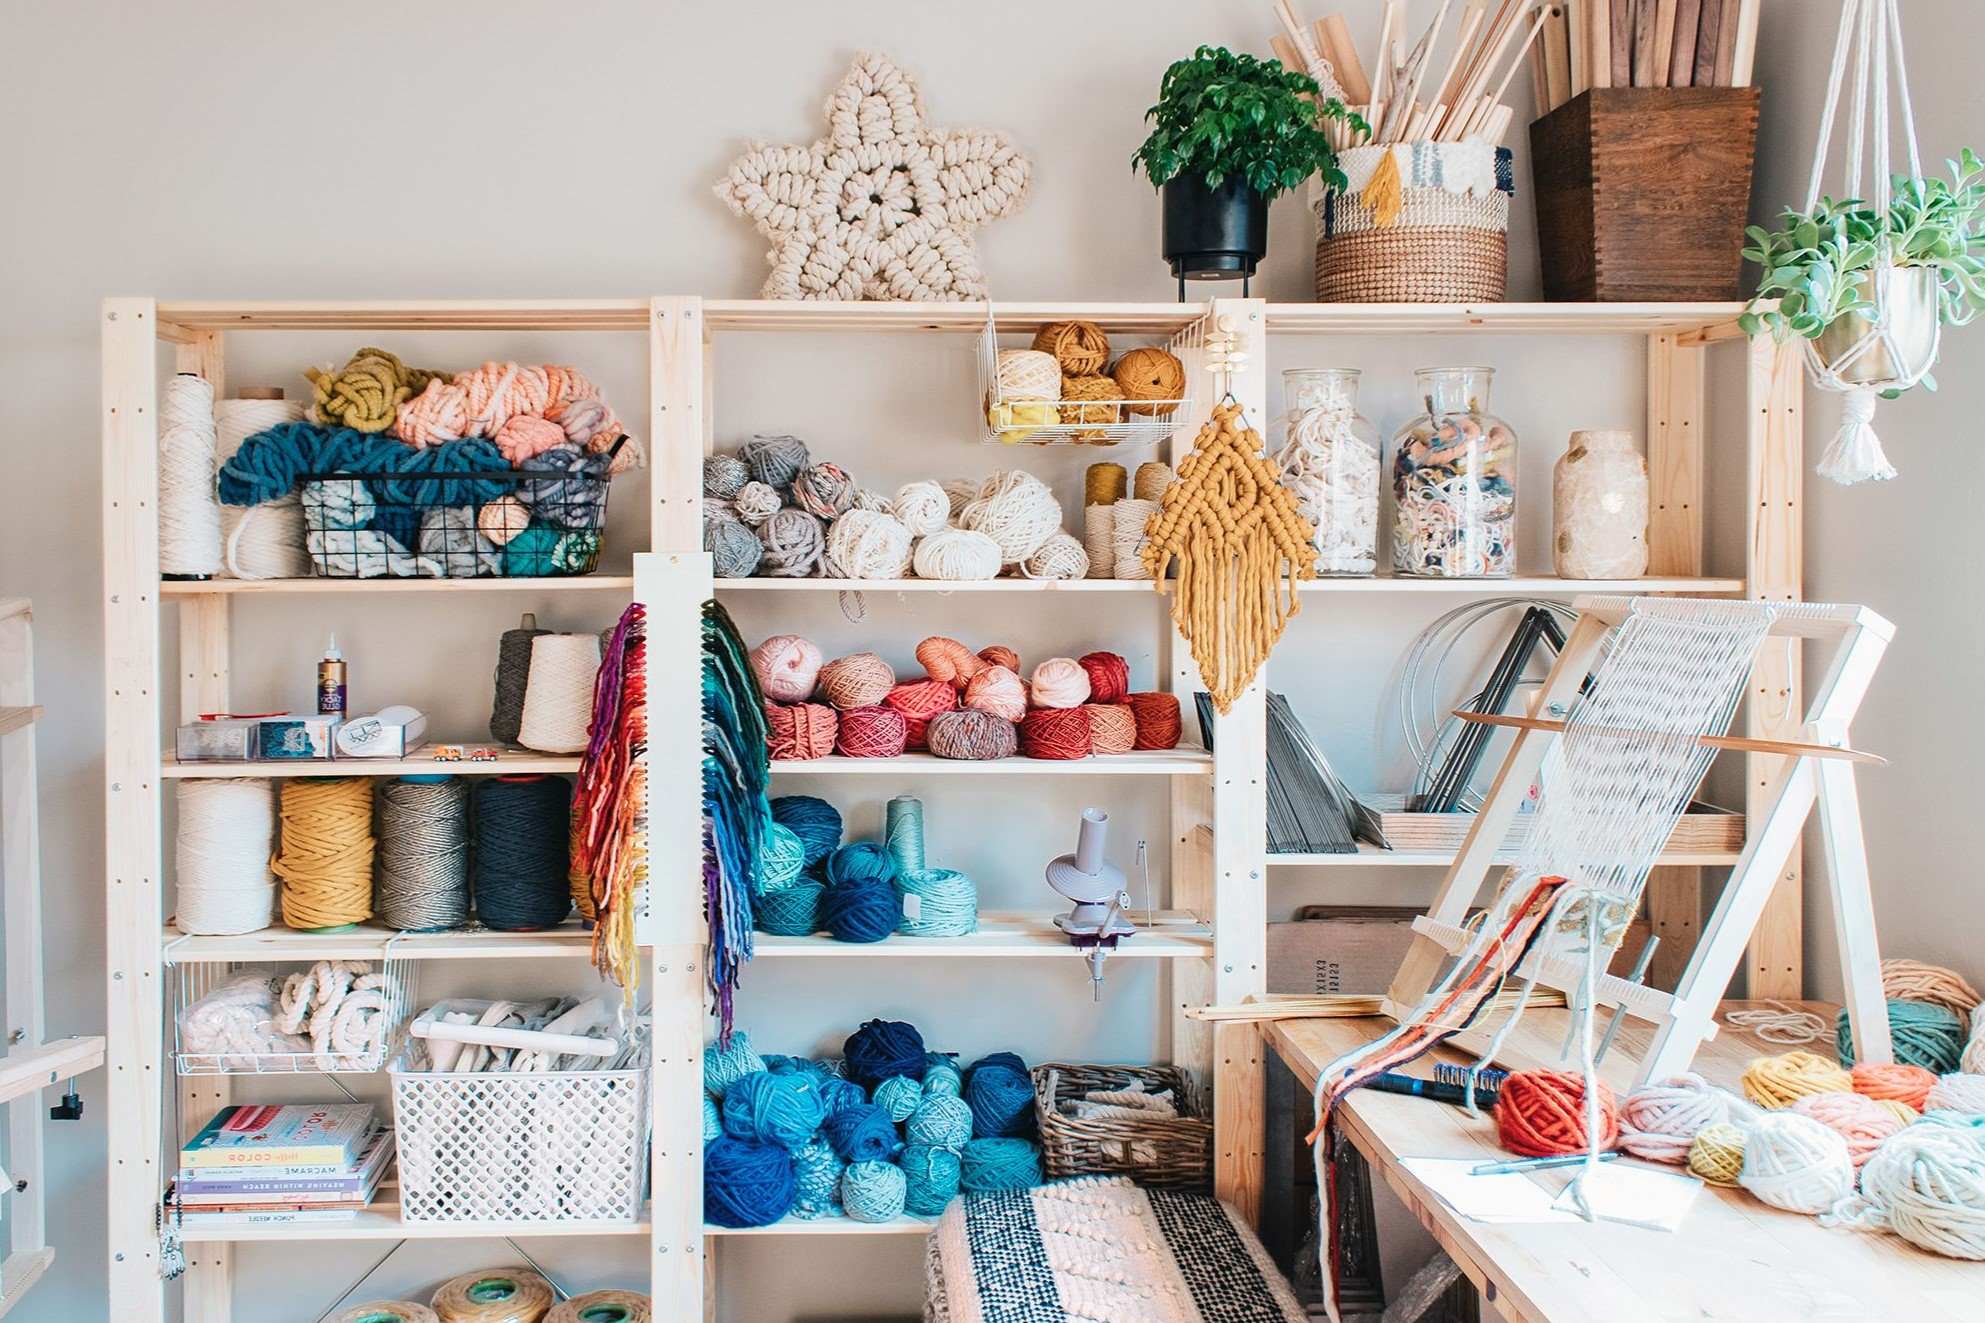
- Storage Needs: Determine what types of crafts you will be doing and how much storage you'll need. Consider shelving units, cabinets, and drawers.
- Workstations: Decide on the type of workstations you'll require. This could include tables, desks, or even a combination of both.
- Electrical Outlets: Ensure there are sufficient electrical outlets for your tools and equipment.
- Comfort: Think about comfort elements like seating areas, good lighting, and adequate ventilation.
Designing Your Space
Now that you have a clear plan in mind, it's time to start designing your space. Here are some design tips:
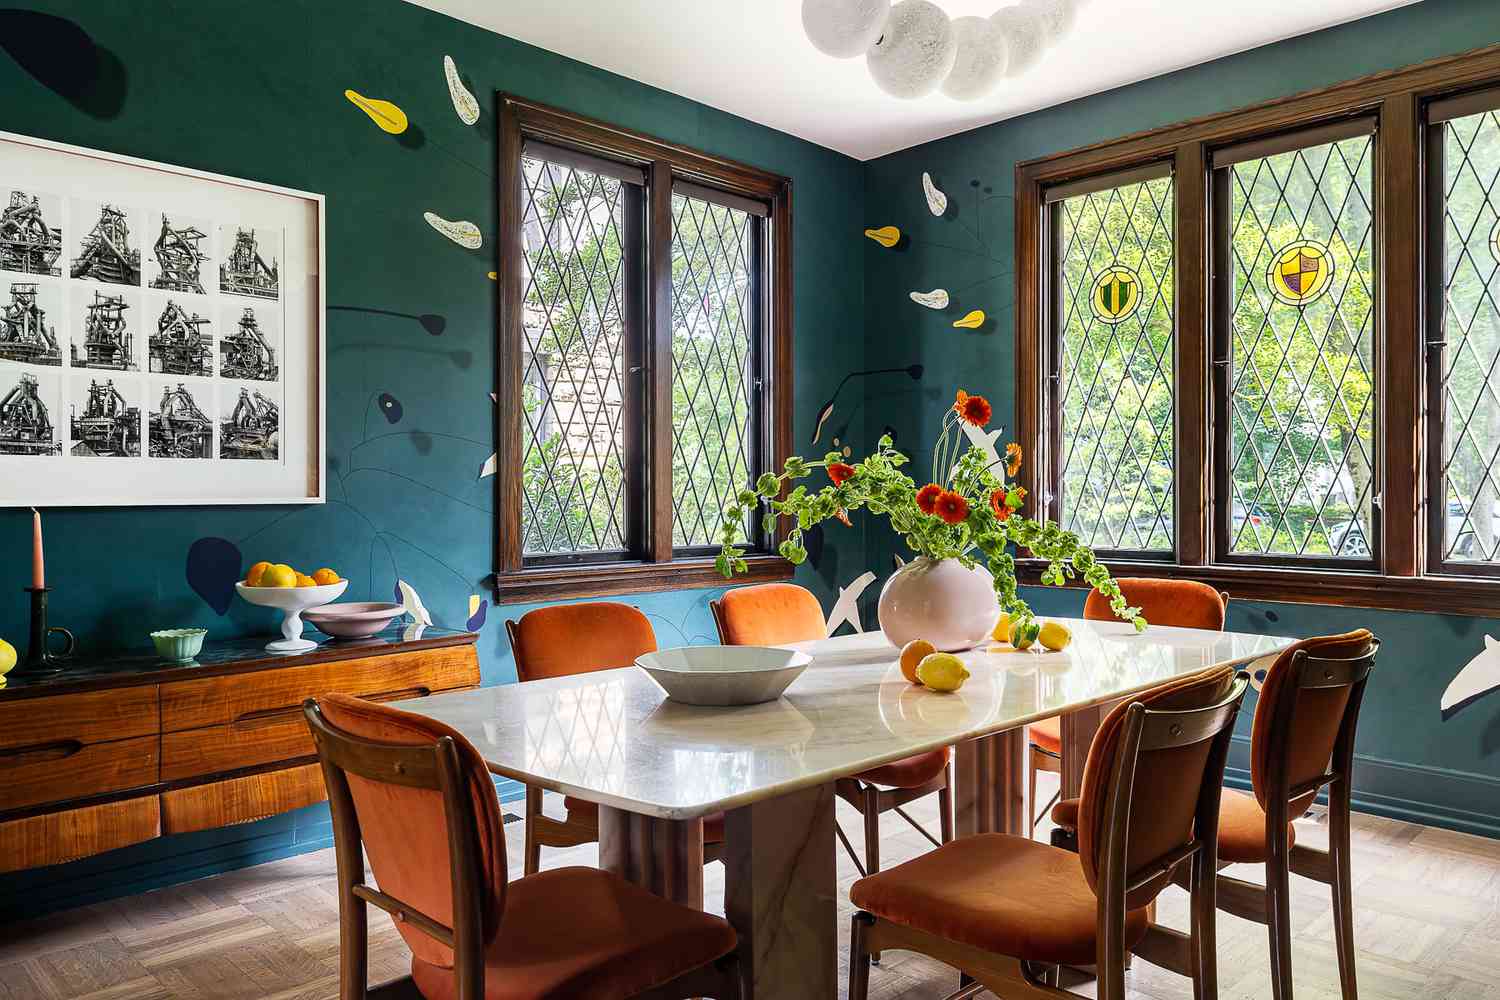
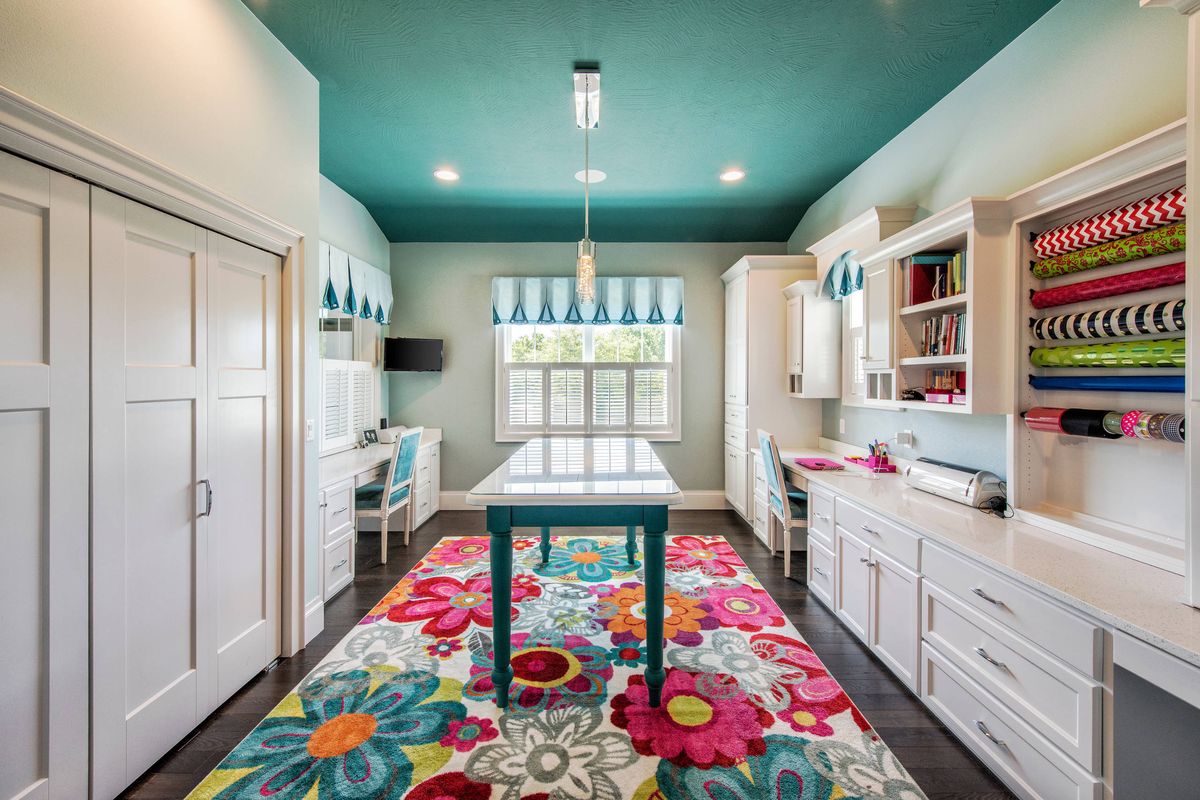
- Color Scheme: Choose a color scheme that inspires creativity and comfort. Pastel colors or neutral tones can create a calming atmosphere.
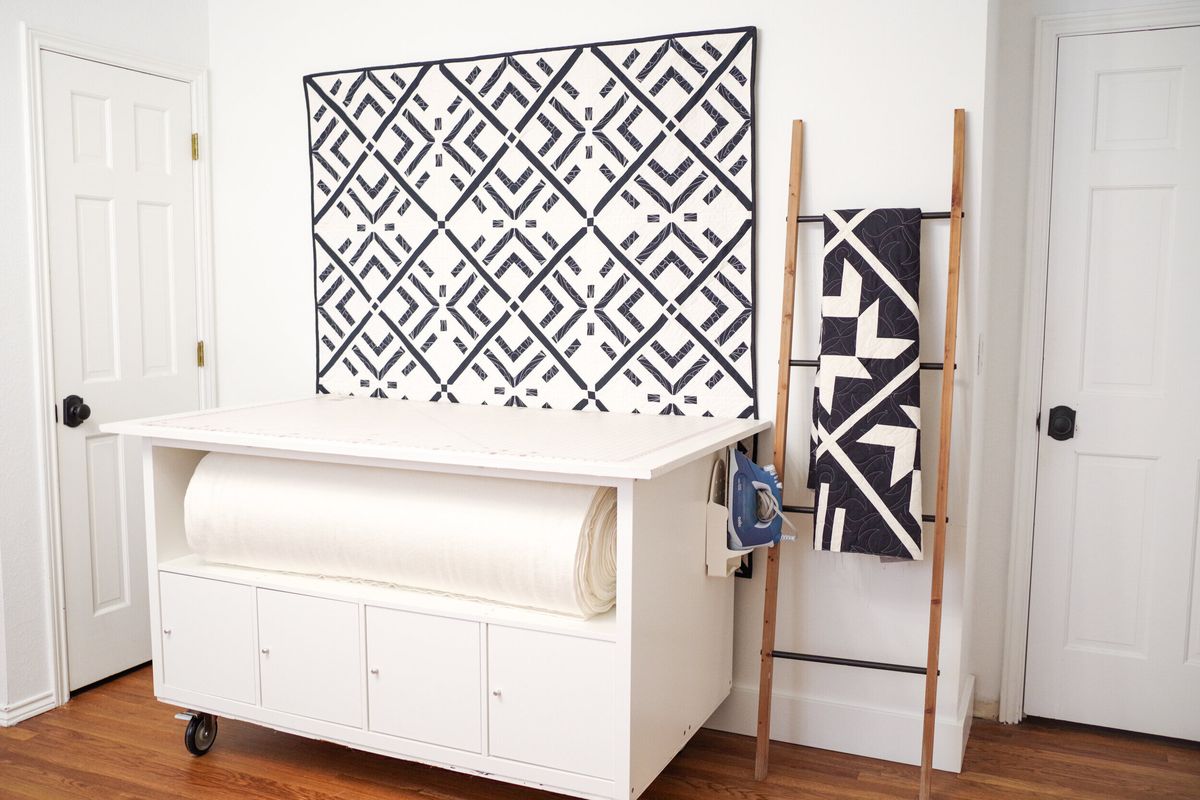
- Furniture Selection: Select furniture that is both functional and aesthetically pleasing. Consider repurposing old furniture or using multi-functional pieces.
- Lighting: Use a combination of overhead lighting and task lighting to ensure you have adequate light for your projects.
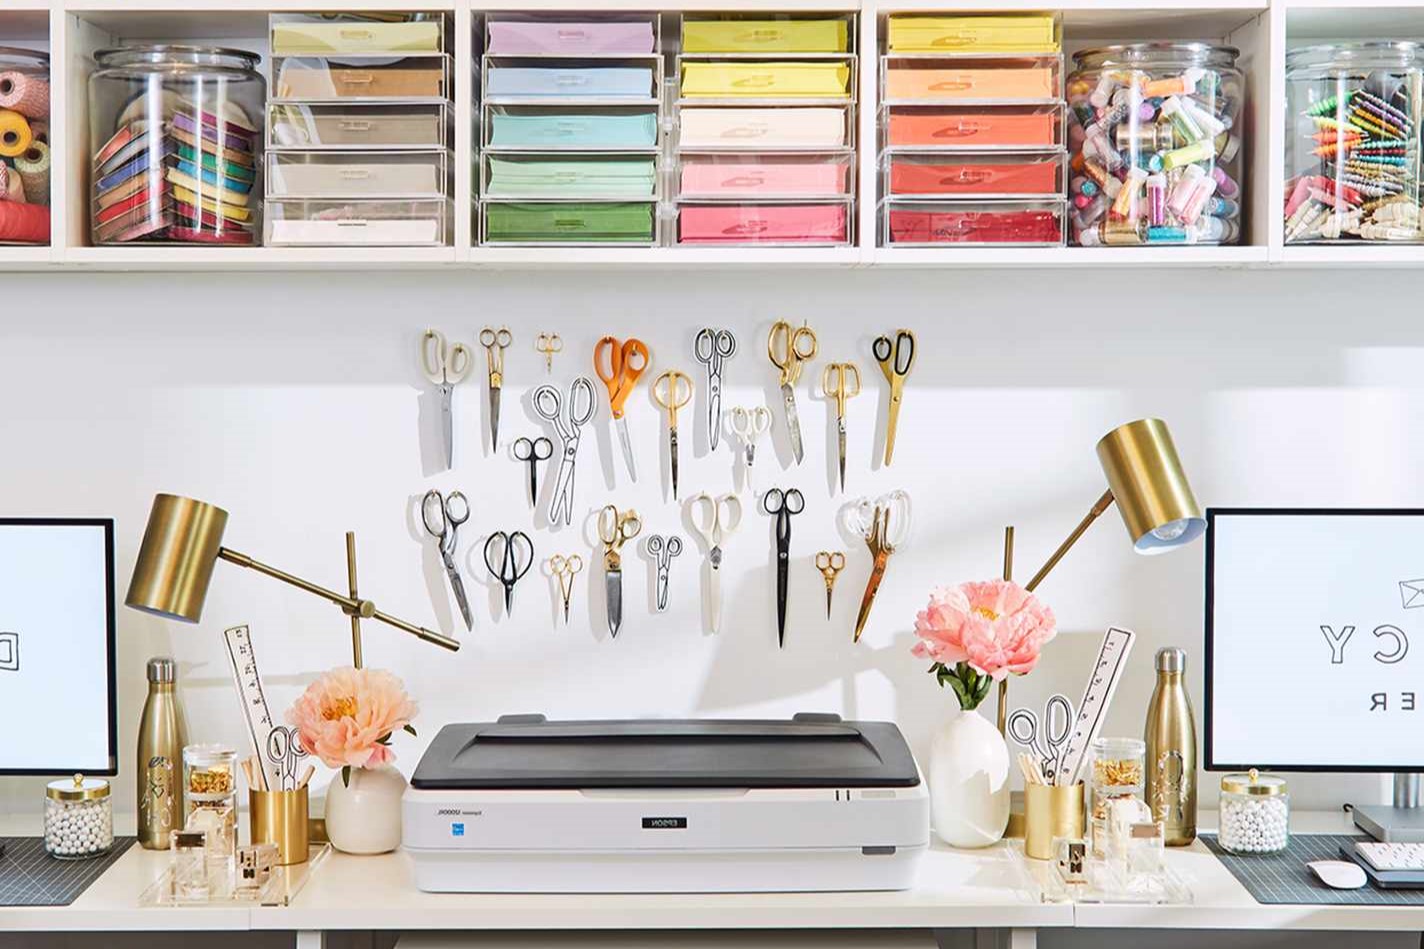
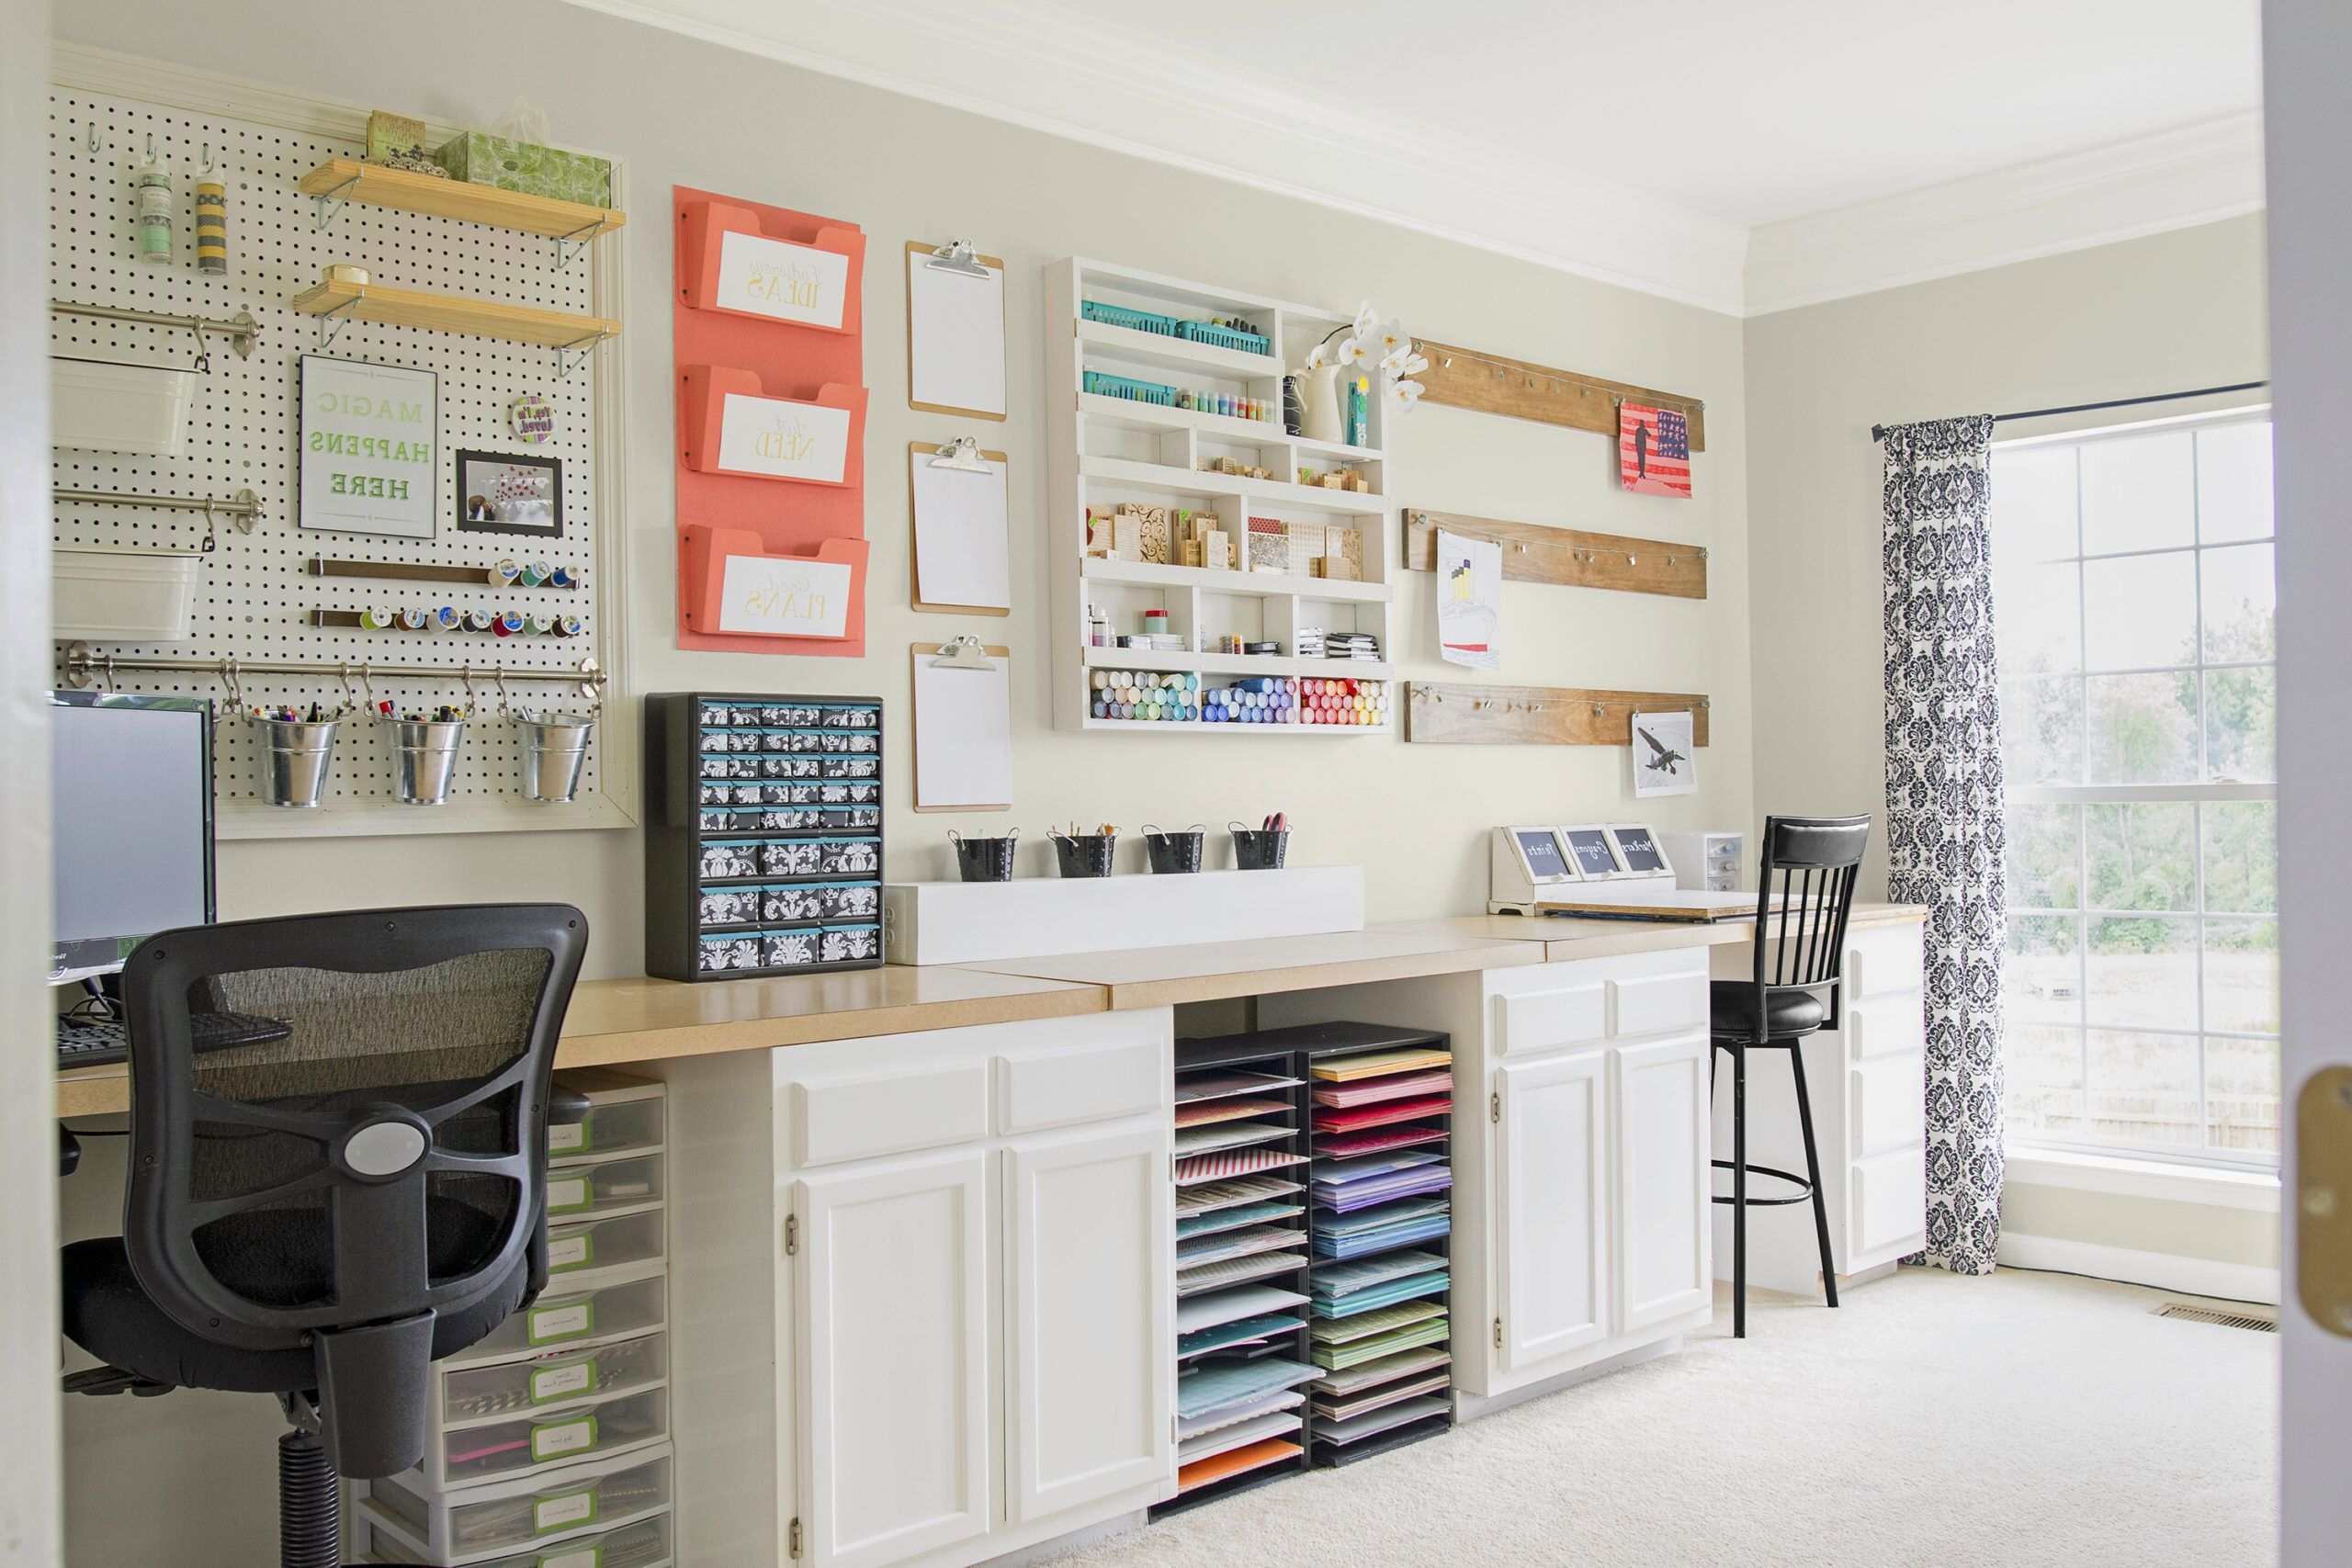
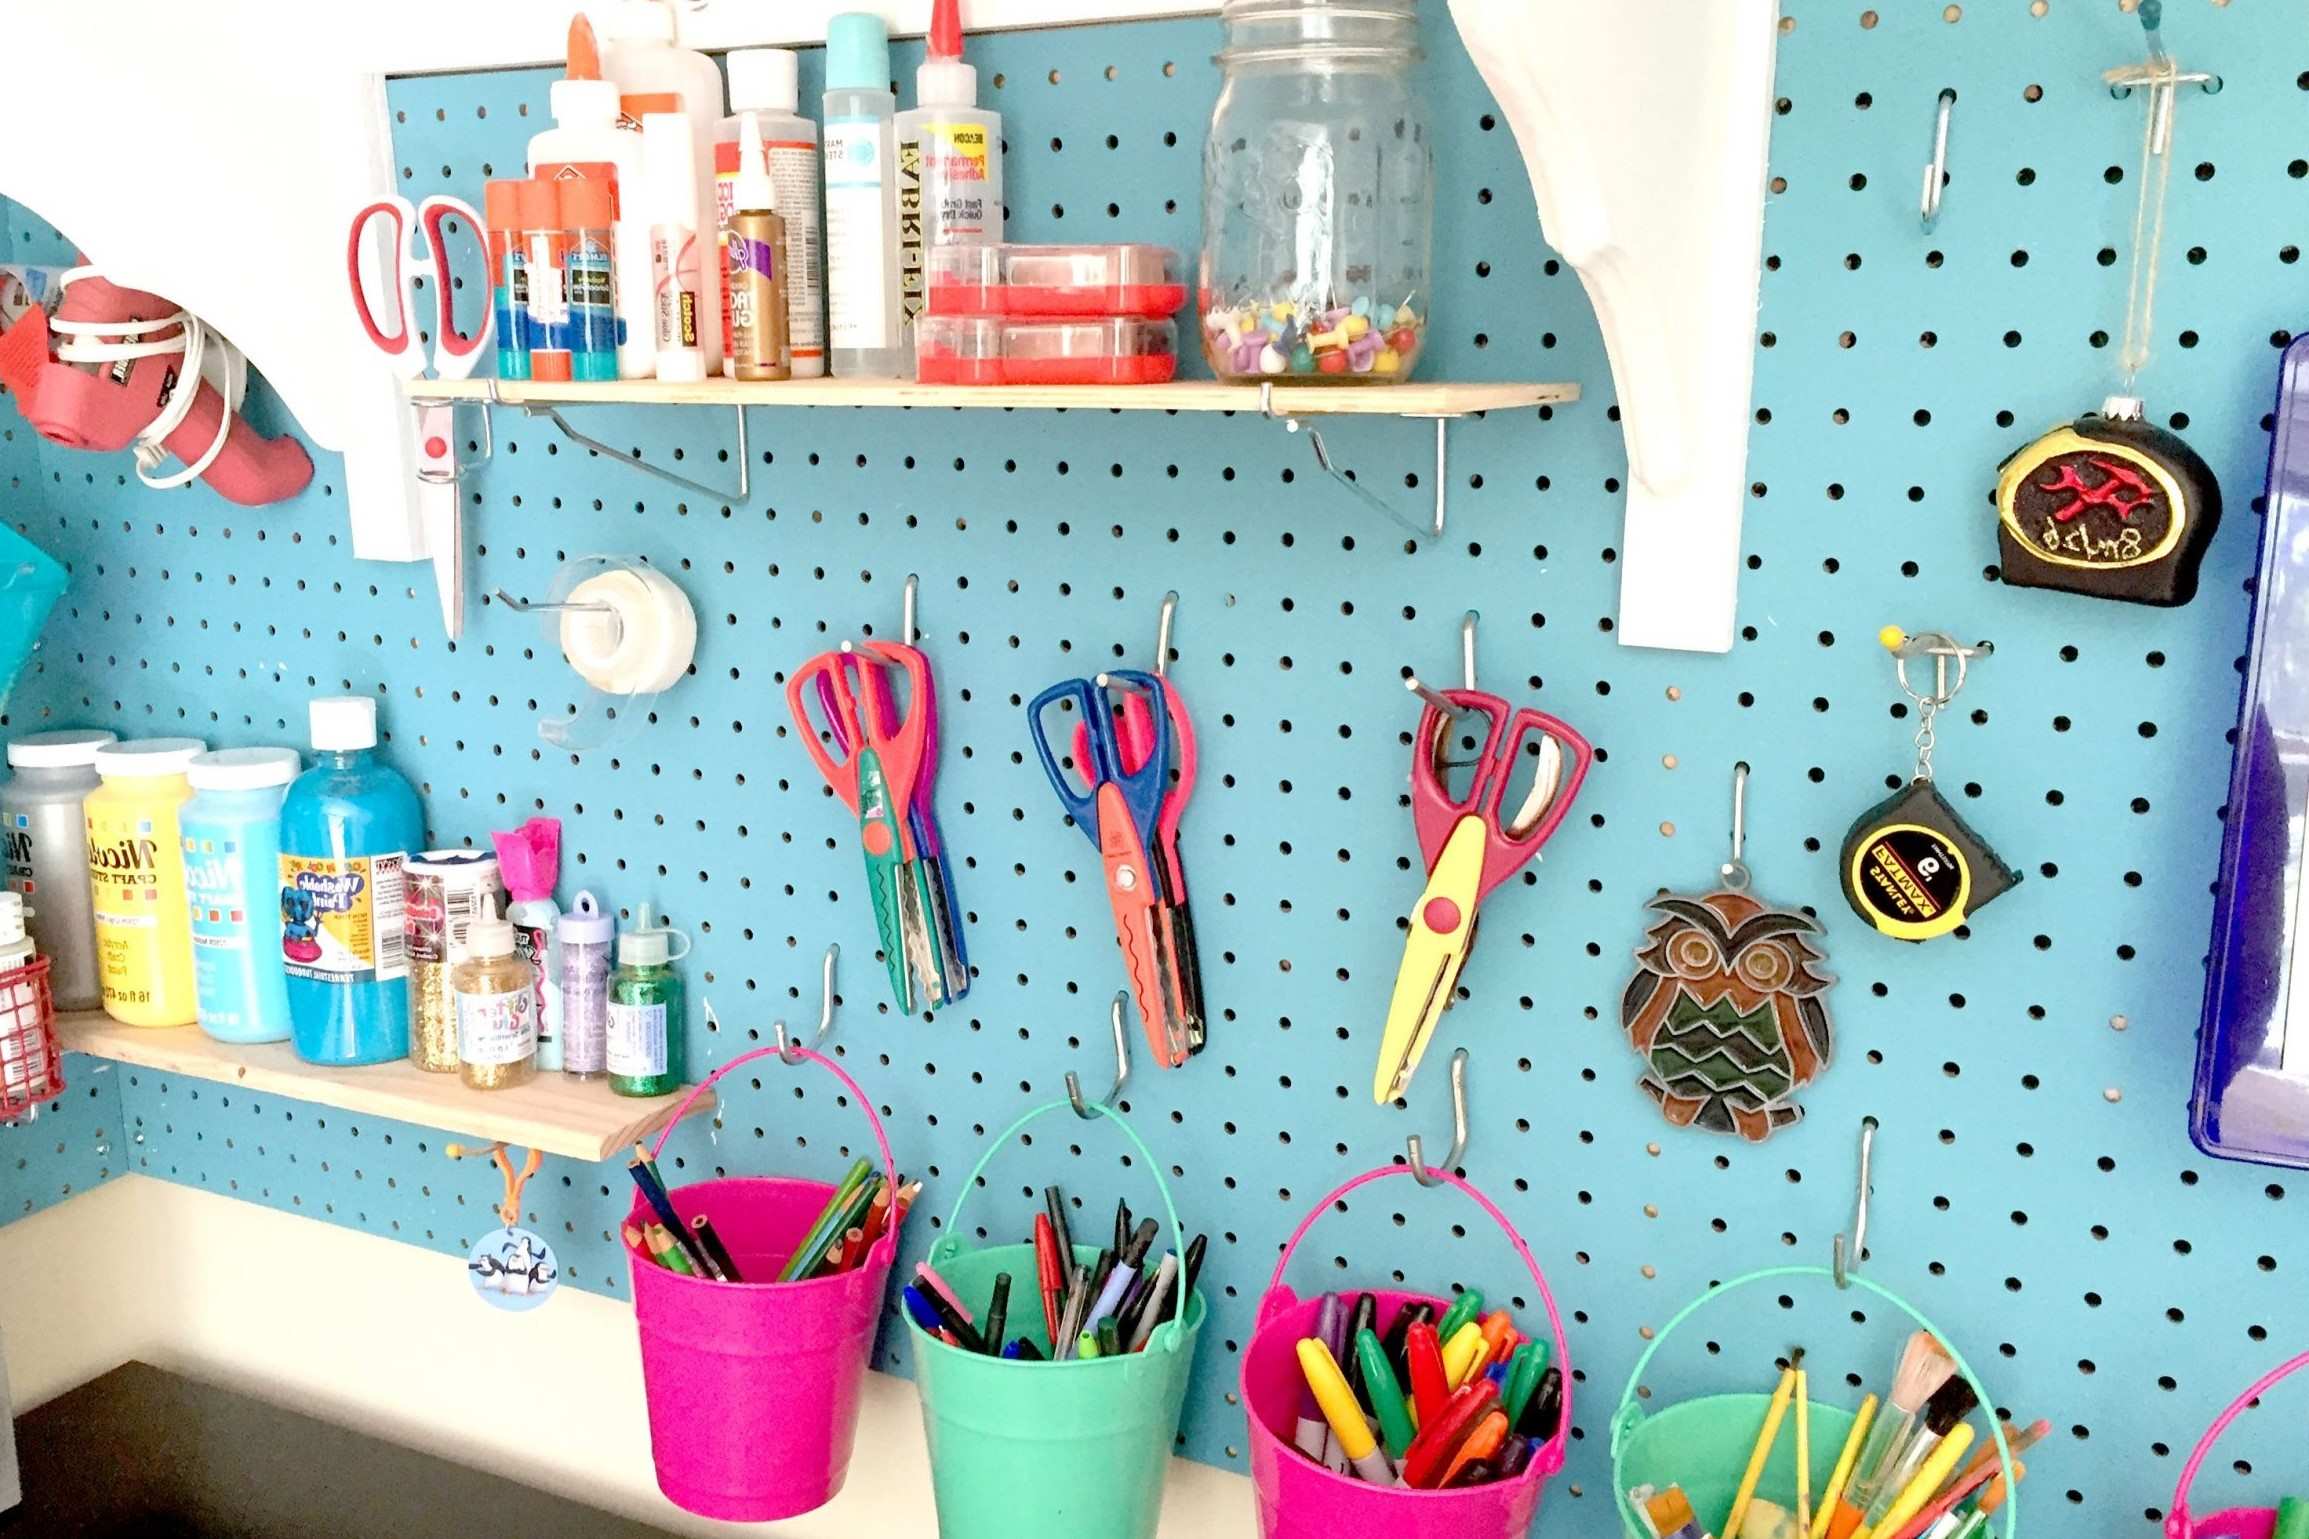
- Organization Systems: Implement organization systems like pegboards, hooks, and bins to keep your supplies organized.
Building Your Craft Room
With your design plan in place, it's time to start building your craft room. Here are some steps you can follow:
- Insulation and Ventilation: Ensure that the attic is well-insulated and ventilated before you start building.
- Flooring: Install flooring that is durable and easy to clean. Options like laminate or hardwood flooring work well in attics.
- Shelving Units: Build or install shelving units that can hold your supplies and materials.
- Workstations: Construct workstations that meet your needs. This could include building custom tables or installing a desk.
- Electrical Outlets: Install additional electrical outlets as needed.
Adding Comfort Elements
A functional craft room should also include comfort elements to make it enjoyable to work in. Here are some ideas:
- Seating Area: Create a seating area where you can take breaks and relax. This could be a small sofa or a comfortable chair.
- Good Lighting: Ensure that there is good lighting throughout the room. Use table lamps or floor lamps to supplement overhead lighting.
- Adequate Ventilation: Install a ventilation system to keep the air fresh and prevent the buildup of dust and fumes.
Organizing Your Supplies
Organization is key in a craft room. Here are some tips for organizing your supplies:
- Pegboards: Install pegboards on walls or on the back of doors to hang tools and supplies.
- Hooks: Use hooks to hang items like scissors, tape measures, and other frequently used tools.
- Bins and Baskets: Use bins and baskets to store materials like yarn, fabric, and paint.
- Labeling Supplies: Label each bin and basket so you can easily find what you need.
Adding Decorative Touches
While functionality is important, adding decorative touches can make your craft room more inspiring and enjoyable to work in. Here are some ideas:
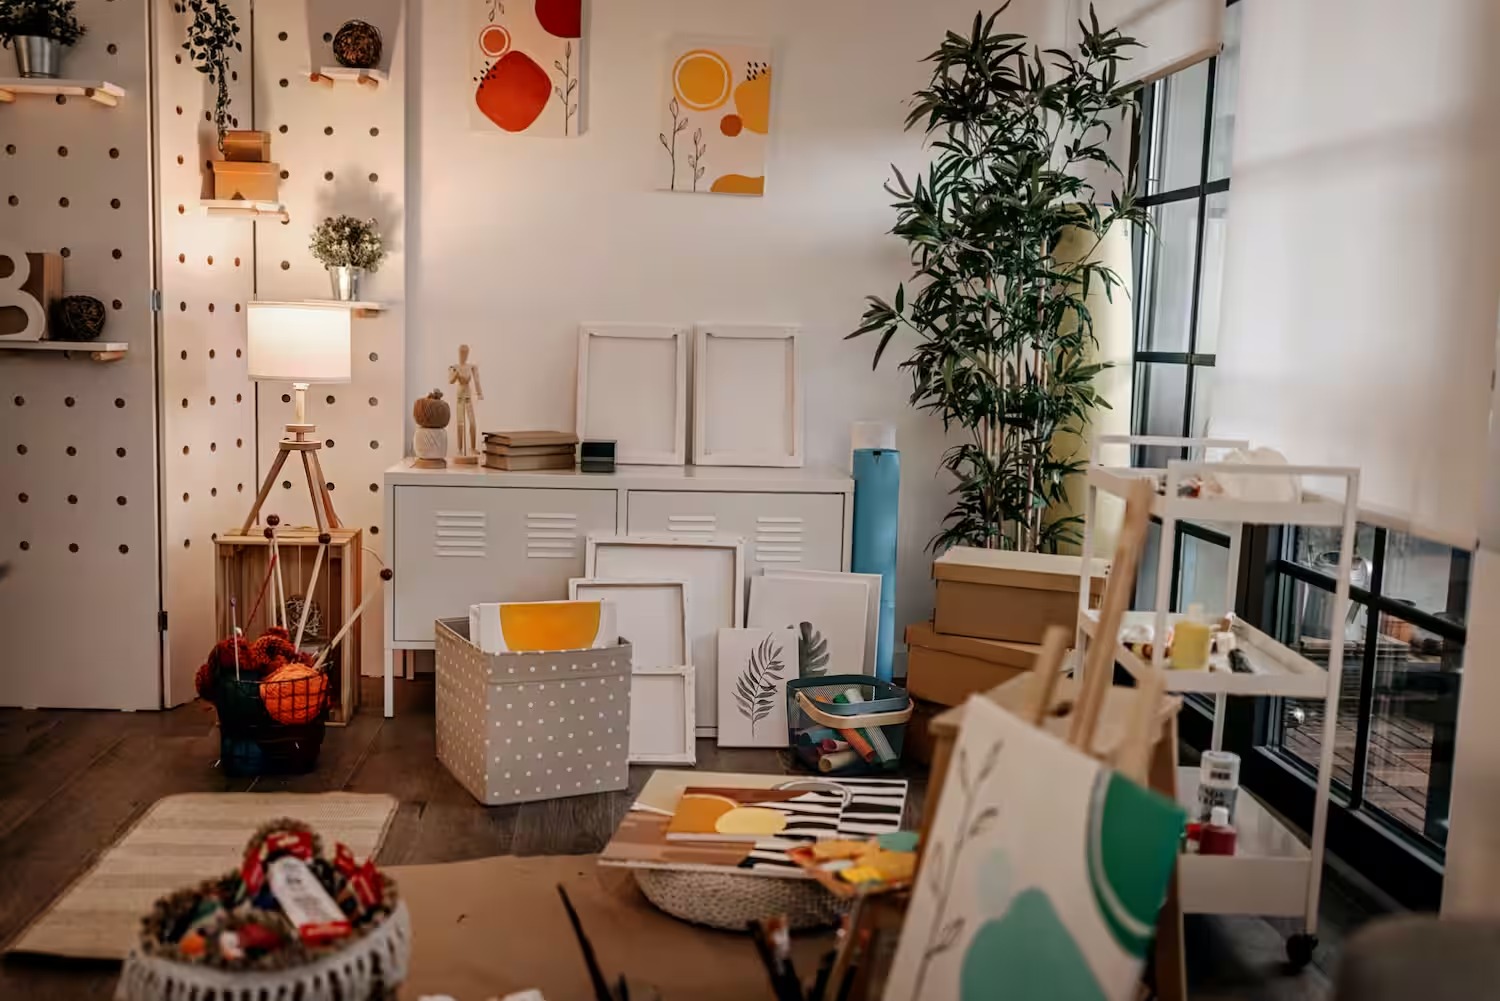
- Artwork: Hang inspirational artwork or motivational quotes around the room.
- Plants: Add plants to bring in some greenery and improve air quality.
- Rugs: Use rugs to define different areas within the room and add color.
- Lighting Fixtures: Choose lighting fixtures that are both functional and decorative.
Conclusion
Creating a functional craft room in an attic requires careful planning, creativity, and attention to detail. By following these steps, you can transform an underutilized space into a productive and inspiring workspace that meets all your crafting needs. Remember to prioritize comfort elements, organization systems, and decorative touches to make your craft room both functional and enjoyable.
Additional Tips
- Safety First: Always follow safety guidelines when working with power tools or materials.
- Flexibility: Be flexible with your design plan. As you work on projects, you may find that you need to make adjustments to your layout or storage systems.
- Maintenance: Regularly maintain your craft room to keep it organized and functional.
By following these tips and guidelines, you can create a functional craft room in your attic that inspires creativity and productivity. Happy crafting!
Was this page helpful?
At Storables.com, we guarantee accurate and reliable information. Our content, validated by Expert Board Contributors, is crafted following stringent Editorial Policies. We're committed to providing you with well-researched, expert-backed insights for all your informational needs.

0 thoughts on “Creating A Functional Craft Room In An Attic”