Home>Ideas and Tips>Creating a Functional Craft Room with an Adjustable Height Cutting Table

Ideas and Tips
Creating a Functional Craft Room with an Adjustable Height Cutting Table
Modified: October 30, 2024
Create a functional craft room with an adjustable height cutting table. Discover DIY tips, ergonomic benefits, and storage solutions for an efficient workspace.
(Many of the links in this article redirect to a specific reviewed product. Your purchase of these products through affiliate links helps to generate commission for Storables.com, at no extra cost. Learn more)
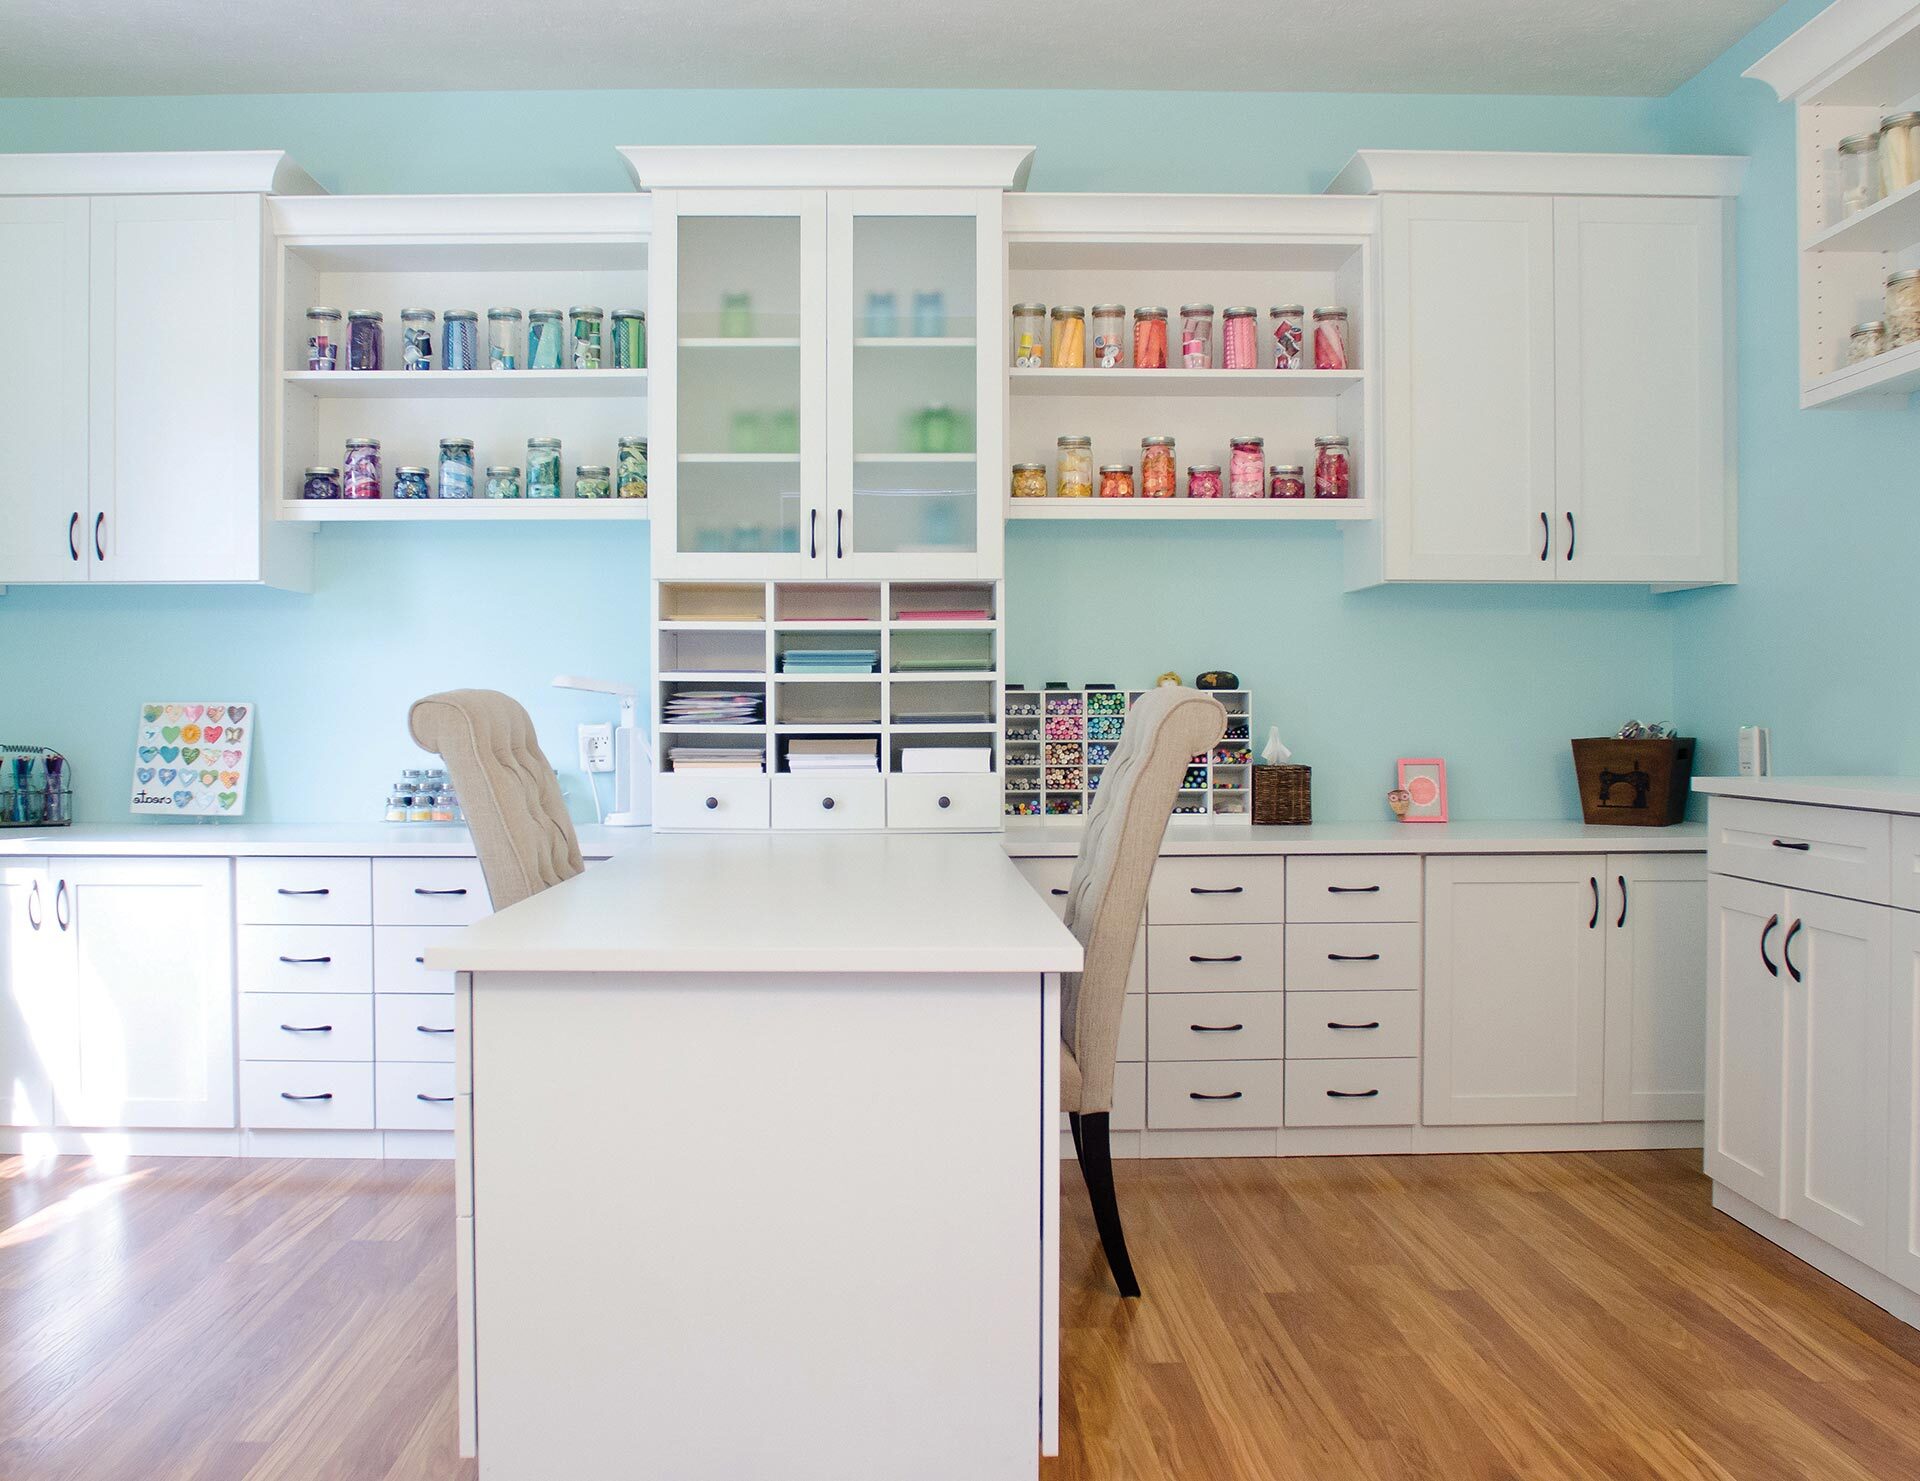
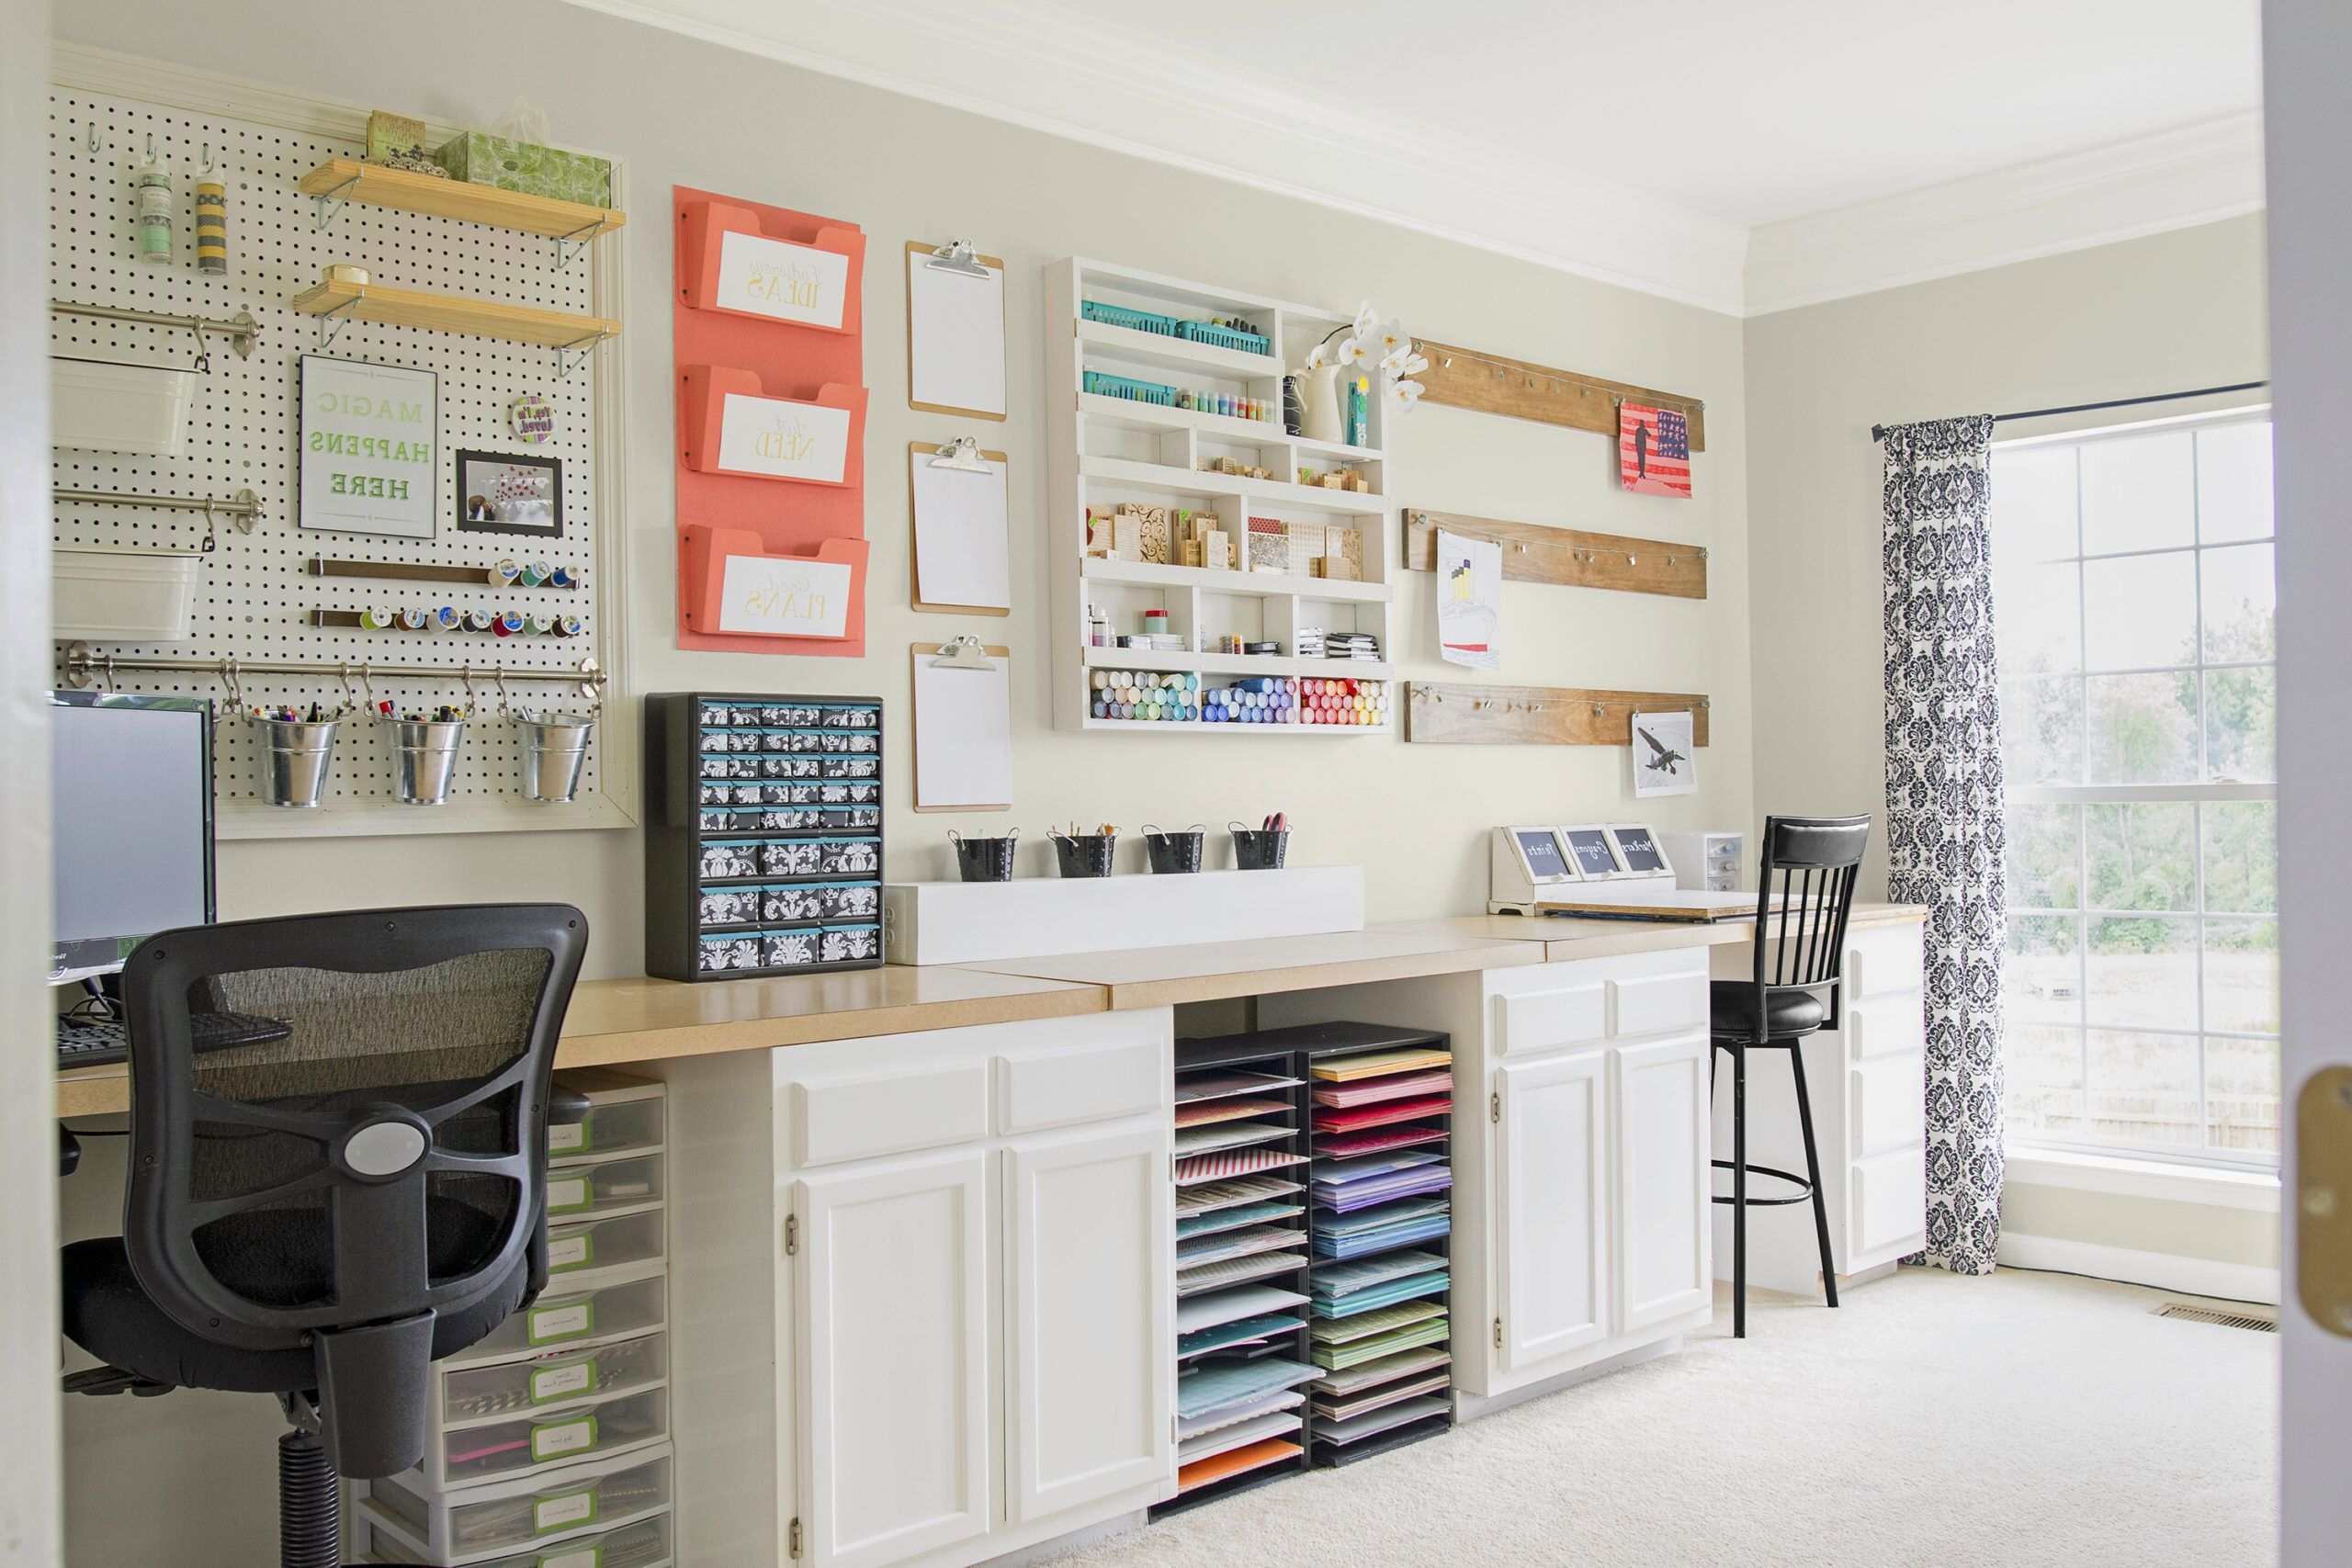
Creating a functional craft room is a dream for many hobbyists and professionals alike. It requires careful planning, efficient use of space, and the right tools to ensure productivity and comfort. One of the most essential components of a craft room is the cutting table, which serves as the central hub for various crafting activities. In this article, we will delve into the process of creating a functional craft room with an adjustable height cutting table, highlighting key considerations, DIY projects, and practical tips to make your workspace both efficient and enjoyable.
Understanding Your Needs
Before diving into the project, it's crucial to understand your specific needs. Here are a few questions to consider:
- Space and Layout: How much space do you have available for your craft room? What is the layout of your room, and how can you optimize it for maximum functionality?
- Crafting Activities: What types of crafts do you plan to do in your room? Different activities require different types of tables and storage solutions.
- Ergonomics: How important is ergonomics to you? An adjustable height cutting table can significantly reduce back strain and improve your overall comfort while working.
- Budget: What is your budget for this project? DIY projects can be cost-effective, but sometimes it's worth investing in higher-quality materials.
Planning Your Craft Room
Step 1: Assess Your Space
Start by assessing the space you have available. Measure the dimensions of your room and identify any constraints or challenges you might face. Consider the natural light, electrical outlets, and any windows or doors that could impact your layout.
Step 2: Define Your Needs
Make a list of all the tools and materials you need for your crafting activities. This will help you determine the size and features of your cutting table. For example, if you work with large pieces of fabric, you'll need a table that can accommodate these materials comfortably.
Step 3: Choose Your Table Design
There are several designs for cutting tables, ranging from simple IKEA hacks to custom-built solutions. Here are a few popular options:
IKEA Hack
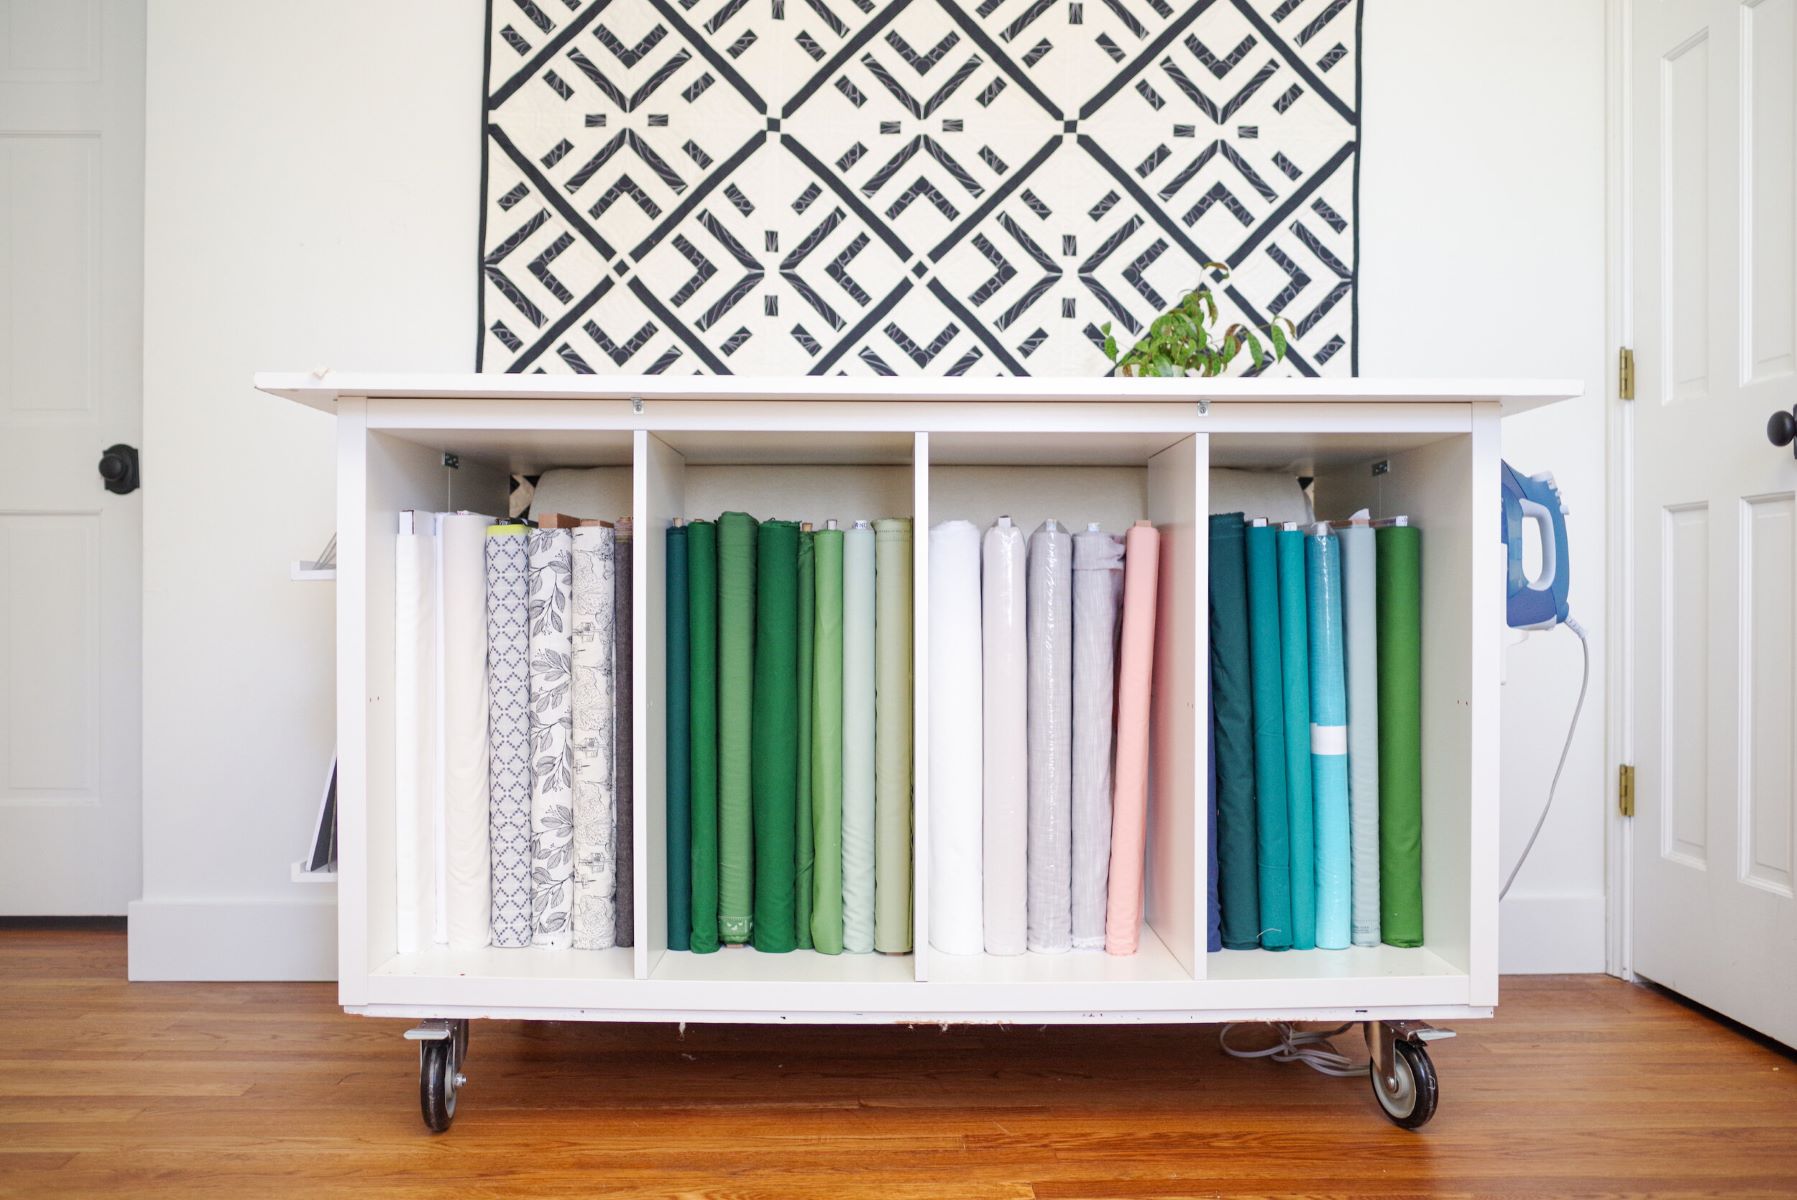
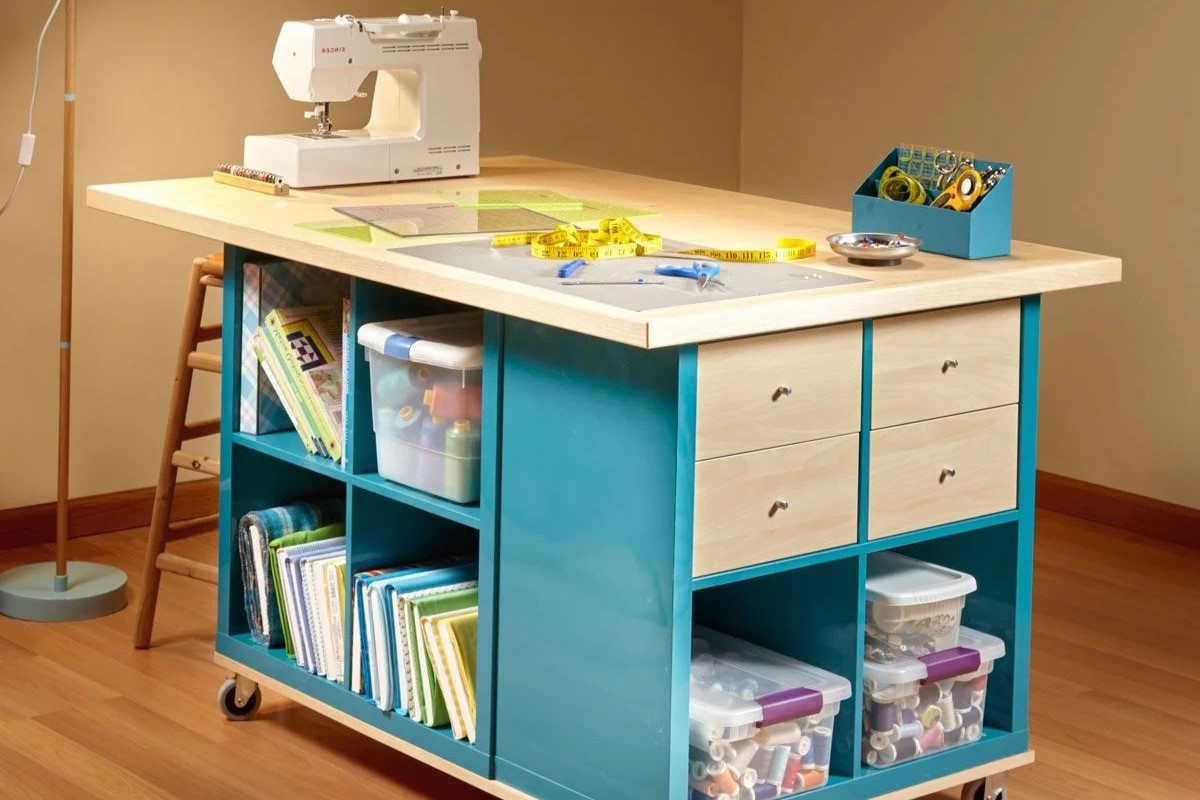
One of the most popular DIY projects for a cutting table involves using IKEA Kallax units. These units are versatile and can be customized to fit your specific needs.
Materials Needed:
- 2 IKEA Kallax units (2 cubes by 4)
- 4 IKEA Kallax inserts (doors or drawers)
- 1 piece of 3/4” plywood (4’ x 8’)
- 4 wheels (6” tall, lockable)
- 1-1/2” wood screws
- 1 piece of 3/4” melamine panel (4’ x 8’)
- Melamine tape or shelf edging
- 8 corner braces
- 8 L-angle corner brackets
Instructions:
- Assemble the Kallax Units: Follow the instructions provided by IKEA to assemble the Kallax units. You will need to attach the inserts and ensure they are secure.
- Create the Base: Cut the plywood to size and attach it to the base of the Kallax units using wood screws.
- Add Wheels: Attach the wheels to the base for easy mobility.
- Add Melamine Top: Place the melamine panel on top of the base and secure it with melamine tape or shelf edging.
- Add Brackets: Use corner braces and L-angle brackets to ensure the top is stable and secure.
Custom-Built Table
If you prefer a more customized approach, you can build your cutting table from scratch using materials like wood or melamine.
Materials Needed:
- Wood or melamine sheets
- Legs or trestles
- Screws
- Sandpaper
- Paint or stain (optional)
Instructions:
- Design Your Table: Sketch out your design, considering the height, width, and depth of your table.
- Cut the Materials: Use a saw to cut the wood or melamine sheets according to your design.
- Assemble the Frame: Use screws to assemble the frame of your table.
- Add Legs or Trestles: Attach legs or trestles to ensure the table is at the right height for you.
- Sand and Finish: Sand the edges and apply paint or stain if desired.
Features of an Adjustable Height Cutting Table
An adjustable height cutting table is essential for maintaining comfort and reducing back strain during long crafting sessions. Here are some key features to consider:
Adjustable Height
The ability to adjust the height of your cutting table is crucial for ergonomics. This feature allows you to stand or sit comfortably while working, reducing strain on your back and shoulders.
Storage Solutions
A good cutting table should have ample storage solutions for your tools and materials. This could include shelves, drawers, or even a built-in ironing station.
Large Cutting Mat
A large cutting mat is necessary for cutting large pieces of fabric or other materials without having to maneuver them over the edge of the table.
Read more: Creating A Functional Craft Room In A Garage
Iron Storage
Easy access to an iron is vital for many crafting activities. Consider adding an iron storage compartment that is easy to access.
Batting Holder
If you work with batting regularly, having a dedicated holder for it can save time and keep your workspace organized.
Practical Tips for Creating Your Craft Room
Purge and Organize
Before setting up your craft room, take the time to purge any unnecessary items and organize what you have left. This will help you visualize the space better and ensure that everything has its place.
Read more: Creating A Functional Craft Room In An Attic
Use Vertical Space
Maximize your vertical space by using wall-mounted shelves or storage units. This keeps your floor clear and makes it easier to move around the room.
Incorporate Natural Light
Natural light can significantly improve the ambiance of your craft room. Place your workspace near a window or use mirrors to reflect natural light into darker areas.
Add Comfortable Seating
Comfortable seating is essential for long crafting sessions. Consider adding a comfortable chair or even a small sofa for breaks.
DIY Projects for Your Craft Room
Hidden Workstation
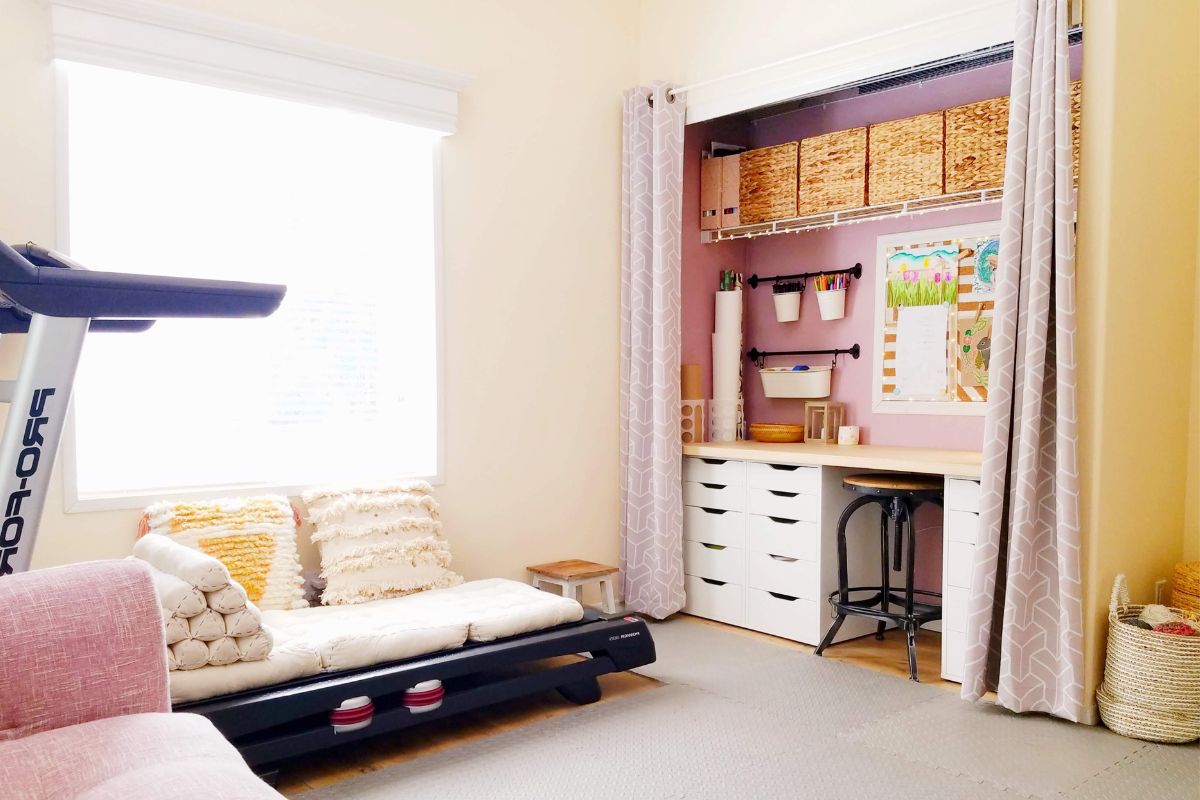
Create a hidden workstation using an IKEA bookshelf or similar unit. This can be especially useful for storing small tools and materials that you don't need immediate access to.
Customized Shelves
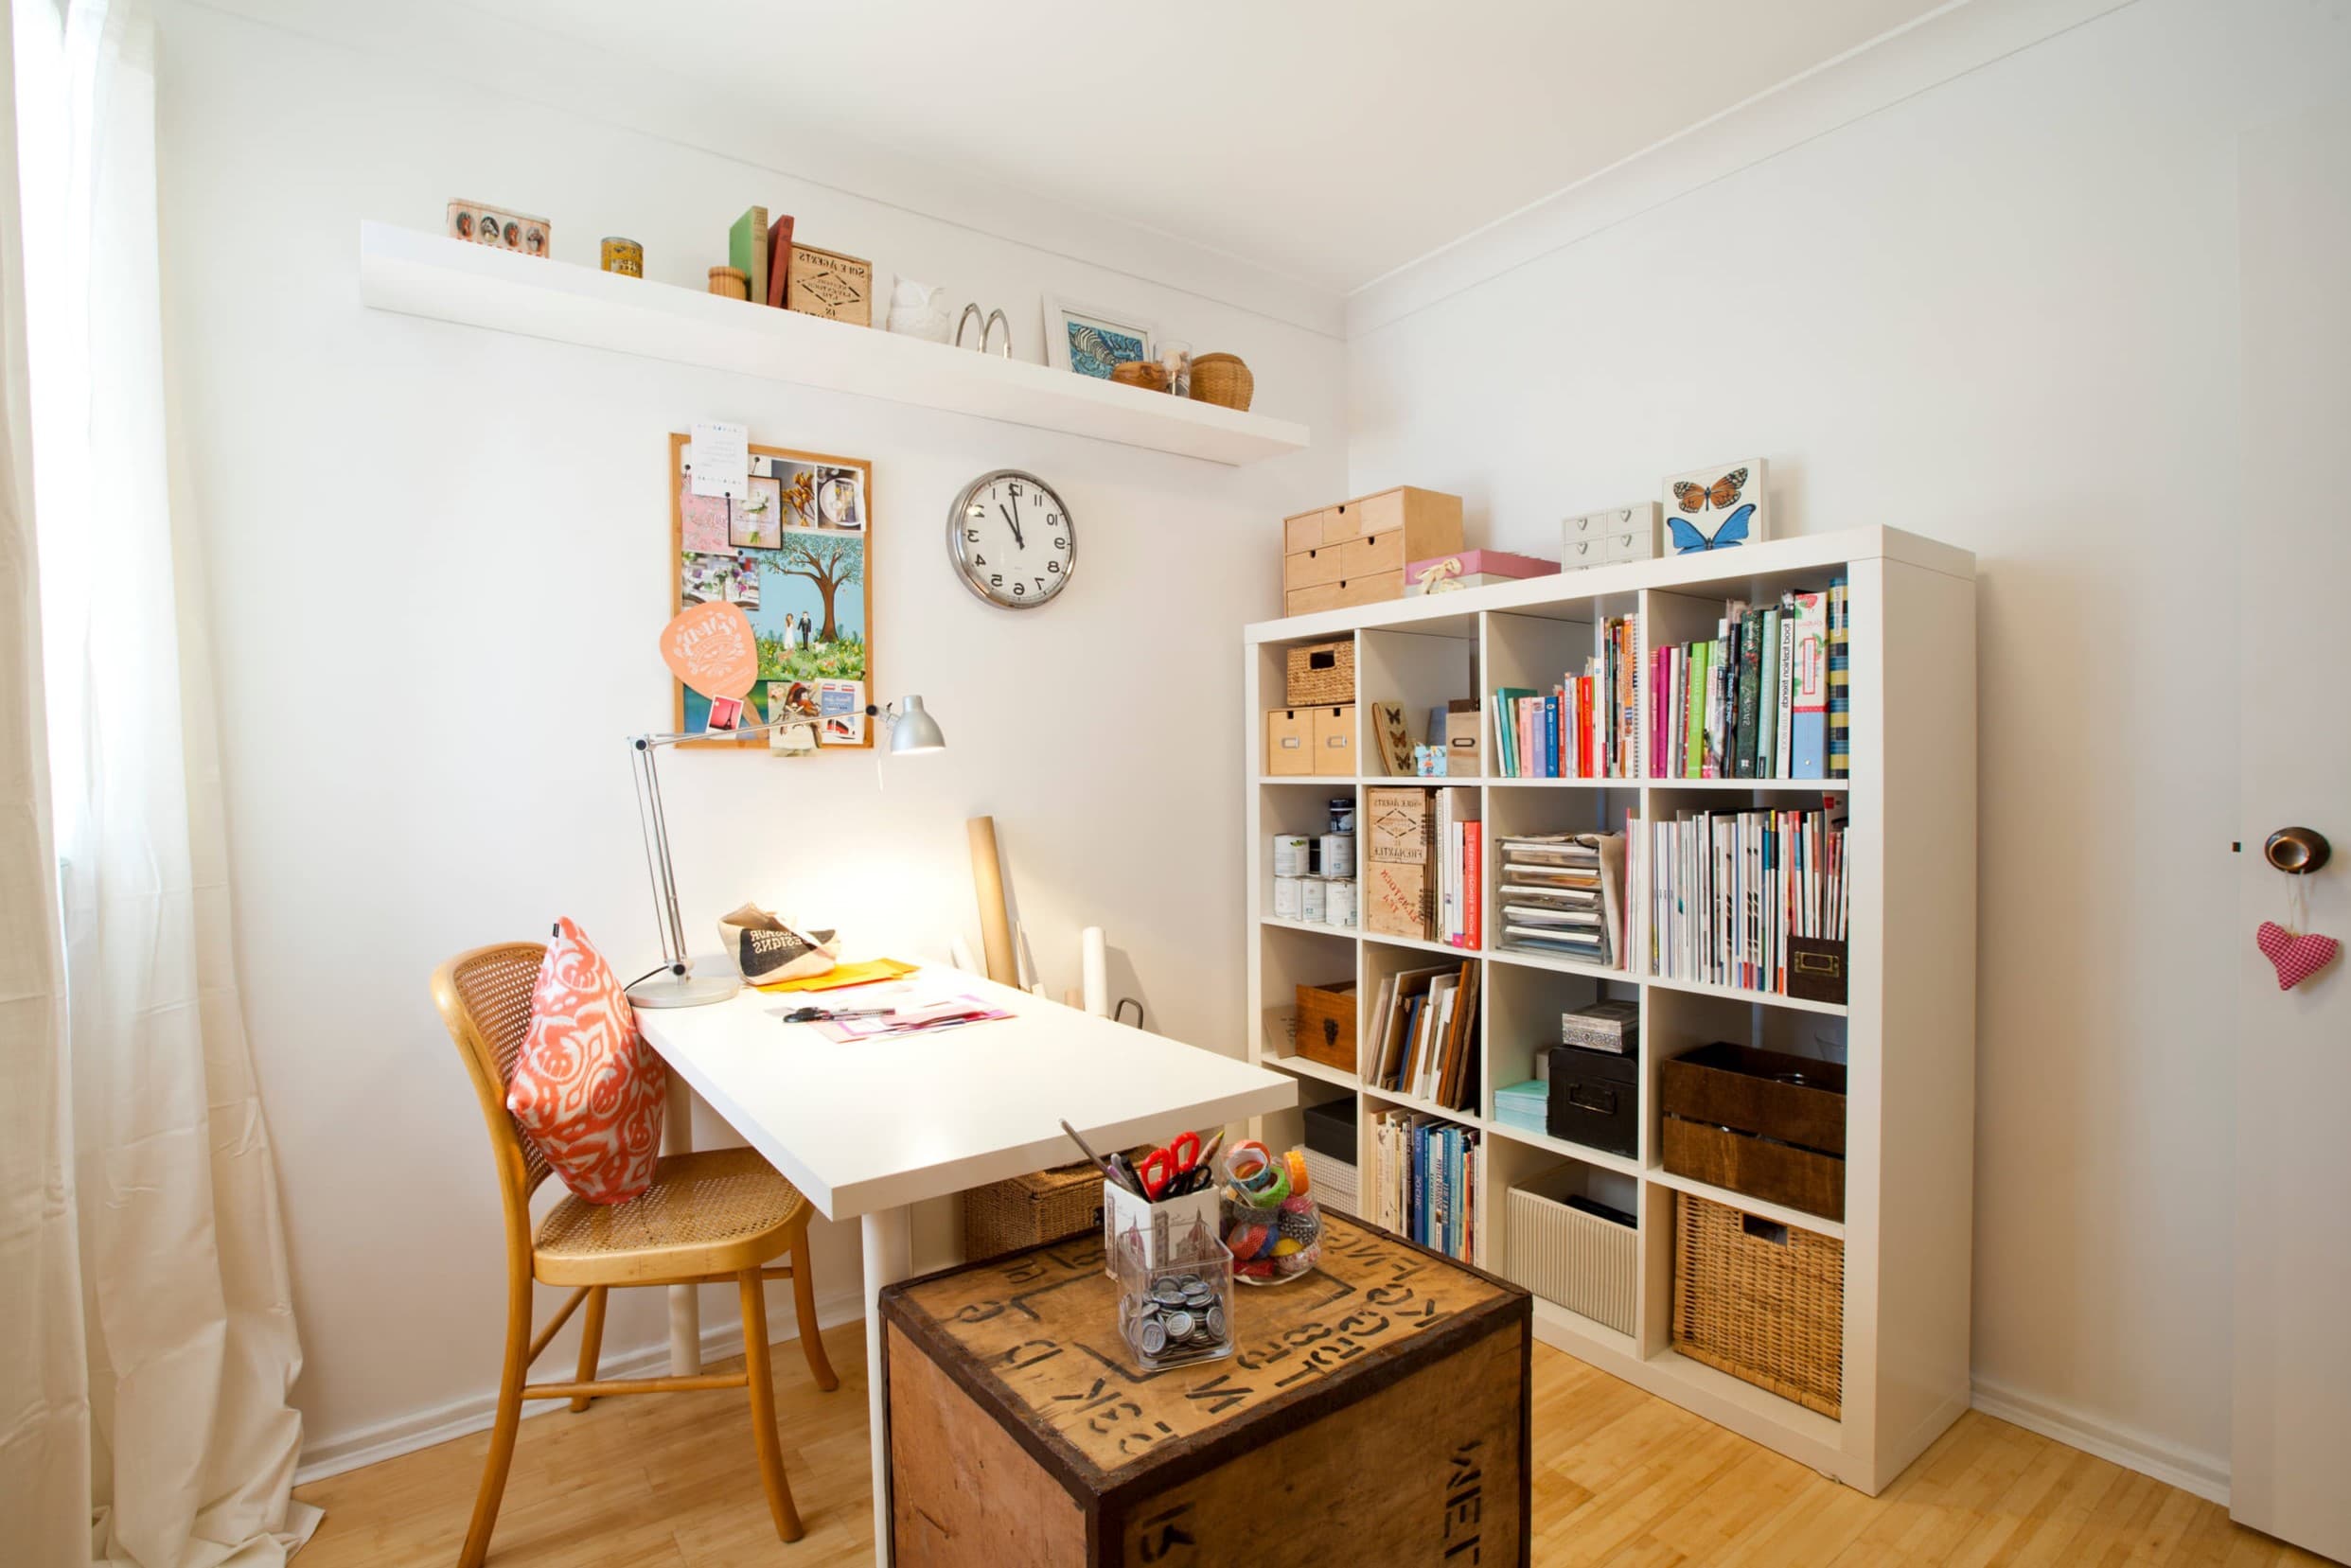
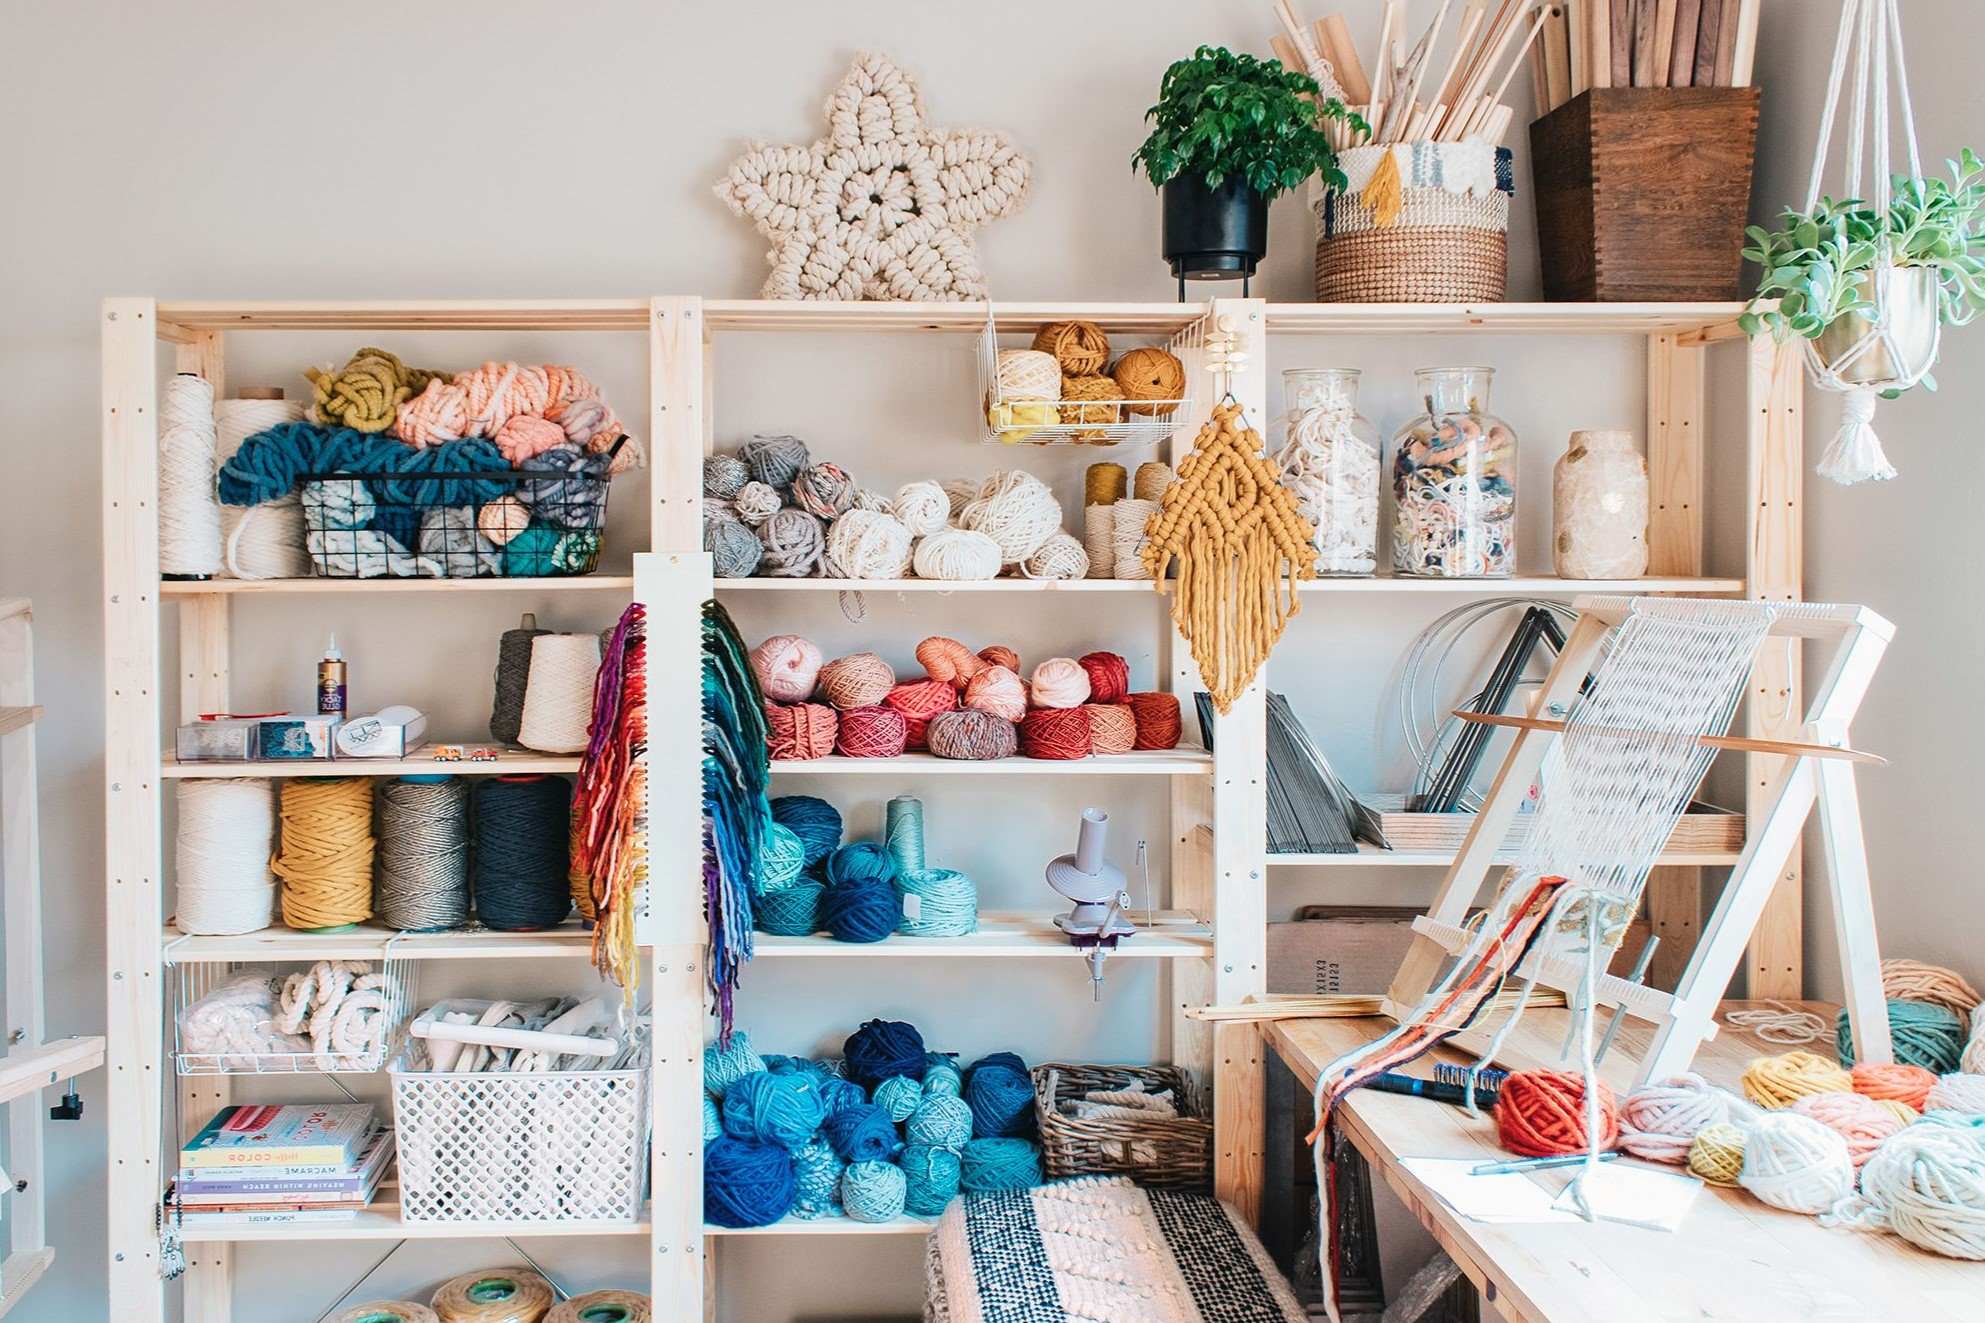
Use Expedit shelving from IKEA to create customized shelves for storing fabric, books, and other materials. You can add legs or casters to make it easier to move around the room.
Adjustable Trestles
Use adjustable trestles like those from IKEA Vika Artur to create a versatile cutting table that can be adjusted to different heights.
Conclusion
Creating a functional craft room with an adjustable height cutting table requires careful planning and attention to detail. By understanding your needs, choosing the right design, and incorporating practical tips, you can create a workspace that is both efficient and enjoyable. Whether you opt for an IKEA hack or a custom-built solution, remember to prioritize ergonomics and storage solutions to ensure that your craft room meets all your needs. Happy crafting
Was this page helpful?
At Storables.com, we guarantee accurate and reliable information. Our content, validated by Expert Board Contributors, is crafted following stringent Editorial Policies. We're committed to providing you with well-researched, expert-backed insights for all your informational needs.


0 thoughts on “Creating a Functional Craft Room with an Adjustable Height Cutting Table”