Home>Garden Essentials>How Long Does It Take To Grow Strawberries From Seed
Garden Essentials
How Long Does It Take To Grow Strawberries From Seed
Modified: September 1, 2024
Get tips on growing strawberries from seed in your garden and find out how long it takes to get delicious homegrown berries.
(Many of the links in this article redirect to a specific reviewed product. Your purchase of these products through affiliate links helps to generate commission for Storables.com, at no extra cost. Learn more)
Introduction
Welcome to the world of growing strawberries from seeds! If you’re a gardening enthusiast looking to embark on a rewarding and delicious adventure, then growing strawberries from seed is a fantastic option. While it may take a little more time and patience compared to starting with pre-grown plants, the satisfaction of nurturing a strawberry plant from the very beginning is truly fulfilling.
In this article, we will guide you through the process of growing strawberries from seed, from germination to fruit production. We will discuss the time it takes for strawberries to grow from seed, as well as important factors to consider throughout their growth cycle.
Strawberries are popular fruits that are not only incredibly tasty but also rich in vitamins and antioxidants. With their vibrant red color and sweet tangy flavor, they are a favorite addition to desserts, salads, and smoothies. By growing your strawberries from seed, you have the opportunity to experience the joy of homegrown, organic berries bursting with flavor.
Before we jump into the details, it’s important to note that growing strawberries from seed requires a bit of planning and preparation. Patience is key, as it typically takes several months for strawberries to reach maturity and produce fruits. However, the rewards are well worth the wait!
So, if you’re ready to roll up your sleeves and dive into the world of strawberry cultivation, keep reading to learn about the exciting journey of growing strawberries from seed.
Key Takeaways:
- Growing strawberries from seed is a rewarding journey that requires patience and care. From germination to fruit production, understanding the growth cycle and providing proper care leads to delicious homegrown strawberries.
- The process of growing strawberries from seed involves choosing quality seeds, preparing the soil, caring for seedlings, and transplanting them. With dedication and attention, you can enjoy the sweet rewards of homegrown strawberries.
Understanding the Strawberry Growth Cycle
Before we delve into the process of growing strawberries from seed, it’s important to have a basic understanding of the strawberry growth cycle. Strawberries are perennial plants that go through several distinct stages of development.
The growth cycle of a strawberry plant can be broken down into four main phases:
- Germination: This is the first stage of the growth cycle, where the seed sprouts and develops into a seedling.
- Vegetative growth: In this phase, the seedling grows leaves, stems, and a root system, establishing a strong foundation for future growth. This is also the period where you will see the development of runners, which are horizontal stems that produce new plants.
- Reproductive growth: During this stage, the plant starts to flower and produce fruit. The flowers are pollinated, and the fruit develops gradually.
- Maturity: Finally, the strawberry plant reaches maturity, and the fruit ripens, ready to be harvested. This is the most rewarding stage for gardeners, as they get to enjoy the fruits of their labor.
Understanding these stages is crucial because the time it takes for strawberries to grow from seed will vary depending on factors such as temperature, growing conditions, and strawberry variety. On average, it can take anywhere between 4 to 6 weeks for strawberries to germinate, and another 4 to 6 weeks for the seedlings to reach a size suitable for transplanting.
It’s also worth noting that strawberries are typically grown as biennials, meaning they produce fruit in their second year of growth. However, with proper care and maintenance, some strawberry varieties may produce fruit in their first year itself.
Now that we have a basic understanding of the strawberry growth cycle, let’s move on to the first step of growing strawberries from seed: seed germination.
Seed Germination
The first stage in growing strawberries from seed is seed germination. Germination is the process by which a seed transforms into a seedling, ready to grow into a full-fledged plant. To successfully germinate strawberry seeds, there are a few key steps to follow.
1. Choosing Quality Seeds: Start by selecting high-quality strawberry seeds from a reputable source. Look for organic, non-GMO seeds to ensure healthy and disease-resistant plants.
2. Cold Treatment (Stratification): Many strawberry seeds require a period of cold treatment, known as stratification, to break dormancy and stimulate germination. This mimics the natural process of seeds being exposed to winter temperatures before sprouting in the spring. Simply place the seeds in a damp paper towel or peat moss, seal them in a plastic bag, and refrigerate for 4 to 6 weeks.
3. Preparing the Seed Trays: While the seeds are stratifying, prepare your seed trays. Fill the trays with a well-draining potting mix or seed-starting mix. Moisten the soil, but avoid excessive waterlogging.
4. Sowing the Seeds: Once the cold treatment is complete, remove the seeds from the refrigerator and gently sow them on the surface of the soil in the seed trays. Lightly press the seeds into the soil, ensuring good seed-to-soil contact.
5. Providing Optimal Conditions: Place the seed trays in a warm and bright location, such as a windowsill or under grow lights. Maintain a temperature of around 70°F (21°C) and provide consistent moisture, keeping the soil moist but not soaking wet. Avoid exposing the seeds to direct sunlight, as it can dry out the soil and inhibit germination.
6. Be Patient: Germination can take anywhere from 1 to 3 weeks, depending on the variety and growing conditions. Be patient and resist the temptation to disturb the seeds during this critical stage.
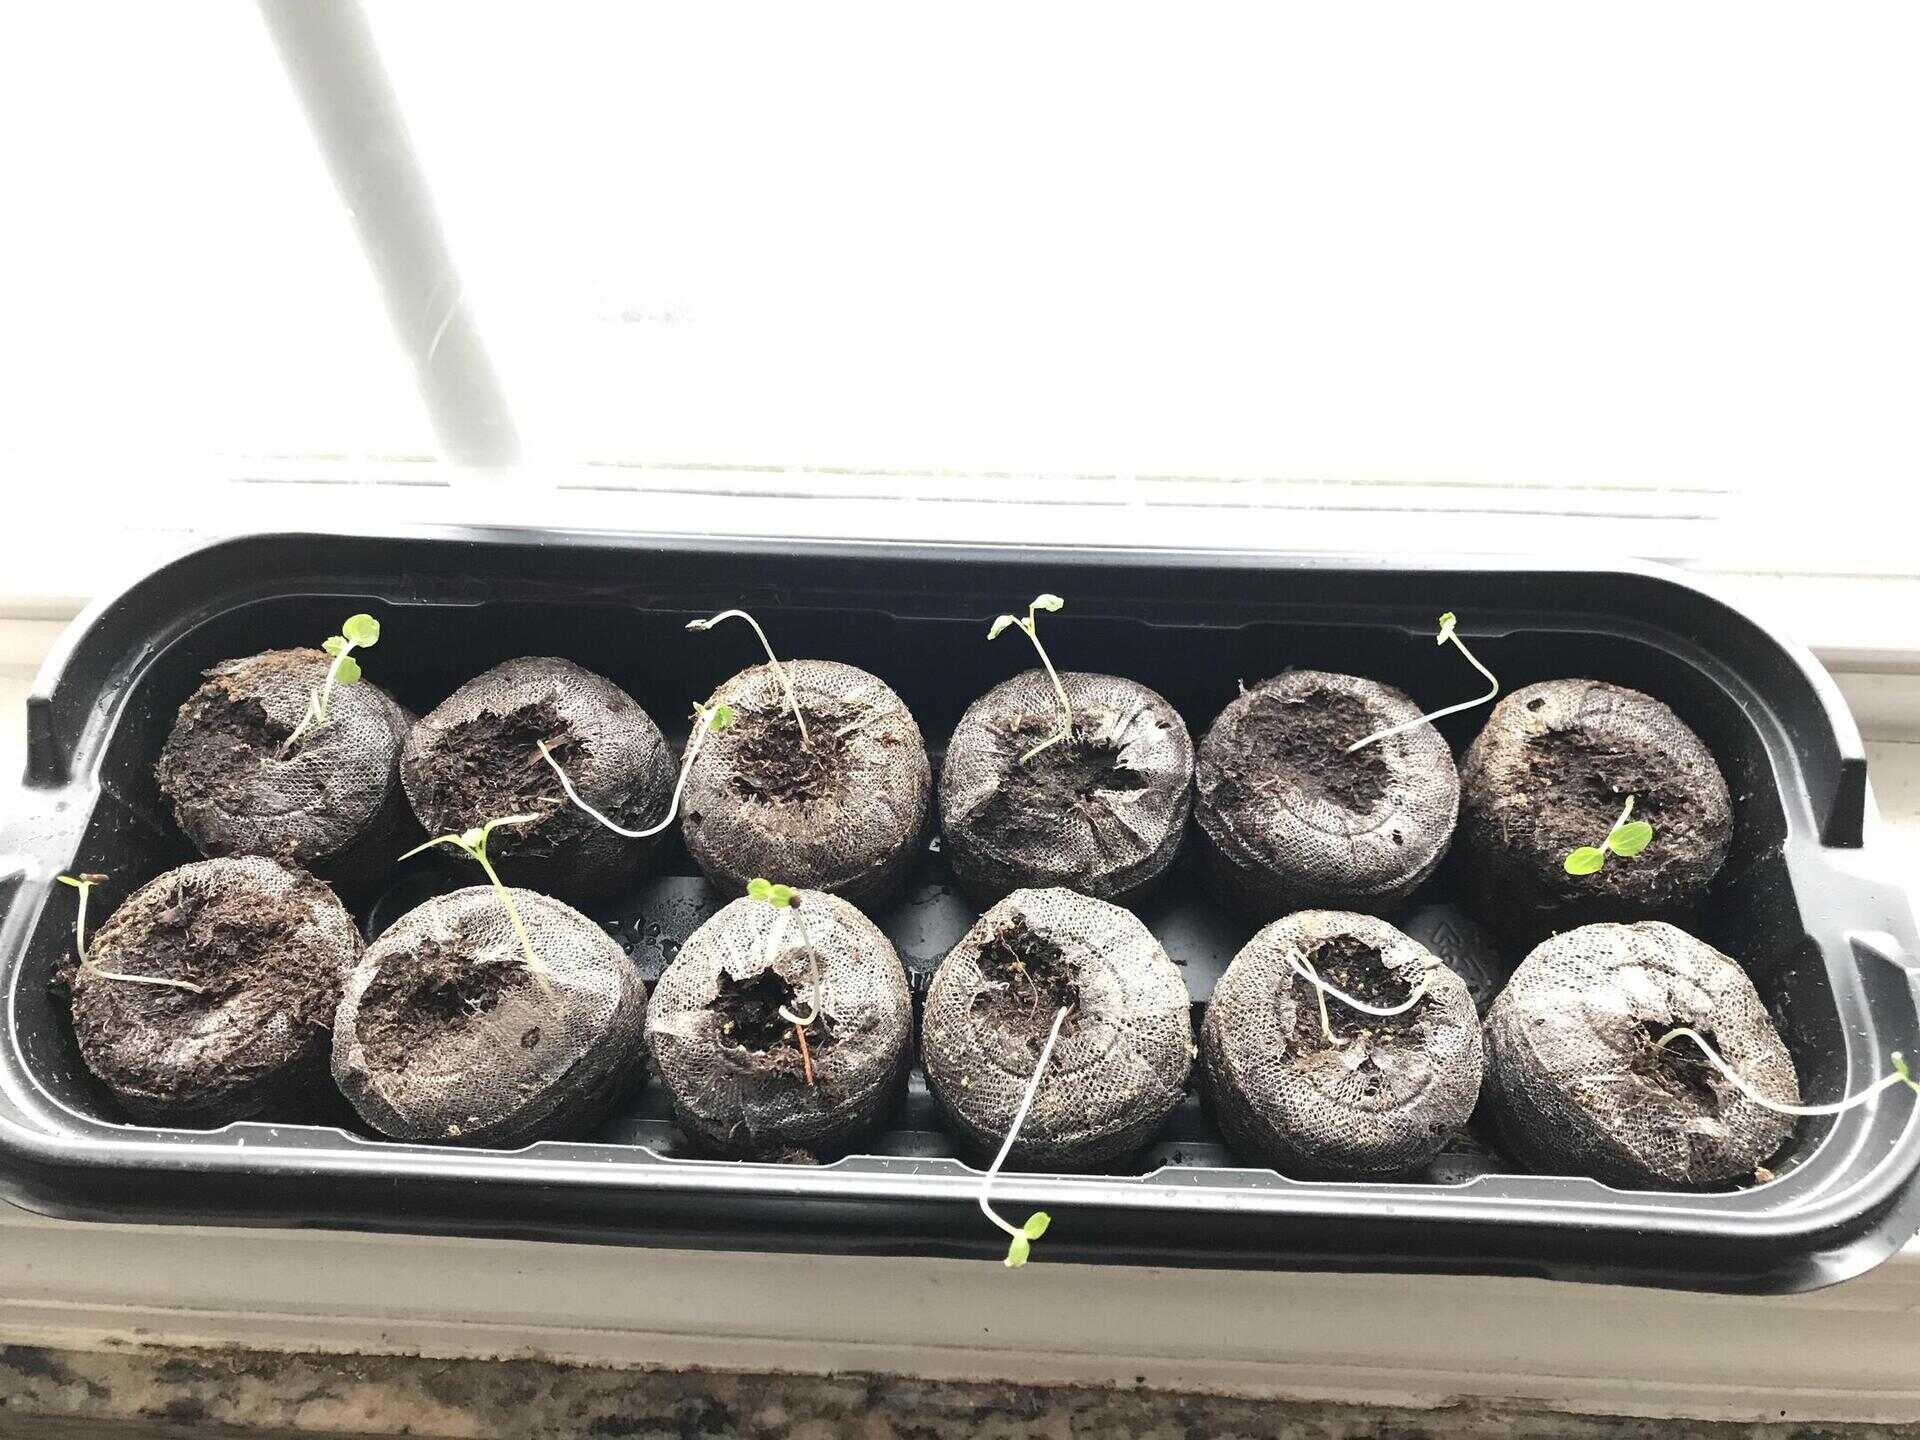
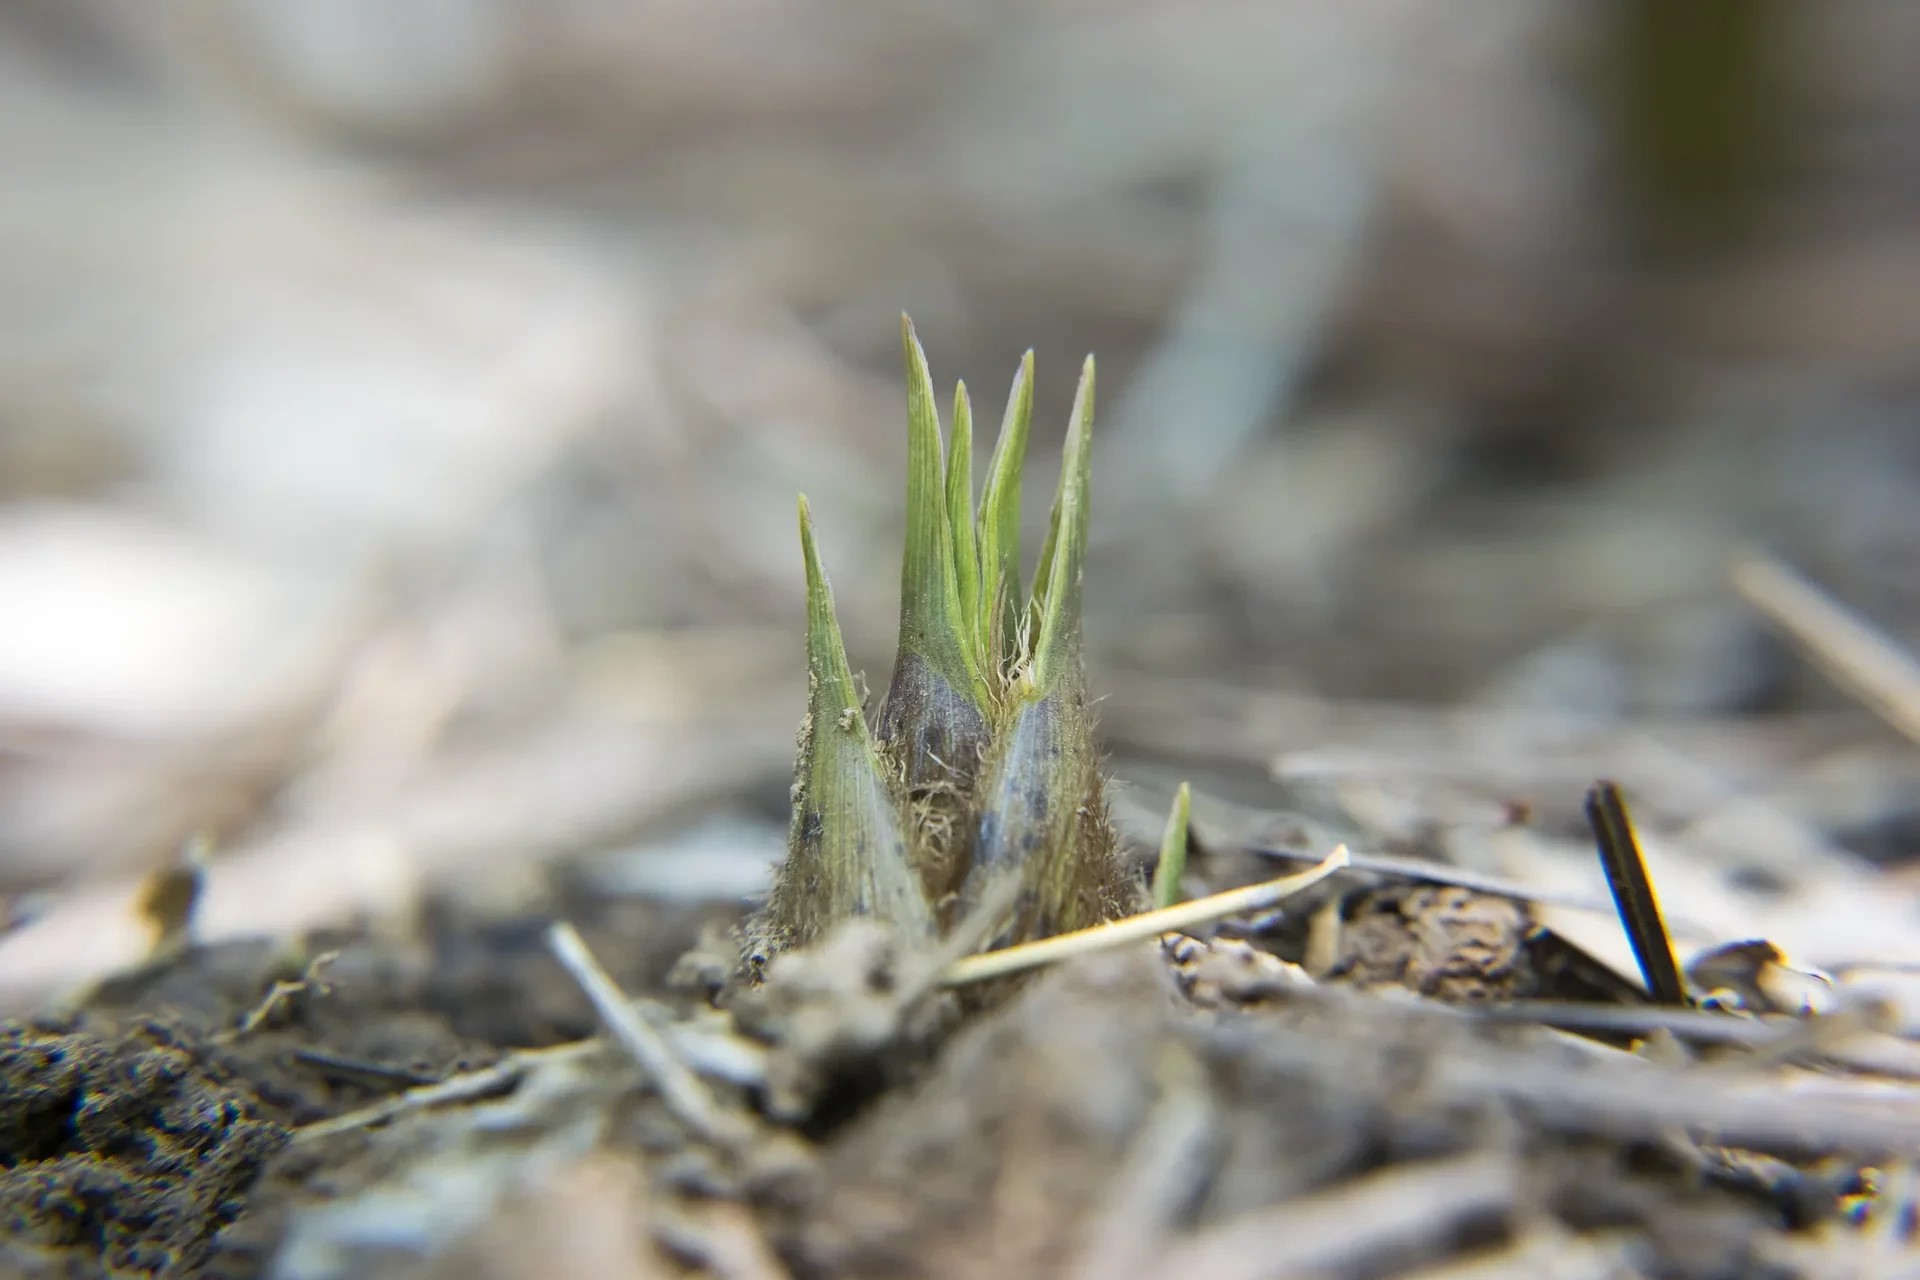
As the seeds germinate, you will start to see tiny sprouts emerging from the soil. These sprouts will develop into strawberry seedlings, which will eventually be transplanted to their permanent growing location.
Next, we will discuss how to prepare the soil for strawberry seeds, ensuring optimal conditions for healthy and vigorous growth.
Preparing the Soil for Strawberry Seeds
Creating the ideal growing environment is essential for the successful germination and growth of strawberry seeds. Proper soil preparation is crucial in providing the necessary nutrients, drainage, and pH level for the seeds to thrive.
1. Soil Type: Strawberries prefer well-draining soil with a slightly acidic pH of around 6.0 to 6.5. Sandy loam or loamy soil with good organic matter content is ideal. Avoid heavy clay soil that tends to retain moisture and can lead to root rot.
2. Testing and Amending the Soil: Before planting your strawberry seeds, it’s beneficial to test the soil pH and nutrient levels. You can purchase a soil test kit or send a soil sample to a local agricultural extension office for analysis. Based on the results, amend the soil accordingly. If the pH is too high, add elemental sulfur or peat moss to lower it. If the soil lacks organic matter, incorporate compost or well-rotted manure to improve fertility.
3. Clearing the Area: Remove any weeds, rocks, or debris from the planting area to ensure proper seed placement and prevent competition for nutrients and water.
4. Working the Soil: Loosen the soil using a garden fork or a tiller, working it to a depth of about 6 to 8 inches (15 to 20 cm). Break up any clumps and remove large rocks or roots that could hinder seedling growth.
5. Adding Organic Matter: Mix in organic matter, such as compost or well-rotted manure, to improve soil structure, moisture retention, and nutrient availability. Spread a 2 to 3-inch (5 to 7.5 cm) layer of organic matter evenly over the planting area and incorporate it into the soil.
6. Leveling and Raking: Smooth out the soil surface with a rake to create a uniform bed for planting the strawberry seeds. Avoid compacting the soil while doing so.
By properly preparing the soil, you provide the foundation for healthy and vigorous growth throughout the strawberry plant’s life cycle. The next step is to sow the strawberry seeds and initiate the germination process.
In the next section, we will discuss the process of planting strawberry seeds and the care required for their seedlings.
Planting Strawberry Seeds
Now that you have prepared the soil, it’s time to sow your strawberry seeds and kick-start the growth of your strawberry plants. Here are some steps to follow for successful planting:
1. Timing: Plant your strawberry seeds in early spring, after the danger of frost has passed. This will allow the seeds to germinate and establish themselves before the growing season.
2. Spacing: Create evenly spaced rows or raised beds for planting the seeds. Leave about 12 to 18 inches (30 to 45 cm) between each row or bed to allow ample space for the plants to spread as they grow.
3. Planting Depth: Strawberry seeds are quite small, so only a light covering of soil is necessary. Sow the seeds about 1/8 inch (3 mm) deep into the prepared soil. Alternatively, sprinkle the seeds on the soil surface and gently press them into the soil for good seed-to-soil contact.
4. Watering: After planting the seeds, lightly water the soil to ensure moist conditions for optimal germination. Avoid overwatering, as excessive moisture can lead to rotting of the seeds.
5. Mulching: Mulching around the seedlings with straw or wood chips can help conserve moisture, suppress weeds, and maintain a more stable soil temperature. Keep the mulch about 1 inch (2.5 cm) away from the base of the plants to prevent rotting.
6. Providing Light: Place the seed trays or planting containers in a bright location where the seedlings can receive about 8 to 10 hours of sunlight per day. If sunlight is limited, you can use fluorescent grow lights to provide adequate lighting.
7. Germination and Seedling Care: Be patient and wait for the seeds to germinate. Once the seedlings emerge, ensure they receive regular, light watering to keep the soil moist. Avoid overwatering, as this can lead to damping-off disease. Additionally, thin out the seedlings if they are overcrowded, leaving only the strongest and healthiest plants.
As the seedlings continue to grow, they will develop leaves, stems, and a root system, preparing them for eventual transplanting to their permanent growing location. In the next section, we will explore the essential care practices for strawberry seedlings.
Remember that growing strawberries from seed requires time and patience, but the payoff of homegrown strawberries will make it all worthwhile. Stay tuned for tips on caring for your strawberry seedlings and guiding them to maturity and fruit production.
It takes about 4-6 weeks for strawberry seeds to germinate. Once they sprout, it can take another 4-6 weeks for the seedlings to grow large enough to transplant into the garden.
Caring for Strawberry Seedlings
Once your strawberry seedlings emerge, they require proper care and attention to ensure healthy growth and development. Here are some essential tips for caring for your strawberry seedlings:
1. Watering: Consistent and adequate watering is crucial for the health of strawberry seedlings. Keep the soil consistently moist but not waterlogged. Water at the base of the plants to avoid wetting the foliage, as wet leaves can encourage disease. Use a drip irrigation system or water early in the day to allow leaves to dry before the evening.
2. Fertilizing: Strawberries are heavy feeders, so it’s important to provide them with regular fertilization. Start by incorporating organic matter, such as compost or well-rotted manure, into the soil before planting the seeds. Once the seedlings have developed their first true leaves, you can start applying a balanced organic fertilizer following the instructions on the package.
3. Weed Control: Keep the area around the seedlings free from weeds, which compete with the strawberry plants for nutrients and water. Mulching with straw or wood chips can help suppress weeds and maintain soil moisture. Be careful not to bury the seedlings or cover their crowns with mulch, as this can lead to rotting.
4. Protection from Pests and Diseases: Monitor your strawberry seedlings for any signs of pests or diseases. Common pests include slugs, snails, and aphids. Use organic pest control methods such as handpicking or applying natural deterrents to keep them at bay. Diseases such as powdery mildew or gray mold can be prevented by providing good air circulation and avoiding overhead watering.
5. Pinching or Pruning: Once the seedlings have established a few sets of leaves, you can pinch off the terminal bud or prune the tips of the plants. This promotes bushier growth and discourages legginess.
6. Providing Support: As the seedlings grow, it may be necessary to provide support for the plants. Install trellises or cages to keep the plants upright and prevent the fruits from touching the ground, reducing the risk of rot or pest damage.
7. Monitoring and Inspecting: Regularly monitor your strawberry seedlings for any signs of stress, nutrient deficiencies, or pests. Inspect the leaves, stems, and fruits regularly to catch any issues early and address them promptly.
By providing proper care for your strawberry seedlings, you will set them up for success as they continue to grow and eventually produce delicious fruits. In the next section, we will discuss the process of transplanting strawberry seedlings to their permanent growing location.
Stay tuned for the important steps to ensure a smooth transition and optimal growth for your strawberry plants!
Transplanting Strawberry Seedlings
Once your strawberry seedlings have grown strong and healthy, it’s time to transplant them to their permanent growing location. Transplanting is a critical step in the journey of growing strawberries from seed, as it allows the plants to establish themselves for optimal growth and fruit production. Here are the steps to successfully transplant strawberry seedlings:
1. Timing: Choose a cool and cloudy day to transplant your strawberry seedlings. Transplanting during the early morning or late afternoon when temperatures are cooler can also help prevent stress on the plants.
2. Preparing the Planting Site: Select a well-draining location with full sun exposure. Remove any weeds, rocks, or debris from the area. Dig the soil to a depth of about 8 to 10 inches (20 to 25 cm) and incorporate compost or organic matter to improve fertility and drainage.
3. Digging Holes: Dig holes in the prepared planting site that are large enough to accommodate the root systems of the strawberry seedlings. Space the holes about 12 to 18 inches (30 to 45 cm) apart, leaving enough room for the plants to spread and grow.
4. Transplanting the Seedlings: Gently remove the strawberry seedlings from their current containers or seed trays, being careful not to damage the delicate roots. Place each seedling in a hole, making sure the crown sits level with the soil surface. Backfill the hole with soil, firming it gently around the roots to ensure good contact.
5. Watering: After transplanting, water the newly planted seedlings thoroughly. This helps settle the soil around the roots and provides necessary moisture. Continue to water regularly, ensuring the soil stays moist but not waterlogged.
6. Mulching: Mulch around the transplanted seedlings to help conserve moisture, suppress weeds, and regulate soil temperature. Apply a layer of straw or wood chips, leaving a small gap around the crown of each plant to prevent rotting.
7. Providing Support: Install trellises or cages around the strawberry plants to support their growth and keep the fruits off the ground. This helps minimize the risk of rot and damage from pests.
8. Care and Maintenance: Continue to care for the transplanted seedlings by providing regular watering, fertilization, and pest control. Monitor the plants for any signs of stress or nutrient deficiencies and address them promptly.
With proper care and maintenance, your transplanted strawberry seedlings will acclimate to their new environment and begin to flourish. Be patient and allow them time to establish themselves before expecting significant fruit production.
In the next section, we will explore the maturity and fruit production stage of strawberry plants, bringing you closer to enjoying the sweet rewards of your gardening efforts.
Strawberry Plant Maturity and Fruit Production
After patiently tending to your strawberry seedlings and watching them grow into established plants, the excitement of fruit production is just around the corner. Understanding the process of strawberry plant maturity and fruit production is essential for ensuring a bountiful harvest. Here’s what you need to know:
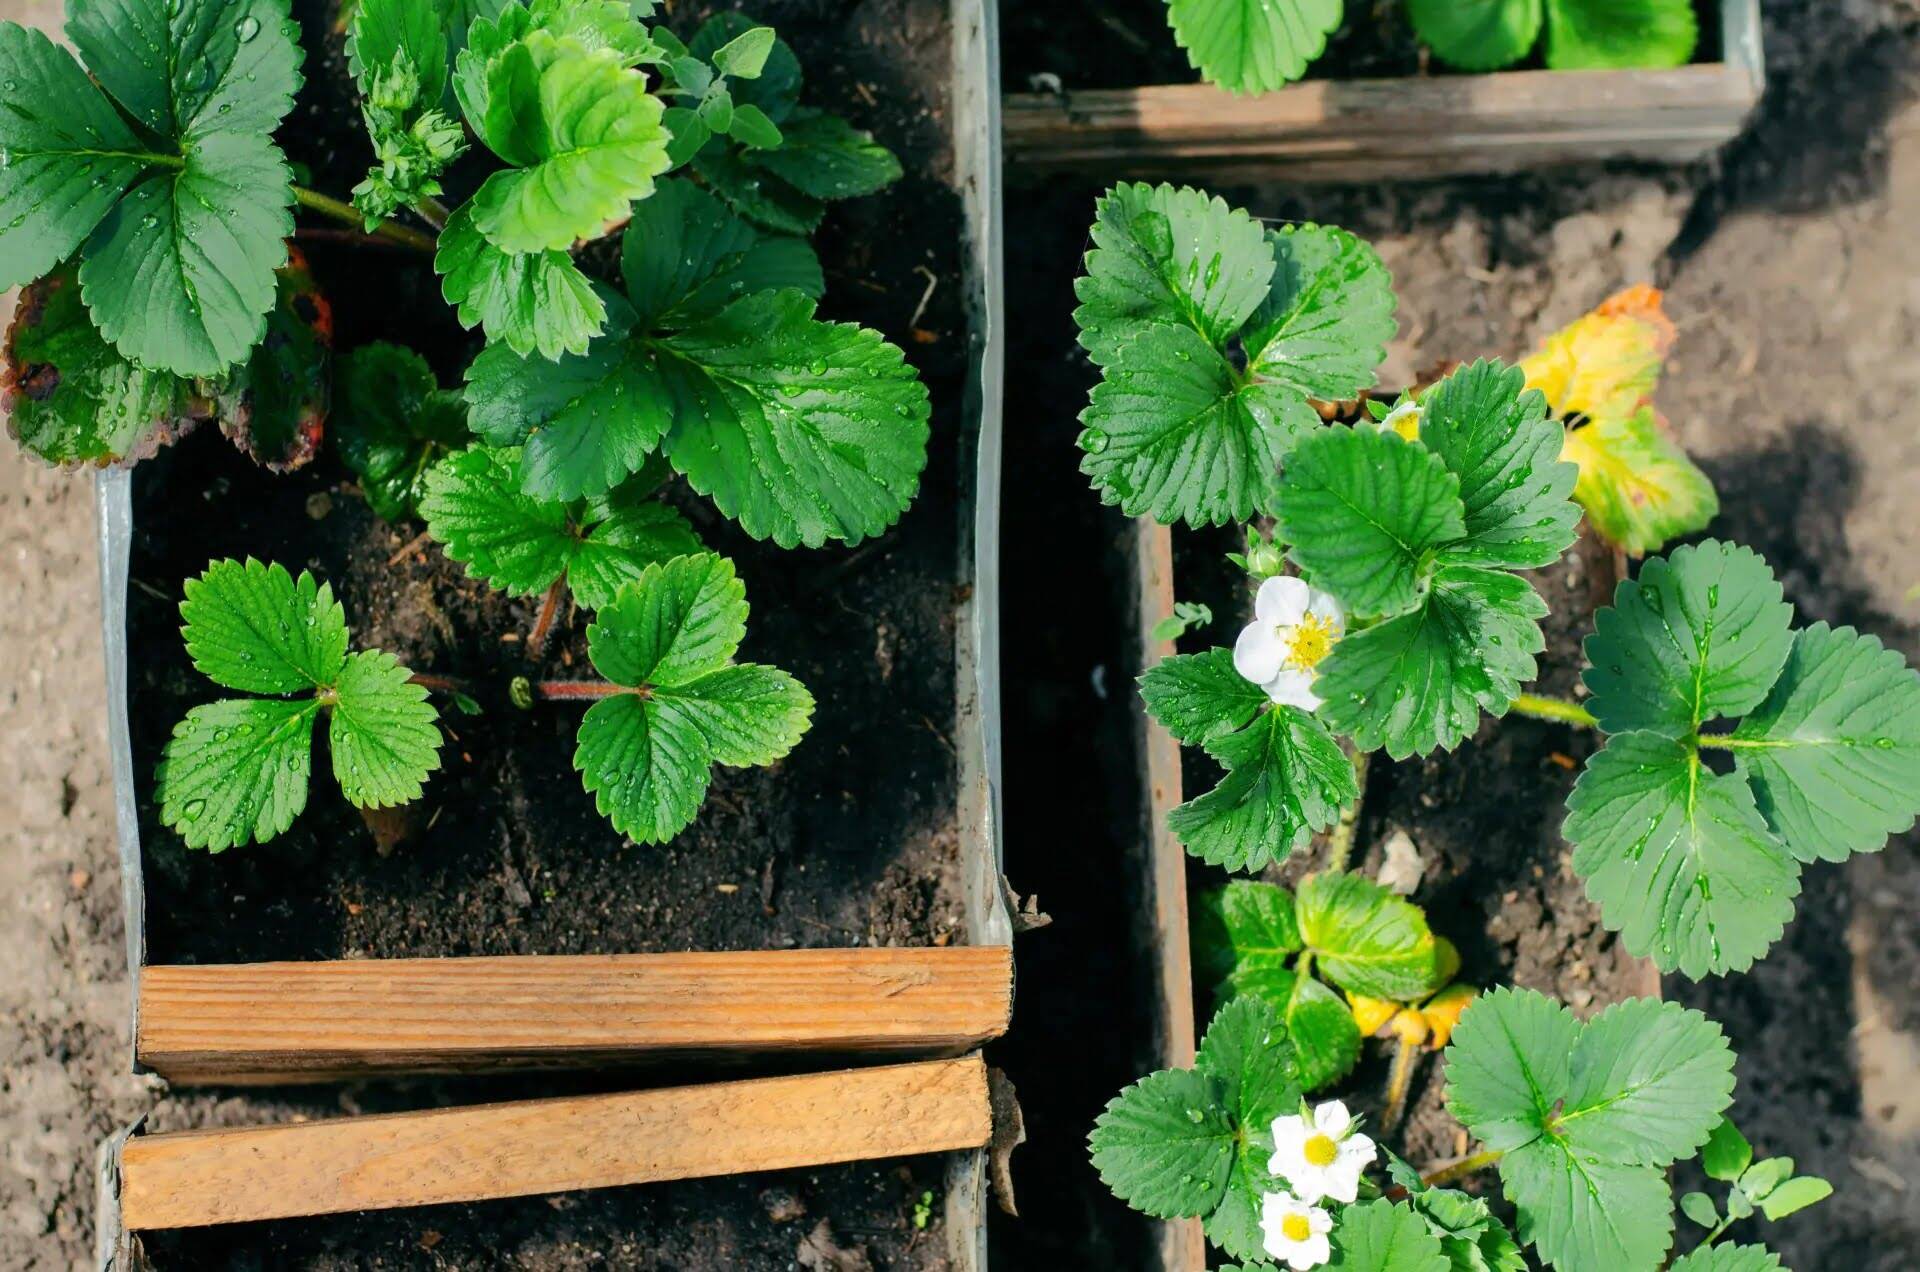
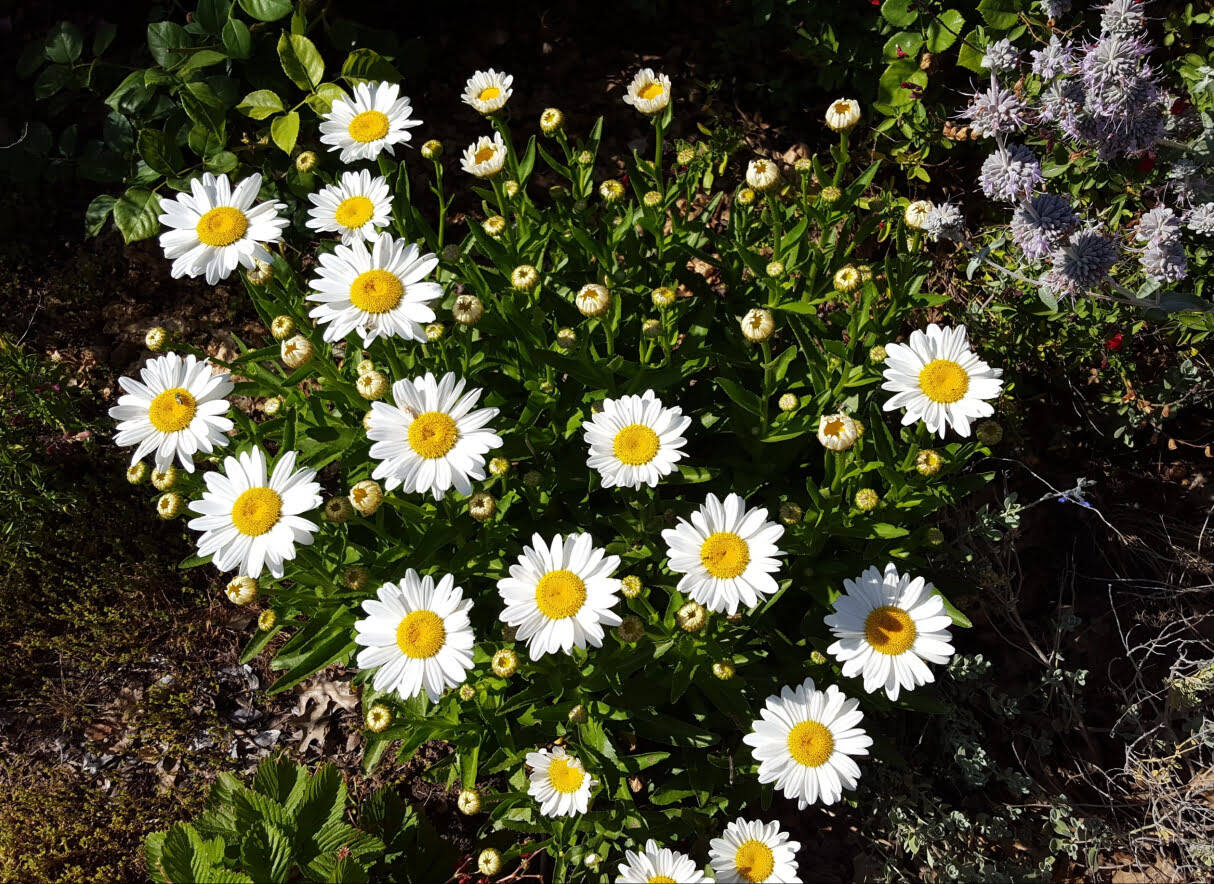
1. Flowering and Pollination: As the strawberry plants mature, they will start producing delicate white flowers. Pollination is crucial for fruit production. Bees and other pollinators play a vital role in transferring pollen between the flowers. To attract pollinators, avoid using pesticides that may harm them.
2. Fruit Development: After successful pollination, the flowers will start to develop into small green fruits known as “green berries.” These berries will gradually grow in size and change color as they ripen. The time it takes for strawberries to mature and become fully ripe depends on the variety and growing conditions, generally ranging from 4 to 6 weeks.
3. Harvesting: Harvest your strawberries when they are fully ripe and have developed their characteristic red color. Check the fruit regularly and pick them as soon as they reach prime ripeness to ensure maximum flavor and sweetness. Carefully cut or snap the fruits from the stems to avoid damaging the plants.
4. Continual Production: Strawberry plants are perennial, meaning they can produce fruits for several years with proper care. After the first year of fruit production, the plants will enter a period of dormant rest during the winter. In subsequent years, strawberries will continue to produce more abundant harvests.
5. Plant Maintenance: To ensure ongoing fruit production and plant health, maintain proper care for your strawberry plants. This includes regular watering, fertilization, weed control, and protecting the plants from pests and diseases. Mulching around the plants can help retain moisture and reduce weed competition.
6. Runners and Propagation: Mature strawberry plants produce runners, which are long stems that grow out from the mother plant. These runners develop new baby plants, known as “daughter plants.” If desired, you can propagate your strawberry plants by allowing the runners to take root and transplanting the daughter plants to new locations.
As your strawberry plants mature and produce fruits, enjoy the abundance of fresh, homegrown strawberries. They are perfect for eating fresh, adding to salads, using in desserts, or making delicious jams and preserves.
By understanding the maturation and fruit production process of strawberries, you can plan and care for your plants accordingly. In the next section, we will conclude our journey of growing strawberries from seeds and highlight the rewards of your gardening efforts.
Conclusion
Congratulations on completing the journey of growing strawberries from seeds! By following the steps outlined in this article, you have embarked on an exciting and rewarding adventure in your garden. Starting from seed allowed you to witness the entire life cycle of the strawberry plant, from germination to fruit production.
Throughout this process, you learned the importance of choosing quality seeds, providing optimal growing conditions, and giving care and attention to your strawberry seedlings. From preparing the soil to transplanting the seedlings, each step played a crucial role in ensuring the health and success of your strawberry plants.
As your strawberry plants matured, you experienced the joy of seeing their delicate white flowers transforming into vibrant red fruits. Harvesting the ripe strawberries was undoubtedly a gratifying moment, as you tasted the sweet rewards of your hard work and dedication.
Remember to continue providing care and maintenance for your strawberry plants, as they will reward you with ongoing fruit production in subsequent years. Prune runners, control pests and diseases, and provide ample water and nutrients to keep your plants healthy and productive.
Growing strawberries from seed is not only a fulfilling endeavor but also a sustainable and cost-effective way to enjoy delicious, homegrown fruits. You have the satisfaction of knowing that the strawberries on your plate came from your own garden, free from harmful pesticides and chemicals.
So, whether you indulge in fresh strawberries, use them in mouthwatering recipes, or share them with loved ones, you can take pride in the fact that they were nurtured and cultivated by your own green thumb.
Thank you for joining us on this journey of growing strawberries from seeds. We hope you found this article informative and inspiring. Happy gardening and may your strawberry harvest be abundant and delightful!
Frequently Asked Questions about How Long Does It Take To Grow Strawberries From Seed
Was this page helpful?
At Storables.com, we guarantee accurate and reliable information. Our content, validated by Expert Board Contributors, is crafted following stringent Editorial Policies. We're committed to providing you with well-researched, expert-backed insights for all your informational needs.


0 thoughts on “How Long Does It Take To Grow Strawberries From Seed”