Home>Ideas and Tips>Creating A Functional Craft Room With Built-in Laser Cutter Station

Ideas and Tips
Creating A Functional Craft Room With Built-in Laser Cutter Station
Modified: November 2, 2024
Create a functional craft room with a built-in laser cutter station. Discover tips for planning, organizing, and maximizing your creative space.
(Many of the links in this article redirect to a specific reviewed product. Your purchase of these products through affiliate links helps to generate commission for Storables.com, at no extra cost. Learn more)
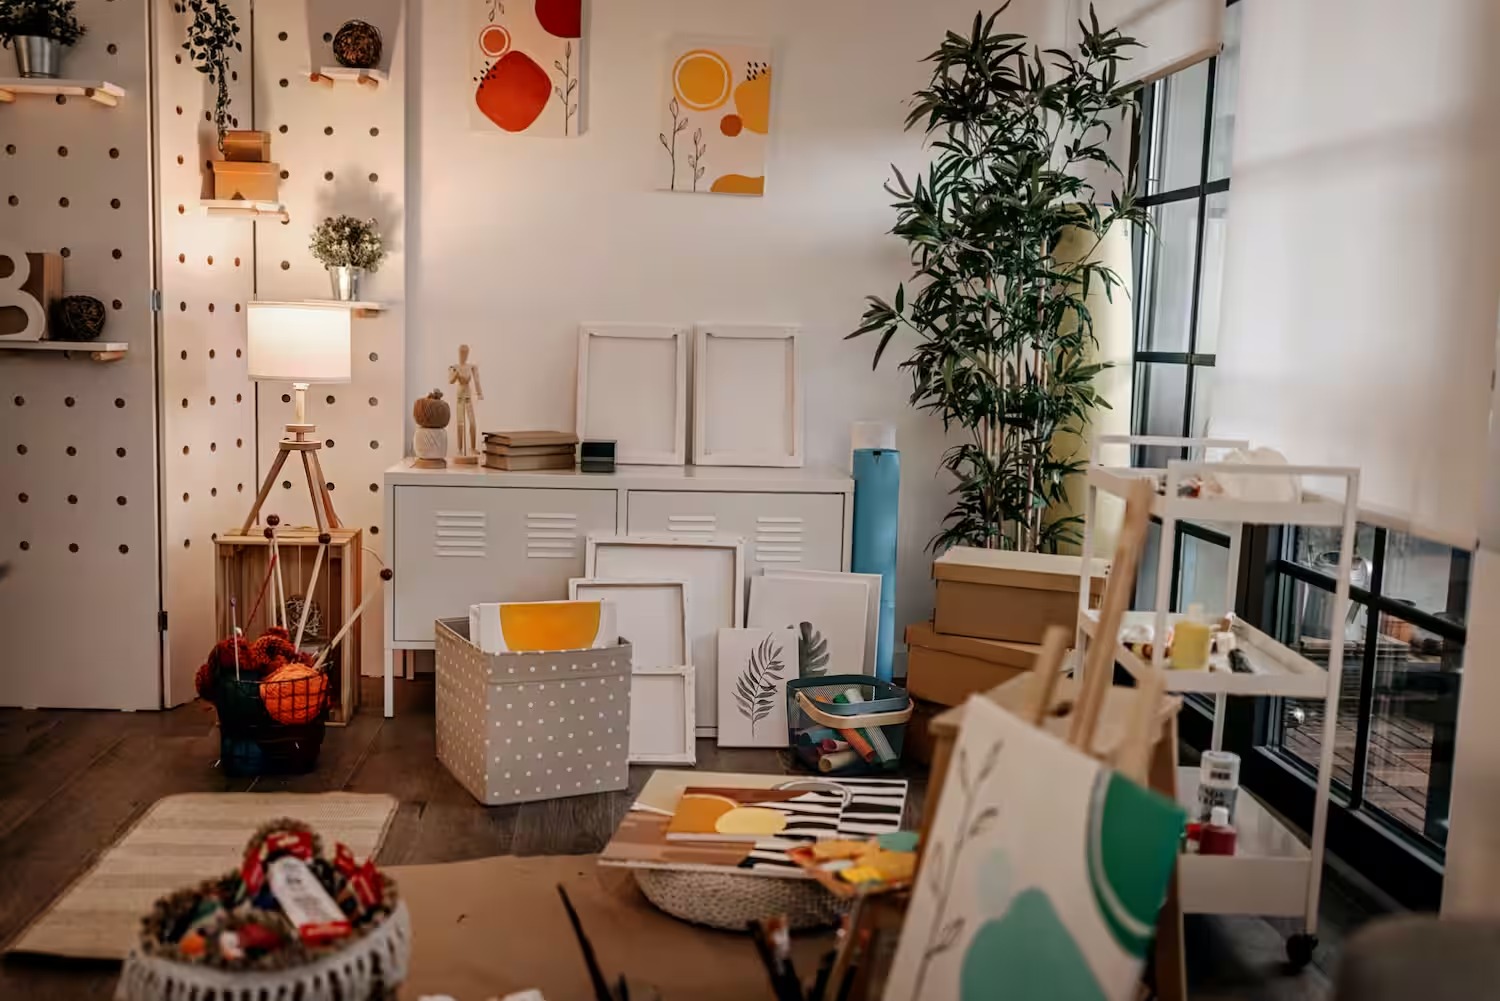
Creating a functional craft room with a built-in laser cutter station is a dream for many craft enthusiasts. This type of setup not only enhances the aesthetic appeal of your workspace but also increases its functionality, making it easier to manage and organize your projects. In this article, we will guide you through the process of designing and setting up a craft room with a built-in laser cutter station, providing you with practical tips and inspiring examples to help you achieve your vision.
Planning Your Craft Room
Before diving into the nitty-gritty of setting up your craft room, it's essential to plan carefully. Here are some key considerations to keep in mind:
-
Space and Layout:
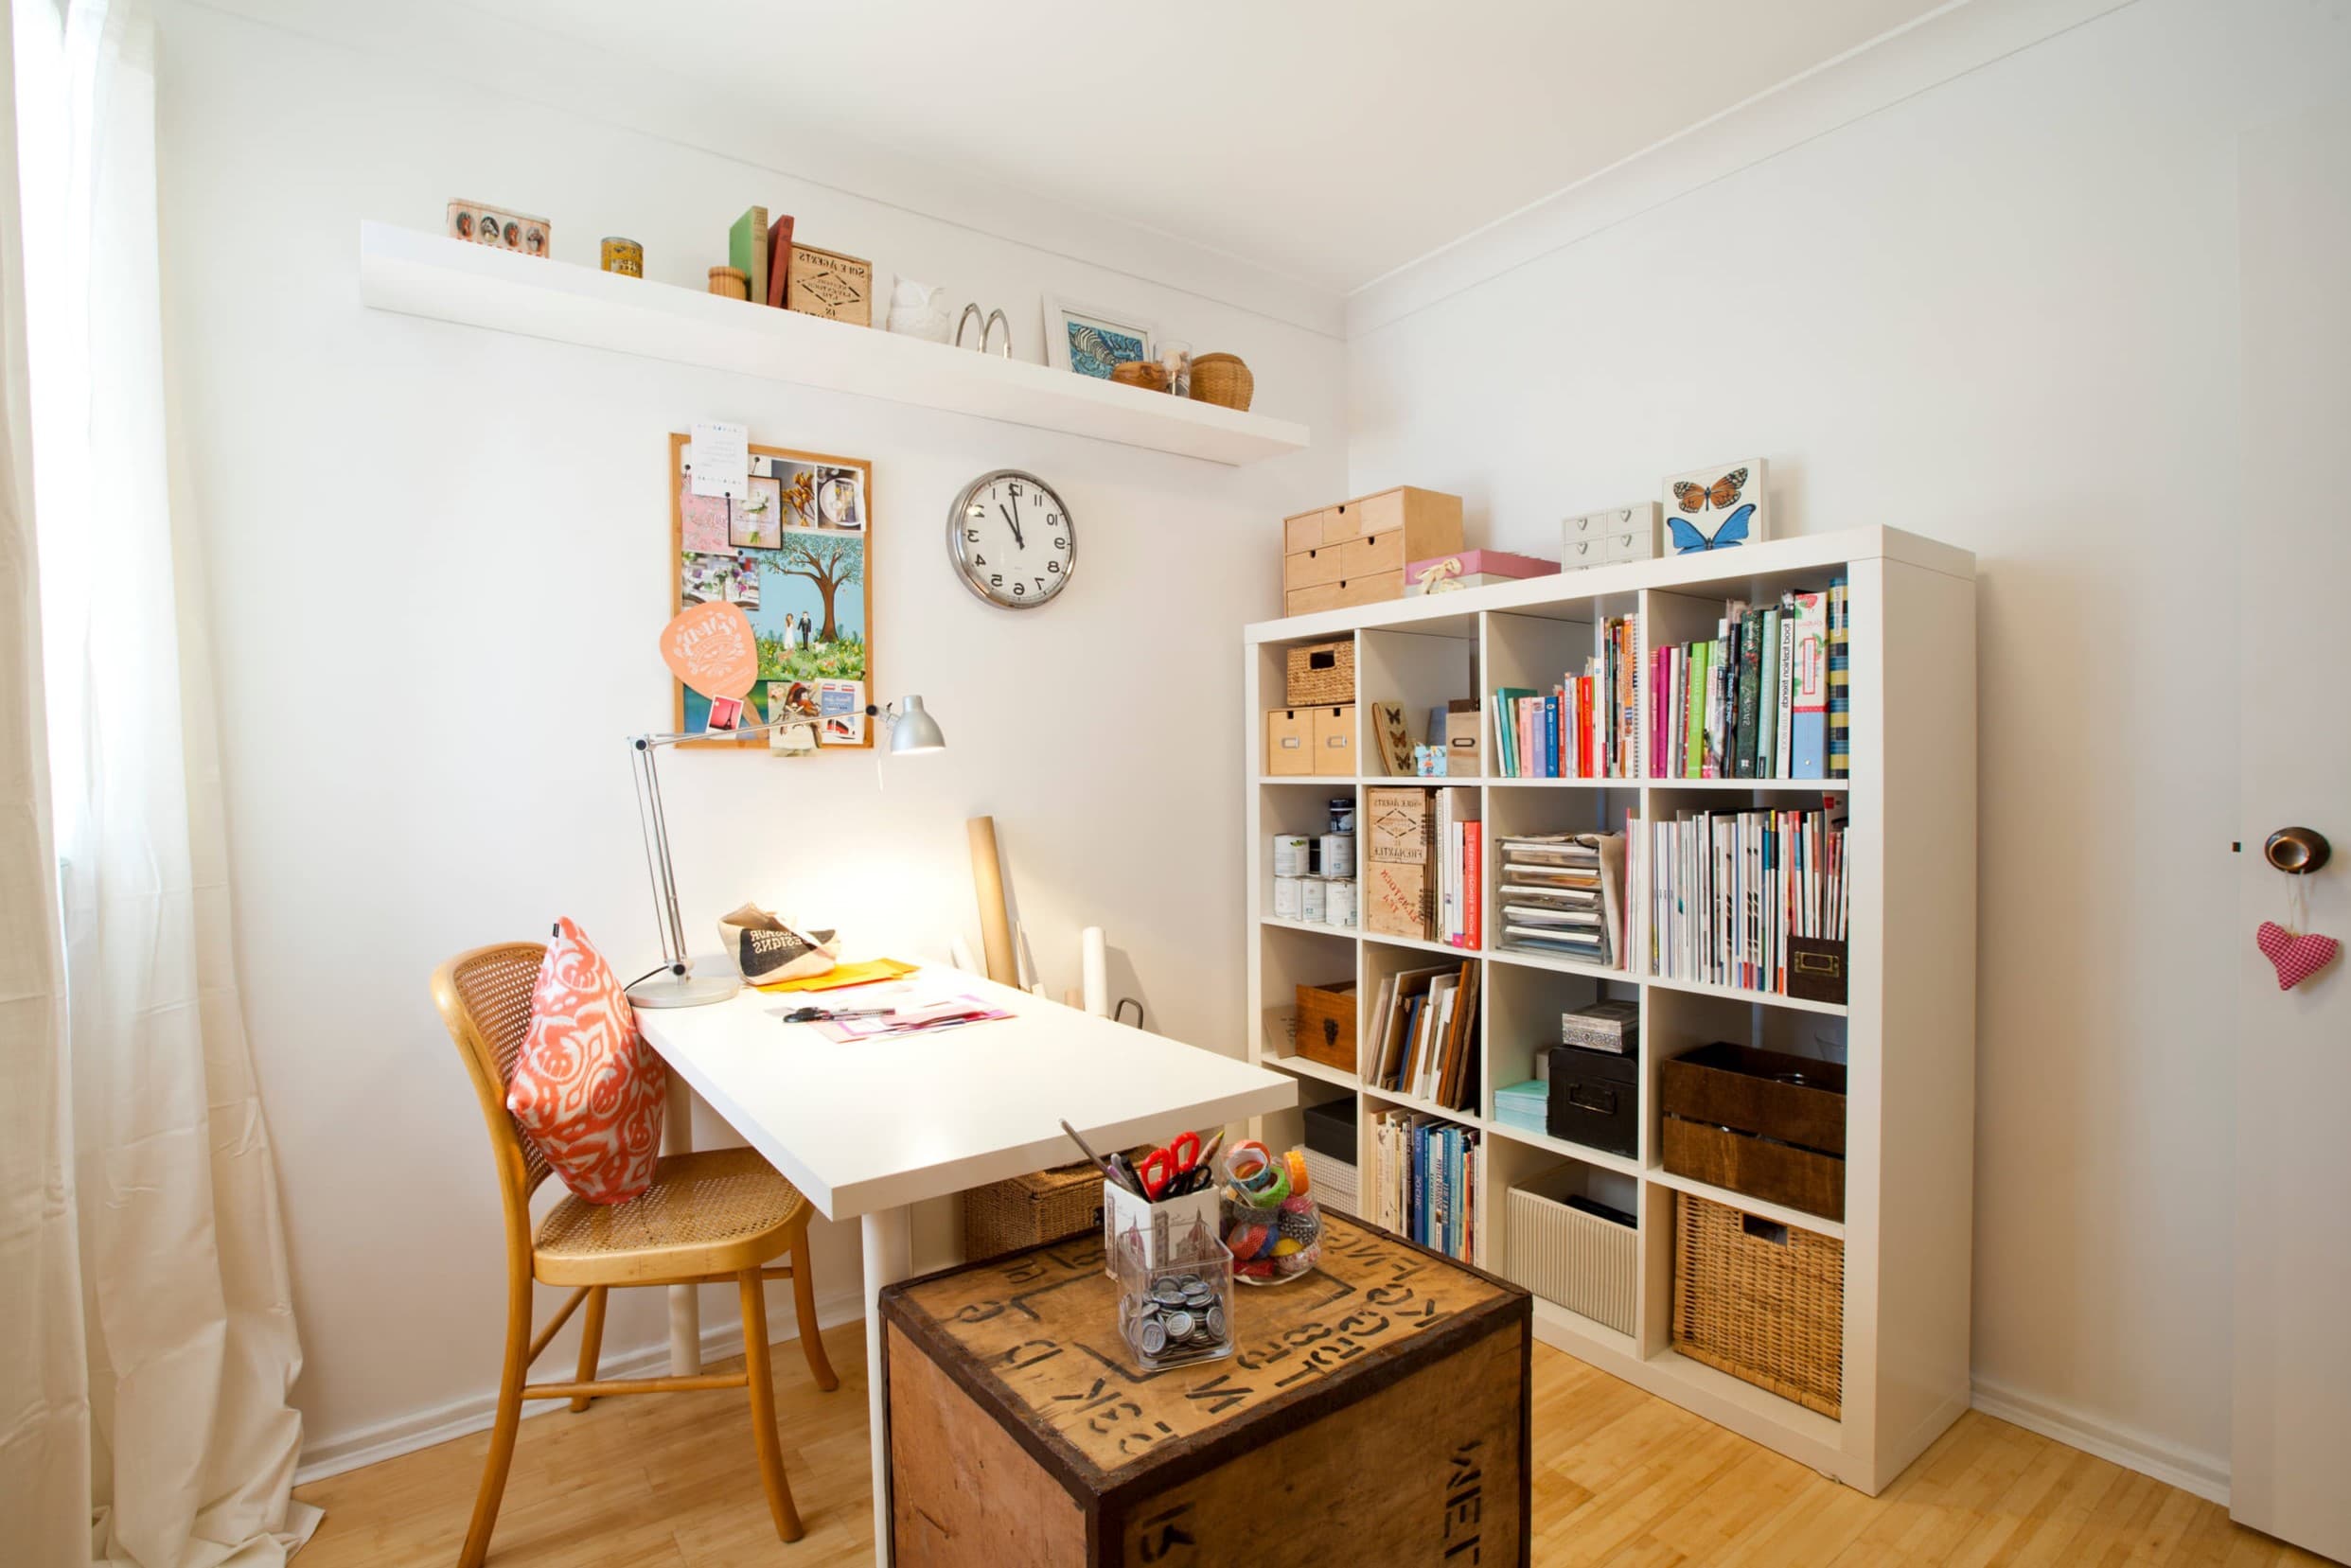
- Determine the available space you have for your craft room. Even a small room can be transformed into a functional workspace with clever design.
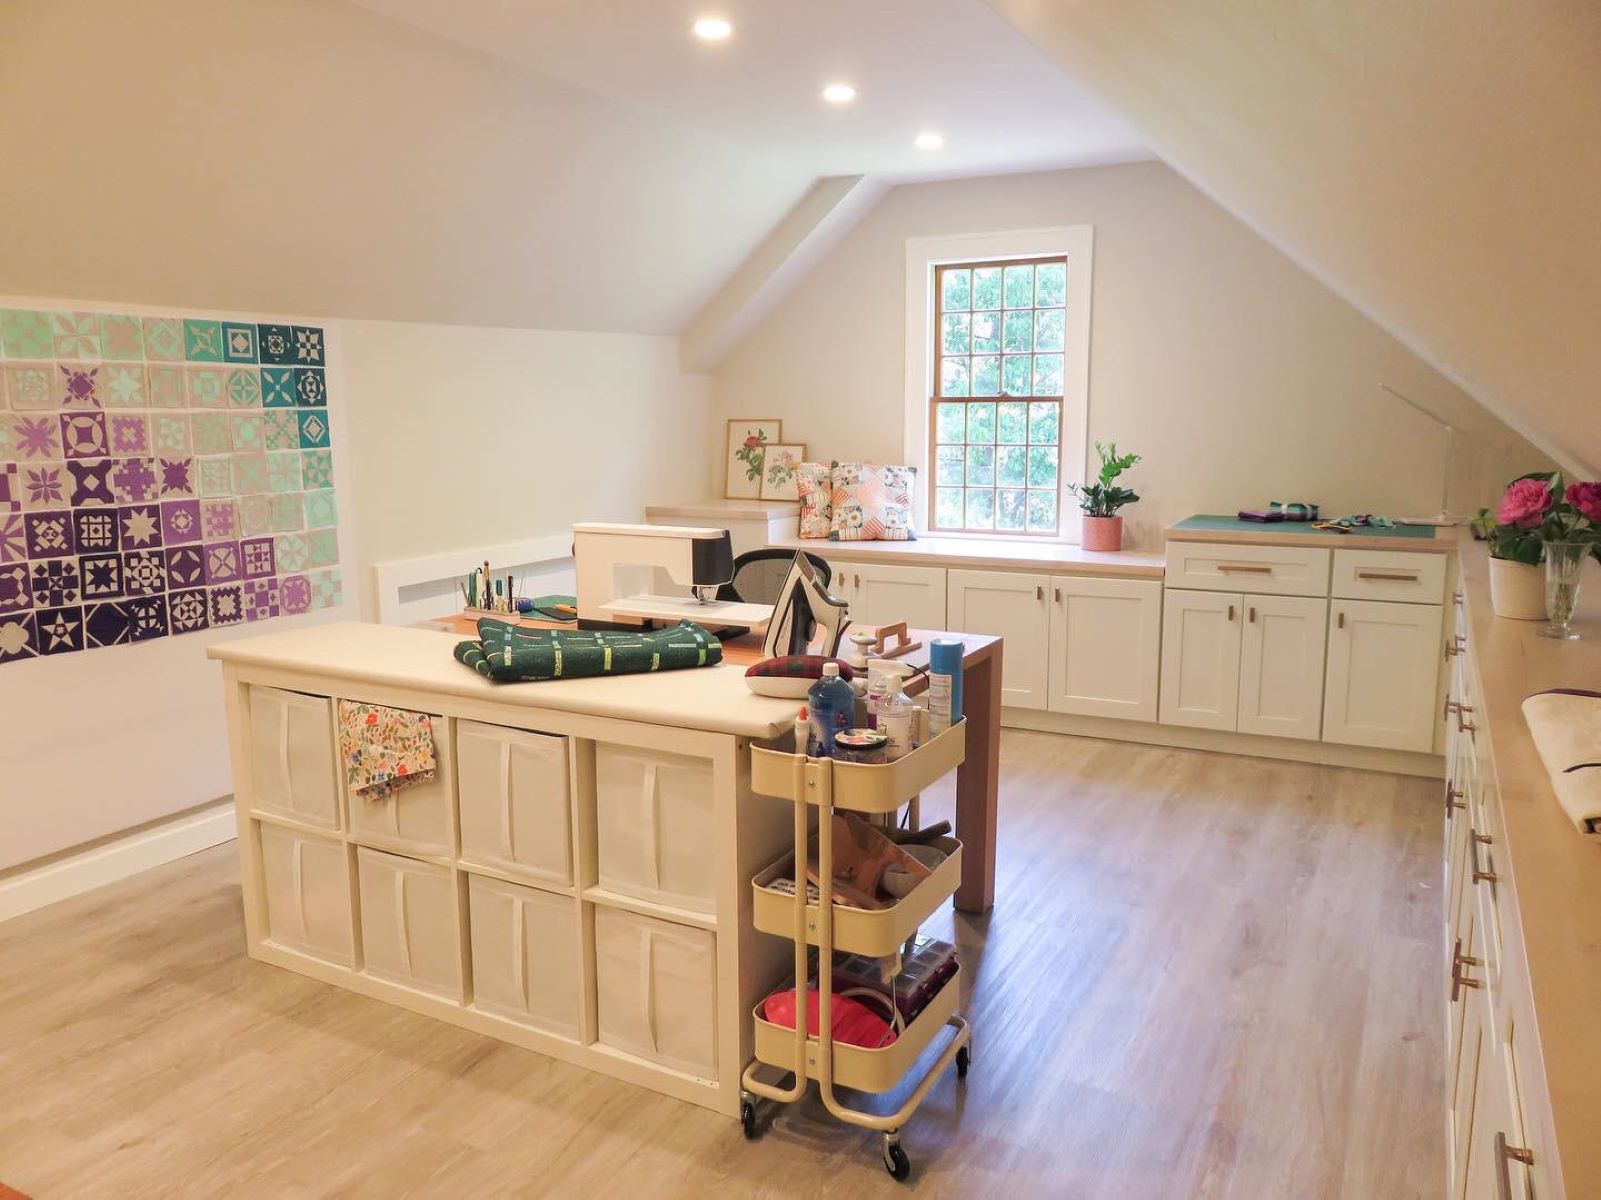
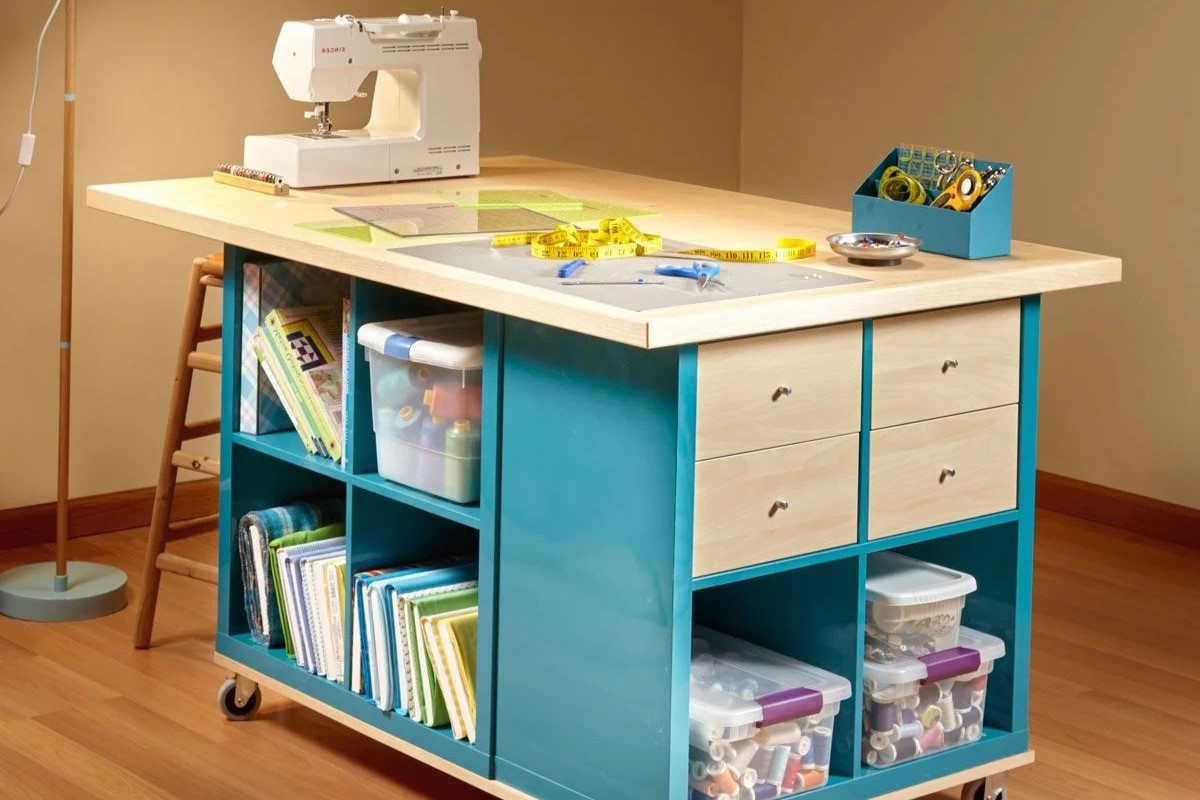
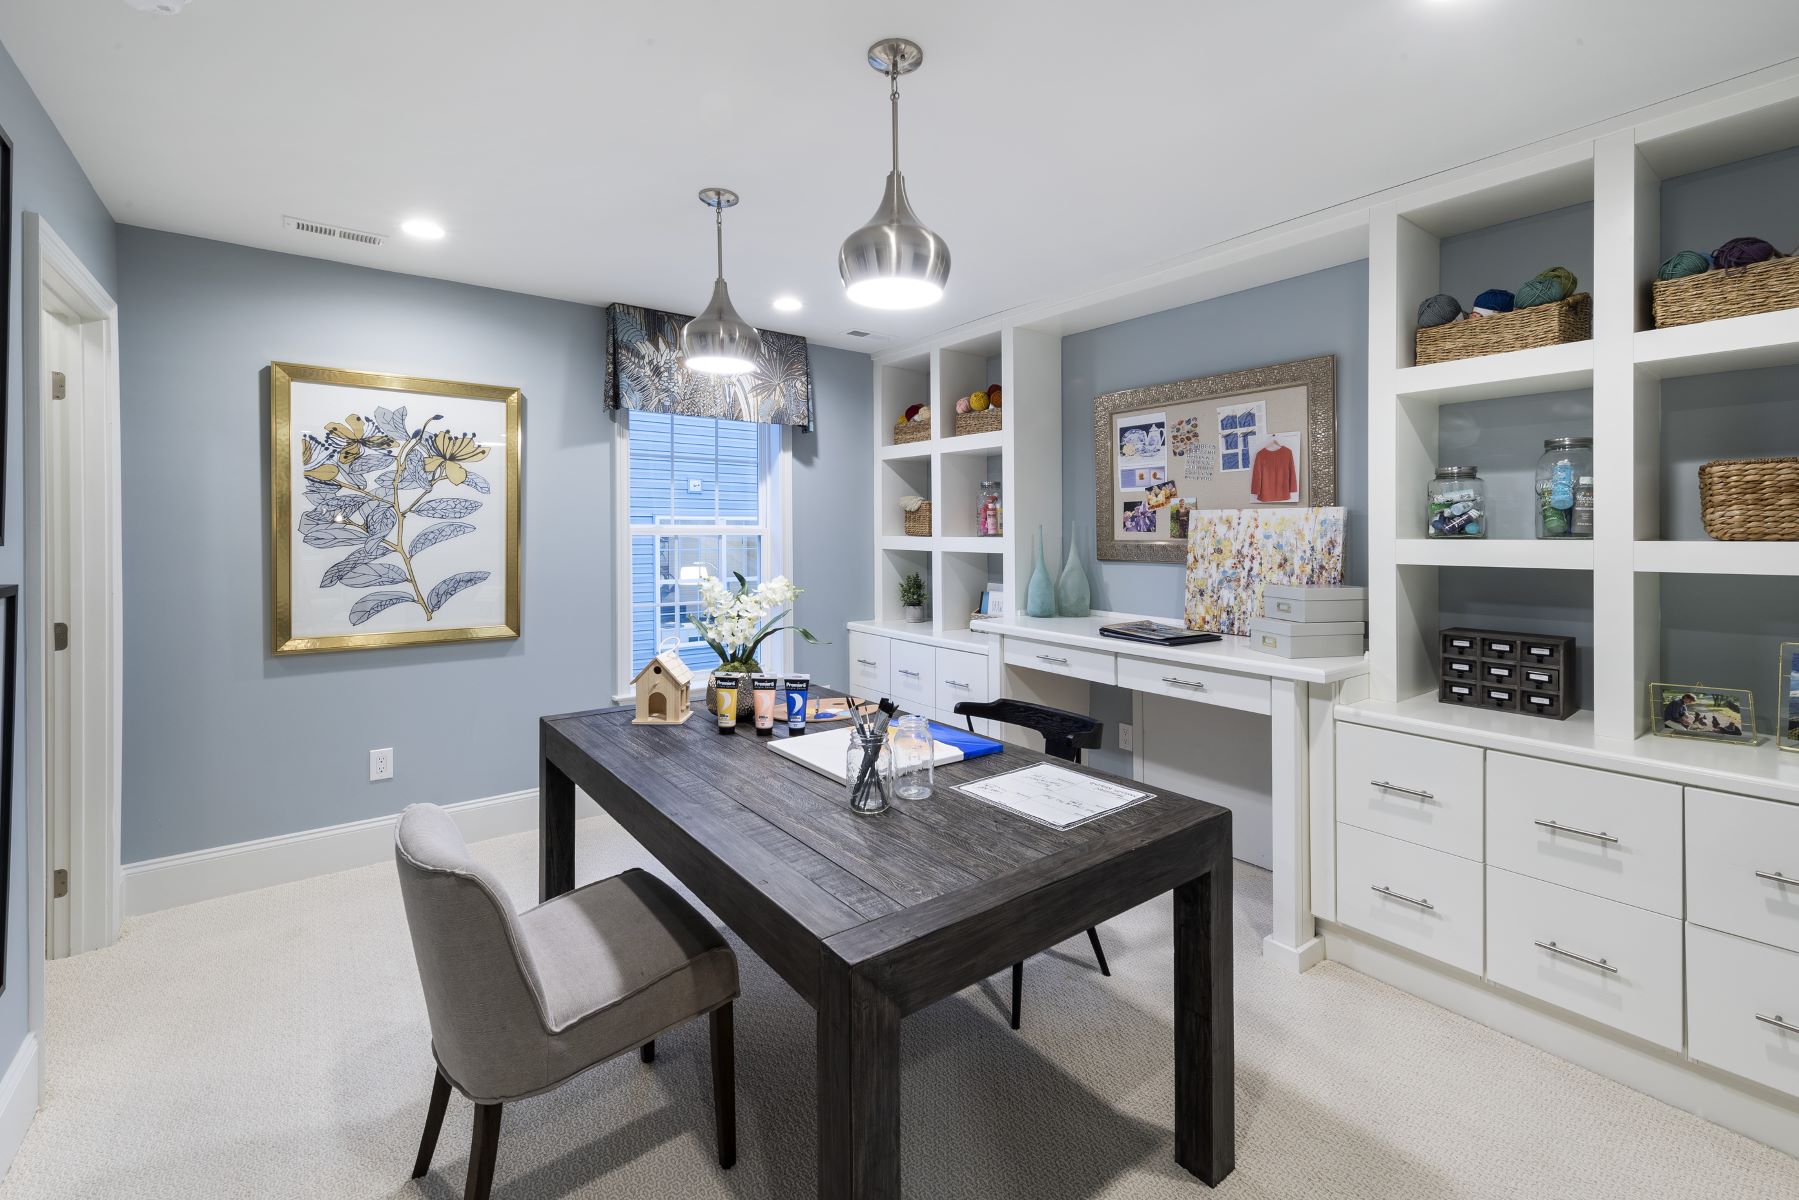
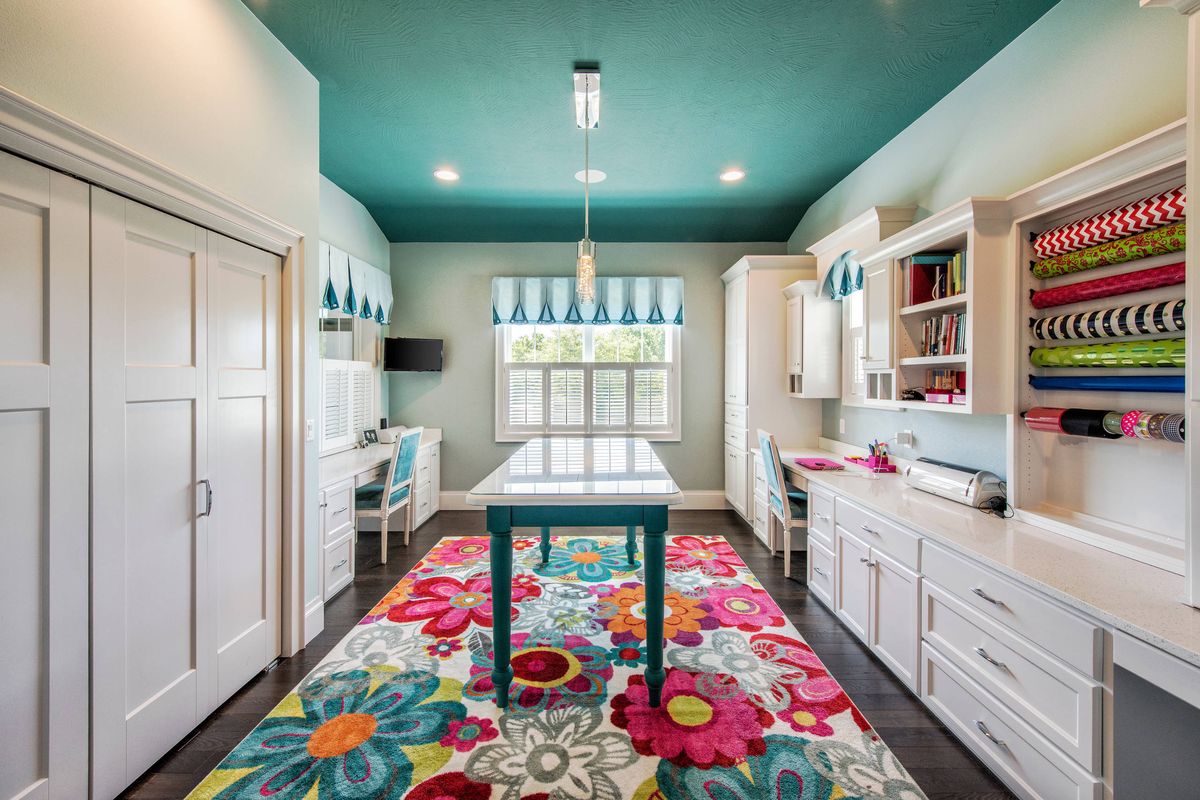
- Consider the layout of your room. A central workspace or "island" can be very useful for organizing your projects and tools.
-
Purpose and Functionality:
- Think about the types of crafts you will be working on. If you're into paper crafting, you might need a dedicated area for cutting mats and printers. If you're into woodworking or laser cutting, you'll need space for your tools and materials.
-
Storage and Organization:
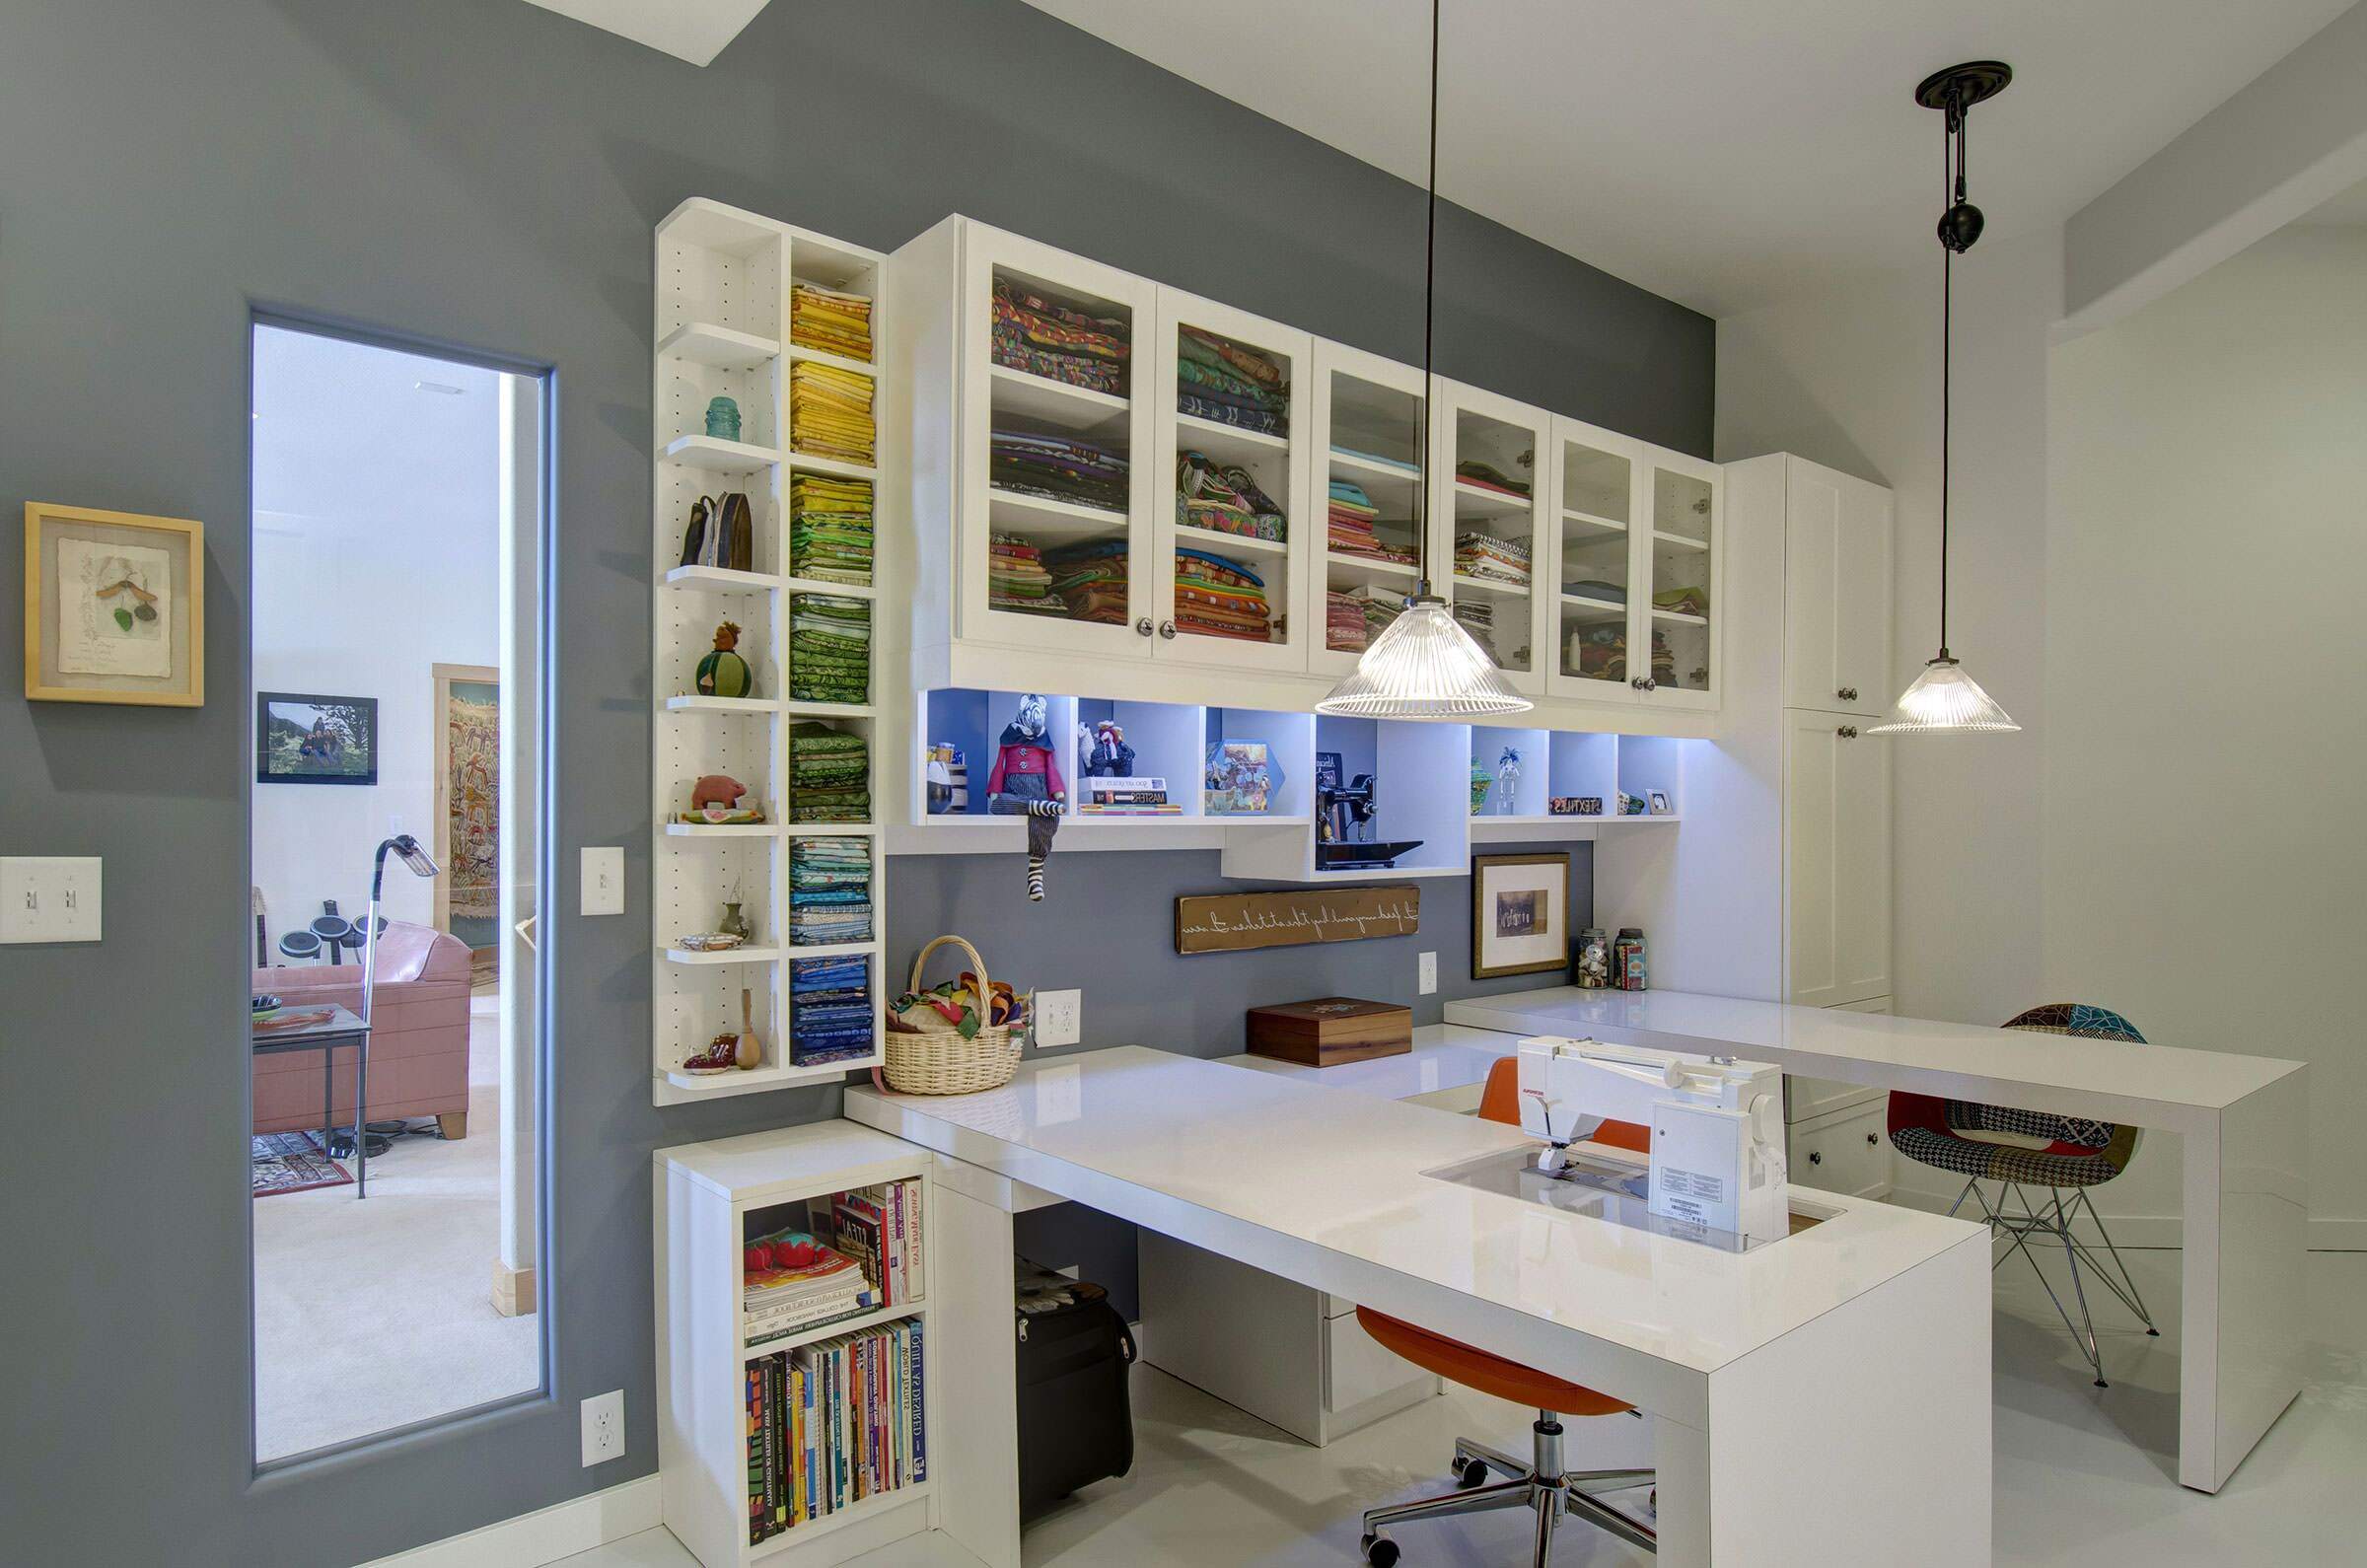
- Adequate storage is crucial in any craft room. Look for shelving units, drawers, and cabinets that can hold your supplies and tools.
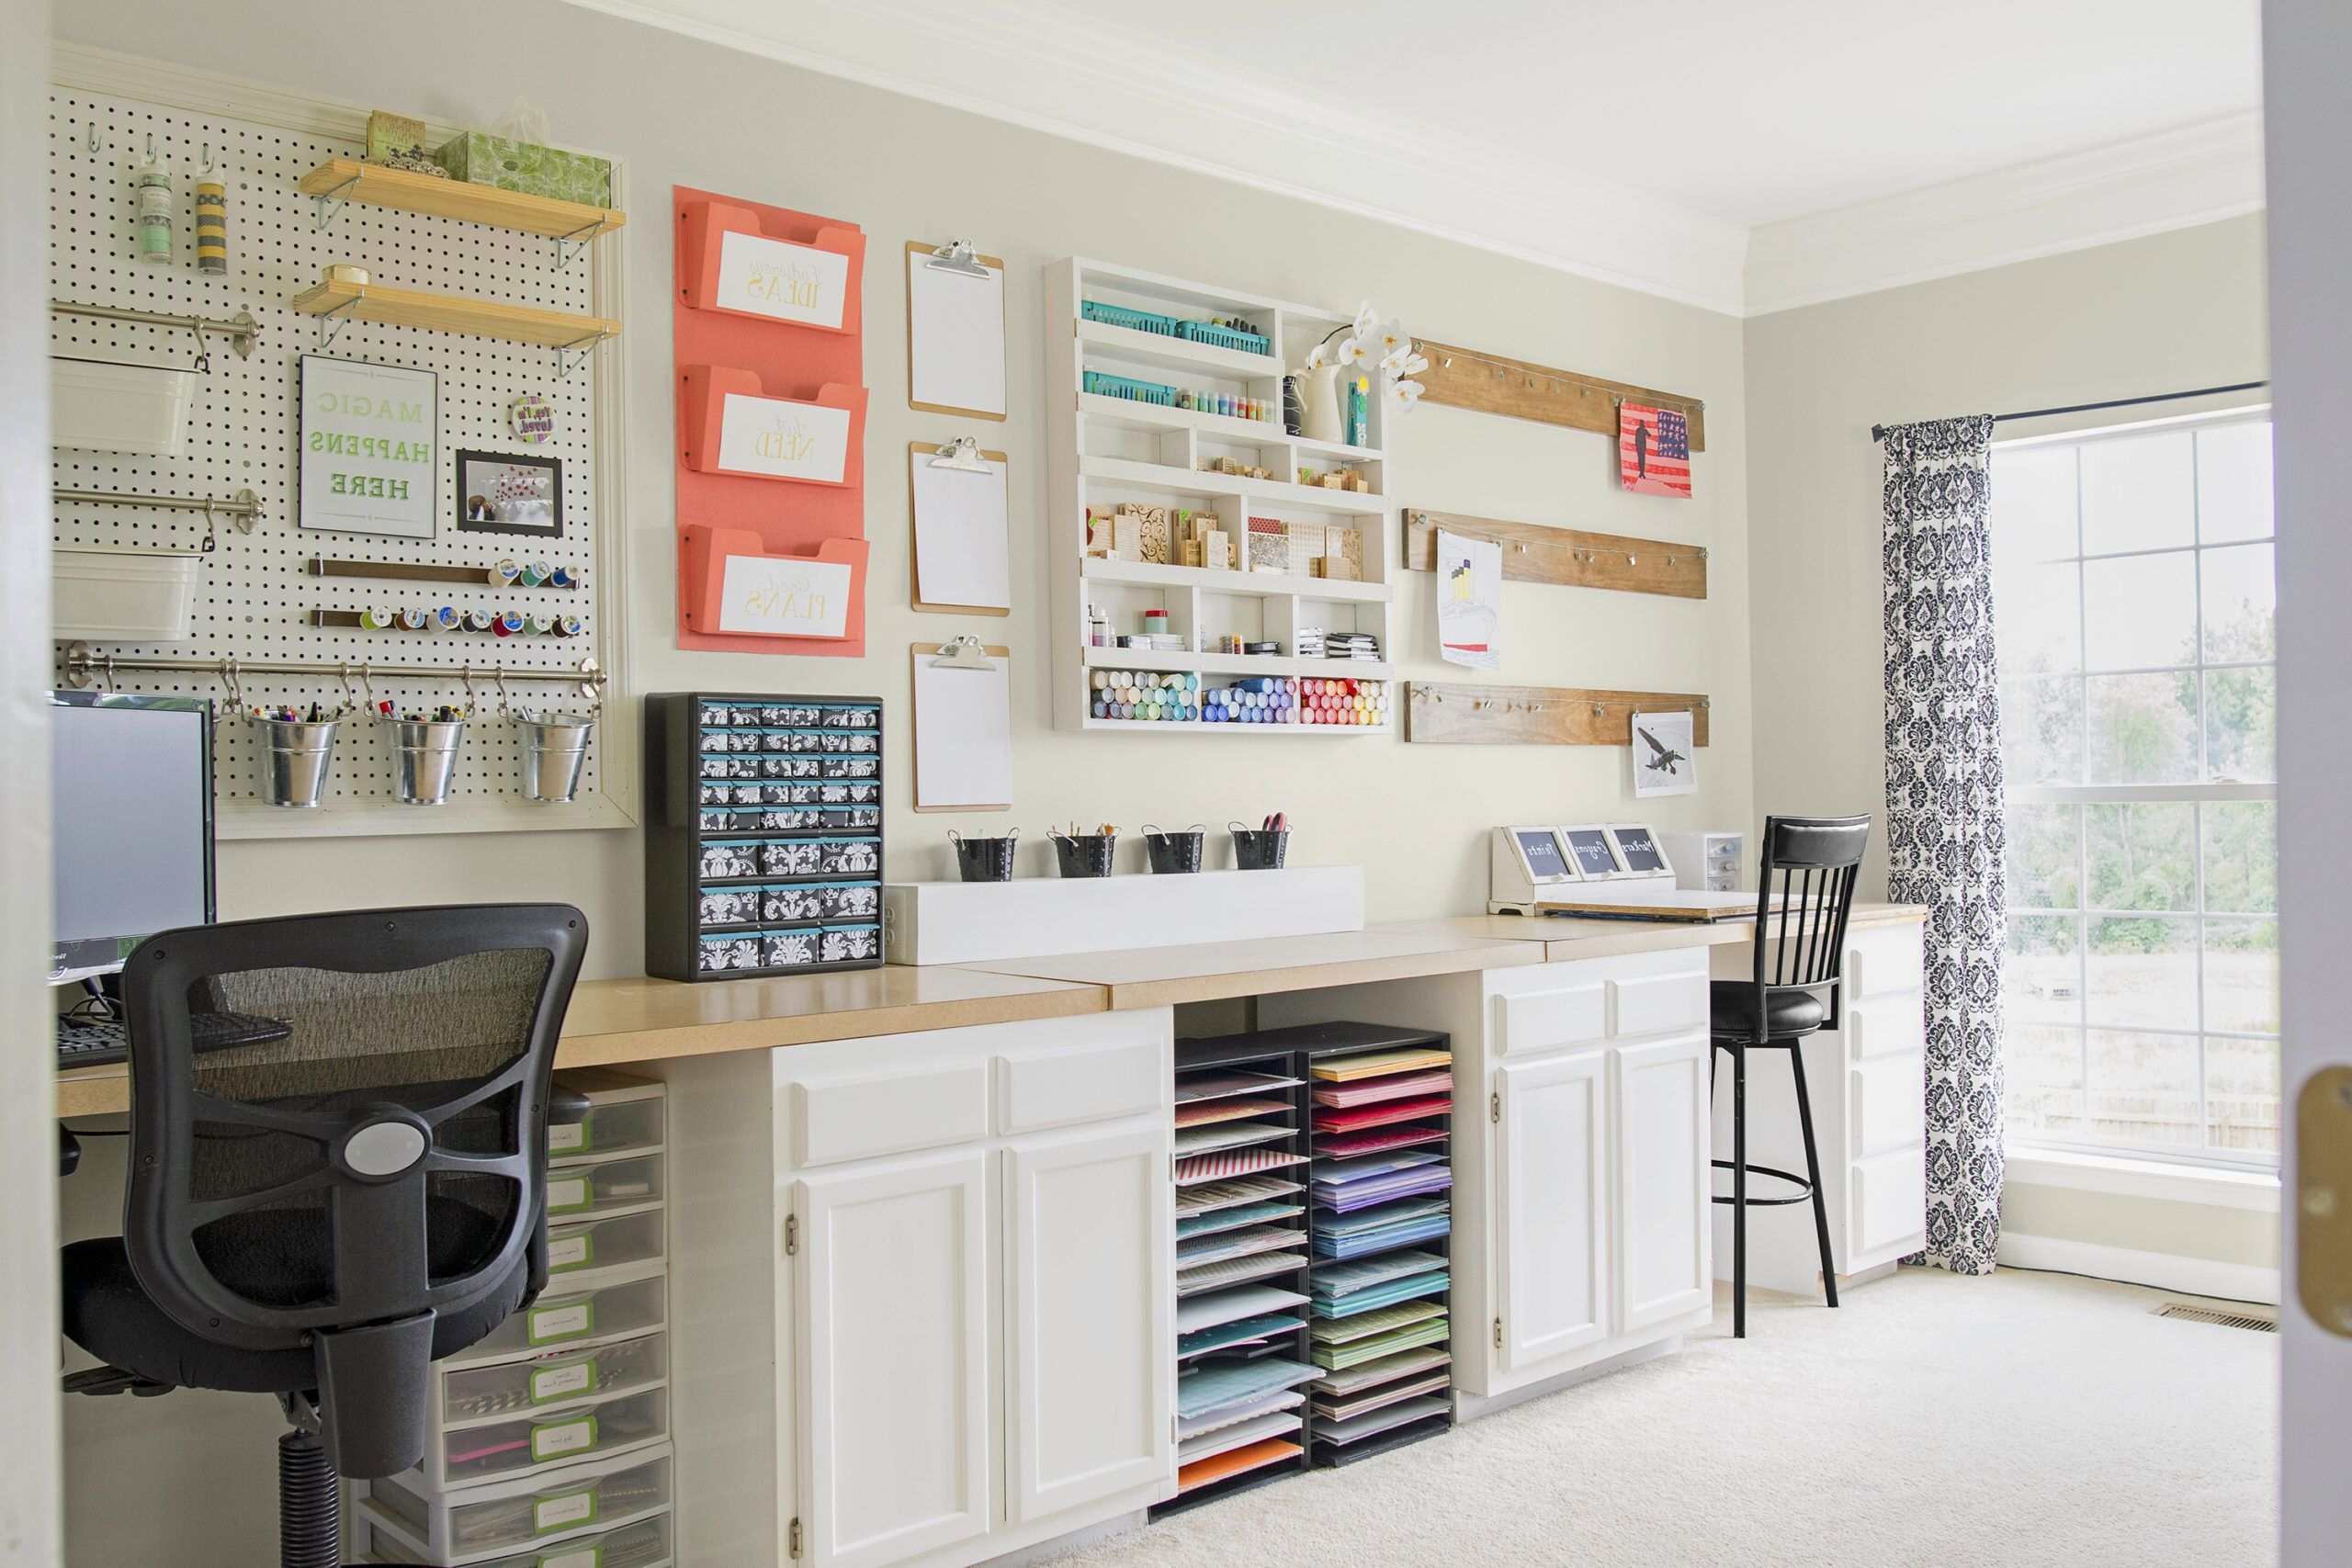
- Consider vertical storage options like wall-mounted shelves or pegboards to maximize space.
-
Lighting:
- Proper lighting is vital for any workspace. Ensure that your room has sufficient natural light or invest in high-quality task lighting.
-
Electrical Outlets:
- Plan your electrical outlets strategically so that you can plug in all your tools and equipment without tripping over cords.
Designing Your Central Workspace
A central workspace or "island" is an excellent way to organize your projects and tools. Here’s how you can design one:
-
Workbench:
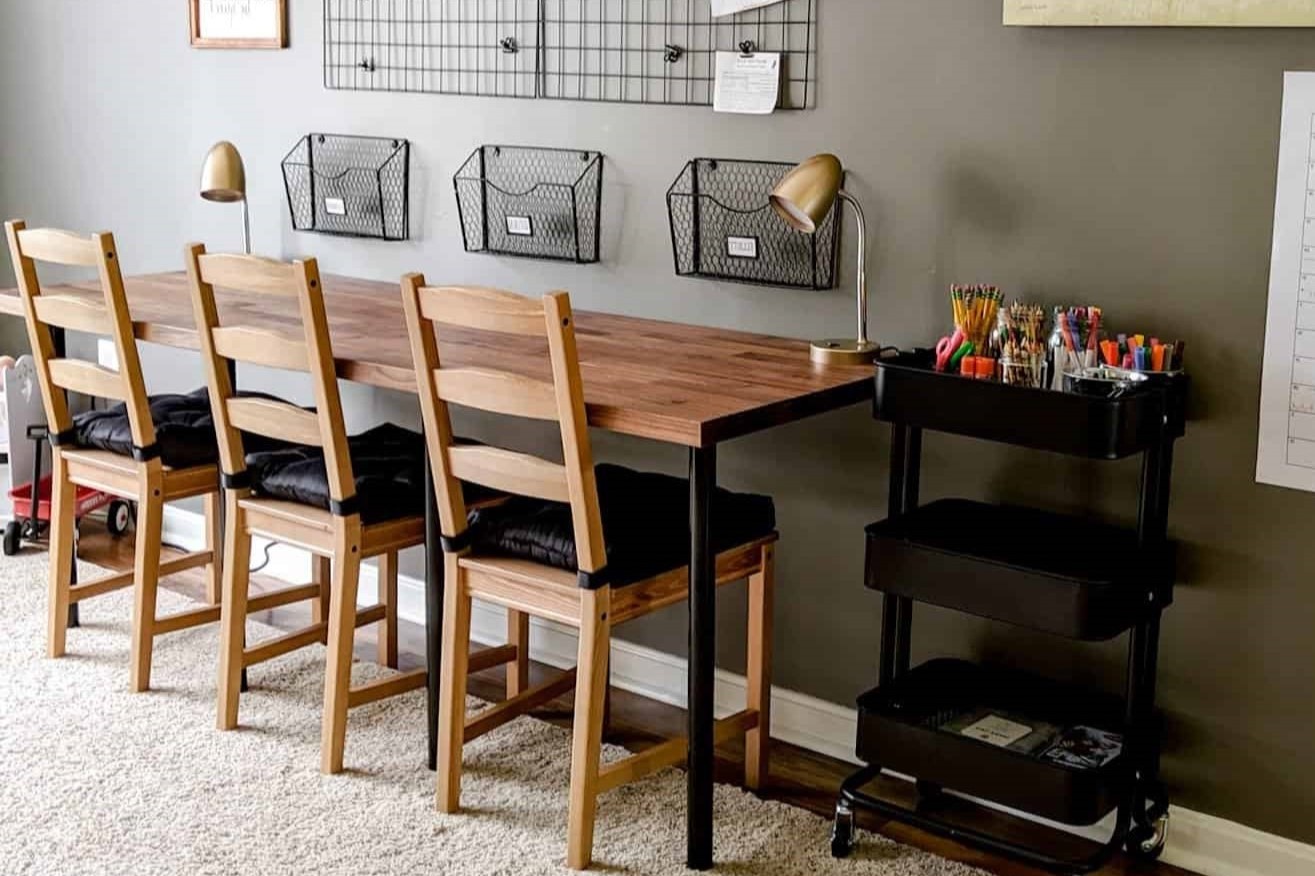
- Choose a sturdy workbench that can support heavy loads. A 72-inch Gladiator workbench is an excellent option, as it provides ample space for cutting mats and other tools.
- Consider adding a cutting mat and a Cricut Bright 360 table lamp to your workbench for added functionality.
-
Printer Station:
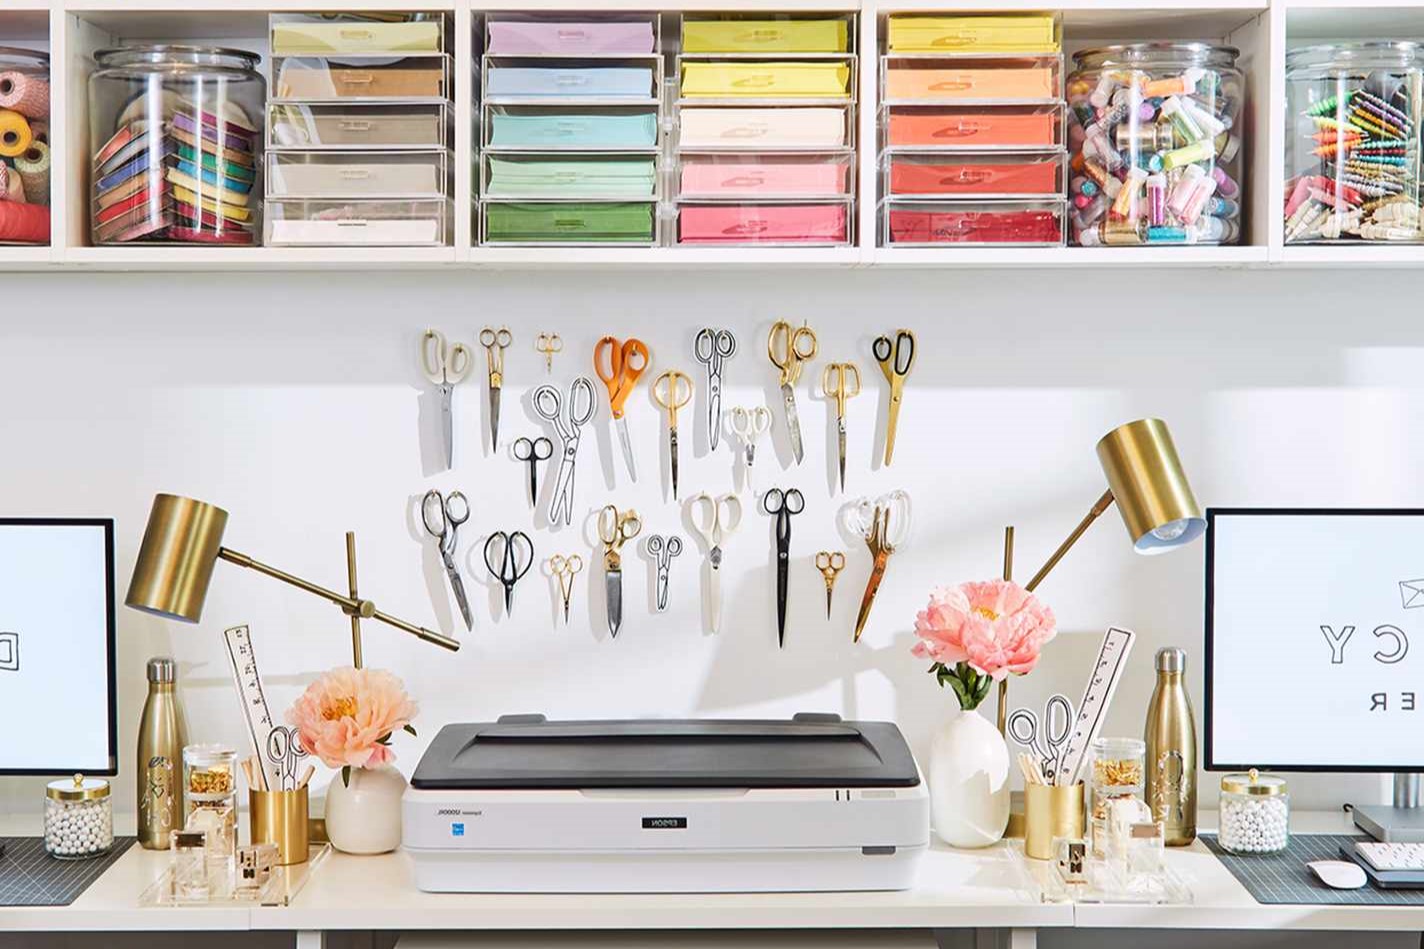
- Use an IKEA media console as a printer station. This versatile piece of furniture can hold multiple printers and sublimation supplies.
- Ensure that your printer station has enough storage for sublimation blanks and other printing materials.
-
Rolling Carts:
- Use rolling carts with drawers to store vinyl scraps, yarn, and other materials. These carts are easy to move around the room and provide quick access to supplies.
-
Shelving Units:
- Install shelving units around the room to store scrapbook paper, acetate sheets, and other crafting materials.
Setting Up Your Laser Cutter Station
A built-in laser cutter station is the heart of any craft room. Here’s how you can set it up:
-
Choosing the Right Laser Cutter:
- Select a laser cutter that suits your needs based on the types of projects you plan to work on. A 100-watt laser cutter is ideal for most crafting needs.
-
Preparing Your Workspace:
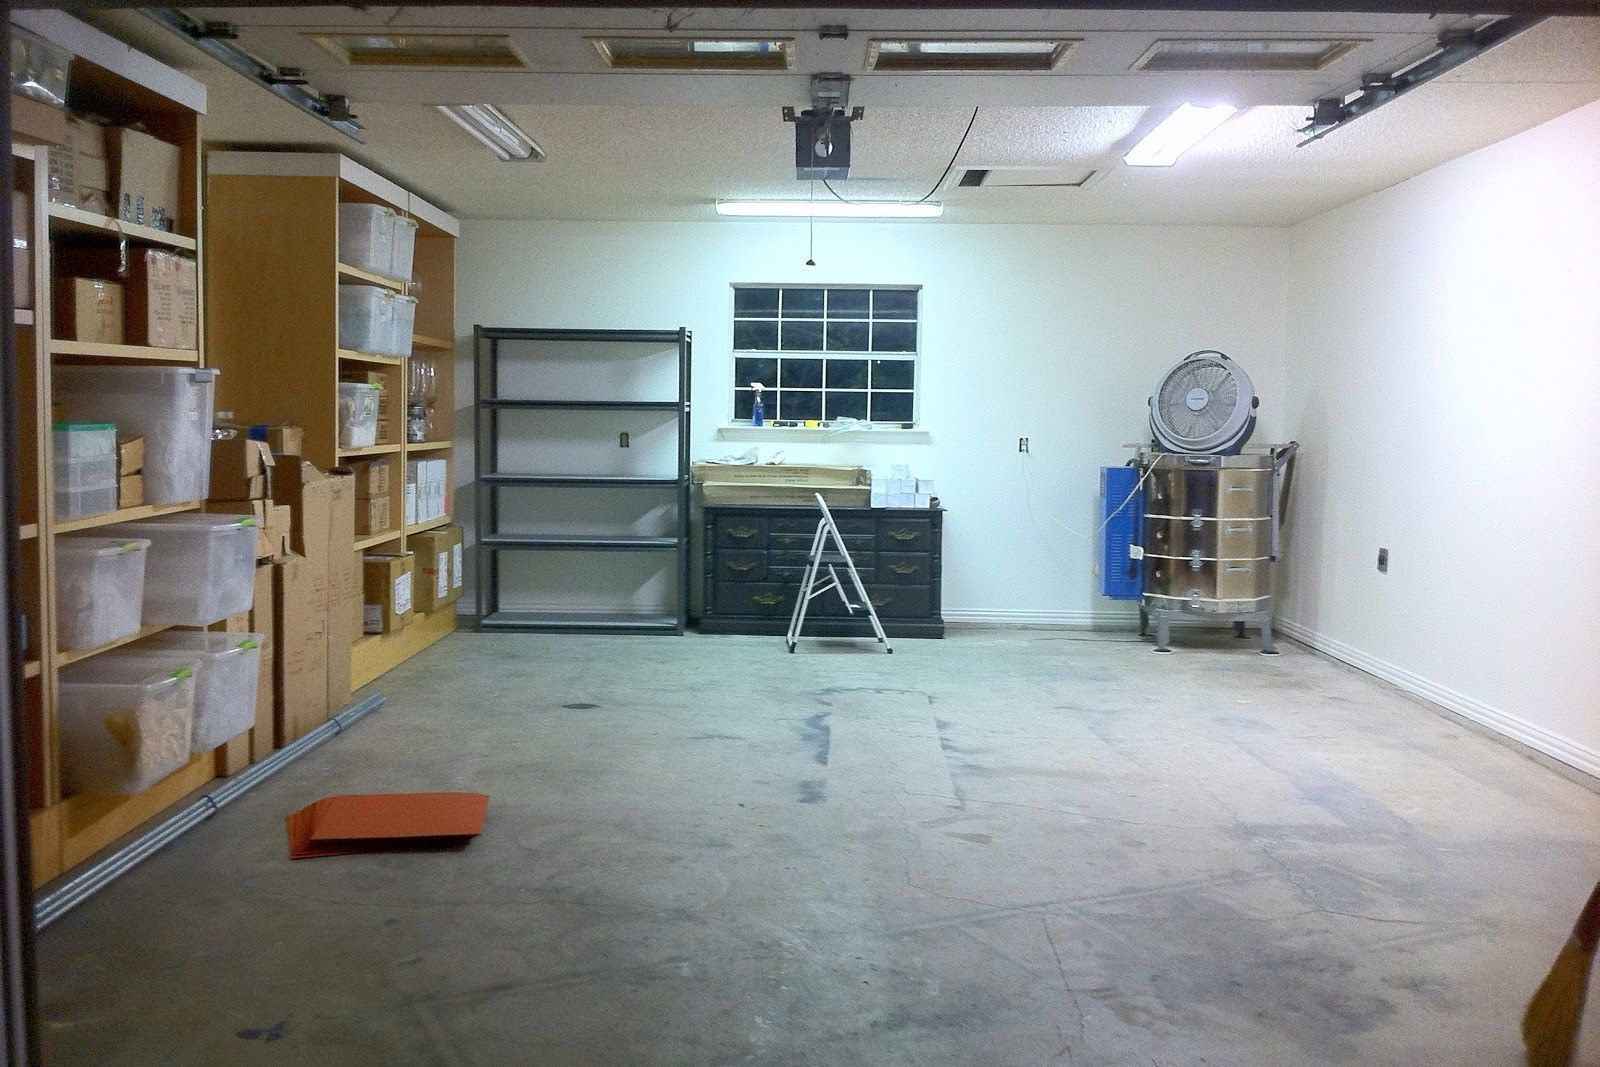
- Clear a dedicated area for your laser cutter. Ensure that the space is well-ventilated and free from any flammable materials.
-
Using Laser Software:
- Utilize software like Lightburn to create precise cuts and designs for your projects. The Print and Cut feature in Lightburn allows for easy registration marks and pass-through slots in your laser cutter.
-
Designing Your Projects:
- Use SVG files to design your projects. Group all the elements of your design together using Ctrl G to ensure accurate cutting.
-
Assembling Your Display:
- Create a stylish and easy-to-assemble standing display using laser-cut maple plywood and a 1-inch dowel rod. This display is perfect for craft shows or markets.
Organizing Your Craft Room
Organizing your craft room is crucial for maintaining productivity and reducing stress. Here are some tips to help you keep your space organized:
-
Labeling Supplies:
- Label all your supplies so that they are easily identifiable. This helps in quickly locating what you need without wasting time searching through cluttered shelves.
-
Utilizing Vertical Space:
- Make use of vertical space by installing wall-mounted shelves or pegboards. This keeps your floor clear and makes it easier to move around the room.
-
Categorizing Projects:
- Categorize your projects based on their complexity and the materials required. This helps in prioritizing tasks and ensuring that you have all necessary supplies before starting a project.
-
Maintaining Cleanliness:
- Regularly clean your workspace to prevent dust buildup and maintain the longevity of your tools and equipment.
Inspiration from Craft Room Tours
Looking at how others have set up their craft rooms can be incredibly inspiring. Here’s a look at some inspiring craft room tours:
-
Craft Room Tour by Hey Let's Make Stuff:
- The craft room tour by Hey Let's Make Stuff showcases a beautifully organized space that runs a business and makes various crafts using Cricut, Glowforge, and sublimation techniques. The central workspace includes a 72-inch Gladiator workbench backed by an IKEA entertainment center used as a printer station.
-
Craft Room Makeover 2025:
- The Craft Room Makeover 2025 video provides an exciting tour of a newly transformed craft room. It highlights the importance of proper lighting and strategic placement of electrical outlets.
Conclusion
Creating a functional craft room with a built-in laser cutter station requires careful planning and execution. By following these steps—planning your space, designing your central workspace, setting up your laser cutter station, and organizing your room—you can create an environment that fosters creativity and productivity. Remember to stay inspired by looking at other craft room tours and always keep your workspace clean and organized to ensure that you can focus on what matters most: creating beautiful crafts.
By following this guide, you'll be well on your way to creating a craft room that not only inspires you but also helps you achieve your crafting goals. Happy crafting
Was this page helpful?
At Storables.com, we guarantee accurate and reliable information. Our content, validated by Expert Board Contributors, is crafted following stringent Editorial Policies. We're committed to providing you with well-researched, expert-backed insights for all your informational needs.

0 thoughts on “Creating A Functional Craft Room With Built-in Laser Cutter Station”