Home>Ideas and Tips>Creating a Stylish and Practical Pantry with a Vacuum-Sealed Canister System
Ideas and Tips
Creating a Stylish and Practical Pantry with a Vacuum-Sealed Canister System
Published: August 30, 2024
Transform your kitchen with a stylish and practical pantry using vacuum-sealed canisters. Learn how to organize efficiently and keep food fresh longer.
(Many of the links in this article redirect to a specific reviewed product. Your purchase of these products through affiliate links helps to generate commission for Storables.com, at no extra cost. Learn more)
Introduction
In today's fast-paced world, having a well-organized and functional pantry is more than just a luxury; it's a necessity. A pantry that is both stylish and practical can transform your kitchen into a haven of efficiency and beauty. One of the most effective ways to achieve this is by implementing a vacuum-sealed canister system. In this article, we will delve into the world of pantry organization, explore the benefits of vacuum-sealed canisters, and provide a step-by-step guide on how to create your own stylish and practical pantry.
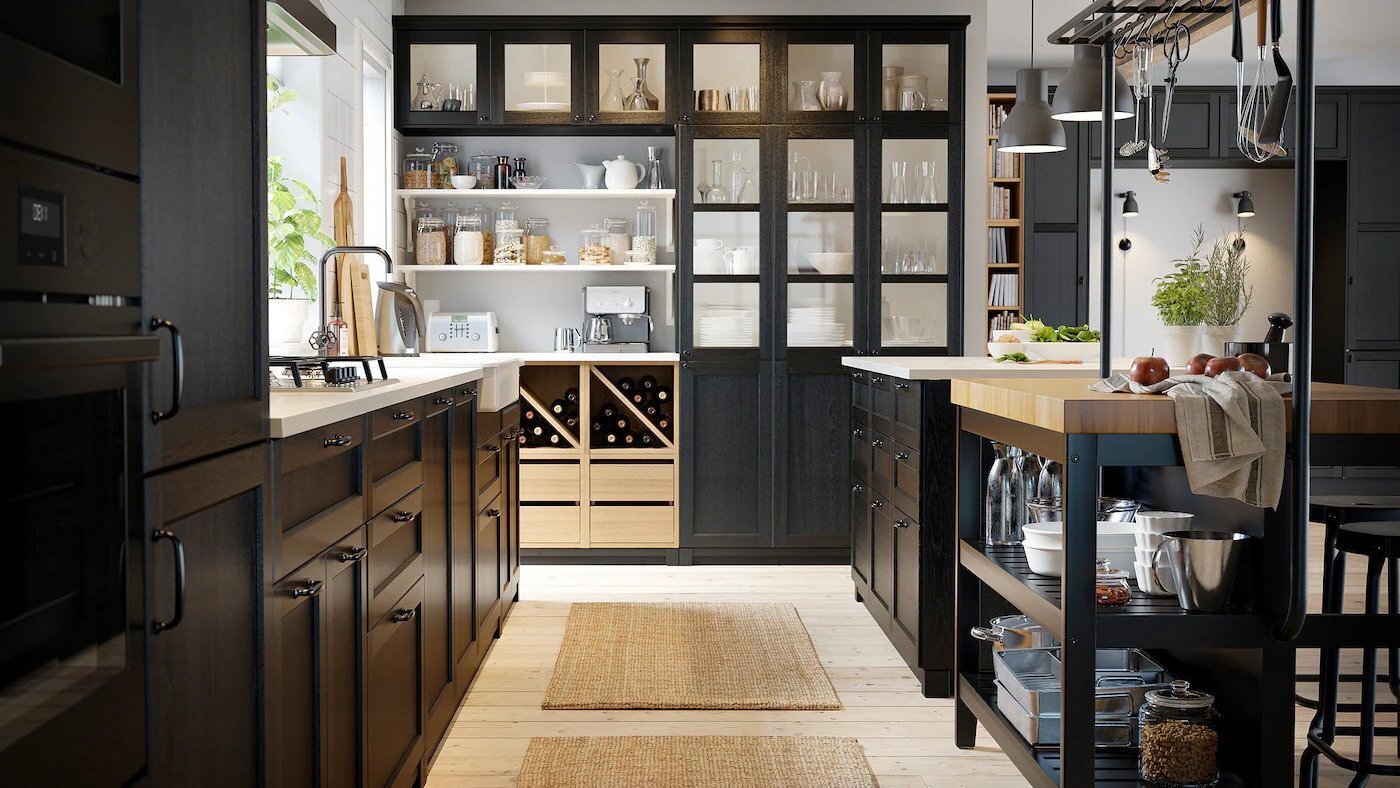
Understanding Pantry Organization
A well-organized pantry isn't just about storing food; it's about creating a system that makes it easy to find what you need when you need it. Here are some key principles:
- Categorize and Group: Divide your pantry into categories such as baking supplies, snacks, canned goods, and spices. Group similar items together to make them easier to locate.
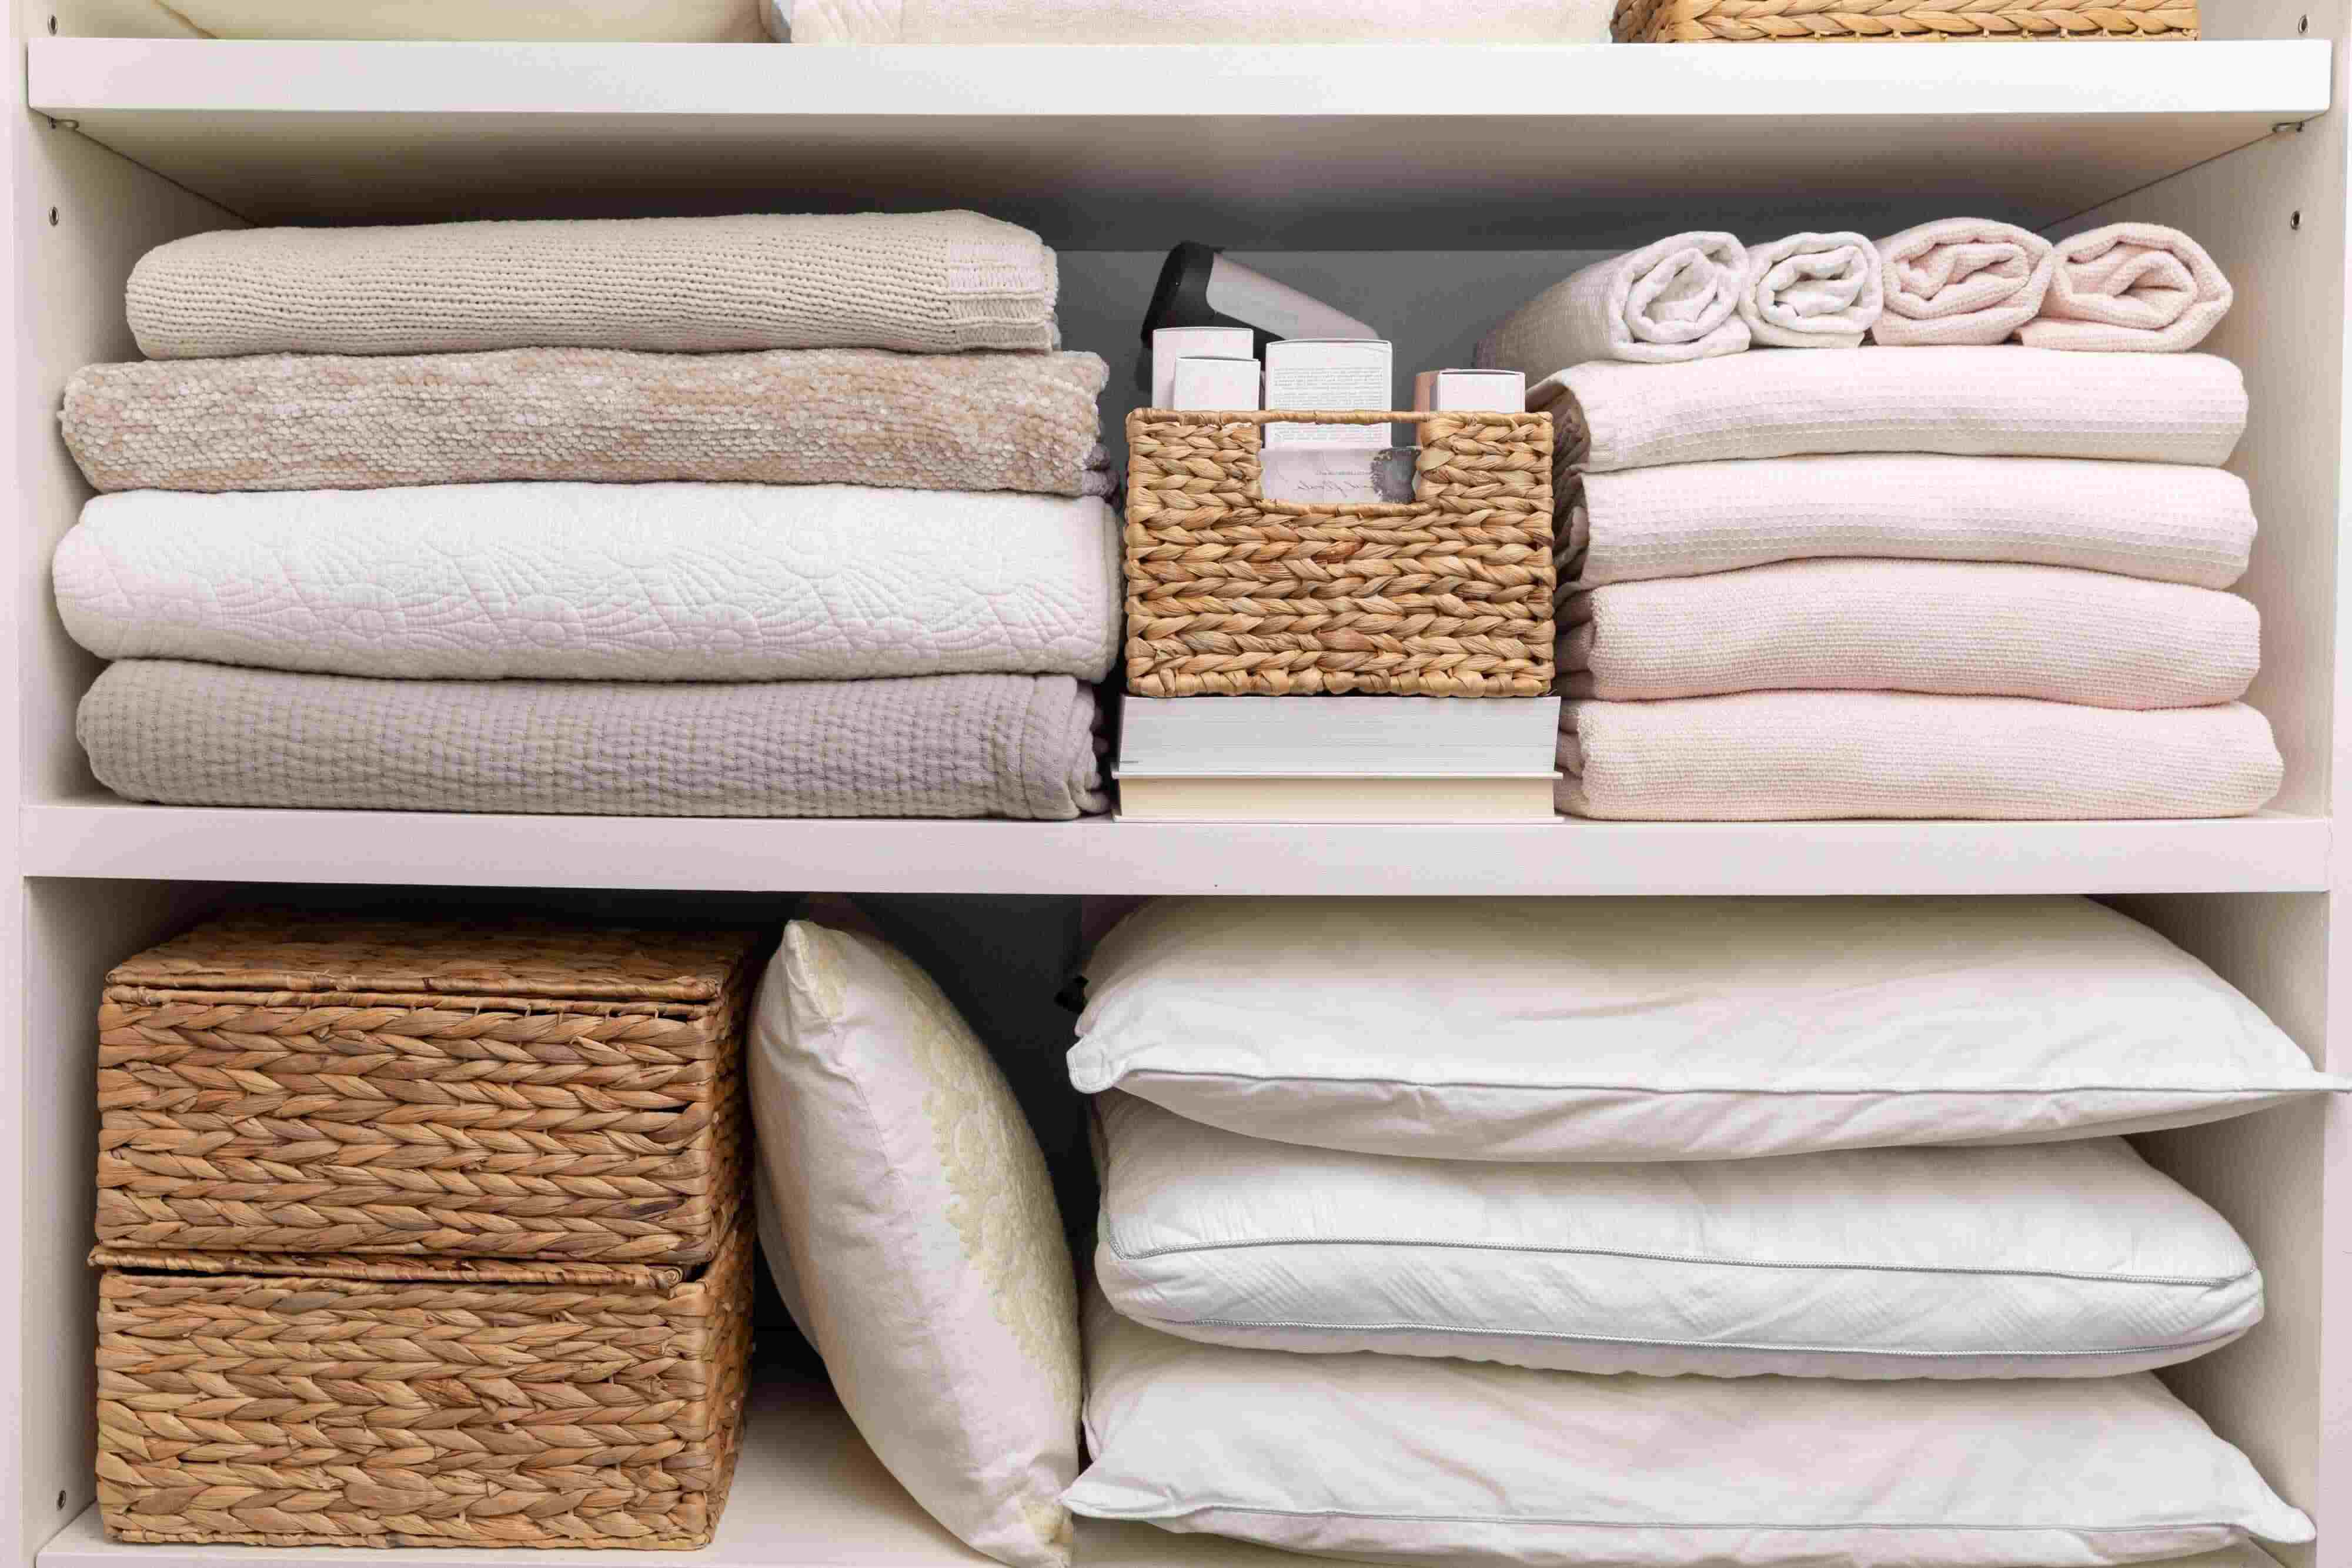
- Use Vertical Space: Maximize your pantry's vertical space by using stackable shelves or baskets.
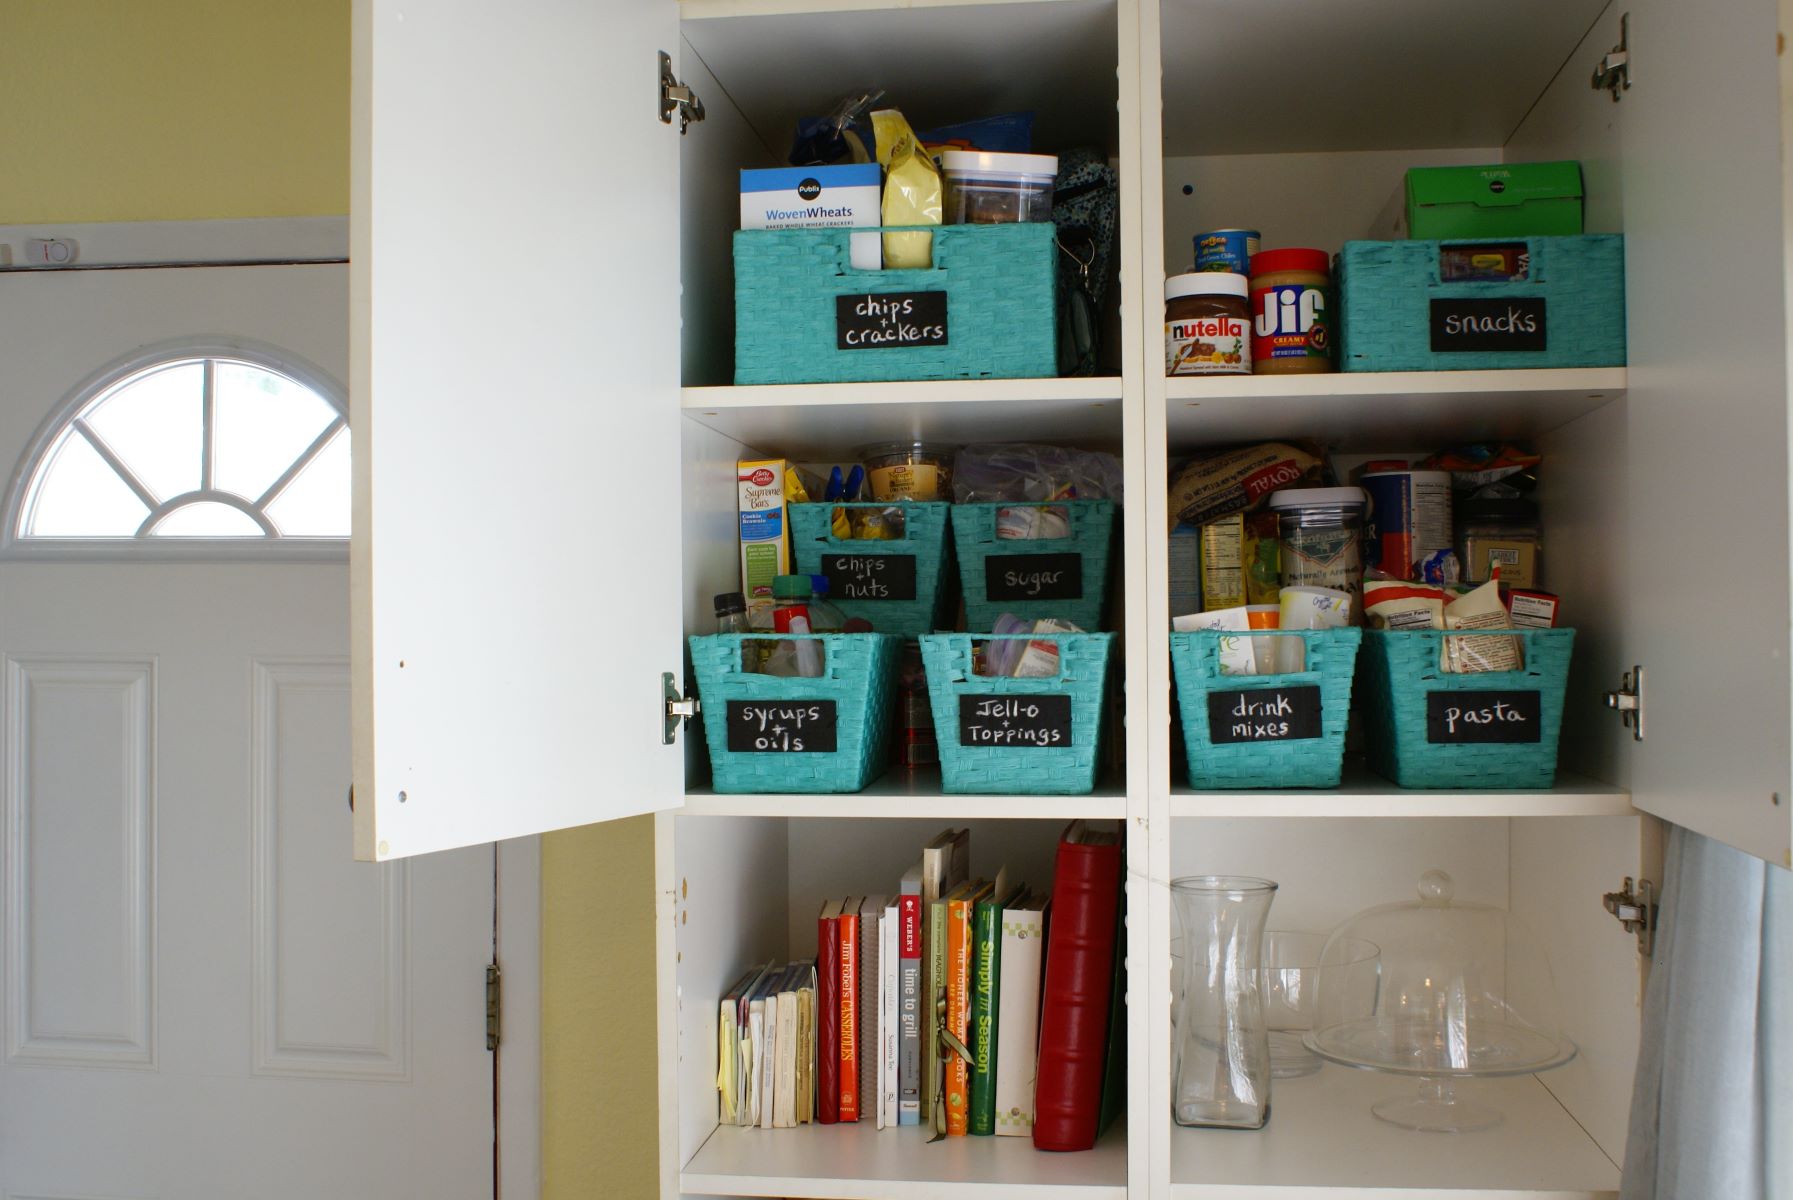
- Label Everything: Labels help keep your pantry organized by identifying what's inside each container or shelf.
- Keep Frequently Used Items Accessible: Store frequently used items at eye level or near the front of the pantry for easy access.
- Store Out-of-Season Items Properly: Use storage bins or containers to keep out-of-season items like holiday decorations or winter clothing.
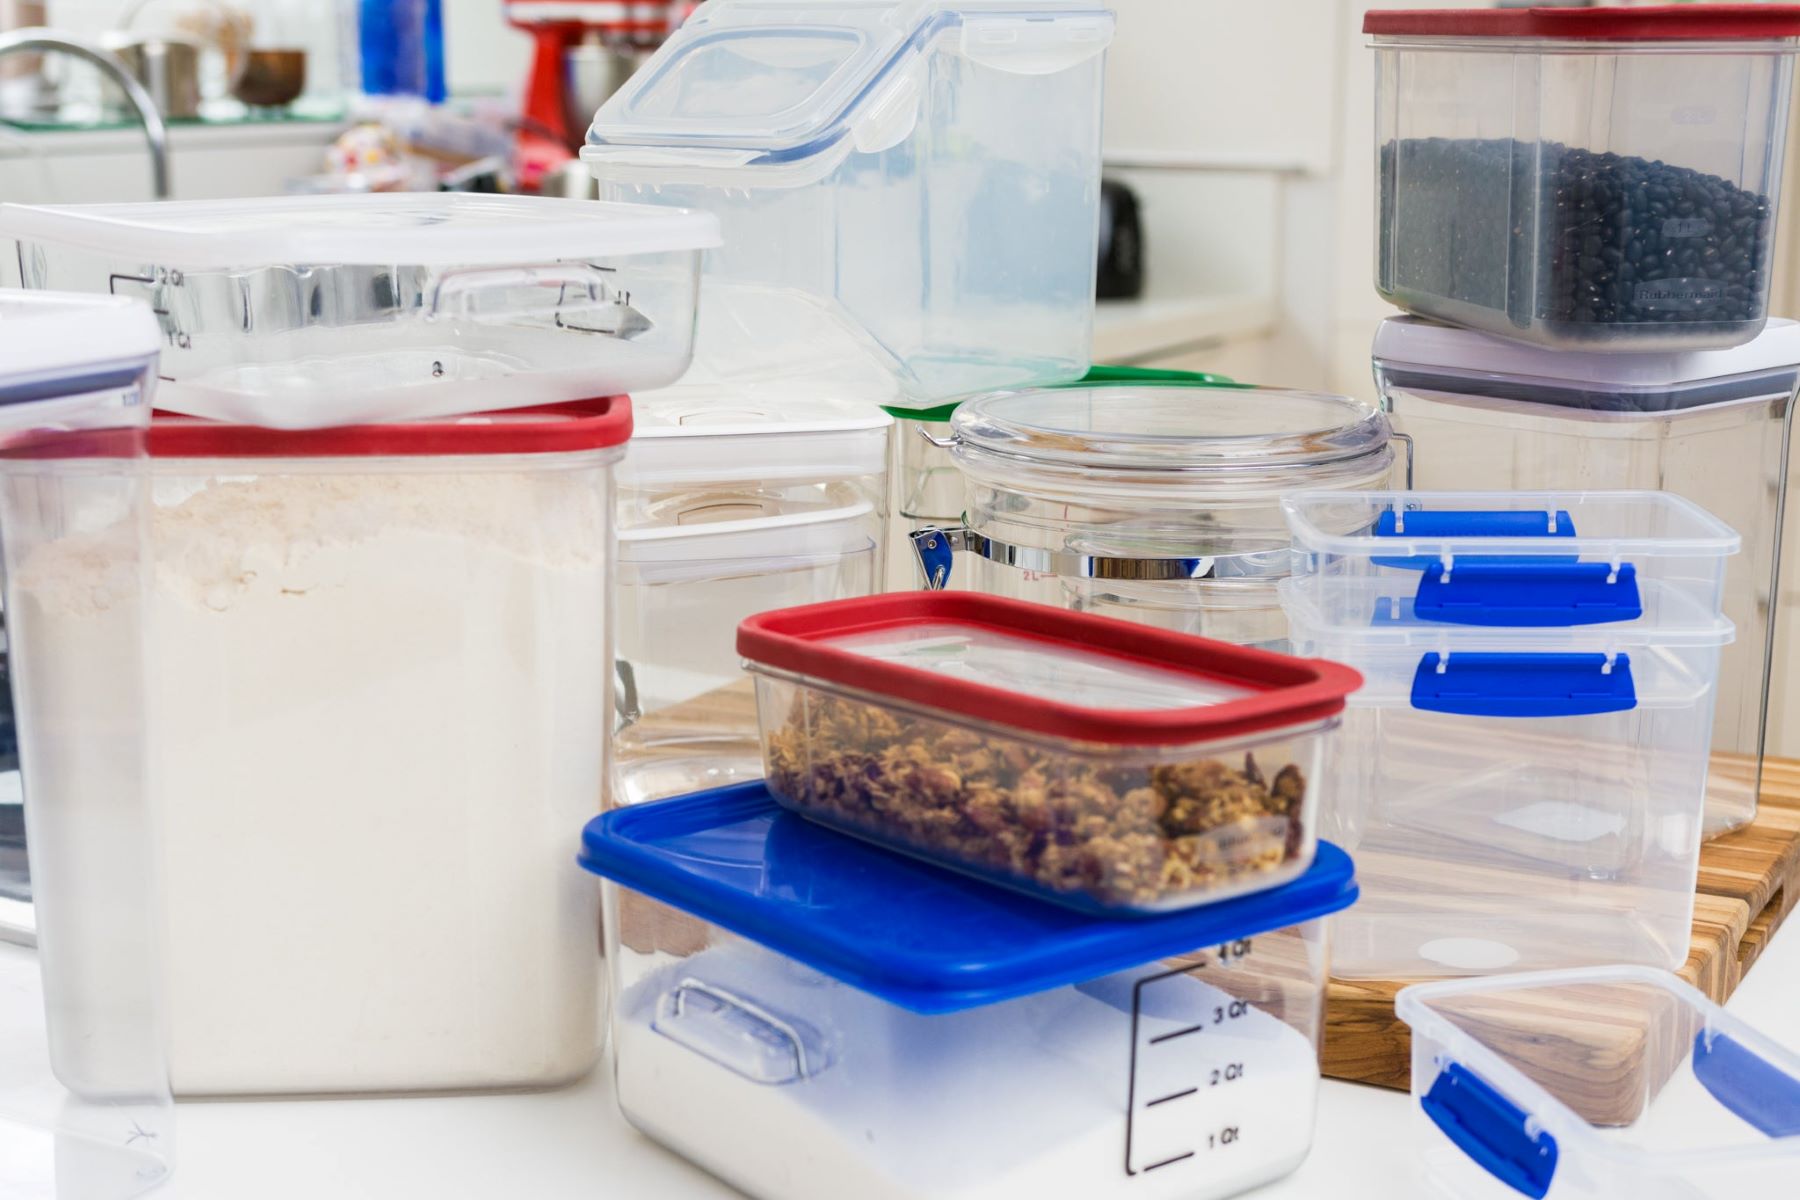
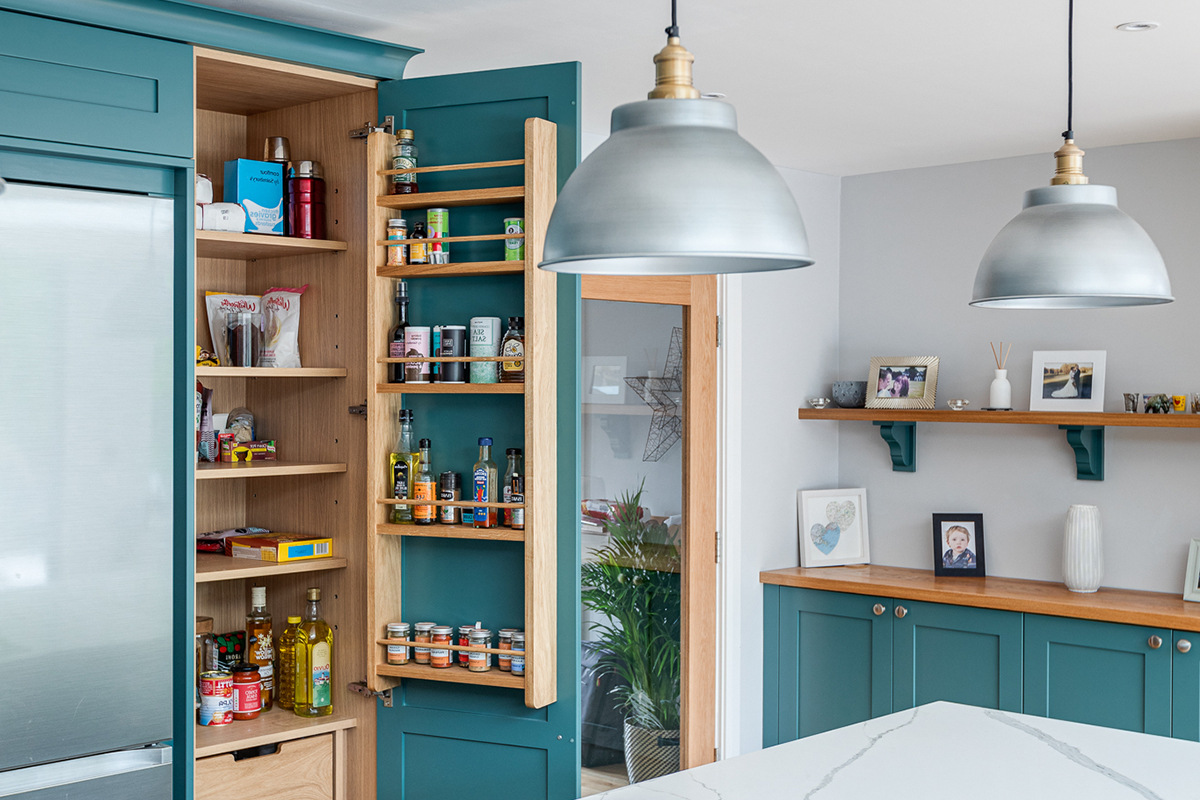
The Benefits of Vacuum-Sealed Canisters
Vacuum-sealed canisters are a game-changer when it comes to pantry organization. Here are some benefits:
- Preservation of Food Quality: Vacuum-sealing removes air from the container, which prevents moisture and other contaminants from entering. This helps preserve the quality of your food by keeping it fresh for longer periods.
- Space Efficiency: Vacuum-sealed canisters are designed to be compact and stackable, making them ideal for maximizing your pantry's vertical space.
- Easy Access: The transparent nature of these canisters allows you to see what's inside without having to open them, making it easier to find what you need quickly.
- Aesthetics: Modern vacuum-sealed canisters come in sleek designs that can complement any kitchen decor, adding a touch of style to your pantry.
- Versatility: These canisters are not limited to food storage; they can also be used for storing spices, coffee beans, or even small kitchen gadgets.
Choosing the Right Vacuum-Sealed Canisters
When selecting vacuum-sealed canisters for your pantry, there are several factors to consider:
- Material: Look for durable materials like stainless steel or BPA-free plastic that can withstand regular use.
- Size: Choose canisters that fit comfortably in your pantry but also provide enough space for the items you plan to store.
- Design: Consider the design aesthetic you want to achieve in your pantry. Modern sleek designs or traditional styles are available depending on your preference.
- Capacity: Ensure the canisters have enough capacity to hold the quantity of items you need without being too bulky.
- Ease of Use: Opt for canisters with easy-to-use lids and handles that make it simple to open and close them.
Step-by-Step Guide to Creating a Stylish and Practical Pantry
Now that we've covered the benefits and considerations of vacuum-sealed canisters, let's move on to creating a stylish and practical pantry using these systems:
Step 1: Purge and Clean Your Pantry
Before you start organizing, it's essential to clear out any expired or unused items from your pantry. This will give you a clean slate to work with.
- Remove Everything: Take everything out of your pantry and sort items into categories (e.g., baking supplies, snacks).
- Discard Expired Items: Check expiration dates and discard any expired or spoiled food.
- Clean the Pantry: Wipe down shelves and walls with a damp cloth to remove dust and debris.
Step 2: Measure Your Space
Measure the dimensions of your pantry to determine how many vacuum-sealed canisters you'll need and where they'll fit best.
- Measure Shelves: Measure the width, depth, and height of each shelf in your pantry.
- Plan Your Layout: Sketch out a rough plan showing where each canister will go based on their size and your measurements.
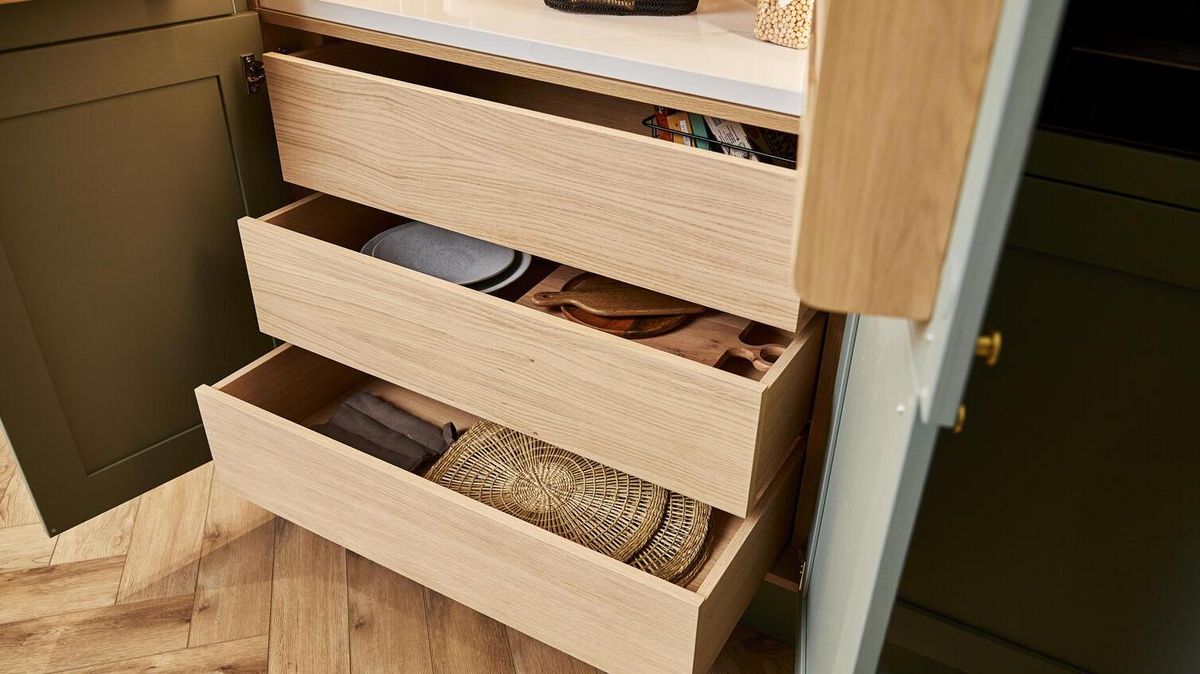
Step 3: Install Shelves or Baskets
If you don't already have shelves or baskets in place, now is the time to install them.
- Use Adjustable Shelves: Install adjustable shelves that can be moved up or down depending on the size of your canisters.
- Add Baskets: Use wicker baskets or mesh containers for items like snacks or spices that don't require vacuum-sealing.
Step 4: Label Everything
Labels are crucial for maintaining organization over time.
- Use Label Maker: Use a label maker to create labels for each category (e.g., "Baking Supplies").
- Attach Labels: Attach labels directly onto the shelves or canisters so they're easy to read from across the room.
Step 5: Fill Your Vacuum-Sealed Canisters
Now it's time to fill up those beautiful vacuum-sealed canisters!
- Sort Items into Categories: Place items into their respective categories before transferring them into their designated canisters.
- Fill Canisters: Fill each canister with its assigned items while ensuring there's enough space for easy opening and closing.
- Seal Them Up: Use the vacuum-sealing mechanism provided with each canister to remove air and seal them tightly.
Step 6: Arrange Your Pantry
Arrange all filled canisters back into their designated spots within your pantry according to your previously planned layout.
- Stack Them Up: Stack smaller canisters on top of larger ones vertically while ensuring stability.
- Keep Frequently Used Items Accessible: Place frequently used items at eye level or near front access points for easy retrieval.
Step 7: Add Aesthetics Touches
Finally, add some aesthetic touches that make your pantry look stylish and inviting:
- Decorative Baskets: Add decorative baskets around less frequently used items like holiday decorations or winter clothing.
- Lighting: Install soft lighting inside your pantry if possible; this not only illuminates contents but also adds ambiance.
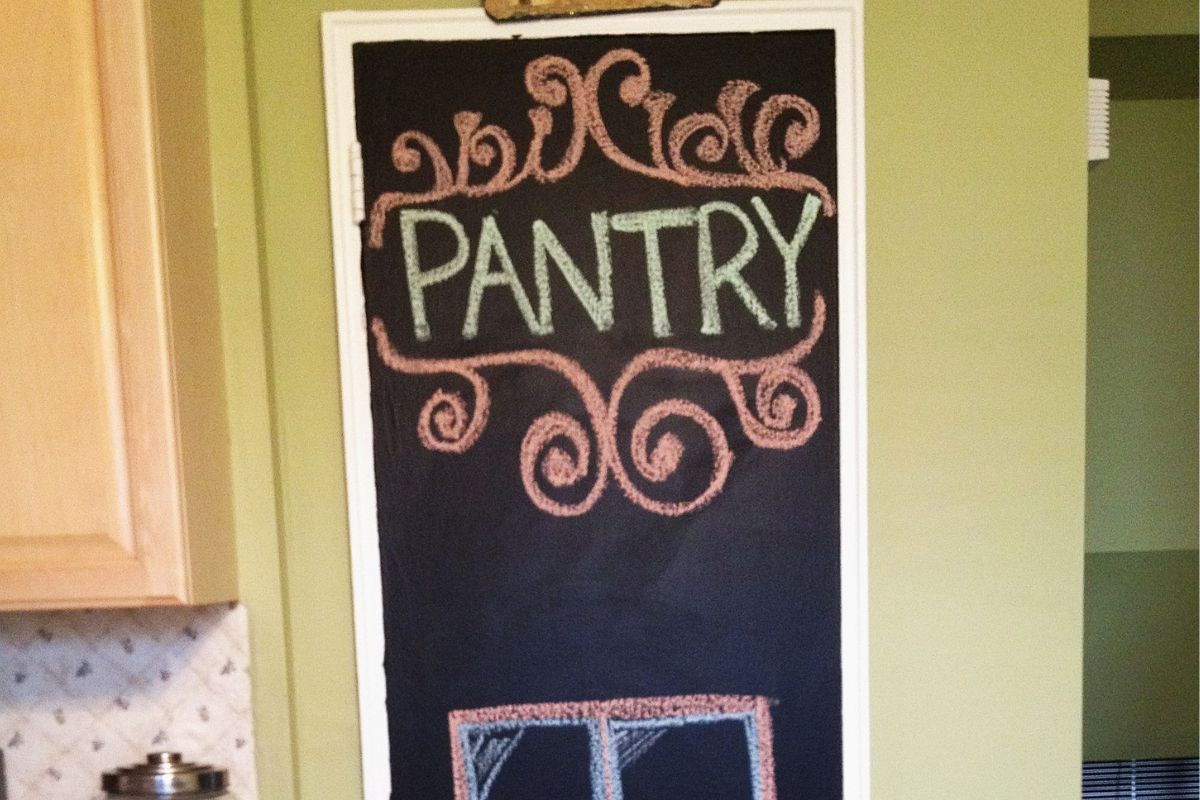
- Wall Decals: Use wall decals related to cooking or food storage near entry points for added style.
Conclusion
Creating a stylish and practical pantry with vacuum-sealed canister systems requires careful planning but yields numerous benefits including preservation of food quality, space efficiency, easy access, aesthetics, and versatility in storage options. By following these steps—purging old items, measuring space accurately installing shelves/baskets labeling everything filling up canisters arranging them back into place adding aesthetic touches—you'll transform your kitchen into an efficient haven where every meal preparation becomes easier thanks largely due innovative use modern technology combined timeless organizational principles
Was this page helpful?
At Storables.com, we guarantee accurate and reliable information. Our content, validated by Expert Board Contributors, is crafted following stringent Editorial Policies. We're committed to providing you with well-researched, expert-backed insights for all your informational needs.


0 thoughts on “Creating a Stylish and Practical Pantry with a Vacuum-Sealed Canister System”