Home>Ideas and Tips>DIY Guide To Installing A Bathroom Frameless Shower Door

Ideas and Tips
DIY Guide To Installing A Bathroom Frameless Shower Door
Modified: October 22, 2024
Learn how to install a frameless shower door with our step-by-step DIY guide. Enhance your bathroom's look and functionality with ease.
(Many of the links in this article redirect to a specific reviewed product. Your purchase of these products through affiliate links helps to generate commission for Storables.com, at no extra cost. Learn more)
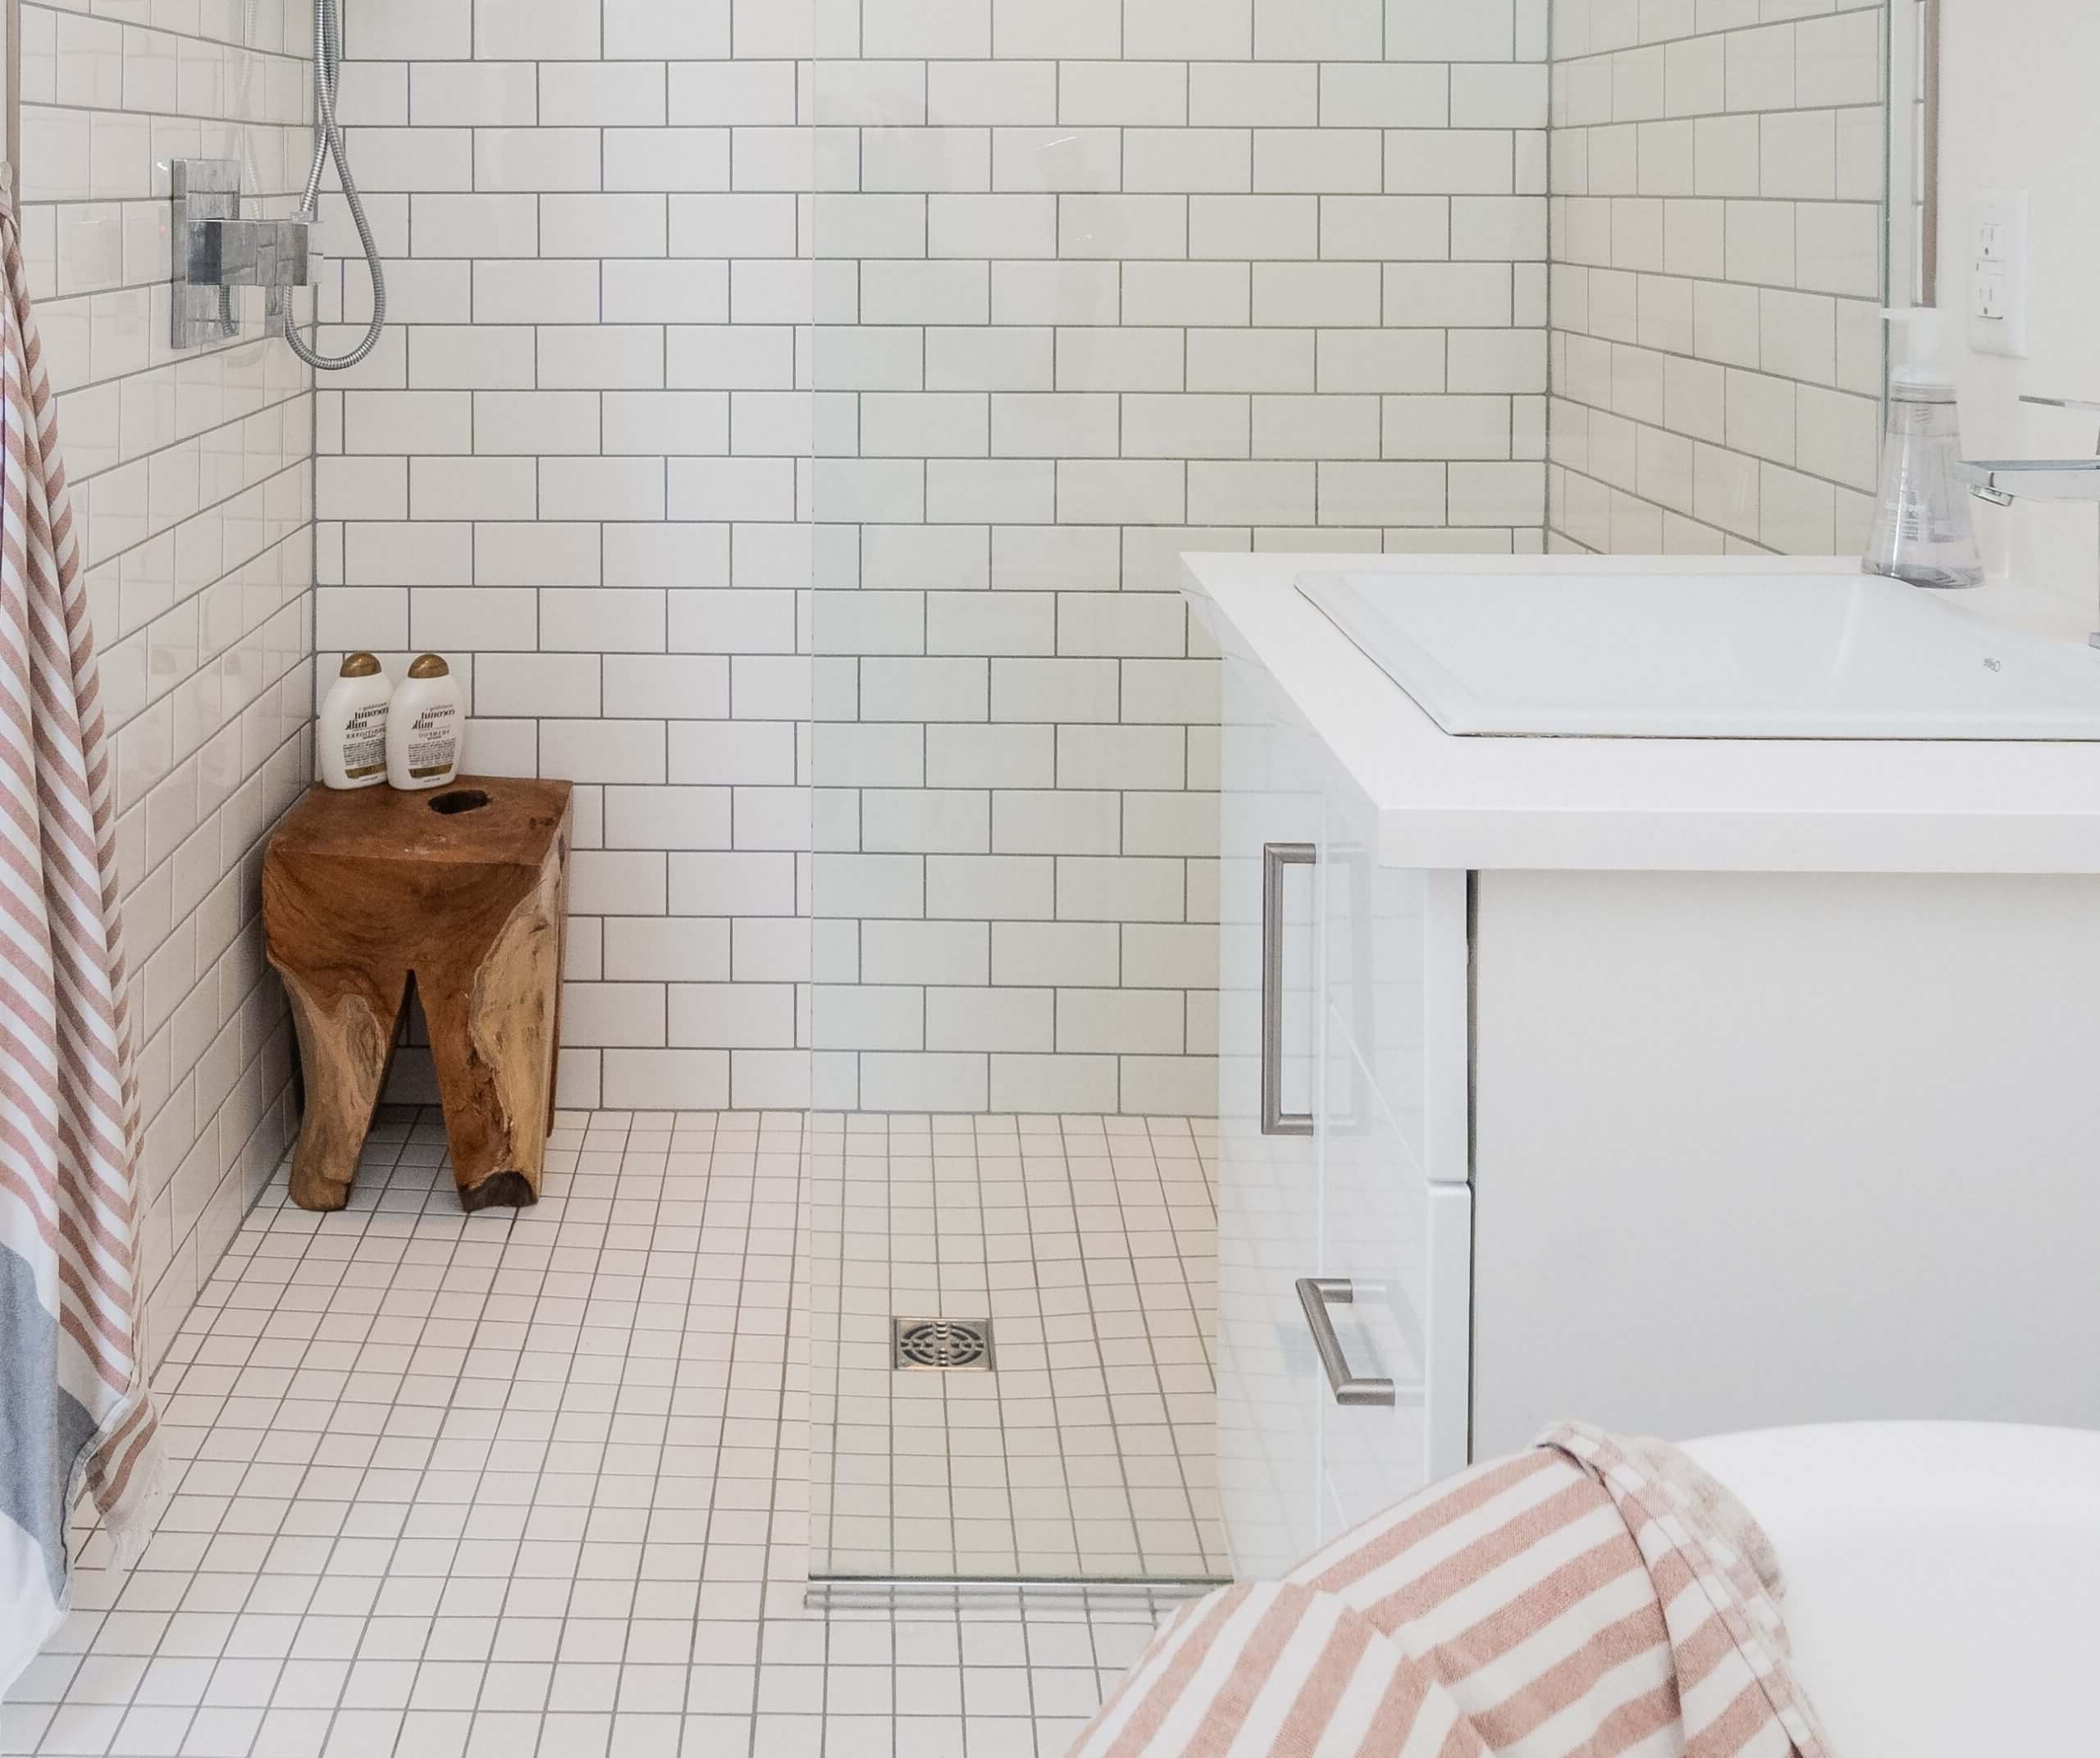
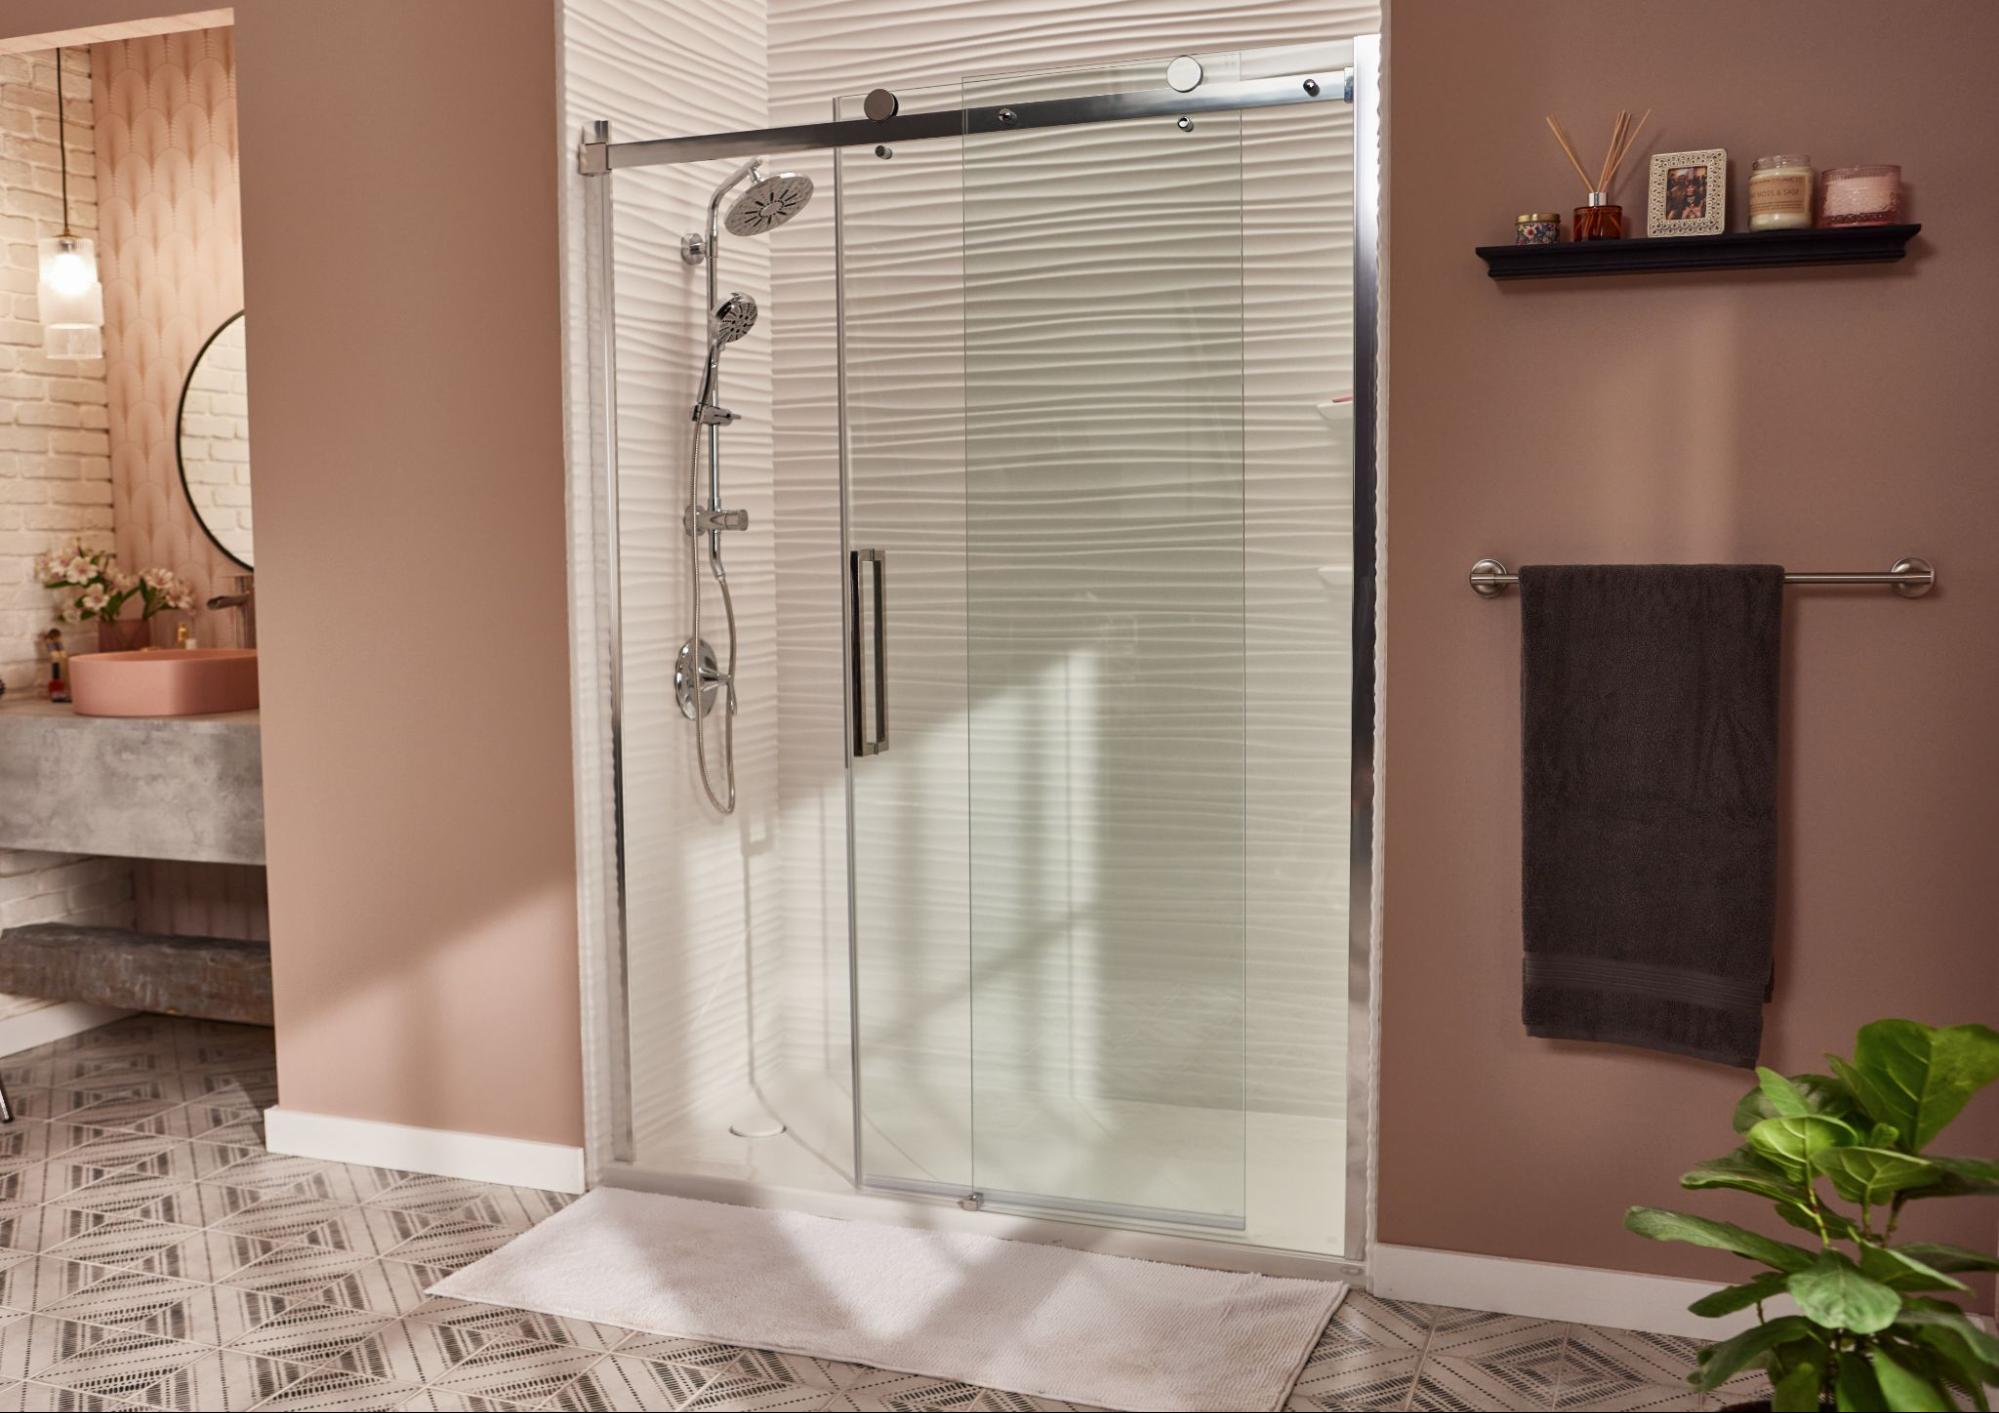
Installing a frameless shower door can be a challenging but rewarding DIY project. It not only enhances the aesthetic appeal of your bathroom but also provides a sleek, modern look that makes the space feel more spacious. However, it requires careful planning, precise measurements, and attention to detail to ensure a watertight seal and proper functionality. In this guide, we will walk you through the steps involved in installing a frameless shower door, providing tips and advice to make the installation process easier.
Step 1: Planning and Preparation
Before you start the installation, it’s crucial to plan and prepare thoroughly. Here are some key steps to consider:
Read more: DIY Guide To Installing A Glass Shower Door
1.1 Measure the Shower Opening
Measure the width of the shower opening in three places: at the threshold, at 5 feet high, and halfway in between. Use the smallest measurement when ordering your door to ensure it will fit properly. Additionally, measure from the door’s pivot point to any potential obstacles to verify that the door can swing freely without hitting your fixtures or walls.
1.2 Check Wall Level
Use a level to check if your shower walls are plumb (perfectly vertical). Any wall over half an inch out of vertical over 5 feet may require a filler strip to ensure the door can be installed plumb. This step is essential for creating a watertight seal when the door is closed.
1.3 Gather Tools and Materials
Gather all the necessary tools and materials before starting your project. Here’s a list of essential tools:
- Tape measure
- Level (4-foot recommended)
- Drill with masonry bit
- Hacksaw
- Screwdriver (both flathead and Phillips)
- Caulking gun
- Utility knife
- File
- Pencil
- Hammer
- Plastic mallet
- Safety glasses and work gloves
Required materials include:
- Clear, mildew-resistant silicone caulk
- Wall anchors
- Stainless steel screws (various sizes as specified in the kit)
- Post-installation cleaning supplies.
Step 2: Preparing the Shower Area
Before installing the frameless shower door, you need to prepare the shower area. Here’s how:
2.1 Clean the Area
Ensure the area around the shower is clean and free from any debris. This will make it easier to work with and ensure a proper seal.
2.2 Remove Old Shower Door (If Applicable)
If you’re replacing an old shower door, remove it carefully. Lift the old door off the track and tilt it out from the bottom. Remove any residual caulk from the edges of the track and round the inside corner of the track to match the new door.
Step 3: Installing the Base Track
The base track is the foundation of your shower door’s overall stability and functionality. Here’s how to install it:
3.1 Measure and Cut the Base Track
Measure the length of your shower threshold carefully. Using a hacksaw, cut the aluminum base track to fit snugly between the stall walls. Then, use a file to smooth any rough edges. Vacuum up any metal filings immediately so they don’t scratch the bathroom floor or shower base.
3.2 Position and Secure the Track
Place the cut base track centered from front to back on the threshold. Mark its position near each end with a pencil for easy repositioning if it shifts during installation. Some installers recommend applying a thin bead of silicone caulk under the track before final placement to create a watertight seal, but check your manufacturer’s instructions—some advise against this step to allow for drainage.
Step 4: Drilling Holes and Setting Side Rails
Drilling holes and setting side rails are crucial steps in installing a frameless shower door.
4.1 Measure and Mark Holes
Measure accurately where you need to drill holes for the side rails. Mark these positions with a pencil on the wall. Use a drill with a masonry bit to create pilot holes at these marks. Be careful not to drill too deeply—avoid damaging any pipes or wiring behind the wall.
4.2 Place Side Rails
Place the side rails in the pre-drilled holes and secure them using screws. Make sure to adjust and place them properly to ensure stability and alignment.
Read more: DIY Guide To Installing A Tile Shower
Step 5: Attaching Swing Door Panel
Attaching the swing door panel is another critical step in the installation process.
5.1 Hold Stationary Panels Together
Hold the stationary glass panels together using rubber spacers to increase the distance between them. This helps lock water inside the shower door and allows easy opening and closing.
5.2 Attach Top and Center Rail
Place and slide the stationary panel along the threshold. Attach the top and center rail to the side panel using screws. Press glazing strips into channels on both sides of the door to prevent air and water leakage.
Step 6: Fastening Hinges
Fastening hinges is essential for proper door movement.
6.1 Bring Swing Door First
Bring the swing door first, then attach hinges to the bottom rail. Press and hold the door while snapping it into place.
Step 7: Applying Silicone Caulk
Applying silicone caulk ensures a watertight seal around all fixed components.
7.1 Check Vertical Seals
Check vertical seals between panels for any gaps or leaks. Use clear silicone caulk along the perimeter of all fixed components to seal any gaps.
Step 8: Final Touches
After completing all steps, perform a final check to ensure everything is in place.
Read more: DIY Guide To Installing A Subway Tile Shower
8.1 Test Door Movement
Test the door movement to ensure it swings freely without hitting any fixtures or walls. Make any necessary adjustments before applying final coats of caulk.
8.2 Clean Up
Clean up any excess caulk or debris from the installation process. This will help maintain a clean and hygienic environment in your bathroom.
Conclusion
Installing a frameless shower door can be a rewarding DIY project if you follow these steps carefully. Remember to take precise measurements, use proper tools, and apply silicone caulk to ensure a watertight seal. If you’re not confident in your abilities or encounter any complications during installation, consider hiring a professional for assistance. With patience and attention to detail, you can achieve a sleek, modern look for your bathroom that enhances both form and function.
Additional Tips
-
Hiring a Professional: If you’re unsure about any part of the installation process or lack experience with glass shower doors, it’s highly recommended to hire a professional. They will make the job easier, quicker, and more hassle-free.
-
Measuring Correctly: Measurements change depending on the type of door being installed. Use masking tape to make markings easy to see, and follow specific instructions based on what door you’re installing.
-
Wall Materials & Protection: Consider the type of wall material you have and protect your shower door accordingly. For example, if you have tile walls, ensure that the anchors used are compatible with tile.
By following these steps and tips, you can successfully install a frameless shower door in your bathroom, enhancing its aesthetic appeal and functionality.
Was this page helpful?
At Storables.com, we guarantee accurate and reliable information. Our content, validated by Expert Board Contributors, is crafted following stringent Editorial Policies. We're committed to providing you with well-researched, expert-backed insights for all your informational needs.


0 thoughts on “DIY Guide To Installing A Bathroom Frameless Shower Door”