Home>Ideas and Tips>DIY Guide to Installing a Kitchen Farmhouse Sink with an Apron Front

Ideas and Tips
DIY Guide to Installing a Kitchen Farmhouse Sink with an Apron Front
Modified: November 1, 2024
Learn how to install a farmhouse sink with apron front in your kitchen with our step-by-step DIY guide. Perfect for enhancing your kitchen's rustic charm.
(Many of the links in this article redirect to a specific reviewed product. Your purchase of these products through affiliate links helps to generate commission for Storables.com, at no extra cost. Learn more)
Installing a kitchen farmhouse sink with an apron front can be a rewarding DIY project, but it requires careful planning and execution. This guide will walk you through the steps involved in installing a farmhouse sink, highlighting the necessary tools, materials, and techniques to ensure a successful installation.
Choosing the Right Sink
Before diving into the installation process, it's crucial to choose the right sink for your kitchen. Farmhouse sinks come in various styles, including single bowl and double bowl configurations. When selecting a sink, consider the following factors:
- Size: Ensure the sink fits within your cabinet space. Measure the width of your cabinet and the distance from the top of the cabinet to the bottom of the drawer opening or screw holes.
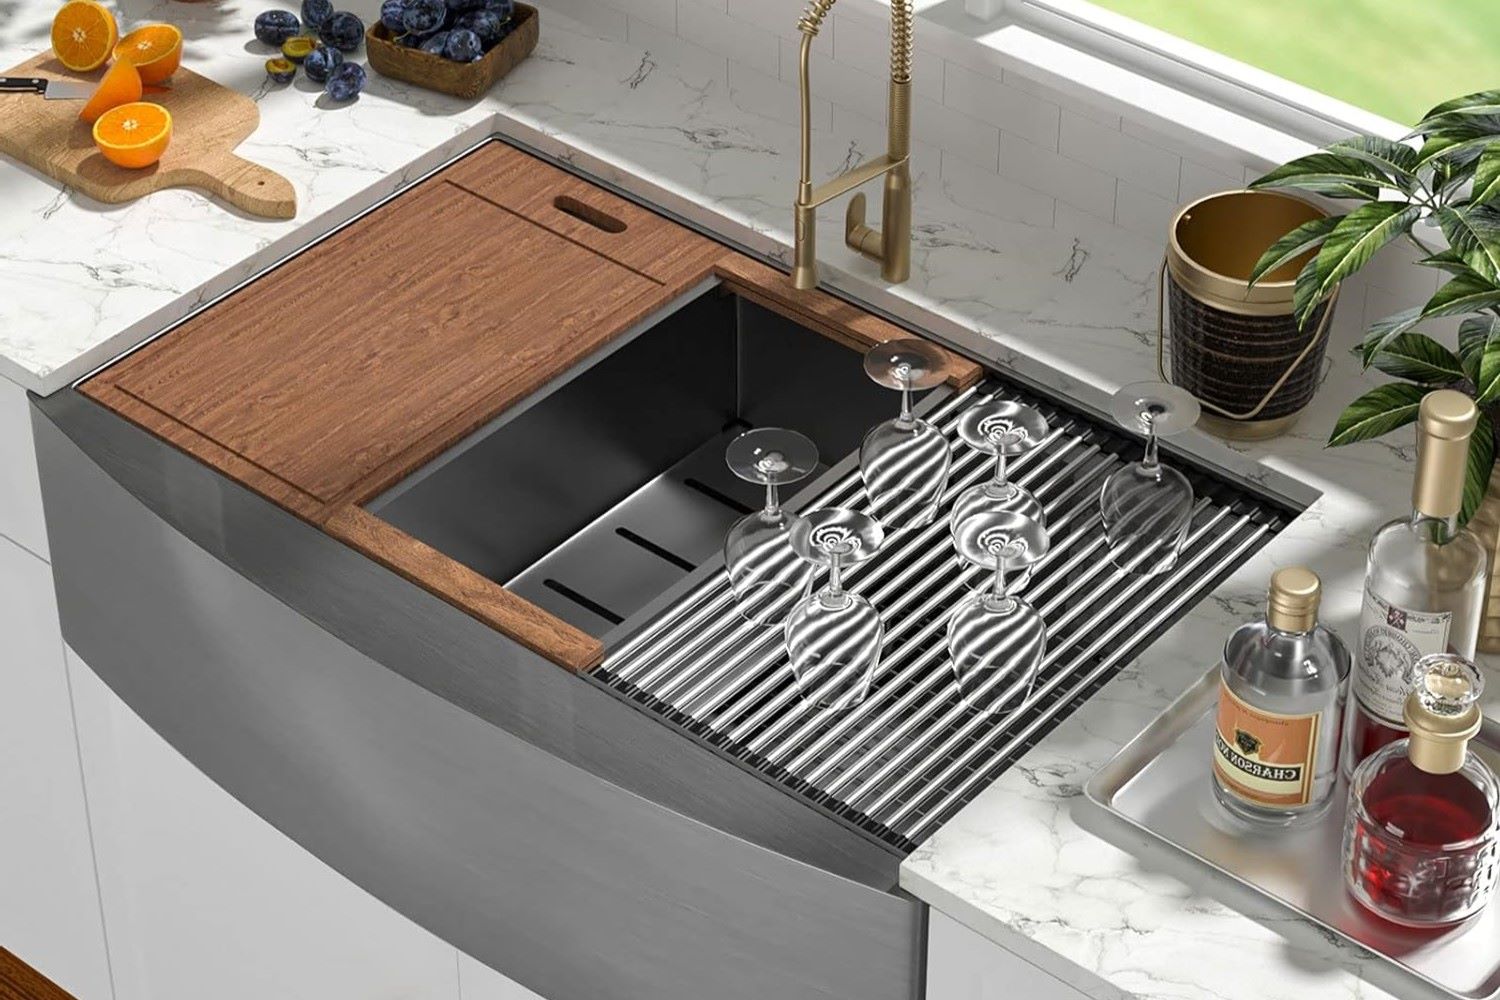
- Material: Farmhouse sinks are typically made from fireclay, stainless steel, or cast iron. Fireclay sinks are popular for their aesthetic appeal and durability, while stainless steel sinks offer ease of maintenance.
- Depth: A deeper sink can provide more storage space for dishes and utensils.
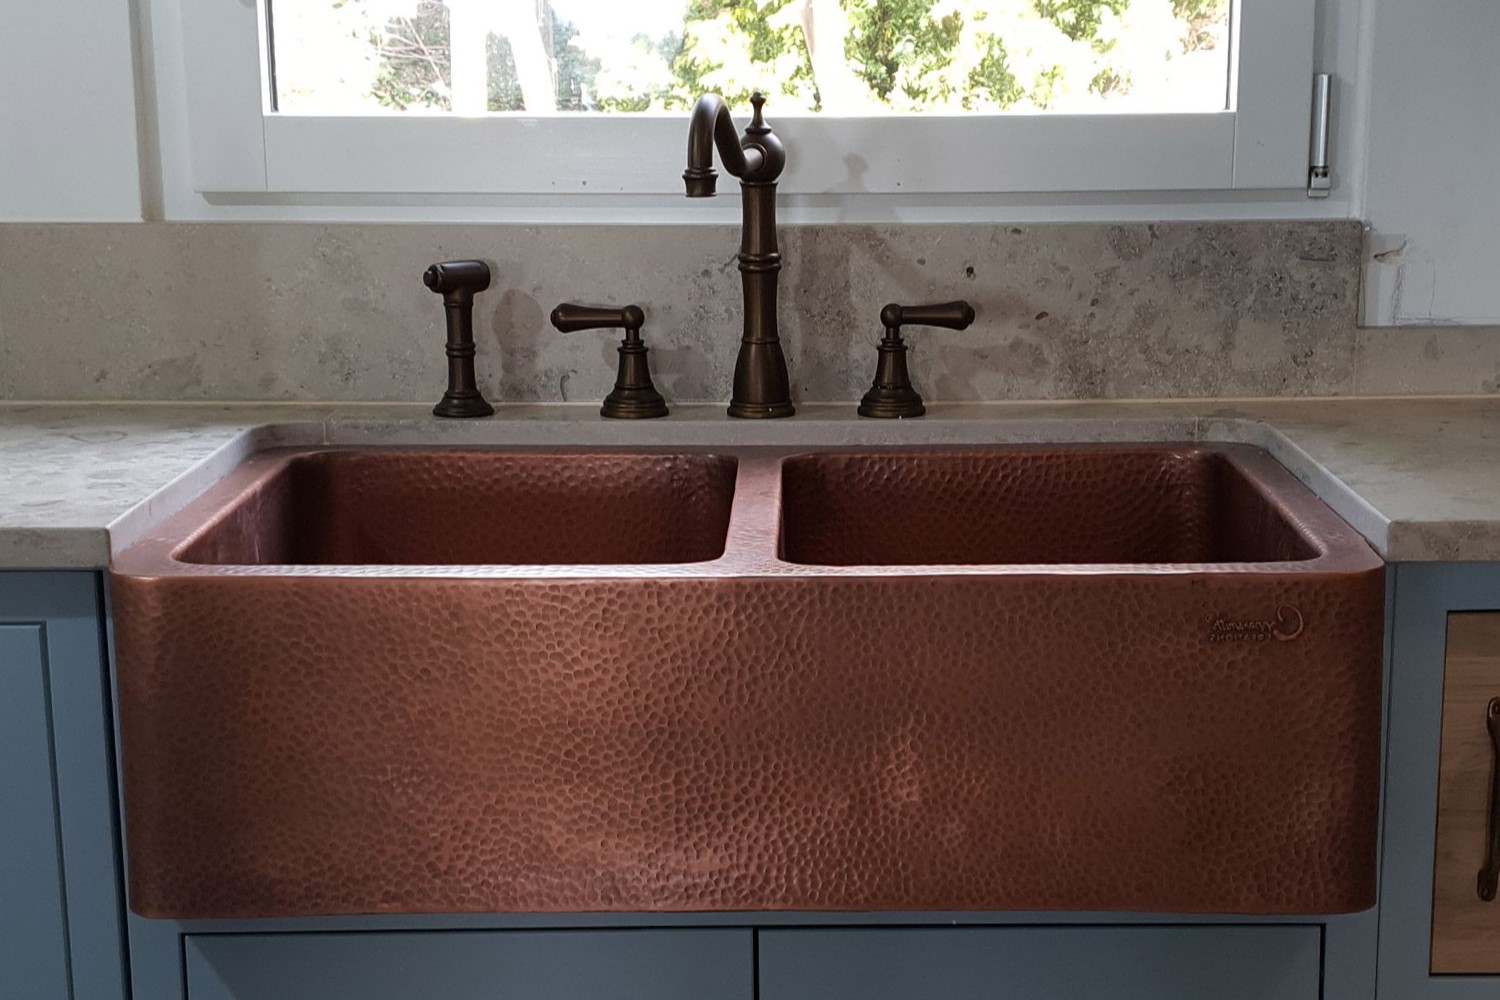
- Apron Front: The apron front is the decorative piece that extends from the sink to the countertop. This feature adds a rustic touch to your kitchen but may require additional support during installation.
For this guide, we will focus on installing a double bowl, extra deep, apron front, fireclay farmhouse sink made by Sinkology.
Read more: DIY Guide To Installing A Farmhouse Sink
Gathering Necessary Tools and Materials
To complete the installation, you will need the following tools and materials:
Tools:
- Multi-tool or hand saw
- Jigsaw (optional if using plywood top)
- Phillips head screwdriver
- Square head drill bit (if removing & replacing pocket screws)
- Pocket hole jig (optional, but highly recommended)
- Level
- Drill
- 2×4 lumber
- 3/4″ plywood (optional)
- Pencil & compass
- Wood glue
- Sandpaper/sander
- Regular wrench
- Plumber’s wrench
- Spare towels & bucket (to catch water from disconnected plumbing)
Materials:
- The sink (we picked this one from Sinkology)
- 2 People (to lift the sink into place)
- 2×4 lumber for the frame
- 3/4″ plywood for the top (optional)
- Wood glue
- Sandpaper/sander
- Regular wrench
- Plumber’s wrench
Preparing the Work Area
Before starting the installation, ensure your work area is clear and well-lit. Turn off the water supply to the sink by closing both the hot and cold water valves located inside the base cabinet under the sink. Disconnect the fittings and let the water lines dangle.
Next, remove the drain lines from the sink. Use a small bucket or towel to catch any water inside the P-trap as you remove it.
Removing the Old Sink
If you are replacing an existing sink, remove any fasteners holding it in place. These fasteners are usually inside the base cabinet, underneath the sink. Use a utility knife to cut through the bead of silicone around the old sink. The sink should now be free to lift straight up and out of the countertop. If it doesn’t come out easily, use a flat pry bar to break it loose.
Building the Frame
To support the weight of the sink, you will need to build a frame using 2×4 lumber. Here’s how you can do it:
- Measure Twice, Cut Once: Measure the width of your cabinet and the distance from the top of the cabinet to the bottom of the drawer opening or screw holes. Cut two base/horizontal pieces across the bottom of the cabinet.
- Secure Vertical Legs: Place four vertical legs which were secured to the base pieces and to the sides of the cabinet. Use screws to secure them in place.
- Add Crossbar: Place a crossbar 2×4 across the back, set in about 3/4″ to make enough room to get to the dishwasher line valve behind it.
Optional Plywood Top
If you decide to add an optional plywood top, trace and cut holes in the plywood using a big piece of cardboard underneath the sink to trace the dimensions and location of the drain holes. Use this cutout on top of the plywood to tell you where the center of the holes were, then use a compass, pencil, and jigsaw to get 8″ diameter cutouts. However, consider making 10″ holes as 8″ holes might be challenging for the average plumber’s wrench to tighten the drains later on.
Lifting the Sink into Place
This is where you need a second person. The sink can weigh around 150-200 lbs, making it difficult for one person to grip and lift. Ensure you have a clear path and use spare towels and a bucket to catch any water that might spill during lifting.
Properly Spacing and Leveling
Once you have lifted the sink into place, properly space and level it. Use a level to ensure that the sink is perfectly aligned with your countertop. If necessary, adjust the frame slightly to achieve the desired level.
Final Adjustments
After placing the sink in its final position, make any necessary adjustments to ensure it fits snugly within its frame. Use a regular wrench or plumber’s wrench to tighten any screws holding the sink in place. If using plywood, ensure it is securely attached to the frame using wood glue and screws.
Final Touches
Once everything is in place, test the sink by running water through it. Check for any leaks or issues with the plumbing connections. If everything seems fine, proceed with installing new countertops or making any additional adjustments as needed.
Tips and Tricks
- Use Painters Tape: When cutting the cabinet to fit the sink, use painters tape to protect the cabinet's finish.
- Test Fit: Test fit the sink often to make sure you don’t remove too much material.
- Additional Support: Consider adding additional support for heavy cast iron sinks using 2×4 lumber and screws.
- Silicone Removal: Use a utility knife to cut through the bead of silicone around the old sink before removing it.
- Plywood Holes: If using plywood, make sure to cut larger holes (10″) for easier access during plumbing connections.
Conclusion
Installing a kitchen farmhouse sink with an apron front is a rewarding DIY project that requires careful planning and execution. By following these steps and tips, you can successfully install your new sink and enhance the functionality and aesthetic appeal of your kitchen. Remember to always use caution and seek professional assistance if you are unsure about any part of the process.
References: Ashley Brooke Designs. (2023, September 17). Installing Our Farmhouse Sink. Retrieved from https://ashleybrooke.com/installing-our-farmhouse-sink/ YouTube. (2021, April 22). How to Install a Farmhouse Sink in a Kitchen Cabinet. Retrieved from https://www.youtube.com/watch?v=DvKwD2OdeSk YouTube. (2023, December 23). How To Install A Farmhouse Sink. Retrieved from https://www.youtube.com/watch?v=EvkA6V_kjHg YouTube. (2019, April 20). How To Install a Farmhouse Sink | DIY Kitchen Remodel. Retrieved from https://www.youtube.com/watch?v=_kVDdJEZ03E Joyfully Growing Blog. (n.d.). DIY Farmhouse Sink Installation | Easy Step-by-step Tutorial. Retrieved from https://joyfullygrowingblog.com/farmhouse-sink-diy-tutorial/
Was this page helpful?
At Storables.com, we guarantee accurate and reliable information. Our content, validated by Expert Board Contributors, is crafted following stringent Editorial Policies. We're committed to providing you with well-researched, expert-backed insights for all your informational needs.



0 thoughts on “DIY Guide to Installing a Kitchen Farmhouse Sink with an Apron Front”