Home>Ideas and Tips>DIY Guide to Installing a Bathroom Shower with a Linear Drain

Ideas and Tips
DIY Guide to Installing a Bathroom Shower with a Linear Drain
Published: September 20, 2024
Learn how to install a bathroom shower with a linear drain. Follow our step-by-step DIY guide for a functional and stylish upgrade.
(Many of the links in this article redirect to a specific reviewed product. Your purchase of these products through affiliate links helps to generate commission for Storables.com, at no extra cost. Learn more)
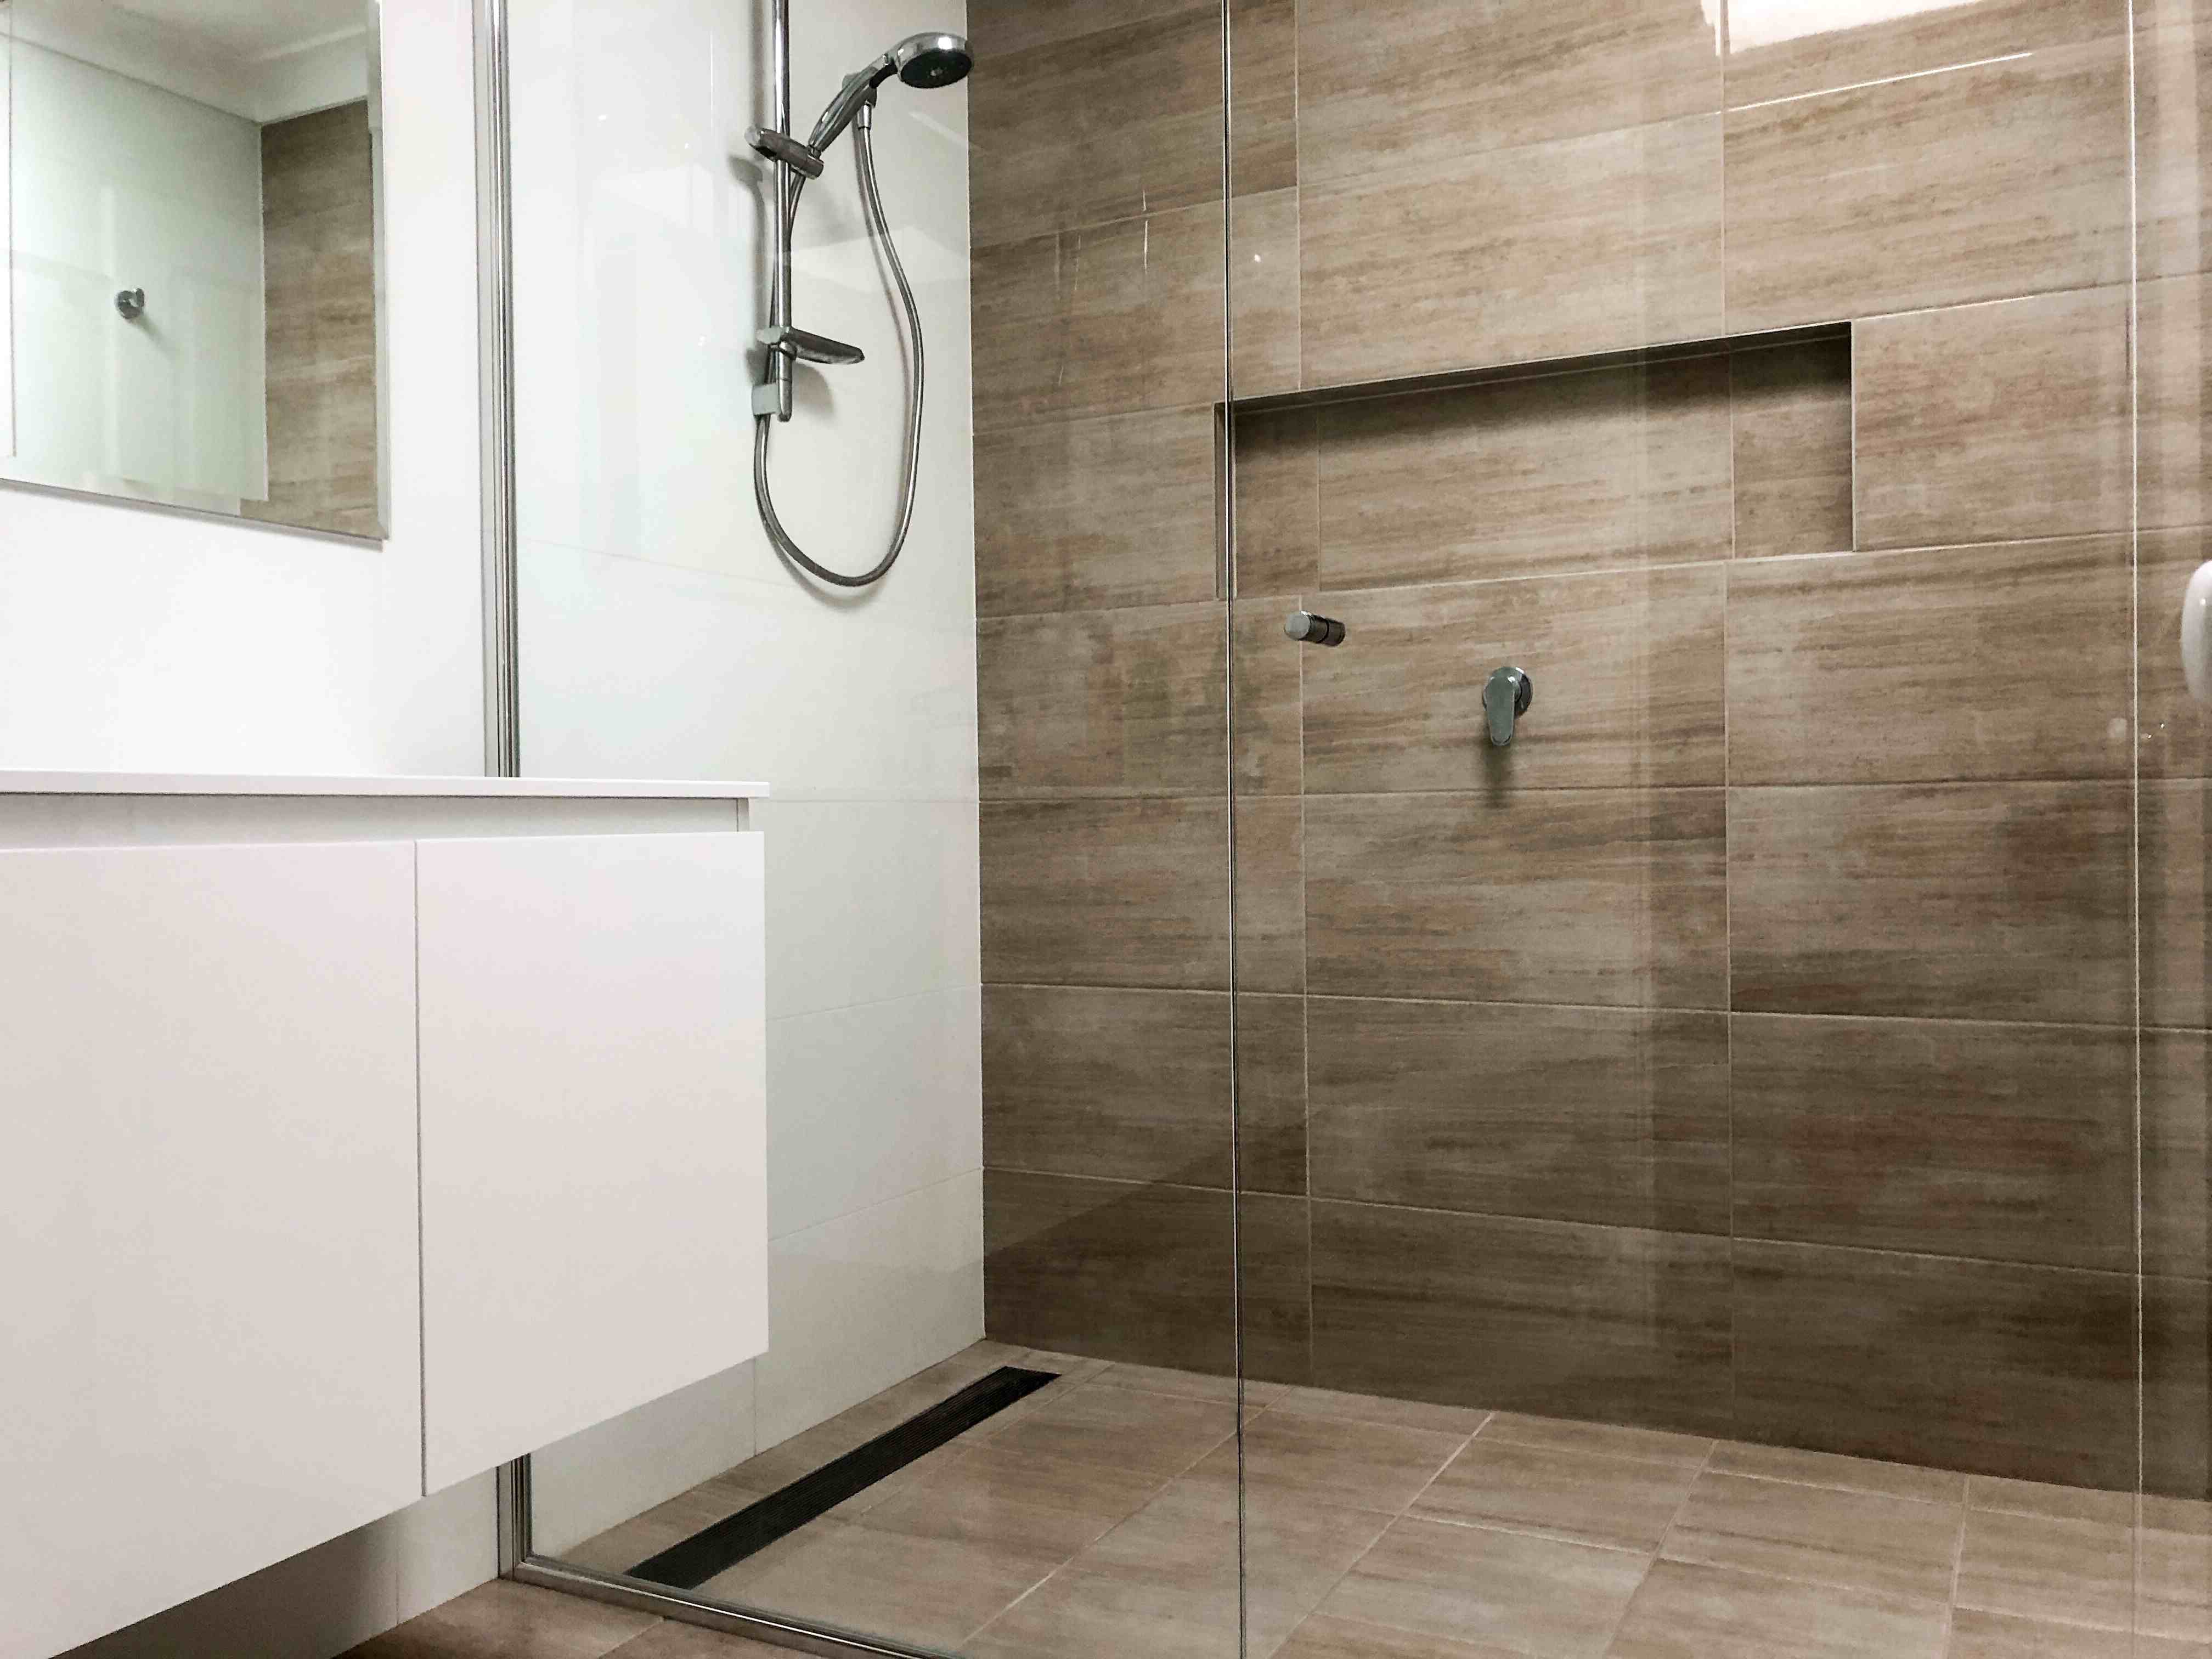
Installing a bathroom shower with a linear drain can be a challenging but rewarding DIY project. Linear drains offer several advantages over traditional point drains, including design flexibility and the ability to install larger format tiles. In this guide, we will walk you through the steps to install a linear shower drain, ensuring that your bathroom is not only functional but also aesthetically pleasing.
Step 1: Preparation and Planning
Before you begin your project, it is crucial to ensure that you are up to date with the local plumbing requirements or codes. Check with your local authorities to confirm any specific regulations or guidelines for installing a linear shower drain. Additionally, inspect the condition and quality of the product before fixing it on your shower wall. Ensure that all the accessory items and components are ready for installation.
Tools and Materials Needed
- Linear Shower Drain Kit: This includes the drain channel, clamping collars, screws, and leveling screws.
- Waterproofing Membrane: Available in PVC and ABS, this membrane is essential for preventing water from seeping into the subfloor.
- Dry Pack Mortar: Used to create a stable base for the drain.
- Tile Thinset: For securing tiles to the shower floor.
- Foam Trays or Deck Mud: Options for creating a flat pitch floor.
- Utility Knife: For cutting the waterproofing membrane.
- Screwdriver: For assembling the clamping collars.
- Leveling Screws: For ensuring the drain is level and parallel to the wall.
- Primer and Glue: For connecting the waste line to the outlet of the drain channel.
- Hercules Wipes: For cleaning the drain flange.
Step-by-Step Preparation
-
Measure the Shower Pan Area:
- Measure the dimension from the rear wall to the inside face of the curb.
- Measure the distance to the center of the vertical drain pipe from both side and rear walls of the shower footprint.
- Record these measurements to create a seven-inch square mark at the center location for the drain outlet.
-
Mark the Drain Outlet Location:
- Use a three and a half inch hole saw to make a hole at the marked location for the drain outlet.
-
Prepare the Subfloor:
- Lay water-resistant paper over the subfloor and staple it into place.
- Make a cutout for the outlet hole in preparation for the primary mortar bed.
- Place wire lath over the subfloor and staple it into place, making another cutout for the outlet hole.
-
Create a Stable Base:
- Spread a layer of dry pack mortar around the drain and up to the flange of the linear drain channel, ensuring all areas under and around the channel are backfilled.
- Spread mortar across the intended shower area while keeping a consistent pitch towards the drain channel. Consult your local code for the appropriate degree of pitch.
-
Allow the Mortar Bed to Dry:
- If not already removed, remove any temporary supports or barriers.
- Allow the mortar bed to dry overnight before proceeding with further steps.
Step 2: Installing the Linear Drain
Step-by-Step Installation
-
Positioning the Drain Channel:
- Place the drain channel into position and ensure it is level using the leveling screws under the channel.
- Turn each leveling screw counterclockwise to raise the drain and clockwise to lower, ensuring it is parallel to the wall.
-
Connecting the Waste Line:
- Connect the waste line to the outlet of the drain channel using appropriate primer and glue.
-
Securing the Drain Channel:
- Remove any temporary supports or barriers from around the drain channel.
- Apply an appropriate adhesive across the mortar bed and drain channel.
- Lay the waterproofing membrane over this adhesive, ensuring each corner is folded in without cuts. The membrane must extend at least four to six inches above the floor and be stapled at that height. Consult your local code for exact heights.
-
Cutting Waterproofing Membrane:
- Using a utility knife, cut a slit over the middle of the opening of the linear drain.
- Carefully pierce the waterproofing membrane at each screw hole of the drain channel and cut out a 3/16 inch diameter hole for each screw.
-
Attaching Clamping Collars:
- Screw on the clamping collar to the linear drain channel with hem edge facing up using number 1032 screws. Do not over tighten as there are two clamping collars provided in each kit—one half inch in height and one inch in height.
-
Finalizing Installation:
- Confirm that the finished tile thinset and secondary grate sits flush with the finished floor.
- Ensure all areas around and under the channel are properly sealed with mortar.
Read more: DIY Guide To Installing A Tile Shower
Step 3: Waterproofing and Tile Installation
Waterproofing Steps
-
Applying Waterproofing Membrane:
- Using a 3/16 inch v-notched trowel, spread a second layer of modified or rapid set thinset over foam panels and slightly over the edges of the drain body.
- Remove outer masking tape from the drain flange and clean it with Hercules wipes.
- Apply a 3/8 inch bead of sealant on exposed drain flange about 3/8 inch from the trough.
- Lay folded waterproofing sheet over the drain area then unfold to ensure it is square and smooth.
-
Securing Waterproofing Membrane:
- Push locator pins through the membrane.
- Install clamping collar by aligning locator pins with corresponding holes in clamping collar and secure it with screws in an alternating pattern.
- Smooth membrane throughout shower footprint using plastic drywall knife to remove excess thinset and any air pockets.
-
Finalizing Waterproofing:
- Using 3/16 inch v-notch trowel spread thinset seven inches up all side walls behind corner flap then press smooth sheet membrane into corners up wall immediately after thinset application.
Tile Installation Steps
-
Creating Sloped Floor:
- If using foam trays or deck mud ensure subfloor is flat level smooth before installation.
- Apply screed on one side another side if installing drain first trying screed drain itself which can lead uneven surface area causing lippage corner sticking up especially large format tiles.
-
Screeding Technique:
- Spread thinset drop mud top screed out go little further thinset adhere concrete make bond stable durable okay linear rins becoming popular putting linear drain need flat pitch thing about flat pitch install whatever tile want doesn't have small tile case installing river rock pepple tile whatever call when have flat pitch option installing very large st12x24 whatever size want because pitch flat surface sloped towards drain traditional point drain curved bowl goes towards drain try install lash met tile get lot lippage corner sticking up but when have linear drain basically flat floor sloped drain opens lot possibilities most time installing like put screed side screed side install drain first try screed drain itself now…
-
Tile Placement:
- Install tile floor ensuring consistent pitch towards linear drain creating smooth even surface area avoiding lippage corner sticking up especially large format tiles like st12x24.
-
Finalizing Tile Installation:
- Press smooth tile into place ensuring no gaps between tiles apply additional thinset if necessary smooth surface area creating seamless look finish.
Conclusion
Installing a bathroom shower with a linear drain requires careful planning preparation attention detail each step process ensures successful installation avoiding common mistakes like uneven surface area lippage corner sticking up especially large format tiles like st12x24 by following steps outlined above homeowners can achieve beautiful functional bathroom space perfect for modern living.
By following these steps you'll be able create stunning bathroom shower featuring linear drain which not only functional but also aesthetically pleasing allowing flexibility design options not possible traditional point drains making perfect choice homeowners looking upgrade their bathroom space.
Remember always consult local plumbing codes regulations ensure compliance during installation process ensuring safety durability long-lasting results.
Happy DIY-ing
Was this page helpful?
At Storables.com, we guarantee accurate and reliable information. Our content, validated by Expert Board Contributors, is crafted following stringent Editorial Policies. We're committed to providing you with well-researched, expert-backed insights for all your informational needs.


0 thoughts on “DIY Guide to Installing a Bathroom Shower with a Linear Drain”