Articles
How To Fix Fence Panels
Modified: December 7, 2023
Looking for articles on how to fix fence panels? Find expert tips and step-by-step guides to repair and maintain your fence panels effectively.
(Many of the links in this article redirect to a specific reviewed product. Your purchase of these products through affiliate links helps to generate commission for Storables.com, at no extra cost. Learn more)
Introduction
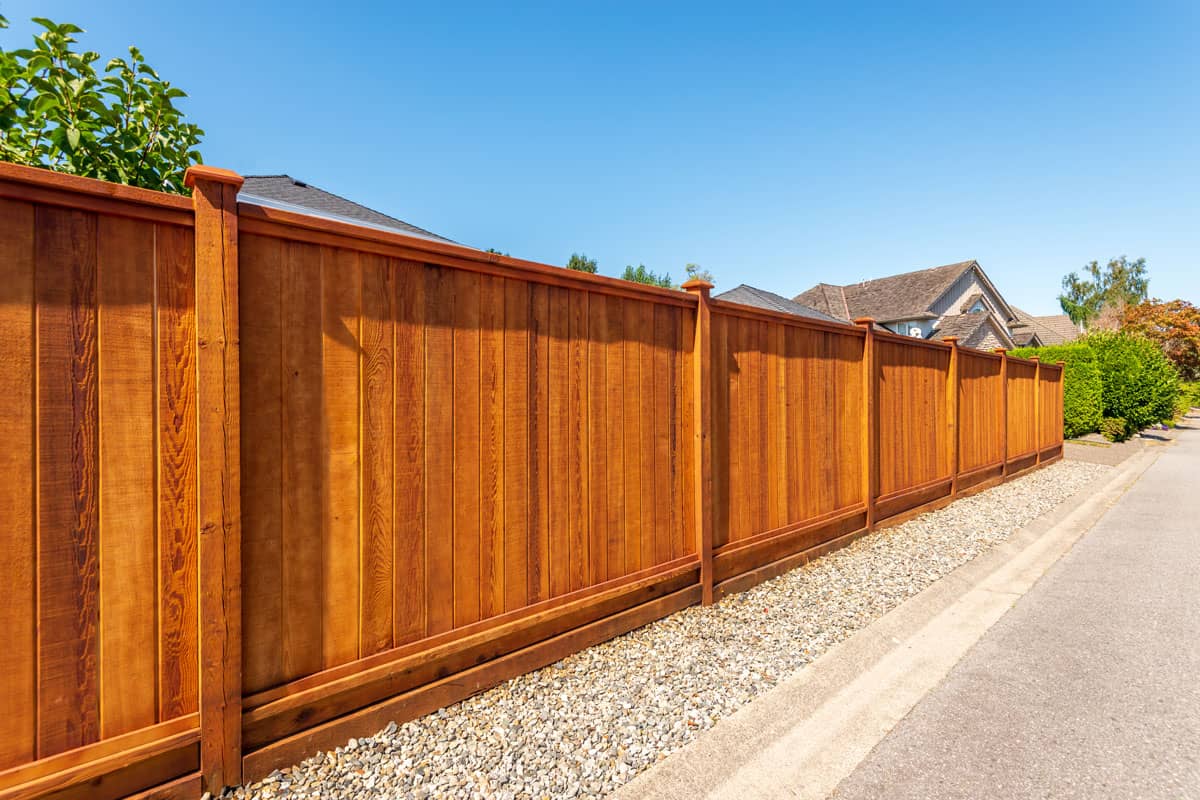
Having a well-maintained fence not only enhances the appearance of your property, but it also serves as a crucial aspect of security and privacy. Over time, fence panels can become damaged or deteriorate due to weather conditions, wear and tear, or lack of maintenance. In this article, we will guide you through the process of fixing fence panels, helping you restore the functionality and aesthetics of your fence.
Before diving into the steps, it’s important to understand the common issues that you may encounter with fence panels. These problems can include loose or broken panels, damaged or rotten wood, peeling paint or stains, and rusted or missing hardware.
To successfully repair and restore your fence panels, you will need a few essential tools and materials. These typically include a power drill, hammer, screwdriver, level, measuring tape, nails or screws, replacement wood or panels, paint or stain, and a brush or roller.
Now, let’s delve into the step-by-step process of fixing your fence panels, ensuring that your fence stands strong and looks inviting.
Key Takeaways:
- Regularly inspect, clean, and maintain your fence panels to prevent issues such as loose or broken panels, damaged wood, and peeling paint. This proactive approach ensures a beautiful and functional fence for years to come.
- Gather essential tools and materials, thoroughly inspect your fence panels, and clean and prepare them before reattaching or replacing damaged panels. Repainting or refinishing the panels adds an extra layer of protection and enhances their appearance.
Read more: How Long Are Fence Panels
Common Issues with Fence Panels
Fence panels can encounter various issues over time, which can compromise their functionality and appearance. Here are the most common issues you may come across:
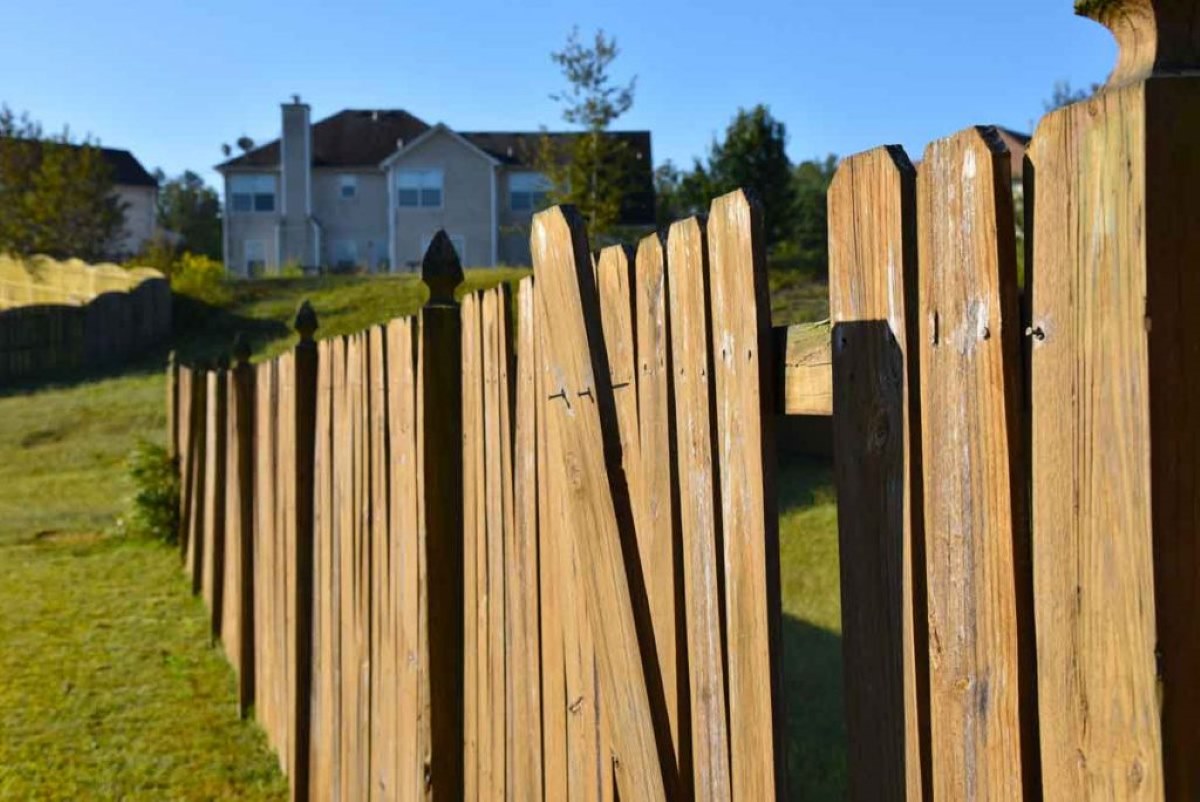
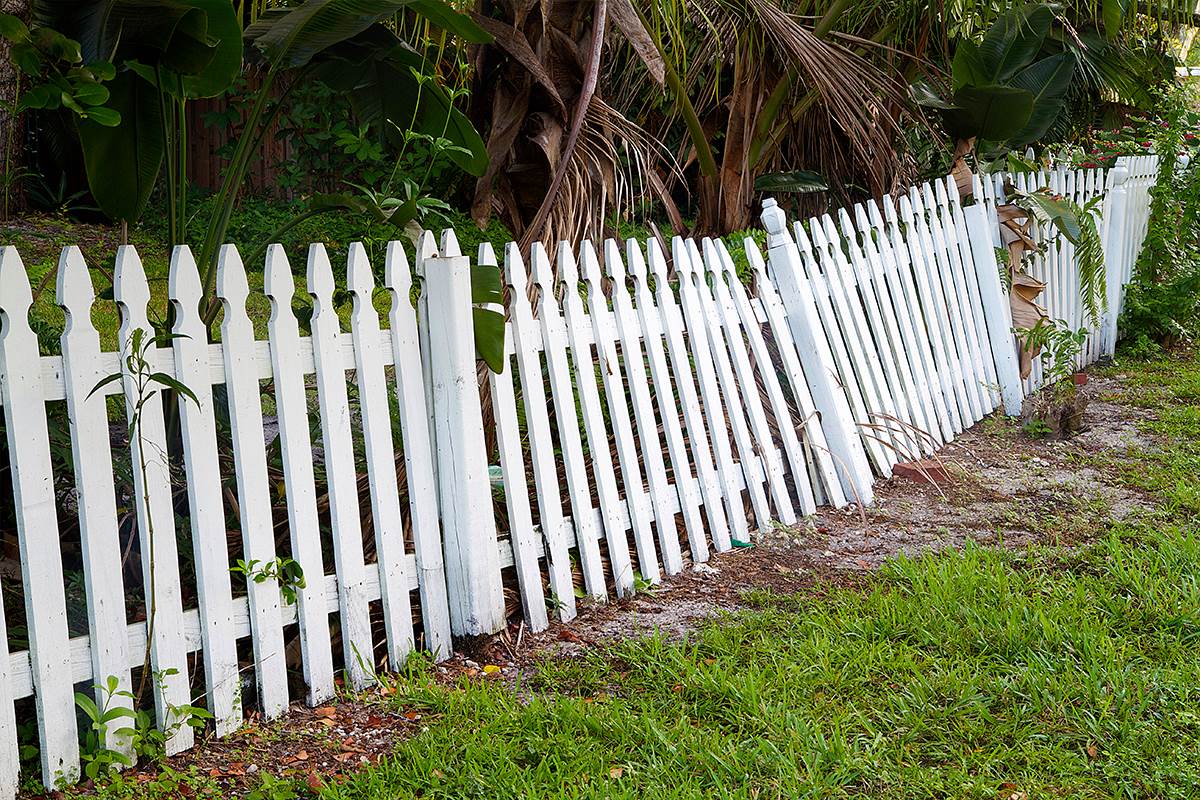
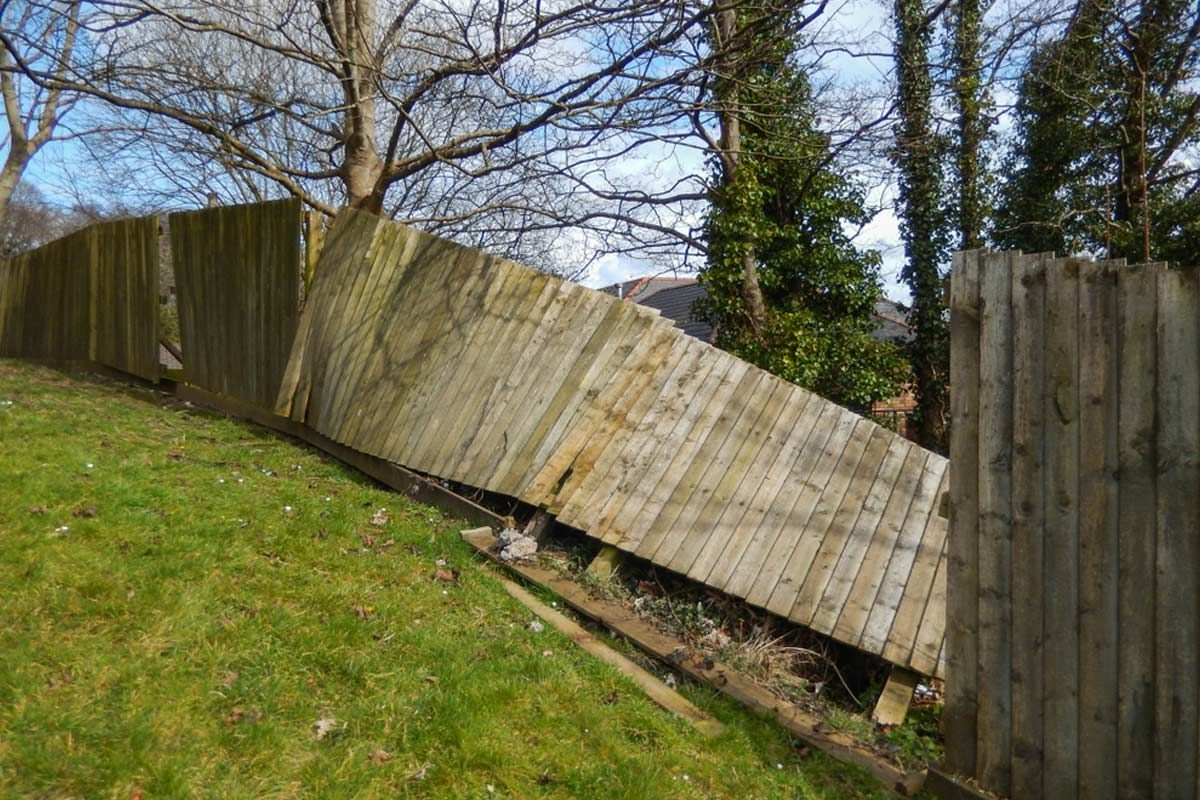
- Loose or Broken Panels: Fence panels can become loose or even break due to strong winds, impact, or inadequate installation. This can lead to gaps in your fence, compromising privacy and security.
- Rotting or Damaged Wood: Constant exposure to moisture can cause the wood in fence panels to rot or become damaged. This not only compromises the structural integrity of the panels but also detracts from their visual appeal.
- Peeling Paint or Stains: Over time, the paint or stain on your fence panels can start to peel or fade. This not only looks unsightly but can also expose the wood to the elements, leading to further damage.
- Rusted or Missing Hardware: The hardware, such as hinges, locks, or nails, can rust or go missing over time. This can make your fence panels less secure and unstable.
Identifying these common issues is the first step in fixing your fence panels. Once you know what problems exist, you can take appropriate measures to address them and restore your fence to its original condition.
Tools and Materials Needed
Before you start repairing your fence panels, it’s important to gather the necessary tools and materials. Here’s a list of what you’ll need:
- Power drill: A power drill will come in handy for removing or securing screws and nails.
- Hammer: A hammer is essential for knocking out any loose nails or reattaching loose panels.
- Screwdriver: A screwdriver is required for tightening or removing screws.
- Level: A level will help ensure that your fence panels are properly aligned during the repair process.
- Measuring tape: You’ll need a measuring tape to measure the dimensions of any replacement panels or wood.
- Nails or screws: Depending on the type of panels and the repairs needed, you’ll need nails or screws for reattaching loose or broken panels.
- Replacement wood or panels: If you have severely damaged panels, you may need to replace them entirely. Be sure to have the appropriate wood or panels on hand.
- Paint or stain: If your fence panels require a fresh coat of paint or stain, make sure to have the desired color or finish available.
- Brush or roller: You’ll need a brush or roller to apply the paint or stain to your fence panels.
This list provides a general overview of the tools and materials you’ll need. Depending on the specific repairs required for your fence panels, additional tools and materials may be necessary.
Step 1: Inspect the Fence Panels
The first step in fixing your fence panels is to thoroughly inspect them. This step will help you assess the extent of the damage and determine the best course of action for repairs. Here’s how to inspect your fence panels:
- Walk along the entire fence: Take a close look at each individual panel, starting from one end of the fence and moving to the other. Look for signs of damage, such as loose or broken panels, rotting wood, peeling paint or stains, and rusted or missing hardware.
- Check the stability of the panels: Push on the panels gently to see if there is any noticeable movement. Loose or unstable panels may need to be reattached or replaced.
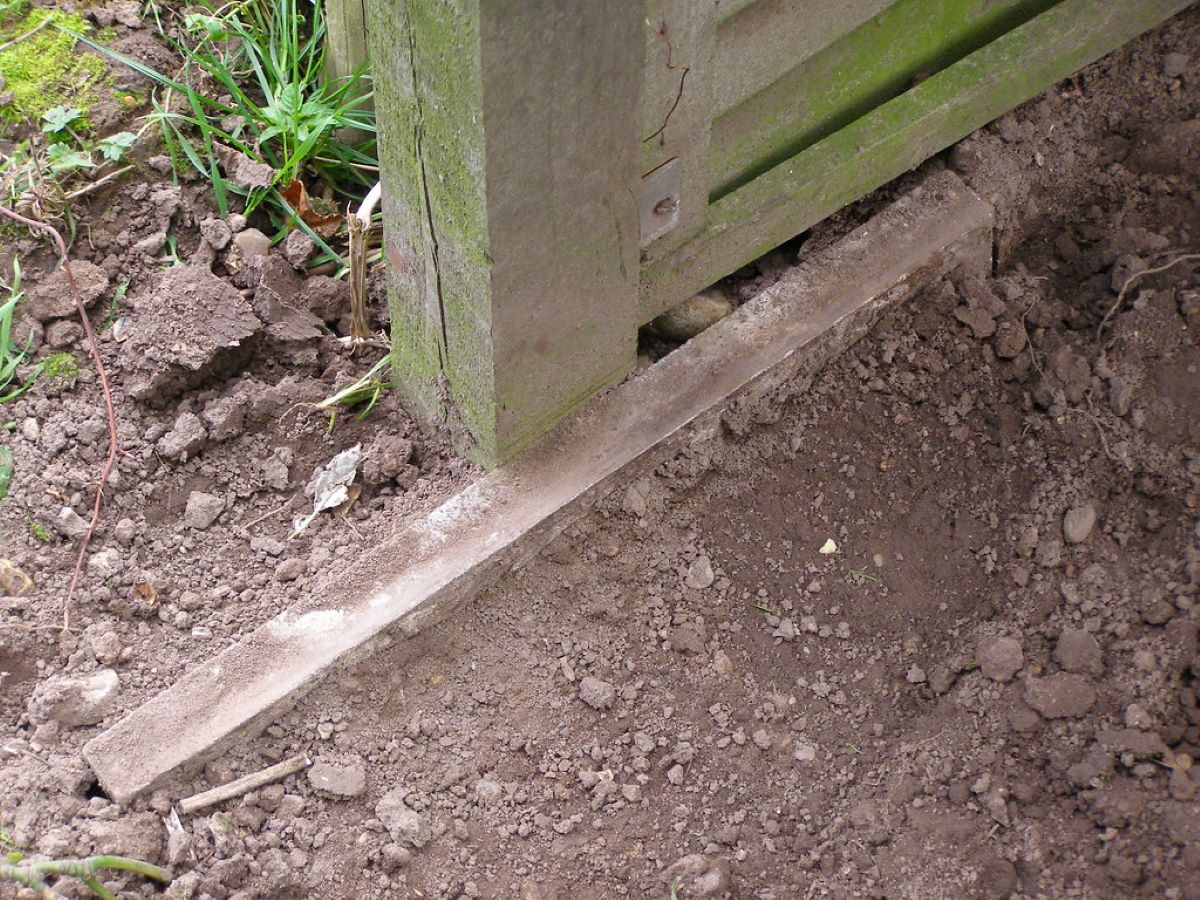
- Inspect the posts: Pay attention to the fence posts as they provide the foundation for the panels. Look for any signs of damage or instability, such as leaning or rotting posts.
- Take measurements: If you need to replace any panels or wood, take accurate measurements of the dimensions needed. This will help ensure a proper fit during the repair process.
By conducting a thorough inspection of your fence panels, you’ll have a clear understanding of the issues that need to be addressed. This will guide you in determining the specific repairs required for each panel.
Step 2: Cleaning and Preparing the Panels
Once you have inspected the fence panels and identified the repairs needed, it’s time to clean and prepare them for the repair process. Cleaning and preparing the panels will ensure better adhesion of paint or stain and improve the overall appearance of the fence. Here’s how to clean and prepare the panels:
- Remove debris: Start by removing any dirt, dust, leaves, or other debris that may have accumulated on the panels. You can use a broom, brush, or even a high-pressure washer to get rid of stubborn dirt.
- Wash with mild detergent: Fill a bucket with water and add a mild detergent. Use a sponge or brush to scrub the panels gently, removing any grime or stains. Rinse with clean water to remove the detergent residue.
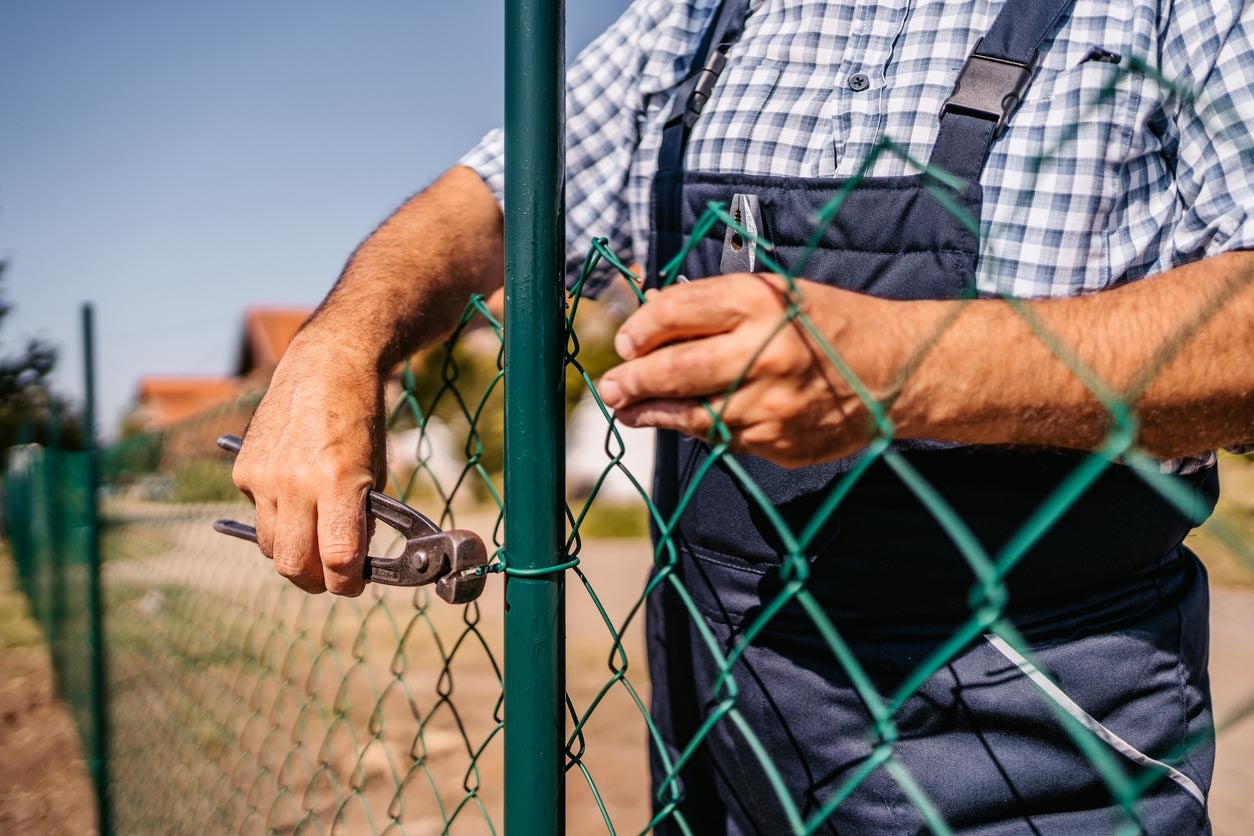
- Repair loose or broken components: Check for loose nails, screws, or hinges and tighten or replace them as needed. If there are any broken boards or panels, remove them for repair or replacement.
- Scrape or sand damaged areas: If there are areas with peeling paint, stain, or rough surfaces, use a scraper or sandpaper to smooth them out. This will provide a clean and even surface for the new paint or stain to adhere to.
- Apply wood preservative (optional): If your fence panels are made of wood, consider applying a wood preservative to protect them from future damage, such as rot and insect infestation.
By thoroughly cleaning and preparing the panels, you ensure that the repairs you make will be more effective and long-lasting. This step sets the stage for the next steps of reattaching, repairing, or replacing the panels. Plus, you’ll have a cleaner and more appealing fence once the repair process is complete.
Inspect the fence panels for any damage or loose screws. Tighten or replace any loose screws and repair any damaged panels to ensure the fence is secure and stable.
Read more: How To Build Fence Panels
Step 3: Reattaching Loose or Broken Panels
One of the most common issues with fence panels is when they become loose or broken. Fortunately, reattaching these panels can be a relatively straightforward process. Here’s how to reattach loose or broken panels:
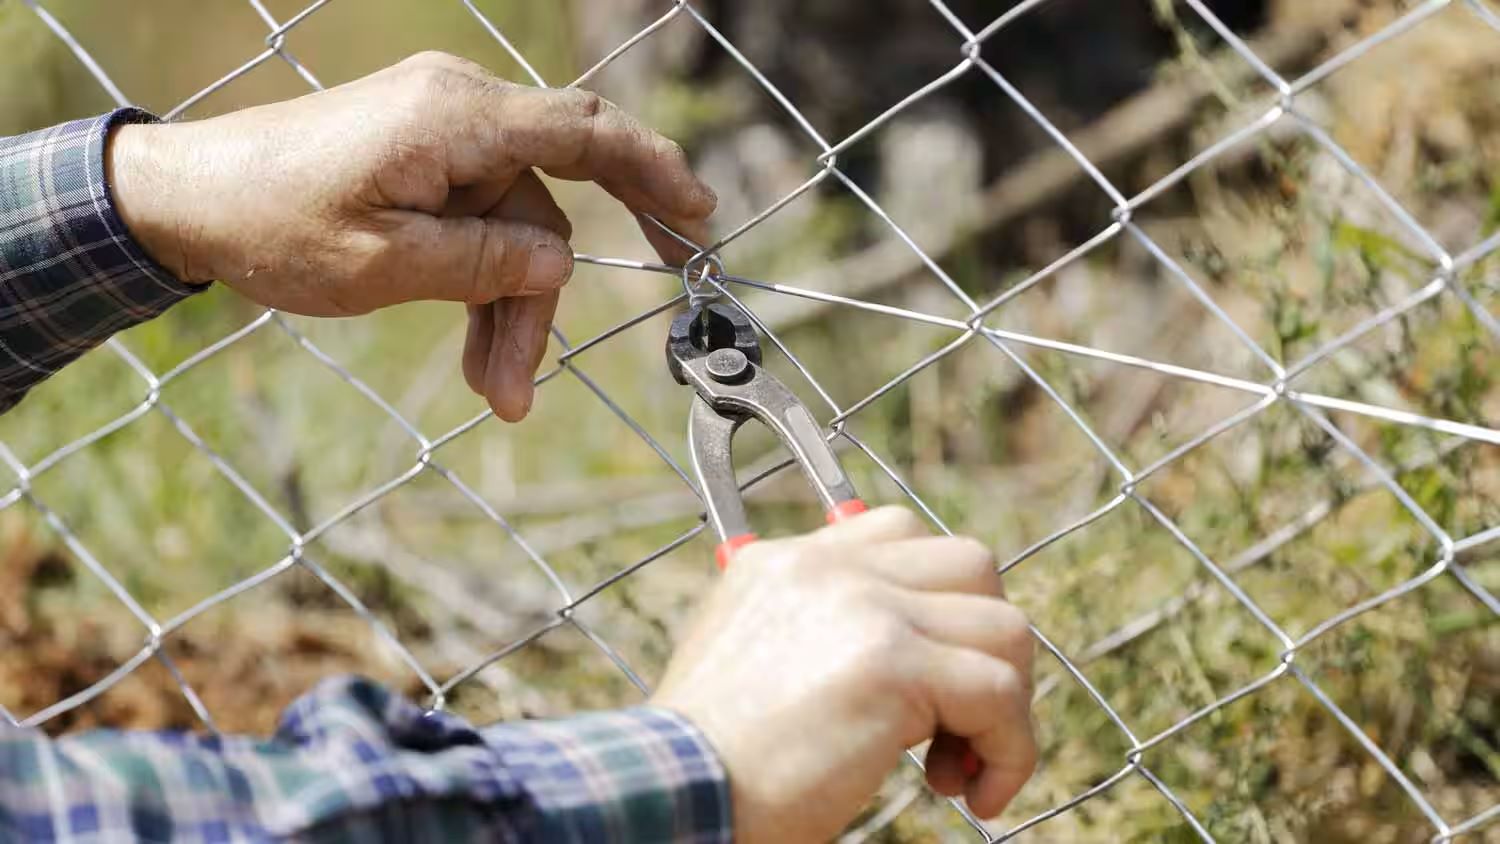
- Gather your tools: Make sure you have a hammer, screws or nails, and a screwdriver or drill as necessary.
- Remove any old hardware: If there are any old or damaged screws or nails in the panel or adjacent posts, remove them with a screwdriver or drill.
- Position the panel: Hold the loose or broken panel in the correct position against the adjacent posts.
- Secure with new hardware: Using your screws or nails, attach the panel to the posts. Use a level to ensure the panel is straight and aligned with the adjacent ones.
- Repeat as necessary: If there are multiple loose or broken panels, repeat the steps for each one, making sure they are all secure.
If necessary, you may need to use additional reinforcement, such as brackets or support beams, to provide extra stability to the panels.
It’s important to note that if a panel is severely damaged beyond repair, it may be necessary to replace it entirely. In such cases, see the next step on how to repair or replace damaged panels.
By reattaching loose or broken panels, you restore the integrity and functionality of your fence, ensuring that it can effectively provide privacy, security, and aesthetic appeal.
Step 4: Repairing or Replacing Damaged Panels
In some cases, fence panels may be damaged beyond simple reattachment. If you come across panels that are severely damaged or broken, you’ll need to repair or replace them. Here’s how to repair or replace damaged fence panels:
- Assess the extent of damage: Determine if the panel can be repaired or if it needs to be completely replaced. If it’s a minor issue, such as a small crack or split, you may be able to repair it. If the damage is extensive or compromising the structure, replacement may be the best option.
- For repairs: If the damage is minor, use wood glue or epoxy to bond the cracked or split parts together. Then secure the repaired area with screws or nails. Fill any remaining gaps or cracks with wood filler and sand it down to create a smooth surface.
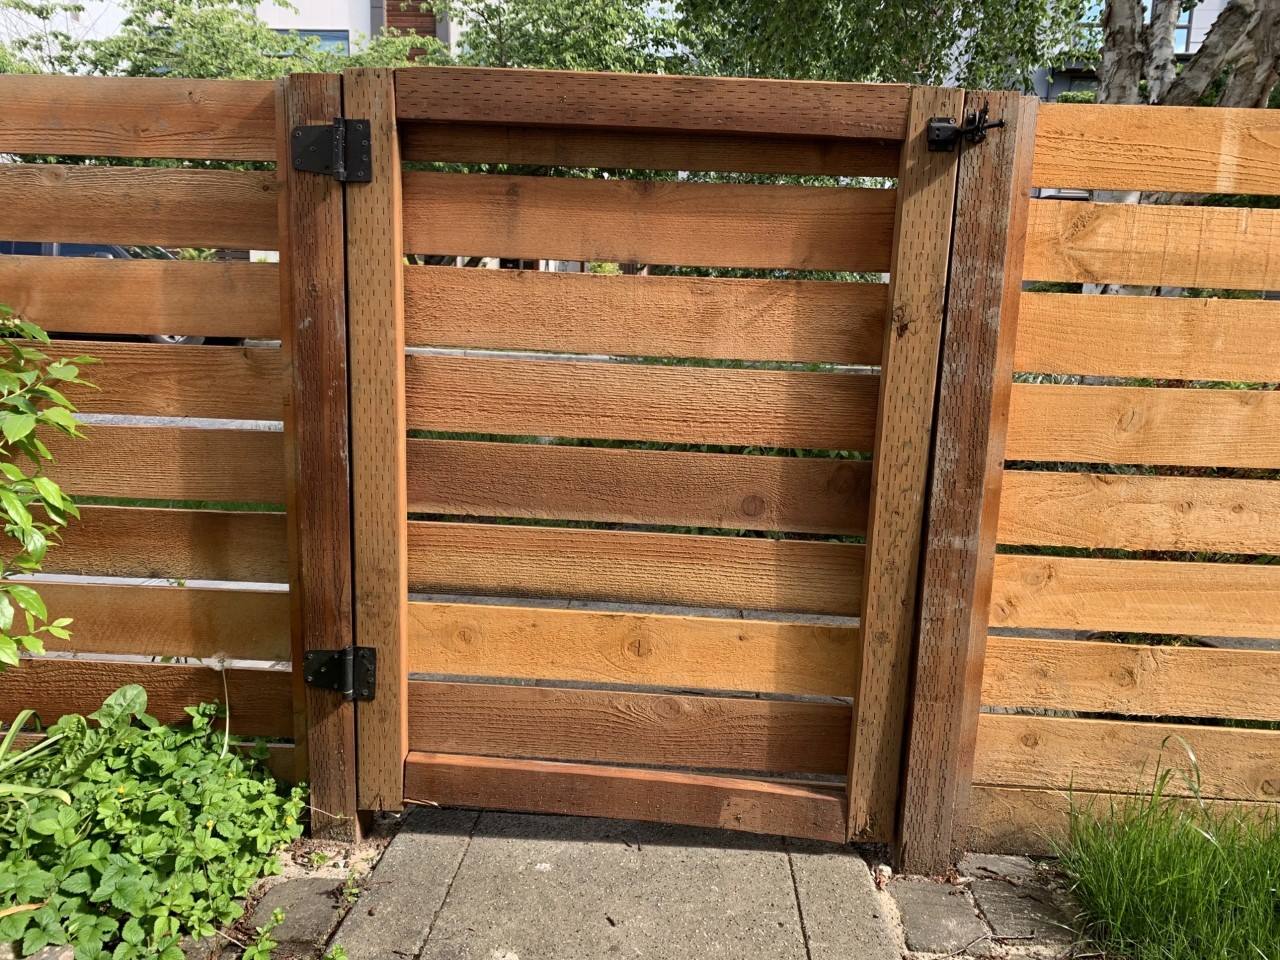
- For replacement: If the panel needs to be replaced, carefully remove the damaged panel from the posts. Measure the dimensions needed for the replacement panel and cut the new panel to size.
- Attach the new panel: Place the new panel in position between the posts, ensuring it is level and aligned with the adjacent panels. Use screws or nails to secure the panel to the posts.
- Paint or stain: If necessary, paint or stain the new panel to match the rest of the fence, ensuring a cohesive and seamless look.
Remember to take safety precautions when working with power tools and wear appropriate protective gear.
By repairing or replacing damaged fence panels, you restore both the structural integrity and aesthetic appeal of your fence. This ensures that your fence can continue to fulfill its purpose while enhancing the overall appearance of your property.
Step 5: Repainting or Refinishing the Fence Panels
After fixing or replacing damaged fence panels, you may find that it’s a good time to give your fence a fresh coat of paint or stain. Repainting or refinishing the panels not only improves their appearance but also provides an extra layer of protection against the elements. Here’s how to repaint or refinish your fence panels:
- Clean the panels: Before applying any paint or stain, make sure the panels are clean and free of dirt, dust, and debris. Use a brush or a power washer to remove any lingering residue.
- Repair any rough surfaces: If needed, use sandpaper to smooth out any rough areas or peeling paint. This will create a more even surface for the new paint or stain.
- Choose your paint or stain: Select a high-quality paint or stain that is suitable for outdoor use and provides the desired finish, color, or level of protection.
- Apply the paint or stain: Use a brush or roller to apply an even coat of paint or stain to the panels. Follow the manufacturer’s instructions for the appropriate method and drying time.
- Allow for proper drying and curing: Give the panels ample time to dry and cure completely before exposing them to moisture, extreme temperatures, or heavy use.
Repainting or refinishing your fence panels not only revitalizes their appearance but also helps to extend their lifespan by protecting them from the elements. It’s a valuable step in maintaining the overall quality and durability of your fence.
Step 6: Maintaining and Preventing Future Issues
After repairing, reattaching, and refinishing your fence panels, it’s crucial to implement regular maintenance practices to prevent future issues and ensure the longevity of your fence. Here are some tips for maintaining your fence and preventing future problems:
- Inspect regularly: Periodically check your fence panels for any signs of damage, loose hardware, or other issues. Early detection allows for prompt repairs and prevents minor problems from escalating.
- Keep vegetation trimmed: Trim any overgrown plants or trees around your fence to prevent them from leaning on or damaging the panels. This also helps improve airflow and reduces moisture buildup.
- Monitor and address moisture: Regularly check for signs of moisture accumulation, such as mold or rot. Ensure that the area around the fence has proper drainage, and address any leaks or water-related issues promptly.
- Apply protective coatings: Consider applying a protective coating, such as a wood sealer or water repellent, to the fence panels. This helps to safeguard against moisture damage, UV rays, and other environmental elements.
- Regularly clean: Clean your fence panels on a routine basis to remove dirt, debris, and other contaminants. This can be done using a gentle cleanser, a brush, or a power washer if suitable for your fence material.
- Maintain the surrounding area: Ensure that the ground around your fence is well-maintained and free from debris, excessive moisture, or obstructions. This prevents damage to the base of the fence and helps maintain its stability.
- Address issues promptly: If you notice any loose panels, damaged hardware, or signs of deterioration, address them as soon as possible. Prompt repairs will prevent further damage and prolong the life of your fence panels.
By implementing these maintenance practices and taking a proactive approach, you can prevent future issues and keep your fence looking and functioning its best for many years to come.
Read more: How Wide Is A Fence Panel
Conclusion
Fixing fence panels is a necessary task to maintain the functionality and appearance of your fence. By following the steps provided in this guide, you can tackle common issues such as loose or broken panels, damaged wood, peeling paint or stains, and rusted hardware. Regular inspection, cleaning, and maintenance will help keep your fence in excellent condition and prevent costly repairs down the road.
Remember to gather the necessary tools and materials before starting the repair process. Inspect your fence panels to identify the extent of the damage, and clean and prepare them for the necessary repairs. Reattach loose or broken panels using screws or nails, or replace severely damaged panels as needed.
Consider applying a fresh coat of paint or stain to enhance the appearance of your fence panels and provide additional protection against the elements. Maintain your fence by regularly inspecting, cleaning, and addressing any issues promptly.
With proper care and maintenance, your fence can continue to serve its purpose of providing security, privacy, and aesthetic appeal for many years to come. By investing time and effort into fixing and maintaining your fence panels, you’ll enjoy a beautiful and functional fence that enhances the overall value of your property.
Frequently Asked Questions about How To Fix Fence Panels
Was this page helpful?
At Storables.com, we guarantee accurate and reliable information. Our content, validated by Expert Board Contributors, is crafted following stringent Editorial Policies. We're committed to providing you with well-researched, expert-backed insights for all your informational needs.


0 thoughts on “How To Fix Fence Panels”