Home>Ideas and Tips>DIY Guide to Installing a Bathroom Shower with a Rainfall LED Light

Ideas and Tips
DIY Guide to Installing a Bathroom Shower with a Rainfall LED Light
Published: September 20, 2024
Learn how to install a bathroom shower with a rainfall LED light. Follow our step-by-step DIY guide for a stunning and functional upgrade.
(Many of the links in this article redirect to a specific reviewed product. Your purchase of these products through affiliate links helps to generate commission for Storables.com, at no extra cost. Learn more)
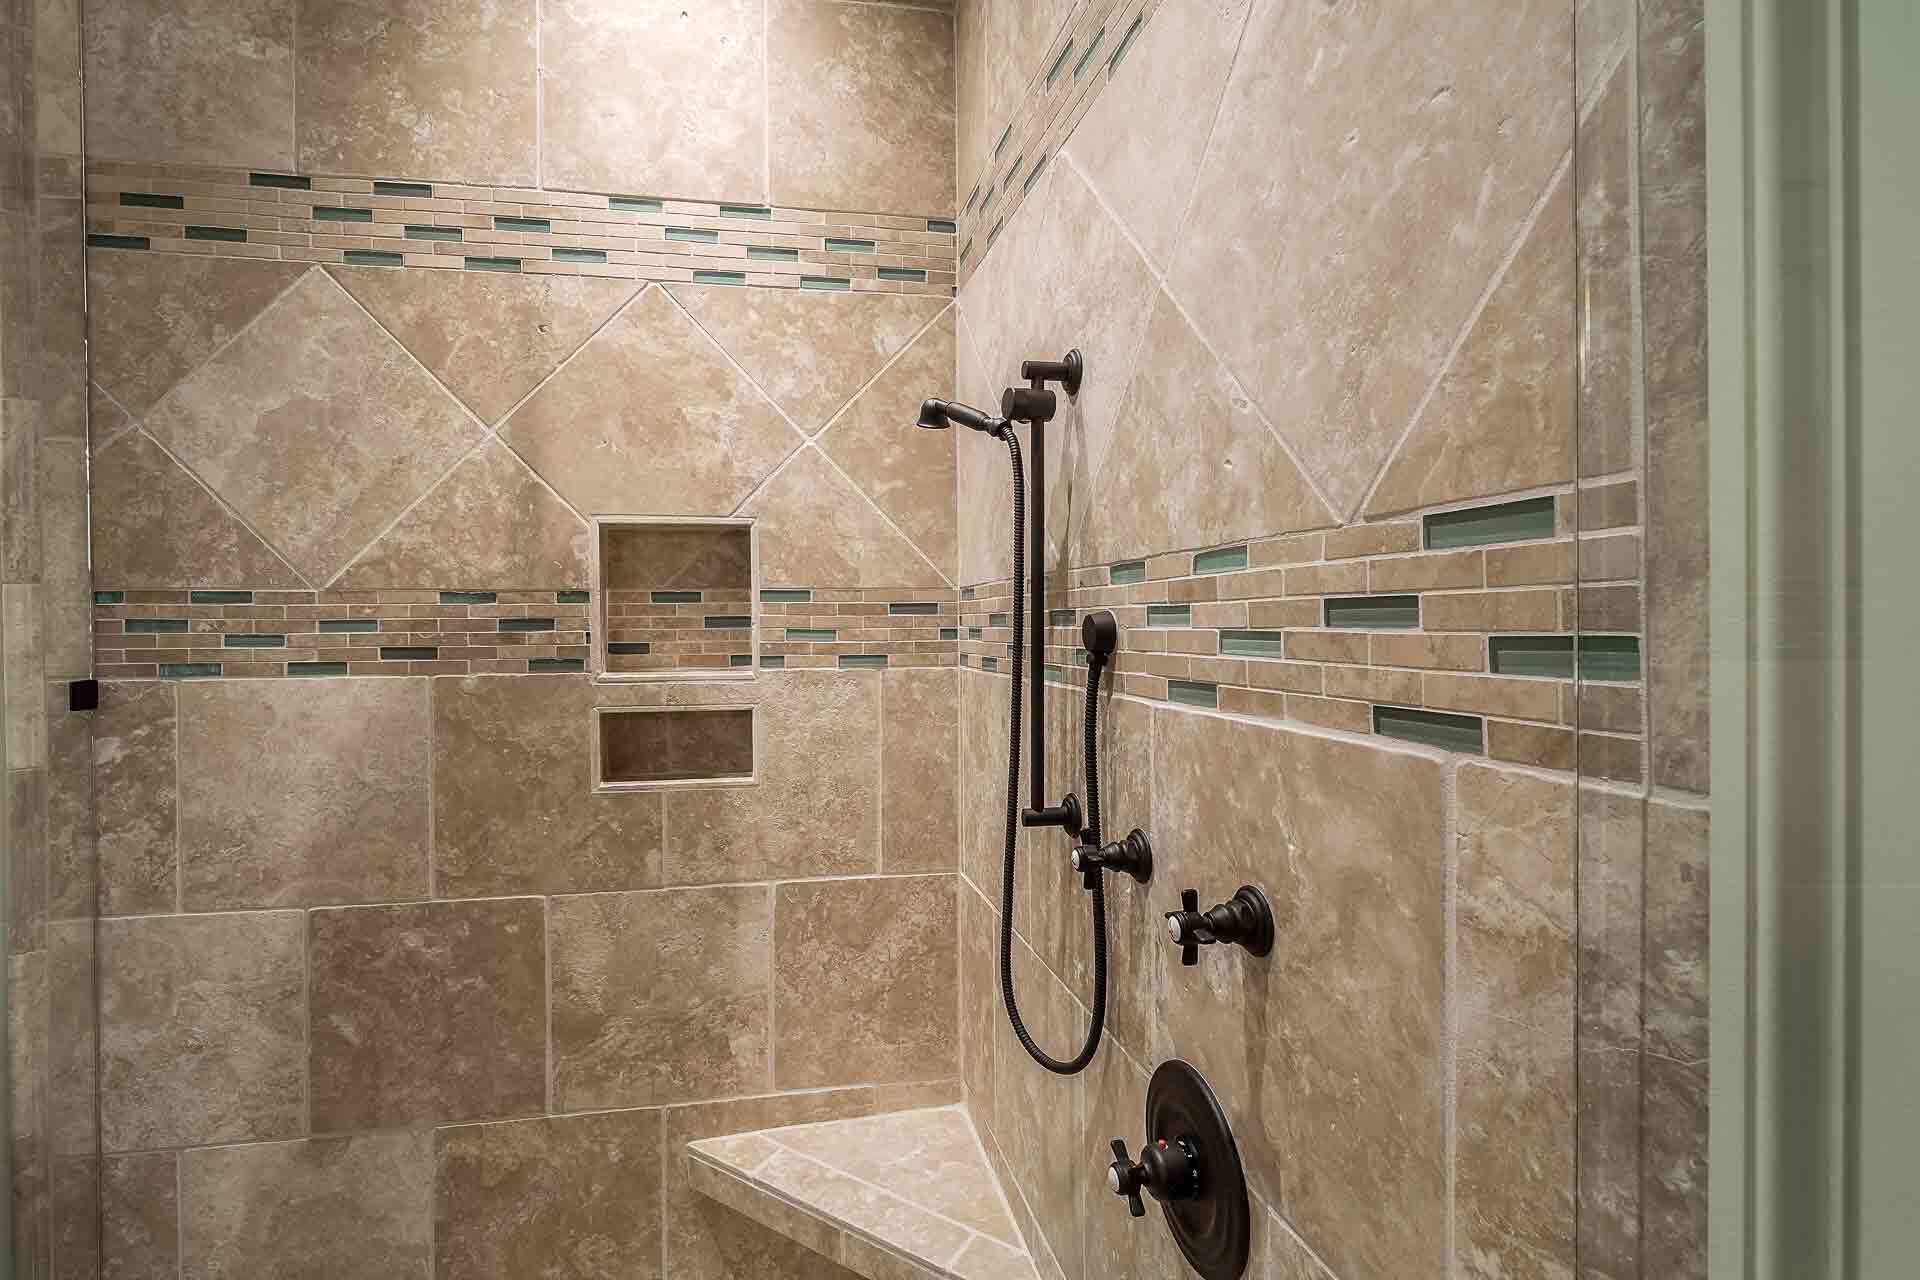
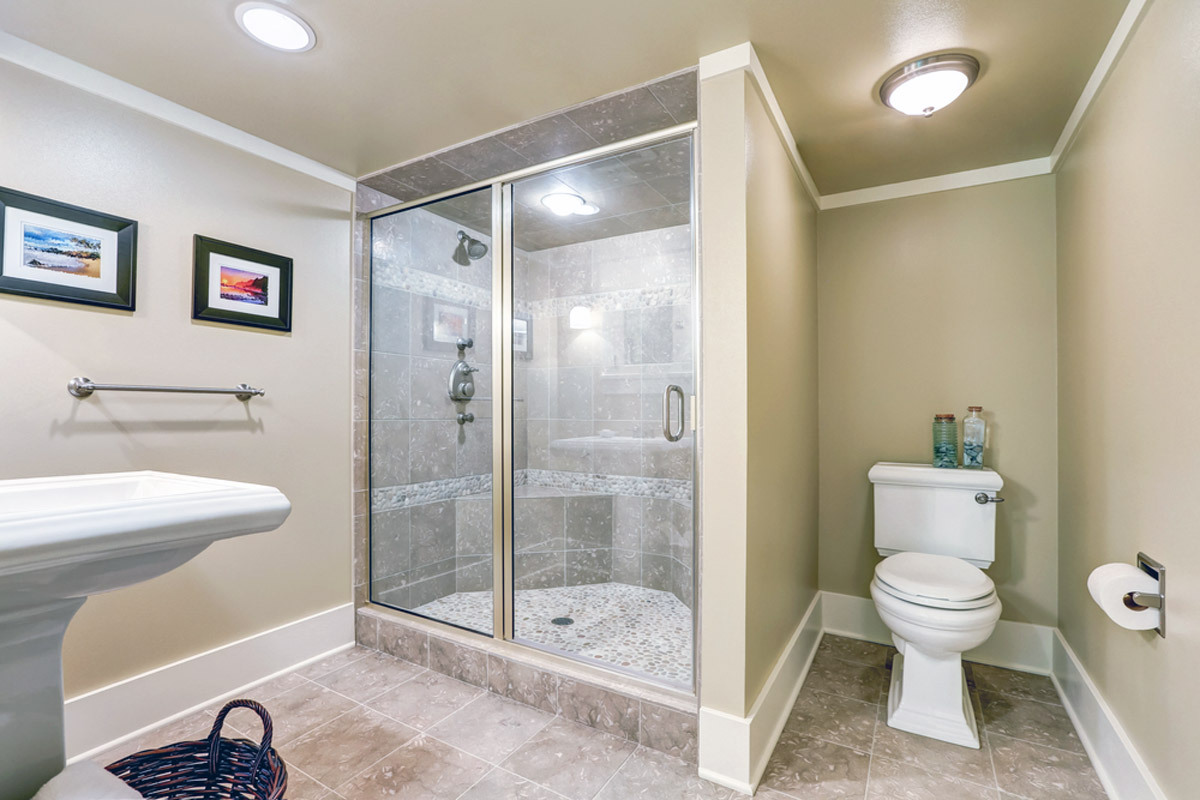
Installing a bathroom shower with rainfall LED lights can be a fantastic way to enhance both the functionality and aesthetic appeal of your bathroom. This guide will walk you through the steps involved in installing a rainfall shower system and integrating LED lights into the design. While this project can be challenging, especially for those without prior plumbing or electrical experience, breaking it down into manageable steps will make the process more accessible.
Step 1: Planning and Preparation
Before you begin, it's essential to plan and prepare thoroughly. Here are some key considerations:
- Budget: Determine how much you are willing to spend on the project. This will help you decide on the quality of materials and whether you need professional help.
- Tools: Gather all necessary tools and materials before starting. This includes plumbing tools, electrical tools, and safety equipment like gloves and goggles.
- Space: Ensure that you have enough space in your bathroom for the new shower system and LED lights. Measure your shower area carefully to determine the best placement for the rainfall showerhead and LED lights.
- Permits: Check if any permits are required for your project. In some areas, you may need a permit to install a new shower system or electrical components.
Step 2: Removing the Old Shower System
If you're replacing an existing shower system, you'll need to remove the old one first. Here’s how:
- Shut Off Water Supply: Locate the shut-off valves for your shower and turn them clockwise to shut off the water supply.
- Disconnect Water Supply Lines: Use adjustable wrenches or basin wrenches to loosen and remove the water supply lines from the old showerhead.
- Remove Old Showerhead: Once the water supply lines are disconnected, you can remove the old showerhead. Be careful not to damage any surrounding tiles or walls.
- Remove Old Shower Panel: If you're replacing an entire shower panel, you'll need to remove it carefully. This may involve unscrewing it from the wall or removing any adhesive used to secure it.
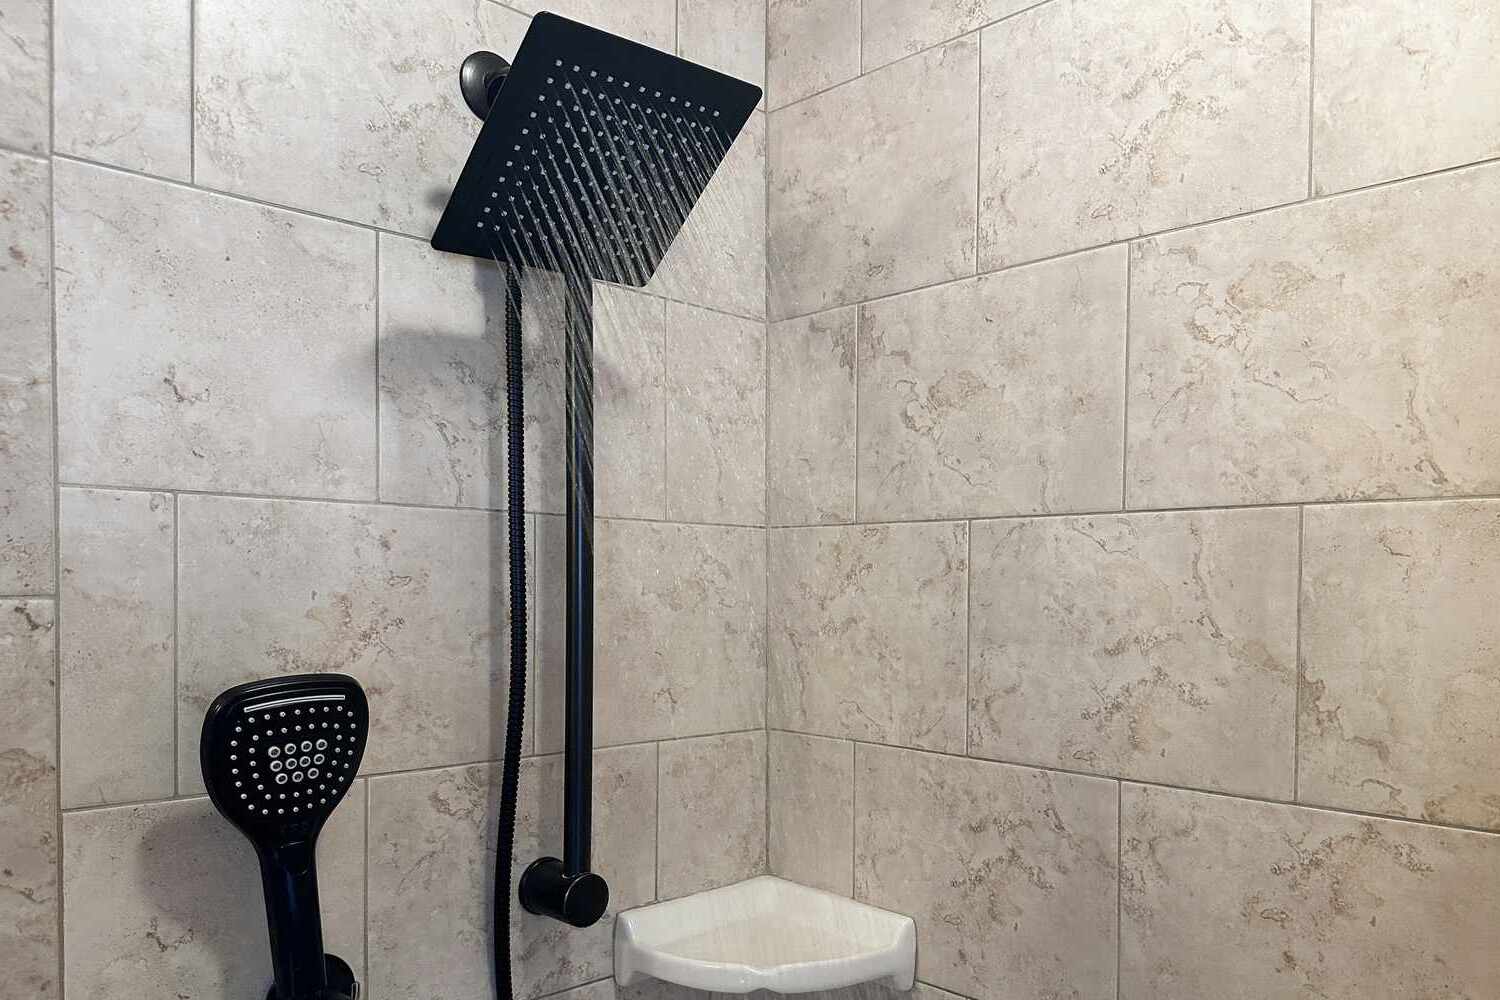
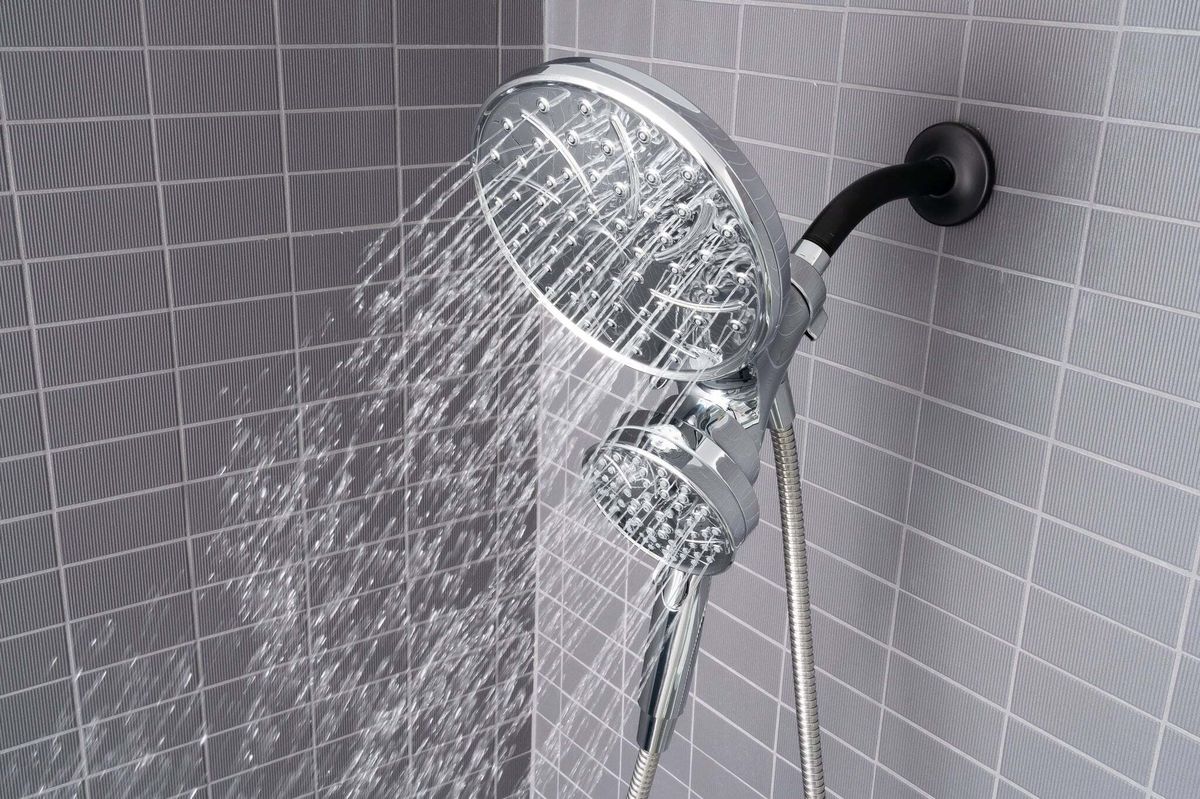
Step 3: Installing the Rainfall Shower System
Installing a rainfall shower system involves several steps:
-
Prepare the Area:
- Clear the area around your shower of any debris or obstructions.
- Ensure that your bathroom floor is dry and free from any water.
-
Mounting Bracket Installation:
- Locate the mounting bracket that comes with your rainfall shower system.
- Attach it securely to the wall using screws or adhesive. Make sure it is level and sturdy.
-
Water Supply Line Installation:
- Connect the water supply lines from the shut-off valves to the new rainfall showerhead.
- Use Teflon tape or pipe dope on threaded connections for a watertight seal.
-
Showerhead Installation:
- Place the rainfall showerhead onto the mounting bracket.
- Secure it with screws provided by the manufacturer.
-
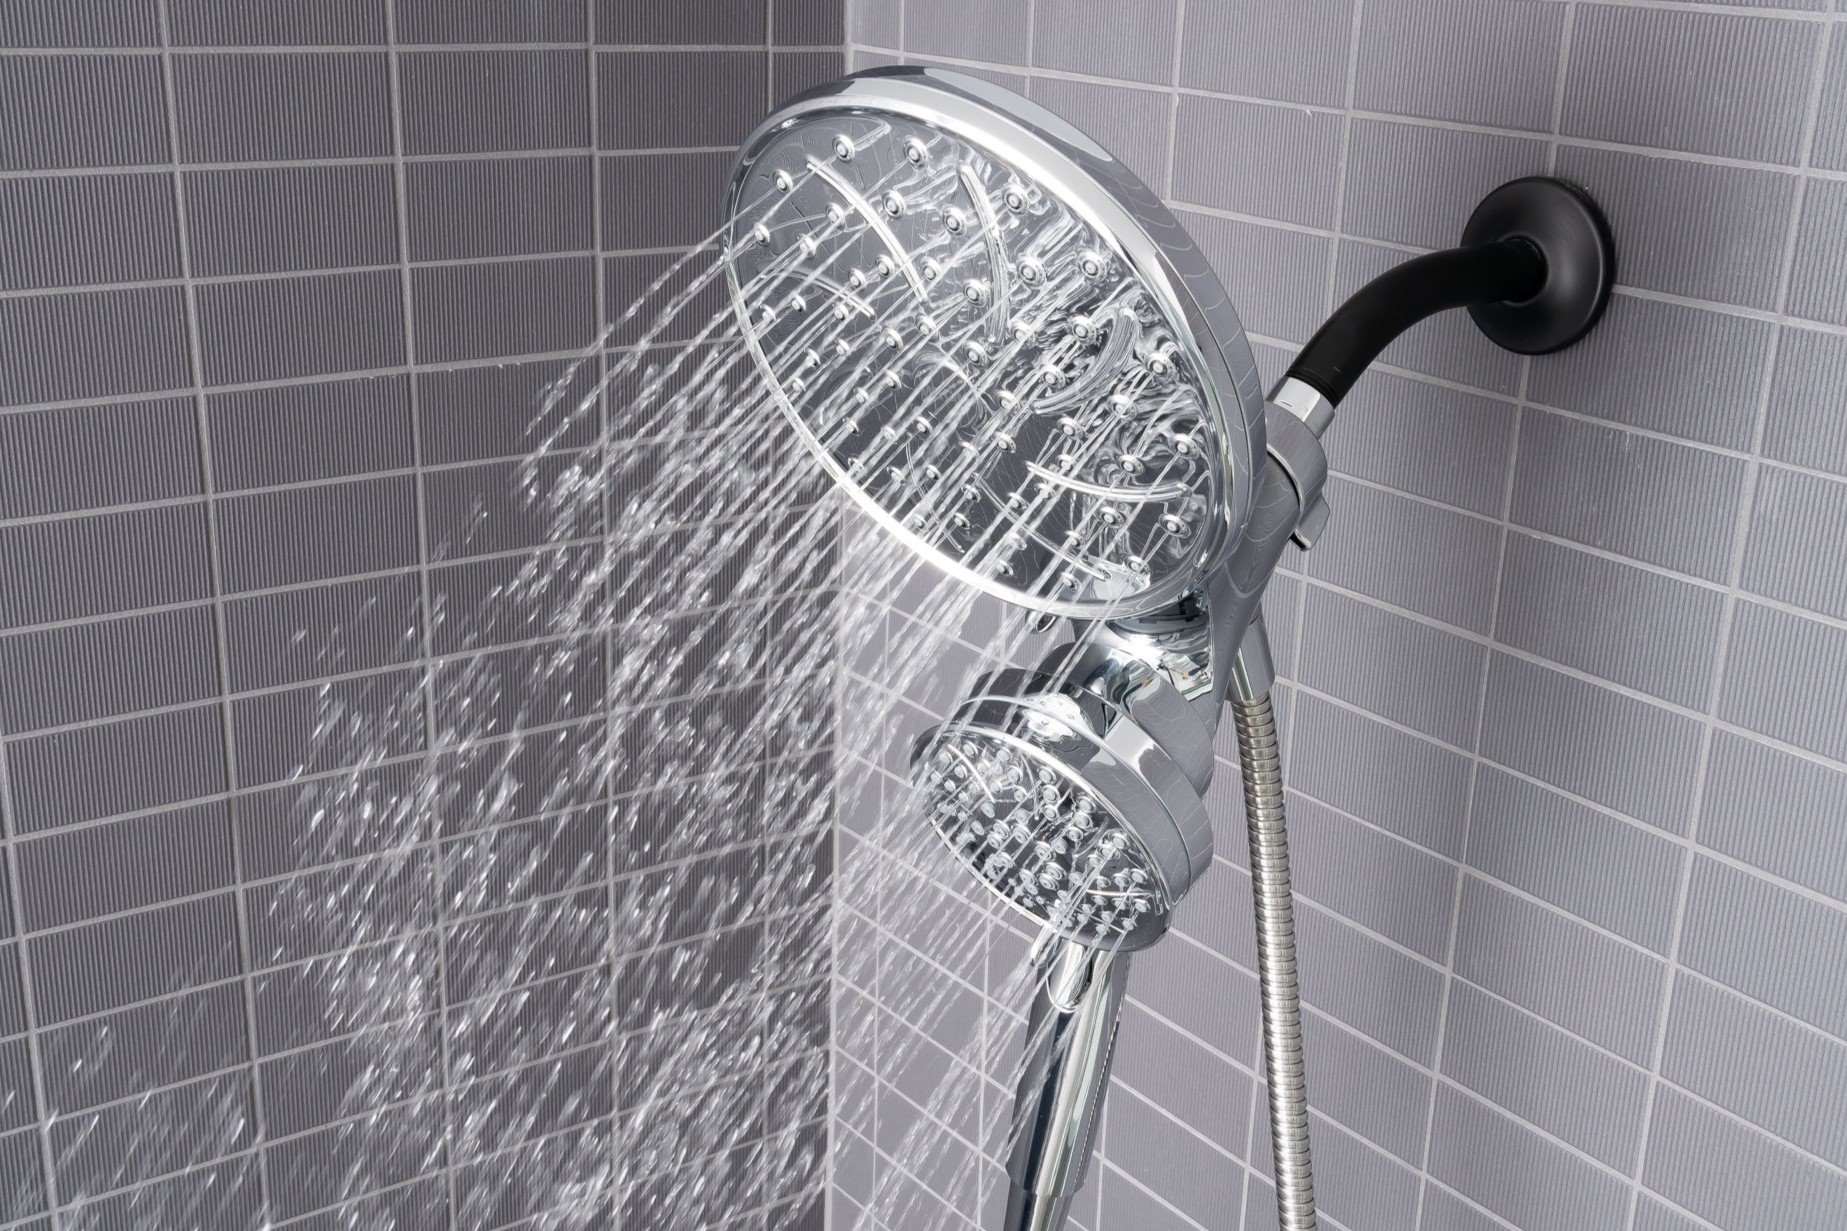
Testing the System:
- Turn on the water supply and check for leaks at all connections.
- Test the rainfall showerhead by adjusting its height and angle as needed.
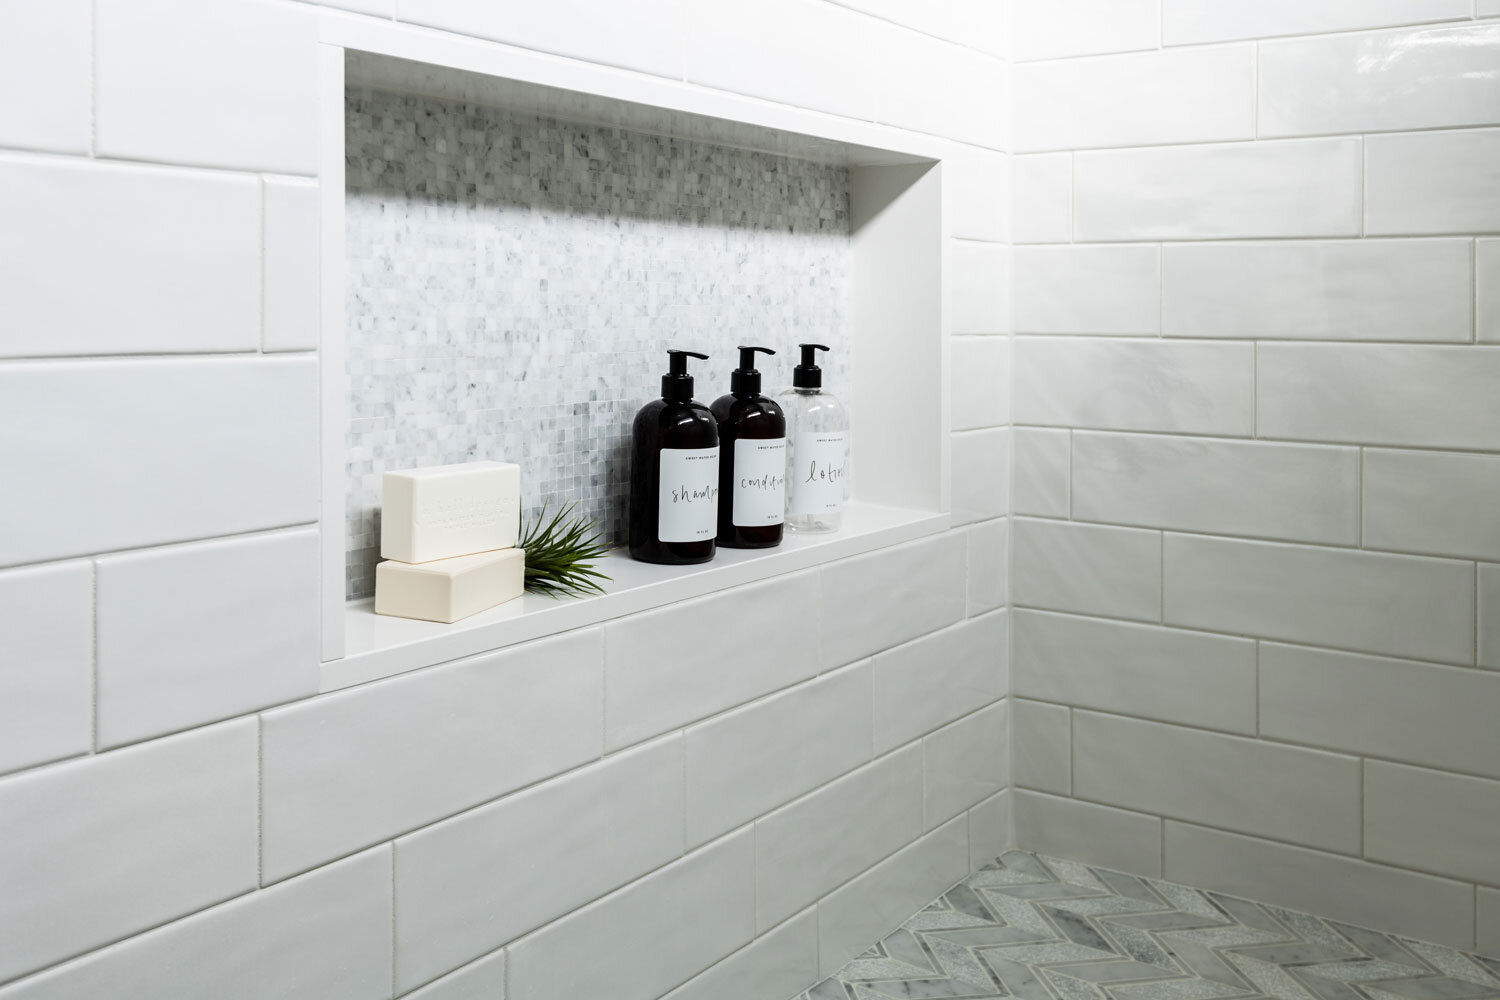
Step 4: Installing LED Lights
Installing LED lights in your shower niche or bulkhead area can add both functionality and ambiance:
-
Choosing the Right LED Lights:
- Select IP65-rated LED lights specifically designed for bathroom use.
- Consider dimmable options if you want to control the brightness of your lights.
-
Wiring and Installation:
- Follow these steps from to install an LED light strip in a shower niche:
- Power Source: Run a 120-volt AC power line from your dimmer switch to the transformer.
- Transformer Installation: Mount the transformer in an accessible location like an attic or closet.
- Wiring: Connect the transformer to the LED light strip using low-voltage wiring (12V DC).
- Dimmer Switch Installation: Install a dimmer switch compatible with your LED lights near the shower area.
- Follow these steps from to install an LED light strip in a shower niche:
-
Mounting LED Lights:
- Use adhesive-backed LED light strips or mount them using clips provided by manufacturers.
- Ensure that they are securely attached to prevent water damage or electrical hazards.
-
Testing the Lights:
- Turn on the dimmer switch and check if all parts of the LED light strip are illuminated evenly.
- Adjust any wiring or connections as necessary to achieve optimal performance.
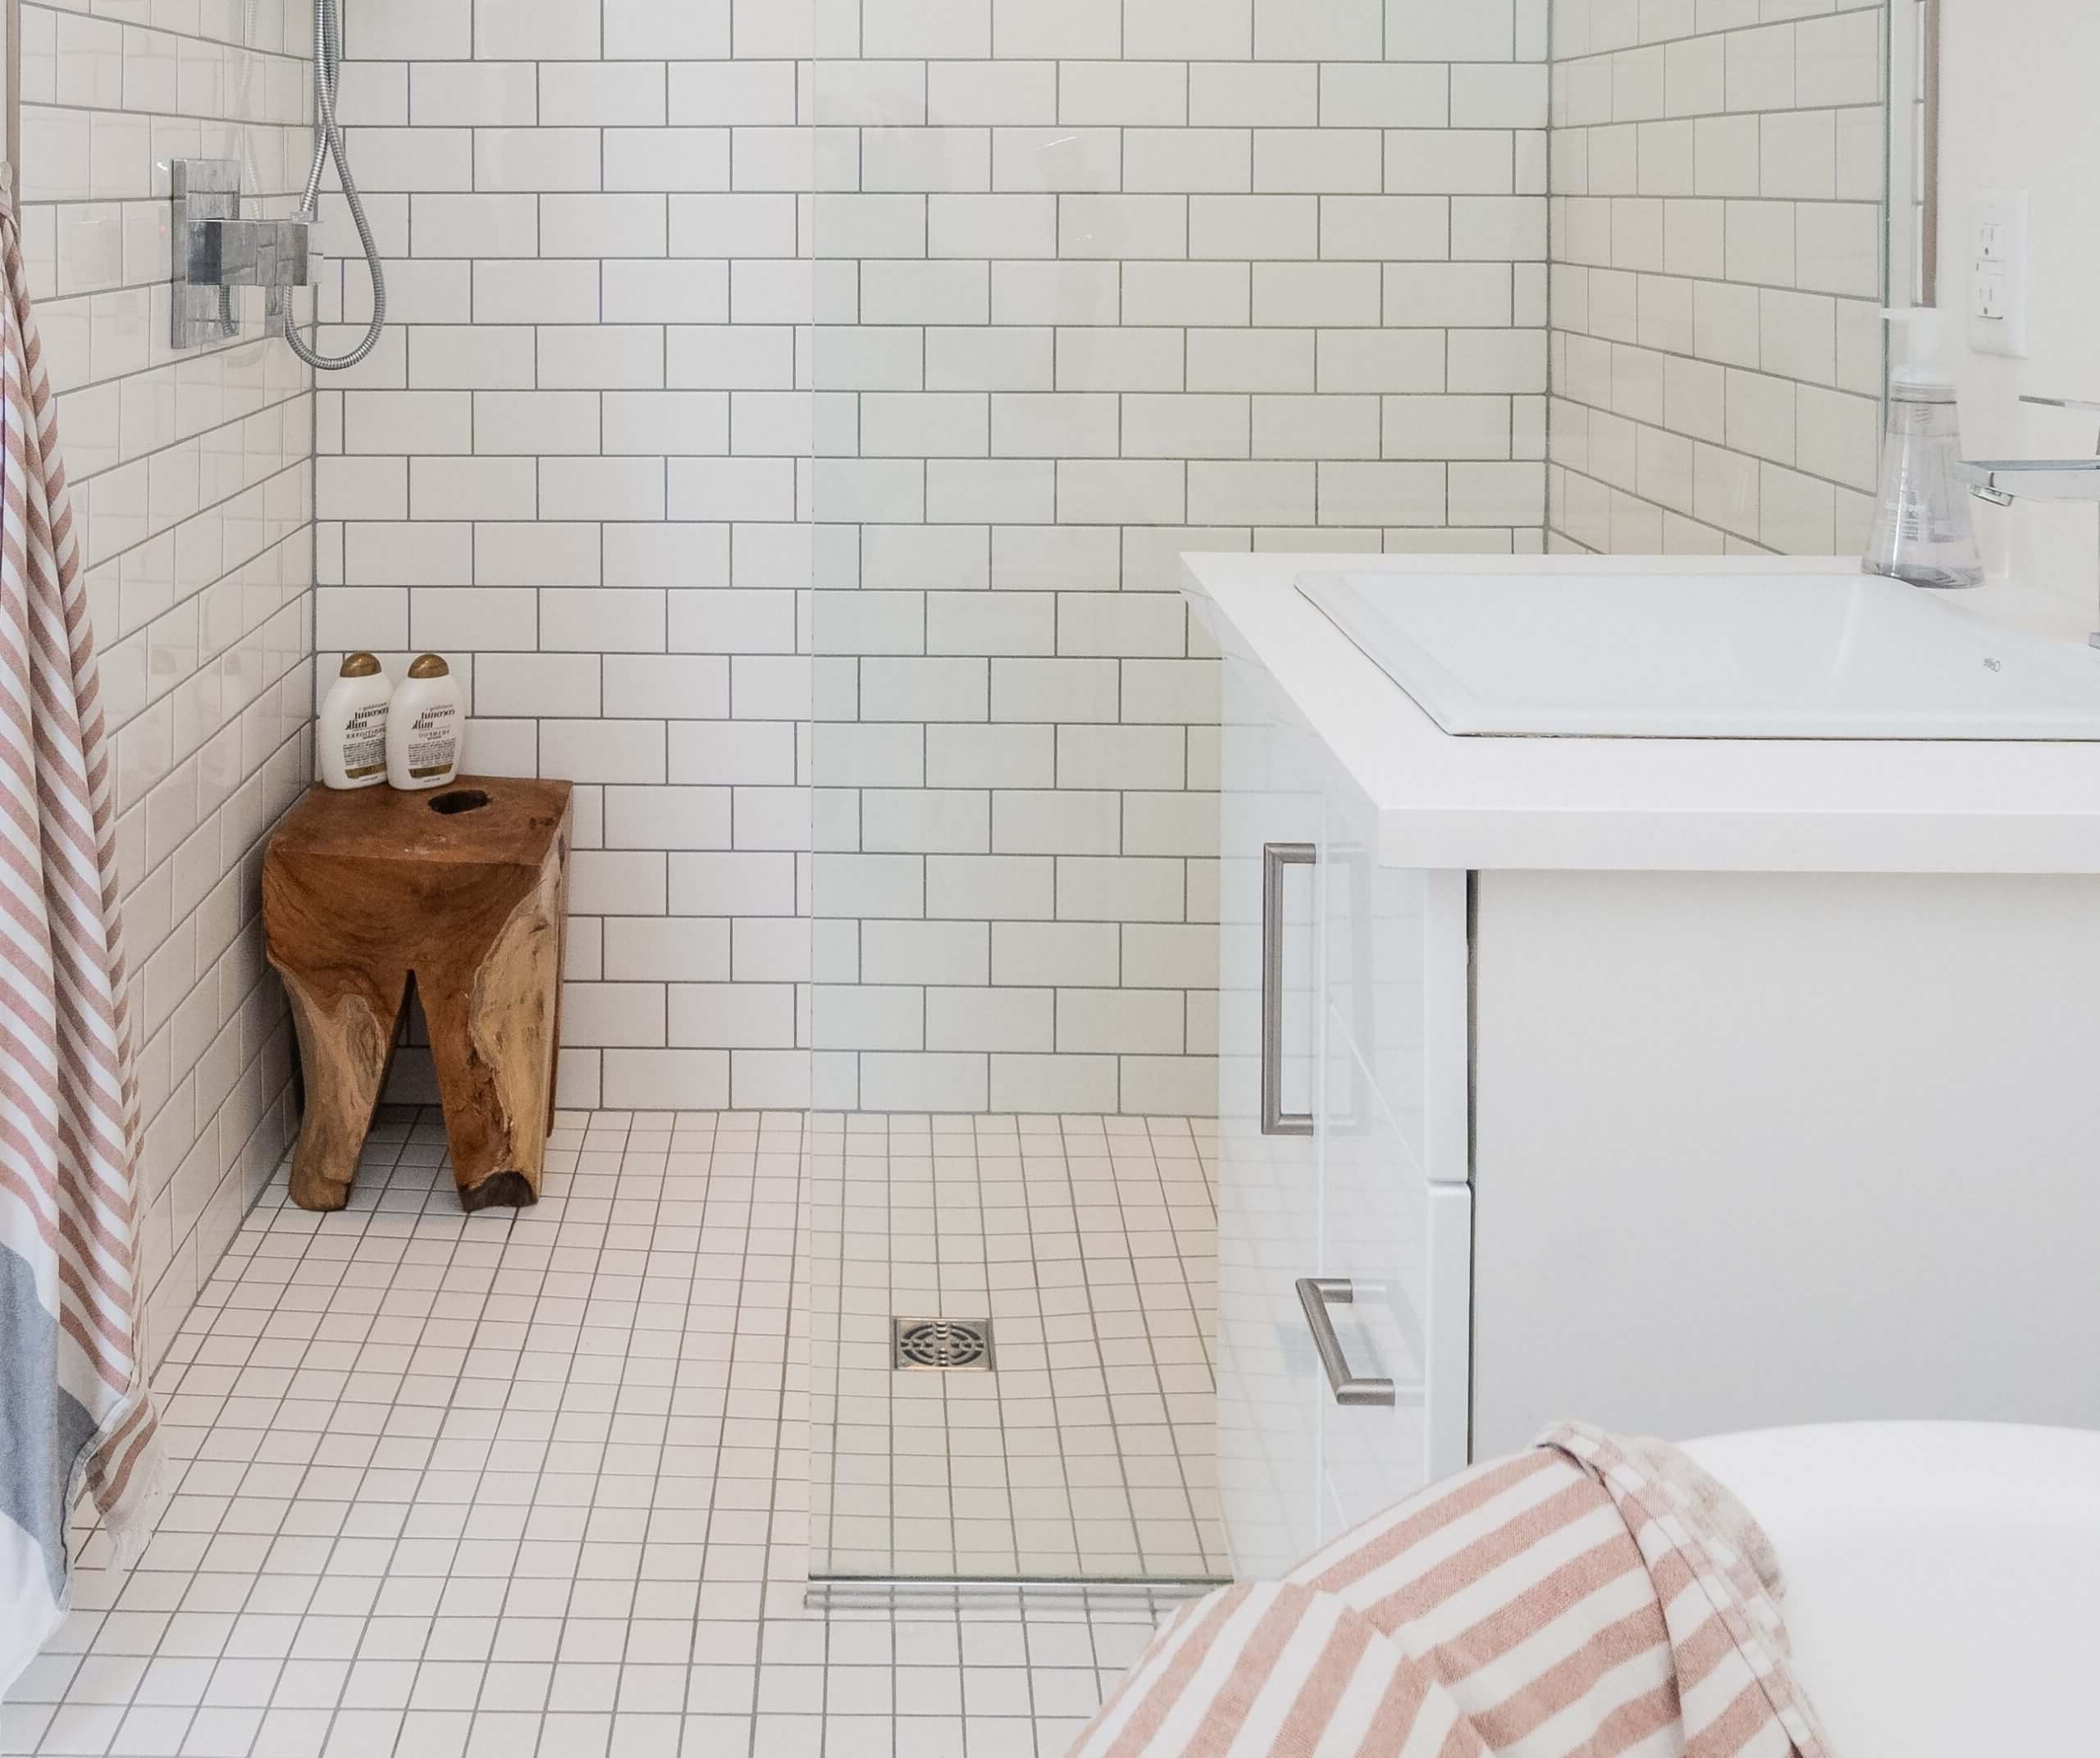
Step 5: Waterproofing Your Shower Area
Waterproofing is crucial when installing any shower system or electrical components:
-
Using Waterproof Materials:
- Apply a waterproofing membrane around any exposed areas where water might seep through (e.g., between tiles).
- Use blue drywall specifically designed for bathrooms which includes built-in waterproofing properties.
-
Sealing Gaps:
- Use silicone sealant around edges where tiles meet walls or floors.
- Apply caulk around any gaps between fixtures like showerheads or handles.
-
Testing Waterproofing:
- Perform a water test by spraying water onto all sealed areas while ensuring no leaks occur.
Step 6: Final Touches
After completing all installations, make sure everything is functioning properly:
- Check All Connections: Verify that all plumbing connections are secure and watertight.
- Test Electrical Components: Ensure that your dimmer switch controls the LED lights correctly without any flickering or malfunctioning.
- Clean Up: Remove any debris or tools from your workspace ensuring cleanliness and safety standards are met.
Conclusion
Installing a bathroom shower with rainfall LED lights requires careful planning, preparation, and execution but can significantly enhance your bathroom experience both aesthetically and functionally. By following these steps meticulously while ensuring proper waterproofing measures are taken into account will help you achieve professional-looking results even if you're tackling this project yourself as a DIY enthusiast.
Remember always consult local building codes or seek professional advice if unsure about any part of this process especially when dealing with electrical components which should only be handled by qualified electricians for safety reasons mentioned in.
Was this page helpful?
At Storables.com, we guarantee accurate and reliable information. Our content, validated by Expert Board Contributors, is crafted following stringent Editorial Policies. We're committed to providing you with well-researched, expert-backed insights for all your informational needs.


0 thoughts on “DIY Guide to Installing a Bathroom Shower with a Rainfall LED Light”