Articles
How To Clean A Deep Fryer
Modified: December 6, 2023
Learn the best tips and tricks for cleaning a deep fryer in this informative article. Keep your fryer in top shape and ensure crispy, delicious results every time.
(Many of the links in this article redirect to a specific reviewed product. Your purchase of these products through affiliate links helps to generate commission for Storables.com, at no extra cost. Learn more)
Introduction
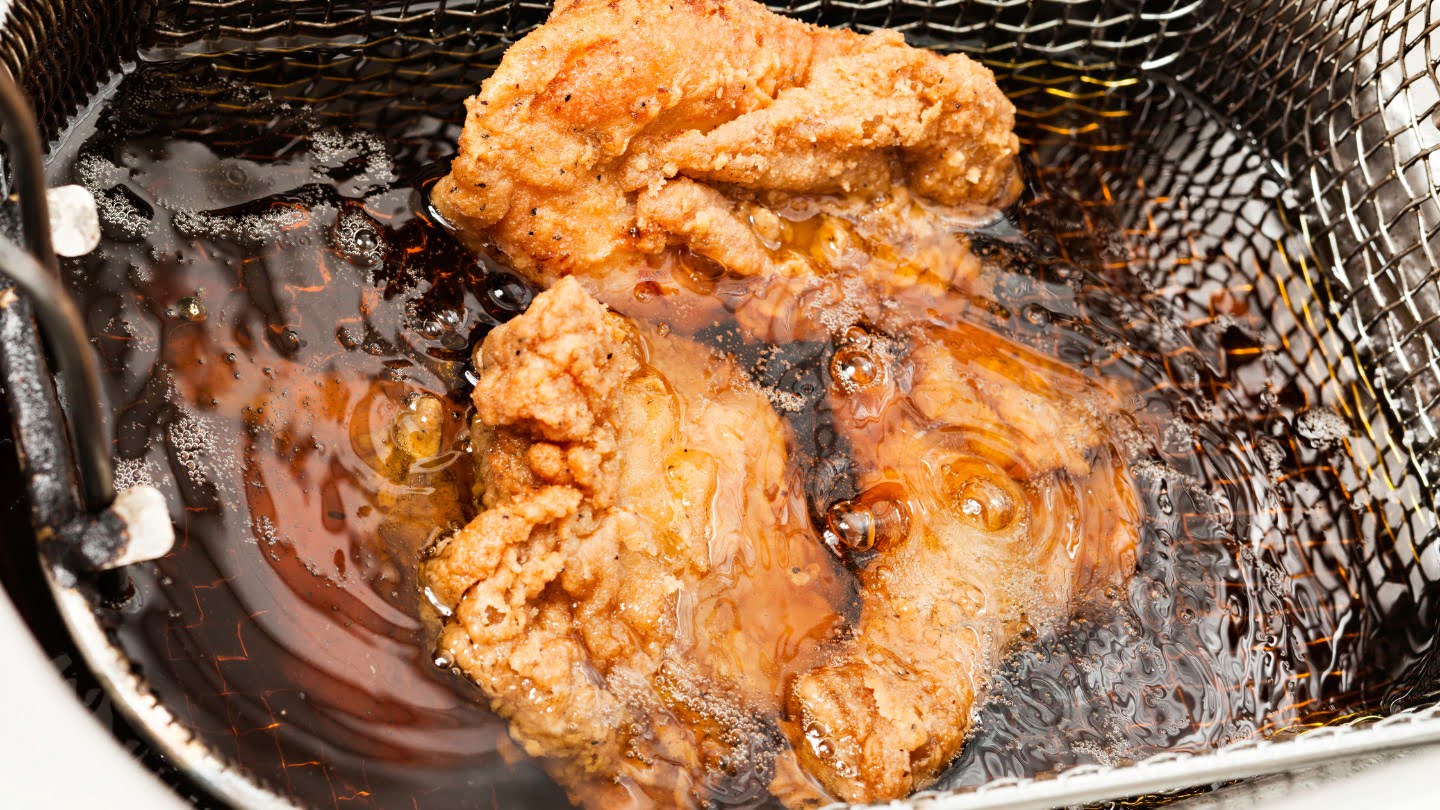
Deep fryers are a popular and convenient appliance for frying delicious foods like french fries, chicken wings, and onion rings. However, regular cleaning is essential to maintain the performance of the deep fryer and ensure the safety of your food. In this article, we will guide you through the step-by-step process of cleaning a deep fryer.
Before diving into the cleaning process, it’s important to prioritize safety precautions. Deep fryers work at high temperatures and involve hot oil, so it’s crucial to take necessary measures to protect yourself from burns or accidents. Always refer to the manufacturer’s instructions for specific safety guidelines for your particular model.
Now let’s get started with the cleaning process!
Key Takeaways:
- Regularly cleaning a deep fryer is crucial for maintaining performance and food safety. Prioritize safety precautions, prepare the fryer, and clean both interior and exterior components to ensure optimal condition.
- Establish a regular cleaning schedule, perform deep cleans periodically, and monitor oil quality to maintain the performance and longevity of your deep fryer. Follow manufacturer’s instructions and dispose of used oil properly for optimal results.
Read more: How To Deep Clean A Sink
Safety Precautions
Before you begin cleaning your deep fryer, there are several safety precautions you should keep in mind:
- Disconnect the Power: Always make sure to unplug the deep fryer from the power source before starting the cleaning process. This will prevent any electrical accidents or shocks.
- Cooling Time: Allow the deep fryer to cool down completely before cleaning. Hot oil can cause severe burns, so it’s important to wait until the fryer is cool to the touch.
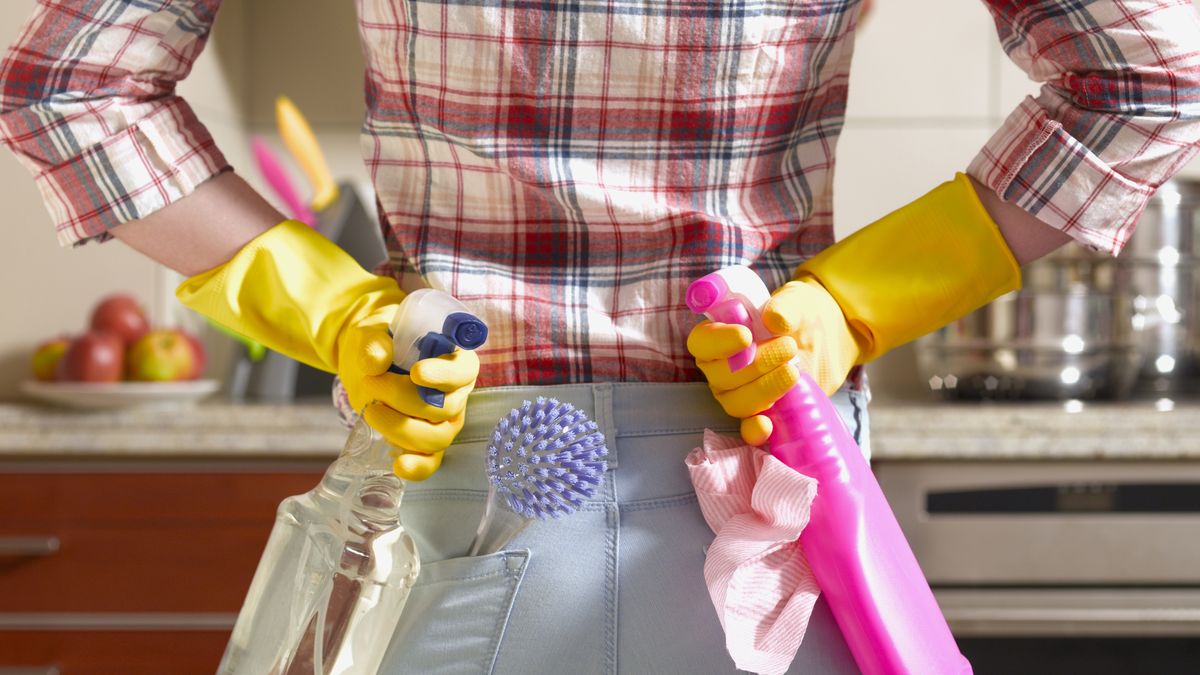
- Protective Gear: Wear protective gloves and aprons to shield your hands and clothing from any spills or splatters.
- Ventilation: Ensure that you are working in a well-ventilated area to avoid inhaling any fumes or vapors that may be released during the cleaning process.
- Read the Manual: Familiarize yourself with the manufacturer’s instructions and recommendations for cleaning the deep fryer. Each model may have specific cleaning instructions or precautions you need to follow.
By following these safety precautions, you can minimize the risk of accidents and ensure a safe cleaning process.
Preparing the Deep Fryer for Cleaning
Before you start cleaning the deep fryer, there are a few steps you should take to prepare the appliance:
- Empty the Oil: If there is any oil or remaining food particles in the deep fryer, carefully pour it into a container suitable for disposing of used cooking oil. Be cautious not to spill the oil and make sure the container is heat-resistant.
- Remove the Fryer Basket: Take out the fryer basket and set it aside for cleaning separately. Most fryer baskets are removable and can be easily lifted out of the fryer.
- Wipe Excess Oil: Use a paper towel or a clean cloth to wipe away any excess oil or grease from the interior of the deep fryer. This will make the cleaning process easier and more effective.
- Safety Check: Inspect the power cord, plug, and any other components to ensure they are in good condition and free from any damage or fraying. If you notice any issues, it’s best to have them repaired or replaced before proceeding with the cleaning process.
By following these preparatory steps, you will be ready to move on to the next stage of cleaning your deep fryer.
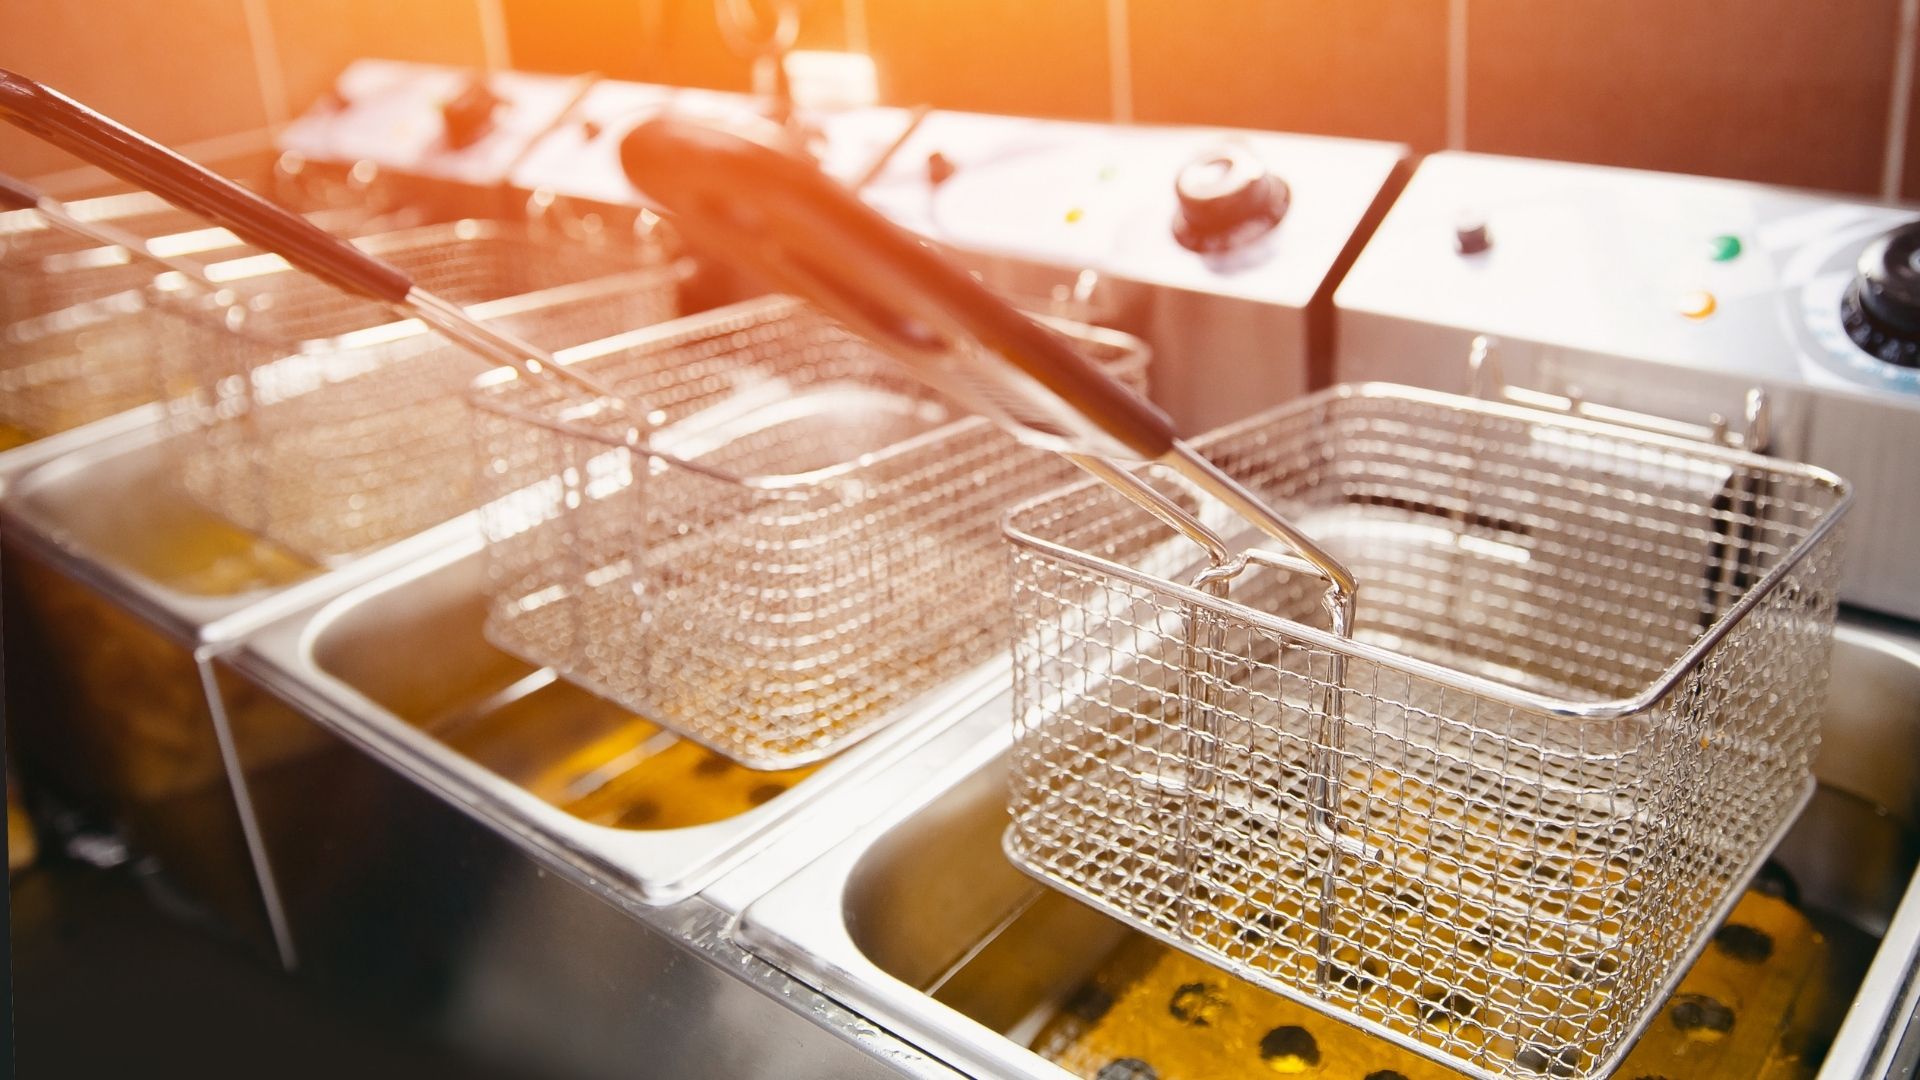
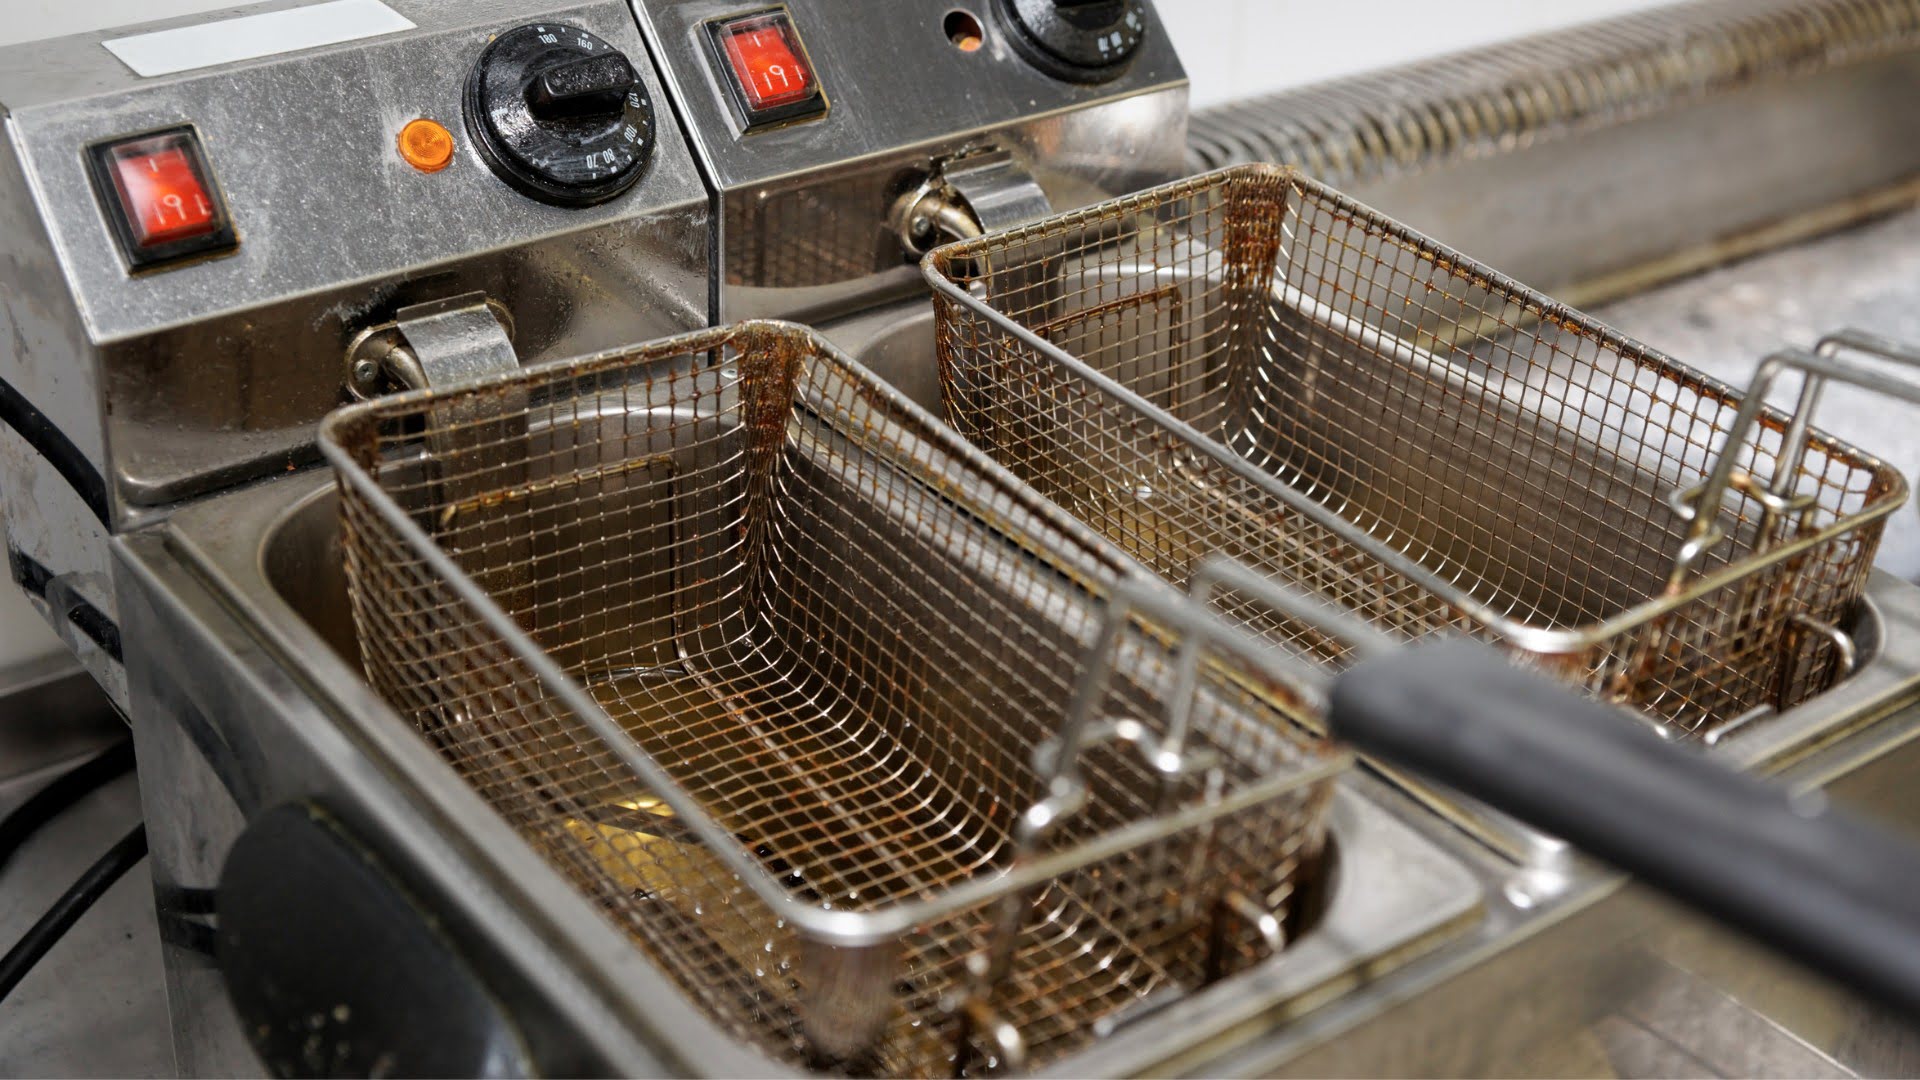
Removing and Cleaning the Fryer Basket
The fryer basket is an essential component of the deep fryer that holds the food while it cooks. To ensure that it remains clean and free from residue, follow these steps:
- Separate the Basket: Depending on your deep fryer model, the fryer basket may have a handle or a release mechanism. Use the appropriate method to detach the basket from the handle.
- Empty Solid Debris: Shake off any remaining food particles or crumbs from the basket into a trash bin. You can also tap the basket lightly against the inside of the trash bin to remove any stubborn debris.
- Soak the Basket: Fill a sink or basin with warm, soapy water. Submerge the fryer basket in the water and let it soak for about 15-20 minutes. This will loosen any stuck-on grease and make it easier to clean.
- Scrub the Basket: After soaking, use a soft brush or sponge to scrub the basket, focusing on areas with stubborn residue. Pay attention to the mesh or wire structure of the basket to ensure thorough cleaning.
- Rinse and Dry: Rinse the fryer basket with clean water to remove any remaining soap residue. Shake off excess water and allow the basket to air dry completely before reassembling it with the handle.
Regularly cleaning the fryer basket will help prevent the buildup of grease and improve the overall cleanliness of your deep fryer.
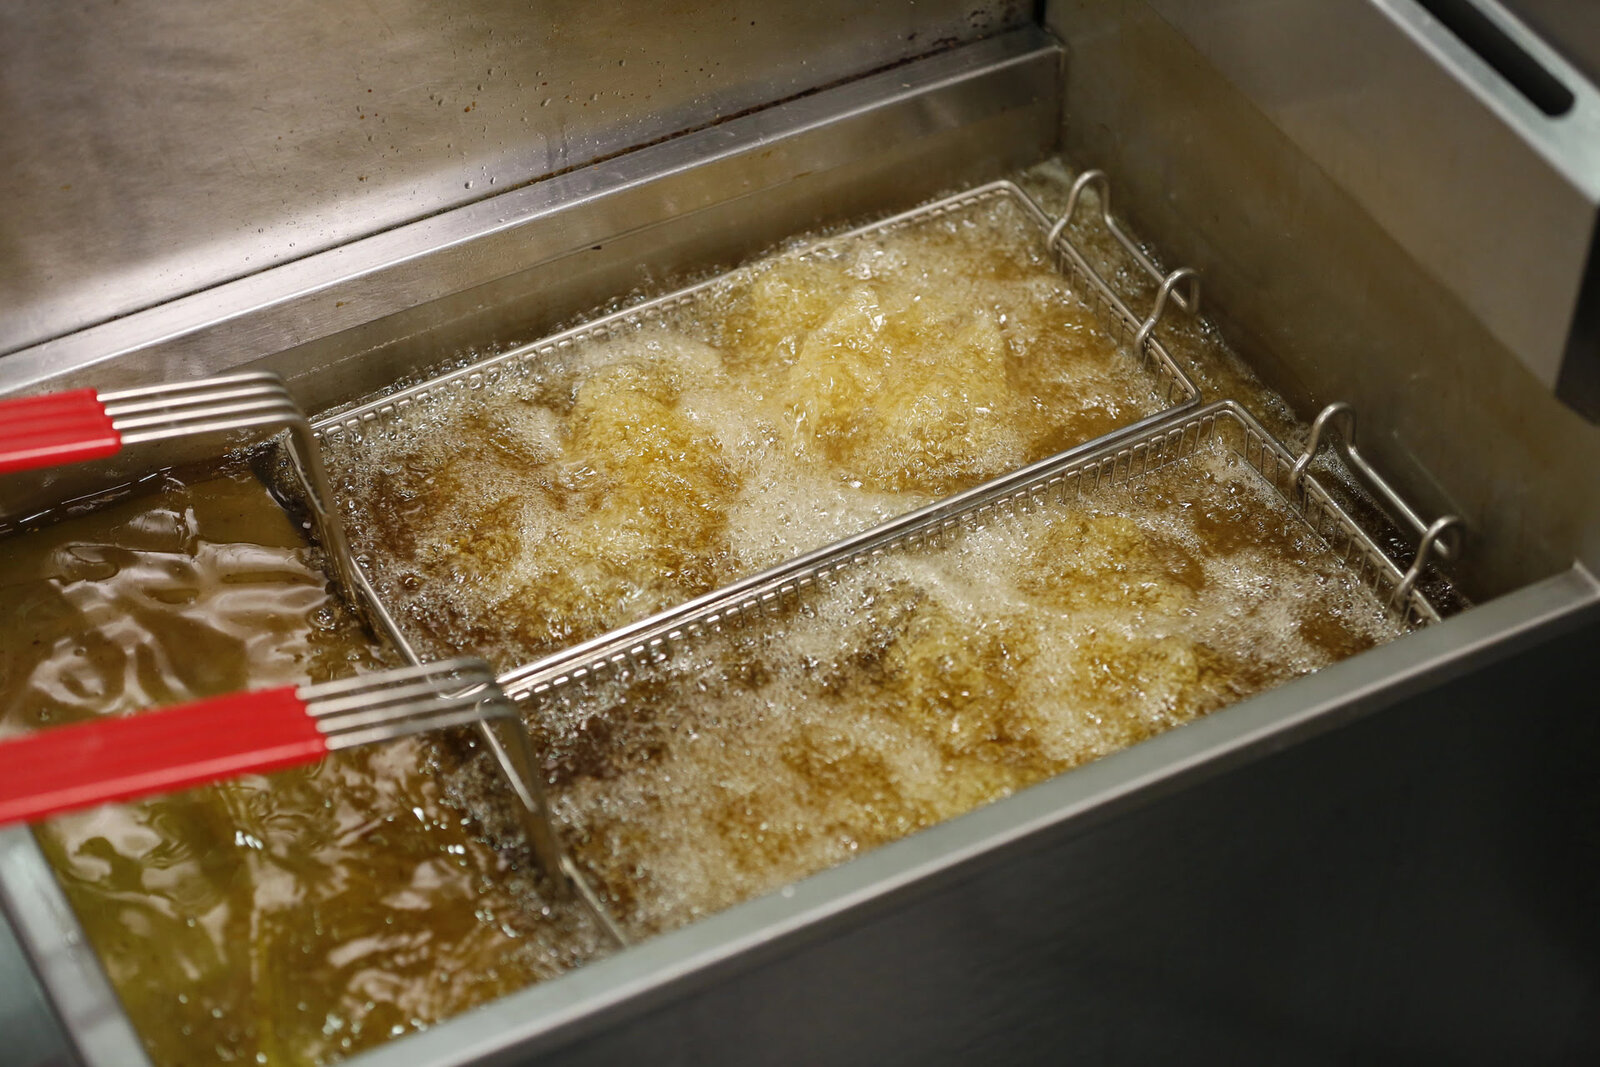
Draining and Discarding the Oil
One of the most important steps in cleaning a deep fryer is draining and discarding the used oil. Here’s how you can do it effectively:
- Cool the Oil: Allow the oil to cool down completely before attempting to drain it. Hot oil can cause severe burns, so it’s crucial to exercise caution.
- Find a Suitable Container: Prepare a heat-resistant container large enough to hold the entire volume of oil. Glass or stainless-steel containers are recommended for easy cleanup.
- Drain the Oil: Locate the drain valve or designated spout on the deep fryer. Open it carefully, ensuring that the container is positioned directly beneath to catch the oil as it flows out.
- Filter the Oil (Optional): If you plan on reusing the oil, strain it through a fine-mesh sieve or cheesecloth to remove any food particles or debris that may have accumulated during cooking.
- Dispose of the Oil: If the oil is no longer suitable for reuse, it’s important to dispose of it properly. Check with your local waste management facility for guidelines on how to discard used cooking oil in an environmentally friendly manner.
Draining and discarding the oil not only facilitates the cleaning process but also ensures that your deep fryer performs optimally with fresh oil for the next use.
Read more: How To Use A Deep Fryer
Cleaning the Interior of the Deep Fryer
Once you have removed the fryer basket and drained the oil, it’s time to clean the interior of the deep fryer. Follow these steps for a thorough and effective cleaning:
- Wipe Away Loose Residue: Use a paper towel or a clean cloth to wipe away any loose residue on the interior surfaces of the deep fryer. This will help remove any excess grease or food particles.
- Mix a Cleaning Solution: In a sink or basin, mix a solution of warm water and mild dish soap. The dish soap will help cut through any grease or sticky residue.
- Scrub the Interior: Dip a soft brush or sponge into the cleaning solution and scrub the interior of the deep fryer. Pay extra attention to areas with stubborn stains or residue. Be gentle on any non-stick surfaces to avoid scratching.
- Rinse Thoroughly: Rinse the interior of the deep fryer with clean water to remove any soap residue. Ensure that all cleaning solution is thoroughly rinsed off.
- Dry Completely: Use a clean towel or allow the deep fryer to air dry completely before reassembling or storing it. Moisture can lead to mold or bacterial growth, so it’s important to ensure the fryer is completely dry.
Cleaning the interior of the deep fryer regularly will not only help maintain its performance but also contribute to the overall cleanliness and hygiene of your kitchen.
After using the deep fryer, wait for the oil to cool down completely. Once cooled, strain the oil through a fine-mesh sieve to remove any food particles. Then, wipe down the interior and exterior of the fryer with a damp cloth and mild dish soap.
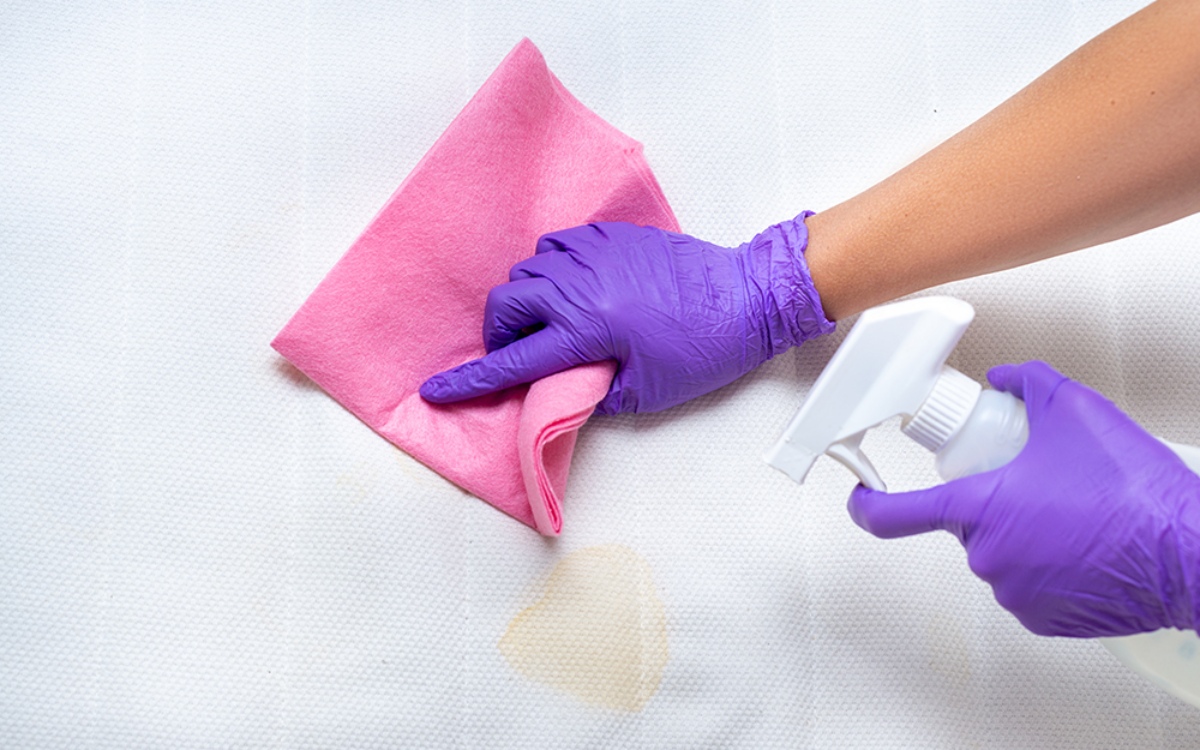
Cleaning the Exterior of the Deep Fryer
While cleaning the interior of the deep fryer is essential, it’s equally important to pay attention to the exterior. Here’s how you can effectively clean the exterior surfaces:
- Disconnect from Power: Ensure that the deep fryer is disconnected from the power source before cleaning the exterior. This will prevent any electrical accidents.
- Use a Gentle Cleaning Solution: Mix warm water with a mild dish soap or a gentle all-purpose cleaner. Avoid using abrasive cleaners or scouring pads, as they may scratch or damage the surface.
- Dampen a Cloth or Sponge: Dip a clean cloth or sponge into the cleaning solution and squeeze out any excess liquid. The cloth should be damp, not soaking wet.
- Wipe the Exterior: Gently wipe the exterior surfaces of the deep fryer with the damp cloth or sponge. Pay attention to areas with grease or stubborn stains, and apply slightly more pressure if needed.
- Dry with a Soft Towel: Once you have wiped the exterior, use a soft, dry towel to remove any remaining moisture. This will prevent water spots or streaks from forming on the surface.
- Polish (Optional): If the exterior of the deep fryer has a stainless-steel or polished finish, you can use a specialized stainless-steel cleaner or polish to restore its shine.
Regularly cleaning the exterior of the deep fryer will not only keep it looking great but also remove any grime or grease buildup that may have accumulated over time.
Cleaning the Heating Element
The heating element is a crucial component of the deep fryer that requires periodic cleaning to ensure the appliance operates efficiently. Here’s how you can clean the heating element:
- Disconnect the Power: Before cleaning the heating element, make sure the deep fryer is disconnected from the power source. This is essential for your safety.
- Allow the Fryer to Cool: Give the deep fryer enough time to cool down completely. Cleaning the heating element while it is still hot can be dangerous.
- Remove Excess Debris: Gently brush away any loose debris or crumbs on and around the heating element. Use a soft brush or a dry cloth to avoid damaging the element.
- Clean with a Damp Cloth: Dampen a cloth or sponge with warm water, wring out any excess moisture, and gently wipe the heating element. Pay attention to areas with visible residue or buildup.
- Use a Grill Brush (if applicable): If your deep fryer has a removable heating element or a grill-like structure, use a grill brush to scrub away any stubborn residue. Ensure that the brush has soft bristles to avoid scratching the element.
- Dry Thoroughly: After cleaning, allow the heating element to air dry completely. Moisture can interfere with the functioning of the element, so ensure it is completely dry before reconnecting the power.
Regular cleaning of the heating element will help maintain its efficiency and prevent any buildup that may affect its performance over time.
Reassembling the Deep Fryer
After cleaning all the components of the deep fryer, it’s time to reassemble it for future use. Follow these steps to ensure proper reassembly:
- Dry all Components: Make sure that all the parts, including the fryer basket, have been thoroughly dried. Moisture can lead to mold or bacterial growth, so it’s important to ensure everything is completely dry.
- Place the Heating Element: If the heating element is removable, securely place it back in its designated position inside the deep fryer.
- Insert the Fryer Basket: Carefully place the fryer basket back into the deep fryer, ensuring that it is positioned properly and securely in place.
- Reattach Handles or Latches: If the fryer basket has a handle or latch mechanism, reattach it to the basket and make sure it is secure.
- Close the Lid or Cover: If your deep fryer has a lid or cover, close it and ensure that it is securely in place.
- Plug in the Deep Fryer: Finally, plug the deep fryer back into a power source and make sure it is functioning correctly.
By carefully reassembling the deep fryer, you can ensure that all components are properly aligned and secured for safe and efficient operation.
Read more: How To Deep Clean A Berber Carpet
Final Steps and Tips for Maintenance
Now that you have successfully cleaned and reassembled your deep fryer, here are some final steps and maintenance tips to keep it in optimal condition:
- Dispose of Used Oil Properly: If you have discarded the used cooking oil, make sure to dispose of it in an appropriate manner. Contact your local waste management facility for guidelines on how to properly dispose of cooking oil.
- Regular Cleaning Schedule: Create a regular cleaning schedule for your deep fryer to ensure it stays clean and free from build-up. Follow the manufacturer’s guidelines for recommended cleaning intervals.
- Deep Clean Periodically: Along with regular cleaning, it’s advisable to perform a deep clean of the deep fryer at least once every few months. This includes cleaning the interior, fryer basket, and heating element.
- Monitor Oil Quality: Regularly check the quality and cleanliness of the cooking oil. If the oil becomes dark, odorous, or starts to smoke excessively, it’s time to replace it.
- Store Properly: When not in use, store the deep fryer in a clean, dry, and dust-free area. Make sure to wrap the power cord neatly and avoid any sharp or heavy objects that may damage the appliance.
- Follow the Manufacturer’s Instructions: Always refer to the manufacturer’s instructions for specific cleaning and maintenance guidelines for your deep fryer. They may have specific recommendations based on the model you own.
By following these final steps and maintenance tips, you can ensure that your deep fryer remains in excellent condition, providing you with delicious fried foods while maintaining optimal performance and safety.
Conclusion
Cleaning a deep fryer is an essential task to maintain its performance and ensure the safety of your food. By following the step-by-step process outlined in this article, you can effectively clean your deep fryer and keep it in optimal condition.
Remember to prioritize safety precautions, such as disconnecting the power and allowing the fryer to cool down before cleaning. Preparing the deep fryer by emptying the oil and removing the fryer basket sets the stage for a thorough cleaning process.
Take care to clean both the interior and exterior of the deep fryer, paying attention to the heating element as well. The fryer basket, which holds the food, should be cleaned separately to remove any debris or residue.
Once all the components have been cleaned and dried, reassembling the deep fryer ensures that it is ready for future use. Follow the manufacturer’s instructions and recommendations for specific reassembly guidelines.
To maintain your deep fryer’s performance, establish a regular cleaning schedule and perform deep cleans periodically. Monitor the quality and cleanliness of the cooking oil, and dispose of it properly when necessary.
By following these steps and tips, you can ensure that your deep fryer remains in excellent condition, providing you with delicious fried foods for years to come. So, keep your deep fryer clean and enjoy the crispy and tasty results!
Frequently Asked Questions about How To Clean A Deep Fryer
Was this page helpful?
At Storables.com, we guarantee accurate and reliable information. Our content, validated by Expert Board Contributors, is crafted following stringent Editorial Policies. We're committed to providing you with well-researched, expert-backed insights for all your informational needs.


0 thoughts on “How To Clean A Deep Fryer”