Home>Ideas and Tips>DIY Guide to Installing a Bathroom Shower with a Digital Interface

Ideas and Tips
DIY Guide to Installing a Bathroom Shower with a Digital Interface
Modified: October 27, 2024
Learn how to install a bathroom shower with a digital interface step-by-step. Achieve professional results with our comprehensive DIY guide.
(Many of the links in this article redirect to a specific reviewed product. Your purchase of these products through affiliate links helps to generate commission for Storables.com, at no extra cost. Learn more)
Installing a bathroom shower with a digital interface might seem like a daunting task, but it's totally doable with the right tools and a bit of patience. You don't need to be a professional to achieve a sleek, modern look in your bathroom. This guide will walk you through the entire process, from preparing the space to finalizing the installation.
Step 1: Planning and Preparation
Before diving into the project, planning and preparation are key. Here’s what you need to do:
-
Assess Your Space:
- Measure the area where you plan to install the shower. Consider the dimensions of your bathroom and the space available for the shower.
- Check for any plumbing or electrical issues that might affect your installation.
-
Choose Your Materials:
- Decide on the type of shower you want. You can choose between a walk-in shower, a shower stall, or a combination of both.
- Select materials that are durable and easy to clean. Common materials include glass, acrylic, and tile.
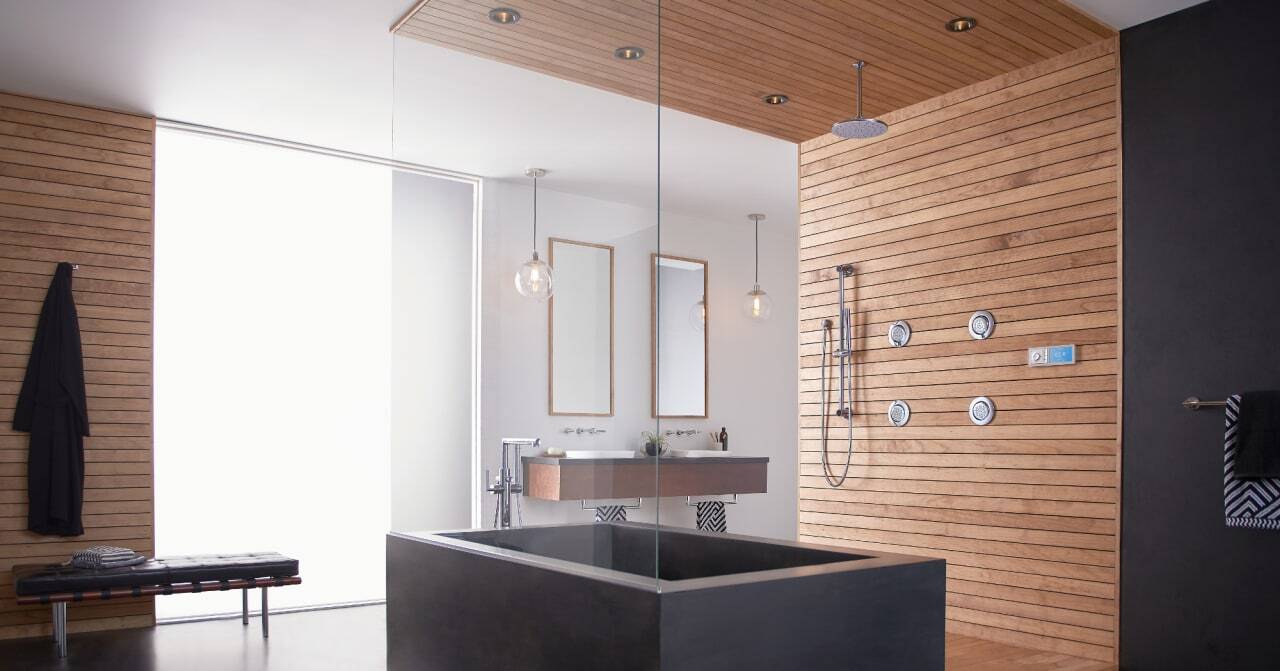
- Choose a digital interface that fits your budget and meets your needs. Some popular options include touchless faucets and smart shower systems.
-
Gather Tools and Equipment:
- You’ll need basic tools like a drill, saw, level, and measuring tape.
- Depending on your chosen materials, you might also need specialized tools such as tile cutters or glass cutters.
-
Turn Off Utilities:
- Ensure that all plumbing and electrical utilities are turned off before starting your project. This includes shutting off the water supply and disconnecting any electrical connections.
Step 2: Removing Old Shower
If you’re replacing an existing shower, you’ll need to remove it first. Here’s how you can do it:
-
Disconnect Plumbing:
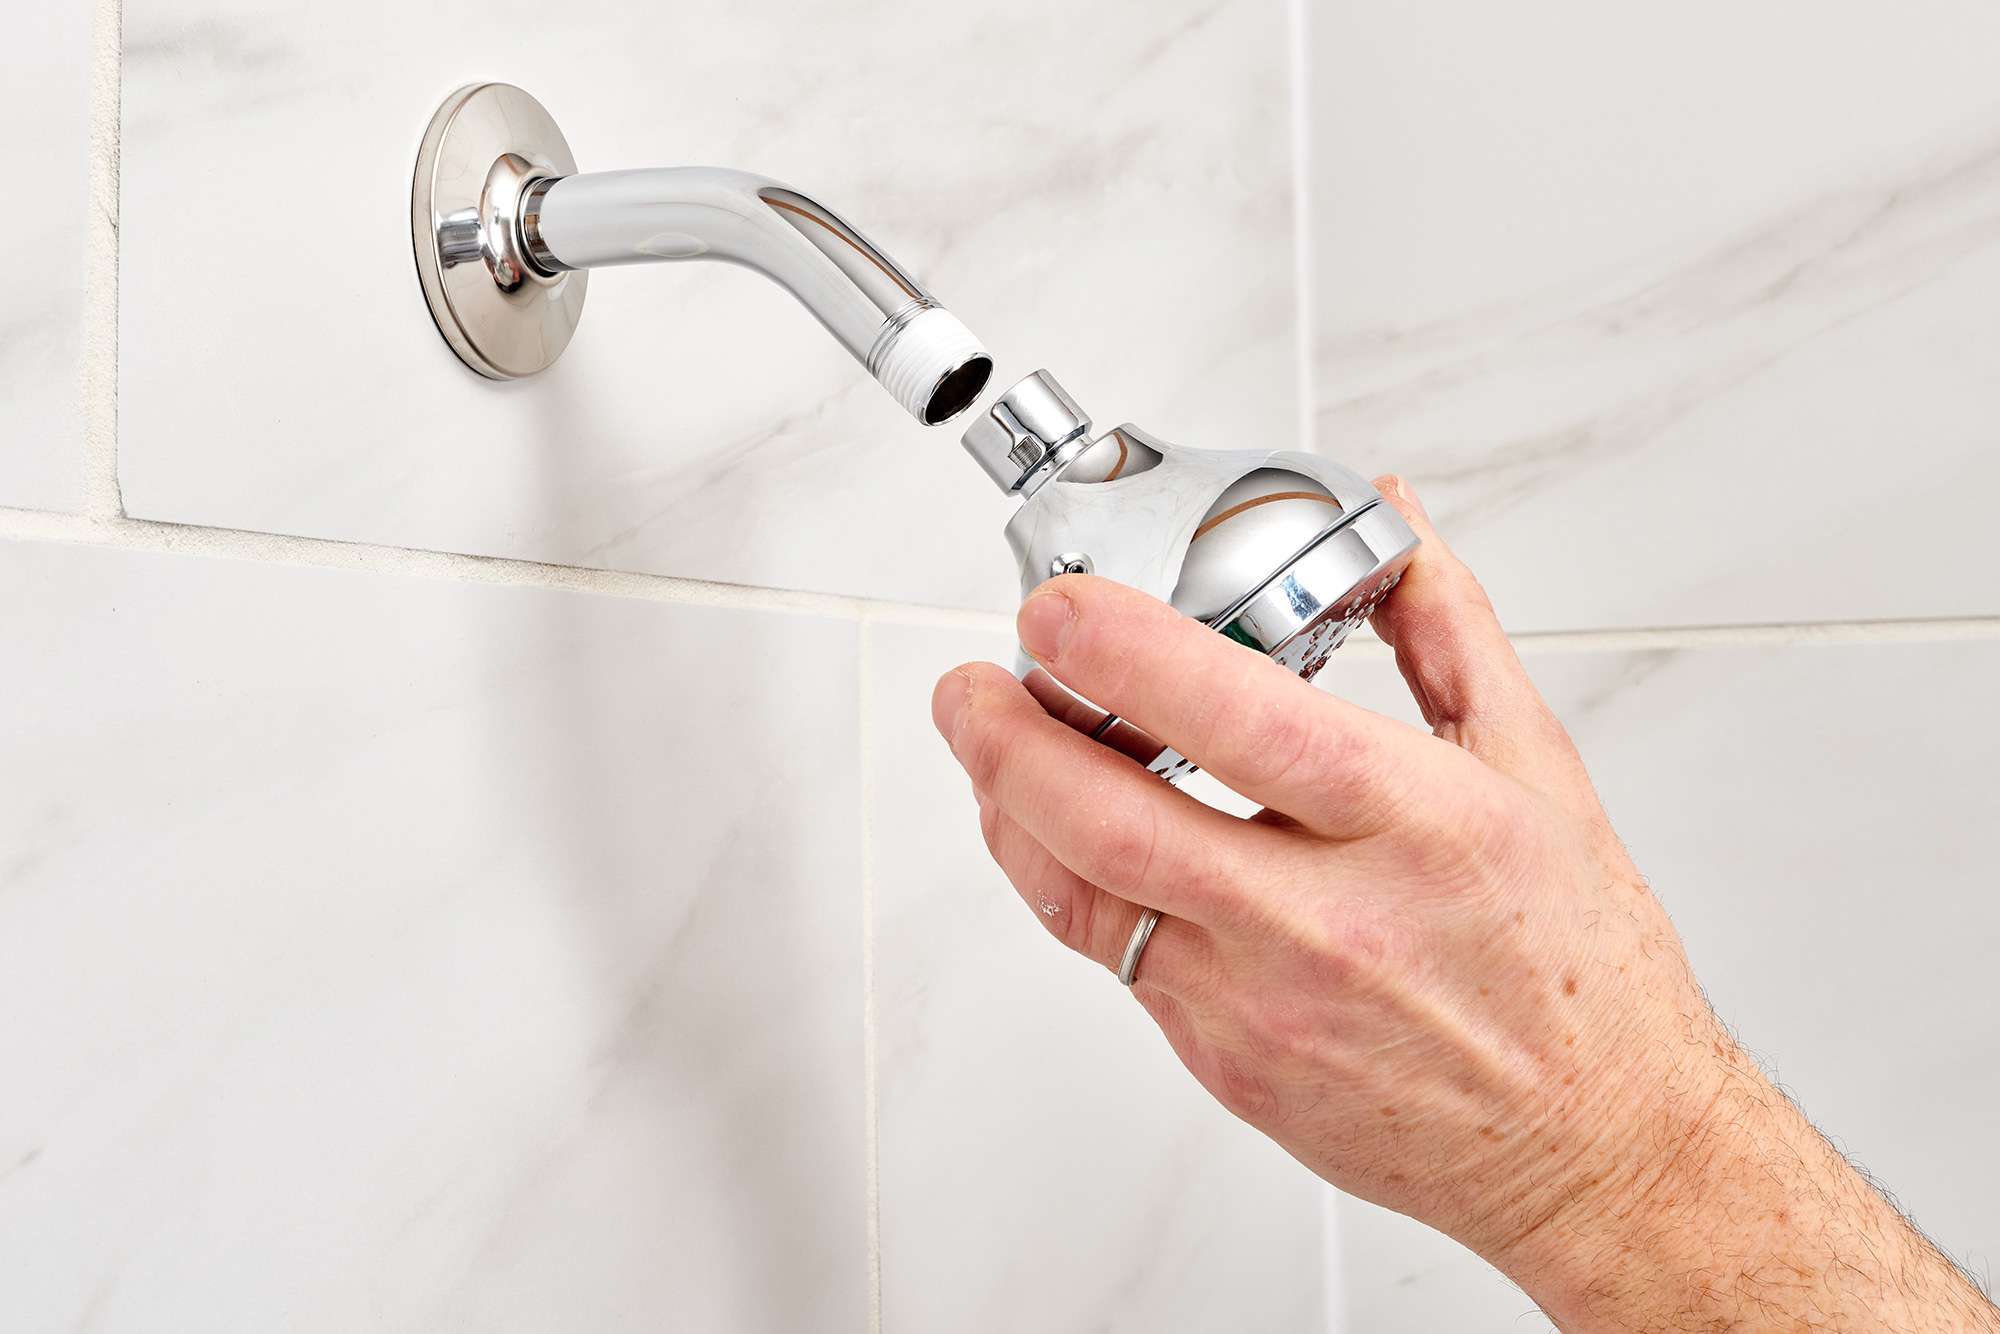
- Use a wrench to loosen any connections between the showerhead and the pipes.
- Drain the water from the pipes by opening the faucet or using a drain valve.
-
Remove Tiles and Panels:
- Use a hammer and chisel to remove any tiles or panels surrounding the shower area.
- Be careful not to damage the walls or floor.
-
Disconnect Electrical Connections:
- Use a voltage tester to ensure there is no electricity flowing through the connections.
- Disconnect any electrical wires connected to the shower.
-
Remove Old Shower Base:
- Use a pry bar or a hammer to carefully remove the old shower base from the floor.
Step 3: Preparing the Space
Now that you’ve removed the old shower, it’s time to prepare the space for your new installation:
-
Clean and Inspect:
- Thoroughly clean the area where you’ll be installing the new shower.
- Inspect for any damage or issues that need to be addressed before proceeding.
-
Apply Underlayment:
- If you’re installing tile or glass, apply an underlayment material like cement board or plywood to provide a stable base.
- Ensure that the underlayment is level and securely attached to the floor.
-
Check for Leaks:
- Use a waterproofing membrane to protect your walls and floor from water damage.
- Apply caulk around any joints or edges where water might seep through.
Step 4: Installing the Shower Base
The shower base is the foundation of your new shower installation:
-
Measure and Cut:
- Measure your shower area carefully and cut the shower base accordingly.
- Use a saw or tile cutter to make precise cuts if necessary.
-
Secure Base:
- Apply adhesive or use screws to secure the shower base firmly onto the underlayment material.
- Ensure that it is level and even with no gaps between it and the surrounding area.
-
Seal Joints:
- Apply caulk around all joints where different materials meet (e.g., where tile meets glass).
- This will help prevent water from seeping through these areas.
Step 5: Installing Digital Interface
The digital interface is what makes your shower smart and convenient:
-
Choose Interface Type:
- Decide which type of digital interface you want (e.g., touchless faucet, smart shower system).
- Read reviews and compare different models based on features like temperature control, water flow rate, and user interface.
-
Install Faucet/Controller Unit:
- Follow manufacturer instructions for installing either a touchless faucet or smart shower controller unit.
- Typically involves connecting it directly into existing plumbing lines while ensuring proper sealing at all connections.
-
Program Settings (if applicable):
- Some smart shower systems come pre-programmed but may also allow customization via mobile apps or built-in interfaces.
- Set up desired settings such as preferred temperatures or specific routines tailored towards individual needs/preferences.
-
Test Functionality:
- Once installed test all functions thoroughly including temperature control & flow rates ensuring everything works seamlessly without any issues/hiccups along way!
Read more: DIY Guide To Installing A Tile Shower
Step 6: Adding Finishing Touches
After installing both base & digital interface now focus adding finishing touches making sure everything looks perfect:
-
Tile/Glass Installation:
If using tile/glass panels follow manufacturer guidelines ensuring proper spacing/adhesive application avoiding any gaps/overlaps during installation process itself! -
Seal Edges/Corners:
Apply additional layers sealant around edges/corners where tile/glass meets base ensuring watertight seal preventing any potential leaks/erosions over time! -
Caulk Joints:
Reapply caulk joints previously sealed earlier ensuring no gaps left behind potentially compromising integrity overall structure itself! -
Clean Up:
Thoroughly clean entire area removing any debris/dust particles accumulated during installation process itself! -
Final Inspection:
Conduct final inspection ensuring everything looks perfect functioning properly without any issues/hiccups along way!
Conclusion
Installing a bathroom shower with digital interface requires careful planning preparation attention detail throughout entire process itself By following steps outlined above you'll be able achieve professional-looking results enhancing overall aesthetic appeal functionality within your home simultaneously Remember always follow manufacturer guidelines ensuring proper installation techniques used throughout entire project duration itself Happy DIY-ing
Was this page helpful?
At Storables.com, we guarantee accurate and reliable information. Our content, validated by Expert Board Contributors, is crafted following stringent Editorial Policies. We're committed to providing you with well-researched, expert-backed insights for all your informational needs.

0 thoughts on “DIY Guide to Installing a Bathroom Shower with a Digital Interface”