Home>Furniture & Design>Outdoor Furniture>How To Make Outdoor Mosaic
Outdoor Furniture
How To Make Outdoor Mosaic
Published: January 11, 2024
Learn how to create stunning outdoor mosaic designs with our comprehensive guide. Elevate your outdoor furniture and design with our expert tips and techniques. Discover the art of outdoor mosaic today!
(Many of the links in this article redirect to a specific reviewed product. Your purchase of these products through affiliate links helps to generate commission for Storables.com, at no extra cost. Learn more)
Introduction
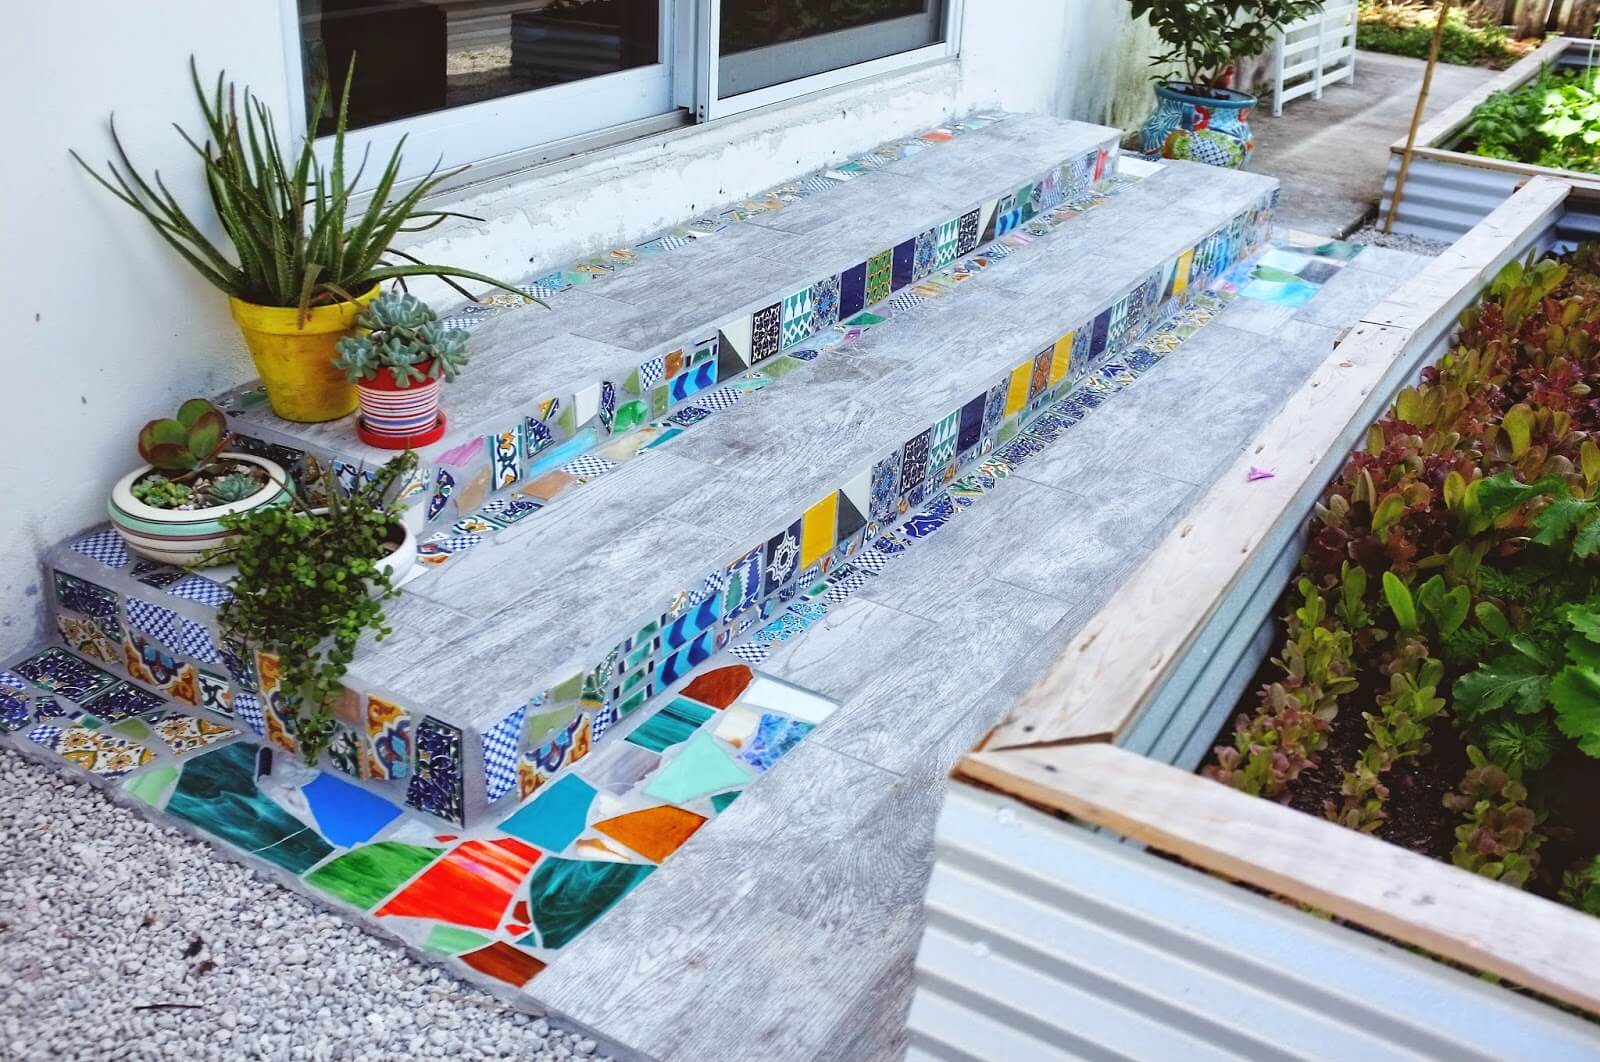
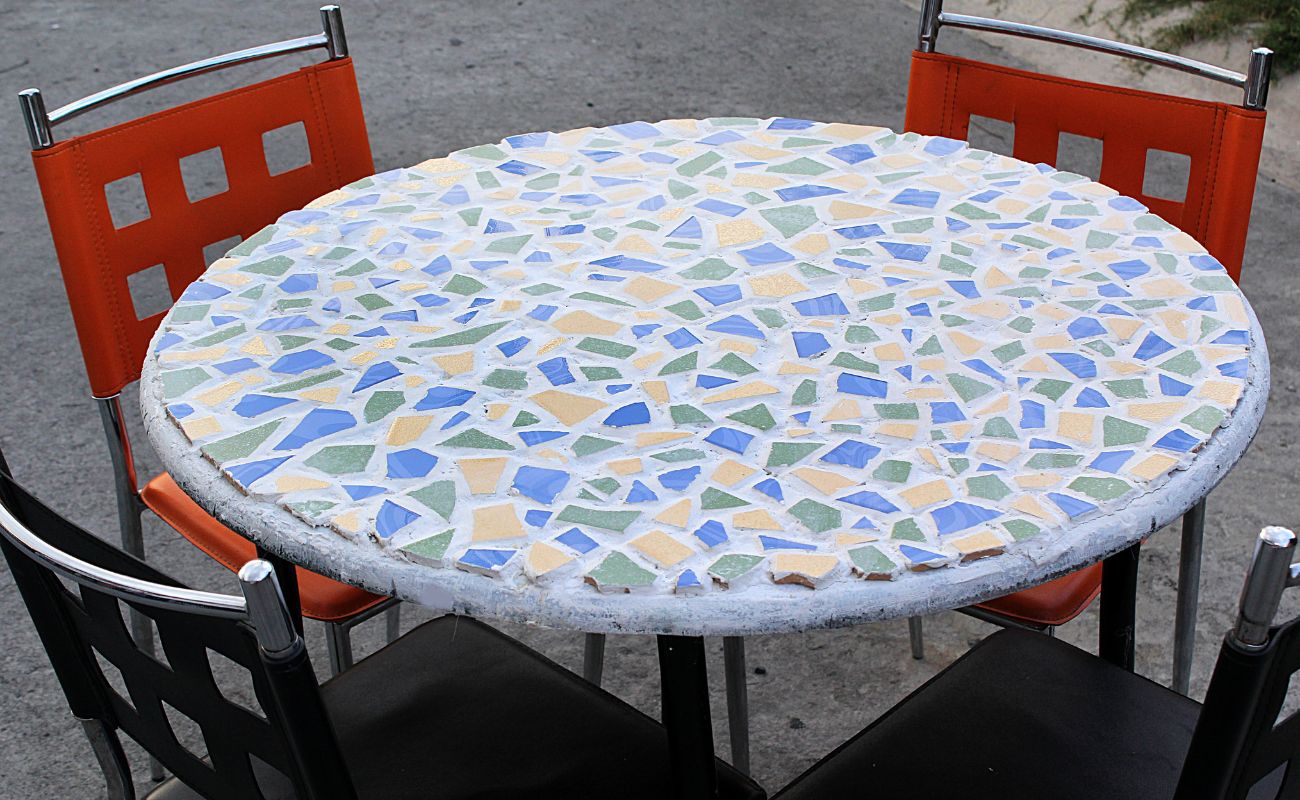
Creating an outdoor mosaic is a captivating way to infuse your outdoor space with artistic flair and vibrant colors. Whether you're aiming to revitalize a garden table, embellish a patio, or enliven a plain wall, mosaic artistry offers a boundless realm of creativity. This timeless craft not only adds a personalized touch to your outdoor furniture and décor but also serves as a testament to your ingenuity.
Embarking on a mosaic project is an opportunity to unleash your artistic spirit and immerse yourself in a hands-on, gratifying endeavor. As you venture into the world of mosaic design, you'll find that the process is a harmonious blend of creativity, precision, and patience. Each step, from selecting the materials to grouting and sealing, contributes to the creation of a captivating mosaic masterpiece that will endure the elements and captivate onlookers.
In this comprehensive guide, we will delve into the intricacies of crafting an outdoor mosaic. From the essential materials and design considerations to the meticulous techniques of cutting, arranging, and grouting, every facet of the process will be explored in detail. By the end of this journey, you will be equipped with the knowledge and inspiration to embark on your own outdoor mosaic venture, infusing your outdoor living space with a touch of artistic brilliance. Let's embark on this creative odyssey and unlock the boundless potential of outdoor mosaic artistry.
Key Takeaways:
- Unleash your creativity and infuse your outdoor space with vibrant colors and personalized charm by crafting an enduring and visually captivating outdoor mosaic masterpiece.
- Embrace the transformative power of artistry and craftsmanship as you embark on a creative odyssey, infusing your outdoor living space with timeless allure and enduring beauty through the art of mosaic creation.
Read more: How To Make An Outdoor Mosaic Table Top
Materials Needed
Before delving into the artistic realm of outdoor mosaic creation, it’s essential to gather the requisite materials to ensure a seamless and fulfilling crafting experience. The following items are indispensable for bringing your mosaic vision to life:
- Tiles: Select a variety of ceramic or glass tiles in an array of colors and textures to imbue your mosaic with visual depth and allure. Consider using specialty tiles, such as iridescent or mirrored pieces, to infuse your creation with a touch of opulence.
- Adhesive: Opt for a weather-resistant adhesive specifically formulated for outdoor use, ensuring the longevity and durability of your mosaic, even in the face of the elements.
- Grout: Choose a high-quality, outdoor-grade grout to fill the interstices between your tiles, providing structural integrity and a polished finish to your mosaic masterpiece.
- Sealant: Invest in a robust sealant designed for outdoor applications to protect your mosaic from moisture, UV exposure, and general wear and tear, preserving its luster and vibrancy over time.
- Substrate: Select a suitable surface for your mosaic creation, such as a sturdy tabletop, planter, stepping stone, or wall panel, ensuring that it is conducive to the mosaic application and primed for enduring outdoor conditions.
- Safety Gear: Prioritize your well-being by donning protective gear, including gloves and safety goggles, when cutting and handling tiles to prevent injuries and safeguard against potential hazards.
- Tools: Arm yourself with essential tools such as tile nippers, a notched trowel for adhesive application, a grout float, and a sponge for meticulous grout cleanup, facilitating precision and finesse throughout the mosaic crafting process.
- Design Elements: Consider incorporating design elements such as mosaic patterns, stencils, and tile spacers to refine and elevate the visual impact of your outdoor mosaic composition.
By assembling these fundamental materials, you will lay the groundwork for a gratifying and successful outdoor mosaic endeavor, empowering you to embark on a creative journey brimming with artistic expression and aesthetic allure.
Designing Your Mosaic
Embarking on the creation of an outdoor mosaic entails an exhilarating journey of artistic expression and visual storytelling. Before delving into the meticulous process of crafting your mosaic, it’s essential to envision a captivating design that harmonizes with your outdoor space and encapsulates your artistic vision. Here are essential considerations to guide you in designing a compelling outdoor mosaic:
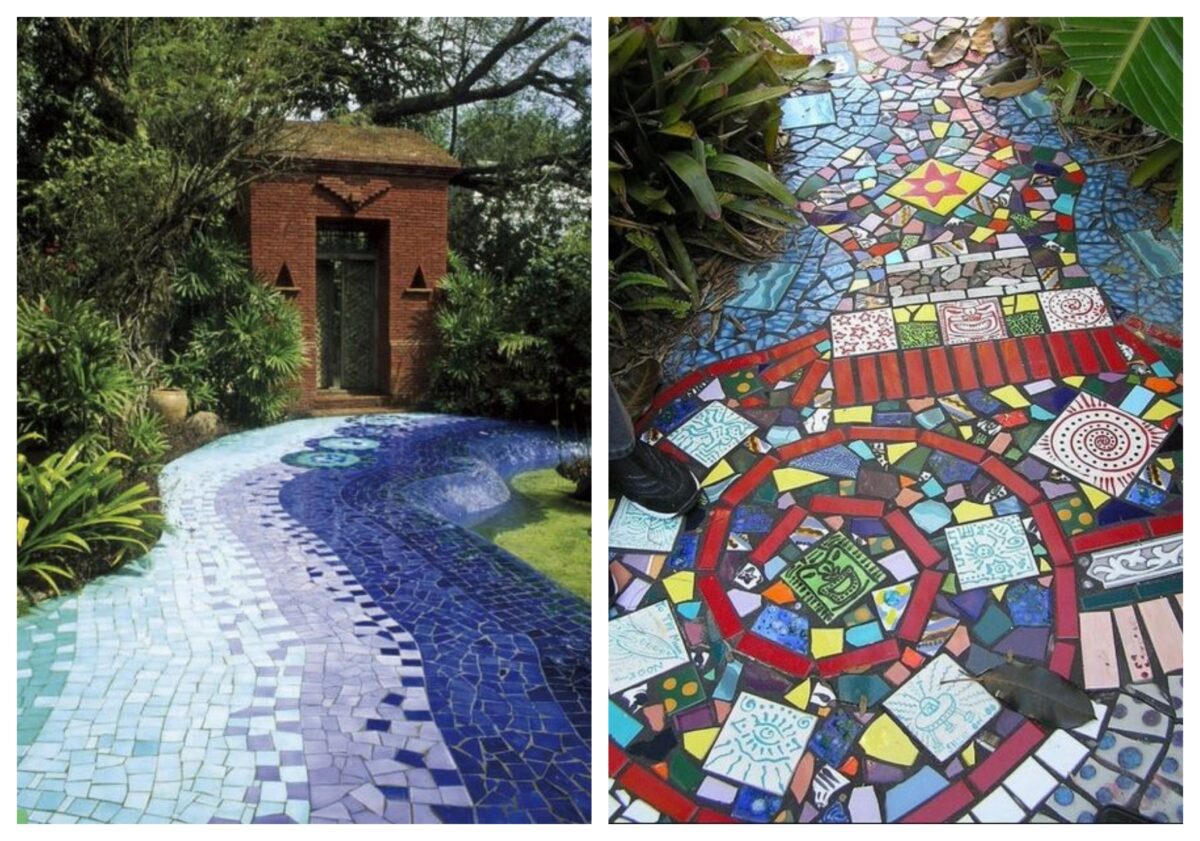
- Inspiration: Draw inspiration from your outdoor surroundings, whether it’s the lush flora of your garden, the serene expanse of your patio, or the architectural elements of your outdoor furniture. Allow these natural and structural elements to inspire your mosaic design, infusing it with a harmonious connection to its environment.
- Color Palette: Select a vibrant and cohesive color palette that complements the ambiance of your outdoor space. Consider incorporating hues that mirror the natural landscape or opt for bold, contrasting colors to instill a captivating visual impact.
- Theme and Motifs: Infuse your mosaic with a thematic narrative or symbolic motifs that resonate with your personal aesthetic or convey a meaningful story. Whether it’s evoking the tranquility of nature, celebrating geometric abstraction, or paying homage to cultural influences, imbue your design with intention and significance.
- Scale and Proportion: Consider the scale and proportion of your mosaic in relation to the chosen substrate. Whether adorning a small tabletop or a expansive wall panel, ensure that the design elements harmonize with the dimensions of the surface, creating a visually balanced and impactful composition.
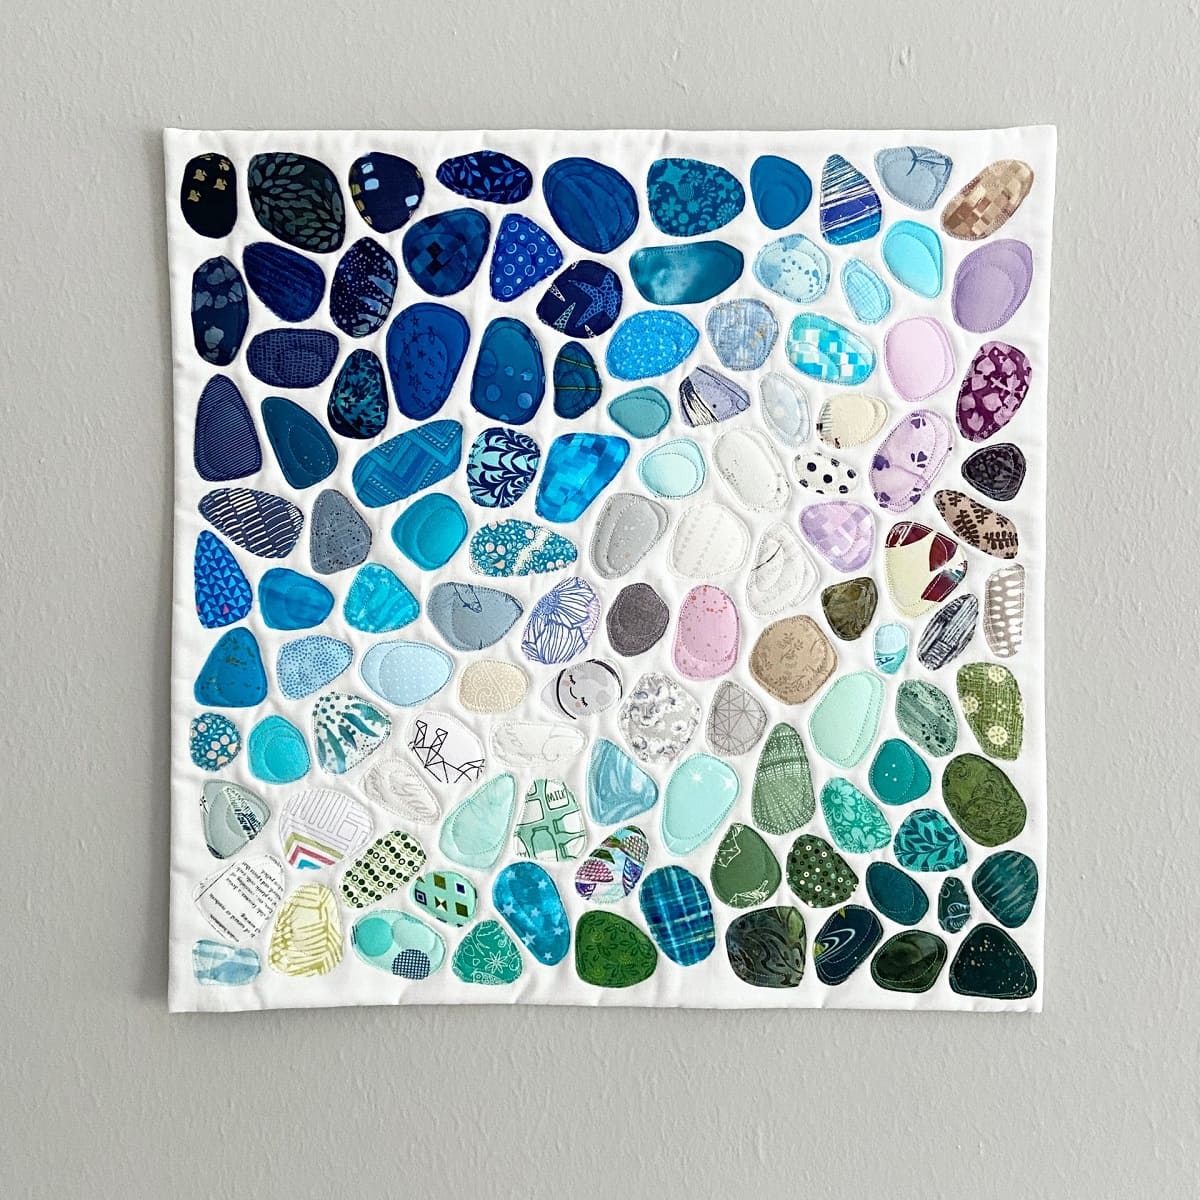
- Layout and Arrangement: Experiment with various layout and arrangement options for your tiles, exploring geometric patterns, flowing motifs, or intricate tessellations. Embrace creativity and spontaneity in arranging your tiles, allowing the design to organically evolve as you bring your mosaic vision to life.
- Focal Points: Introduce focal points within your design to draw the eye and evoke visual interest. Whether it’s a central motif, a captivating color contrast, or a dynamic pattern, strategic focal points enhance the dynamism and allure of your mosaic composition.
By meticulously considering these design elements, you will lay the foundation for a captivating and visually compelling outdoor mosaic. This initial phase of envisioning and conceptualizing your design sets the stage for the subsequent steps of material selection, tile arrangement, and the transformative process of bringing your mosaic creation to fruition.
Preparing Your Surface
Before commencing the intricate process of assembling your mosaic, it is imperative to prepare the chosen surface with meticulous care and attention. Proper surface preparation not only ensures the longevity and durability of your mosaic but also facilitates a seamless and enduring bond between the tiles and the substrate. Here are essential steps to prepare your surface for the mosaic application:
- Clean and Smooth: Thoroughly clean the surface to remove any debris, dust, or residues that may impede the adhesion of the tiles. Ensure that the surface is smooth and free from imperfections, providing an ideal foundation for the mosaic installation.
- Priming: If the surface is porous or uneven, consider applying a suitable primer to enhance adhesion and create a uniform base for the mosaic. The primer aids in optimizing the bond between the adhesive and the substrate, fortifying the longevity of your mosaic creation.
- Marking Guidelines: Establish clear guidelines or markings on the surface to delineate the boundaries of your mosaic design. This step ensures precision and coherence during the tile placement process, guiding the arrangement of tiles according to your envisioned design.
- Protective Measures: If working on an outdoor furniture piece or fixture, take measures to shield the surrounding areas from potential adhesive or grout residues. Cover adjacent surfaces or employ protective barriers to safeguard the integrity of the surrounding environment.
- Environmental Considerations: Assess the environmental conditions, such as temperature and humidity, to determine optimal working conditions for the mosaic application. Ensure that the surface is dry and the ambient temperature is conducive to adhesive and grout curing processes.
By meticulously preparing the surface, you establish a solid groundwork for the seamless integration of your mosaic creation into the outdoor environment. This preparatory phase not only enhances the adherence and longevity of your mosaic but also sets the stage for the transformative process of bringing your envisioned design to fruition.
Cutting and Arranging Tiles
The meticulous process of cutting and arranging tiles is a pivotal phase in the realization of your outdoor mosaic masterpiece. This intricate stage demands precision, creativity, and an artistic eye, as you meticulously transform individual tiles into a cohesive and visually captivating composition. Here are essential steps to guide you through the cutting and arrangement of tiles for your mosaic:
- Tile Selection: Carefully select and organize the tiles according to color, texture, and size, ensuring a harmonious interplay of visual elements within your mosaic design. Embrace diversity in tile selection to infuse your composition with depth and visual allure.
- Cutting Techniques: Utilize tile nippers or a wet saw to meticulously cut and shape tiles as per your design requirements. Exercise caution and precision during the cutting process, ensuring clean edges and precise dimensions for seamless tile arrangement.
- Arrangement Exploration: Experiment with various layout options and design configurations, allowing your creativity to flourish as you arrange and rearrange tiles to discern the most compelling and harmonious composition. Embrace spontaneity and artistic intuition in the arrangement process.
- Tessellation and Patterns: Explore the art of tessellation and pattern creation, employing geometric precision or organic flow to imbue your mosaic with captivating visual rhythms and interconnected motifs. Embrace the interlocking nature of tessellated tiles to infuse your design with dynamic cohesion.
- Adhering Tiles: Once satisfied with the arrangement, transfer the tiles to the adhesive-coated surface, ensuring meticulous alignment and spacing. Exercise patience and precision in adhering the tiles, maintaining the integrity of your envisioned design.
- Visual Cohesion: Strive for visual cohesion and fluidity within your mosaic composition, ensuring a seamless interplay of colors, textures, and patterns that collectively contribute to a captivating and harmonious visual narrative.
As you navigate the cutting and arrangement process, immerse yourself in the creative freedom and expressive potential of mosaic artistry. Embrace the transformative power of individual tiles coalescing into a unified and visually resplendent mosaic, breathing life and character into your outdoor living space.
When making an outdoor mosaic, use weather-resistant materials like ceramic or glass tiles, and a strong adhesive like thinset mortar. Seal the finished mosaic with a weatherproof sealant to protect it from the elements.
Read more: How To Make Mosaic Backsplash
Applying Adhesive
The application of adhesive serves as a pivotal juncture in the mosaic crafting process, facilitating the union of individual tiles into a cohesive and enduring composition. This transformative phase demands precision, patience, and a meticulous approach to ensure the seamless integration of tiles onto the chosen substrate. Here are essential guidelines for the meticulous application of adhesive in your outdoor mosaic creation:
- Weather Considerations: Assess the ambient temperature and humidity to determine optimal conditions for adhesive application. Ensure that the environmental factors are conducive to the curing and bonding processes, providing an ideal setting for the mosaic assembly.
- Adhesive Selection: Choose a weather-resistant adhesive specifically formulated for outdoor applications, ensuring durability and longevity in the face of varying climatic conditions. Opt for a high-quality adhesive that fosters a strong and enduring bond between the tiles and the substrate.
- Notched Trowel Technique: Utilize a notched trowel to apply an even layer of adhesive onto the prepared surface, ensuring uniform coverage and optimal adhesion for the tiles. Employ smooth and consistent motions to create a cohesive adhesive bed that accommodates the placement of tiles with precision.
- Work in Sections: Divide the mosaic surface into manageable sections to facilitate systematic adhesive application and tile placement. Working in sections allows for focused attention and meticulous alignment of tiles, ensuring a seamless integration of the mosaic design.
- Adhesive Drying Time: Allow the applied adhesive to attain the specified tackiness or set time before proceeding with tile placement. Adhere to the manufacturer’s recommendations regarding drying time, ensuring that the adhesive achieves the ideal consistency for tile adhesion.
- Precision and Alignment: Exercise precision and care in placing the tiles onto the adhesive-coated surface, aligning them according to your envisioned design. Embrace meticulous attention to detail, ensuring uniform spacing and seamless integration of tiles within the mosaic composition.
As you navigate the application of adhesive, immerse yourself in the transformative process of uniting individual tiles into a unified and visually resplendent mosaic. Embrace the meditative rhythm of tile placement, infusing your outdoor space with the allure and vibrancy of meticulously crafted mosaic artistry.
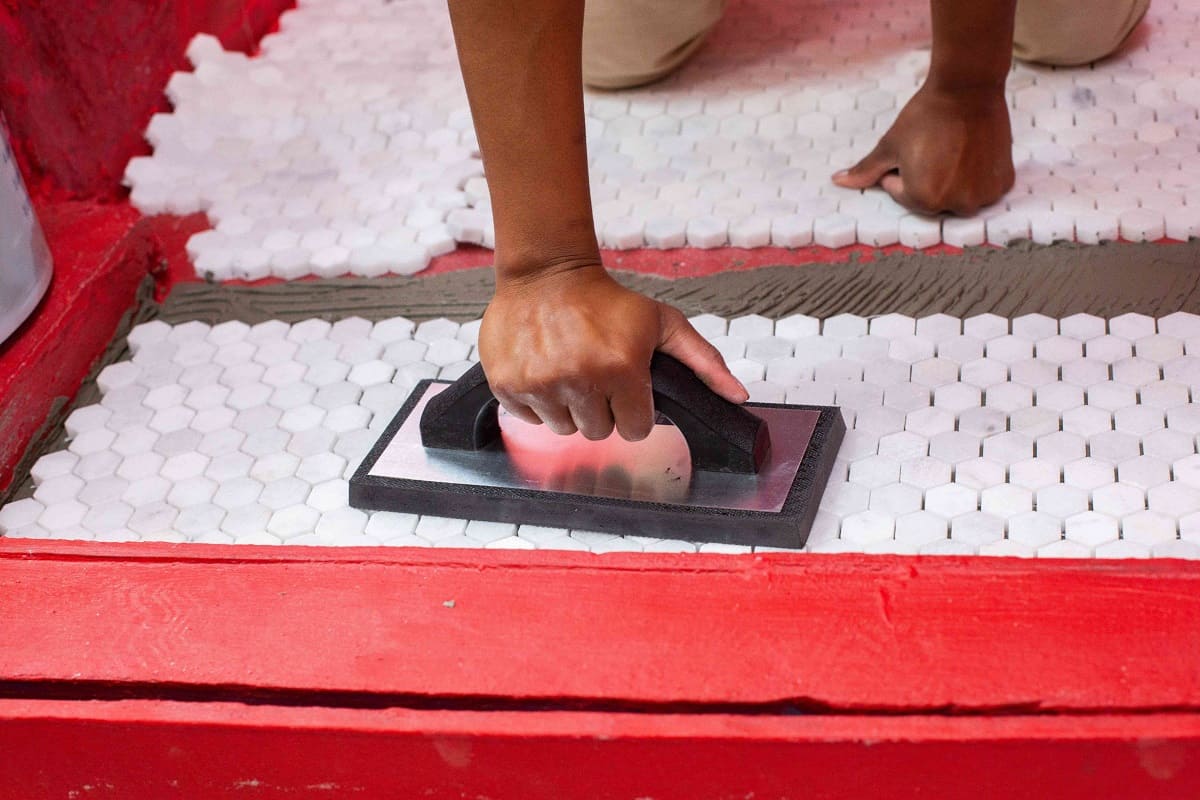
Grouting Your Mosaic
The grouting phase marks a transformative juncture in the evolution of your outdoor mosaic, elevating individual tiles into a unified and visually captivating composition. This meticulous process of filling the interstices between tiles not only enhances the structural integrity of the mosaic but also bestows a polished and refined finish to your artistic creation. Here are essential steps to guide you through the gratifying process of grouting your outdoor mosaic:
- Grout Selection: Choose a high-quality, outdoor-grade grout that complements the color scheme and design of your mosaic. Opt for a weather-resistant grout that withstands outdoor elements, ensuring longevity and durability in your outdoor setting.
- Pre-Grouting Preparation: Clean the mosaic surface and remove any adhesive residues or debris to prepare the tiles for the grouting process. Ensure that the tiles are firmly set and the adhesive has fully cured before proceeding with grout application.
- Grout Application Technique: Utilize a grout float to meticulously apply the grout, pressing it into the interstices between the tiles at a 45-degree angle to ensure thorough coverage. Work in small sections, gradually filling the spaces with grout to achieve a uniform and seamless finish.
- Grout Cleanup: Once the grout has been applied, use a damp sponge to gently remove excess grout from the tile surfaces while smoothing and shaping the grout lines. Rinse the sponge regularly and employ gentle, circular motions to achieve clean and defined grout lines without disturbing the tiles.
- Curing and Polishing: Allow the grout to cure as per the manufacturer’s recommendations, ensuring that it attains the ideal consistency and strength. Once the grout has set, polish the tile surfaces with a dry cloth to remove any residual grout haze, unveiling the lustrous and refined appearance of your mosaic.
As you immerse yourself in the gratifying process of grouting, witness the transformative power of meticulously filling the interstices between tiles, culminating in a visually resplendent and structurally reinforced mosaic. Embrace the meditative rhythm of grout application, infusing your outdoor space with the enduring allure and polished elegance of a meticulously crafted mosaic masterpiece.
Sealing Your Mosaic
The final phase of sealing your outdoor mosaic serves as a crucial step in preserving its beauty, fortifying its resilience, and safeguarding it against the rigors of the outdoor environment. This transformative process not only enhances the longevity of your mosaic but also bestows a lustrous finish, accentuating the vibrancy of colors and ensuring enduring visual allure. Here are essential steps to guide you through the meticulous and gratifying process of sealing your outdoor mosaic:
- Sealant Selection: Choose a premium-quality sealant specifically formulated for outdoor mosaics, offering protection against moisture, UV exposure, and general wear and tear. Opt for a sealant that complements the nature of your tiles and grout, ensuring comprehensive protection and visual enhancement.
- Pre-Sealing Preparation: Ensure that the grout has fully cured and the mosaic surface is clean and free from any grout haze or residues before proceeding with the sealing process. Thoroughly inspect the mosaic for any imperfections or areas that may require touch-ups or cleaning.
- Even Application: Apply the sealant evenly across the entire mosaic surface, utilizing a brush or roller to achieve uniform coverage. Exercise precision and care to avoid excess pooling or uneven application, ensuring a seamless and lustrous finish upon completion.
- Curing Time: Allow the sealant to cure as per the manufacturer’s recommendations, providing adequate time for it to bond with the tiles and grout. Shield the mosaic from exposure to moisture or debris during the curing process to facilitate optimal sealant adherence and effectiveness.
- Visual Enhancement: Witness the transformative effect of the sealant as it accentuates the colors, textures, and patterns within your mosaic, bestowing a lustrous sheen and enhancing the visual vibrancy of the composition. Embrace the heightened allure and enduring beauty of your sealed outdoor mosaic.
As you immerse yourself in the gratifying process of sealing, witness the transformative power of fortifying and enhancing your outdoor mosaic, culminating in a visually resplendent and resilient masterpiece. Embrace the enduring allure and polished elegance of a meticulously crafted mosaic, infusing your outdoor space with timeless beauty and artistic brilliance.
Conclusion
Embarking on the creative odyssey of crafting an outdoor mosaic is a testament to the transformative power of artistry and the enduring allure of handmade craftsmanship. From the initial vision and design conceptualization to the meticulous stages of tile cutting, arrangement, and the transformative processes of adhesive application, grouting, and sealing, each phase contributes to the evolution of a captivating and enduring mosaic masterpiece.
As you immerse yourself in the art of mosaic creation, you not only infuse your outdoor living space with personalized charm and visual allure but also cultivate a profound connection to the creative process. The meditative rhythm of arranging tiles, the transformative power of grout filling interstices, and the final lustrous sheen of the sealed mosaic bear testimony to the artistry and dedication infused into every facet of the mosaic crafting journey.
Upon completing your outdoor mosaic, take a moment to behold the enduring beauty and visual splendor it bestows upon your outdoor environment. Whether adorning a garden table, embellishing a patio, or gracing a wall, your mosaic creation stands as a testament to your ingenuity and artistic vision, captivating onlookers and infusing the outdoor space with timeless allure.
As you venture into the realm of outdoor mosaic artistry, remember that the process is not merely a creative endeavor but a transformative odyssey that celebrates the fusion of art and nature. Embrace the boundless potential of mosaic artistry, infusing your outdoor living space with enduring beauty, vibrant colors, and the timeless allure of handcrafted elegance. Let your outdoor mosaic stand as a testament to the transformative power of creativity and craftsmanship, captivating hearts and inspiring creativity for years to come.
Frequently Asked Questions about How To Make Outdoor Mosaic
Was this page helpful?
At Storables.com, we guarantee accurate and reliable information. Our content, validated by Expert Board Contributors, is crafted following stringent Editorial Policies. We're committed to providing you with well-researched, expert-backed insights for all your informational needs.


0 thoughts on “How To Make Outdoor Mosaic”