Home>Ideas and Tips>DIY Guide To Installing A Kitchen Tile Backsplash With Photocatalytic Self-Cleaning Tiles

Ideas and Tips
DIY Guide To Installing A Kitchen Tile Backsplash With Photocatalytic Self-Cleaning Tiles
Published: September 22, 2024
Learn how to install a kitchen tile backsplash with photocatalytic self-cleaning tiles. Enhance your kitchen's look and keep it effortlessly clean.
(Many of the links in this article redirect to a specific reviewed product. Your purchase of these products through affiliate links helps to generate commission for Storables.com, at no extra cost. Learn more)
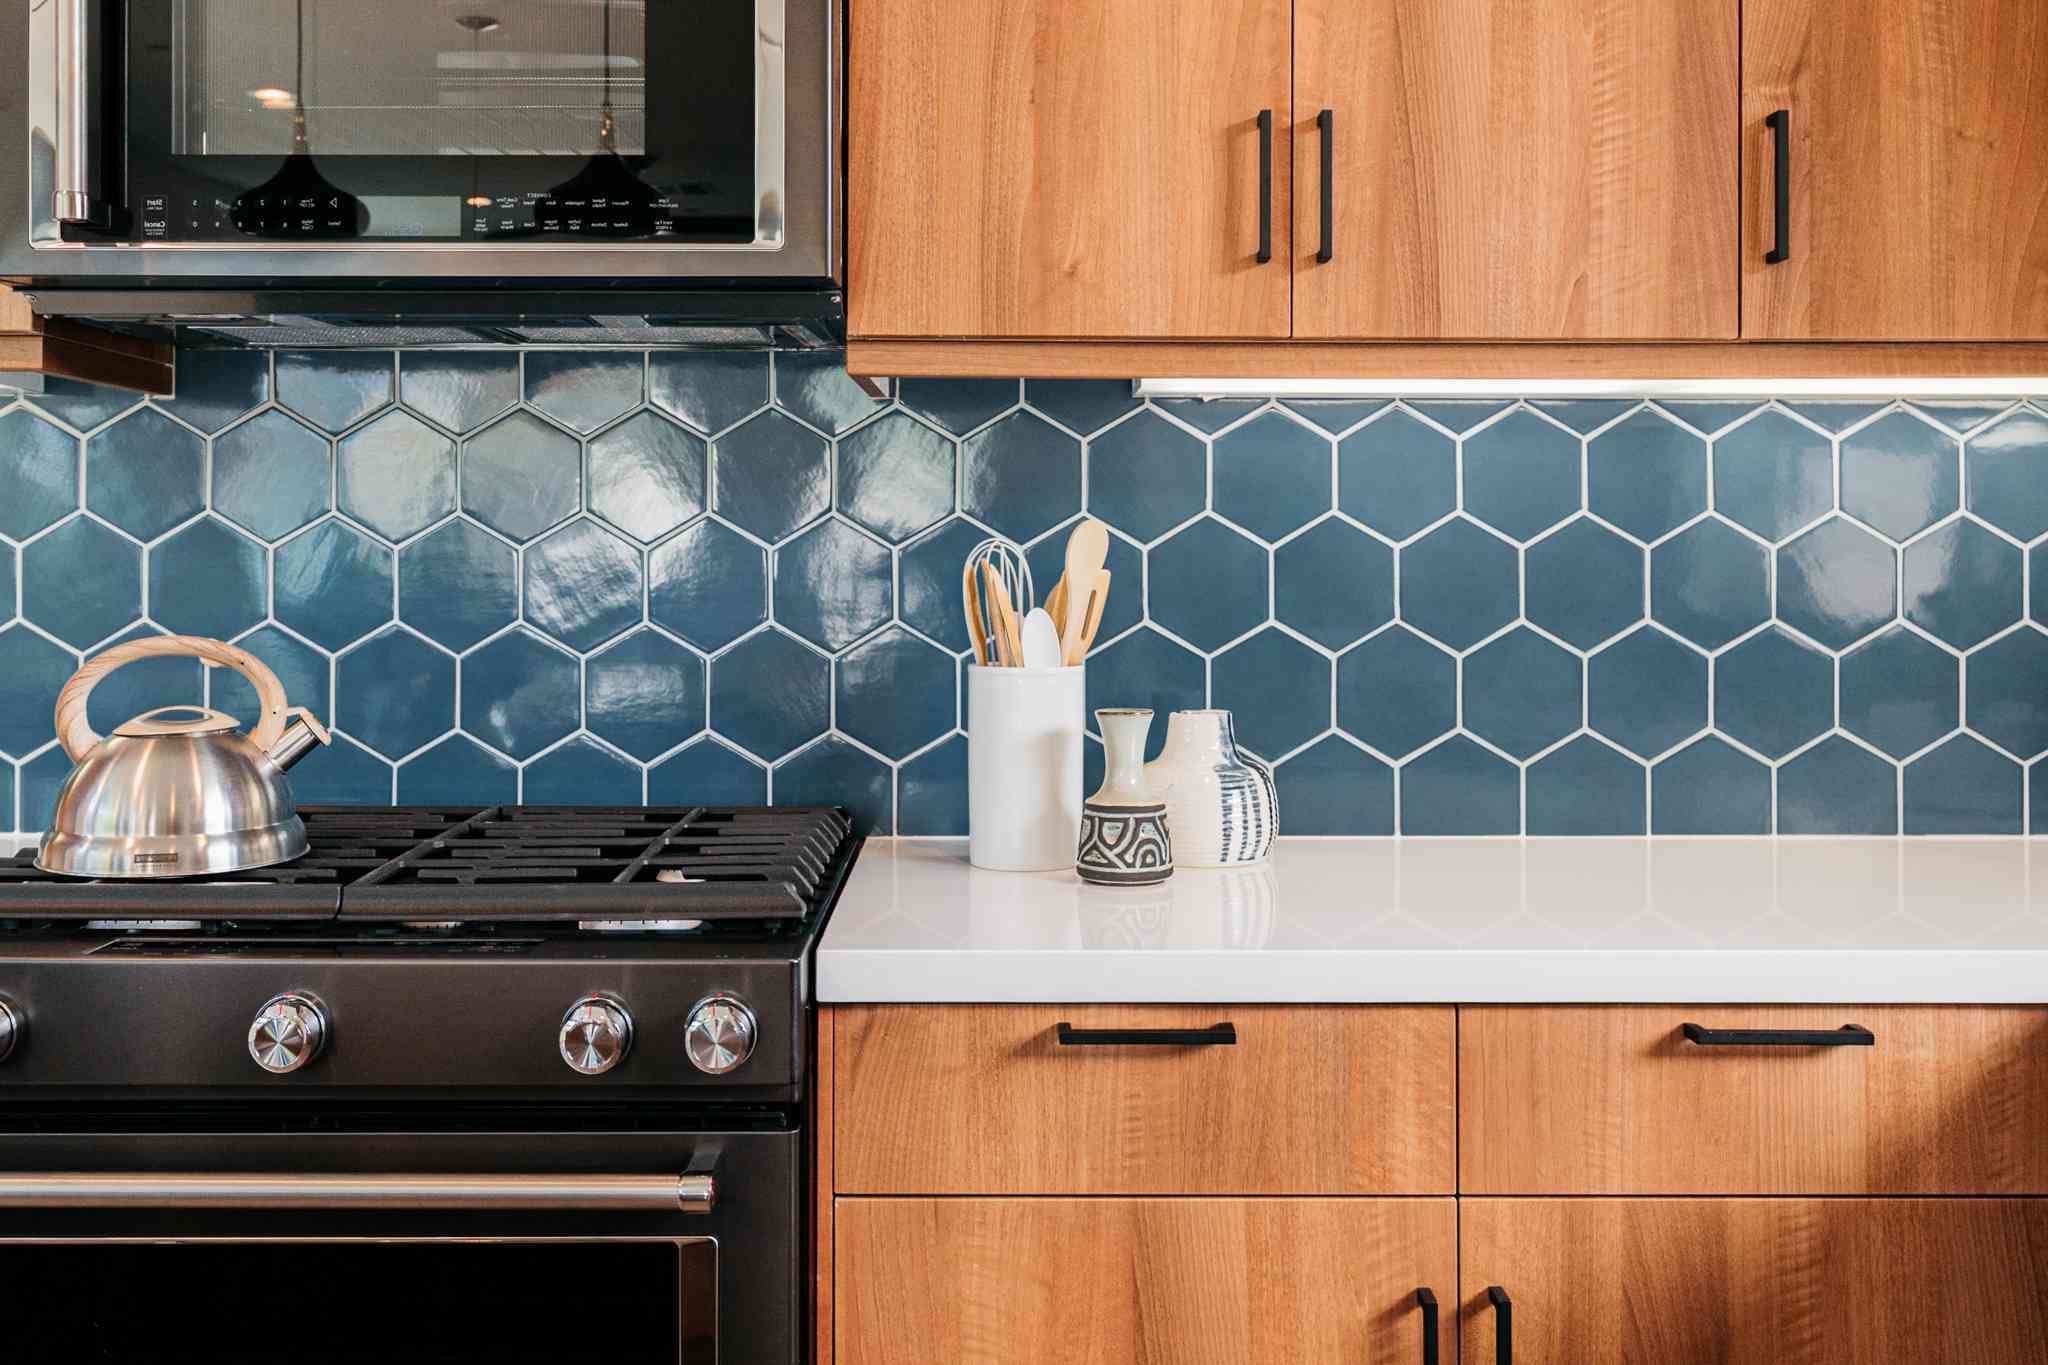
Installing a kitchen tile backsplash is a fantastic way to enhance the aesthetic and functionality of your kitchen. With the advent of photocatalytic self-cleaning tiles, maintaining your backsplash has never been easier. In this comprehensive guide, we will walk you through the steps to install a tile backsplash using photocatalytic self-cleaning tiles, which are known for their ability to break down organic pollutants and maintain a clean surface with minimal effort.
Choosing the Right Tiles
Before diving into the installation process, it's crucial to select the right tiles for your project. Photocatalytic self-cleaning tiles are available in various styles and materials, including ceramic, glass, and porcelain. Here are some key factors to consider when choosing your tiles:
-
Style and Design:
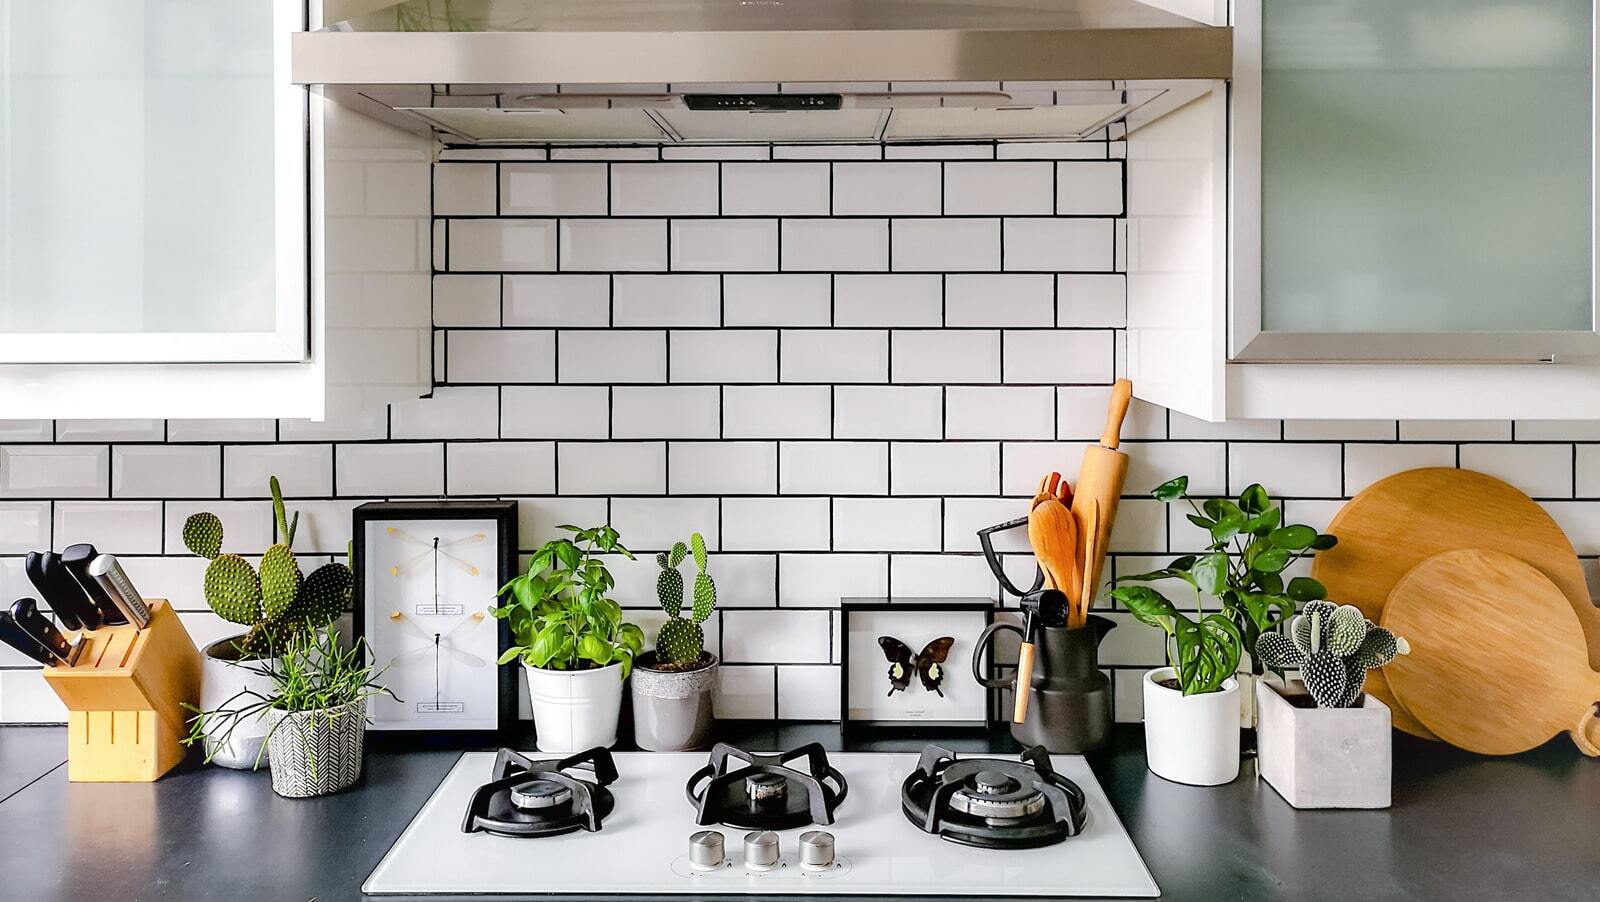
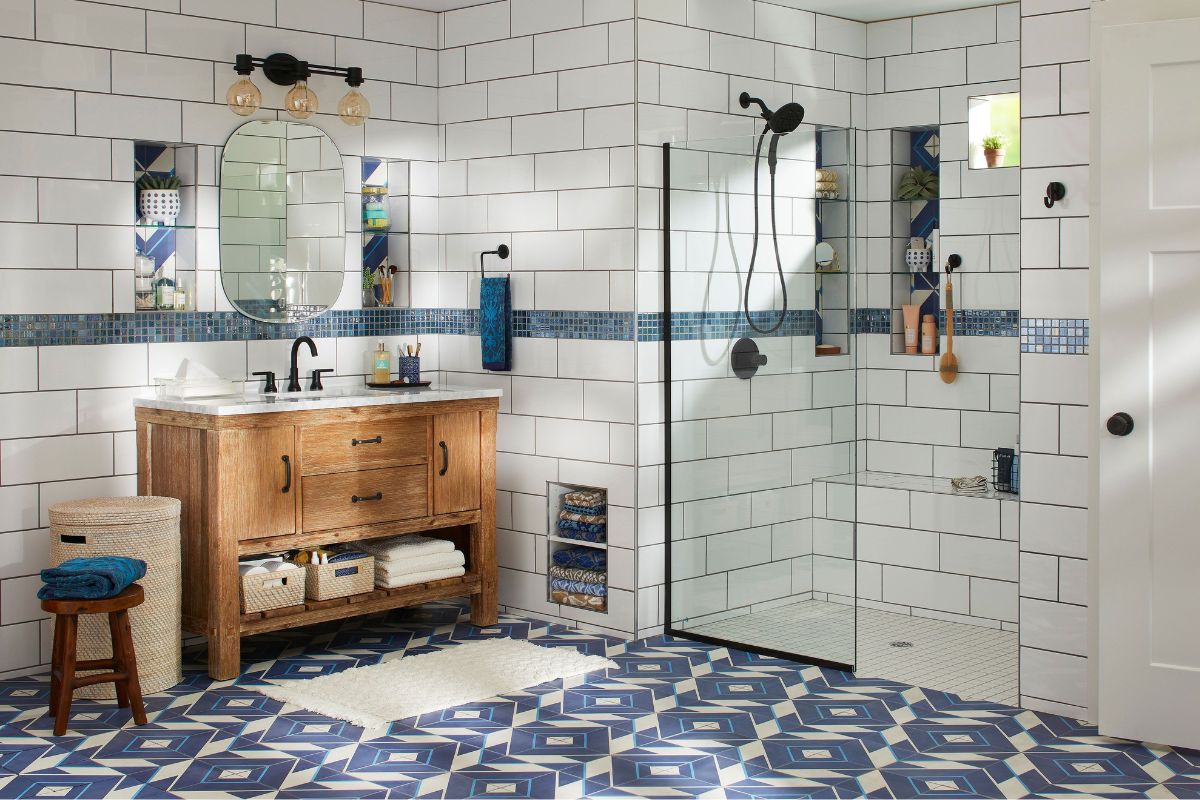
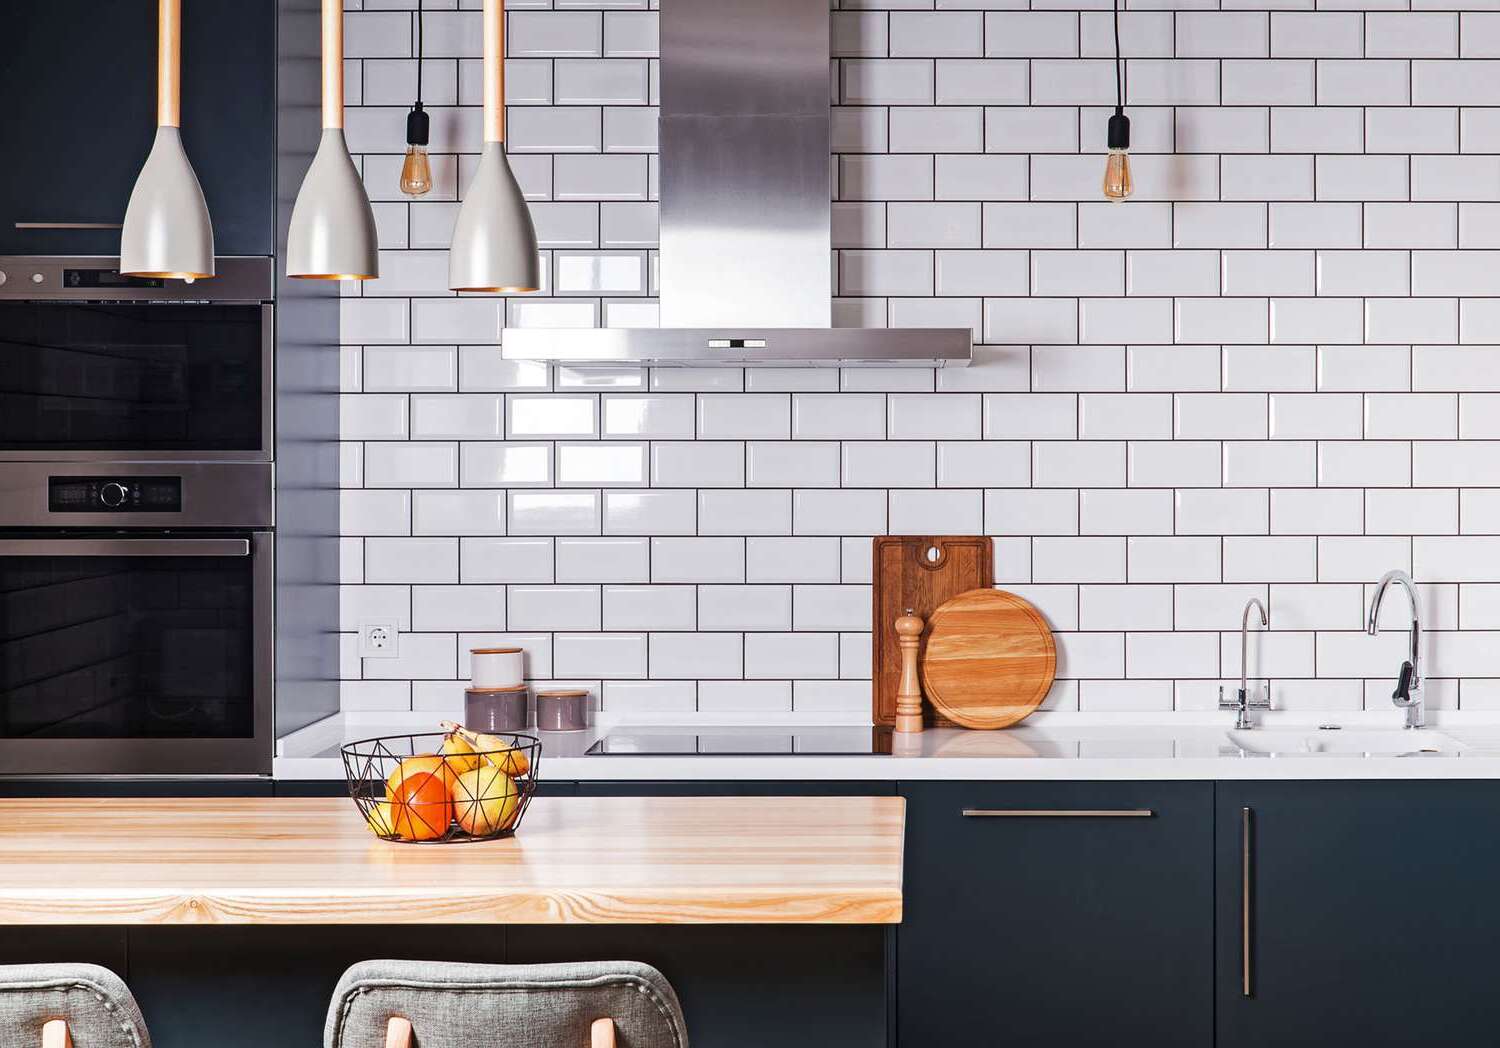
- Subway Tiles: These are classic and versatile, suitable for most kitchen designs.
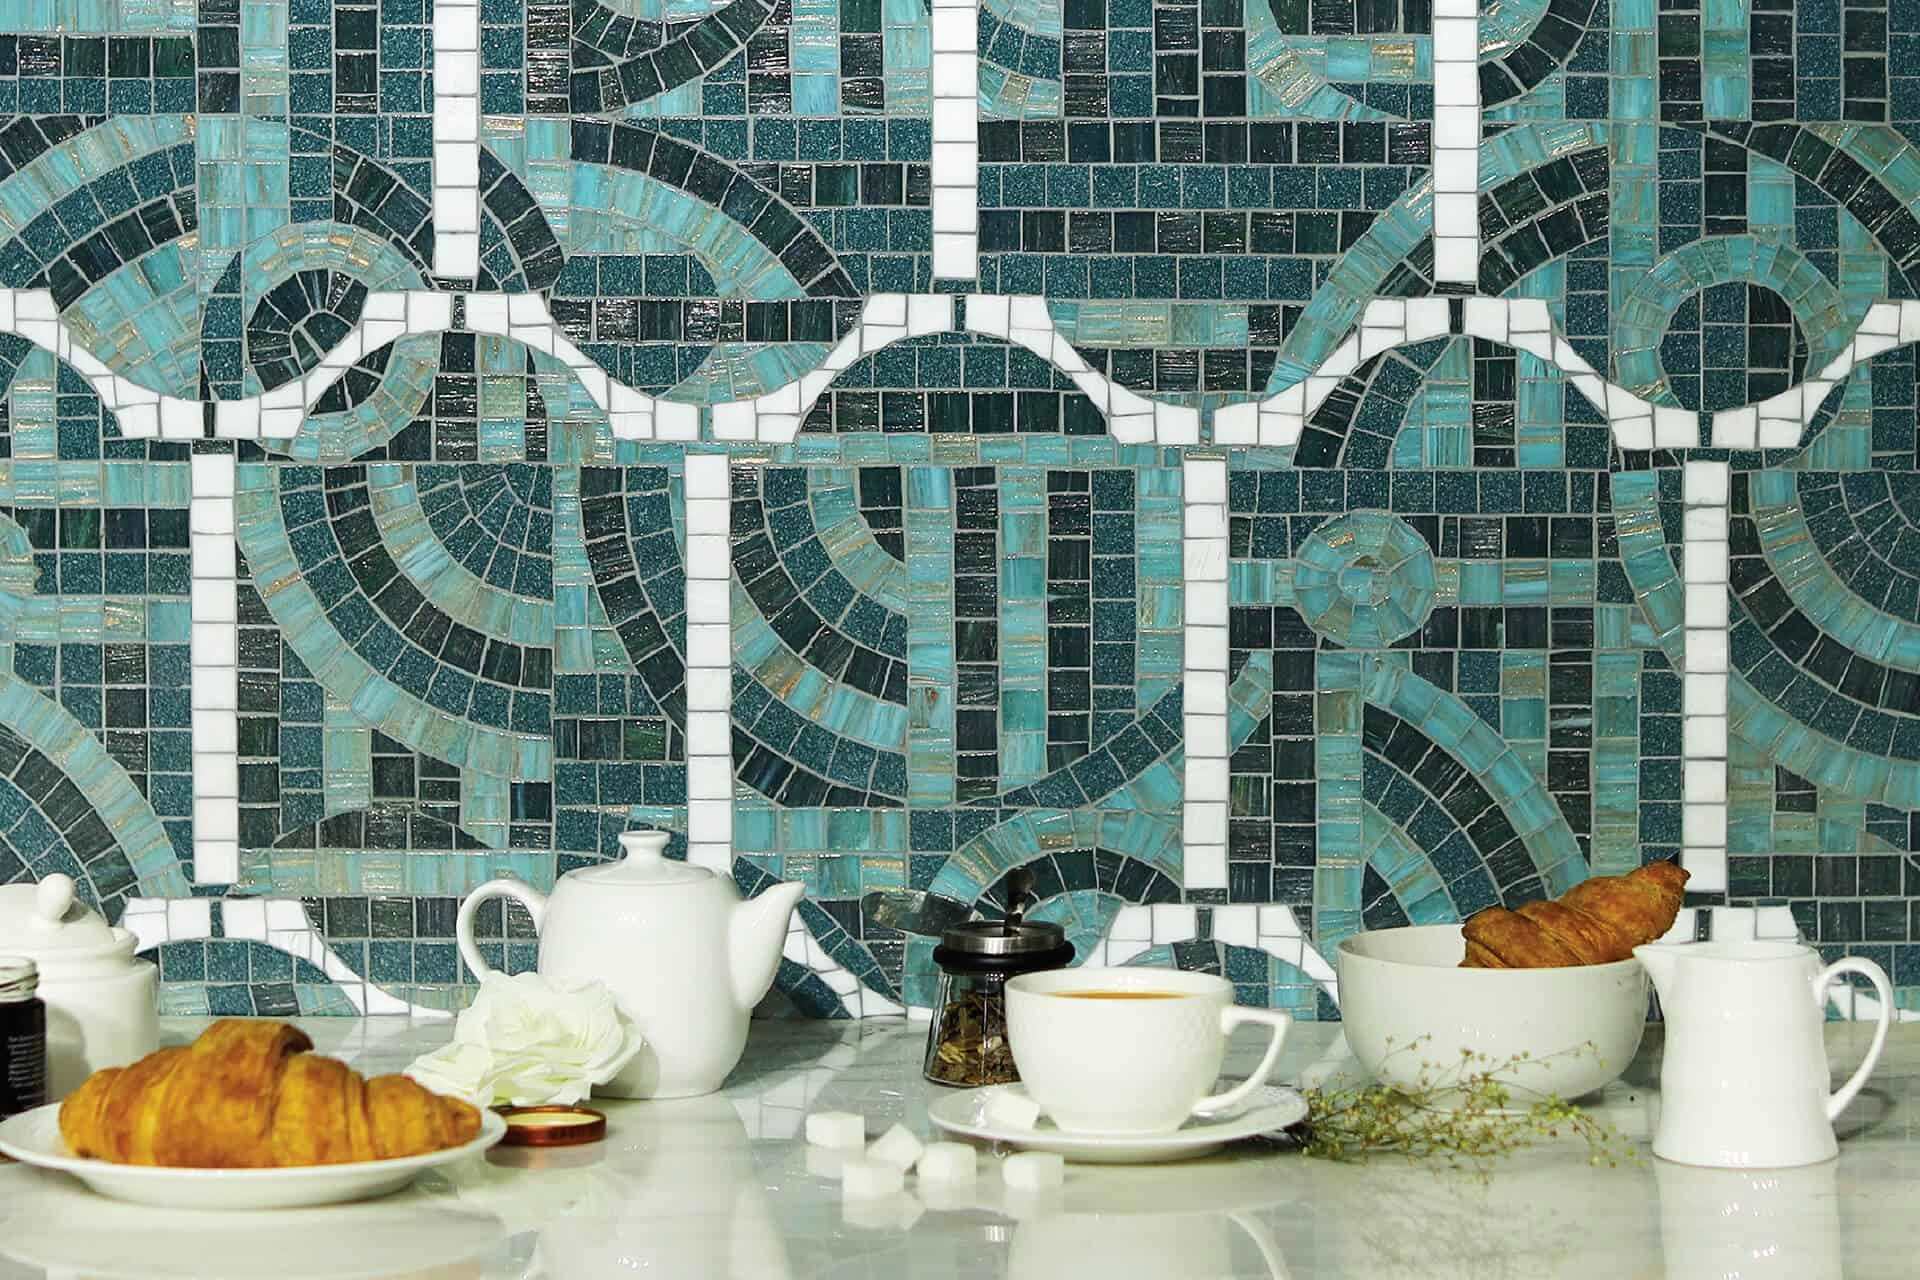
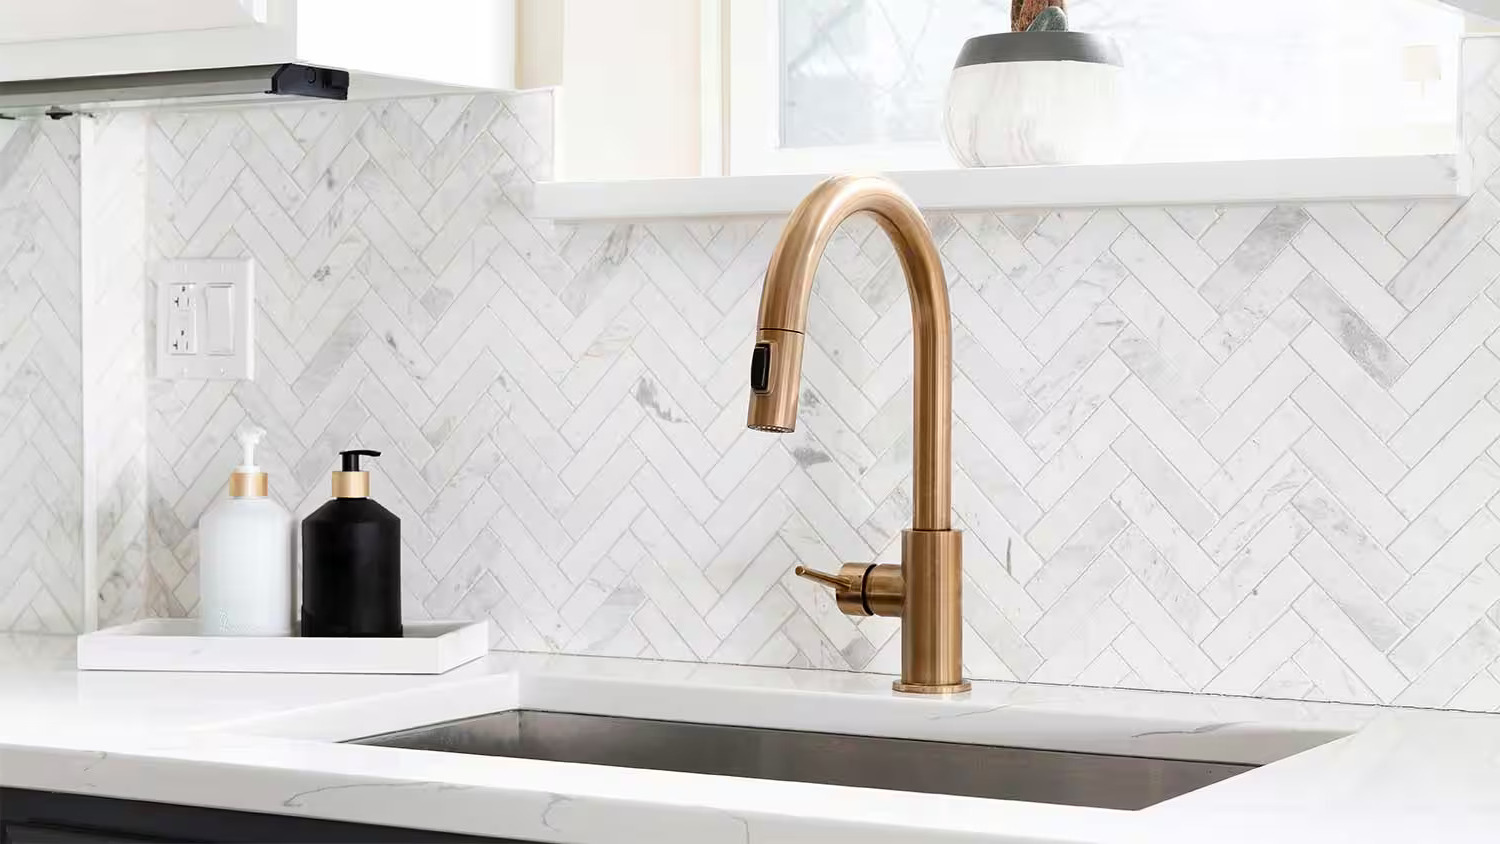
- Mosaic Tiles: Add a touch of elegance with intricate patterns.
- Peel-and-Stick Tiles: Easy to install and remove, perfect for renters or temporary solutions.
-
Material:
- Ceramic Tiles: Durable and resistant to heat, making them ideal for kitchens.
- Glass Tiles: Sleek and modern, often used in contemporary designs.
- Porcelain Tiles: Similar to ceramic but more durable and less prone to water absorption.
-
Photocatalytic Properties:
- Look for tiles that contain photocatalytic agents like titanium dioxide (TiO2). These agents react with UV light to break down organic pollutants, keeping your backsplash clean.
-
Color and Pattern:
- Choose colors and patterns that complement your kitchen's theme and existing fixtures.
-
Budget:
- Set a budget and balance it with the quality of the tiles you choose.
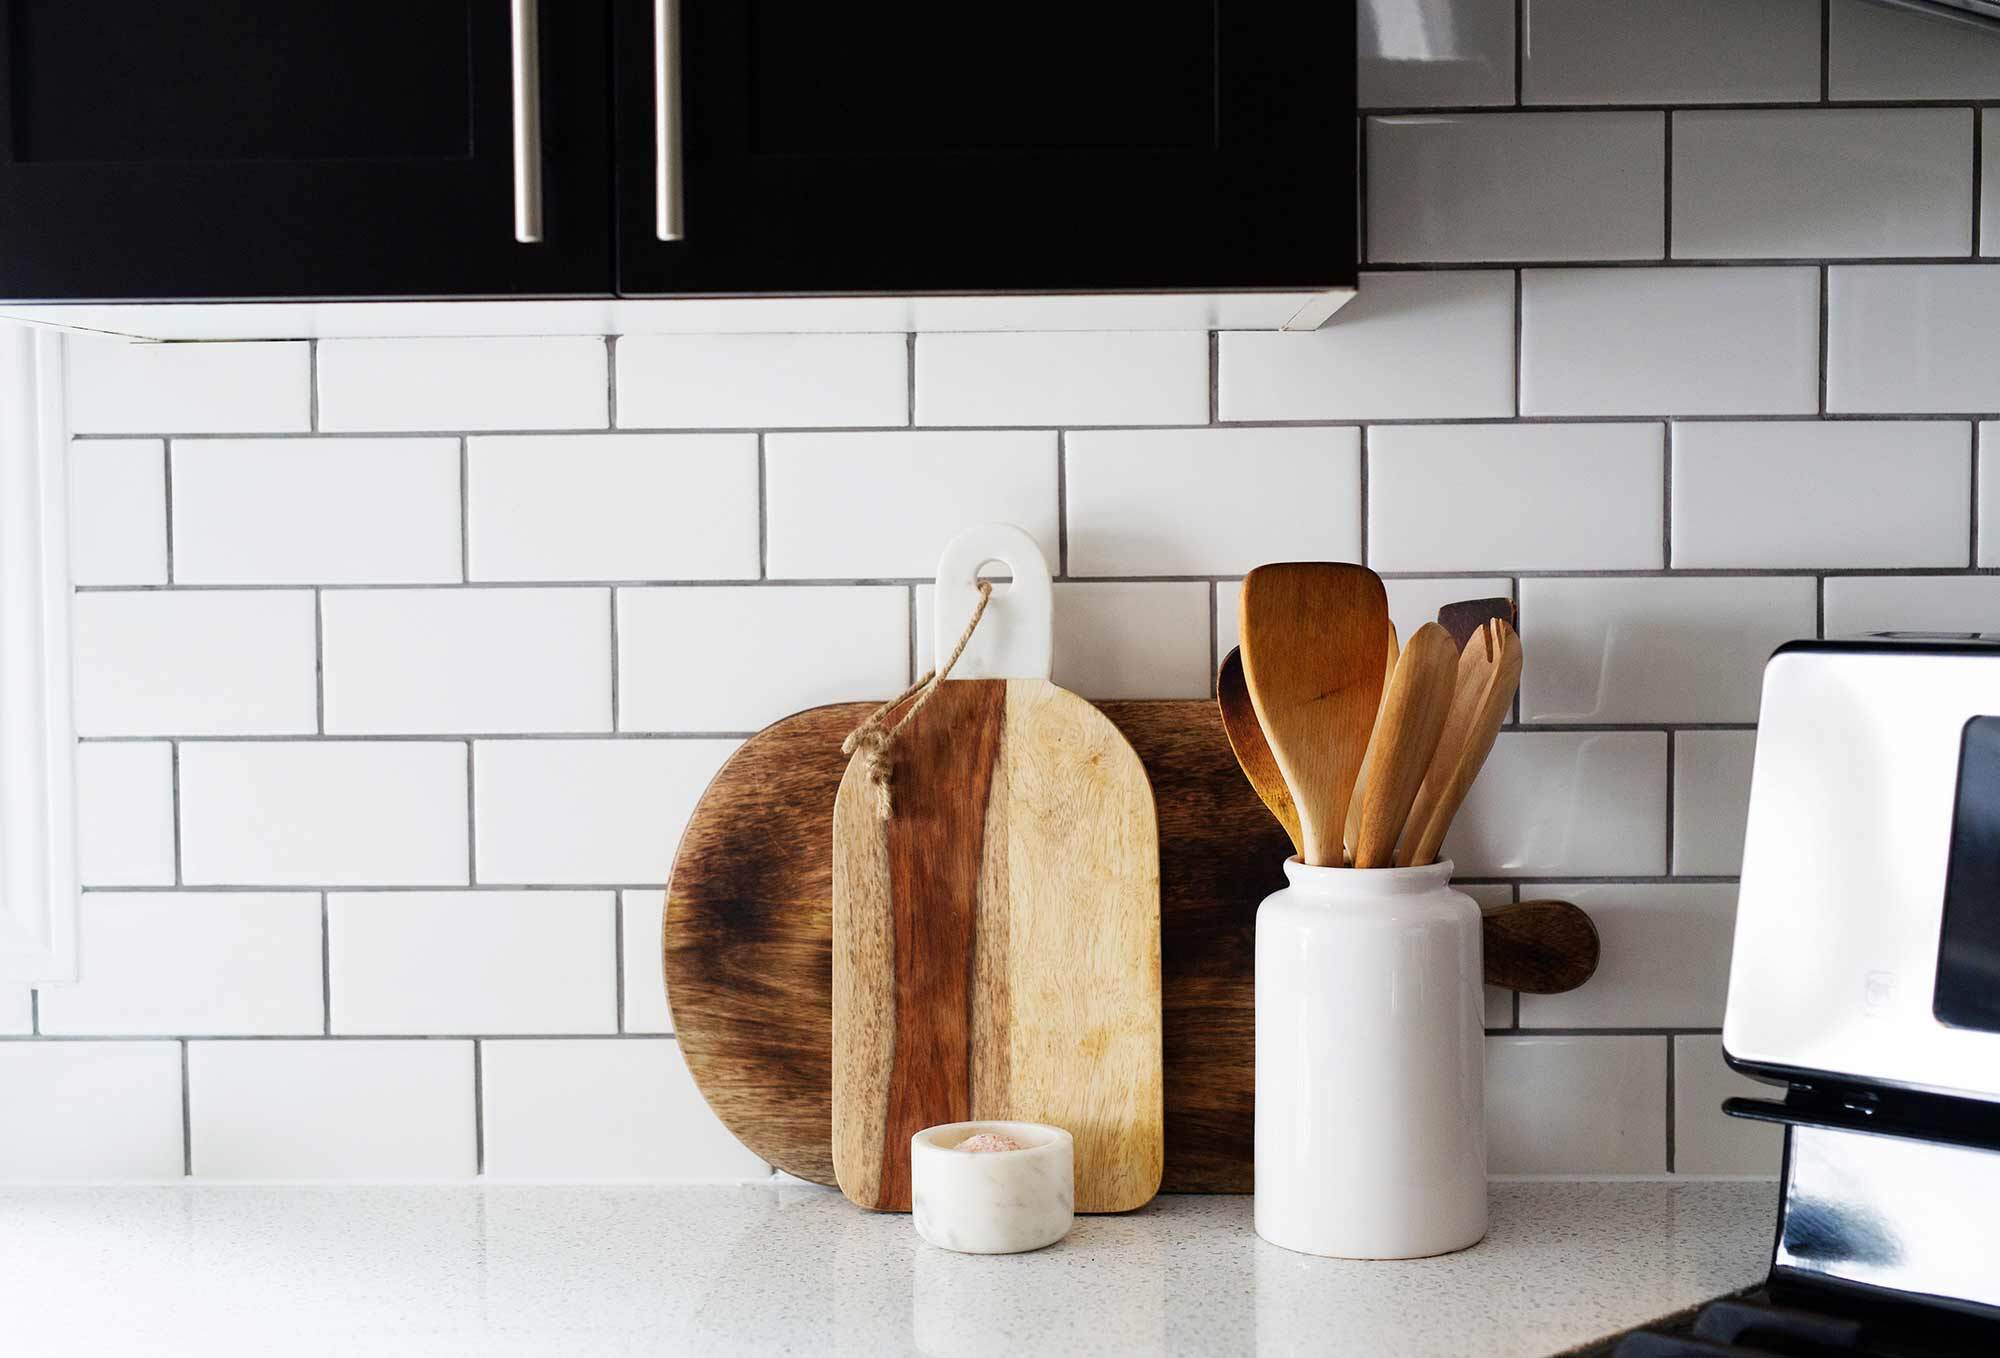
For this guide, we will focus on using ceramic subway tiles with photocatalytic properties.
Preparing Your Space
Before starting the installation process, ensure your kitchen is prepared for the project:
-
Clear the Area:
- Remove any items from the countertops and appliances to prevent damage and interference.
-
Protect Surfaces:
- Use painter's tape and craft paper to protect countertops, cabinets, and any surrounding surfaces from dust and debris.
-
Turn Off Power:
- Switch off the power to any electrical outlets or appliances near the area where you'll be working.
-
Remove Outlet Covers:
- Take out the outlet covers to avoid any obstructions during installation.
-
Cover Flooring:
- Lay down a drop cloth or plastic sheet to protect your flooring from dust and debris.
Measuring and Calculating Tile Needs
Accurate measurement is crucial for a successful installation:
-
Measure the Backsplash Area:
- Determine the square footage of your backsplash area by multiplying its length by its width.
-
Calculate Tile Quantity:
- Use a tile calculator or consult with the manufacturer to determine how many tiles you'll need. It's always a good idea to order about 10% extra tiles to account for any cuts or irregularities.
For this example, let's assume you need 20 square feet of tile.
Tools and Materials Needed
Here’s a list of tools and materials you'll need for the installation:
Tools:
- Level: Ensures your tiles are straight and level.
- Measuring Tape: For measuring the area and marking tile positions.
- Tile Saw or Manual Tile Cutter: For cutting tiles to size.
- Tile Nippers: For making precise cuts in small areas.
- Utility Knife: For cutting through grout lines or making minor adjustments.
- Grout Float: For applying and spreading grout evenly.
- Sponge: For cleaning excess grout from the surface of the tiles.
- Bucket: For mixing grout.
Materials:
- Photocatalytic Self-Cleaning Tiles: Your chosen tile style and quantity.
- Tile Adhesive (MusselBound): For securing the tiles to the wall.
- Grout: In the color of your choice to match or complement your tiles.
- Latex Caulk: For sealing any gaps around edges or corners.
Step-by-Step Installation Guide
Step 1: Clean the Surface
-
Degrease the Wall:
- Use a degreaser to clean the entire surface thoroughly. This ensures that the tiles adhere well and provides a clean base for installation.
-
Dry the Surface:
- Allow the surface to dry completely before proceeding with the installation.
Step 2: Apply Tile Adhesive
-
Prepare the Adhesive:
- Follow the manufacturer's instructions to prepare the tile adhesive (MusselBound). Typically, you'll need to mix it with water according to the ratio specified on the packaging.
-
Apply Adhesive:
- Use a notched trowel to apply an even layer of adhesive to the wall, holding it at a 45-degree angle to spread it smoothly.
-
Hold the Trowel at an Angle:
- Hold the trowel at an angle so that excess adhesive falls back into the bucket, ensuring you don’t apply too much.
Step 3: Lay Out Tiles
-
Start with a Straight Line:
- Use painter’s tape and a level to mark a straight line along the length of your backsplash area where you want your first tile to sit.
-
Place First Tile:
- Peel off the backing from your first tile and press it firmly onto the marked line, ensuring it’s aligned properly with any surrounding surfaces or edges.
-
Continue Laying Tiles:
- Continue placing tiles along the marked line, ensuring each subsequent tile is aligned with its predecessor using spacers if necessary.
-
Cut Tiles as Needed:
- Use either a tile saw or manual tile cutter to cut tiles around outlets, corners, or any other obstructions.
-
Dry Check Before Final Placement:
- Before peeling off the backing from subsequent tiles, perform a dry check by pressing them gently onto their intended positions without removing their backing papers.
-
Final Placement:
- Once satisfied with their positions, remove their backing papers and press them firmly onto their respective positions on the wall.
Step 4: Grouting
-
Mix Grout:
- Follow manufacturer’s instructions for mixing grout according to its type (sanded or non-sanded).
-
Apply Grout:
- Use a grout float held at an angle similar to how you applied tile adhesive earlier but now spread grout evenly between gaps between tiles making sure not leave any gaps behind but avoid applying too much which could lead uneven surface finish later down line
3 . Clean Excess Grout:
Use damp sponge wipe away excess grout from surface leaving clean lines between each tile ensuring professional finish throughout entire project
4 . Allow Grout To Set:
Let grout set according manufacturer’s instructions usually several hours depending type used before sealing final touches
Step 5: Sealing Gaps
1 . Apply Latex Caulk:
Use latex caulk seal any gaps around edges corners ensuring watertight seal preventing water seepage behind tiles causing damage over time
2 . Smooth Out Caulk:
Use damp finger smooth out caulk making sure no bumps creases left behind giving smooth finish overall appearance
Maintaining Your Photocatalytic Self-Cleaning Backsplash
One of the best features of photocatalytic self-cleaning tiles is their ability to maintain cleanliness with minimal effort:
1 . UV Light Exposure:
Photocatalytic agents react with UV light breaking down organic pollutants keeping surface clean naturally over time
2 . Regular Cleaning:
While tiles maintain themselves well occasional cleaning may still required especially after spills stains occur regularly wiping down surface gently soap water solution should suffice keeping them looking pristine always
Conclusion
Installing a kitchen tile backsplash using photocatalytic self-cleaning tiles not only enhances aesthetic appeal but also provides practical benefits maintaining cleanliness effortlessly making it ideal choice homeowners looking upgrade their kitchens without hassle involved traditional methods mentioned above following steps outlined guide ensure successful installation end result beautiful functional space everyone enjoys years come
Was this page helpful?
At Storables.com, we guarantee accurate and reliable information. Our content, validated by Expert Board Contributors, is crafted following stringent Editorial Policies. We're committed to providing you with well-researched, expert-backed insights for all your informational needs.



0 thoughts on “DIY Guide To Installing A Kitchen Tile Backsplash With Photocatalytic Self-Cleaning Tiles”