Home>Ideas and Tips>DIY Guide To Installing A Subway Tile Shower

Ideas and Tips
DIY Guide To Installing A Subway Tile Shower
Modified: October 20, 2024
Transform your bathroom with our DIY guide to installing a subway tile shower. Step-by-step instructions ensure a professional finish.
(Many of the links in this article redirect to a specific reviewed product. Your purchase of these products through affiliate links helps to generate commission for Storables.com, at no extra cost. Learn more)
Installing a subway tile shower can be a rewarding DIY project that transforms your bathroom into a stylish and functional space. Subway tiles are versatile, easy to work with, and can be used in various patterns to create a unique look. In this comprehensive guide, we will walk you through the steps involved in installing a subway tile shower, from preparation to completion.
Step 1: Planning and Preparation
Before you start your project, it's crucial to plan carefully. Here are some key steps to ensure your project goes smoothly:
1.1 Measure the Shower Wall
Measure the width of the rear wall of your shower. In our example, let's assume it's 67 inches. Calculate the center of the wall by dividing the width by 2, which gives you 33.5 inches.
1.2 Check for Level and Flatness
Use a level and straightedge to ensure that the floor is level and the walls are flat. If there are any low areas, fill them with setting-type compound to flatten the walls before you start tiling.
1.3 Determine the Layout
Plan your tile layout carefully. The first tile you lay will dictate the placement of all subsequent tiles. Use a story pole or ledger bar to help you achieve straight lines and ensure that your tiles are evenly spaced.
Step 2: Waterproofing the Shower
Waterproofing your shower is essential to prevent leaks and ensure the longevity of your tile installation. Here’s how you can do it:
2.1 Apply Waterproofing Membrane
Use a waterproofing membrane like Schluter Kerdi fabric to cover the entire shower area, including the walls and floor. This will provide a reliable barrier against water.
Step 3: Preparing the Surface
Before you start tiling, make sure the surface is clean and free of any debris. Here’s how you can prepare it:
3.1 Clean the Surface
Thoroughly clean the surface of the shower wall using a degreaser or a mixture of baking soda and water. This will help create a strong bond between the tile and the adhesive.
3.2 Apply Adhesive
Apply a thin layer of adhesive (thinset) to the back wall, enough to set 3 or 4 rows of tile. This will help you achieve straight and flat tiles.
Step 4: Laying the First Row of Tiles
The first row of tiles sets the tone for the entire installation. Here’s how you can lay it:
4.1 Mark the Center Line
Mark the center line on each wall using a level and a pencil. This line will serve as a reference point for all subsequent rows.
4.2 Set the First Tile
Place the first tile along the center line, ensuring it is level and plumb. Use a laser level to keep your tiles perfectly aligned.
4.3 Cut the Tiles
Cut any tiles that need to fit around obstructions like shower benches or niches using a diamond blade or tile cutter. Leave about 1/8 inch gap between the bottom tile and the shower pan to allow for expansion.
Read more: DIY Guide To Installing A Tile Shower
Step 5: Laying Subsequent Rows
Once you have set the first row, you can start laying subsequent rows:
5.1 Use Spacers
Use spacers between tiles to maintain even spacing and ensure that your tiles are properly aligned. For an offset tile pattern, place spacers halfway between tiles.
5.2 Apply Adhesive to Tiles
Back butter every single tile with the flat side of a trowel, using the correct notch for the tile size and weight. For example, use a 1/4 inch x 1/4 inch square notched trowel along with Ardex X77 thin-set.
5.3 Set Tiles
Set each tile in place, ensuring it is level and plumb. Use SeamClips if necessary to keep everything tight, especially for larger tiles like 4×12 inches.
Read more: DIY Guide To Installing A Tile Floor
Step 6: Wrapping Tiles Around Corners
When you reach corners or obstructions like shower benches or niches, you need to wrap tiles around them seamlessly:
6.1 Cut Off Bits
Cut off bits from the back wall and use them as the first pieces on the side wall. This creates a seamless wrap-around effect.
6.2 Install Side Walls
Install tiles from the rear wall to the outside edge of the shower or tub, using cut-off bits from previous rows to maintain continuity.
Step 7: Grouting the Tiles
Grouting is a crucial step in completing your subway tile shower:
7.1 Mix Grout
Mix grout according to the package instructions, but only enough for one wall at a time. Spread grout with a grout float, packing joints completely and wiping off excess grout with the edge of the float.
7.2 Allow Grout to Set
Allow grout to set for about 15 minutes before working it with a damp sponge. Wring out the sponge frequently in clean water to avoid re-depositing grout onto the tiles.
7.3 Polish Tiles
Once all grout is removed from the face of the tiles and joints are consistent and smooth, let grout set up for an hour before polishing tiles with a damp microfiber cloth.
Step 8: Sealing Grout (Optional)
If desired, apply a grout sealer to protect your grout from stains and make cleaning easier.
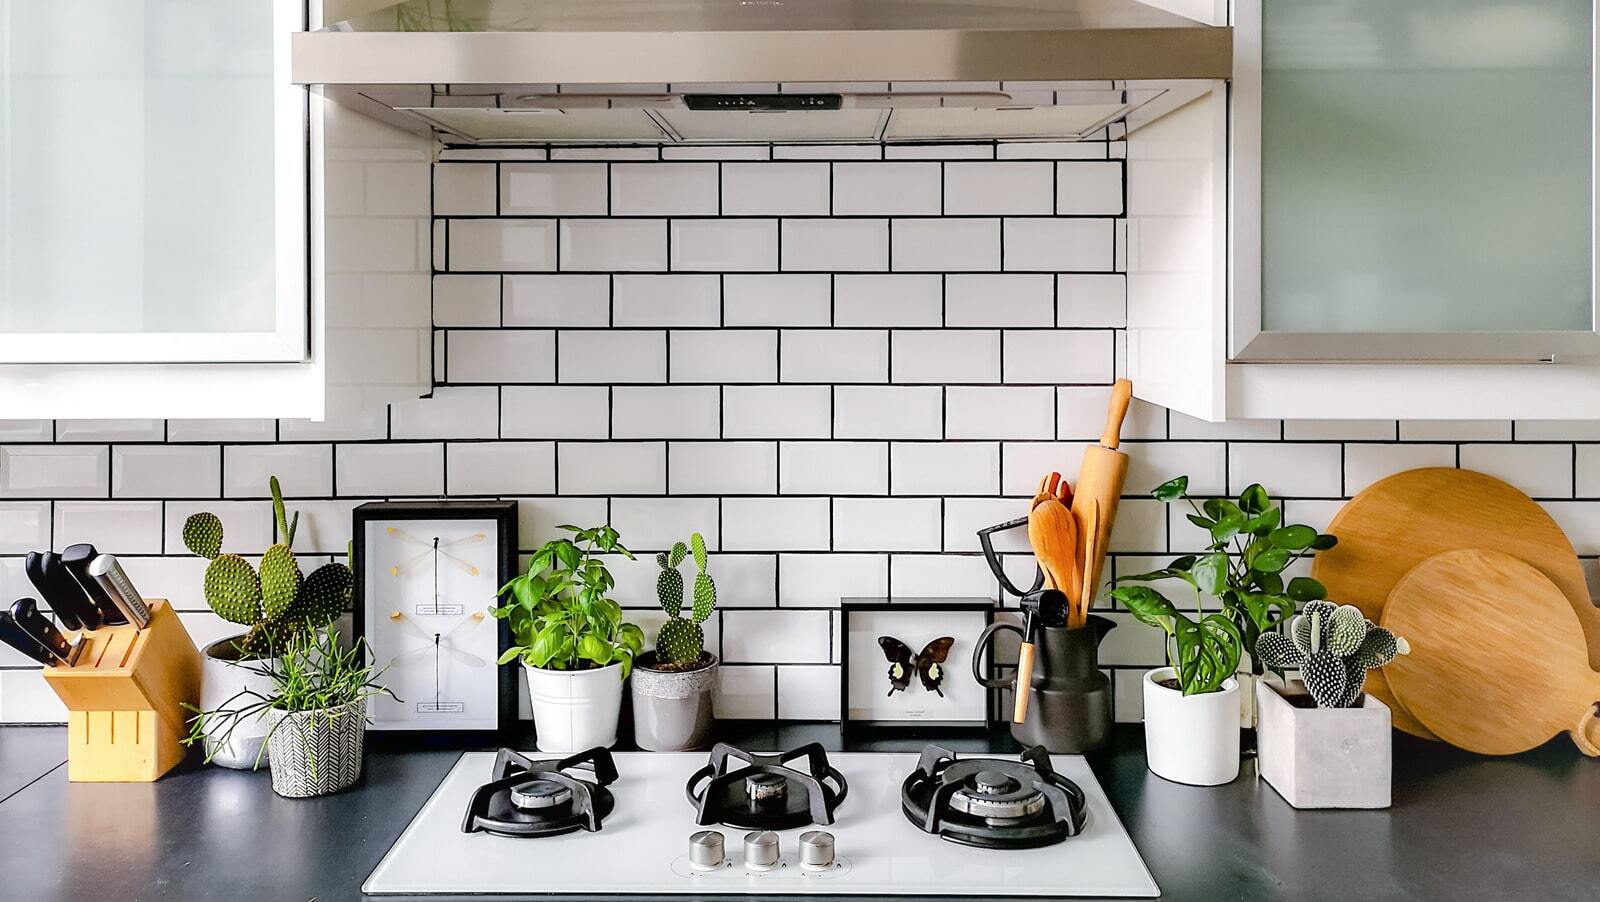
Read more: DIY Guide To Installing A Pebble Tile Floor
8.1 Apply Sealer
Follow manufacturer instructions for applying grout sealer. Typically, you'll need to apply multiple coats, allowing each coat to dry before applying the next.
Step 9: Caulking Joints
Finally, caulk joints where tiles meet other surfaces like the shower pan or tub. Use caulk that matches the color of your grout for a seamless finish.
Step 10: Removing SeamClips and Horseshoe Shims
After setting tiles, remove SeamClips and horseshoe shims from subway tiles the day after setting them. Hit SeamClips along the grout joint as this makes them break properly.
Conclusion
Installing a subway tile shower is a rewarding DIY project that requires careful planning and execution. By following these steps, you can achieve professional-looking results that enhance both functionality and aesthetics of your bathroom. Remember to take your time, work methodically, and enjoy the process of transforming your space into something beautiful and functional.
Read more: DIY Guide To Installing A Glass Shower Door
Additional Tips:
- Use Proper Tools: Invest in good quality tools like laser levels, diamond blades, and tile cutters to ensure accurate cuts and even spacing.
- Work in Small Sections: Divide your project into smaller sections to maintain focus and avoid mistakes.
- Consult Professionals: If unsure about any part of the process, consider consulting professional tile installers for guidance.
By following this comprehensive guide, you'll be well-equipped to tackle your subway tile shower installation project with confidence and achieve stunning results that will make your bathroom stand out.
Was this page helpful?
At Storables.com, we guarantee accurate and reliable information. Our content, validated by Expert Board Contributors, is crafted following stringent Editorial Policies. We're committed to providing you with well-researched, expert-backed insights for all your informational needs.


0 thoughts on “DIY Guide To Installing A Subway Tile Shower”