Home>Ideas and Tips>How To Choose And Install The Right Bathroom Exhaust Fan With Light

Ideas and Tips
How To Choose And Install The Right Bathroom Exhaust Fan With Light
Modified: August 30, 2024
Learn how to choose the perfect bathroom exhaust fan with light and follow our step-by-step guide for a seamless installation.
(Many of the links in this article redirect to a specific reviewed product. Your purchase of these products through affiliate links helps to generate commission for Storables.com, at no extra cost. Learn more)
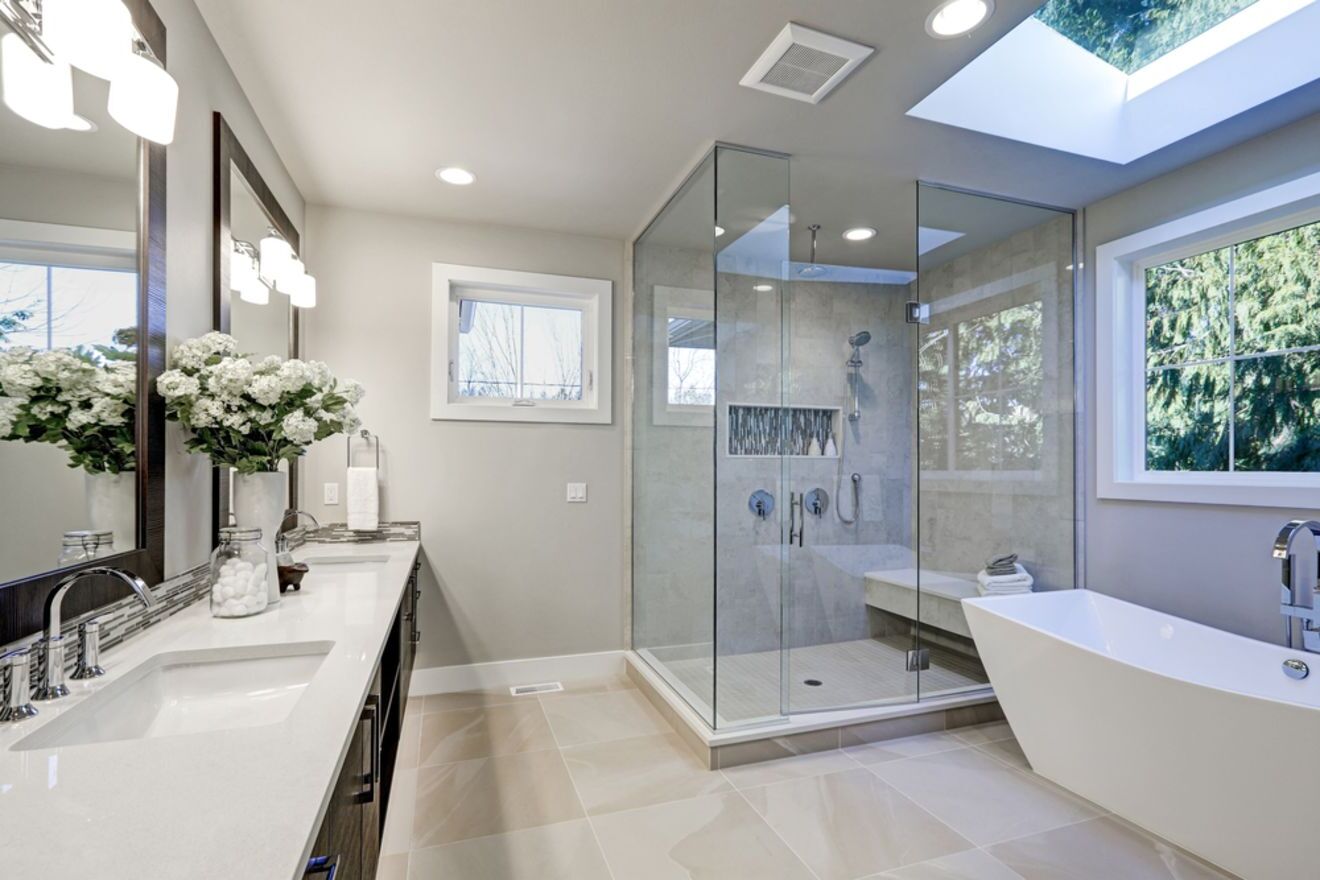
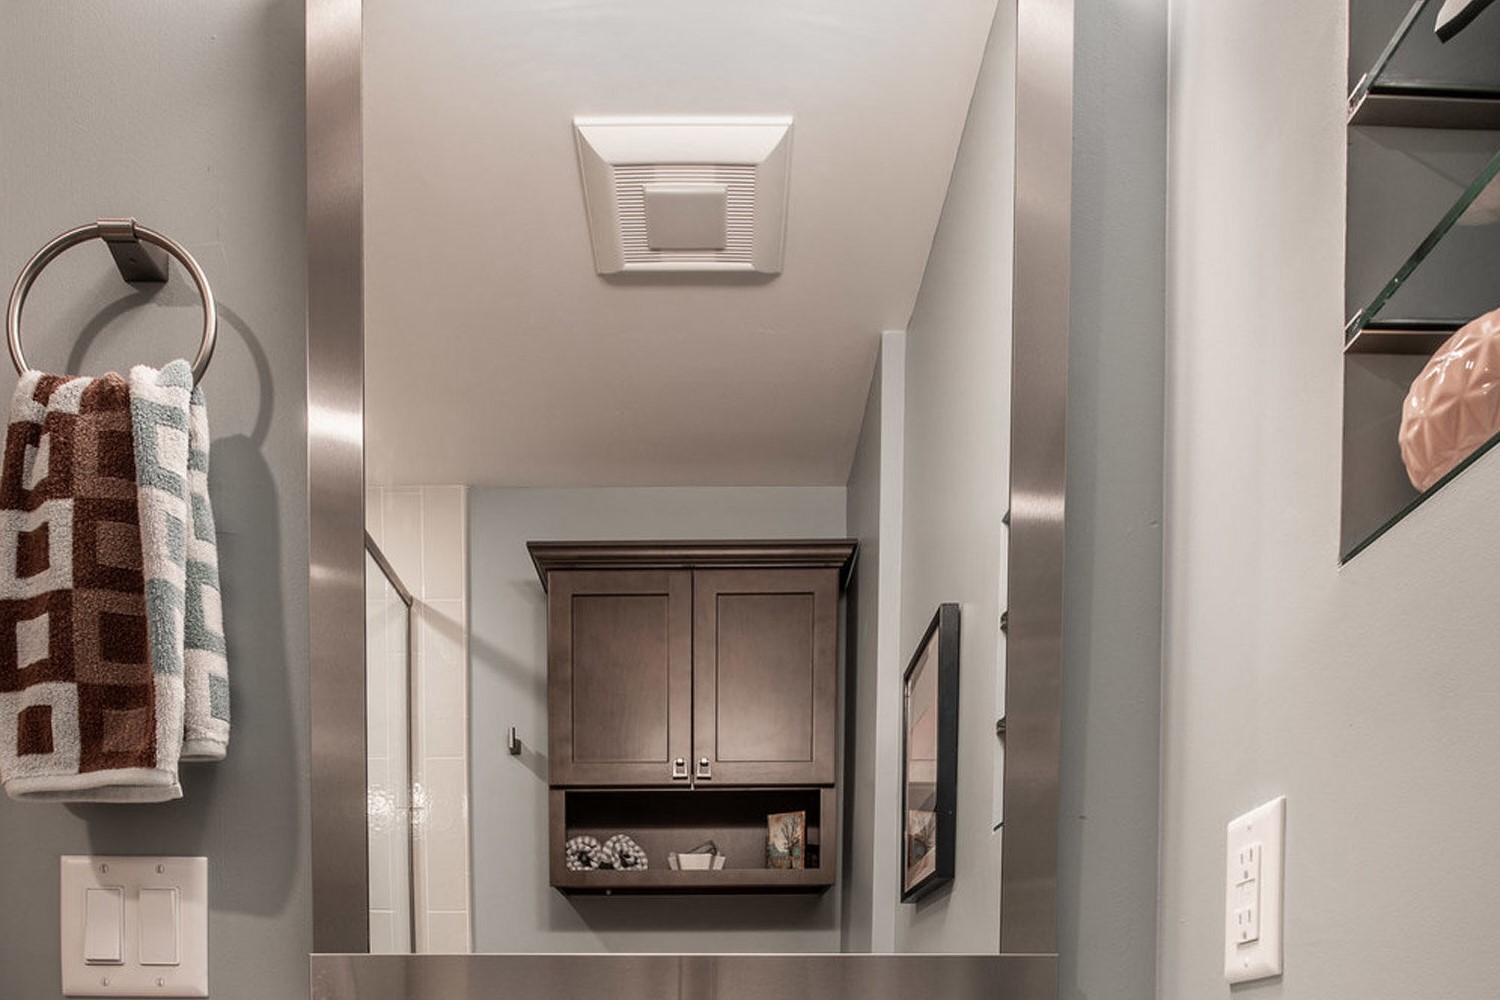
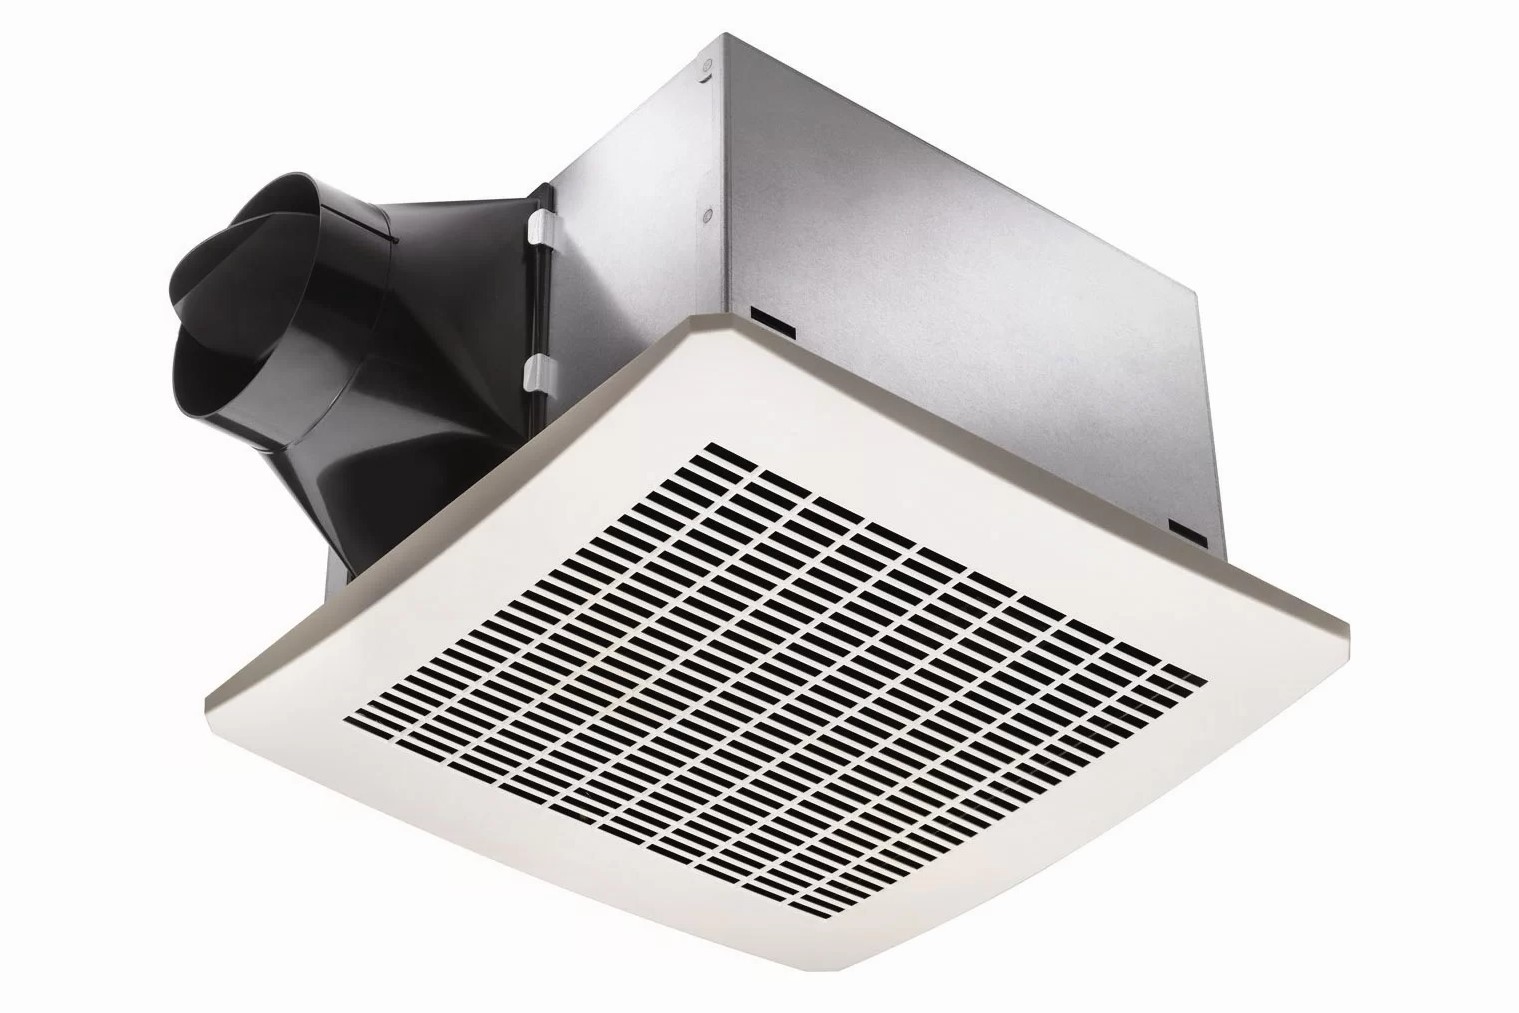
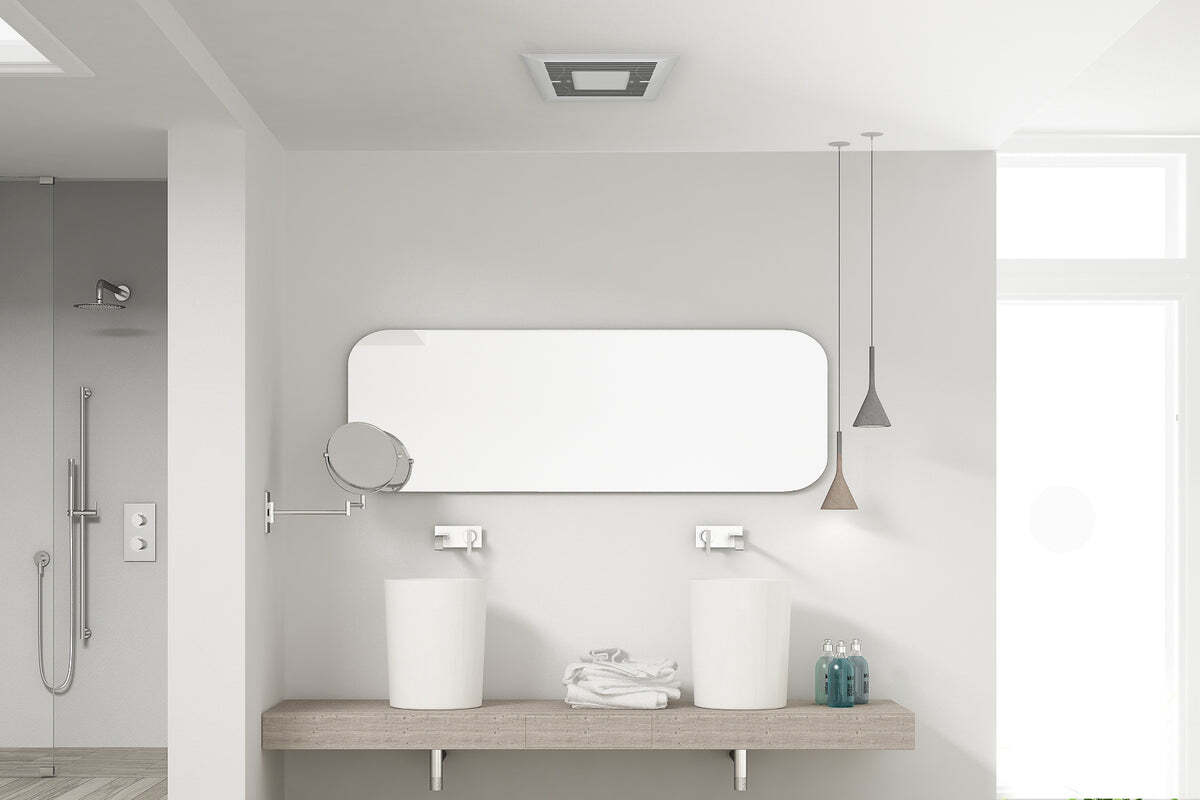
Choosing the right bathroom exhaust fan is crucial for maintaining a comfortable and healthy bathroom environment. These fans not only remove moisture and odors but also contribute to the overall ambiance of the space. In this article, we will guide you through the process of selecting the perfect bathroom exhaust fan with light, as well as provide a detailed step-by-step installation guide.
Why You Need a Bathroom Exhaust Fan
Before diving into the specifics of choosing and installing a bathroom exhaust fan, it's essential to understand why these fans are necessary. Moist air from showers, tubs, and other fixtures in a bathroom can accumulate on surfaces, leading to rot, peeling paint, and an ideal environment for mold and mildew growth. A properly installed bathroom exhaust fan provides ventilation by drawing humid air and odors out of the home, ensuring a fresh and comfortable space.
Factors to Consider When Choosing a Bathroom Exhaust Fan
When selecting a bathroom exhaust fan, several factors come into play. Here are some key considerations:
1. CFM Rating
The CFM (Cubic Feet per Minute) rating measures the volume of air the fan moves. It is crucial to choose a fan with a CFM rating appropriate for your bathroom size. As a general rule, you'll need at least 1 CFM per square foot of space. For example:
- A bathroom 50 square feet or smaller needs a 50-CFM fan.
- For bathrooms between 50 and 100 square feet, estimate approximately 1 CFM per square foot.
- If your bathroom is larger than 100 square feet, tally the CFM requirements for individual fixtures like toilets, tubs, and showers. Plan for 50 CFM for each toilet, tub, and shower, and add 100 CFM for a jetted tub.
2. Noise Level
Noise tolerance is a personal preference, so make sure you’re comfortable with your new fan’s volume. Noise levels are measured in sones. Here are some equivalent noises for sone levels of exhaust fans:
- Less than 0.3 sone: Not audible to the human ear
- 0.3–0.9 sone: Audible if you listen for them
- 1 sone: Similar to a refrigerator running
- 2 sones: The sound of a quiet workplace
- 3 sones: A friendly conversation
- 4 sones: Watching television at an average volume
Some fans offer adjustable speed controls that can lower the sones but may cost more and decrease the CFM of your unit.
3. Energy Efficiency
To keep down the cost of running your bathroom exhaust fans, look for the EnergyStar® label. These fans use about 60% less power than non-certified fans and are often required by state building codes, such as in California.
4. Additional Features
Consider additional features that can enhance functionality and comfort:
- Built-in Lights: Useful for windowless rooms.
- Humidity Sensors: Automatically activate the fan based on moisture levels.
- Motion Sensors: Turn on the fan when someone enters the bathroom.
- Heaters: Great for cold-weather locations and early-morning shower users.
How to Choose a Bathroom Exhaust Fan with Light
When choosing a bathroom exhaust fan with light, you should consider the following:
-
Room Size and CFM Rating:
Measure your bathroom's square footage and calculate the required CFM based on the guidelines mentioned earlier. For example, if your bathroom is 10 feet long, 5 feet wide, and 8 feet high, the volume is 400 cubic feet (10 x 5 x 8). For an 8 ACH (air changes per hour), you would need:
[
400 text{ cubic feet} times 8 text{ ACH} = 3200
]
Then, divide by 60 to find the CFM:
[
3200 / 60 ≈ 53 text{ CFM}
]
Therefore, you need an exhaust fan with at least 53 CFM to achieve 8 air changes per hour in a 400-cubic-foot bathroom. -
Noise Level:
Consider the noise level of the fan. A lower Sone rating means a quieter fan. If you prefer a quieter environment, look for fans rated at 1.0 sones or fewer. -
Energy Efficiency:
Ensure the fan is EnergyStar certified to save on electricity costs without sacrificing performance. -
Additional Features:
Think about the extra features you might need, such as built-in lights, humidity sensors, motion sensors, or heaters.
Step-by-Step Installation Guide
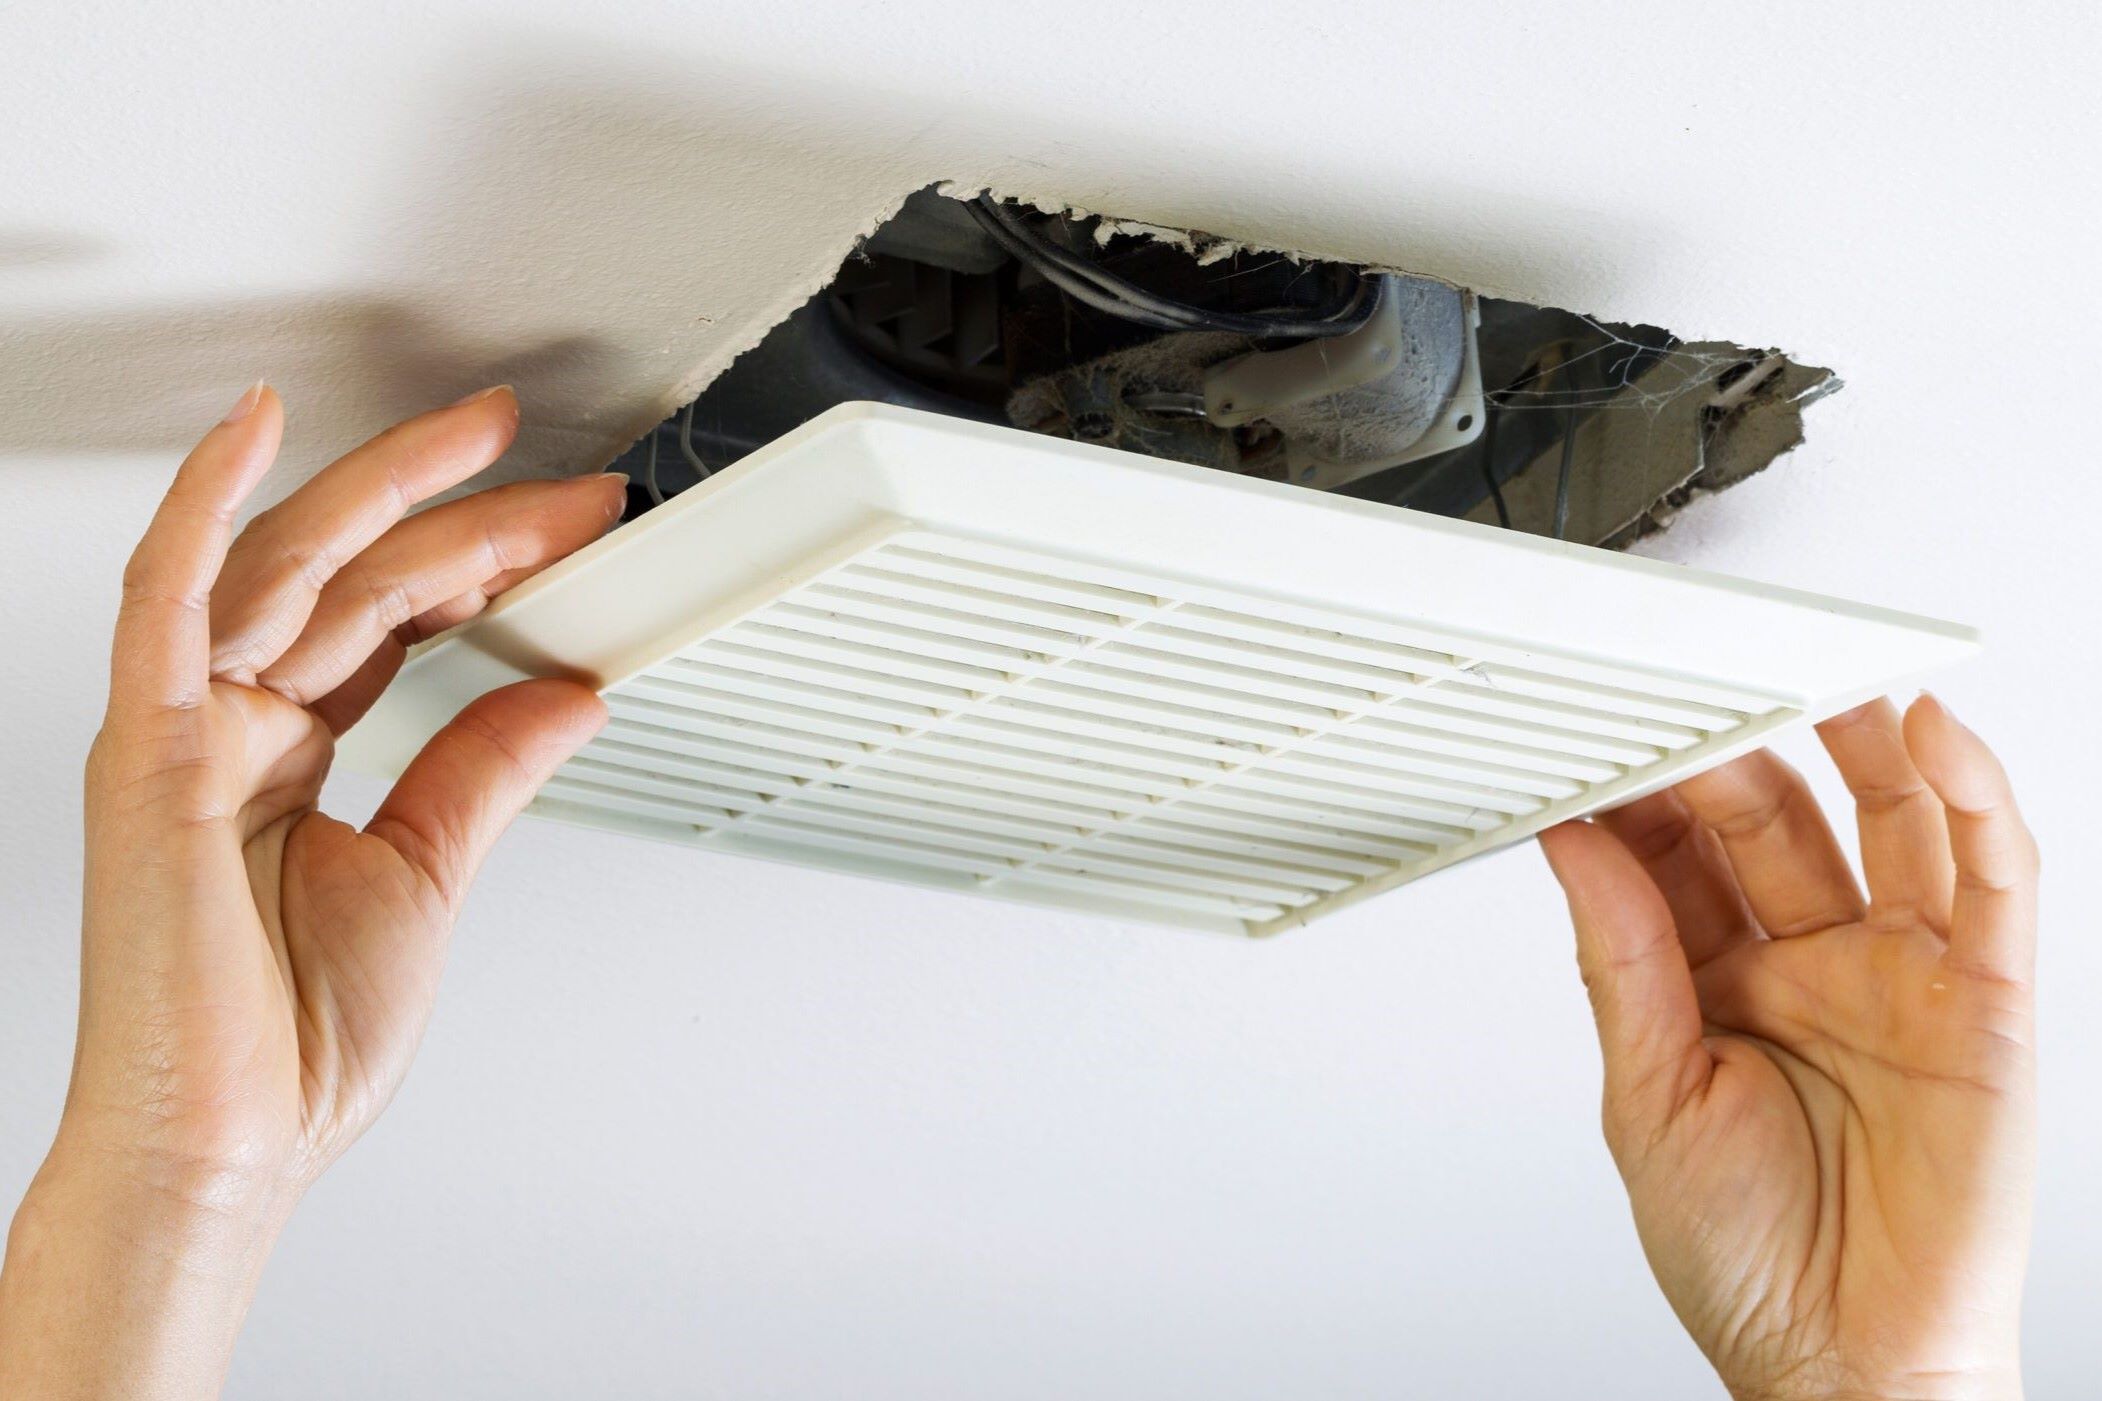
Installing a bathroom exhaust fan is not a difficult DIY project but does require some planning and caution. Here’s a detailed step-by-step guide:
Step 1: Plan and Prepare
Before starting the installation process, ensure you have consulted with your contractor to ensure your new fan meets local code requirements and will pass inspection. Here are some key things to take care of initially:
- Code Compliance: The fan must have a humidity sensor to effectively manage moisture levels and pass inspection.
- Bathroom Size: Measure your bathroom to determine the needed CFM for effective ventilation.
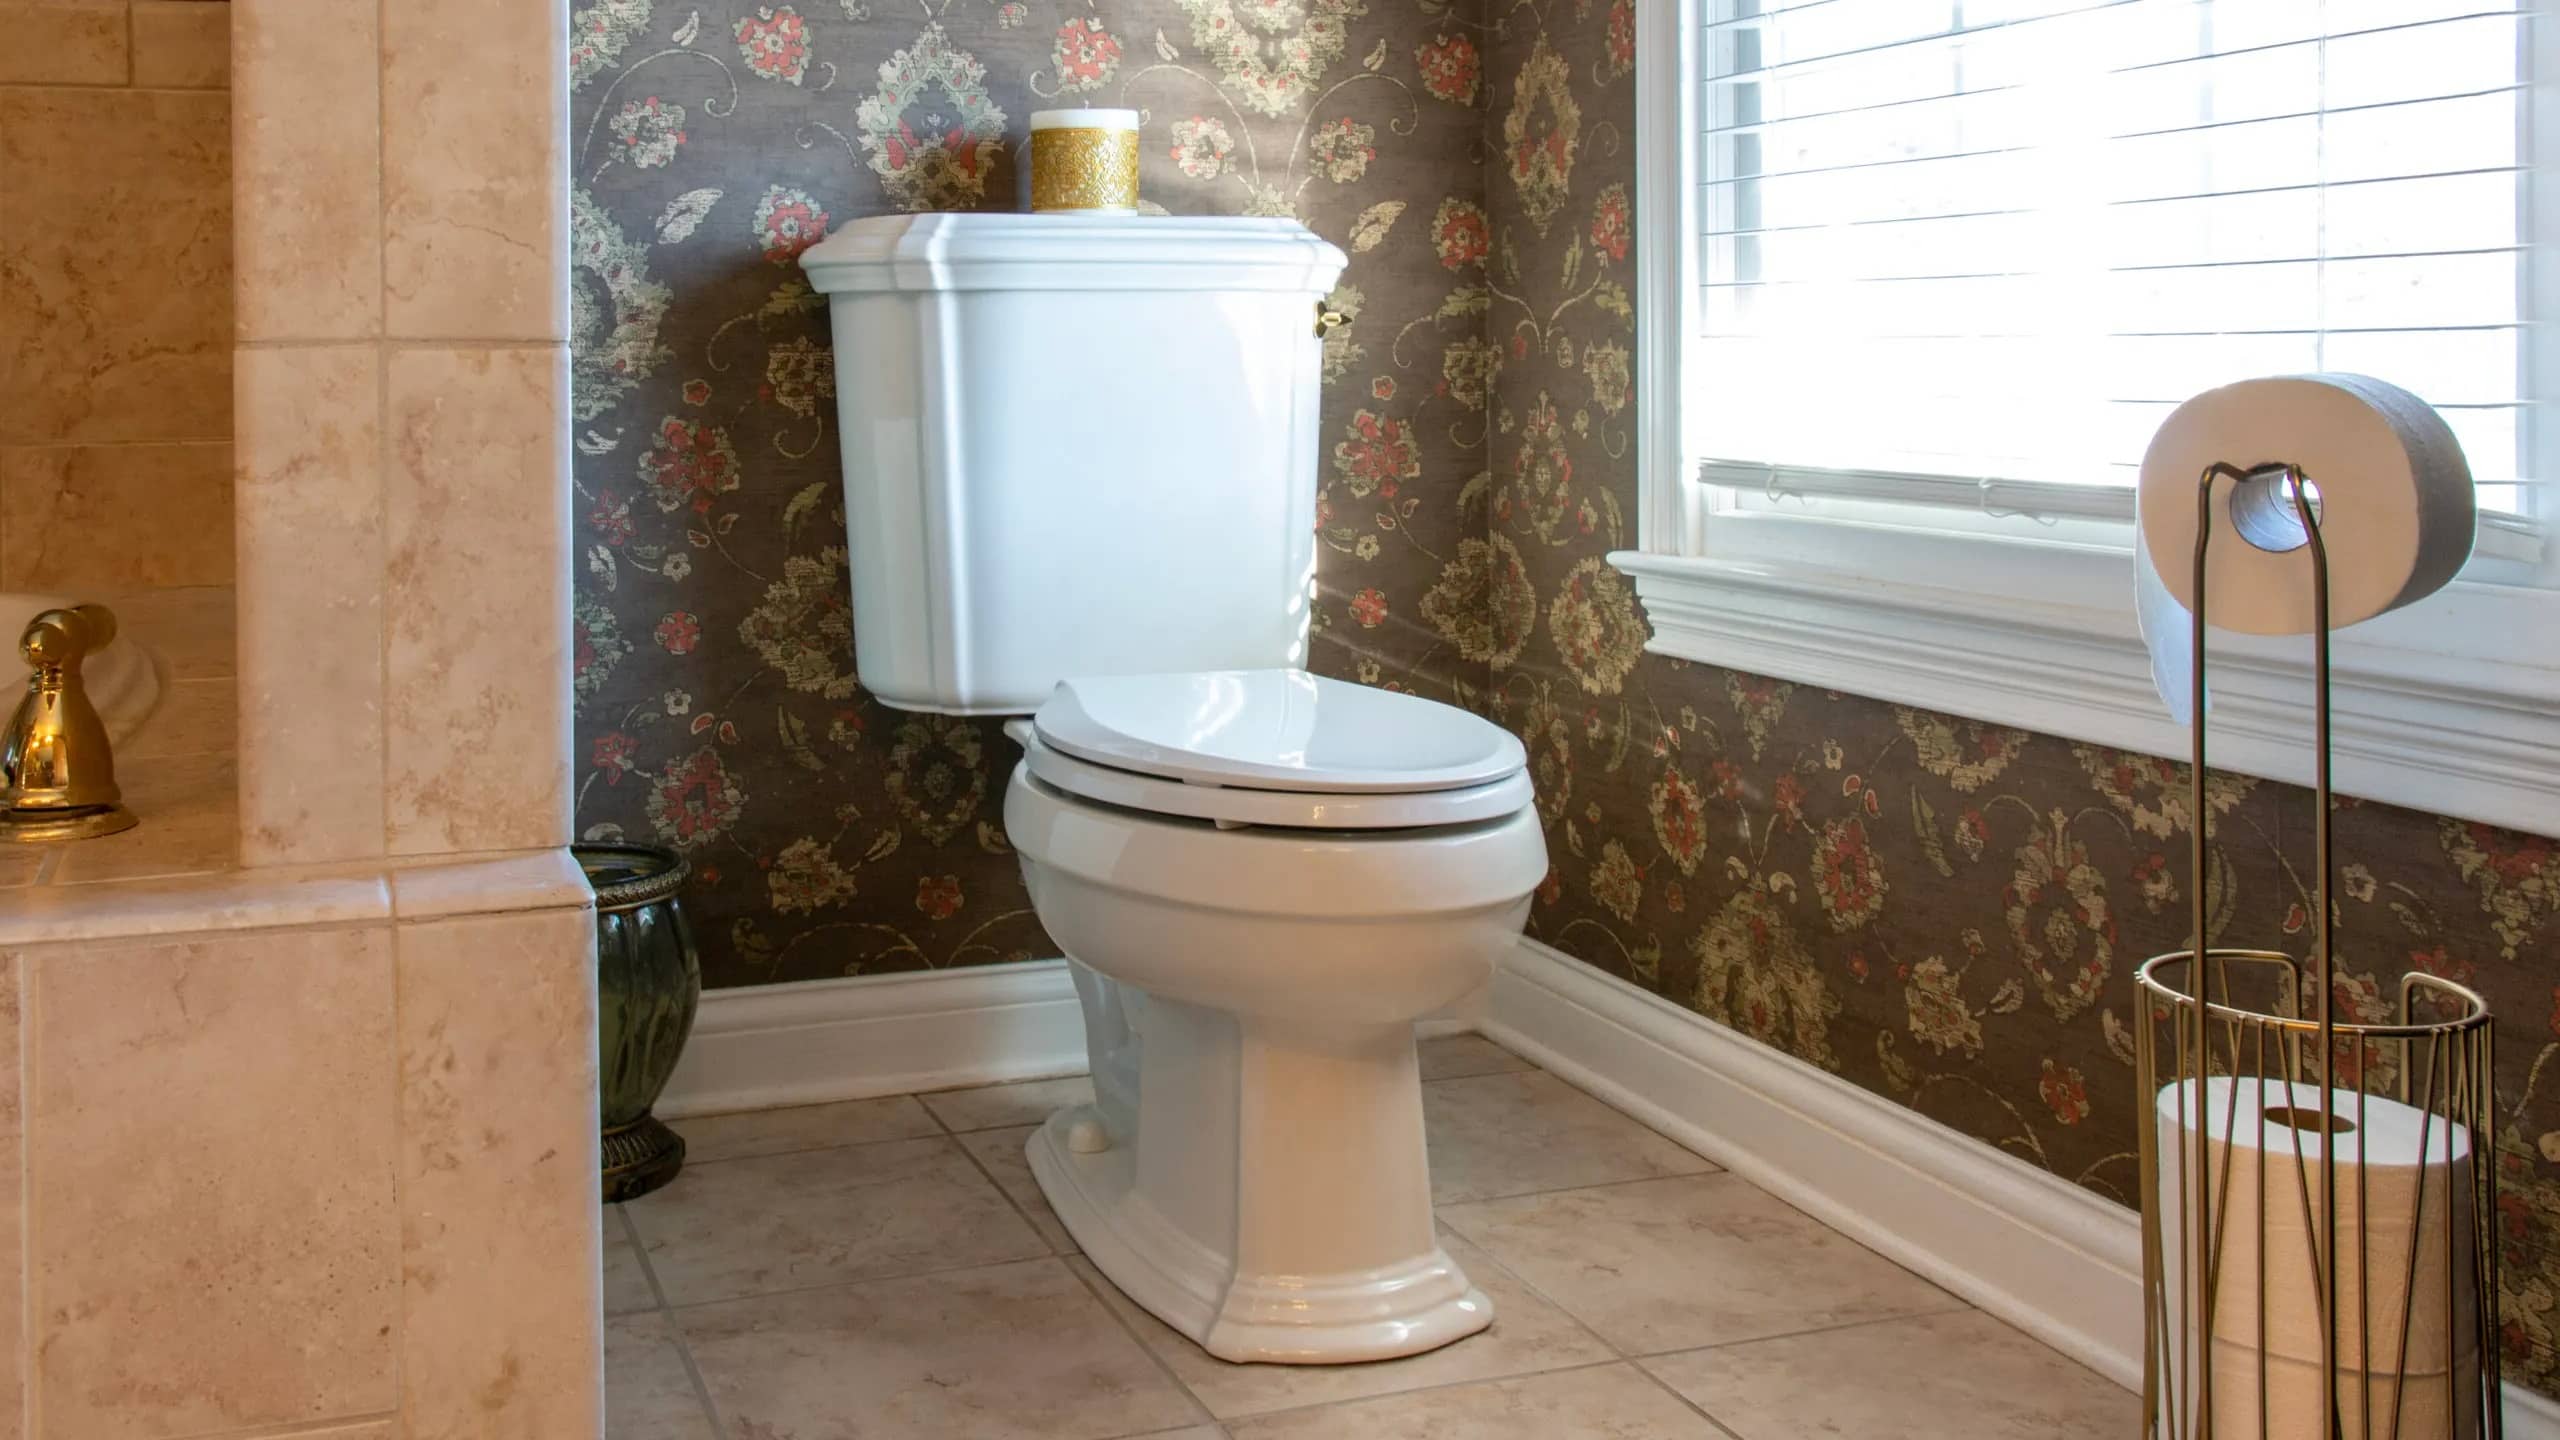
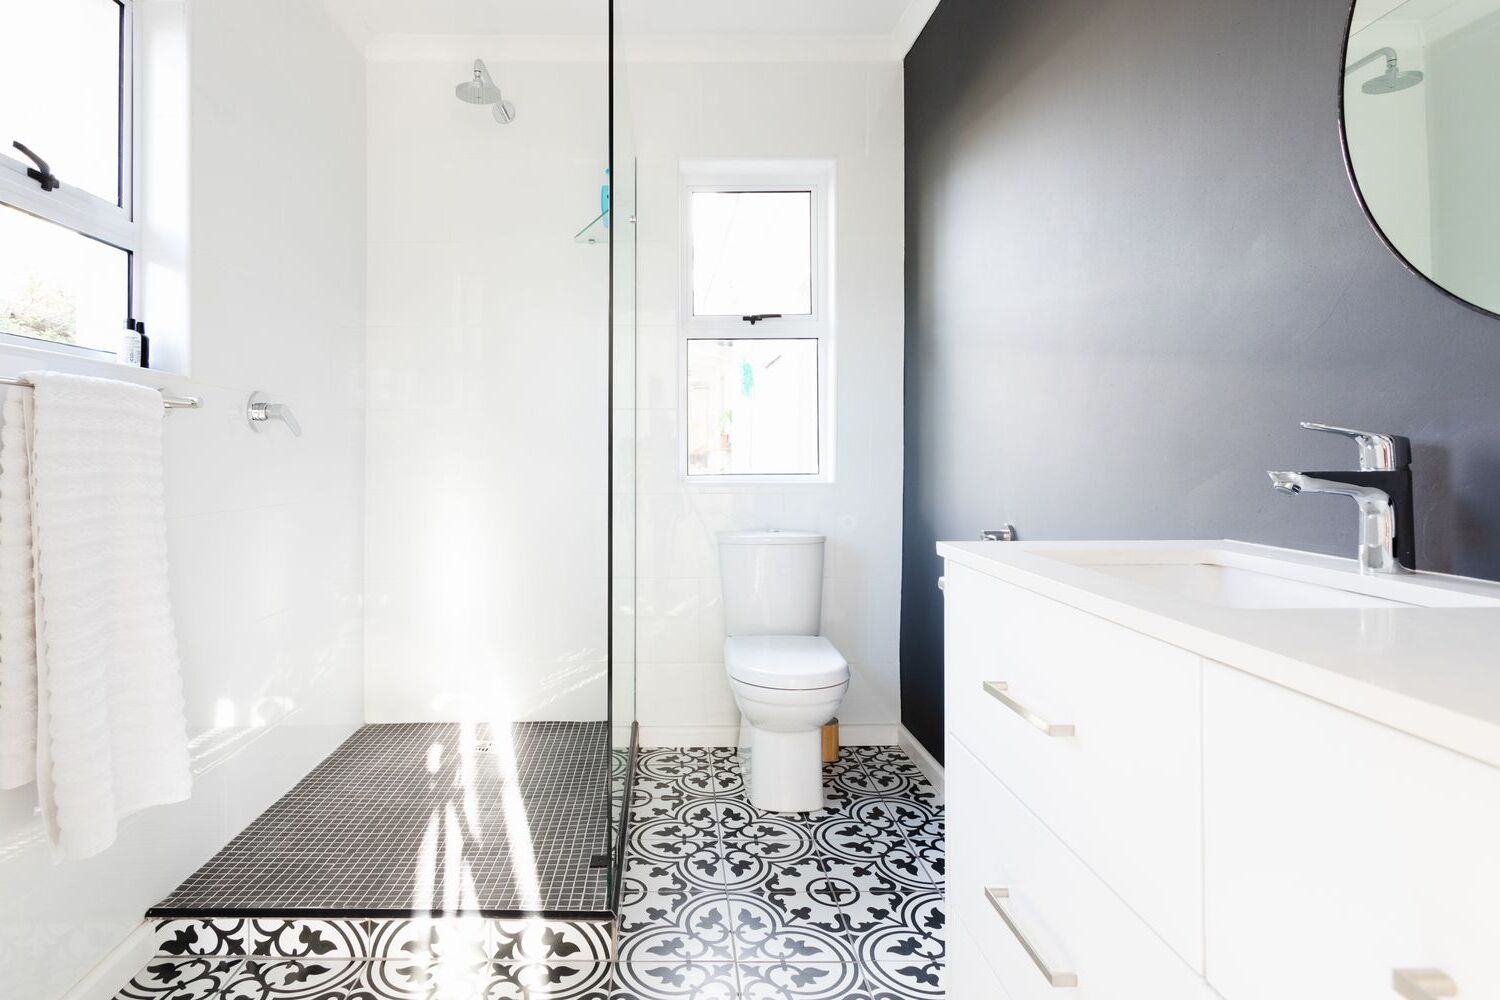
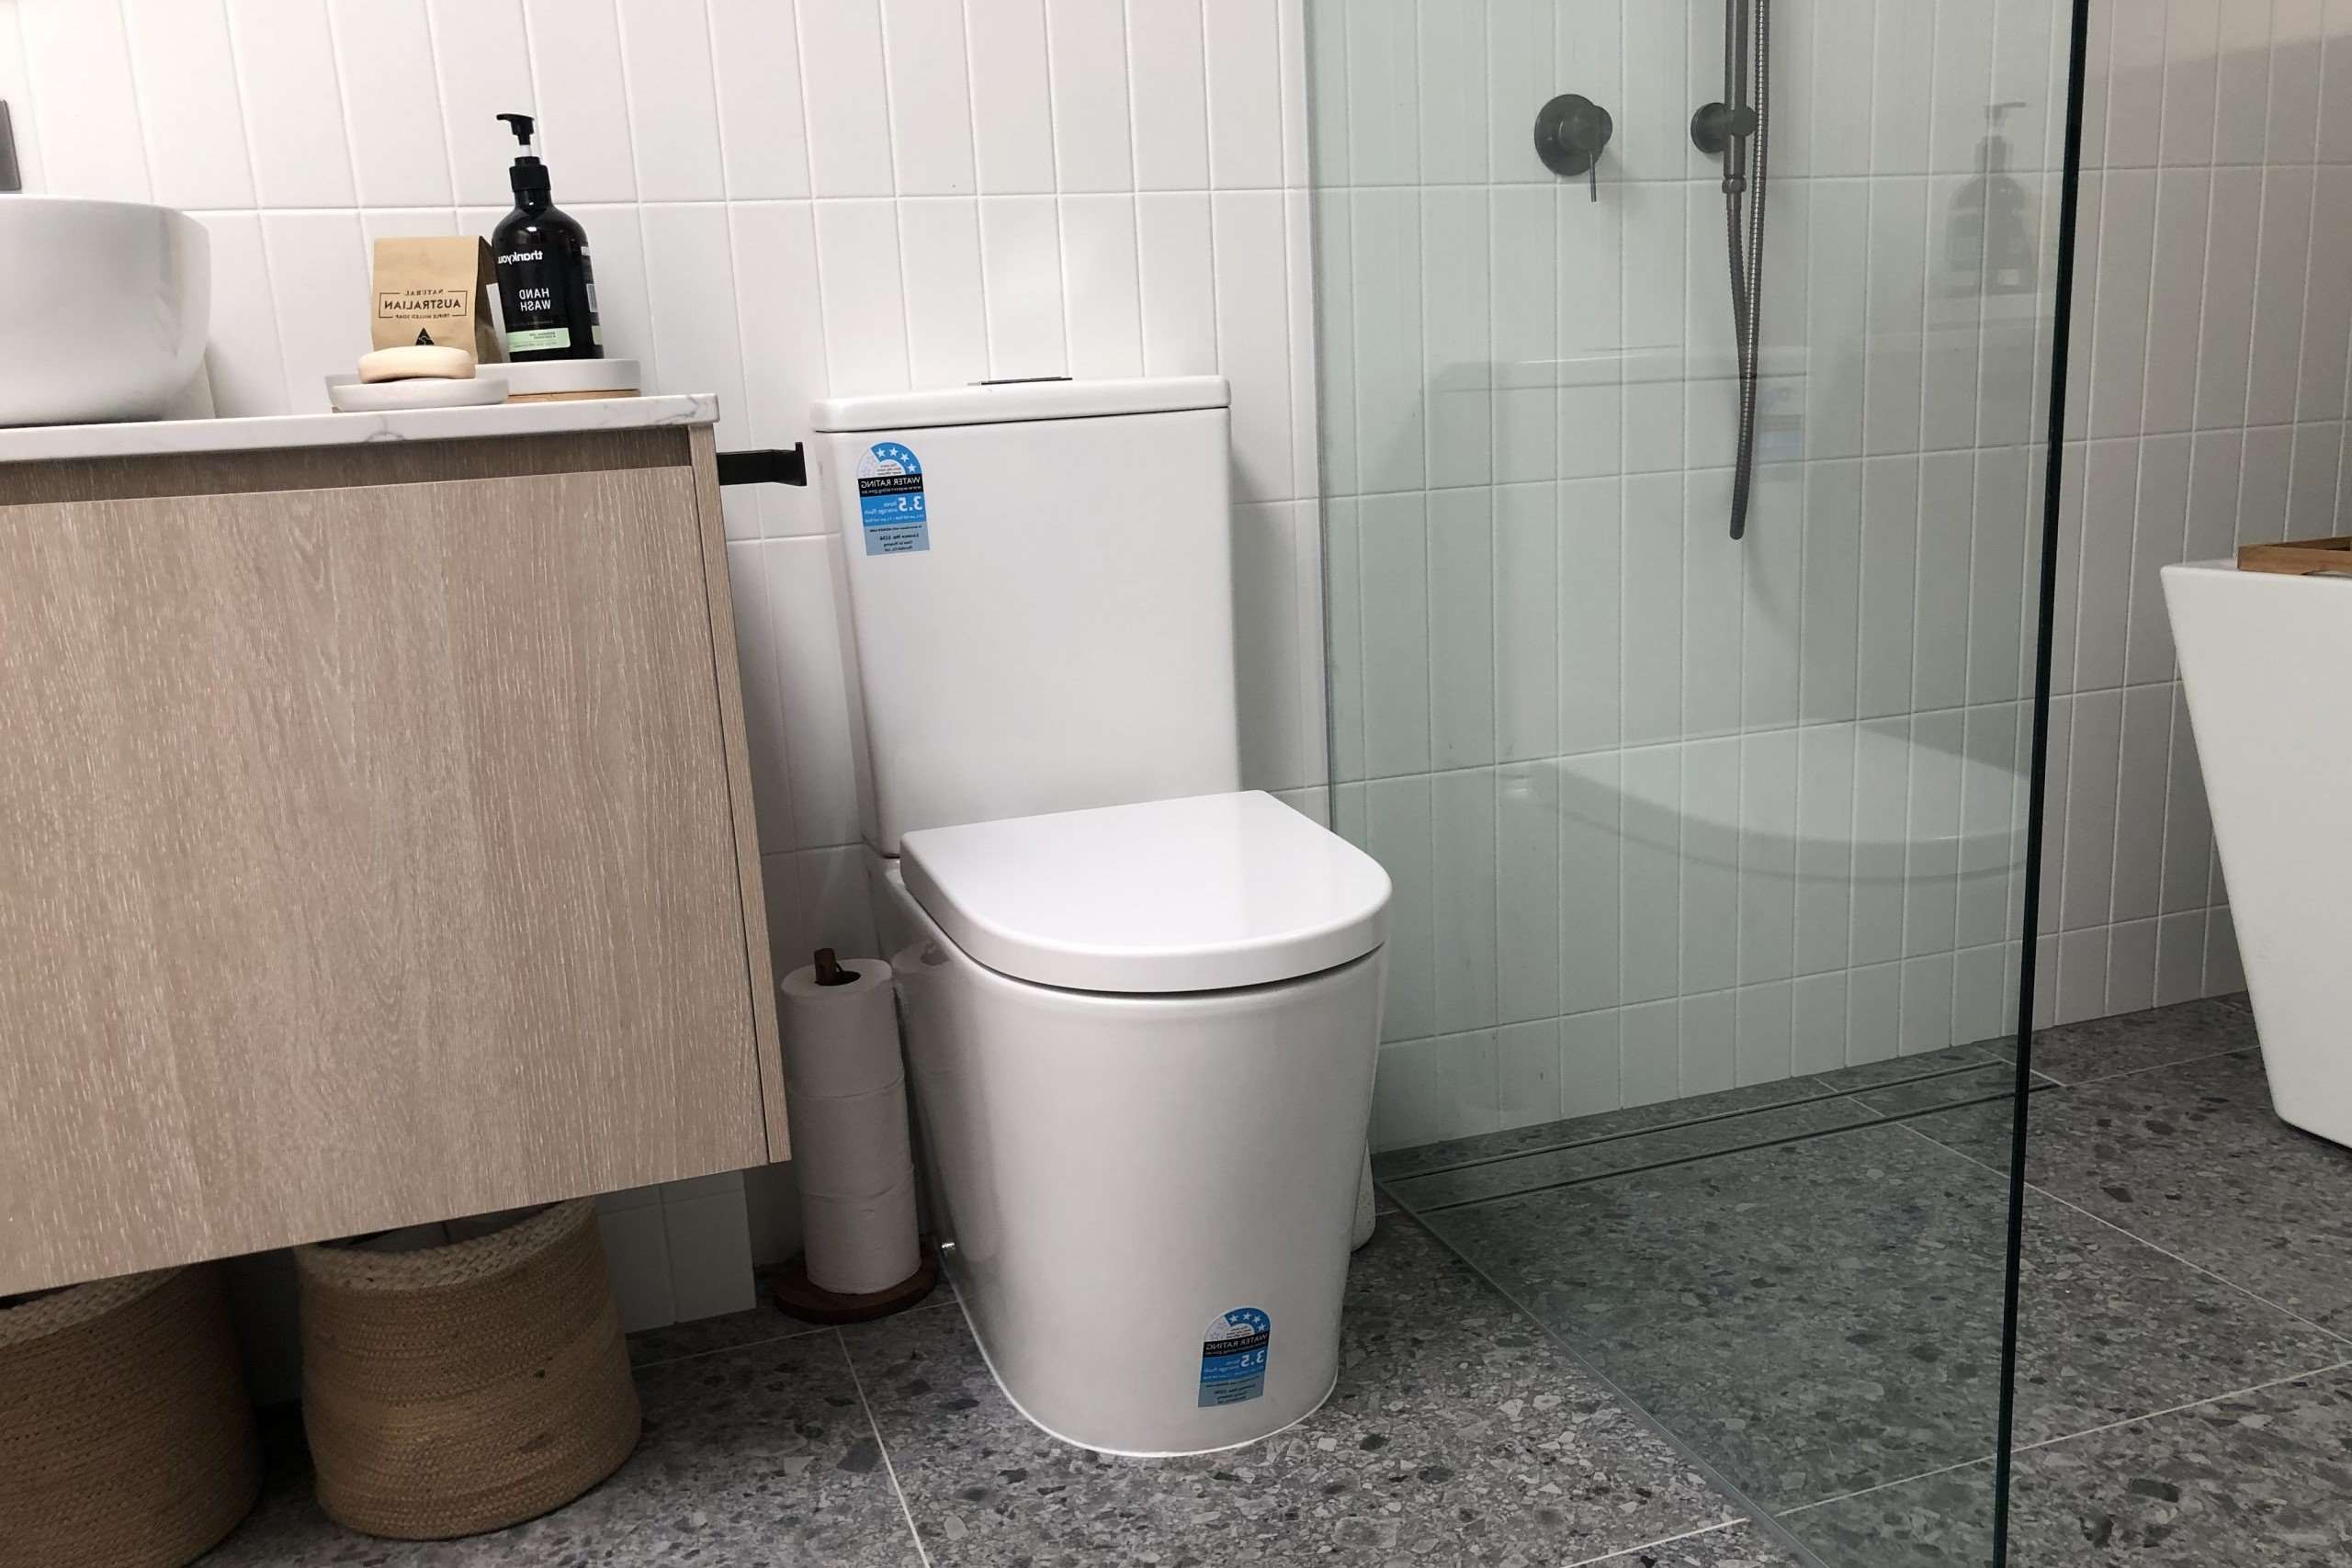
- Right Location: Ideal placement of the fan is above the toilet and outside the shower pan for longevity and efficiency.
- Number of Fans: Sometimes you may need to install two fans instead of one fan, especially if you have a master bathroom with a small toilet room inside.
Ensure symmetry and aesthetic integration in the bathroom layout. Also, consider installation considerations such as connecting the fan to an exterior vent with roof patching and flashing installed for waterproofing.
Step 2: Mark and Cut the Vent Hole
After planning, determine where your vent hole will be. Find a spot outside of your house that aligns with the fan’s location inside. Draw a mark and drill a hole. Note that you should choose the right size hole saw based on the duct size recommended by your fan’s manufacturer.
Once you drill the pilot hole from the outside, you’ll have a clear marker for where to cut from the inside. If necessary, use a jigsaw or keyhole saw to enlarge this initial hole.
Step 3: Route Flexible Ductwork
Once you have marked and cut the vent hole, route the flexible ductwork from the fan location inside to the vent hole outside. Ensure that you use 4-inch round flexible ducting as recommended by most manufacturers.
Step 4: Connect Ductwork
Connect one end of the flexible ducting to the exhaust fan and secure it with screws or clips provided with the fan. Then, connect the other end of the ducting through the vent hole you drilled earlier.
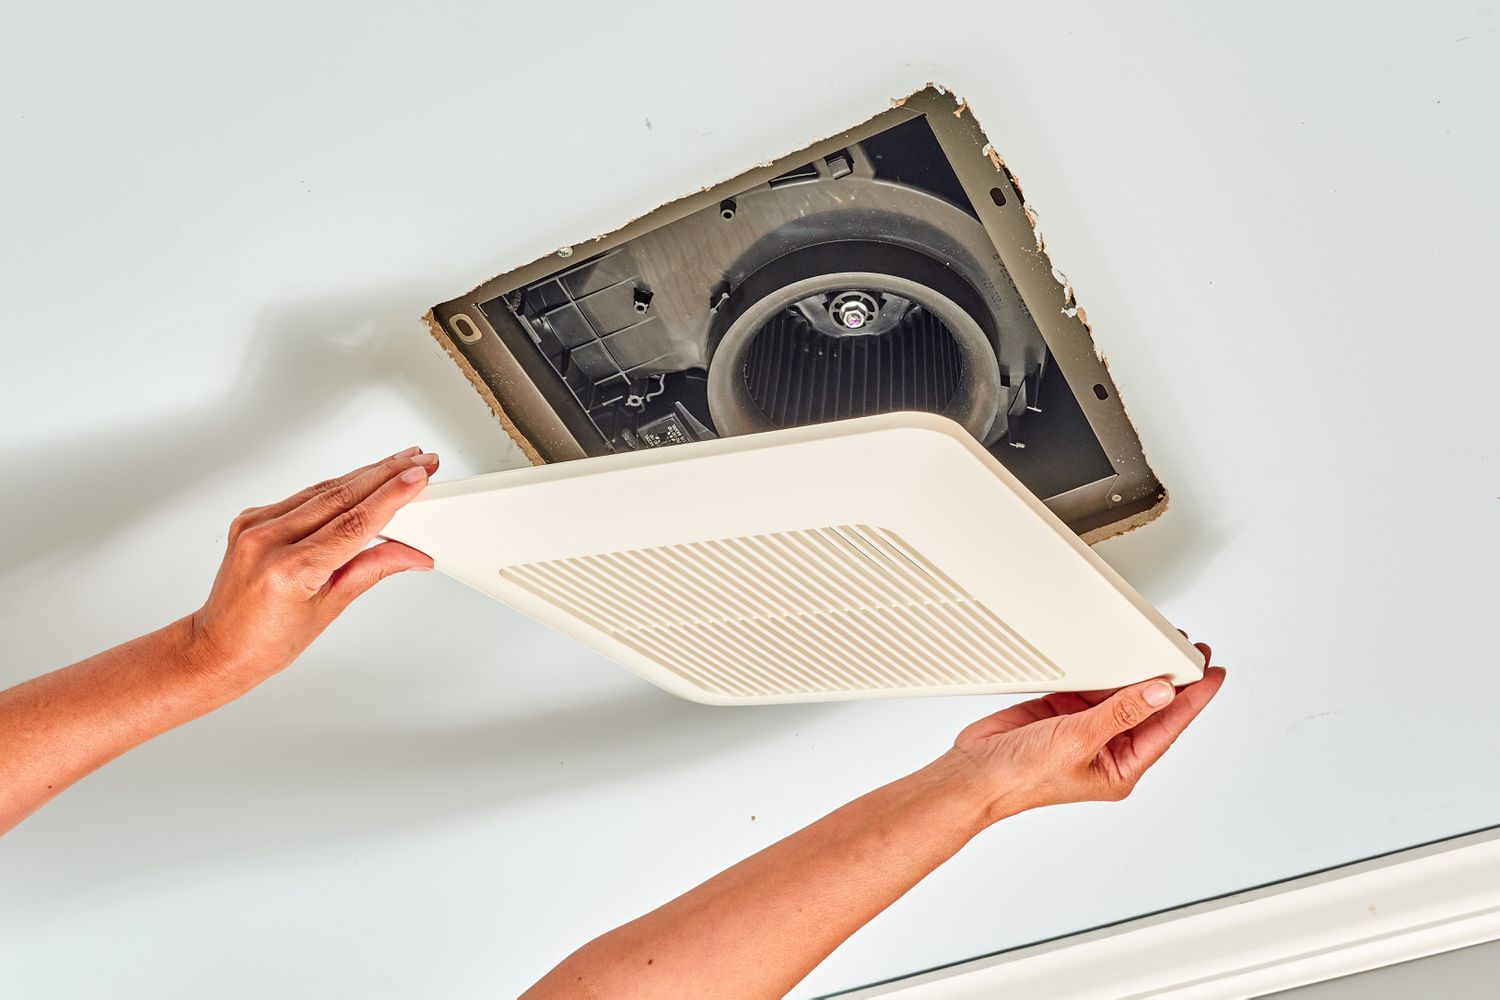
Step 5: Install Fan
Mount the exhaust fan securely above the toilet or shower area using screws or clips provided with the fan. Ensure it is level and properly aligned with any built-in lights or other features.
Step 6: Connect Electrical Wiring
Connect electrical wiring from the fan to a 120V power source in your bathroom. Use a voltage tester (touchless) to ensure there is no power running through the wires before making connections.
Step 7: Seal Vent Hole
Seal any gaps around where you cut through for ventilation using exterior-grade caulk or roofing cement. This ensures no moisture enters through these gaps.
Step 8: Test Fan
Finally, test your new bathroom exhaust fan by turning it on and ensuring it is working properly. Check for any leaks around connections and ensure proper airflow by placing a lit match near an open window while running the fan.
Common Mistakes to Avoid
When installing a bathroom exhaust fan, there are several common mistakes you should avoid:
- Poor Venting: Venting into an attic, soffit, wall, or crawl space can lead to moisture problems, mold growth, and damage to the roof and other parts of the structure.
- Choosing a Fan That Is Too Small: Selecting a fan based on room size is crucial; a fan that is too small won’t remove moisture and odors efficiently.
- Installing In The Wrong Location: The fan should be placed near the shower or bathtub for maximum moisture extraction.
- Not Considering Noise Levels: Not thinking about noise levels can result in a disturbingly loud unit; look for fans rated at 1.0 sones or fewer for quiet ventilation.
Conclusion
Choosing and installing the right bathroom exhaust fan with light is essential for maintaining a comfortable and healthy bathroom environment. By considering factors like CFM rating, noise level, energy efficiency, and additional features like built-in lights or humidity sensors, you can select an ideal fan for your needs.
Following our step-by-step installation guide ensures that you avoid common mistakes and complete the installation safely and effectively. Remember always to consult local building codes and professionals if needed to ensure compliance and proper functionality of your new bathroom exhaust fan.
By following these guidelines meticulously, you will be able to enjoy a fresh, clean, and comfortable bathroom space that meets all your ventilation needs while enhancing its overall ambiance with the added feature of built-in lights.
Was this page helpful?
At Storables.com, we guarantee accurate and reliable information. Our content, validated by Expert Board Contributors, is crafted following stringent Editorial Policies. We're committed to providing you with well-researched, expert-backed insights for all your informational needs.







0 thoughts on “How To Choose And Install The Right Bathroom Exhaust Fan With Light”