Home>Storage Ideas>Bathroom Storage>How To Clean A Bathtub: 12 Tips To Leave It Sparkling
Bathroom Storage
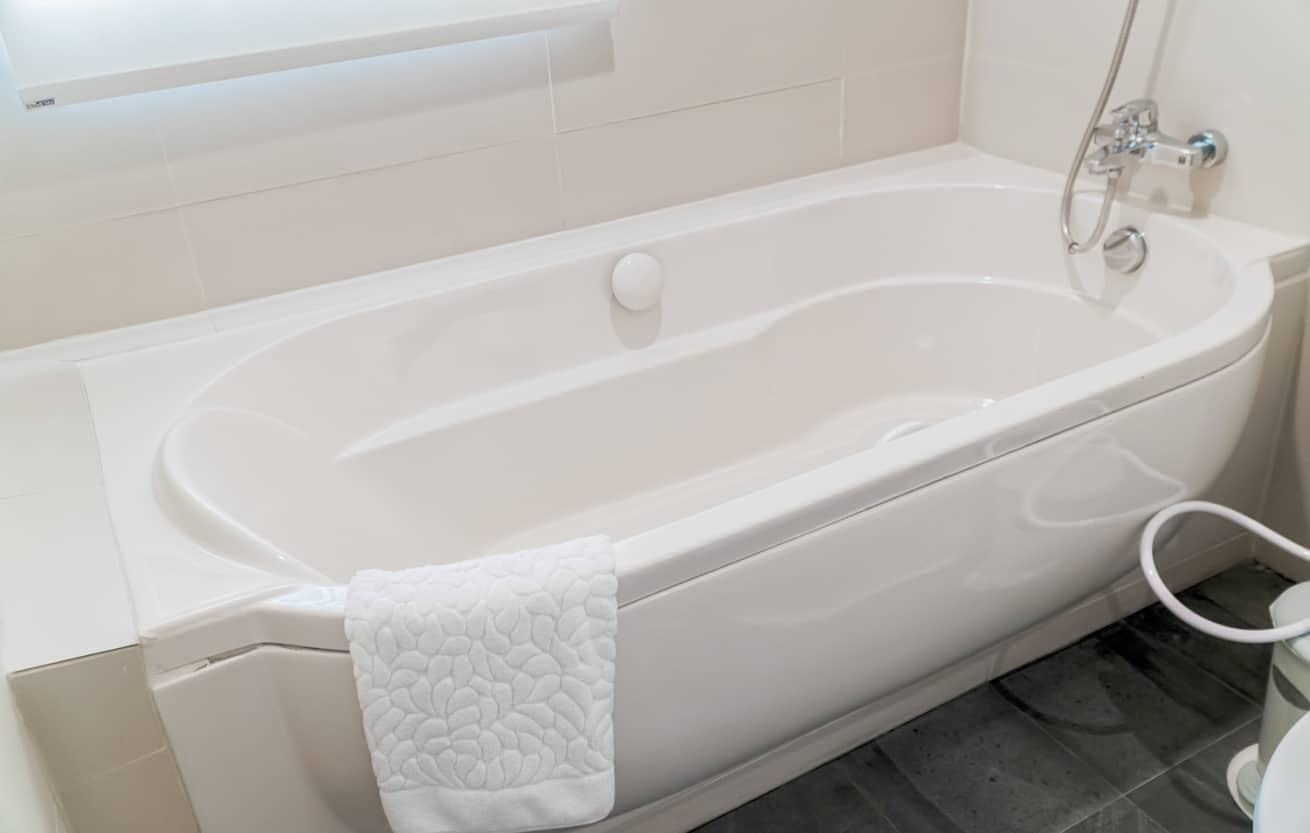
How To Clean A Bathtub: 12 Tips To Leave It Sparkling
Modified: October 20, 2024
Learn how to clean your bathtub with these 12 easy tips. Keep your bathroom storage organized and sparkling with this helpful guide.
(Many of the links in this article redirect to a specific reviewed product. Your purchase of these products through affiliate links helps to generate commission for Storables.com, at no extra cost. Learn more)
Introduction
Welcome to our comprehensive guide on how to clean a bathtub and leave it sparkling! Bathrooms are one of the most important rooms in any home, and keeping them clean and well-maintained is crucial. A clean and fresh bathtub not only enhances the overall appearance of a bathroom, but it also promotes personal hygiene and ensures a relaxing bathing experience.
However, cleaning a bathtub can sometimes seem like a daunting task. With the constant exposure to soap scum, hard water stains, and other grime, it’s important to have the right techniques and supplies to achieve a truly sparkling result. In this article, we will provide you with 12 expert tips that will help you clean your bathtub efficiently and effectively.
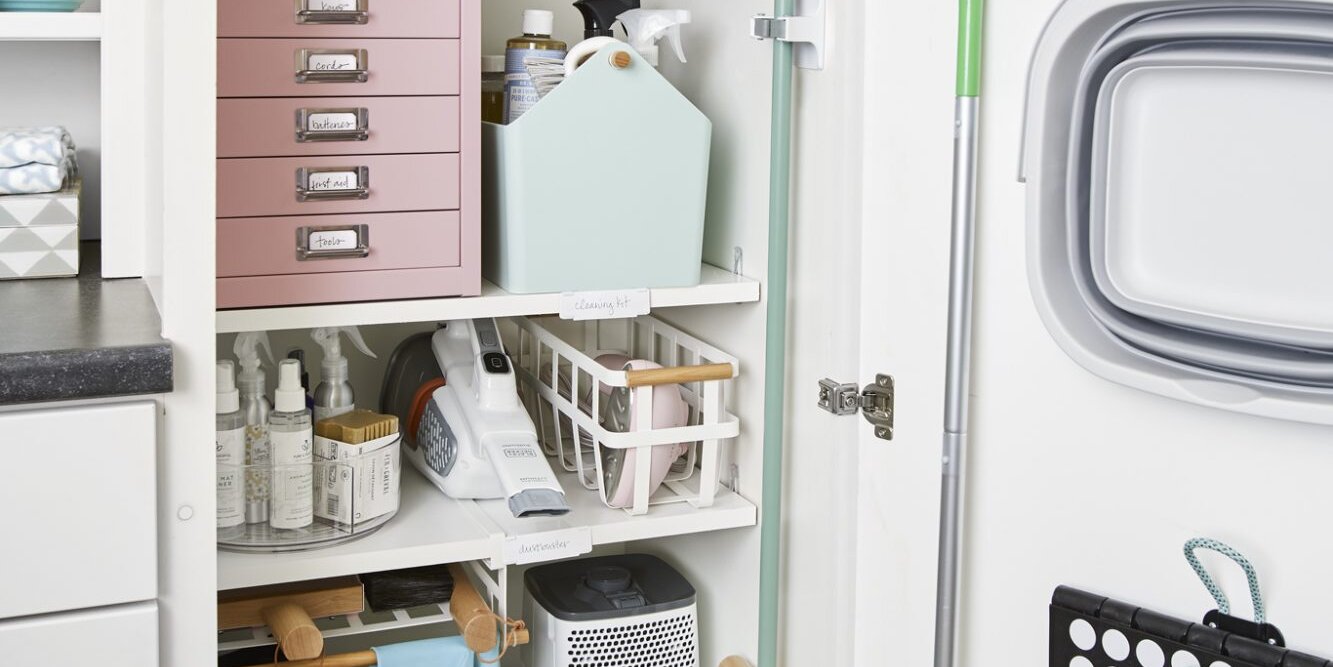
Before we dive into the cleaning process, it’s essential to gather the necessary supplies. This will ensure that you have everything you need within reach, saving you time and making the task much easier. Let’s explore the first tip in our guide on how to clean a bathtub.
Key Takeaways:
- Keep your bathtub sparkling by gathering the right supplies, pre-treating stubborn stains, and choosing the correct cleaning solution. Regular maintenance and preventive measures will ensure a clean and inviting bathing space.
- Don’t overlook grout, caulking, fixtures, and drains when cleaning your bathtub. Proper drying, optional polishing or waxing, and preventive habits will maintain a sparkling and hygienic bathroom.
Tip 1: Gather the necessary supplies
Before you begin the cleaning process, it’s important to gather all the necessary supplies. This will help you avoid interruptions and ensure that you have everything you need at hand. Here’s a checklist of items you will need:
- Bathtub cleaner: Look for a cleaner specifically designed for bathtubs. You can choose from a variety of options, including commercial cleaners or natural alternatives like vinegar and baking soda.
- Rubber gloves: Protect your hands from harsh chemicals and cleaning agents by wearing rubber gloves.
- Sponges or scrub brushes: Use soft sponges or scrub brushes to clean the bathtub surface without scratching it.
- Microfiber cloths or towels: These are great for drying the bathtub and leaving a streak-free finish.
- Old toothbrush: Keep an old toothbrush handy to clean hard-to-reach areas and grout lines.
- White vinegar: Vinegar is a natural cleaning agent that can help remove tough stains and eliminate odors.
- Baking soda: Baking soda is another versatile and natural cleaning agent that is effective in removing stains and grime.
- Lemon: Lemon juice can be used as a natural bleach and deodorizer.
- Plastic bag or garbage bag: Use a plastic bag or garbage bag to dispose of any debris or old cleaning materials.
Having these supplies readily available will streamline the cleaning process and ensure that you have everything you need to tackle any type of dirt or grime that may be present in your bathtub. Now that you have gathered all your supplies, it’s time to move on to the next tip: removing any debris or loose dirt from the bathtub surface.
Tip 2: Remove any debris or loose dirt
Before you begin the actual cleaning process, it’s important to remove any debris or loose dirt from the bathtub surface. This step will make the rest of the cleaning process more effective and prevent any scratching or spreading of dirt across the surface.
Start by using a handheld vacuum cleaner or a dustpan and brush to remove any loose dirt, hair, or other debris from the bathtub. Pay special attention to corners, crevices, and drains where dirt tends to accumulate. Gently sweep or vacuum the entire surface, ensuring that you remove as much debris as possible.
If there are any stubborn dirt or grime spots, you can use a soft brush or an old toothbrush to loosen and remove them. Be gentle while scrubbing to avoid scratching the surface. For particularly difficult spots, you can dampen the brush with a bit of water or a cleaning solution to help break down the dirt.
Once you have removed all the loose dirt and debris, give the bathtub a quick rinse with warm water to flush out any remaining particles. Wipe down the surface with a clean, damp cloth to ensure that it’s free from any dust or dirt.
By removing any debris or loose dirt beforehand, you’ll create a clean canvas to work with and ensure that your cleaning efforts are focused on removing stains, grime, and built-up residue. Now that the surface is clear, it’s time to move on to the next tip: pre-treating stubborn stains.
Tip 3: Pre-treat stubborn stains
Stubborn stains can be a headache to remove, especially if they have been sitting for a while. Pre-treating these stains can help loosen and break down the grime, making it easier to remove during the cleaning process. Here’s how you can effectively pre-treat stubborn stains on your bathtub:
1. Identify the stubborn stains: Take a close look at your bathtub surface and identify any areas with tough stains. Common culprits include soap scum, hard water deposits, rust stains, and mold or mildew. By knowing what type of stains you are dealing with, you can select the most suitable pre-treatment method.
2. Vinegar and baking soda: One effective and natural pre-treatment option is to create a paste using white vinegar and baking soda. Mix equal parts of vinegar and baking soda in a bowl to form a thick paste. Apply the paste directly to the stubborn stains, ensuring that they are fully covered. Let the paste sit for about 15-30 minutes to allow it to work its magic. The acidity of the vinegar and the abrasive nature of the baking soda will help break down the stains.
3. Lemon juice: Another natural pre-treatment option is lemon juice. Squeeze fresh lemon juice onto the stubborn stains, ensuring that they are fully saturated. The citric acid in the lemon acts as a natural bleach and helps dissolve the stains. Leave the lemon juice on the stains for at least 10-15 minutes before proceeding with the cleaning process.
4. Commercial pre-treatment products: If natural methods don’t yield satisfactory results, you can also find a variety of commercial pre-treatment products specifically designed for removing stubborn stains. Follow the instructions on the product label to ensure safe and effective use.
Regardless of the pre-treatment method you choose, it’s important to let the product or mixture sit for the recommended amount of time. This allows for better penetration and breaking down of the stains, making them easier to clean. Once the pre-treatment has had time to work, you can move on to the next step: choosing the right cleaning solution.
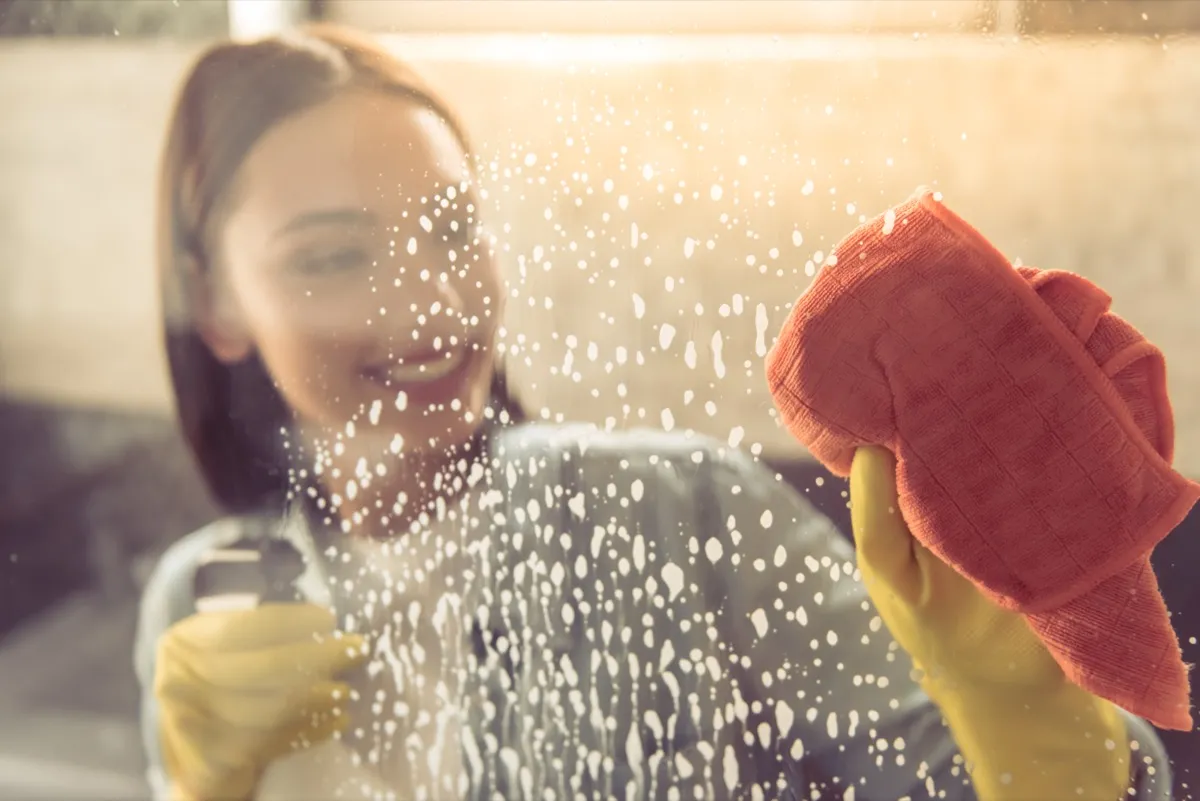
Tip 4: Choose the right cleaning solution
When it comes to cleaning your bathtub, choosing the right cleaning solution is crucial for achieving a sparkling result. The type of cleaning solution you use will depend on the material of your bathtub and the specific stains or grime you are trying to remove. Here are a few options:
1. Commercial bathtub cleaners: There are numerous commercial cleaning products available specifically formulated for bathtubs. These cleaners often come in spray bottles or liquid forms and are designed to target tough stains, soap scum, and mineral deposits. Be sure to read the instructions and warnings on the product label and test the cleaner on a small, inconspicuous area before applying it to the entire bathtub.
2. Natural cleaning solutions: If you prefer a more eco-friendly approach, you can also use natural cleaning solutions to clean your bathtub. Vinegar, baking soda, and lemon juice are versatile natural cleaners that can effectively remove stains and grime without harsh chemicals. For example, you can create a cleaning solution by mixing equal parts of vinegar and water in a spray bottle. Alternatively, you can sprinkle baking soda on the surface of the bathtub and then spray it with vinegar, creating a fizzy reaction. Let the solution sit for a few minutes before scrubbing it with a sponge or brush.
3. Bleach or hydrogen peroxide: For tough stains like mold or mildew, bleach or hydrogen peroxide can be effective in killing the spores and removing the discoloration. However, be cautious when using these strong chemicals, as they can be harmful if not used properly. Make sure to ventilate the bathroom, wear protective gloves and clothing, and follow the instructions on the product label carefully.
Remember, regardless of the cleaning solution you choose, always test it on a small area of the bathtub first and follow the manufacturer’s guidelines. Additionally, be mindful of the material your bathtub is made of. Certain cleaning solutions may be too abrasive for delicate surfaces like acrylic or enamel, potentially causing damage. Once you have selected the appropriate cleaning solution, it’s time to move on to the next tip: scrubbing the bathtub surface.
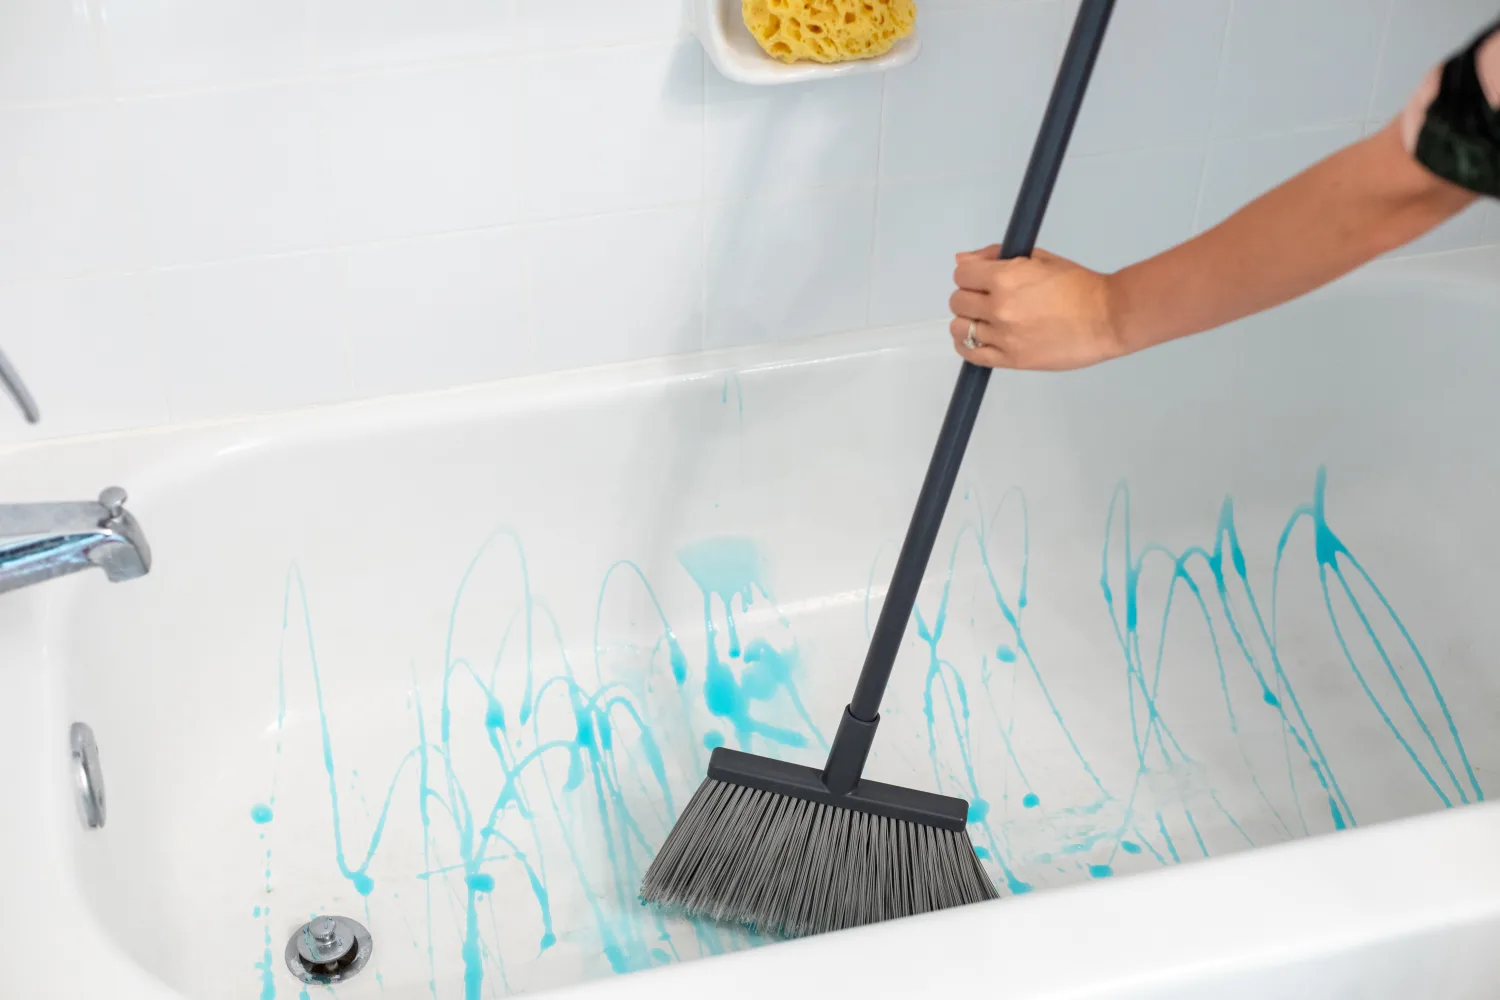
Tip 5: Scrub the bathtub surface
Now that you have your cleaning solution ready, it’s time to start scrubbing the bathtub surface to remove dirt, grime, and stains. Follow these steps to effectively clean the bathtub:
1. Apply the cleaning solution: Start by applying the cleaning solution to the bathtub surface. Spray it evenly or pour it directly onto the areas that require cleaning. Ensure that the solution covers the stains and grime thoroughly.
2. Let it sit: Allow the cleaning solution to sit on the surface for a few minutes. This will give it time to break down the dirt and stains, making them easier to remove.
3. Scrub with a sponge or brush: Take a soft sponge or brush and begin scrubbing the surface of the bathtub. Work in circular motions or back and forth to agitate the dirt and grime. Pay extra attention to areas with heavy buildup, such as soap scum or mineral deposits. Apply moderate pressure, but avoid scrubbing too aggressively to prevent damaging the bathtub’s surface.
4. Focus on corners and edges: Don’t forget to scrub the corners, edges, and seams of the bathtub. These areas tend to accumulate dirt and grime, requiring a bit of extra attention. Use an old toothbrush or a small brush to reach tight spots and grout lines where stains may be particularly stubborn.
5. Rinse periodically: Periodically rinse the sponge or brush in warm water to remove any collected grime and cleaning solution. This will prevent the spread of dirt and ensure that you are working with a clean tool.
6. Repeat if necessary: For heavily stained or dirty bathtubs, you may need to repeat the process of applying the cleaning solution and scrubbing. This additional round will help ensure that all the dirt and grime are thoroughly removed.
7. Rinse the bathtub: Once you have finished scrubbing, thoroughly rinse the bathtub with warm water. Use a handheld showerhead or a clean cloth to ensure that all the cleaning solution and residue are rinsed away. Take your time to ensure that you remove all traces of the cleaning solution.
By following these steps, you will be able to effectively scrub the bathtub surface and remove dirt, grime, and stains. Now that the bathtub is clean, it’s time to move on to the next tip: paying attention to grout and caulking.
Tip 6: Pay attention to grout and caulking
When cleaning your bathtub, it’s important not to overlook the grout and caulking. These areas can harbor dirt, mildew, and grime if not properly maintained. Here are some steps to ensure that the grout and caulking in your bathtub stay clean and in good condition:
1. Inspect the grout and caulking: Start by examining the grout lines and caulking around your bathtub. Look for any signs of discoloration, mildew, or cracks. If you spot any issues, it’s important to address them before proceeding with the cleaning process.
2. Clean the grout lines: Use an old toothbrush or a grout brush to scrub the grout lines. Apply a mixture of baking soda and water or a mild bleach solution to help brighten and remove any stains or mildew. Scrub in a circular motion, paying close attention to any discolored or dirty areas. Rinse the grout lines thoroughly with warm water to remove any residue.
3. Address caulking issues: If you notice cracked or damaged caulking, it’s important to replace it. Use a utility knife or a caulk removal tool to carefully remove the old caulking. Clean the area and ensure it is dry before applying new caulking. Choose a quality silicone caulk that is waterproof and mold-resistant. Apply the caulk evenly and smooth it out with a caulk smoothing tool or your finger. Let it dry according to the manufacturer’s instructions.
4. Prevent future issues: To prevent further staining or mildew growth, it’s important to keep the grout and caulking clean and dry. After each use, wipe down the surfaces with a clean cloth or squeegee to remove excess moisture. This will help prevent the growth of mold and mildew. Additionally, consider applying a grout sealer to protect the grout lines and make them easier to clean in the future.
By paying attention to the grout and caulking in your bathtub, you can ensure that these areas stay clean and free from mold and mildew. This will not only improve the overall cleanliness of your bathtub but also extend the lifespan of the grout and caulking. Now that you have properly cleaned the grout and caulking, it’s time to move on to the next tip: cleaning the fixtures and drains.
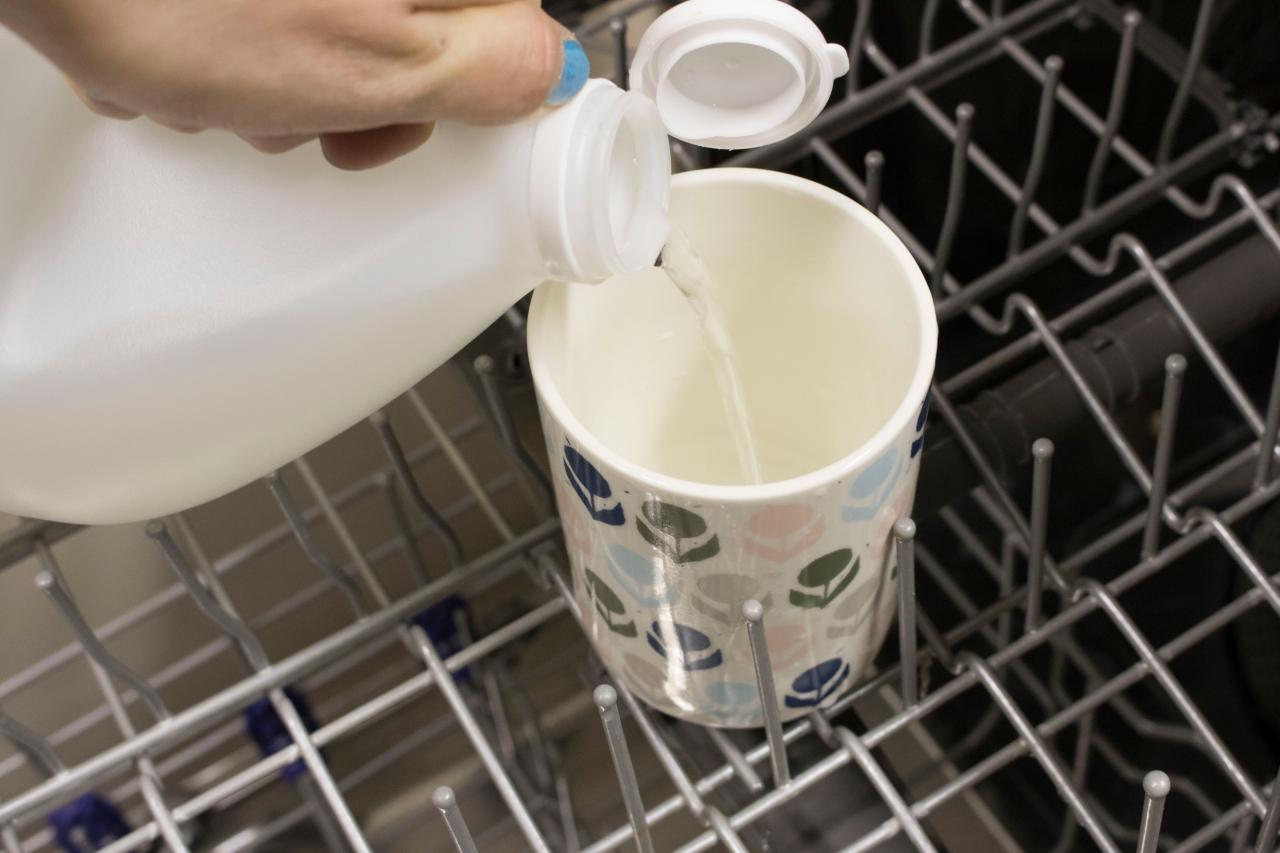
Use a mixture of baking soda and vinegar to scrub the bathtub surface, then rinse with hot water for a sparkling clean finish.
Tip 7: Clean the fixtures and drains
When cleaning your bathtub, it’s important not to forget about the fixtures and drains. Over time, these areas can accumulate soap scum, mineral deposits, and dirt, which can affect their appearance and functionality. Here are some steps to effectively clean the fixtures and drains of your bathtub:
1. Remove any debris: Start by removing any visible debris or hair from the fixtures and drains. Use a toothbrush or a small brush to carefully dislodge any trapped particles. Dispose of the debris in a plastic bag or garbage bin.
2. Create a cleaning solution: Depending on the material of your fixtures, choose an appropriate cleaning solution. For chrome fixtures, a mixture of equal parts vinegar and water can be effective. For brass or copper fixtures, a solution of mild soap and warm water is recommended. Avoid using abrasive cleaners or scrub brushes that can scratch the surface of your fixtures.
3. Apply the cleaning solution: Dip a cloth or sponge into the cleaning solution and gently scrub the fixtures. Pay special attention to areas with built-up grime or mineral deposits. For hard-to-reach areas, use a toothbrush or a small brush. Be sure to cover all surfaces, including handles, spouts, and showerheads.
4. Clean the drain: To clean the drain, remove the drain cover or stopper if possible. Use a bent wire hanger or a drain brush to remove any hair or debris that may be trapped. Run hot water through the drain to flush out any remaining residue. If the drain is still clogged or problematic, consider using a drain cleaning product or contacting a professional plumber.
5. Rinse and dry: Once you have finished cleaning the fixtures and drain, rinse them thoroughly with warm water. This will remove any residual cleaning solution and ensure a sparkling finish. Use a clean, dry cloth to wipe down the fixtures and drain, removing any excess water and preventing water spots.
By regularly cleaning the fixtures and drains of your bathtub, you not only maintain their appearance but also ensure optimal functionality. Neglecting these areas can lead to build-up and potential issues in the future. Now that you have cleaned the fixtures and drains, it’s time to move on to the next tip: rinsing the bathtub surface.
Tip 8: Rinse thoroughly
After you have completed the cleaning process for your bathtub, it’s crucial to rinse it thoroughly. Rinsing not only removes any remaining cleaning solutions or residue but also helps to restore the natural shine of the bathtub surface. Here are some steps to ensure a thorough rinse:
1. Use warm water: Start by turning on the faucet and running warm water into the bathtub. Adjust the temperature to a comfortable level that allows for effective rinsing.
2. Cover all surfaces: Using a handheld showerhead or a bucket, ensure that you cover all surfaces of the bathtub with the warm water. Pay special attention to areas where cleaning solutions or residue may have accumulated.
3. Rinse in a systematic manner: Work your way from the top of the bathtub down to the bottom, ensuring that you rinse every nook and cranny. This systematic approach helps to ensure that all residue is washed away.
4. Use a cloth or sponge: Utilize a clean cloth or sponge to help with the rinsing process. Dip it in the warm water and gently wipe the surface of the bathtub, ensuring that all cleaning solutions and residue are removed.
5. Check for any remaining residue: After rinsing, visually inspect the bathtub surface for any remaining residue. If you notice any areas that still appear dirty or have a soapy feel, repeat the rinsing process until the surface is clean and free from any residue.
6. Dry the bathtub: Once you have thoroughly rinsed the bathtub, it’s important to dry it properly. Use a clean, dry towel or microfiber cloth to remove excess moisture from the surface. This helps to prevent water spots and streaks from forming.
By taking the time to rinse your bathtub thoroughly, you ensure that all cleaning solutions and residue are effectively removed. This final step helps to achieve a truly sparkling and clean bathtub. Now that your bathtub is rinsed and dry, it’s time to proceed to the next tip: drying the bathtub properly.
Read more: How To Clean Oven Racks In Bathtub
Tip 9: Dry the bathtub properly
Properly drying your bathtub after cleaning is essential to prevent water spots, streaks, and the growth of mold or mildew. Here are some steps to ensure that your bathtub is thoroughly dried:
1. Use a clean, dry towel: Take a clean, dry towel and wipe down the entire surface of the bathtub. Pay close attention to corners, edges, and any areas where water may collect. Make sure to remove any remaining moisture.
2. Utilize a microfiber cloth: For a streak-free finish, use a microfiber cloth to buff the surface of the bathtub. Microfiber is highly absorbent and leaves no lint behind, ensuring a polished and dry finish.
3. Ventilate the bathroom: Proper airflow is crucial for drying the bathtub effectively. Open windows or turn on the exhaust fan to ensure adequate ventilation. This helps to prevent moisture from lingering in the bathroom and on the bathtub surface.
4. Set up a fan or dehumidifier: If your bathroom has limited ventilation, consider setting up a fan or using a dehumidifier to help speed up the drying process. These appliances help to remove excess moisture from the air, reducing the chances of mold and mildew growth.
5. Pay attention to grout and caulking: Ensure that the grout lines and caulking around the bathtub are thoroughly dried. Moisture in these areas can contribute to mold and mildew growth. Use a dry toothbrush or cloth to remove any trapped moisture in the grout lines.
6. Leave the bathroom door open: After cleaning and drying the bathtub, leave the bathroom door open if possible. This allows air to circulate freely and aids in the drying process.
By following these steps, you can ensure that your bathtub is properly dried, preventing any unwanted water spots or mold growth. A dry bathtub not only looks clean and inviting but also helps to maintain its longevity. Now that your bathtub is dry, you may choose to proceed to the optional step of polishing or waxing the bathtub.
Tip 10: Polish or Wax the Bathtub (Optional)
If you want to give your bathtub an extra shine and protection, you can consider polishing or waxing it. This step is optional but can provide a polished and lustrous finish to your bathtub. Here are some tips for polishing or waxing your bathtub:
1. Choose the right product: There are specific bathtub polishes and waxes available on the market. Look for a product that is suitable for the material of your bathtub, such as acrylic, porcelain, or fiberglass. Read the instructions carefully to ensure that it is compatible with your bathtub’s surface.
2. Clean the surface: Before applying any polish or wax, ensure that the bathtub surface is clean and dry. Remove any remaining debris or product residue from the cleaning process. A clean surface allows the polish or wax to adhere properly.
3. Apply the polish or wax: Follow the instructions on the product label for the application method. Generally, you will need to apply a thin and even layer of polish or wax using a clean cloth or applicator. Work in small sections to ensure thorough coverage. Be careful not to apply too much product, as this can lead to a sticky residue.
4. Buff the surface: After applying the polish or wax, use a clean, soft cloth to buff the surface. Work in circular motions, applying gentle pressure. Buffing helps to spread the product evenly and create a glossy, smooth finish.
5. Allow to dry and cure: Let the polish or wax dry and cure according to the manufacturer’s instructions. This will usually take a few minutes or up to an hour, depending on the product. Avoid using the bathtub during this time to allow the polish or wax to set properly.
6. Maintain and reapply as needed: Over time, the polish or wax on your bathtub may wear off. To maintain the shine and protection, periodically clean the surface and reapply the polish or wax as needed. This will ensure that your bathtub continues to look its best.
Remember, polishing or waxing your bathtub is an optional step and may not be necessary for all types of bathtubs. It’s important to consider the material of your bathtub and choose a product that is designed specifically for it. If you decide not to polish or wax your bathtub, simply maintaining regular cleaning practices will help keep it looking clean and shiny. With the optional polishing or waxing step completed, let’s move on to the next tip: preventing future buildup and stains.
Tip 11: Prevent Future Buildup and Stains
After putting in all the effort to clean your bathtub, it’s important to take steps to prevent future buildup and stains. By adopting some preventive measures, you can prolong the cleanliness and freshness of your bathtub. Here are some tips to help you prevent future buildup and stains:
1. Wipe down the bathtub after each use: Get into the habit of wiping down the bathtub surface with a clean, dry cloth or squeegee after every use. This will remove any water, soap residue, or products that could potentially lead to buildup or stains.
2. Use a shower caddy or organizer: To avoid clutter and product buildup on the edges of the bathtub, use a shower caddy or organizer to store your shower essentials. This keeps them off the surface and prevents any potential spills or residue from causing stains.
3. Avoid using harsh or abrasive cleaning products: Harsh or abrasive cleaning products can damage the surface of your bathtub and make it more prone to staining. Stick to mild cleaning solutions or natural alternatives to clean your tub.
4. Keep up with regular cleaning: Establishing a regular cleaning routine will help prevent the buildup of grime and stains. Clean your bathtub on a consistent basis, depending on your usage and the specific needs of your bathroom.
5. Install a water softener: Hard water can contribute to the formation of mineral deposits and stains on your bathtub. Consider installing a water softener or using water conditioning products to reduce the effects of hard water. This will minimize the buildup and make cleaning easier.
6. Use mats and non-slip stickers: Placing mats or non-slip stickers in the bathtub can help prevent scratches and stains caused by abrasive materials or accidental slips. Choose mats that are easy to clean or replace to maintain their effectiveness.
7. Address leaks or plumbing issues promptly: Any leaks or plumbing issues in or around your bathtub should be addressed immediately. Prolonged exposure to water can lead to water damage, mold growth, and staining.
By following these preventive measures, you can significantly reduce the occurrence of buildup and stains in your bathtub. Implementing these habits will save you time and effort in the long run. Now, let’s move on to our final tip: additional tips and tricks for maintaining a clean and organized bathroom.
Tip 12: Additional Tips and Tricks
In addition to the previous tips on cleaning and maintaining your bathtub, here are some bonus tips and tricks to help you keep your bathroom clean, organized, and fresh:
1. Create a cleaning schedule: Establish a regular cleaning schedule for your bathroom. Assign specific tasks to different days of the week to ensure that all cleaning responsibilities are addressed. This will help you stay on top of the cleanliness and maintenance of your bathtub and the entire bathroom.
2. Use bathroom storage solutions: Utilize bathroom storage solutions such as shelves, cabinets, or baskets to keep your toiletries, towels, and other bathroom essentials organized. This will minimize clutter and facilitate easier cleaning of the bathtub area.
3. Deep clean your bathtub periodically: In addition to regular cleaning, schedule a deep cleaning session for your bathtub at least once or twice a month. Use more intensive cleaning techniques to remove any stubborn stains or buildup that may accumulate over time.
4. Keep a squeegee handy: Keep a squeegee in your bathroom and use it to quickly remove excess water from the bathtub after each use. This simple step can significantly reduce water spots and prevent mineral buildup.
5. Consider using bathmats: Placing bathmats around the bathtub area can help absorb excess water and prevent slips and falls. Opt for ones with anti-skid backing for added safety.
6. Maintain good ventilation: Proper airflow and ventilation in your bathroom are essential for preventing mold and mildew growth. Open windows, use exhaust fans, or consider installing a dehumidifier to maintain optimal humidity levels.
7. Refresh the air: Bathroom odors can be unpleasant. Use air fresheners, scented candles, or natural solutions like diffusers with essential oils to keep the bathroom smelling fresh and inviting.
8. Regularly clean shower curtains or liners: If you have a shower curtain or liner, ensure that you clean and replace it as needed to prevent mildew buildup. Follow the manufacturer’s instructions for cleaning or washing.
By implementing these additional tips and tricks, you can maintain a clean and organized bathroom, promoting a hygienic and enjoyable bathing experience. Remember, consistency and regular maintenance are key to keeping your bathtub and the entire bathroom in great condition.
With these 12 expert tips and tricks, you now have the knowledge and guidance to clean, maintain, and optimize your bathtub and bathroom storage. Enjoy a sparkling, fresh, and organized bathroom that provides a serene and relaxing space for your daily routines.
Conclusion
Cleaning and maintaining your bathtub is essential for maintaining a clean and hygienic bathroom. By following these 12 expert tips, you can effectively clean your bathtub and prevent future buildup and stains. From gathering the necessary supplies to scrubbing the bathtub surface, paying attention to grout and caulking, and polishing or waxing (if desired), each step plays a crucial role in achieving a sparkling result.
Furthermore, by adopting preventive measures such as wiping down the bathtub after each use, using appropriate storage solutions, and addressing leaks or plumbing issues promptly, you can ensure that your bathtub remains clean and fresh for longer periods.
Incorporating these tips into your regular bathroom cleaning routine will not only keep your bathtub in pristine condition but also contribute to the overall cleanliness and organization of your bathroom. A well-maintained bathtub provides a comfortable and inviting space for relaxation and personal hygiene.
Remember, consistency is key. By implementing these tips regularly, you can enjoy a consistently clean and beautiful bathtub, prolonging its lifespan and enhancing your bathing experience.
In conclusion, with the right knowledge, supplies, and cleaning techniques, you can keep your bathtub looking sparkling clean and well-maintained for years to come. So roll up your sleeves, gather your supplies, and get ready to transform your bathtub into a shining centerpiece of your bathroom!
Frequently Asked Questions about How To Clean A Bathtub: 12 Tips To Leave It Sparkling
Was this page helpful?
At Storables.com, we guarantee accurate and reliable information. Our content, validated by Expert Board Contributors, is crafted following stringent Editorial Policies. We're committed to providing you with well-researched, expert-backed insights for all your informational needs.


0 thoughts on “How To Clean A Bathtub: 12 Tips To Leave It Sparkling”