Home>Ideas and Tips>How To Choose And Install The Right Bathroom Heated Flooring With Zoned Control
Ideas and Tips
How To Choose And Install The Right Bathroom Heated Flooring With Zoned Control
Modified: October 20, 2024
Learn how to choose and install bathroom heated flooring with zoned control for optimal comfort and energy efficiency. Follow our step-by-step guide.
(Many of the links in this article redirect to a specific reviewed product. Your purchase of these products through affiliate links helps to generate commission for Storables.com, at no extra cost. Learn more)
Introduction
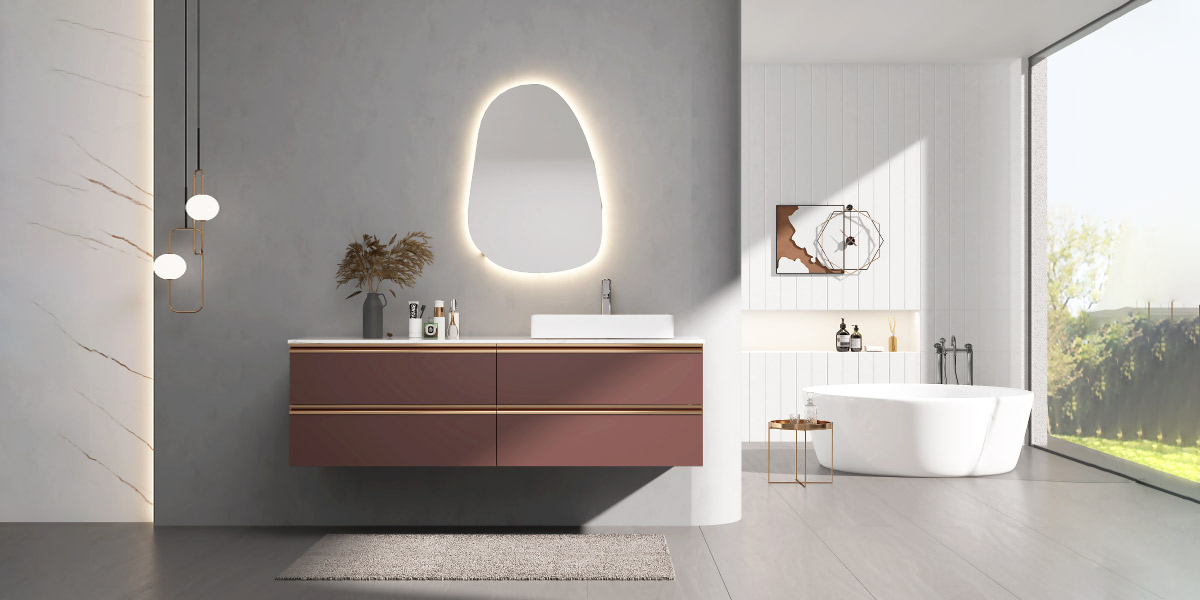
Bathroom heated flooring is a luxurious and practical addition to any home, providing warmth and comfort during the colder months. However, choosing the right type of heated flooring and installing it with zoned control can be a complex task. In this article, we will guide you through the process of selecting and installing bathroom heated flooring with zoned control, ensuring that you achieve both comfort and energy efficiency.
Understanding Heated Flooring Options
Before diving into the installation process, it's essential to understand the different types of heated flooring available. The two primary options are hydronic and electric radiant heating systems.
Hydronic Radiant Heating
Hydronic radiant heating systems use hot water circulating through pipes beneath the floor to warm the space. These systems are highly efficient and ideal for larger areas. They can be zoned by installing separate loops of pipes for each zone, controlled by individual valves. This method allows for precise temperature control in different areas of your home, making it particularly suitable for bathrooms where you may want to maintain a higher temperature than other rooms.
Electric Radiant Heating
Electric radiant heating systems use electric heating cables or mats installed under the floor. These systems are simpler to install and more suitable for smaller areas or retrofits. Zoning in electric radiant heating is achieved by installing separate electric circuits for each zone, controlled by individual thermostats. While not as efficient as hydronic systems, electric radiant heating is a cost-effective option that still offers excellent warmth.
Planning Your Bathroom Heated Flooring Installation
Assessment and Planning
The first step in installing bathroom heated flooring is to conduct a thorough assessment of your existing flooring structure. Ensure that your subfloor is compatible with the type of heated flooring you plan to install. Check the manufacturer guidelines before purchasing or installing radiant floor heating.
Create a detailed plan and layout for the heating elements, considering the rooms and zones to be heated. For bathrooms, it's often beneficial to focus on areas where foot traffic will be highest, such as in front of vanities, tubs, and toilets.
Choosing the Right Materials
When selecting materials for your bathroom heated flooring, consider factors such as durability, ease of installation, and thermal mass. Thermal mass refers to a material's ability to absorb and release heat slowly, which can help maintain a consistent temperature in your bathroom.
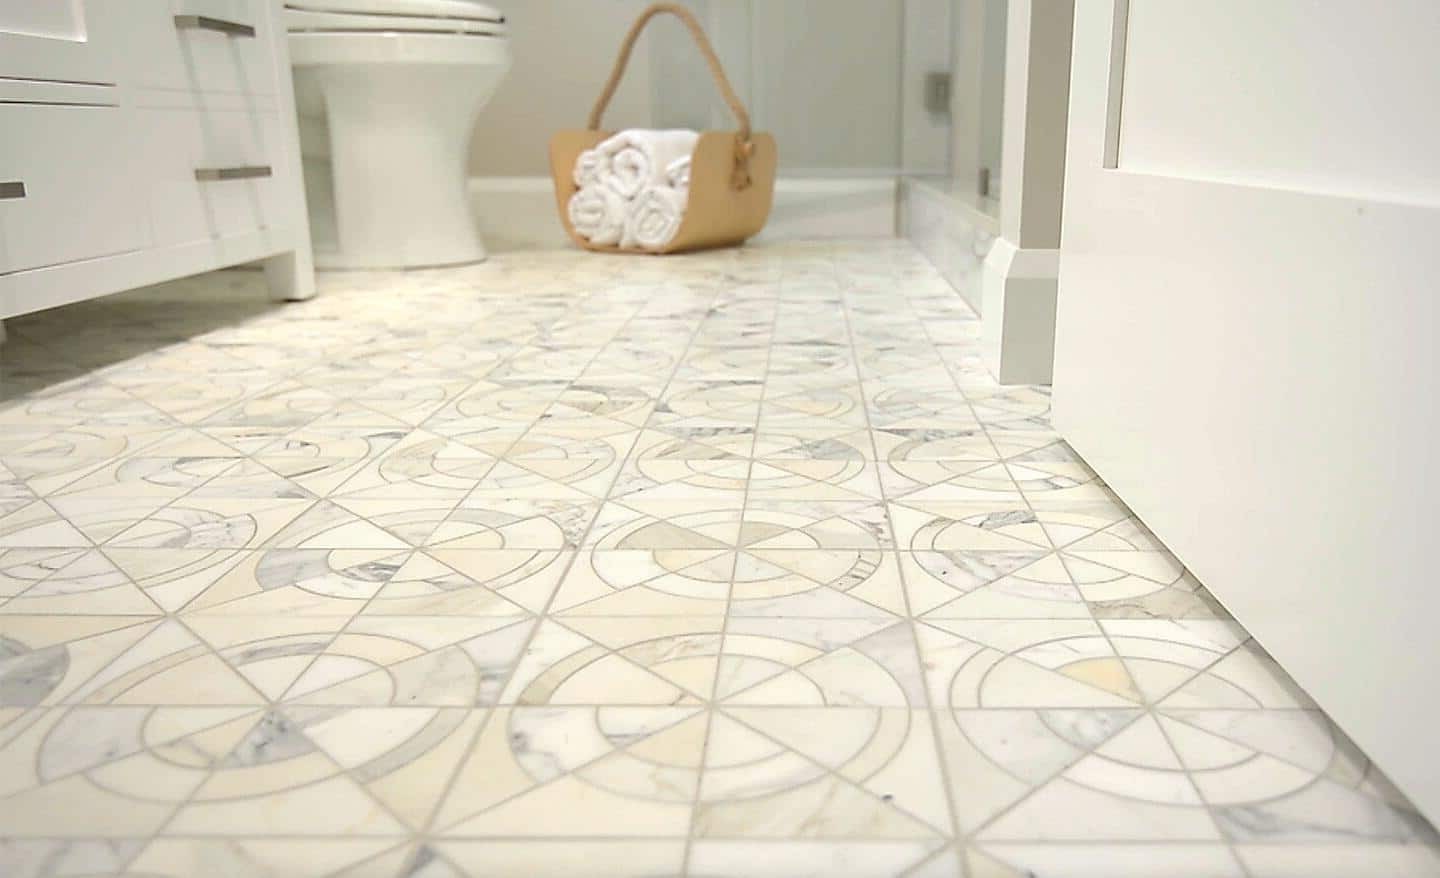
- Tile: Ceramic or porcelain tiles are popular choices for bathroom flooring because they are durable and can be easily installed with radiant heating mats.
- Hardwood: Hardwood flooring can also be used with radiant heating systems but may require additional insulation to prevent heat loss.
- Laminate: Laminate flooring is another option that can work well with electric radiant heating mats.
Installation Process
Step-by-Step Installation Guide
-
Assessment and Preparation:
- Conduct a thorough evaluation of your existing flooring structure.
- Ensure that your subfloor is compatible with the type of heated flooring you plan to install.
-
Planning and Layout:
- Create a detailed plan and layout for the heating elements.
- Identify the zones in your bathroom where you want to install heated flooring.
-
Joist Work:
- Gain access to the joists from below the floor.
- Prepare them for the installation of the heating system.
-
Heating Element Installation:
- Lay down the electric radiant heat mats or cables according to your plan.
- For hydronic systems, install pipes beneath the floor.
-
Electrical Connections (for Electric Systems):
- Connect the heating system to the power supply.
- Install thermostats according to your zoning plan.
-
System Testing:
- Test the thermostat and heating system to ensure everything operates correctly.
-
Insulation Placement:
- Apply insulation beneath the heating elements to minimize heat loss downwards and direct warmth upwards into the living space.
Read more: How To Choose And Install The Right Toilet
Specific Installation Steps for Hydronic Systems
-
Pipe Installation:
- Lay down pipes beneath the subfloor in a way that ensures even distribution of heat across different zones.
-
Valve Installation:
- Install zone valves or actuators at the manifold to control the flow of hot water to each zone based on thermostat settings.
-
Manifold System:
- Use a manifold system to distribute heated water to different zones in your bathroom.
Specific Installation Steps for Electric Systems
-
Mat Installation:
- Lay down electric radiant heat mats according to your plan, ensuring they cover high-traffic areas like in front of vanities and tubs.
-
Thermostat Placement:
- Place thermostats in strategic locations where they can accurately measure room temperature without being influenced by external factors like drafts or direct sunlight.
Zoning Your Bathroom Heated Flooring
Zoning is crucial for maximizing comfort and energy efficiency in your bathroom heated flooring system. Here’s how you can zone your system:
Identifying Zones
-
Common Zones:
- Bedrooms
- Living areas
- Bathrooms
- Kitchens
-
Zone Control:
- Install dedicated thermostats in each zone to control temperature individually.
- Use zone valves or actuators at the manifold to regulate the flow of heat based on thermostat settings.
Benefits of Zoning
-
Customized Comfort:
- Enjoy personalized comfort in every room by setting different temperatures for each zone based on your preferences.
-
Energy Savings:
- Reduce energy waste by heating only the zones that are occupied, which can save up to 30% on heating costs.
-
Extended System Life:
- By reducing the workload on your heating system, zoning can help extend its life.
-
Improved Indoor Air Quality:
- Unlike forced-air systems, radiant heating doesn’t circulate dust and allergens, creating a healthier indoor environment.
Thermostat Placement and Programming
Proper placement of thermostats is crucial for accurate temperature control:
-
Avoid Extreme Locations:
- Avoid placing thermostats near windows or doors where they might be influenced by drafts or direct sunlight.
-
Program Your System:
- Set up schedules and temperature settings for each zone based on your lifestyle and preferences.
Maintenance Tips
Regular maintenance is essential to keep your zoned system running efficiently:
-
Check Valves and Actuators:
- Periodically check valves and actuators to ensure they are functioning correctly.
-
Thermostat Checks:
- Regularly check thermostats to ensure they are accurately measuring room temperature without being influenced by external factors.
-
System Inspections:
- Perform regular inspections of your system during different seasons to detect any issues early on.
Conclusion
Installing bathroom heated flooring with zoned control requires careful planning and execution but offers numerous benefits including customized comfort, energy savings, extended system life, and improved indoor air quality. By following these steps—assessing compatibility, choosing the right materials, installing heating elements correctly, zoning your system effectively, placing thermostats strategically—and maintaining your system regularly—you can enjoy a warm and comfortable bathroom all year round while saving on energy costs.
Whether you opt for hydronic or electric radiant heating systems depends on your specific needs and preferences but both options can be effectively zoned to provide optimal comfort in every room of your home. With proper installation and maintenance, your bathroom heated flooring will become an integral part of your home's comfort and efficiency profile.
Was this page helpful?
At Storables.com, we guarantee accurate and reliable information. Our content, validated by Expert Board Contributors, is crafted following stringent Editorial Policies. We're committed to providing you with well-researched, expert-backed insights for all your informational needs.


0 thoughts on “How To Choose And Install The Right Bathroom Heated Flooring With Zoned Control”