Home>Ideas and Tips>Indoor Hanging Kokedama Garden: Create Living Plant Sculptures
Ideas and Tips
Indoor Hanging Kokedama Garden: Create Living Plant Sculptures
Modified: October 27, 2024
Create a stunning indoor hanging kokedama garden with our step-by-step guide. Learn how to craft and care for these living plant sculptures.
(Many of the links in this article redirect to a specific reviewed product. Your purchase of these products through affiliate links helps to generate commission for Storables.com, at no extra cost. Learn more)
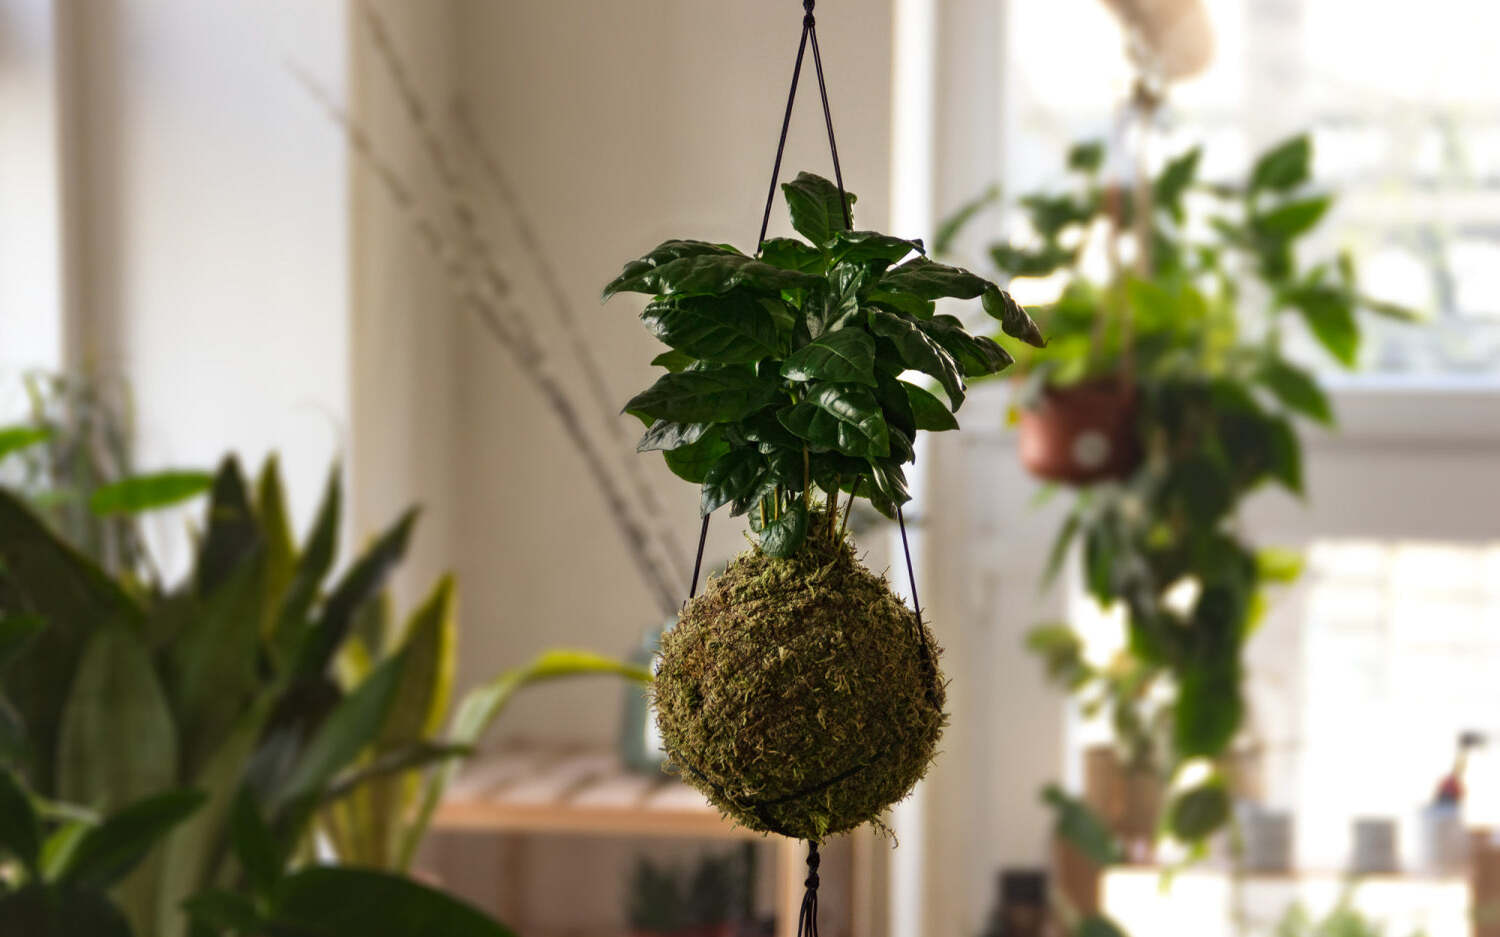
In the world of home improvement and gardening, there are few trends as captivating and versatile as the kokedama. This ancient Japanese art form, which translates to "moss ball," has been gaining popularity globally for its unique and elegant way of displaying plants. Kokedama not only adds a touch of natural beauty to any indoor space but also offers a creative outlet for gardeners and plant enthusiasts. In this article, we will delve into the art of creating an indoor hanging kokedama garden, exploring the materials needed, the step-by-step process, and the care required to keep these living sculptures thriving.
The Art of Kokedama
Kokedama is rooted in the centuries-old tradition of bonsai, where plants are grown in compact forms that can be displayed without traditional pots. The term "koke" means moss, and "dama" means ball, perfectly describing the moss-wrapped root ball of the plant. This method of displaying plants originated from the Nearai bonsai method, where plants are grown so compactly that they hold their own root balls when removed from a container.
Materials Needed
To create a kokedama, you will need the following materials:
- Moss: Sphagnum moss or sheet moss are commonly used. Sphagnum moss is more golden in color and retains moisture well, while sheet moss creates a greener moss ball.
- Compost: All-purpose compost or bonsai compost can be used to mix with the moss. This helps retain moisture and provides nutrients to the plant.
- Bonsai Soil (Akadama): For plants with higher watering needs or those that are particularly root-bound, adding a mix of bonsai soil can be beneficial.
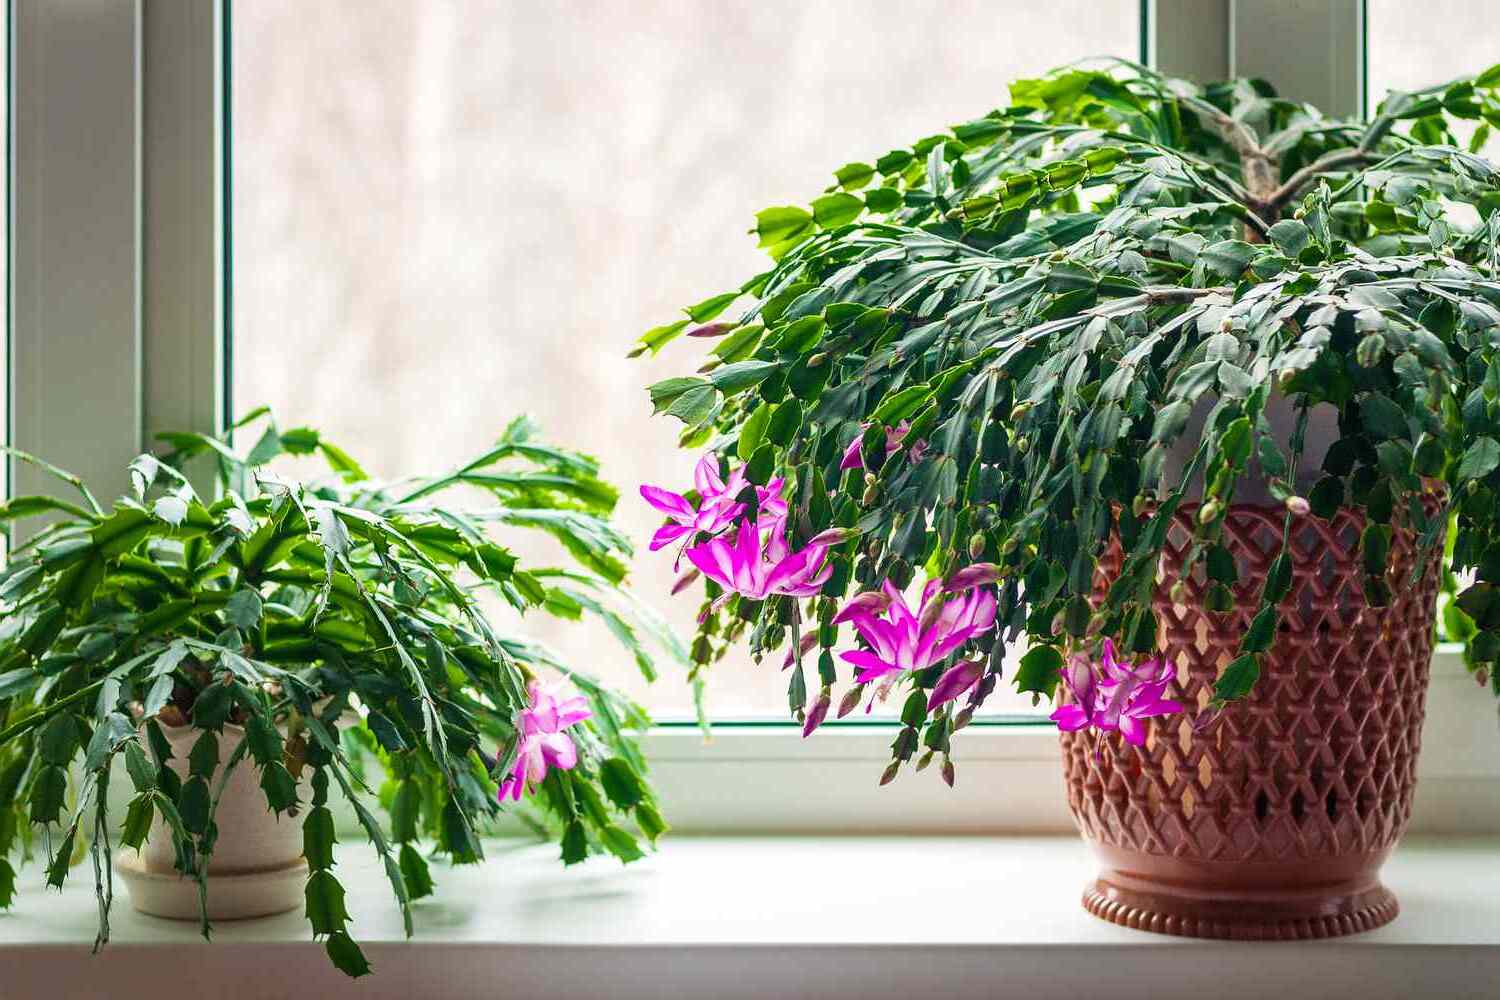
- Plant: Choose plants that are suitable for indoor conditions and can thrive in a moss-wrapped environment. Popular choices include ferns, ivy, small trees, and orchids.
- Twine or String: Garden or waxed twine is used to wrap the moss around the plant ball. This helps secure the moss in place and can be decorative.
- Water: Essential for mixing the soil and keeping the moss moist.
Step-by-Step Guide to Making a Kokedama
Step 1: Prepare the Plant
- Remove Excess Soil: Carefully remove as much excess soil from the roots of your chosen plant without damaging them. This step is crucial to ensure that the plant's roots are well-exposed and can be easily wrapped in moss.
- Mix Soil and Compost: Combine all-purpose compost and bonsai soil in a 7:3 ratio (peat moss to akadama). Add water to the mixture until it forms a moist, moldable ball that can hold its shape without crumbling.
Step 2: Shape the Soil Ball
- Form the Ball: Use your hands to shape the soil mixture into a ball large enough to house the roots of your plant. If necessary, add more water to keep the mixture moist and pliable.
- Insert Roots: Create a hole in the center of the soil ball and gently insert the plant's roots. If the soil crumbles, mold it back into shape around the roots.
Step 3: Wrap in Moss
- Cover with Moss: Hold the soil ball in one hand and wrap it with sphagnum moss or sheet moss. Ensure that all sides are covered evenly, trimming off any excess moss as you go.
- Secure with Twine: Use garden or waxed twine to wrap around the moss-covered soil ball. Start at one end and randomly wrap the string around the ball, securing the moss in place. Make sure not to wrap directly through the plant to avoid damaging it.
Step 4: Finish and Hang
- Tie Off: Once you've wrapped the string around the ball, tie off the ends to secure it. If hanging your kokedama, leave enough length for a hanging loop and tie two lengths of twine on opposite sides of the moss ball.
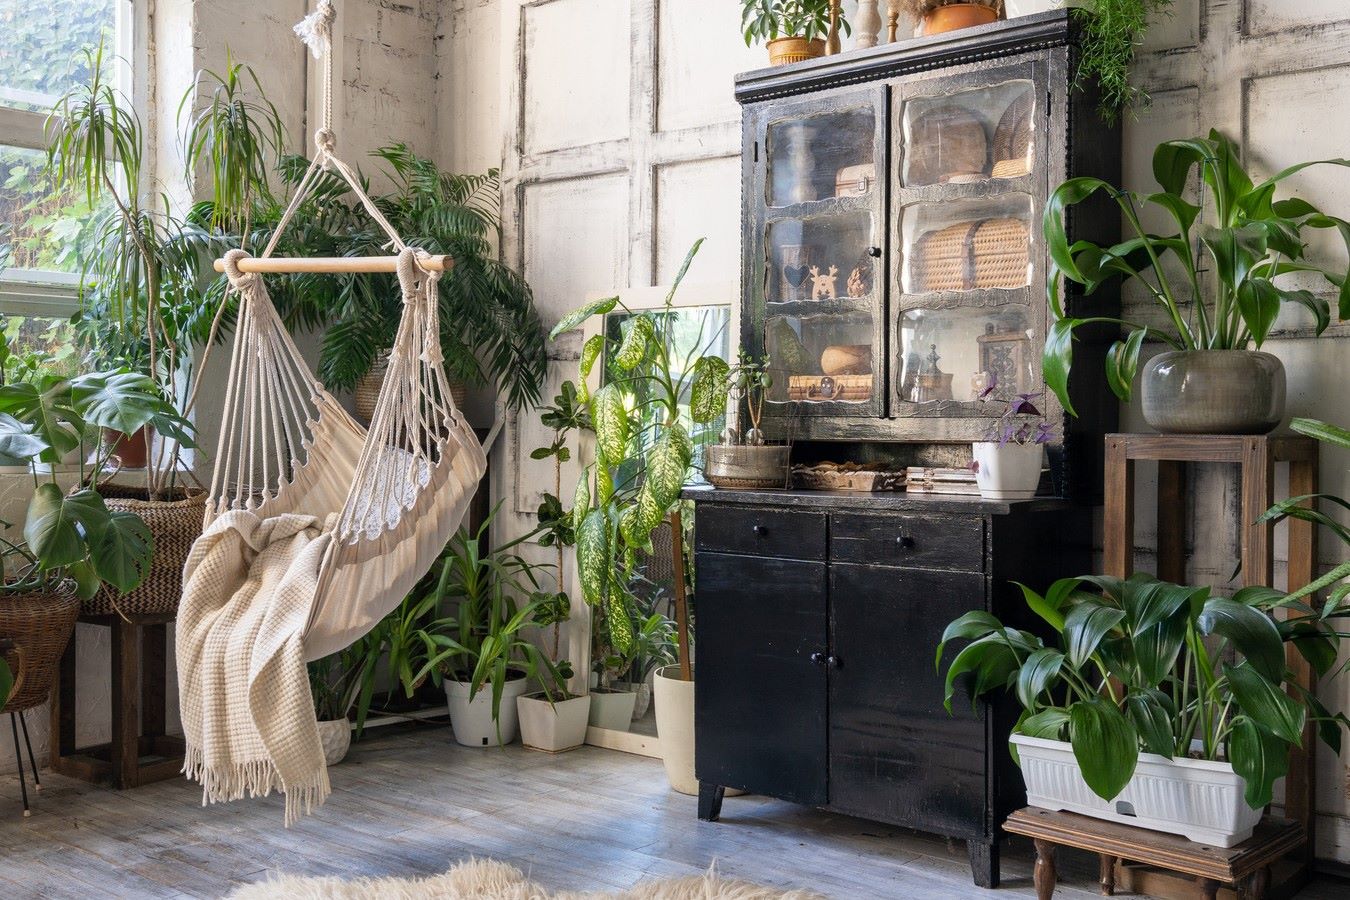
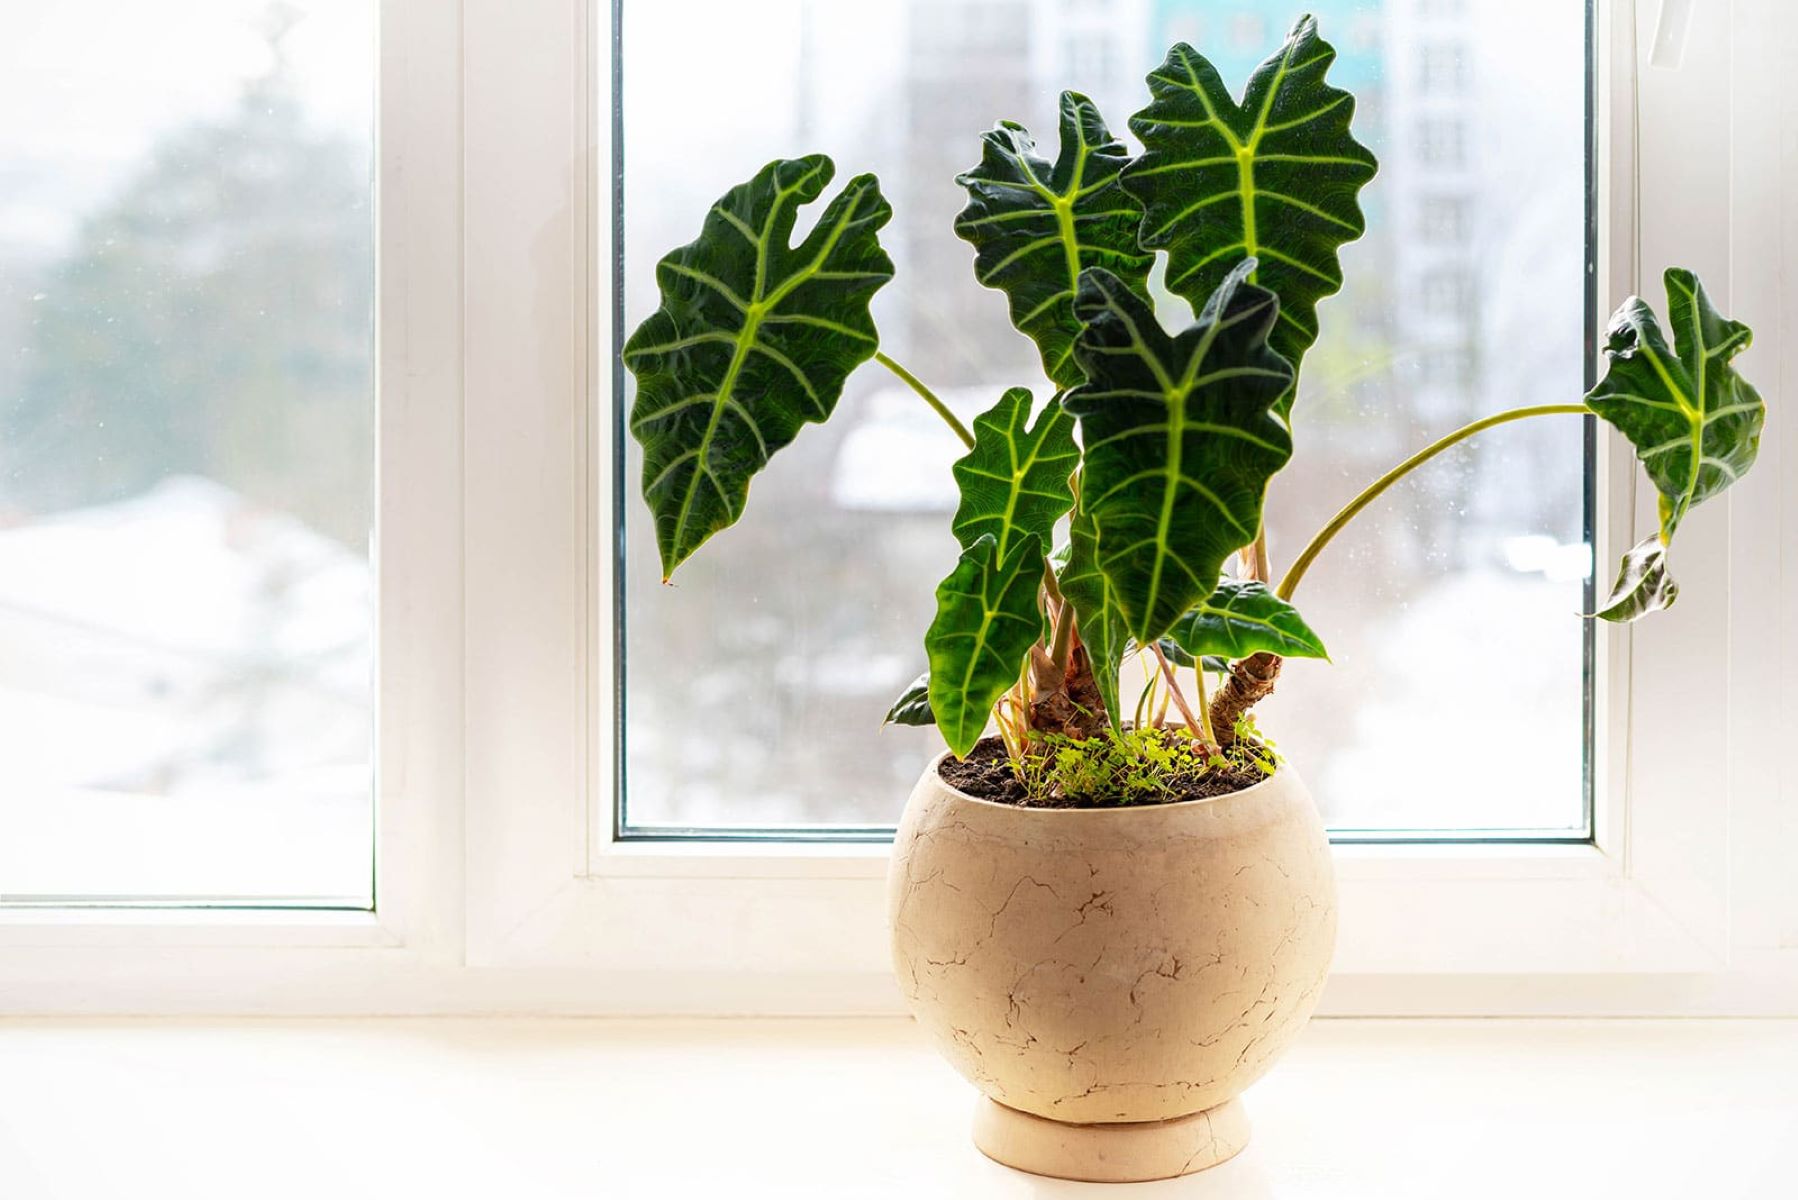
- Display: Place your finished kokedama in a bright, humid environment like a bathroom or near a window. You can also display them on shelves or in small ceramic bowls to catch excess moisture.
Tips for Care and Maintenance
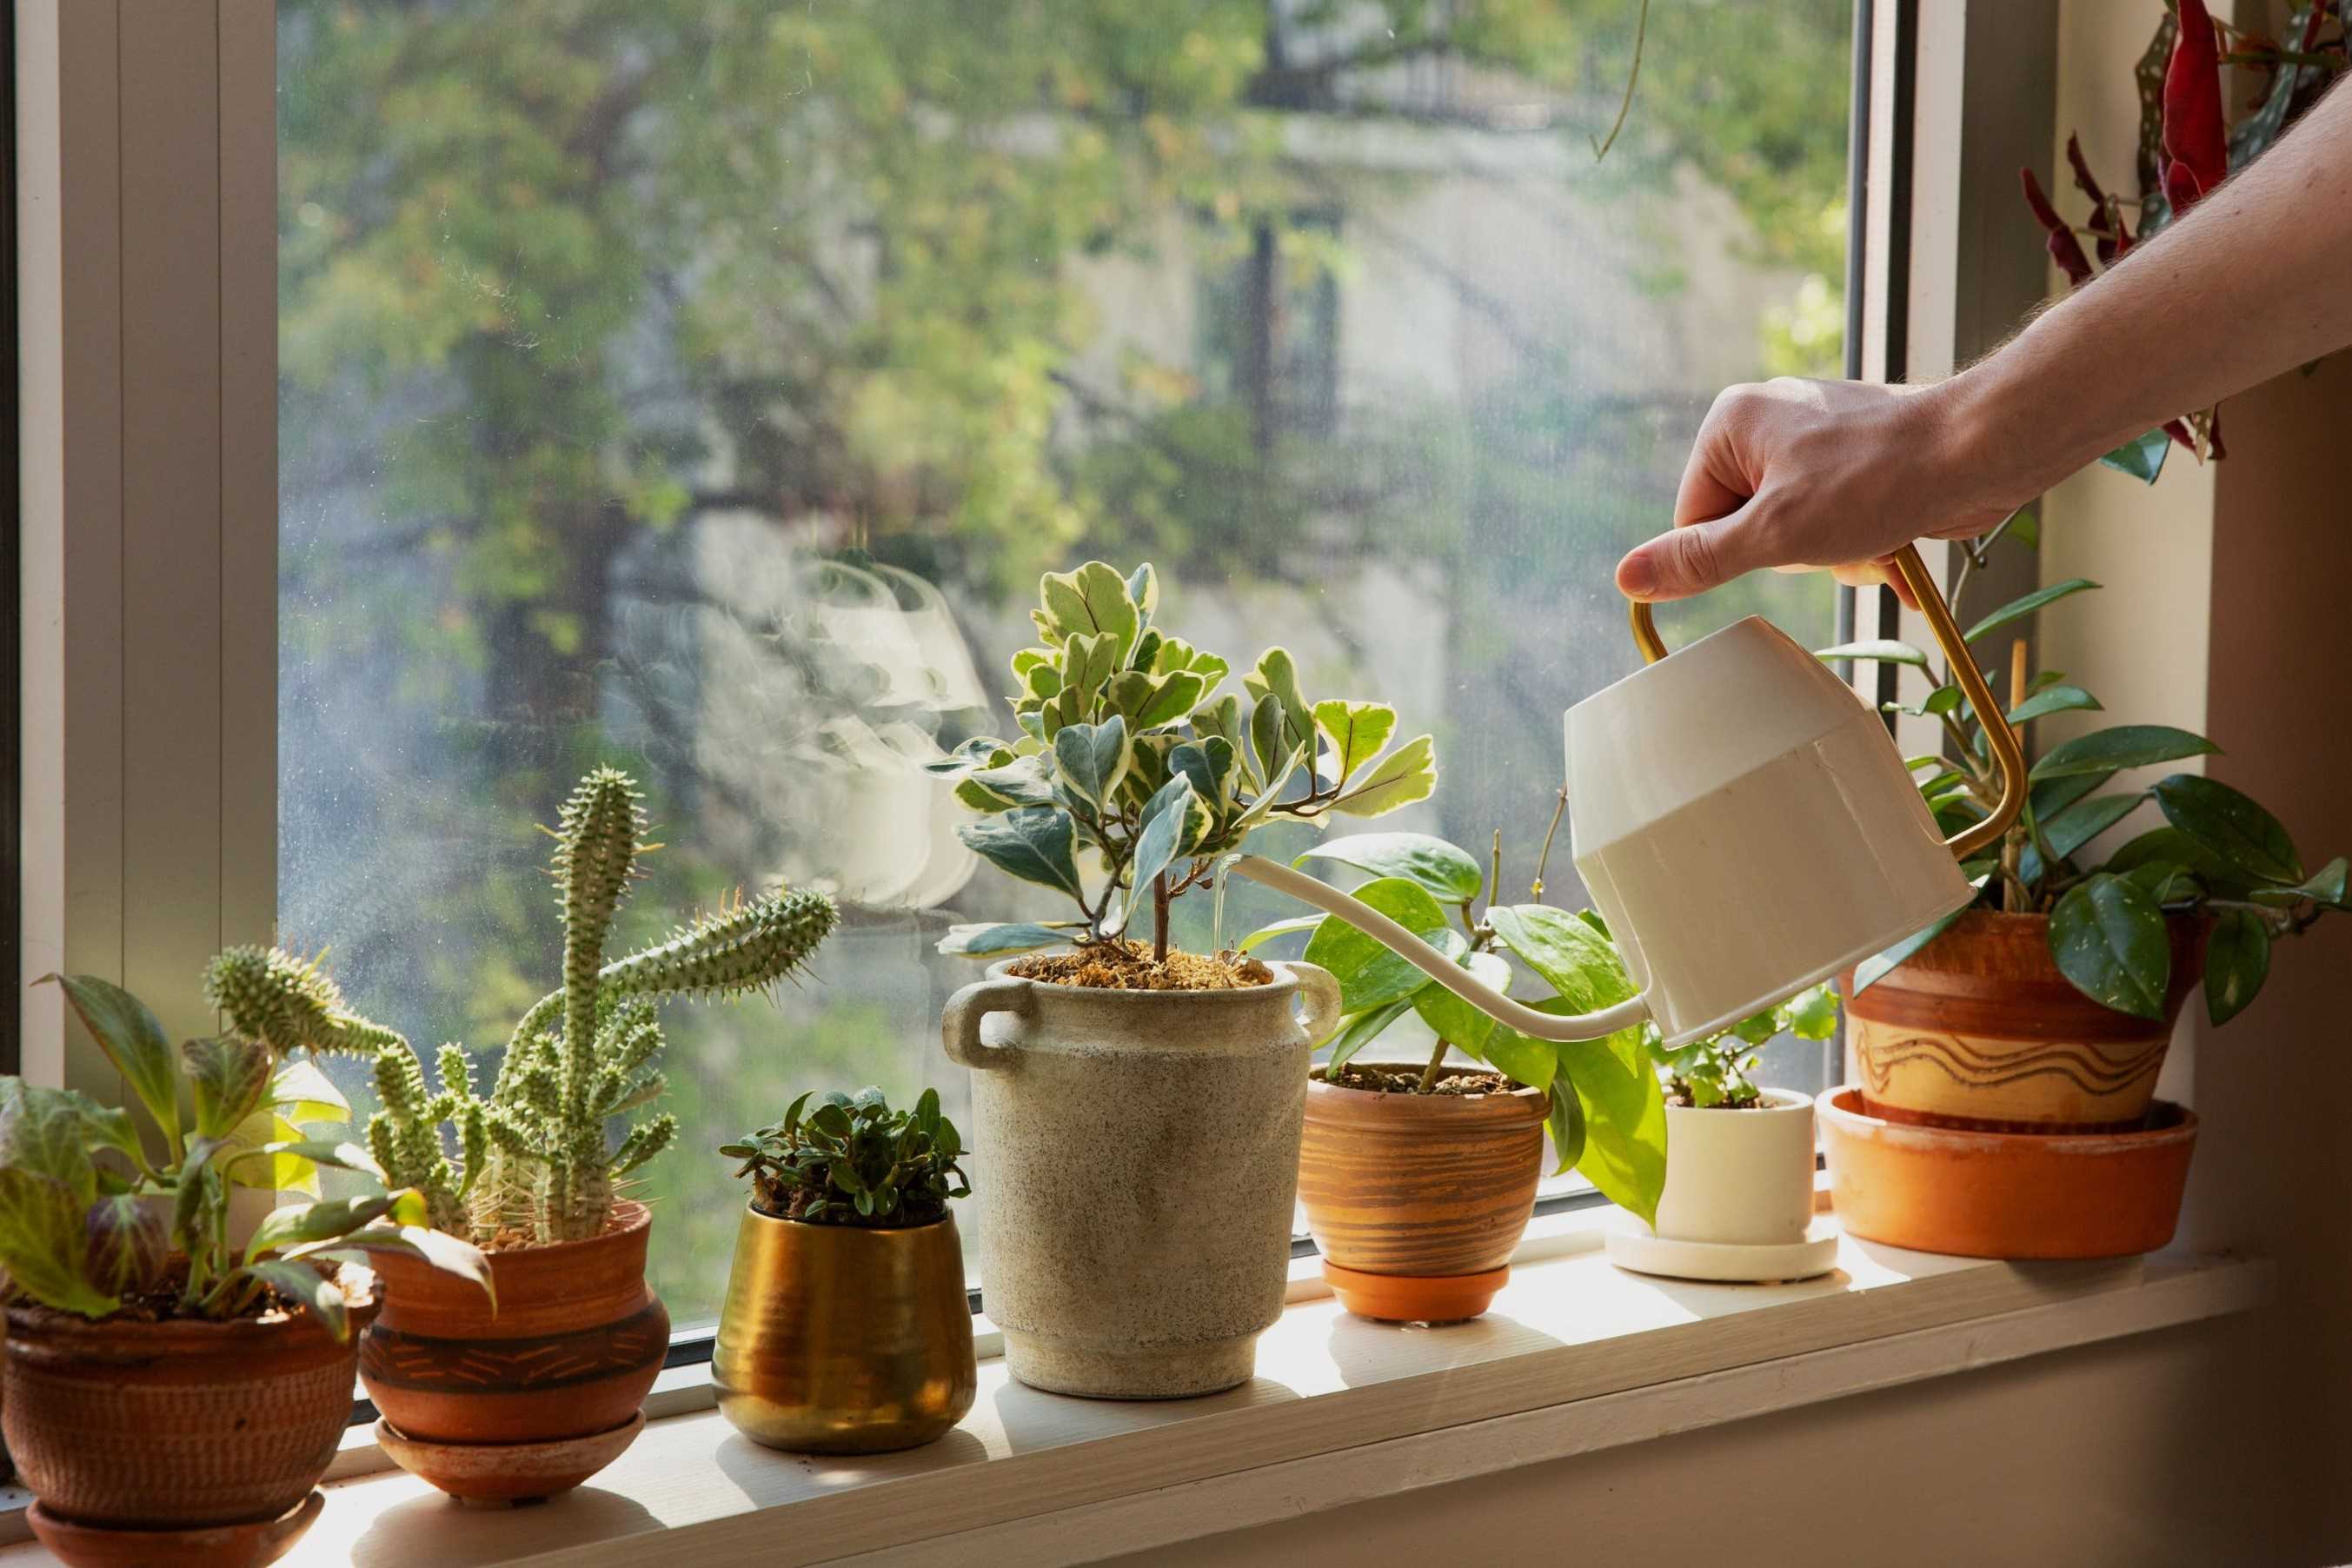
Watering
- Misting: Mist your kokedama regularly with a spray bottle to keep the moss moist. This is especially important in dry environments.
- Submerging: Once a week, submerge your kokedama in a bowl of water for a few minutes to allow the moss to soak up moisture. Let it drip dry over a sink or saucer before hanging it back up.
Read more: How To Create An Indoor Garden
Humidity
- Humid Environments: Kokedama thrives in humid environments, making bathrooms or kitchens ideal places for display. If you don't have such a space, you can place it near a humidifier or use a cloche to conserve moisture.
Lighting
- Bright Light: While kokedama can tolerate some direct sunlight, it's best to place them in bright, indirect light. This helps prevent scorching of leaves and maintains the health of your plant.
Re-potting
- Annual Re-potting: As your plant grows, you may need to re-pot it every year or two. This involves unwrapping the moss, gently removing the plant from its current ball, and re-wrapping it in fresh moss and soil.
Creative Display Ideas
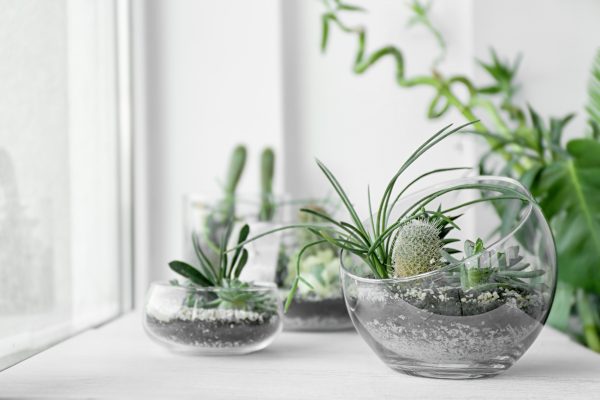
Trays and Bowls
- Tray Displays: Place multiple kokedama on a tray or in a bowl surrounded by decorative items like pine cones, ornaments, or cuttings of evergreens from your garden. This creates a beautiful holiday centerpiece or a year-round display.
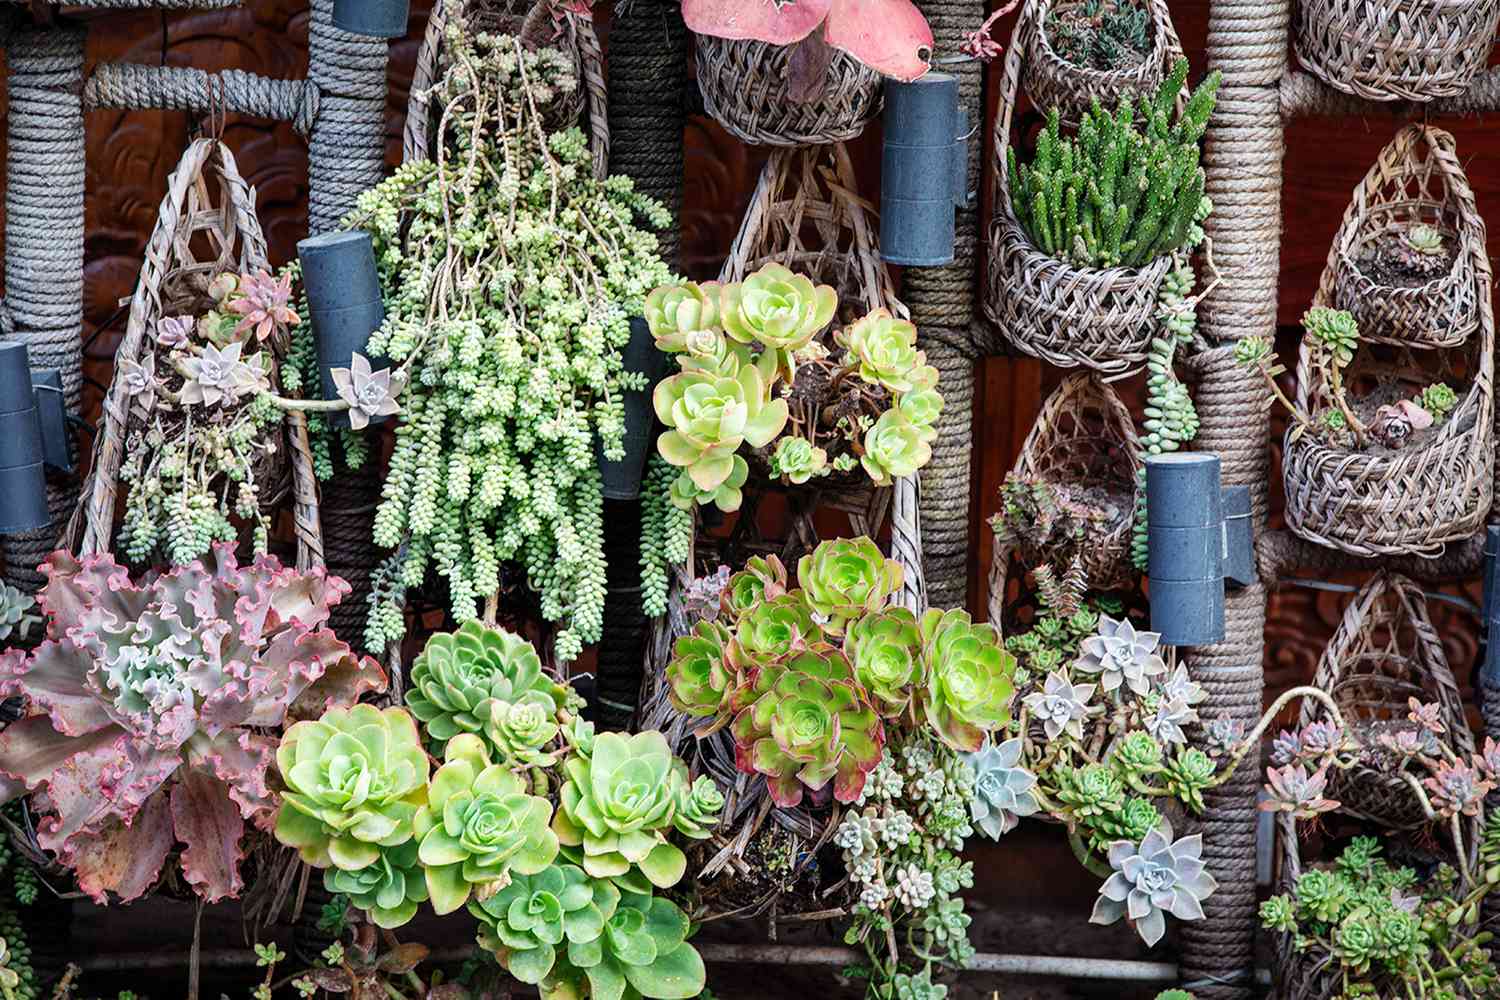
Hanging Gardens
- Macrame Hangers: Use macrame plant hangers to hang your kokedama. This adds a decorative touch and allows you to cluster multiple plants together for a striking indoor garden.
Seasonal Plants
- Seasonal Displays: Use seasonal plants like amaryllis bulbs wrapped in moss for the holidays. This adds a festive touch while maintaining the natural look of kokedama.
Conclusion
Creating an indoor hanging kokedama garden is a fun and rewarding project that combines gardening with art. By following these steps and tips, you can create beautiful living sculptures that not only add beauty to your home but also provide a unique way to display your plants. Whether you're a seasoned gardener or just starting out, kokedama offers a versatile and creative outlet that can be enjoyed by all.
By embracing the art of kokedama, you're not only enhancing your indoor space but also contributing to a sustainable and eco-friendly way of gardening. So go ahead, get creative, and let the beauty of kokedama transform your home into a lush, green oasis.
Was this page helpful?
At Storables.com, we guarantee accurate and reliable information. Our content, validated by Expert Board Contributors, is crafted following stringent Editorial Policies. We're committed to providing you with well-researched, expert-backed insights for all your informational needs.


0 thoughts on “Indoor Hanging Kokedama Garden: Create Living Plant Sculptures”