Home>Ideas and Tips>Indoor Moth Orchid Care Tips: Long-Lasting Blooming Plants
Ideas and Tips
Indoor Moth Orchid Care Tips: Long-Lasting Blooming Plants
Modified: October 20, 2024
Discover essential indoor moth orchid care tips to ensure long-lasting blooms. Perfect for beginners and experts alike.
(Many of the links in this article redirect to a specific reviewed product. Your purchase of these products through affiliate links helps to generate commission for Storables.com, at no extra cost. Learn more)
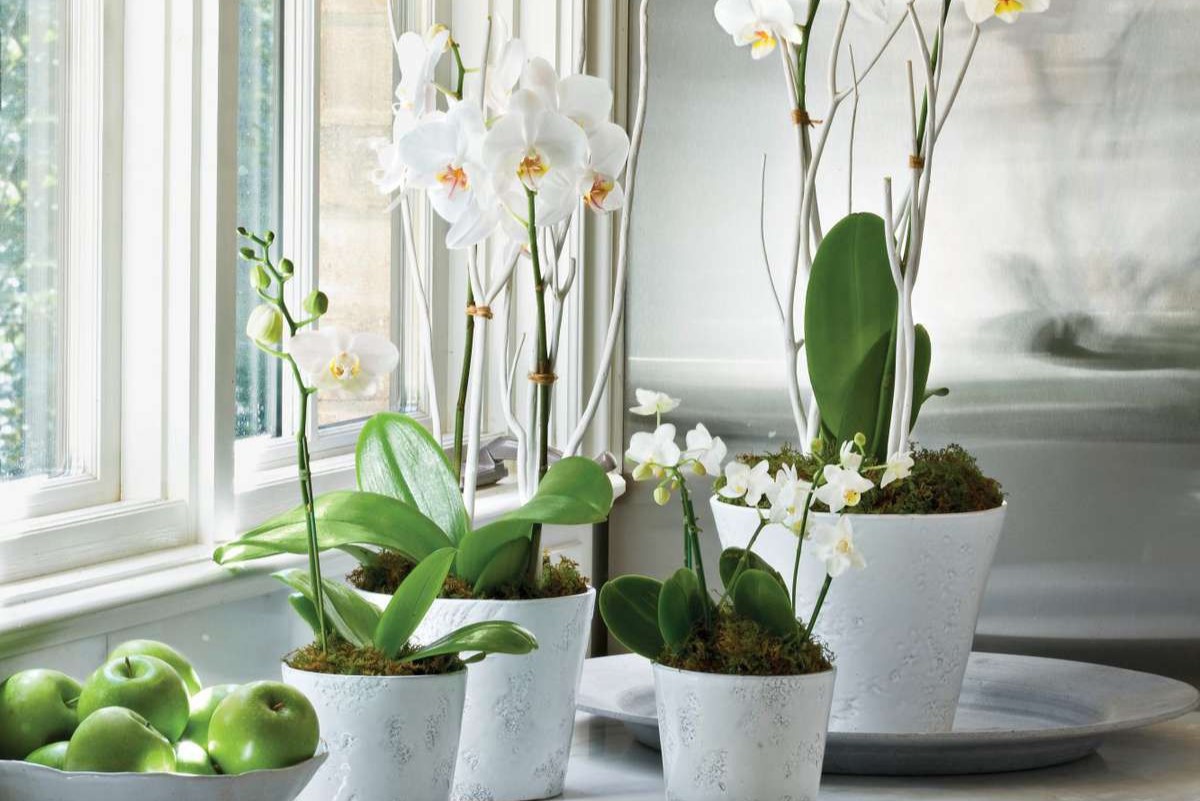
Moth orchids, scientifically known as Phalaenopsis, are one of the most popular and versatile houseplants due to their ease of care and long-lasting blooms. These beautiful flowers can add a touch of elegance and serenity to any indoor space, making them a perfect choice for both beginners and experienced plant enthusiasts. In this article, we will delve into the essential care tips for indoor moth orchids, focusing on how to ensure they thrive and continue to bloom for months.
Understanding Moth Orchids
Before we dive into the care tips, it's important to understand the nature of moth orchids. These plants are epiphytes, meaning they naturally grow on trees in their native habitats, collecting moisture and nutrients from the air and rain rather than from the soil. This unique characteristic makes them quite different from other houseplants, requiring specific care to thrive indoors.
Botanical Name and Common Name
The botanical name for the moth orchid is Phalaenopsis, and it is commonly referred to as the moth orchid due to the shape of its flowers, which resemble a moth's wings.
Origin
Moth orchids originate from Southeast Asia and parts of Australia, where they anchor themselves to tree trunks and branches, absorbing moisture and nutrients from the environment.
Lighting Requirements
One of the most critical factors in caring for a moth orchid is providing the right amount of light. Unlike many other houseplants, moth orchids require bright but indirect light to produce blooms. Here are some guidelines for lighting:
- Bright, Indirect Light: Moth orchids thrive in bright, indirect light. An east- or west-facing window is ideal, as it provides the necessary light without the risk of scalding the plant with direct sunlight.
- Avoid Direct Sunlight: Direct sunlight can be detrimental to moth orchids. It can cause the leaves to become scorched and the flowers to fade quickly.
- Using Grow Lights: If you don't have a suitable window for your orchid, you can use a fluorescent grow light. Place the light about 12 inches away from the plant to ensure it receives the right amount of illumination.
Measuring Light Levels
To ensure you're providing the right amount of light, you can use a light meter or apps like Galactica Luxmeter. These tools help measure the light intensity in your home, making it easier to determine if your orchid is receiving enough light.
Watering Tips
Watering is another crucial aspect of caring for a moth orchid. These plants have a lower tolerance for drought but can be susceptible to root rot if overwatered. Here are some tips for watering your moth orchid:
- Watering Frequency: Water your moth orchid once a week during the growing season. The frequency may vary depending on the humidity and temperature of your home.
- Watering Method: To water your orchid effectively, place the plant in a sink or tub and run warm water over it for 3-4 minutes. This allows the water to penetrate the bark and aerial roots gradually.
- Drainage: Ensure that the water drains completely from the pot before placing it back in its saucer. Standing water can cause root rot and other issues.
- Humidity Monitoring: Use a humidity monitor to ensure that the air around your orchid remains at a suitable level (40-50%). You can also increase humidity by placing a pebble tray under the pot.
Signs of Proper Watering
Aerial roots will turn from a dull silver or white to a pale green color when they have absorbed enough water. This is a clear sign that your orchid is receiving the right amount of moisture.
Temperature and Humidity
Moth orchids prefer temperatures between 75°F and 85°F during the day, but they can adapt well to normal house temperatures of 65°F to 70°F. They also thrive in contrasting night and day temperatures, which helps induce flower spikes.
Ideal Temperature Range
To promote blooming, it's beneficial to expose your orchid to cooler night temperatures (around 55°F) for a few days before bringing it back indoors.
Read more: How Long Do Bloomed Mums Last
Humidity Levels
Maintaining humidity levels above 40% is essential for the health of your moth orchid. You can achieve this by placing the plant in a bathroom or using a humidifier. If you're unable to maintain high humidity levels, a pebble tray with water can help increase the moisture around the plant without causing root rot.
Fertilizing Your Orchid
Fertilizing is crucial for the health and blooming of your moth orchid. However, over-fertilizing can lead to lush growth at the expense of flowers. Here are some guidelines for fertilizing:
- Fertilizer Type: Use an orchid-specific fertilizer or a balanced fertilizer formula like 20-20-20 at half strength.
- Fertilization Frequency: Fertilize your orchid every third or fourth watering when it is actively growing and flowering.
- Avoid Over-Fertilizing: Skip fertilization during the cooler temperatures and lower light intensity of the winter months to avoid promoting vegetative growth over flowering.
Benefits of Half-Strength Fertilizer
Using half-strength fertilizer more frequently is beneficial because the ideal growing medium for orchids (bark and moss) doesn't hold moisture or nutrients as well as soil does.
Staking the Flower Spike
Moth orchids often produce tall flower spikes that can bend under their own weight. To prevent this, you can stake the flower spike using a rigid, thin stake made of bamboo, wood, or metal. Secure the flower spike to the stake loosely with small plastic clips or plant ties.
Importance of Staking
Staking helps maintain the structure of the flower spike, ensuring that your orchid continues to bloom beautifully without any damage.
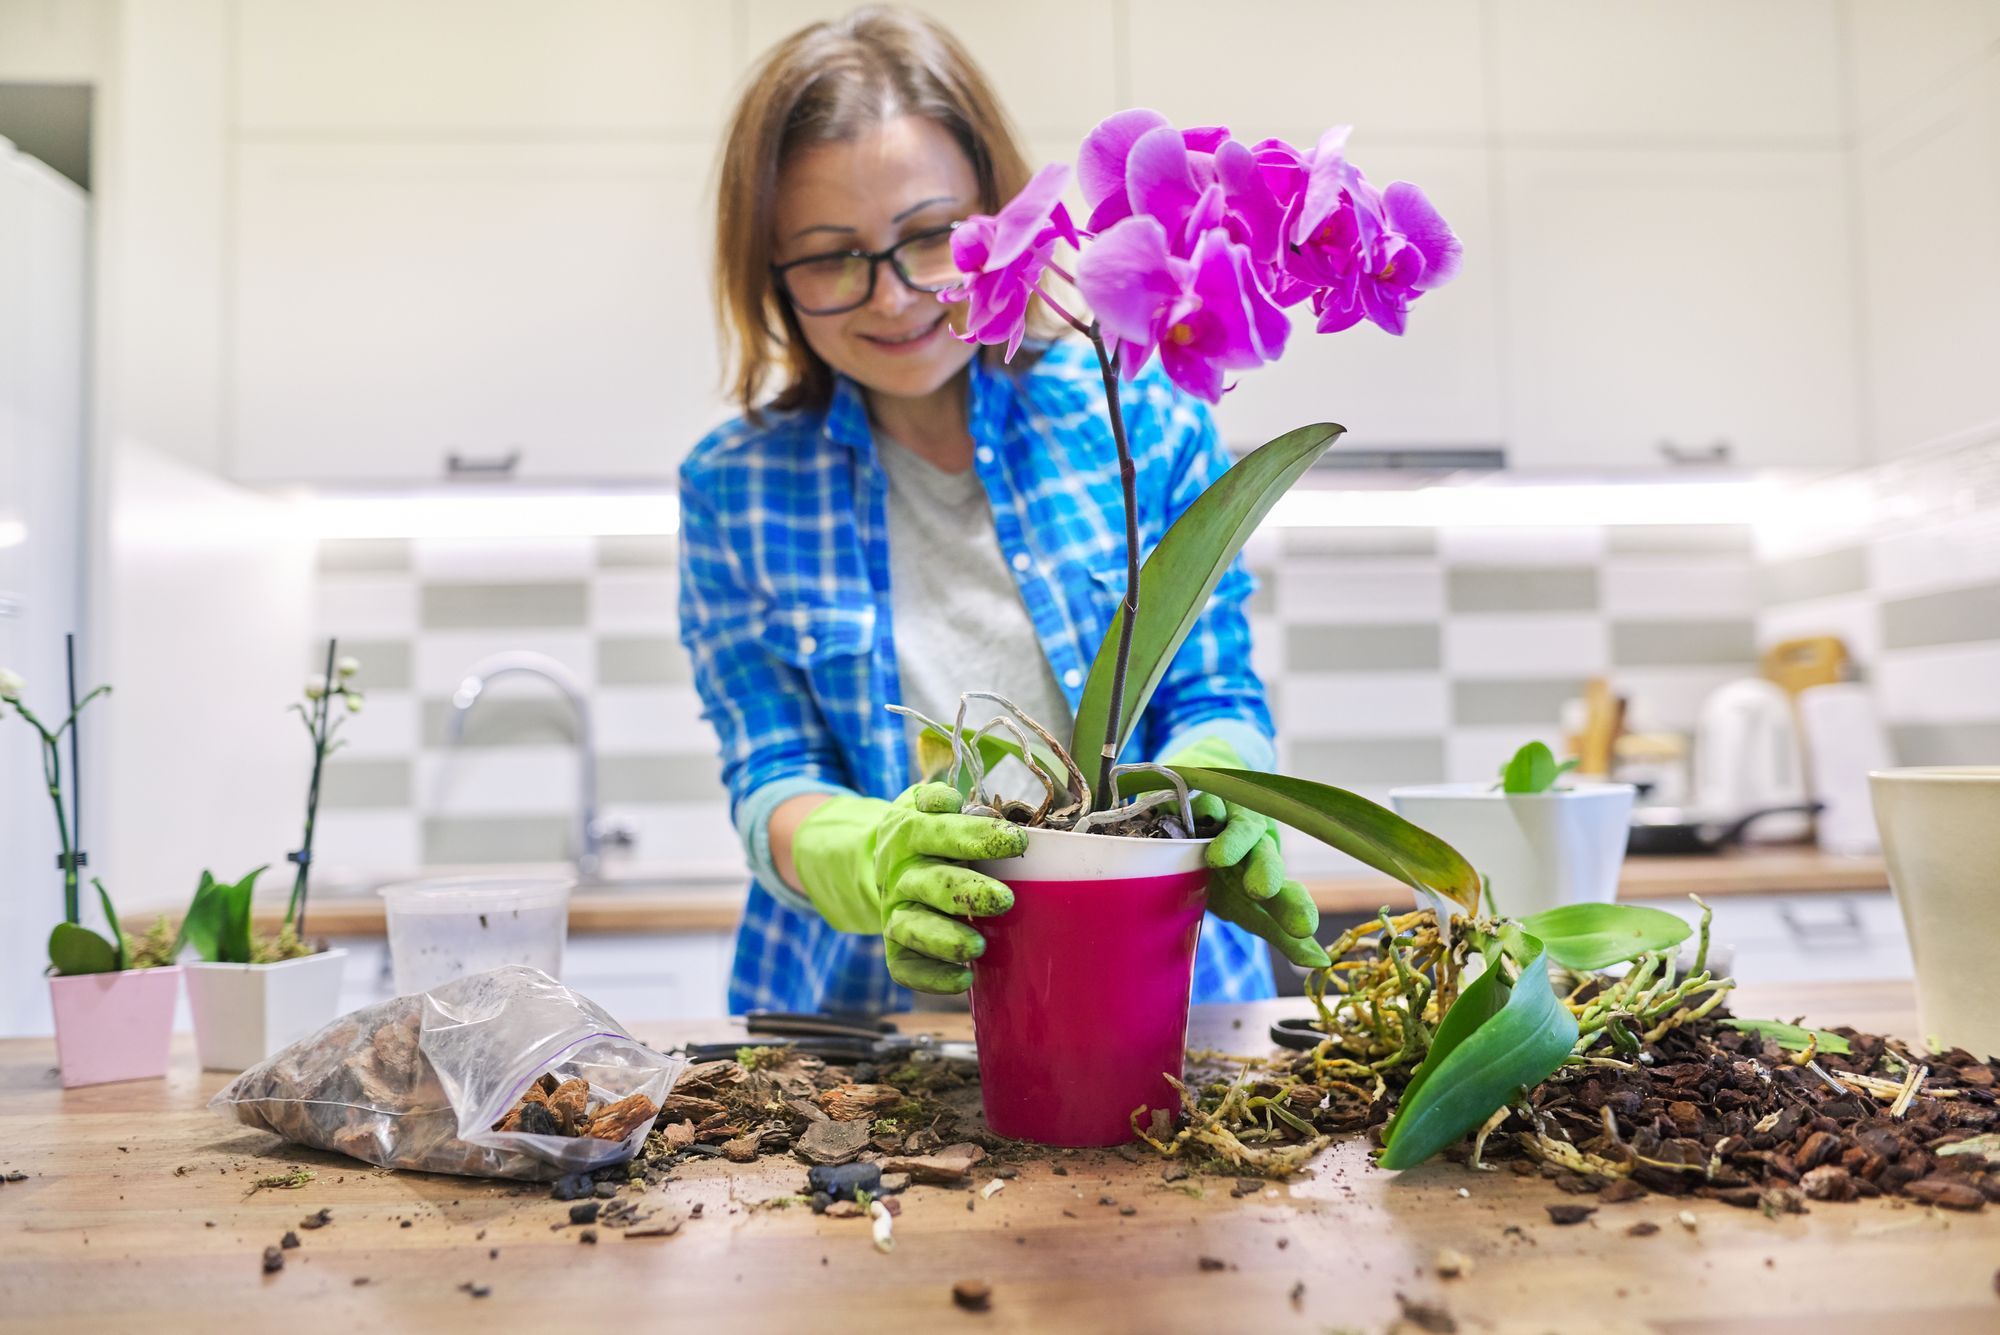
Repotting Your Orchid
Repotting your moth orchid is necessary every 1-2 years when the potting media begins to break down. Here are some signs that indicate it's time for repotting:
- Overgrown Pot: If your orchid has outgrown its pot.
- Broken Down Potting Media: When the bark has broken down so that it looks like mulch and drains poorly.
- Poor Drainage: If the potting media holds too much moisture.
Steps for Repotting
- Select New Potting Media: Choose a commercial orchid bark mix with excellent drainage.
- Gently Remove Old Plant: Knock the plant out of its old pot gently.
- Soak Roots (if necessary): If roots have attached to the pot or old bark medium, soak the plant for a long enough period that they can be gently pried off without damage.
- Trim Dead Roots: Cut off any dead, discolored, or damaged roots.
- Rinse Old Bark: Rinse away the old degraded bark from the plant.
- Repot in New Medium: Suspend the plant over a larger new pot and gently fill in around the bottom roots with new bark until the plant sits on top.
- Water Newly Repotted Plant: Water the newly re-potted plant to further settle the new bark around the roots.
Encouraging Re-flowering
Moth orchids have the tendency to form new flowering branches along their old flower spikes. Here are some tips to encourage re-flowering:
- Move to Brighter Location: Move plants that are not re-flowering indoors either to a brighter window or put them outdoors in a shady location during the summer months.
- Cooler Night Temperatures: Allow your plants to experience cooler night temperatures in the fall before bringing them back indoors. Bring them indoors when evening temperatures dip into the fifties.
- Prune Old Spikes: Prune yellowed or brown spikes back to about ½ inch above the second node or swelling along the spike above the foliage.
Promoting New Buds
Watch the old spike closely for signs of new buds after the flowers have faded and fallen off. This will help you identify when it's time to prune and encourage new blooms.
Common Problems and Solutions
Moth orchids are generally easy to care for, but they can still face some common issues. Here are some common problems and their solutions:
Wrinkled Leaves
If your orchid's leaves are wrinkled, it's likely due to under-watering and low humidity. To increase humidity, add a pebble tray with water below the plant but avoid flooding it.
Yellow Leaves
Yellow leaves often indicate overwatering and root rot. Check if the roots are rotting by gently removing the plant from its pot. If you find rotting roots, trim them off immediately and repot the orchid in fresh media.
Conclusion
Caring for a moth orchid is not as complicated as it seems. By following these detailed care tips—focusing on lighting, watering, temperature, humidity, fertilizing, staking, repotting, and encouraging re-flowering—you can ensure that your moth orchid thrives and continues to bloom beautifully for months. Remember that every plant is unique, so observe your orchid closely and adjust your care routine accordingly. With patience and proper care, you can enjoy the beauty of these stunning flowers for years to come.
By mastering these indoor moth orchid care tips, you'll be well on your way to becoming an expert in growing these lovely plants. Whether you're a seasoned gardener or just starting out with houseplants, the rewards of caring for a moth orchid are well worth the effort. So go ahead—bring home that beautiful moth orchid today and start enjoying its long-lasting blooms.
Was this page helpful?
At Storables.com, we guarantee accurate and reliable information. Our content, validated by Expert Board Contributors, is crafted following stringent Editorial Policies. We're committed to providing you with well-researched, expert-backed insights for all your informational needs.

0 thoughts on “Indoor Moth Orchid Care Tips: Long-Lasting Blooming Plants”