Home>Garden Essentials>How To Plant Orchid Seeds
Garden Essentials
How To Plant Orchid Seeds
Modified: August 17, 2024
Learn how to successfully plant orchid seeds in your garden and create a stunning orchid display. Expert tips and guidance for gardeners.
(Many of the links in this article redirect to a specific reviewed product. Your purchase of these products through affiliate links helps to generate commission for Storables.com, at no extra cost. Learn more)
Introduction
Welcome to the world of orchid gardening! Orchids are known for their stunning beauty and delicate blooms, making them a popular choice among gardeners. While many people prefer to grow orchids from established plants, there is something truly fascinating about starting from scratch and planting orchid seeds. Planting orchid seeds gives you the opportunity to witness the growth and development of these enchanting flowers from the very beginning.
In this article, we will guide you through the process of planting orchid seeds, step by step. From selecting the right seeds to caring for the seedlings, we will cover everything you need to know to successfully grow your own beautiful orchids. So, let’s dive in and discover the wonderful world of orchid seed planting!
Key Takeaways:
- Choosing the right orchid seeds and preparing the perfect growing environment are crucial for successfully planting orchid seeds. Take your time to select fresh, high-quality seeds and create a suitable growing medium for their germination.
- Caring for orchid seedlings involves providing optimal conditions such as proper watering, lighting, and humidity. Regular maintenance, observation, and adjustments will help your orchid seedlings grow into beautiful, blooming plants.
Read more: How To Germinate Orchids
Step 1: Choosing the Right Orchid Seeds
The first step in planting orchid seeds is to choose the right seeds for your desired orchid variety. With so many different orchid species and hybrids available, it can be overwhelming to make a selection. Here are a few factors to consider when choosing orchid seeds:
- Orchid Variety: Determine the specific variety or species of orchid you want to grow. Each variety has different requirements and characteristics, so it’s important to choose seeds that match your expectations.
- Reliable Source: Purchase orchid seeds from reputable sellers or nurseries to ensure their authenticity and quality. Look for sellers with good reviews and a proven track record.
- Freshness: Opt for fresh orchid seeds that have been recently harvested. Fresh seeds have a higher chance of germination and successful growth.
- Germination Rate: Check the germination rate of the seeds. Some orchid seeds may have a higher rate of successful germination, giving you a better chance of success as a beginner.
- Availability: Consider the availability of the orchid seeds you are interested in. Some varieties may be harder to find than others, so it’s important to choose seeds that are readily available or can be sourced easily.
Once you have considered these factors, you can start searching for the perfect orchid seeds. Look for specialty nurseries, online stores, or even local orchid societies that may have a selection of seeds. Don’t hesitate to reach out to experienced orchid growers for recommendations or advice on where to find high-quality orchid seeds.
Remember, choosing the right orchid seeds is crucial for a successful cultivation journey. Take your time during this step to ensure you are starting with the best possible seeds for your desired orchid variety. With the right seeds in hand, you are ready to move on to the next step: preparing the growing medium.
Step 2: Preparing the Growing Medium
Creating the right growing environment for your orchid seeds is essential for their successful germination and growth. The growing medium you choose should provide adequate moisture, aeration, and support for the delicate roots of the seedlings. Here’s how you can prepare the perfect growing medium for your orchid seeds:
- Select the Growing Medium: Orchid seeds require a light and well-draining growing medium. One popular option is a mix of sphagnum moss, perlite, and/or vermiculite. This mixture allows for proper air circulation and moisture retention.
- Soak the Growing Medium: Before using the growing medium, soak it in water to hydrate it and remove any excess dust or impurities. This will help ensure a clean and moist environment for the seeds.
- Fill the Containers: Fill small containers or seed trays with the pre-soaked growing medium. Make sure to leave some space at the top for the seeds and for future growth.
- Sterilize the Containers: To minimize the risk of fungal or bacterial infections, it’s best to sterilize the containers before planting the seeds. You can do this by washing them with warm soapy water or using a diluted bleach solution.
- Sow the Seeds: Carefully place the orchid seeds on top of the growing medium, making sure they are evenly spaced and not overcrowded. Lightly press the seeds into the surface of the medium, but avoid burying them too deep.
- Cover the Seeds: Once the seeds are in place, cover them with a thin layer of the growing medium. This will protect them and provide a dark, humid environment for germination.
After you have prepared the growing medium and sowed the orchid seeds, it’s time to move on to the next step: providing optimal growing conditions for your seedlings. Creating the right environment will support healthy growth and increase the chances of successful germination. Get ready to nurture your precious orchid seedlings on their journey to becoming beautiful blooming plants!
Step 3: Sowing the Orchid Seeds
Now that you have prepared the perfect growing medium, it’s time to sow the orchid seeds. Sowing the seeds properly will help ensure successful germination and the development of healthy seedlings. Follow these steps to sow your orchid seeds:
- Mist the Growing Medium: Before sowing the seeds, mist the growing medium with water to create a moist environment. This will help the seeds adhere to the surface and promote germination.
- Handle the Seeds with Care: Orchid seeds are extremely tiny and delicate, so it’s important to handle them with care. Use clean tweezers or a small spoon to transfer the seeds to the growing medium. Avoid touching the seeds with your bare hands to prevent contamination.
- Evenly Distribute the Seeds: Spread the orchid seeds evenly across the surface of the growing medium. Avoid clumping the seeds together, as this can hinder their growth and make it difficult for the seedlings to thrive.
- Lightly Mist the Seeds: After sowing the seeds, give them a gentle misting with water. This will moisten the seeds and provide the necessary humidity for germination. Be careful not to oversaturate the growing medium, as excessive moisture can promote fungal growth.
- Cover the Container: To create a humid environment, cover the container or seed tray with a clear plastic lid or a plastic wrap. This will help retain moisture and provide a mini greenhouse effect, promoting germination.
- Place in Ideal Location: Find a warm and brightly lit area for the container. Orchid seeds require indirect sunlight and temperatures between 70-80°F (21-27°C) for germination. Avoid direct sunlight, as it can be too intense for the delicate seedlings.
- Monitor and Patience: Check the container regularly to ensure the growing medium remains moist. Be patient, as orchid seeds can take several weeks or even months to germinate. Once you see tiny green sprouts emerging from the growing medium, congratulations! Your orchid seedlings have successfully germinated.
Remember, sowing orchid seeds requires careful handling and attention to detail. By following these steps, you are giving your orchid seeds the best chance to germinate and grow into healthy seedlings. Exciting times lie ahead as you eagerly await the glorious sight of your orchid seedlings sprouting and growing!
Step 4: Providing Optimal Growing Conditions
Once your orchid seeds have successfully germinated and started to grow, it’s crucial to provide them with optimal growing conditions to ensure healthy development. Here are some key factors to consider when creating the right environment for your orchid seedlings:
- Temperature: Orchid seedlings thrive in temperatures ranging from 70-80°F (21-27°C). Maintain a consistent temperature within this range to support their growth. Avoid exposing them to extreme heat or cold, as it can negatively impact their development.
- Light: Orchid seedlings require bright, indirect light to grow properly. Place them in a location where they will receive sufficient light without being exposed to direct sunlight, which can damage their tender leaves. If natural light is insufficient, consider using artificial grow lights to supplement their light requirements.
- Humidity: Orchids are tropical plants that thrive in humid conditions. Aim to maintain a relative humidity of around 50-70% for your seedlings. You can increase humidity by using a humidifier, placing a tray filled with water near the seedlings, or grouping them together to create a microclimate.
- Air Circulation: Good air circulation is important for preventing the growth of mold or fungus and promoting healthy plant development. Avoid overcrowding the seedlings and provide gentle airflow with a fan or by periodically opening a window or door.
- Watering: Orchid seedlings have delicate roots that are susceptible to rot if overwatered. Allow the growing medium to dry out slightly between waterings, and always water from the bottom by placing the container in a tray with water. This allows the roots to absorb moisture without causing soggy conditions.
- Fertilization: As your orchid seedlings continue to grow, they will benefit from regular fertilization. Use a diluted, balanced orchid fertilizer and apply it according to the instructions provided. Be cautious not to overfertilize, as this can lead to burn or damage the delicate roots.
By providing these optimal growing conditions, you are giving your orchid seedlings the best chance to thrive and develop into strong, healthy plants. Monitor their progress regularly and make adjustments as needed to ensure they stay on the right path. With proper care and attention, your orchid seedlings will grow into beautiful, blooming orchids in due time.
When planting orchid seeds, use a sterile growing medium and keep the seeds moist and warm. It’s important to provide good air circulation and avoid direct sunlight.
Read more: How To Grow Orchids From Seed
Step 5: Caring for Orchid Seedlings
Now that your orchid seedlings are growing, it’s important to provide them with proper care to ensure their health and development. Here are some essential tips for caring for your orchid seedlings:
- Watering: Orchid seedlings have small root systems that are sensitive to overwatering. Water them carefully, allowing the growing medium to dry out slightly between waterings. Use room temperature, filtered water to avoid any chlorine or mineral build-up.
- Light: Provide your orchid seedlings with bright, indirect light. If growing them indoors, place them near a window where they will receive sufficient sunlight. If natural light is insufficient, consider using artificial grow lights to supplement their light needs.
- Humidity: Orchids love humidity. Increase humidity around the seedlings by placing a tray filled with water near them or using a humidifier. Avoid misting the leaves directly, as this can promote fungal growth.
- Fertilizing: Begin fertilizing your orchid seedlings once they have established a few sets of leaves. Use a diluted orchid fertilizer and apply it every two to four weeks, following the instructions on the package. Be cautious not to overfertilize, as it can lead to burn or damage the delicate roots.
- Support: As your orchid seedlings grow, provide them with support to prevent bending or breaking of their delicate stems. Gentle staking or using plant clips can help keep them upright and promote straight growth.
- Potting: As the seedlings outgrow their initial containers, you may need to transplant them into larger pots. Choose a suitable orchid potting mix and gently transfer the seedling, being careful not to damage the roots. Keep the new potting mix moist but not overly wet.
- Monitor for Pests: Regularly inspect your orchid seedlings for any signs of pests, such as aphids or mealybugs. If you notice any infestation, take immediate action to eliminate the pests using natural or organic methods.
- Patience: Orchids are slow-growing plants, and it may take several months or even years for your seedlings to mature and produce flowers. Be patient and enjoy the journey of watching them grow and develop.
By following these care guidelines, you will provide the necessary nurturing for your orchid seedlings to flourish. Remember that each orchid variety may have specific care requirements, so familiarize yourself with the unique needs of your particular orchid species for the best results.
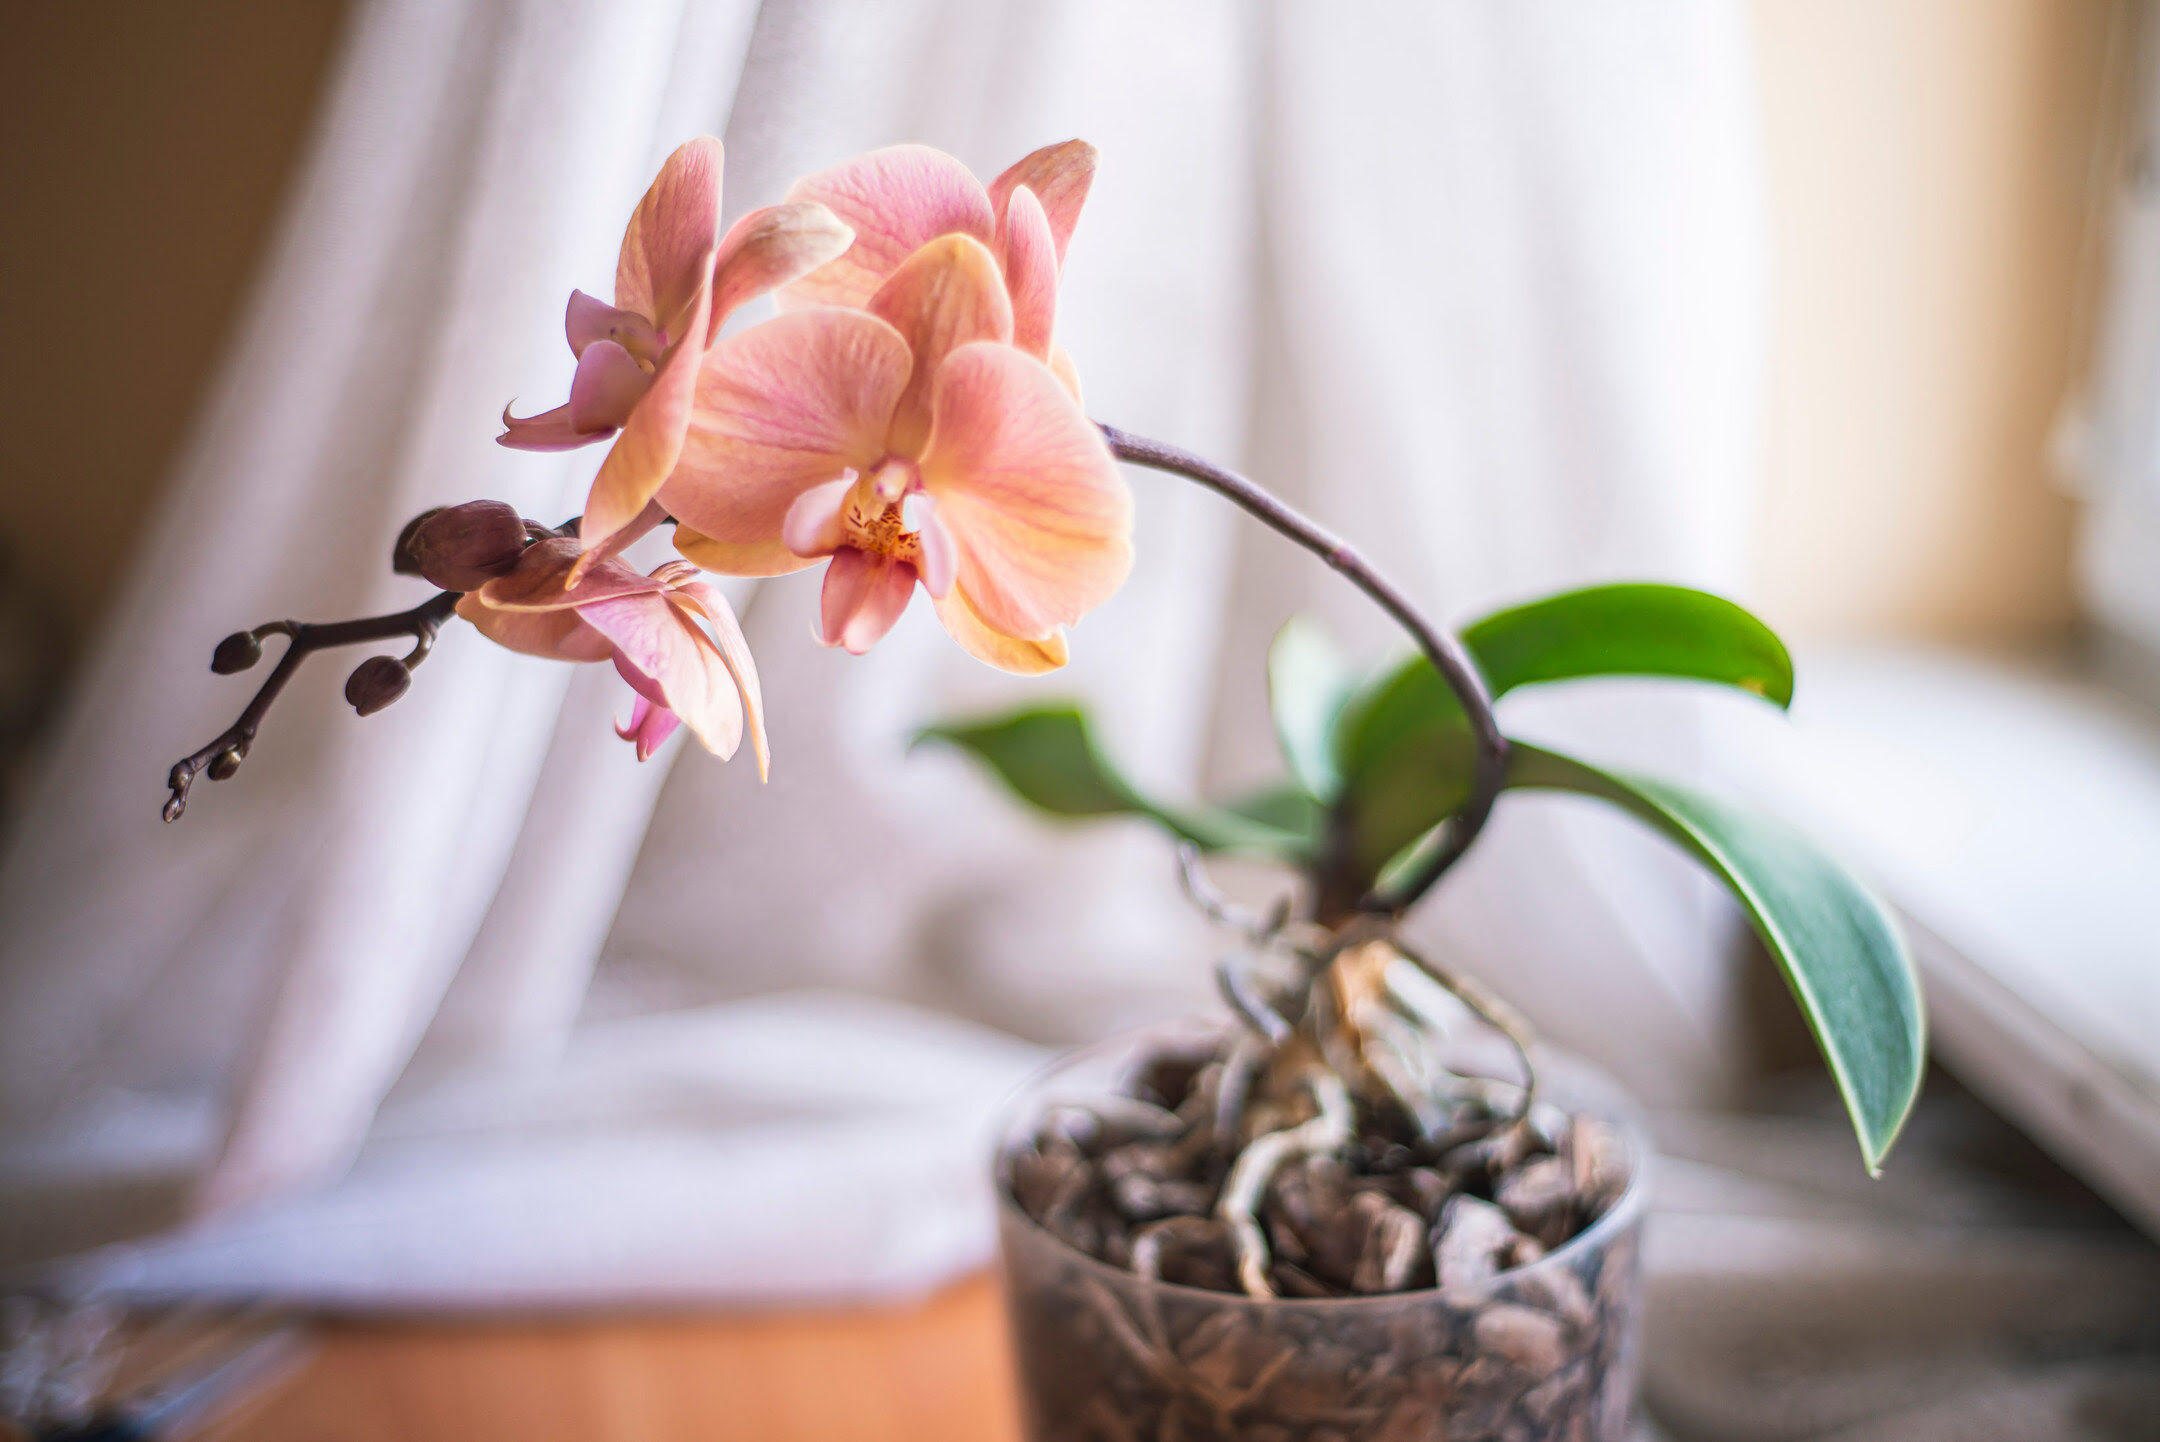
With time, dedication, and a dash of patience, your orchid seedlings will transform into stunning, blooming orchids, rewarding you with their mesmerizing beauty and a sense of accomplishment.
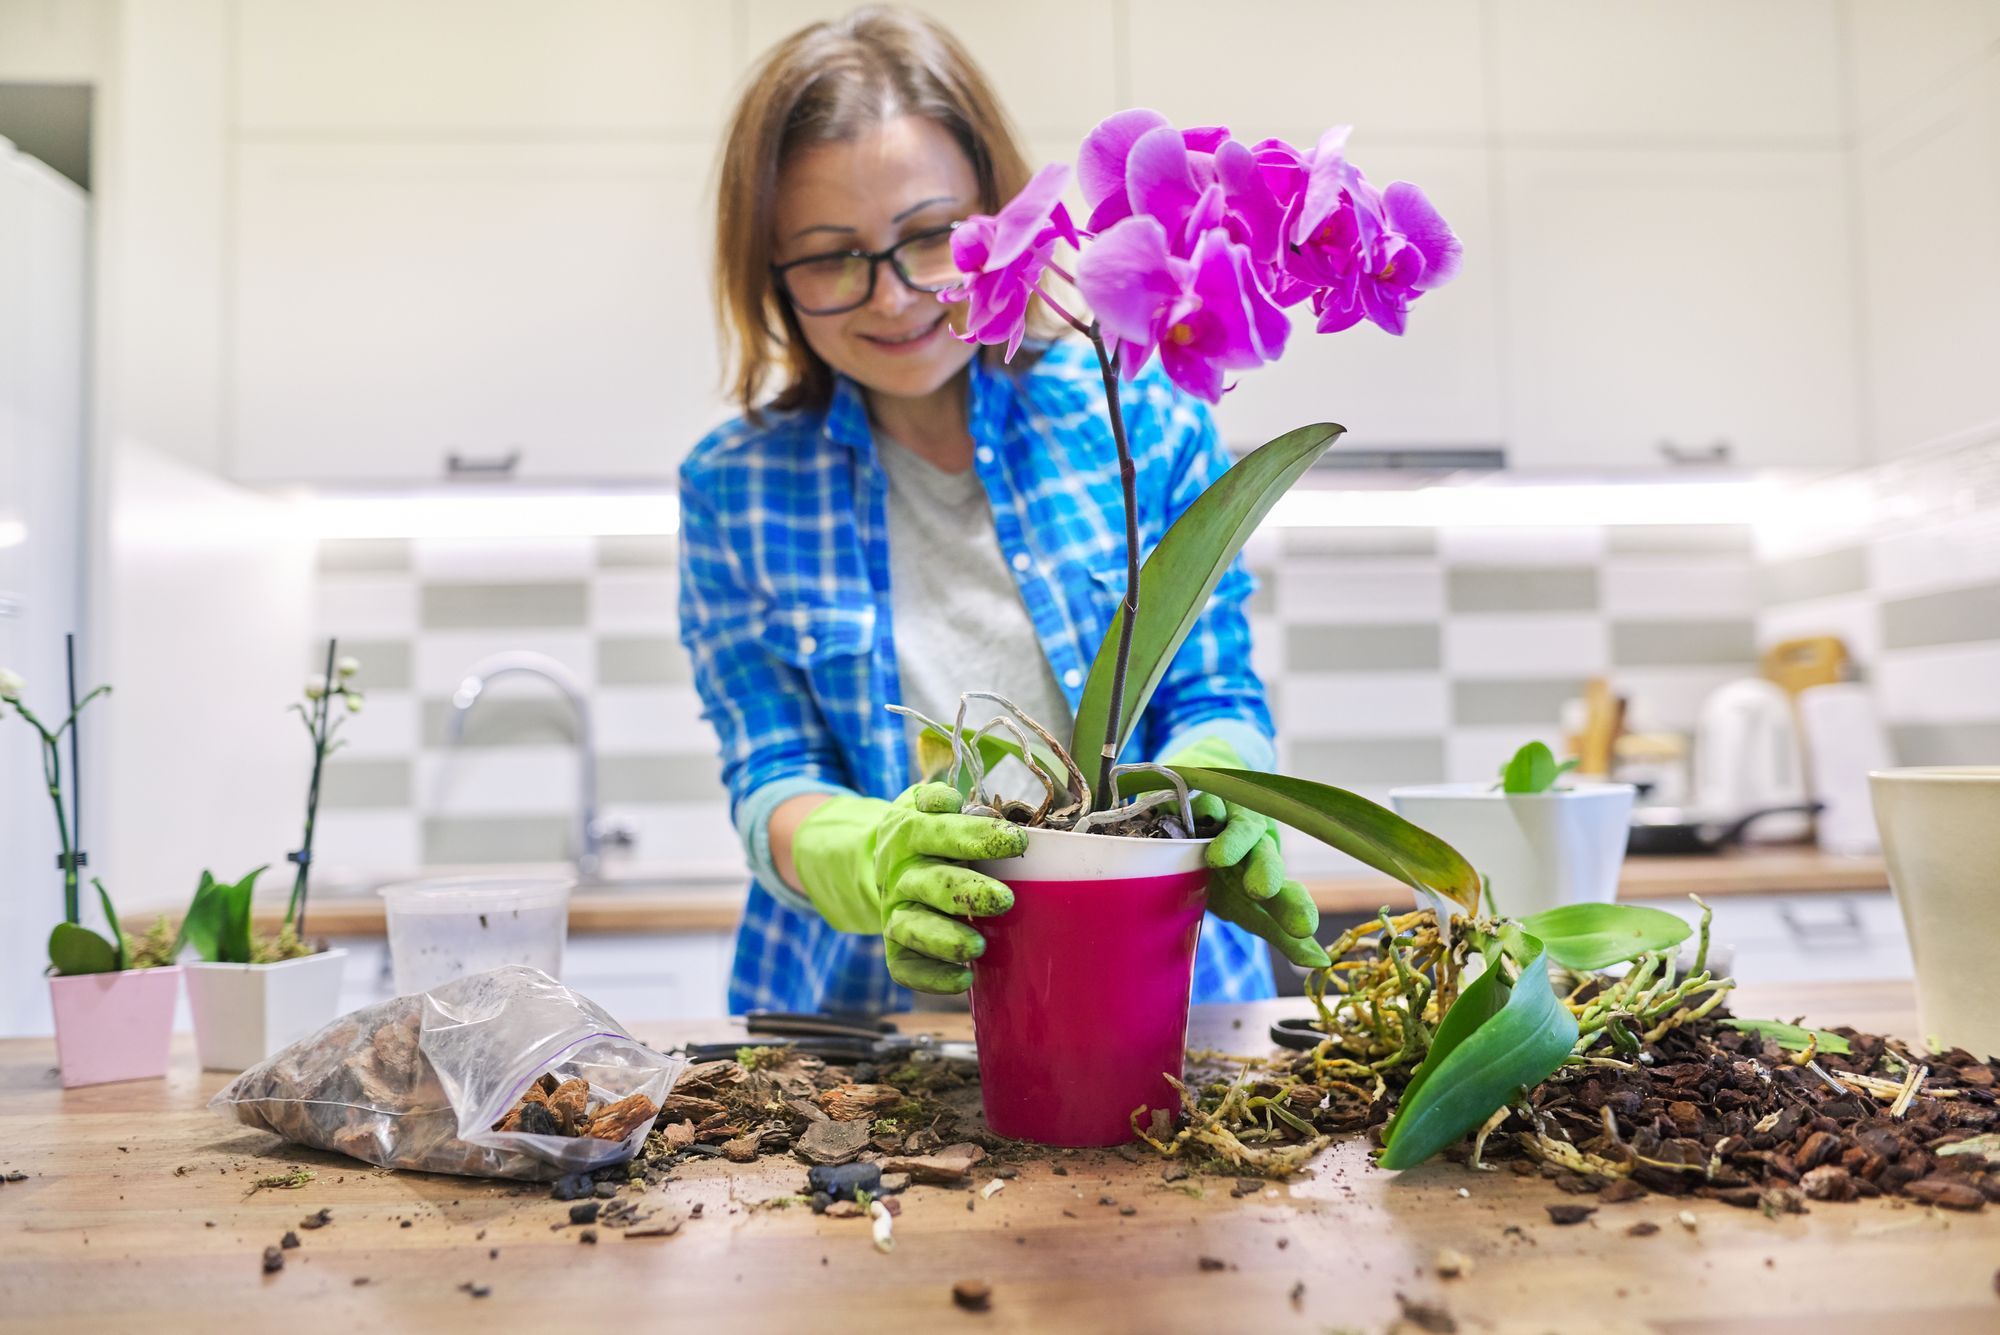
Step 6: Transplanting Orchid Seedlings
As your orchid seedlings continue to grow, they will eventually outgrow their initial containers and require transplantation into larger pots. Transplanting orchid seedlings is an important step in their development and ensures they have enough space and nutrients to thrive. Follow these steps to successfully transplant your orchid seedlings:
- Timing: It’s best to transplant orchid seedlings when they have outgrown their current containers and have developed a sufficient number of healthy roots and leaves. Typically, this occurs when the seedlings are about 2-3 inches tall.
- Selecting a Suitable Pot: Choose a pot that is slightly larger than the current container but not too big, as orchids prefer being slightly root-bound. Ensure the pot has adequate drainage holes to prevent waterlogging.
- Preparing the New Pot: Start by filling the new pot with fresh orchid potting mix. This mix should be well-draining and airy to provide the roots with proper air circulation and moisture control.
- Removing the Seedling: Carefully remove the seedling from its current container, gently teasing apart the roots if they are tightly wound. Be cautious not to damage the delicate roots during this process.
- Placing the Seedling: Position the seedling in the center of the new pot, ensuring the roots are spread out and not overcrowded. Adjust the height by adding or removing potting mix until the seedling is at the desired level.
- Firming and Watering: Gently press the potting mix around the seedling to stabilize it. Water the newly transplanted seedling thoroughly, allowing water to run through the pot and ensuring it is evenly moistened.
- Post-transplant Care: After transplanting, place the seedling in a shaded area for a few days to allow it to recover from the stress of transplantation. Gradually reintroduce it to its previous lighting conditions over time.
- Continued Care: Resume regular care for your orchid seedling, including proper watering, adequate light, and appropriate feeding. Monitor its progress and adjust the care routine as needed.
Transplanting orchid seedlings gives them the room they need to continue growing and developing into mature plants. However, it’s important to remember that orchids prefer being slightly root-bound, so avoid transplanting them too frequently or into excessively large pots.
By following these transplanting steps and providing proper care, your orchid seedlings will have the opportunity to flourish and eventually reward you with their beautiful blooms.
Step 7: Orchid Seedling Maintenance
Once you have transplanted your orchid seedlings into their new pots, it’s essential to provide ongoing maintenance to ensure their continued growth and well-being. Regular maintenance will help your orchid seedlings develop into strong and healthy plants. Here are some important tasks to include in your orchid seedling maintenance routine:
- Watering: Orchids prefer to be kept slightly moist but not soggy. Monitor the moisture levels in the potting mix regularly and water your seedlings when the top inch of the mix feels dry. Always water thoroughly, allowing excess water to drain out of the pot.
- Lighting: Place your orchid seedlings in a well-lit area with bright, indirect light. If necessary, supplement their light requirements with artificial grow lights, providing them with 12-14 hours of light per day. Regularly check the distance between the lights and the seedlings to prevent scorching.
- Humidity: Orchids thrive in humid environments. Increase humidity around your seedlings by using a humidifier, placing a tray of water nearby, or grouping them together. Avoid misting the leaves directly, as this can promote fungal growth.
- Air Circulation: Orchids benefit from good airflow to prevent stagnant conditions and discourage the growth of pests or diseases. Provide gentle air movement by using a fan set on low speed or by periodically opening a window or door.
- Support for Stems: As your orchid seedlings grow taller, provide support for their delicate stems to prevent bending or breaking. Use stakes or plant clips to gently secure the stems and encourage upright growth. Check and adjust the supports as needed.
- Fertilization: Begin fertilizing your orchid seedlings when they have established a few sets of leaves. Use a balanced orchid fertilizer, diluted to half the recommended strength, and apply it every two to four weeks during the growing season. Reduce or discontinue feeding during the dormant period.
- Pest Control: Monitor your orchid seedlings for any signs of pests such as aphids or mealybugs. Inspect both the foliage and the roots regularly. If pests are detected, take appropriate measures to control them using organic or natural pest control methods.
- Observation and Adjustments: Observe your seedlings regularly for any signs of distress or abnormal growth. Adjust their care routine as needed, such as adjusting watering frequency, providing more or less light, or addressing any signs of nutrient deficiencies.
By incorporating these maintenance tasks into your regular routine, you will provide the necessary care and support for your orchid seedlings. Monitoring their growth and adjusting their environment accordingly will ensure that they continue to thrive and develop into mature, blooming orchids.
Remember, every orchid variety may have specific care requirements, so familiarize yourself with the unique needs of your particular orchid species. With your dedication and attentiveness, your orchid seedlings will transform into magnificent plants, rewarding you with their exquisite beauty.
Conclusion
Congratulations on successfully navigating the journey of planting orchid seeds! By following the step-by-step process outlined in this article, you have acquired the knowledge and skills needed to start your own orchid garden from scratch. From choosing the right seeds to caring for the seedlings and beyond, you have learned the essentials of nurturing orchids from their tiniest beginnings.
Planting orchid seeds is a rewarding and exciting endeavor that allows you to witness the remarkable transformation of these beautiful flowers. As you continue to care for your orchid seedlings, remember to provide them with optimal growing conditions, including the right temperature, light, humidity, and watering practices. Regular maintenance, including fertilization and pest control, will further support their healthy growth.
Keep a watchful eye on your orchid seedlings, as they slowly but steadily develop into mature plants. Be patient, as orchids are known for their slow growth, and it may take several months or even years before you see their splendid blooms.
Remember to continue learning and exploring the vast world of orchids. Each variety has its own unique care requirements, so don’t hesitate to delve deeper into the specific needs of the orchids you choose to grow. Join orchid societies, consult expert orchid growers, and share your own experiences with fellow enthusiasts to expand your knowledge and cultivate a thriving orchid garden.
The journey of planting orchid seeds is both rewarding and fulfilling. Embrace the joy of watching your tiny seeds grow into magnificent blooms, and savor the beauty and elegance they bring to your home or garden. With your dedication and passion, your orchid garden will become a true testament to nature’s wonders.
So, let’s embark on this enchanting journey together, and may your orchid seedlings flourish into remarkable blossoms that bring you joy and inspiration for years to come.
Frequently Asked Questions about How To Plant Orchid Seeds
Was this page helpful?
At Storables.com, we guarantee accurate and reliable information. Our content, validated by Expert Board Contributors, is crafted following stringent Editorial Policies. We're committed to providing you with well-researched, expert-backed insights for all your informational needs.


0 thoughts on “How To Plant Orchid Seeds”