Home>Ideas and Tips>Indoor Rock Climbing Wall Design: Home Fitness Challenges

Ideas and Tips
Indoor Rock Climbing Wall Design: Home Fitness Challenges
Published: September 23, 2024
Discover the ultimate guide to designing and building an indoor rock climbing wall at home. Enhance fitness and fun with our expert tips and DIY tutorials.
(Many of the links in this article redirect to a specific reviewed product. Your purchase of these products through affiliate links helps to generate commission for Storables.com, at no extra cost. Learn more)
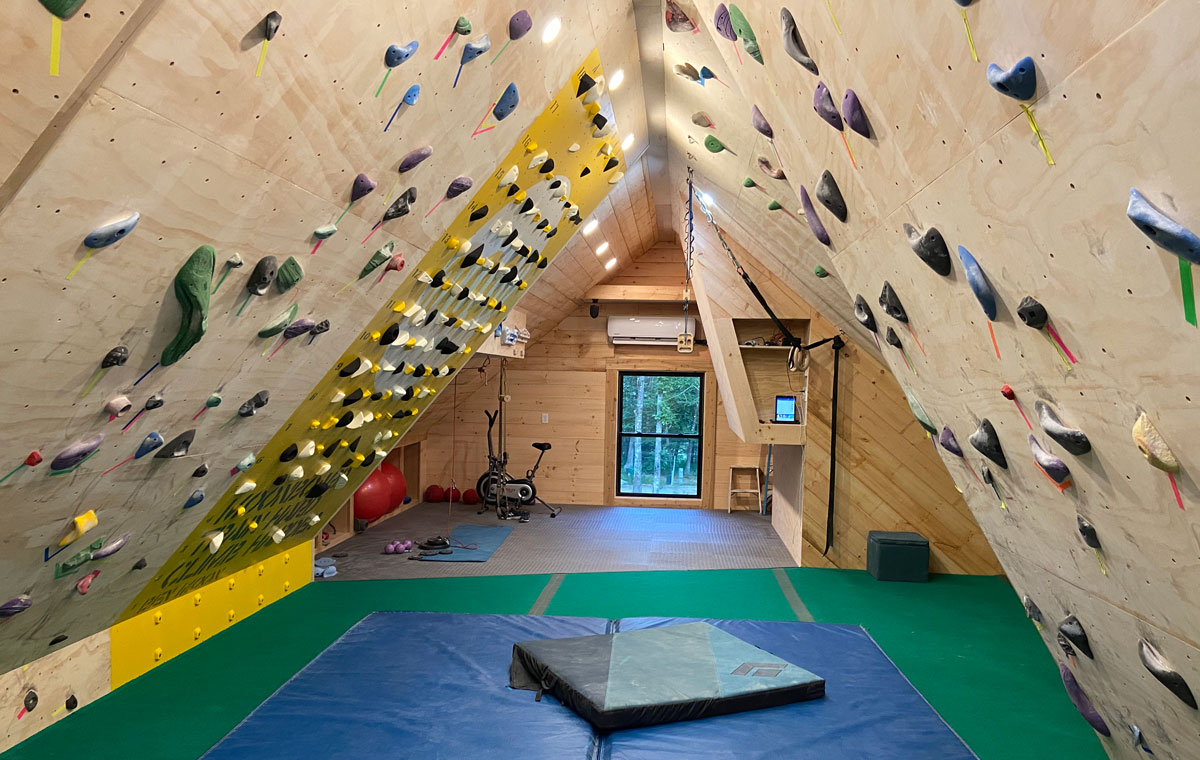
Indoor rock climbing walls have become a popular addition to many homes, offering a unique blend of fitness, fun, and design. These walls not only provide an exciting way to stay active but also serve as a versatile training tool for climbers of all ages and skill levels. In this article, we will delve into the world of indoor rock climbing walls, exploring the various options available, safety considerations, and DIY tutorials to help you design and build your own home climbing wall.
What are Indoor Rock Climbing Walls?
Indoor rock climbing walls are designed to mimic the experience of outdoor climbing, but they are installed within the comfort of your own home. These walls come in different types, each catering to specific needs and spaces:
-
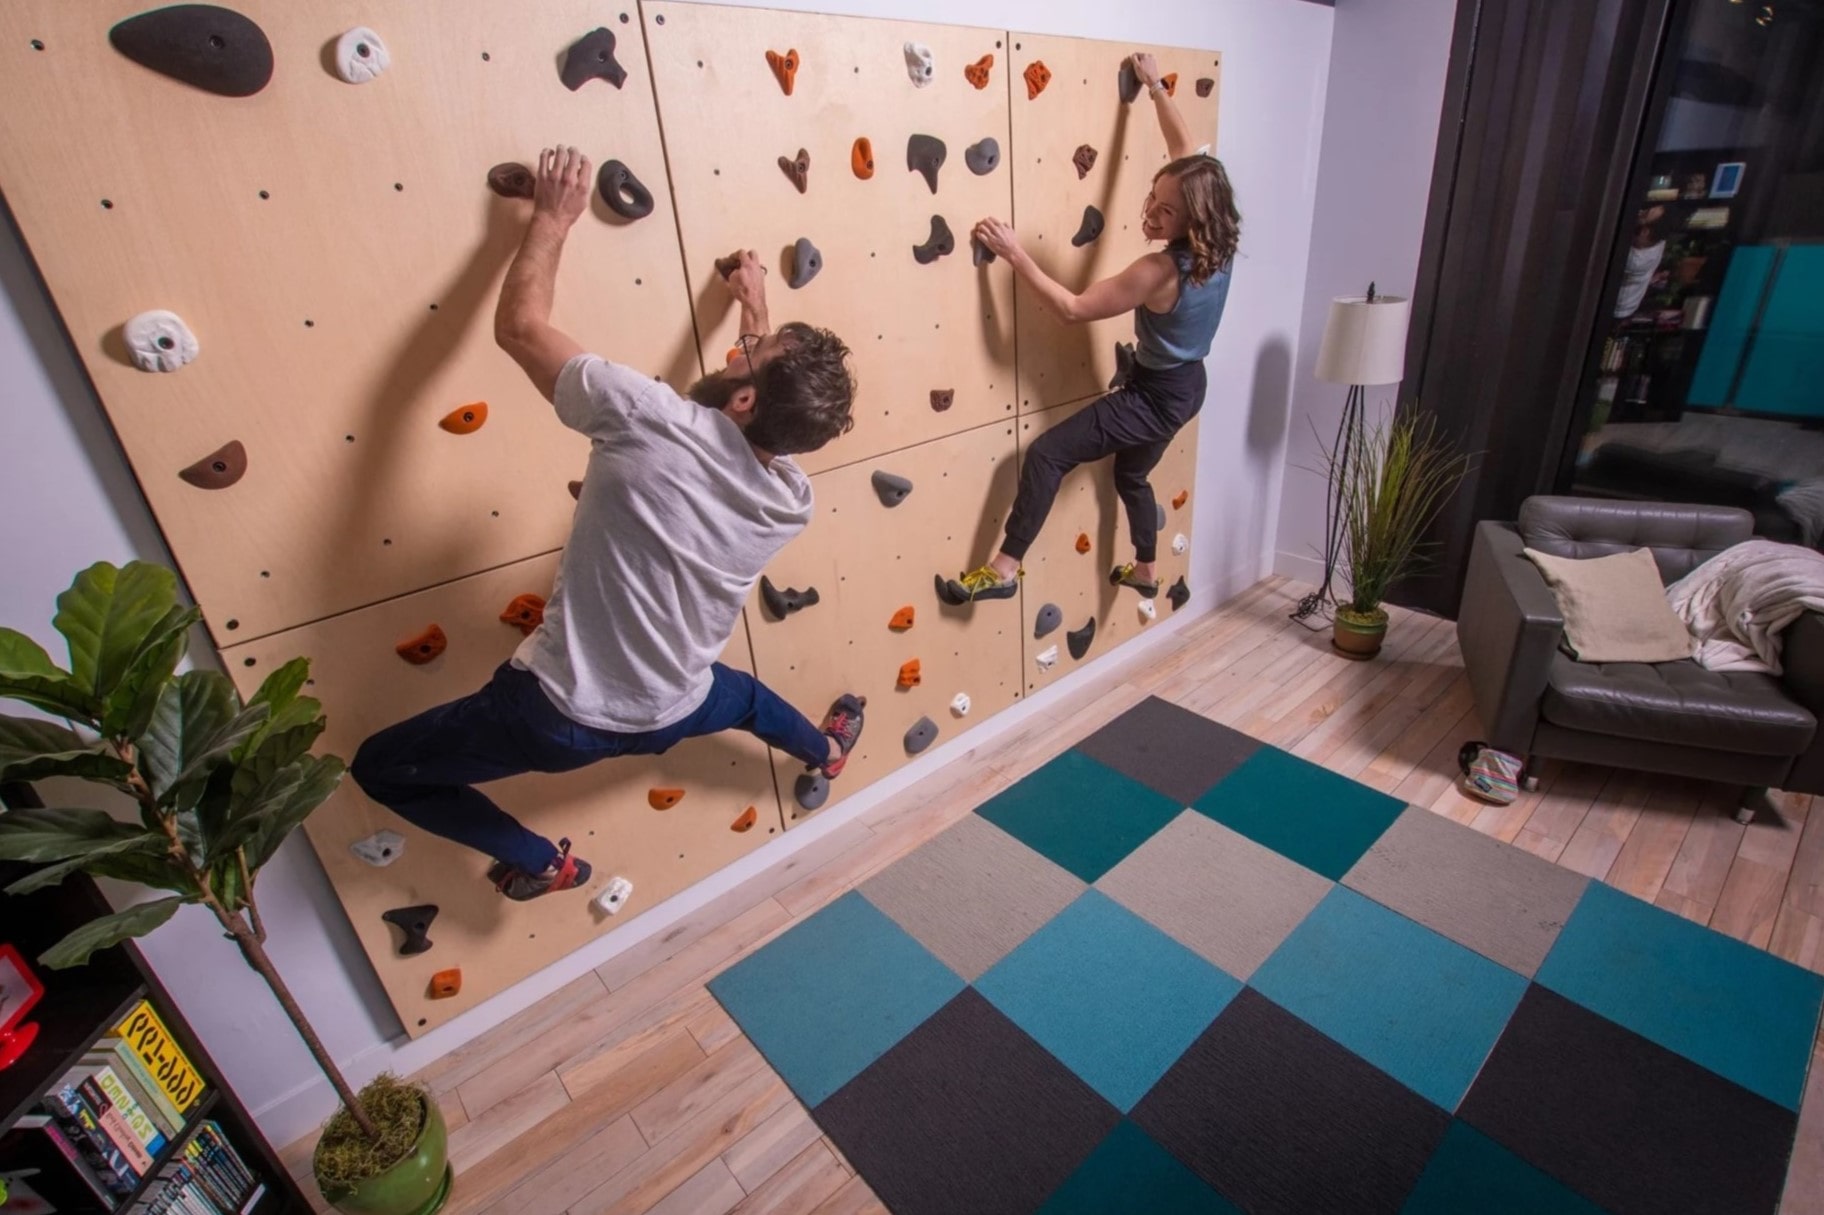
Traverse Walls (Bouldering Walls)
- These walls are ideal for smaller spaces with lower ceiling heights, typically up to 10 feet high. They are designed for horizontal climbing, where the majority of the climbing is done from side to side. Traverse walls can be customized with various angles to increase the climbing challenge.
-
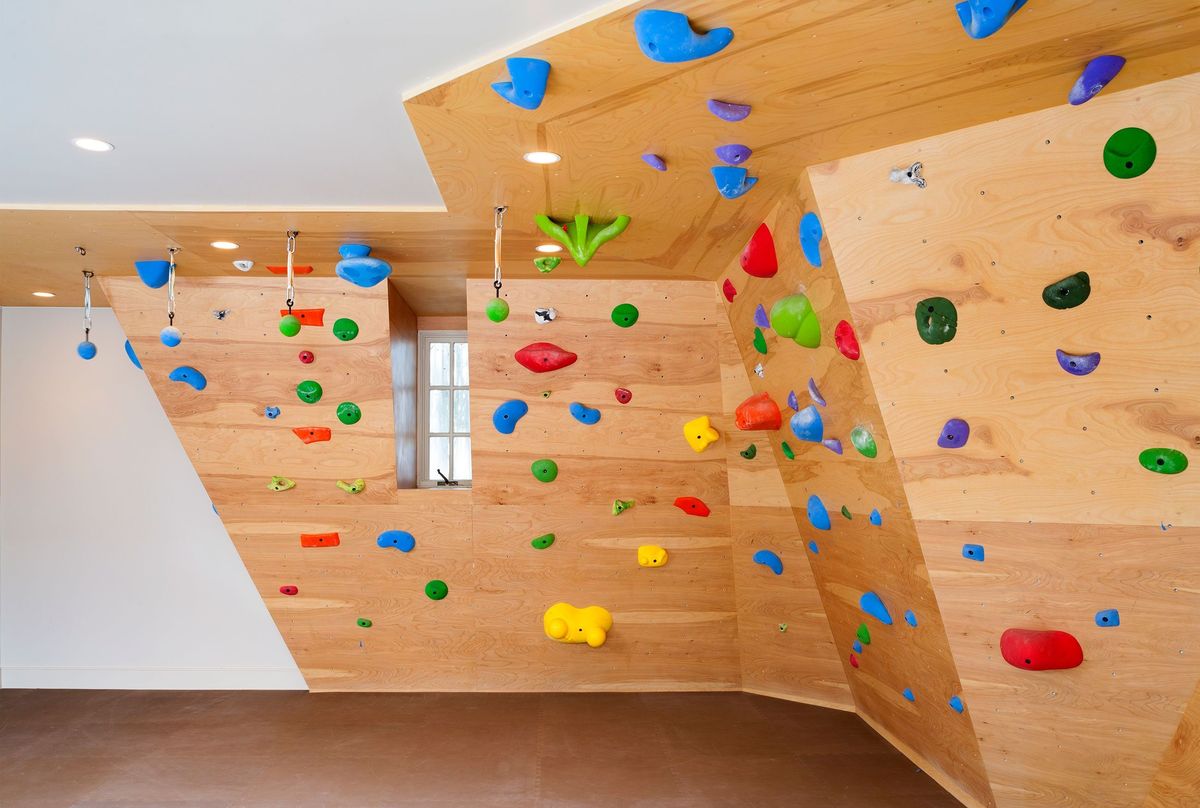
Vertical Climbing Walls
- Suitable for larger spaces with ceilings over 12 feet high, vertical climbing walls are designed for climbing up. They can be simple or elaborate, featuring built-in features like overhangs, roofs, and slabs. Due to their height, vertical climbing walls require a belay system for safety. This can include traditional belay setups or auto-belay systems, which automatically control the safety rope.
-
Freestanding Climbing Walls
- Freestanding walls like the EverActive Jr are adjustable and perfect for varying ages and abilities. They are 8 feet wide and 10 feet tall, installable in under three hours with two people. These walls can be customized with different angles using a manual crank and come with or without flooring and handhold packages.
Options for Home Climbing Walls
When choosing a home climbing wall, it's essential to consider the space available and the age and skill level of the users. Here are some key options:
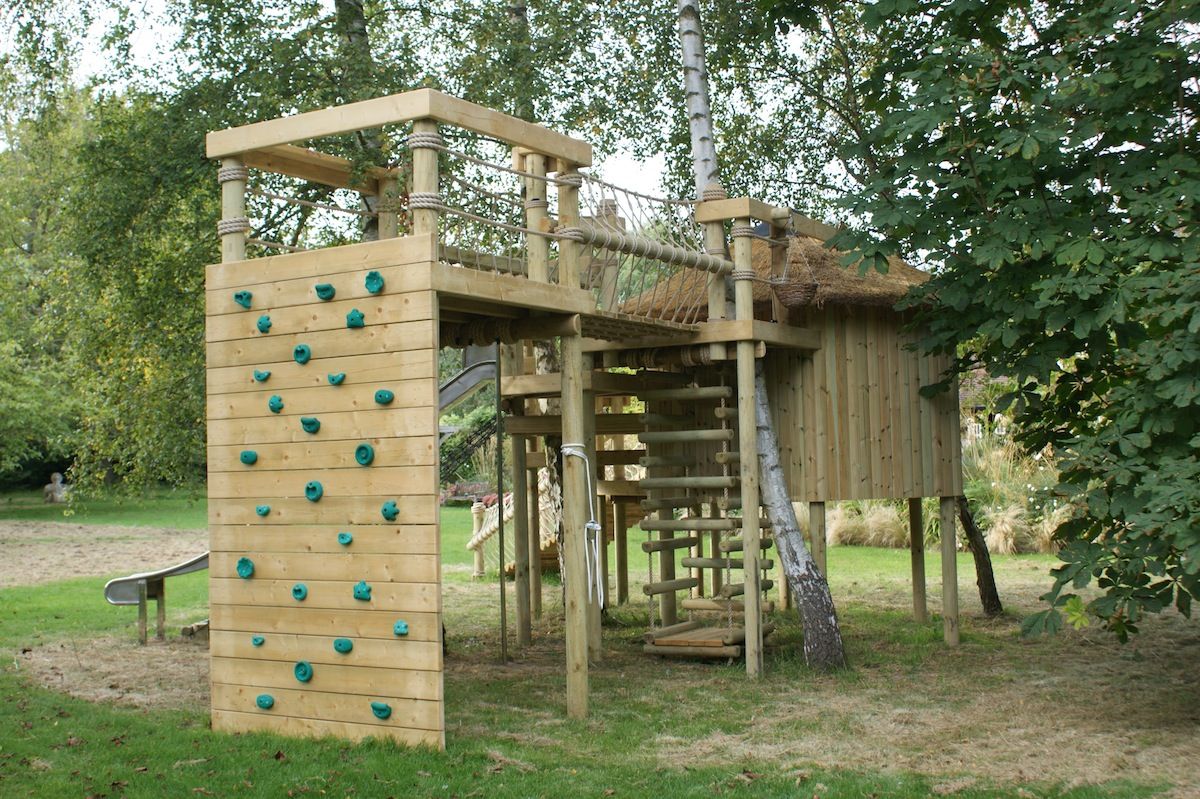
For Children (Ages 3-10)
- Traverse Walls
- Traverse walls are an excellent option for children due to their lower height and simpler safety protocols. These walls can be customized with creative surfaces such as the Magna Wall, which accepts magnets, or the Discovery Dry-Erase Climbing Wall, which allows climbers to write on the wall and place magnets.
For Pre-teens and Adults
- Vertical Climbing Walls
- Vertical climbing walls are ideal for pre-teens and adults who have the space. These walls challenge climbers physically and help develop teamwork, communication, leadership, and trust as they implement belay protocols.
DIY Home Climbing Wall Tutorial
Building a DIY home climbing wall can be a fun and rewarding project for the whole family. Here’s a step-by-step guide to help you get started:
Materials Needed
- 2×4 studs
- ¾" plywood sheets
- Stud finder
- Level
- Circular saw
- 3" construction screws
- ⅜" T-nuts (preferably screwed to the back of the plywood)
- Framing square
- ½" drill bit
- Epoxy paint (such as Sherwin-Williams Pre-Catalyzed Water Based Epoxy)
- Play sand
- Paint tray and roller
- Drill
- Lots of climbing holds
- Crash pads (such as folding foam mattresses)
Step-by-Step Instructions
-
Build the Frame
- Use 2×4 studs and screw them directly into the studs and joists of the house. Use a stud finder to locate each stud and mark its position.
-
Cut Plywood Panels
- Cut the plywood sheets to size using a circular saw. Ensure that the edges are smooth and even.
-
Assemble the Frame
- Clamp the plywood panels to the 2×6 frame and screw them in place using the same screw pattern as the vertical walls.
-
Add Angles
- Cut the 2×6 studs at each end to match up with the angle for the short walls at the bottom and the beam at the top. Fasten these with screws and joist hanger brackets.
-
Install Holds
- Place climbing holds at various heights and angles. Ensure that there are jug holds for pull-ups and other types of holds like crimp ladders.
-
Add Safety Surfacing
- Use crash pads to provide protection from the floor. These can be folding foam mattresses that are thicker than bouldering crash pads and can also be used for sleepovers.
-
Finish with Epoxy Paint
- Apply epoxy paint to the wall to make it durable and resistant to peeling. Use play sand to create a textured surface that provides better grip.
-
Final Touches
- Add any final touches such as LED patterns or adjustable angles if desired. Ensure that the wall is rock solid and safe for use.
Safety Considerations
Safety is paramount when it comes to indoor rock climbing walls. Here are some key considerations:
-
Belay Systems
- Traditional belay setups involve a belayer controlling the climber’s safety rope via an anchor at the top of the climbing wall. Auto-belay systems automatically control the safety rope, making them easier to use but still requiring proper training.
-
Spotting
- Kids and adults should always use a spotter to ensure they get up and down safely. This is especially important for more challenging routes or roof dynos.
-
Crash Pads
- Use crash pads to protect climbers from falling onto hard surfaces. These pads should be thick enough to provide adequate protection and can also be used for other purposes like sleepovers.
-
Regular Maintenance
- Regularly inspect the climbing wall for any damage or wear and tear. Make necessary repairs promptly to ensure the wall remains safe and functional.
Customizing Your Climbing Wall
One of the best things about indoor rock climbing walls is their customizability. Here are some tips for customizing your wall:
-
Unique Holds
- Create unique climbing holds using scrap wood pieces or other materials. This can add an extra layer of challenge and fun to your climbing wall.
-
LED Patterns
- Add LED patterns to your climbing wall for an extra visual challenge. This can be especially useful for training purposes or for creating a more engaging climbing experience.
-
Adjustable Angles
- Use adjustable angle systems to change the difficulty level of your climbing wall. This can be particularly useful for training purposes or for accommodating different ages and abilities.
-
Creative Surfaces
- Use creative surfaces like the Magna Wall or Discovery Dry-Erase Climbing Wall to make climbing more engaging and educational for children.
Conclusion
Indoor rock climbing walls offer a dynamic addition to any home, blending fitness, fun, and design in a unique way. Whether you choose a Traverse Wall, Vertical Climbing Wall, or freestanding option, there are many options available to suit different spaces and needs. By following a DIY tutorial and considering safety protocols, you can create a home climbing wall that provides hours of entertainment and exercise for the whole family. So why not take the leap and bring rock climbing into your home today?
Was this page helpful?
At Storables.com, we guarantee accurate and reliable information. Our content, validated by Expert Board Contributors, is crafted following stringent Editorial Policies. We're committed to providing you with well-researched, expert-backed insights for all your informational needs.


0 thoughts on “Indoor Rock Climbing Wall Design: Home Fitness Challenges”