Home>Ideas and Tips>Upgrading Your Home’s Basement With DIY Sound Insulation
Ideas and Tips
Upgrading Your Home’s Basement With DIY Sound Insulation
Published: August 31, 2024
Upgrade your basement with DIY sound insulation. Learn step-by-step techniques to reduce noise, enhance energy efficiency, and improve structural integrity.
(Many of the links in this article redirect to a specific reviewed product. Your purchase of these products through affiliate links helps to generate commission for Storables.com, at no extra cost. Learn more)
Introduction
Basements are often the most underutilized spaces in our homes, serving as storage areas, home theaters, or even guest rooms. However, one common issue that can significantly impact the usability of a basement is sound insulation. Poor sound insulation can lead to echoing, noise pollution, and even structural damage over time. In this article, we will explore the importance of sound insulation in basements and provide a comprehensive guide on how to upgrade your home's basement with DIY sound insulation techniques.
Why Sound Insulation Matters
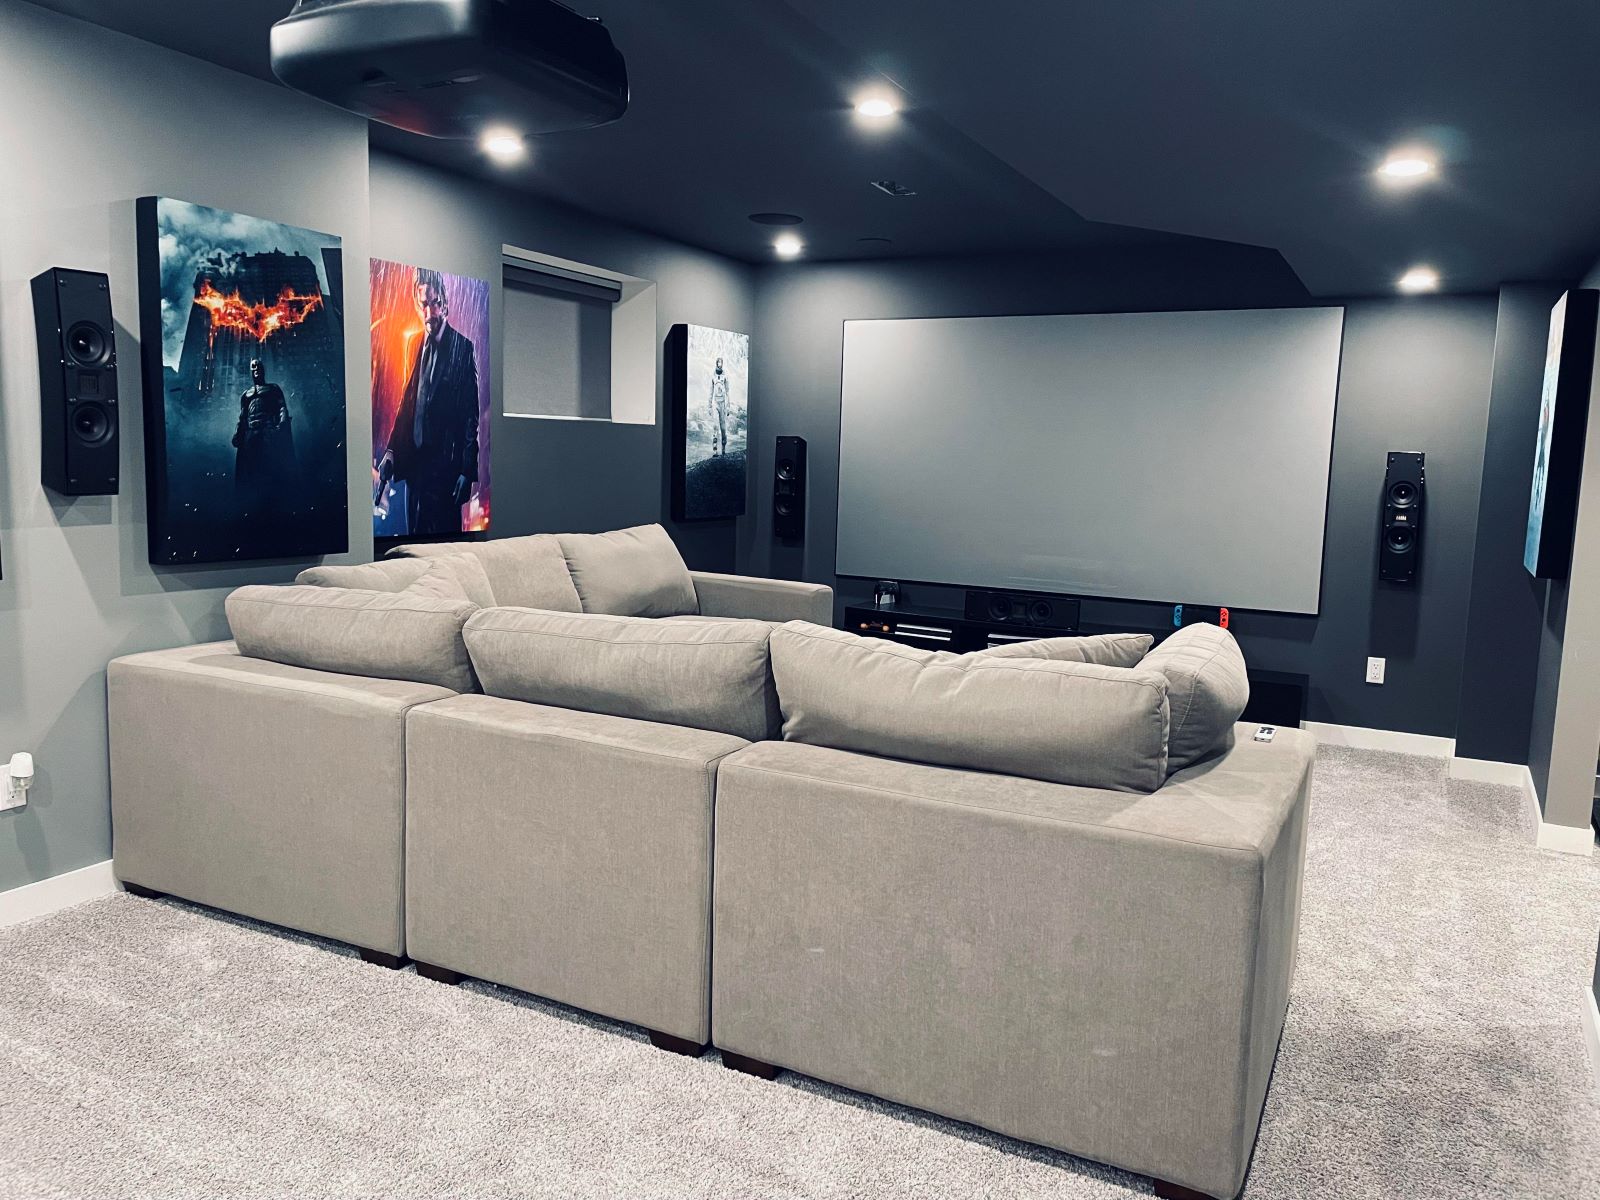
Sound insulation is crucial for several reasons. First off, it helps reduce noise levels, creating a more peaceful environment. Whether you're watching a movie or having a conversation, sound insulation ensures that the noise stays within the room. This is especially important if you have a home theater or a music room in your basement. Imagine trying to enjoy a movie night with your family, only to be constantly interrupted by the noise from upstairs. Sound insulation can make a world of difference in such scenarios.
Secondly, proper sound insulation can also contribute to energy efficiency by reducing the need for heating and cooling. When sound travels through walls and floors, it can cause temperature fluctuations, which can increase energy consumption. By insulating your basement, you can maintain a more consistent temperature, thereby reducing your energy bills. It's a win-win situation!
Moreover, over time, poor sound insulation can lead to structural damage. For example, if sound waves cause vibrations in walls or floors, it can weaken the structure of your home. This is something you definitely want to avoid. By investing in sound insulation, you're not only improving the comfort of your home but also protecting its structural integrity.
Lastly, a well-insulated basement can also enhance its aesthetic appeal. By reducing echo and reverberation, you can create a more comfortable and inviting space. Whether you're using your basement as a guest room, a home office, or a playroom for your kids, sound insulation can make it a more pleasant environment.
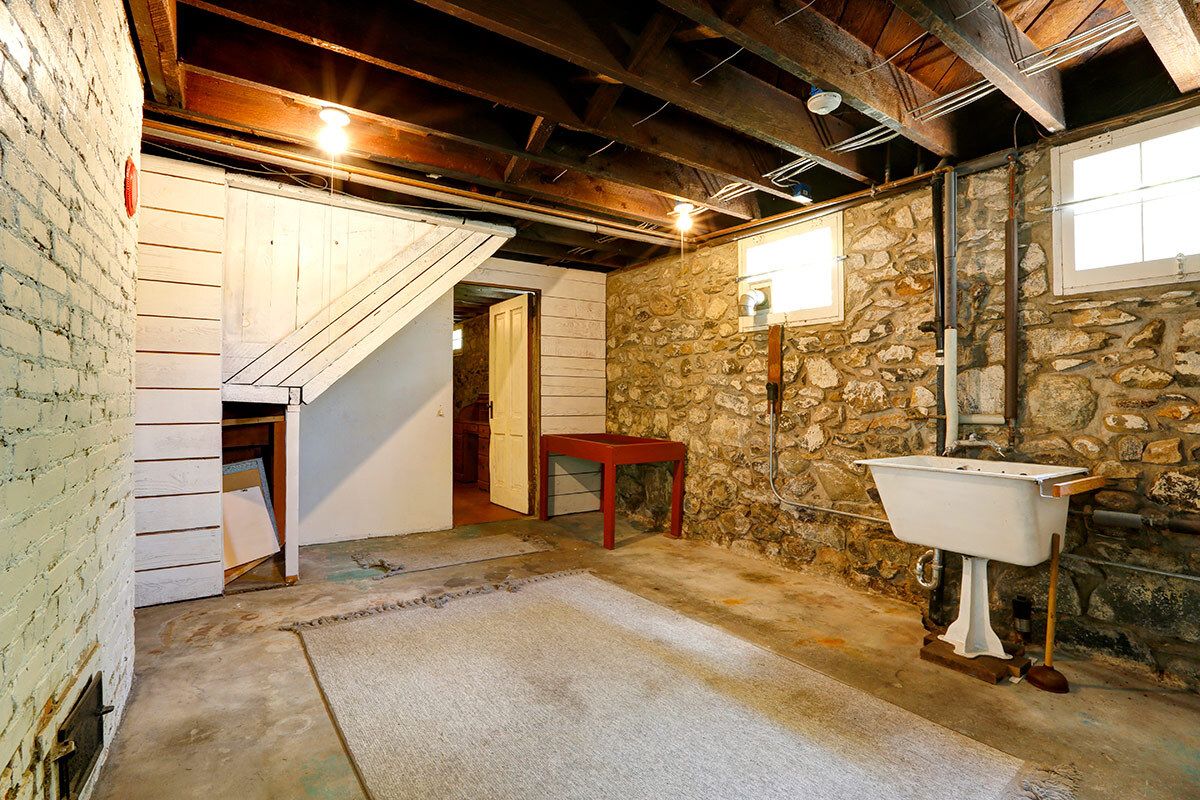
Assessing Your Basement
Before starting any DIY project, it's crucial to assess your basement's current state and identify areas that need improvement. Here are some steps to help you evaluate your basement:
-
Walk Through: Walk through your basement and listen for any echoes or reverberations. Pay attention to how sound behaves when you speak or play music. This will give you a good idea of the areas that need sound insulation.
-
Check for Gaps: Inspect the walls, floors, and ceilings for any gaps or cracks. These are common entry points for sound waves. You'd be surprised how much noise can seep through even the tiniest of gaps.
-
Use a Sound Level Meter: If possible, use a sound level meter to measure the decibel levels in different parts of the basement. This will give you a more accurate reading of the sound insulation. It's a handy tool that can help you pinpoint problem areas.
-
Identify Sources of Noise: Determine the sources of noise in your basement. Are they coming from outside or within the home? Identifying these sources will help you target specific areas for improvement. For instance, if the noise is coming from outside, you might need to focus on insulating the walls and windows.
By following these steps, you can get a clear picture of your basement's current state and identify the areas that need sound insulation. This will make it easier to plan your DIY project and ensure that you achieve the best results.
Materials Needed
To upgrade your basement's sound insulation, you'll need the following materials:
-
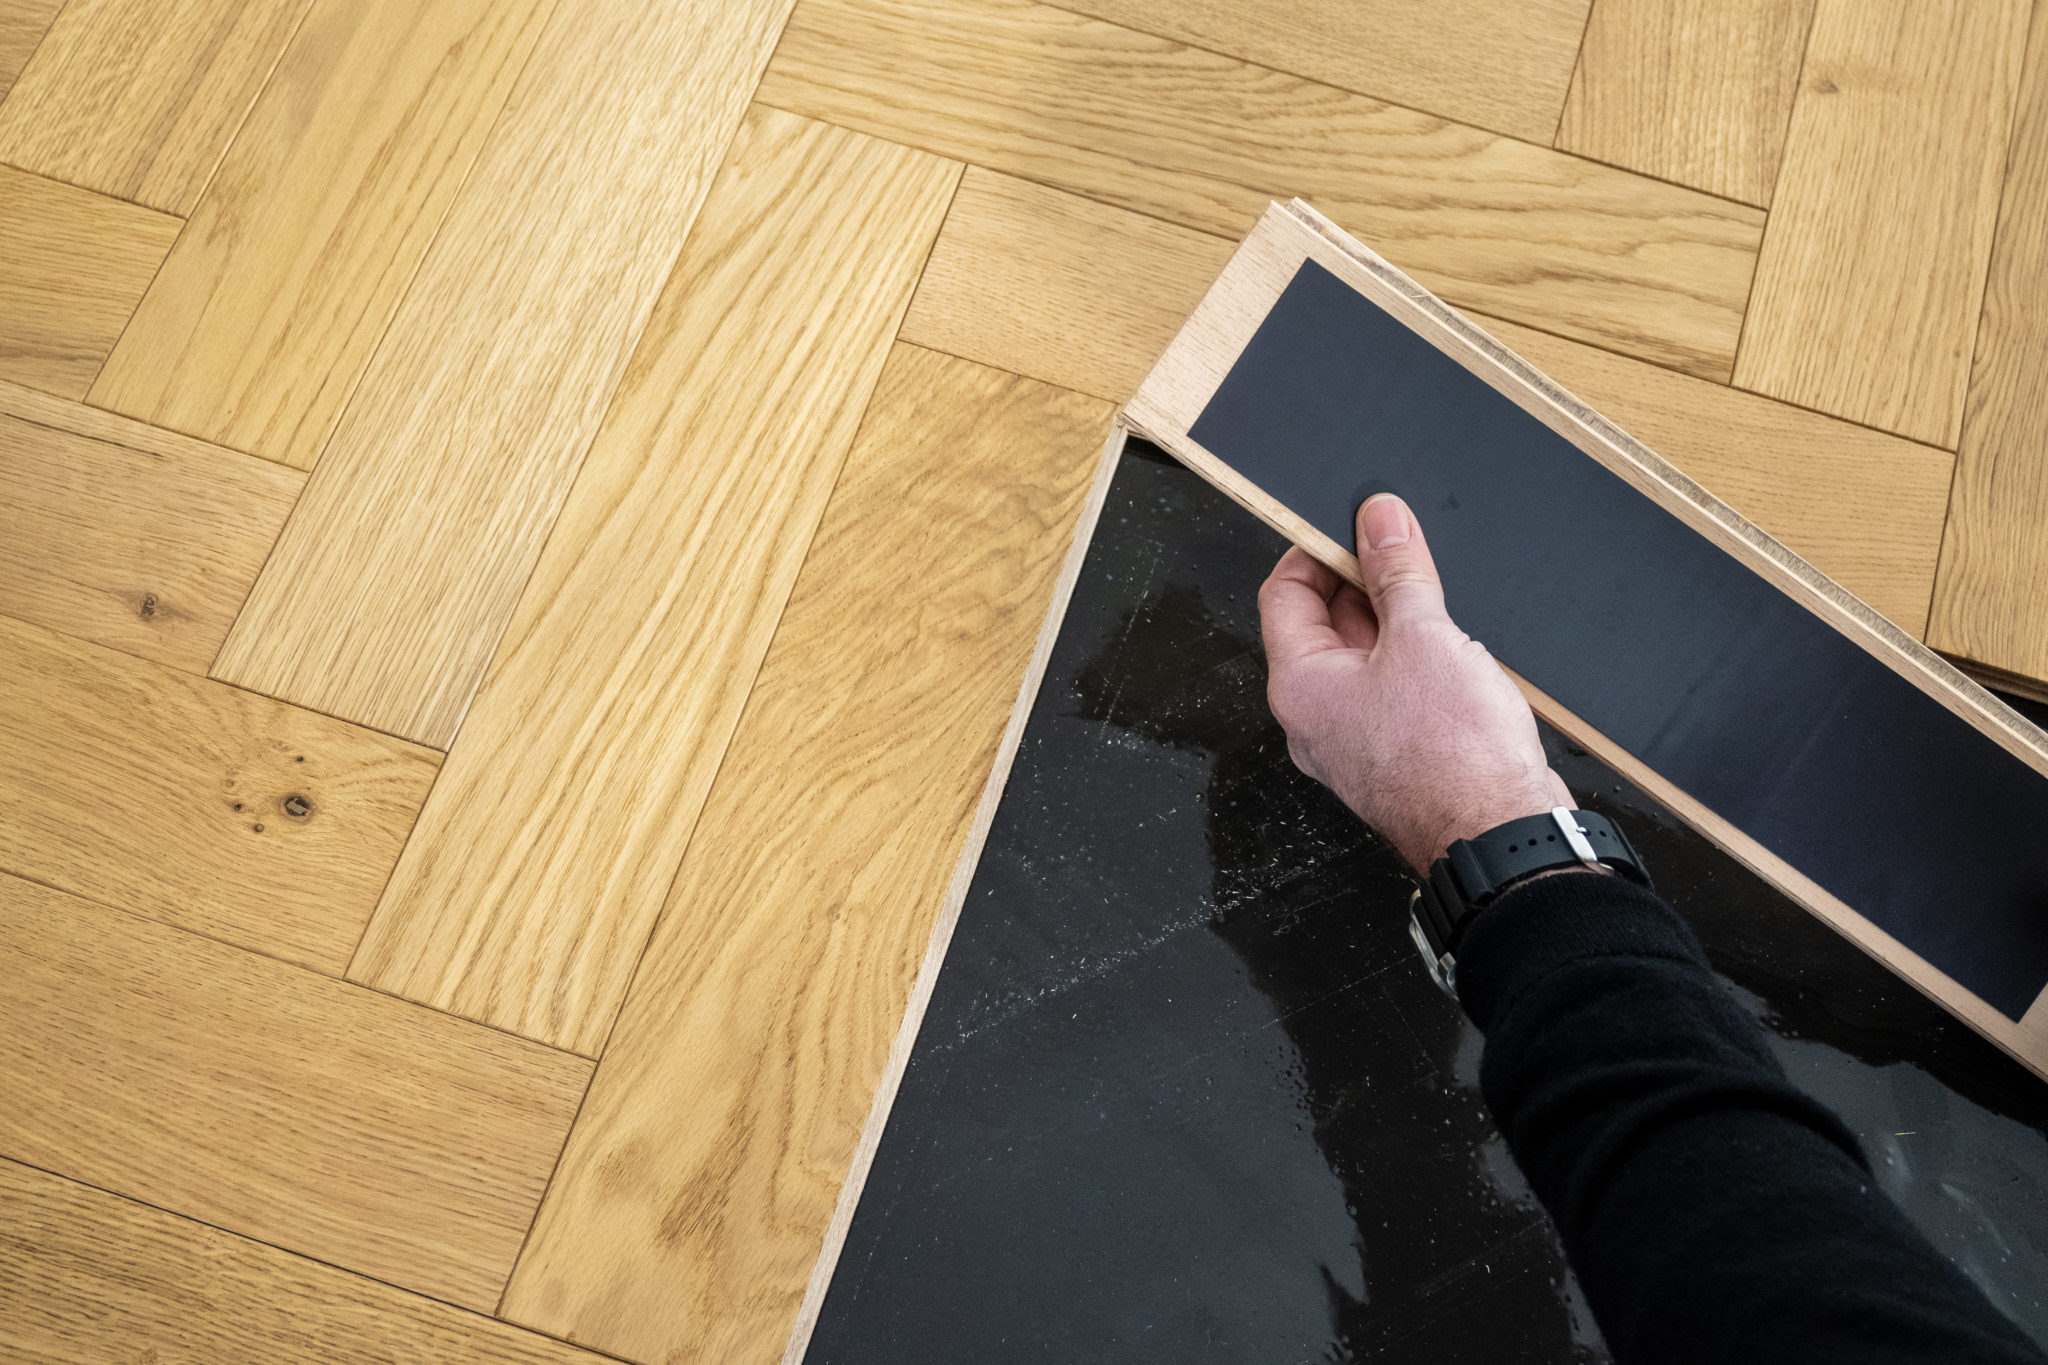
Acoustic Panels: These panels are designed to absorb sound waves and reduce echo. You can purchase acoustic panels or make your own using materials like Owens Corning 703 or Roxul Safe'n'Sound. They're a great way to improve the acoustics of your basement.
-
Mass Loaded Vinyl (MLV): This is a heavy, flexible sheet that can be applied to walls and ceilings to block sound waves. It's an effective material that can significantly reduce noise levels.
-
Green Glue: A type of viscoelastic damping compound that helps reduce vibrations and sound transmission through walls and floors. It's easy to apply and works wonders in reducing noise.
-
Drywall: For adding additional layers of drywall to increase mass and reduce sound transmission. The more layers you add, the better the sound insulation.
-
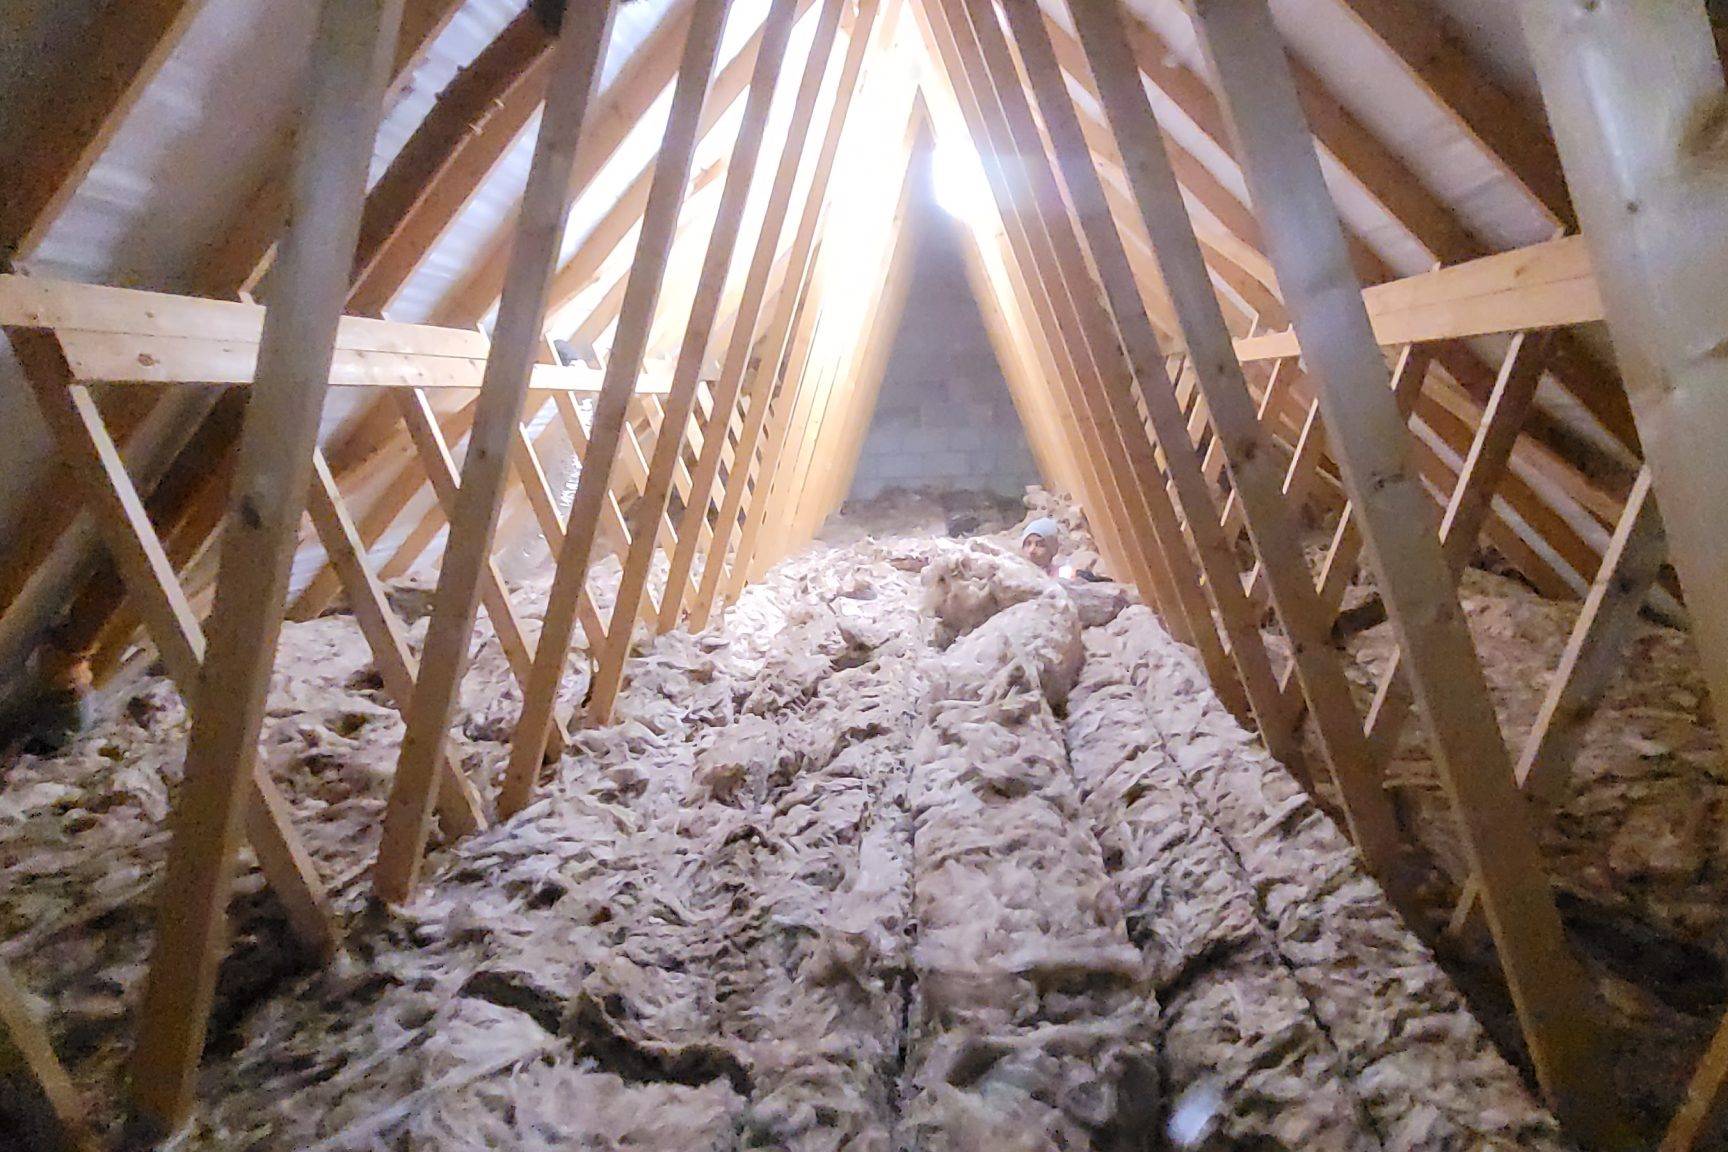
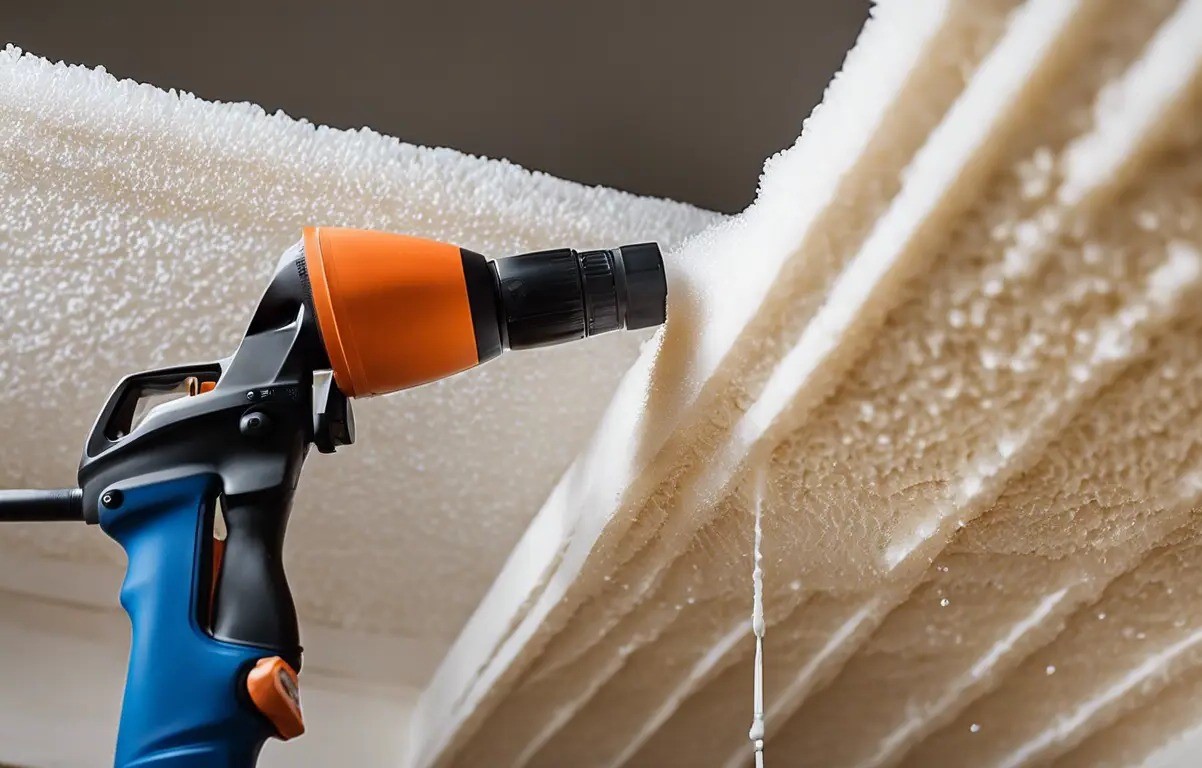
Spray Foam Insulation: For filling gaps and cracks in walls and floors. It's a quick and easy way to seal any openings that might be letting in noise.
-
Sealants: For sealing any gaps around windows, doors, and electrical outlets. These are common entry points for sound waves, so it's important to seal them properly.
-
Caulk: For sealing gaps between drywall joints. It's a simple yet effective way to improve sound insulation.
By gathering these materials, you'll be well-equipped to tackle your DIY sound insulation project. Each of these materials plays a crucial role in reducing noise levels and improving the overall comfort of your basement.
Step-by-Step Guide
Step 1: Prepare the Area
Before starting any work, ensure the area is clear of furniture and debris. Cover the floor with drop cloths or plastic sheets to protect it from dust and debris. This will make the process much smoother and prevent any damage to your belongings.
Step 2: Seal Gaps and Cracks
Use spray foam insulation to fill any gaps or cracks in walls and floors. This will prevent sound waves from entering or exiting through these openings.
-
Identify Gaps: Use a flashlight to inspect for gaps around windows, doors, electrical outlets, and other openings. These are common entry points for sound waves.
-
Apply Spray Foam: Spray foam insulation into the gaps, making sure to fill them completely. It's a quick and easy way to seal any openings.
-
Allow to Dry: Let the foam dry completely before proceeding with further steps. This will ensure that the insulation is effective.
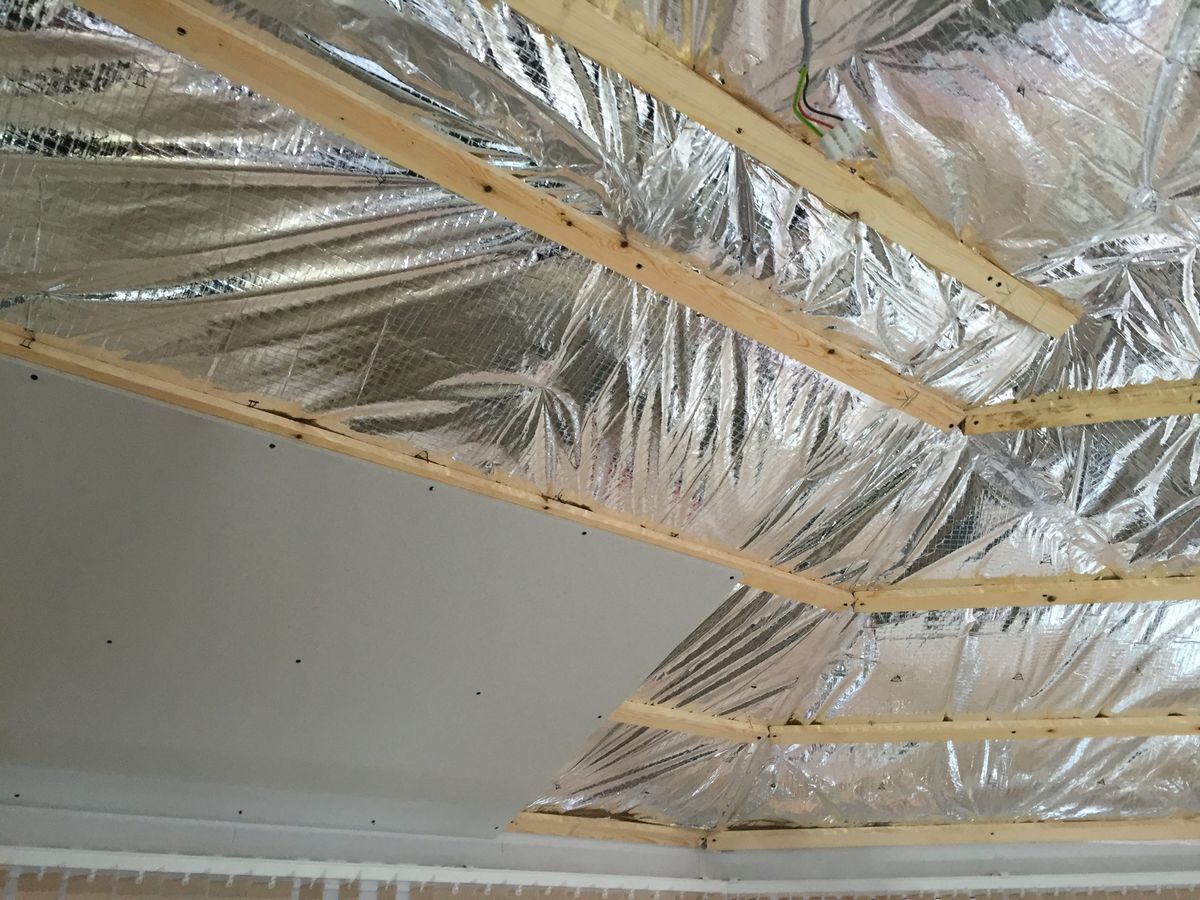
Step 3: Apply Mass Loaded Vinyl (MLV)
MLV is an effective material for blocking sound waves due to its heavy density and flexibility.
-
Measure Walls and Ceilings: Measure the dimensions of your walls and ceilings to determine how much MLV you'll need. It's important to get accurate measurements to ensure a proper fit.
-
Cut MLV Sheets: Cut the MLV sheets according to your measurements, leaving some extra for trimming. This will make the installation process much easier.
-
Apply MLV: Apply the MLV sheets to the walls and ceilings using a strong adhesive like construction adhesive or caulk. Make sure to press the sheets firmly to ensure a good bond.
-
Trim Excess: Trim any excess material around edges using a utility knife or scissors. This will give your installation a clean and professional look.
Step 4: Add Additional Layers of Drywall
Adding additional layers of drywall can significantly improve sound insulation by increasing mass.
-
Measure Drywall Sheets: Measure the dimensions of your walls to determine how many drywall sheets you'll need. It's important to get accurate measurements to ensure a proper fit.
-
Cut Drywall Sheets: Cut the drywall sheets according to your measurements. This will make the installation process much easier.
-
Install Drywall: Install the drywall sheets on top of existing drywall using drywall screws spaced about 6 inches apart. Make sure to press the sheets firmly to ensure a good bond.
-
Apply Joint Compound: Apply joint compound to seams between drywall sheets and smooth out with a putty knife. This will give your installation a clean and professional look.
Step 5: Use Green Glue
Green Glue is a viscoelastic damping compound that helps reduce vibrations and sound transmission through walls and floors.
-
Apply Green Glue: Apply Green Glue between layers of drywall or between drywall and concrete using a notched trowel. Make sure to spread the glue evenly for the best results.
-
Allow to Dry: Let the Green Glue dry completely before proceeding with further steps. This will ensure that the insulation is effective.
Step 6: Install Acoustic Panels
Acoustic panels are designed to absorb sound waves rather than block them, making them ideal for reducing echo and reverberation.
-
Choose Panel Location: Decide where you want to place acoustic panels based on the layout of your basement. It's important to choose the right locations for the best results.
-
Mount Panels: Mount acoustic panels using screws or nails into studs if possible, ensuring they are securely fastened. This will ensure that the panels stay in place and provide effective sound insulation.
Step 7: Seal Joints and Edges
Seal any joints or edges between drywall sheets using caulk or joint compound to prevent sound waves from escaping through these openings. This will ensure that your sound insulation is effective and long-lasting.
Additional Tips
-
Use Thick Carpets: Thick carpets can also act as effective sound insulators by absorbing sound waves before they reach other parts of the room. They're a great way to improve the acoustics of your basement.
-
Add Area Rugs: Area rugs can further reduce echo by absorbing sound waves on the floor. They're a simple and affordable way to improve sound insulation.
-
Use Soundproofing Blankets: Soundproofing blankets can be hung on walls or ceilings to absorb sound waves and reduce reverberation. They're a versatile and effective solution for improving sound insulation.
-
Consider Professional Help: If you're not comfortable with DIY projects or if your basement requires extensive renovations, consider hiring a professional contractor who specializes in soundproofing. They can provide expert advice and ensure that the job is done right.
By following these steps and using the right materials, you can significantly reduce noise levels, enhance energy efficiency, and protect the structural integrity of your home. Remember always to follow safety guidelines when working with power tools and materials, and don't hesitate to seek professional help if needed.
Was this page helpful?
At Storables.com, we guarantee accurate and reliable information. Our content, validated by Expert Board Contributors, is crafted following stringent Editorial Policies. We're committed to providing you with well-researched, expert-backed insights for all your informational needs.


0 thoughts on “Upgrading Your Home’s Basement With DIY Sound Insulation”