Articles
How To Install Can Lights In A Drop Ceiling
Modified: September 1, 2024
Learn how to install can lights in a drop ceiling with this step-by-step guide. Our articles provide expert advice and tips to help you complete your lighting project successfully.
(Many of the links in this article redirect to a specific reviewed product. Your purchase of these products through affiliate links helps to generate commission for Storables.com, at no extra cost. Learn more)
Introduction
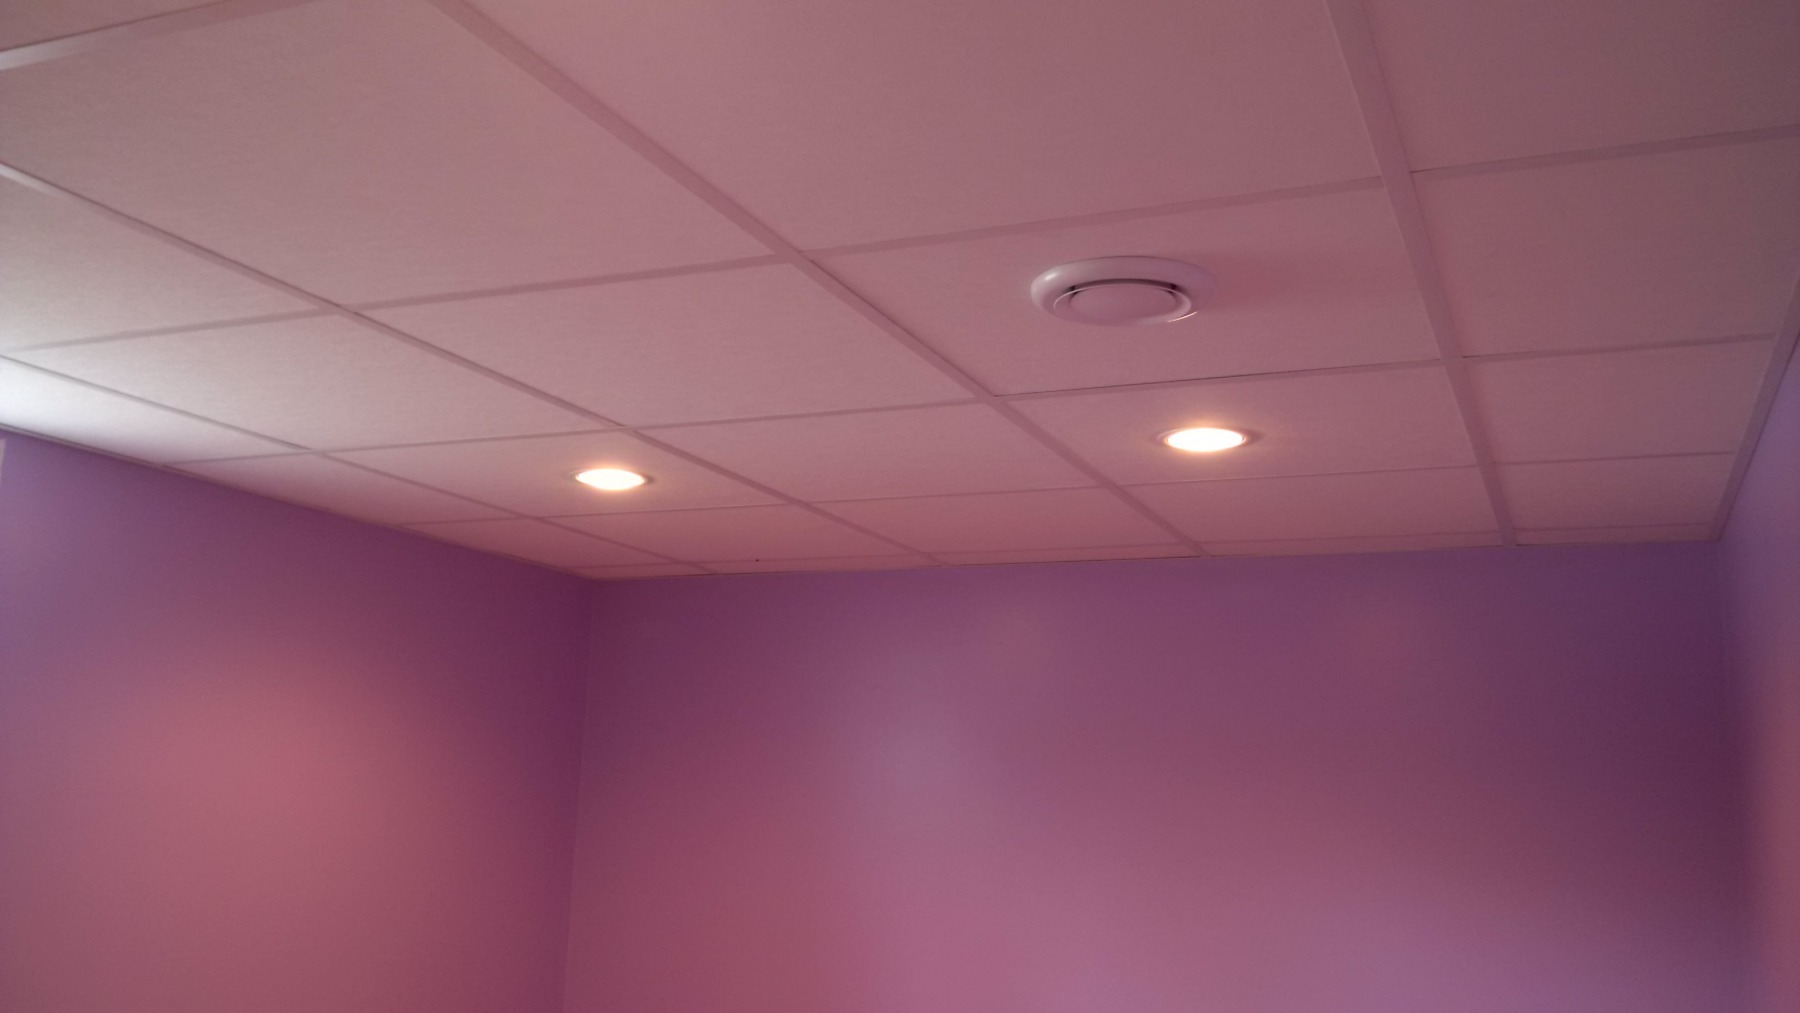
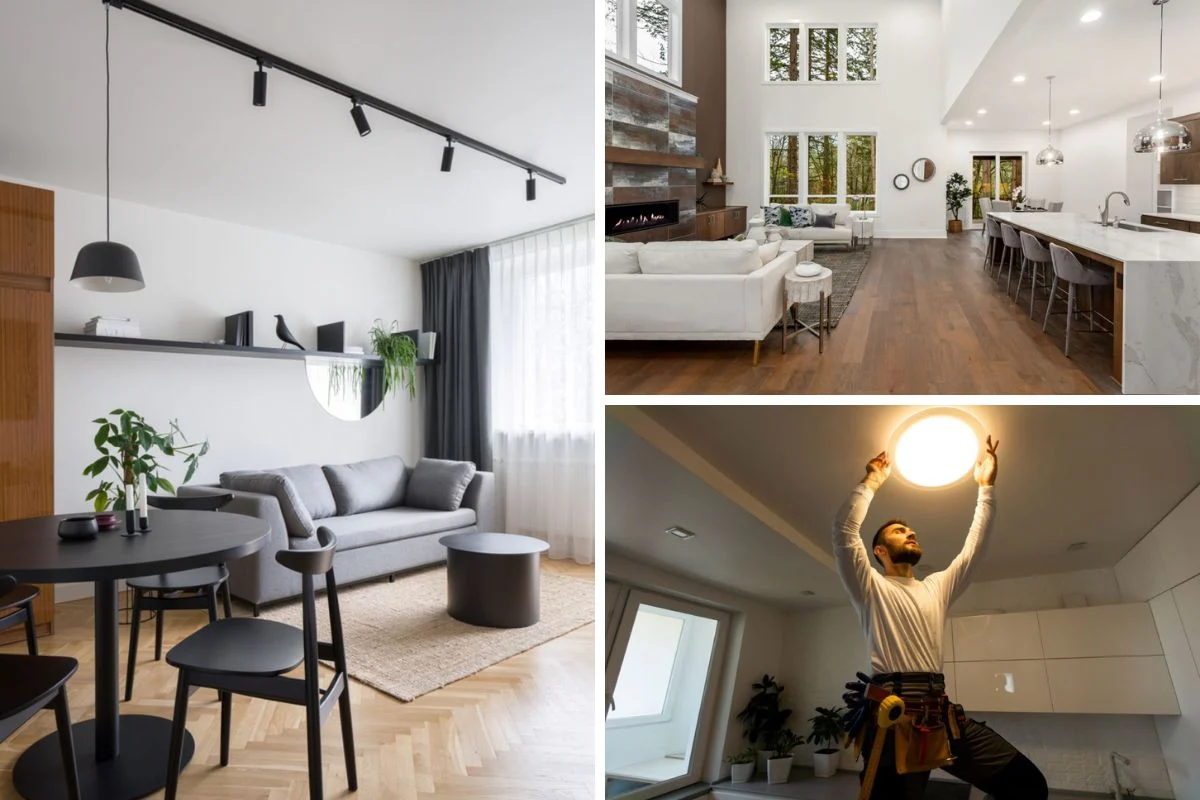
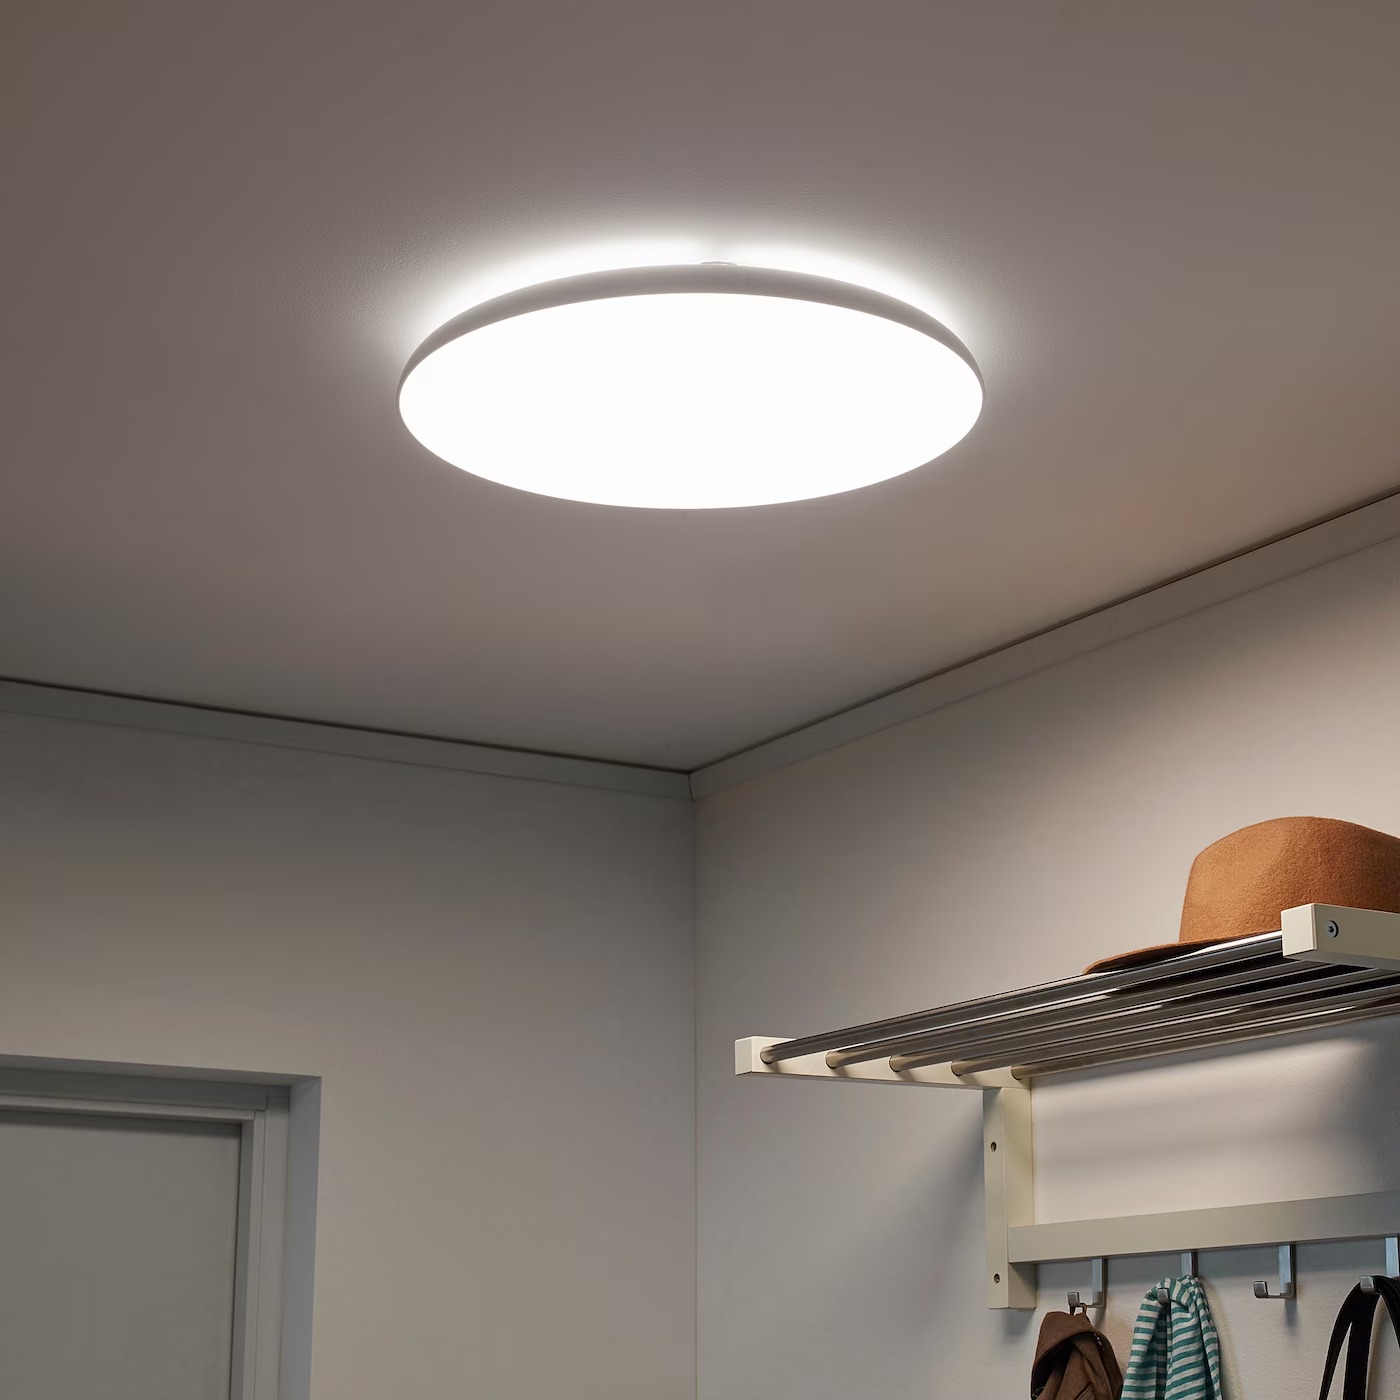
Can lights, also known as recessed lights, are a popular lighting choice for homeowners looking to add a modern and sleek look to their homes. These lights are installed flush with the ceiling, providing a seamless and unobtrusive lighting solution. Installing can lights in a drop ceiling is a great way to illuminate a space while maintaining a clean and professional appearance.
In this article, we will guide you through the step-by-step process of installing can lights in a drop ceiling. From preparing the materials to restoring power and testing the lights, we will cover everything you need to know to successfully complete this project.
Before we begin, it’s important to note that if you’re not comfortable working with electrical wiring or if you’re unsure about any step of the process, it’s always best to consult a professional electrician. Safety should always be the top priority when working with electricity.
Now, let’s get started!
Key Takeaways:
- Enhance Your Space with Stylish Can Lights
Transform your room with modern and sleek can lights in a drop ceiling. Follow the step-by-step guide for a safe and visually appealing installation process. - Prioritize Safety and Functionality
From planning the layout to testing the lights, prioritize safety and functionality. Enjoy the benefits of well-placed and aesthetically pleasing lighting in your space.
Read more: How To Install Drop Ceiling In The Basement
Step 1: Prepare the Materials
Before you begin installing can lights in a drop ceiling, make sure you have all the necessary materials. Here are the two important aspects to consider:
Choosing the Can Lights
When selecting can lights for your drop ceiling, there are a few factors to keep in mind. Firstly, consider the type of bulb you want to use. LED bulbs are energy-efficient and can last longer, while halogen or incandescent bulbs may be the preferred choice if you desire a warmer light. Additionally, make sure to choose can lights that are compatible with the type of drop ceiling you have.
Next, consider the size and style of the can lights. Measure the size of the ceiling tiles to determine the appropriate diameter for the can lights. It’s also important to choose a style that matches the overall aesthetic of the room.
Measuring and Marking
Once you’ve chosen the appropriate can lights, it’s time to measure and mark the locations for installation. Start by measuring the distance between the ceiling joists to determine where the can lights will be placed. Take into account any obstructions, such as air vents or plumbing, which may affect the positioning of the lights.
Using a measuring tape and a pencil, mark the desired locations on the drop ceiling tiles. It’s a good idea to create a precise layout plan to ensure that the can lights are evenly spaced and aligned. Consider the layout of the room and the desired lighting effect when determining the placement of the lights.
By choosing the right can lights and carefully measuring and marking the locations, you’ll be well-prepared to move on to the next step of the installation process.
Step 2: Turn Off Power and Remove Ceiling Tiles
Before you can start installing the can lights in the drop ceiling, it’s crucial to ensure your safety by turning off the power and removing the ceiling tiles properly. Here are the two essential steps in this process:
Switch Off the Power
The first and most important step is to turn off the power to the room where you’ll be working. Locate the electrical circuit breaker or fuse box and switch off the circuit that supplies power to the lighting fixtures in the area. It’s vital to double-check that the power is indeed off by testing the affected outlets or lights with a voltage tester. Safety should always be the top priority when dealing with electricity.
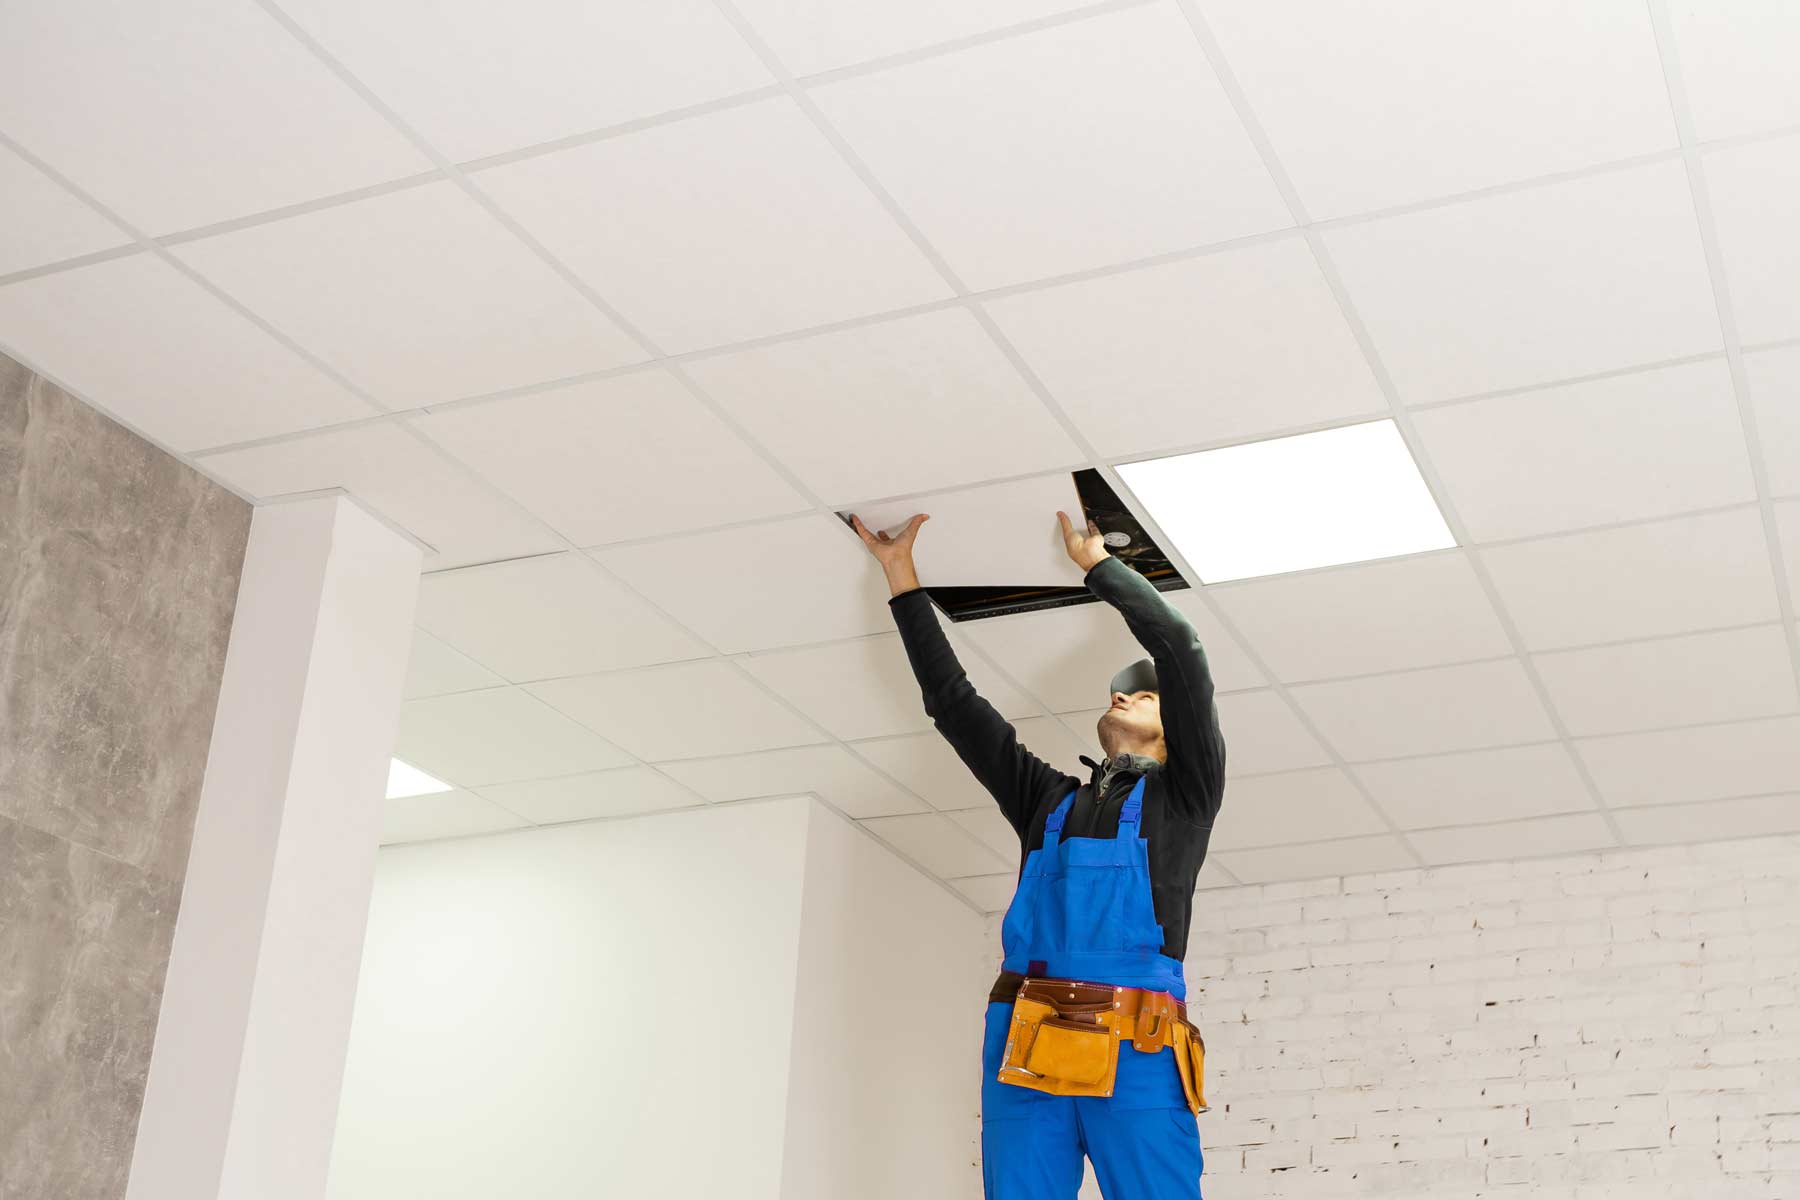
Remove Ceiling Tiles Safely
Once the power is turned off, you can safely remove the ceiling tiles to gain access to the area where the can lights will be installed. Start by gently lifting one corner of a ceiling tile and sliding it out of its place. Take care not to damage the tile or any surrounding tiles during the removal process. If the tiles are interconnected or glued in place, you may need to slide them out one by one or cut them with a utility knife if necessary.
Set aside the removed ceiling tiles in a safe location where they won’t get damaged. It’s a good idea to label each tile to ensure they can be easily reinstalled after the can lights are in place. Remember, proper handling and storage of the ceiling tiles will ensure a smooth installation process and prevent any unnecessary damage.
By following these steps to turn off the power and remove the ceiling tiles safely, you’re now ready to proceed to the next step: planning the layout for the can lights.
Step 3: Plan the Layout
Planning the layout of the can lights is crucial to ensure an even distribution of light and an appealing aesthetic. Here are the two important aspects to consider when planning the layout:
Determining the Placement of Can Lights
Before you start marking the locations for the can lights, take a moment to consider the purpose and functionality of the space. Think about the areas that require more focused lighting, such as work areas or seating areas, and where you want to create ambient lighting. By understanding the lighting needs of the room, you can strategically determine the placement of the can lights.
Another factor to consider is the size and dimensions of the room. For smaller rooms, you may only need a few evenly spaced can lights, while larger rooms may require a more extensive layout. Aim for even spacing between the lights and avoid overcrowding them in one area, as this can create uneven lighting and shadows.
Read more: How To Install An LED Ceiling Light
Marking the Locations
Once you have determined the placement of the can lights, it’s time to mark the locations on the ceiling. Using a measuring tape and a pencil, measure the distance between the walls and the marked locations to ensure that the lights will be evenly spaced.
For accurate placement, you can use a laser level or a chalk line to create straight lines across the ceiling. This will help guide you in marking the locations precisely. Remember to double-check your measurements and adjust as needed before moving on.
By carefully determining the placement of the can lights and marking the locations accurately, you will achieve a well-planned layout that enhances the functionality and ambiance of the room.
With the layout planned, it’s time to move on to the next step:
Step 4: Wire the Lights
Now that you have planned the layout for the can lights, it’s time to wire them. Here are the two essential steps to follow:
Run Electrical Wires
Start by running electrical wires from the power source to the locations where the can lights will be installed. This may involve running wires through the ceiling joists or following any existing electrical wiring pathway. It’s crucial to prioritize safety and follow electrical codes and regulations while handling the wires.
If you’re not experienced with electrical work, it’s best to hire a professional electrician to handle this step. They have the expertise to ensure that the wiring is done safely and correctly.
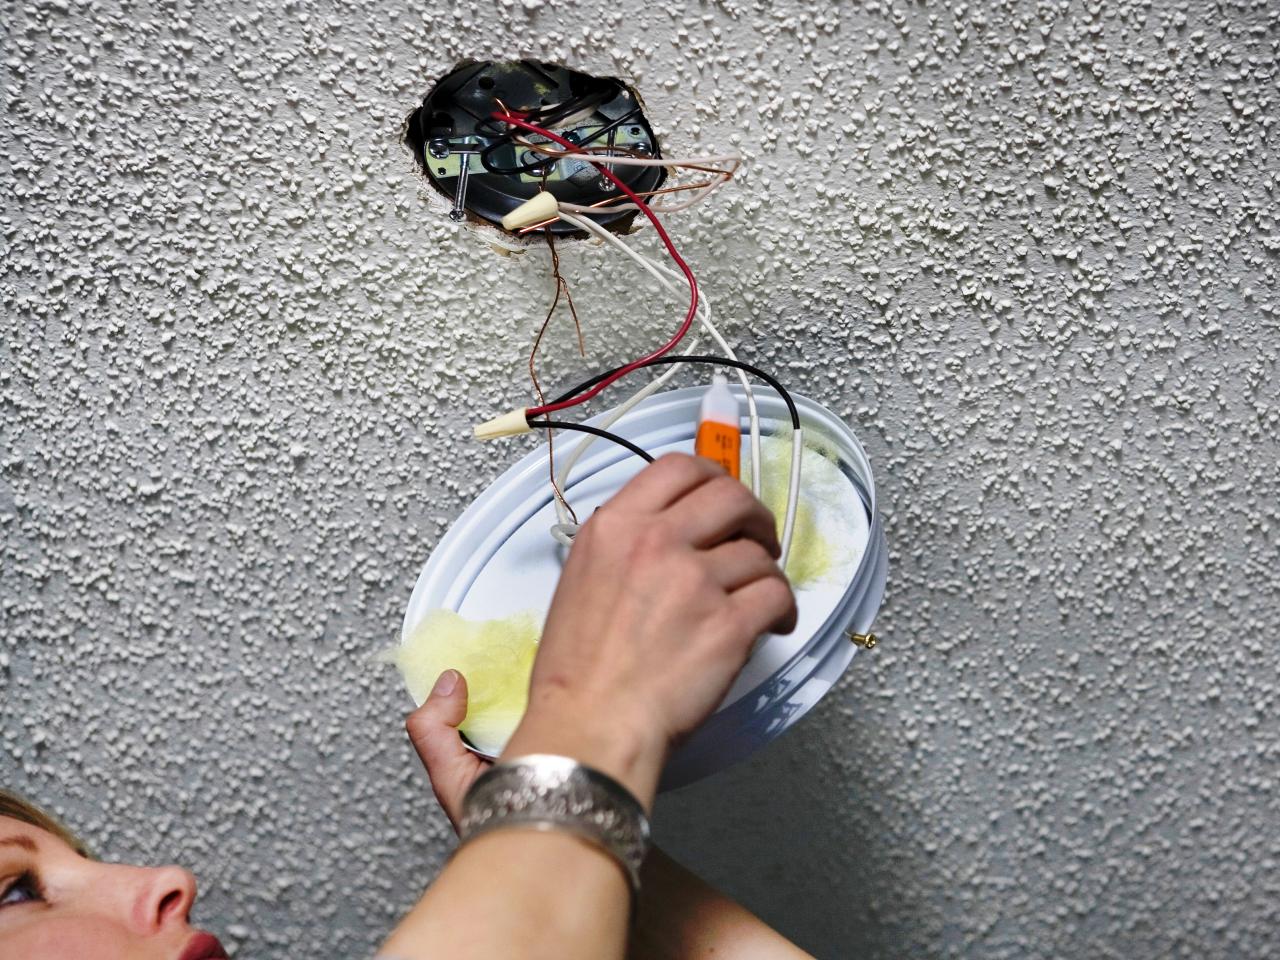
Connect Wires to Can Lights
Once the electrical wires are properly in place, it’s time to connect them to the can lights. Most can lights come with wiring compartments or junction boxes that allow for easy connection. Follow the manufacturer’s instructions to ensure proper wiring and connections.
Typically, the wires will need to be stripped of their insulation to expose the conductors. Use wire strippers to strip about 1/2 inch of insulation from the ends of the wires. Next, connect the wires from the power source to the corresponding wires on the can lights. This usually involves twisting the exposed ends of the wires together and securing them with wire nuts.
Make sure to double-check all wire connections and ensure they are tight and secure. Loose or faulty connections can lead to electrical hazards or poor functioning of the can lights.
By running the electrical wires correctly and connecting them to the can lights, you have now completed the wiring process. It’s time to move on to the next step: installing the can lights in the drop ceiling.
Read more: How To Install A Hanging Ceiling Light
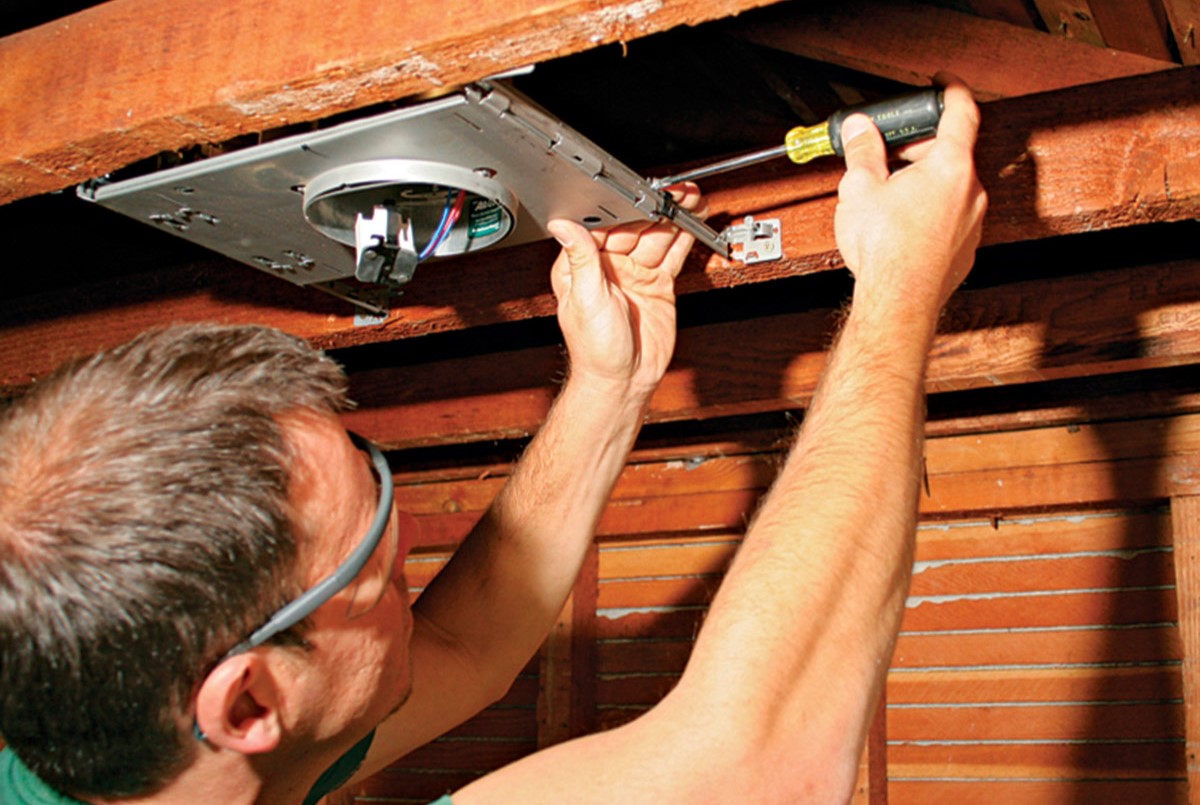
Step 5: Install the Can Lights
With the wiring complete, it’s time to install the can lights in the drop ceiling. Here are the two crucial steps for proper installation:
Inserting the Can Lights into the Ceiling
Start by carefully inserting the can lights into the pre-marked locations on the drop ceiling. Ensure that the lights fit snugly and are flush with the ceiling. Can lights often come with brackets or clips that secure them in place.
Follow the manufacturer’s instructions to properly attach the can lights to the ceiling. This may involve tightening screws or locking mechanisms to ensure a secure fit. Take your time to align the lights correctly and make any necessary adjustments before proceeding.
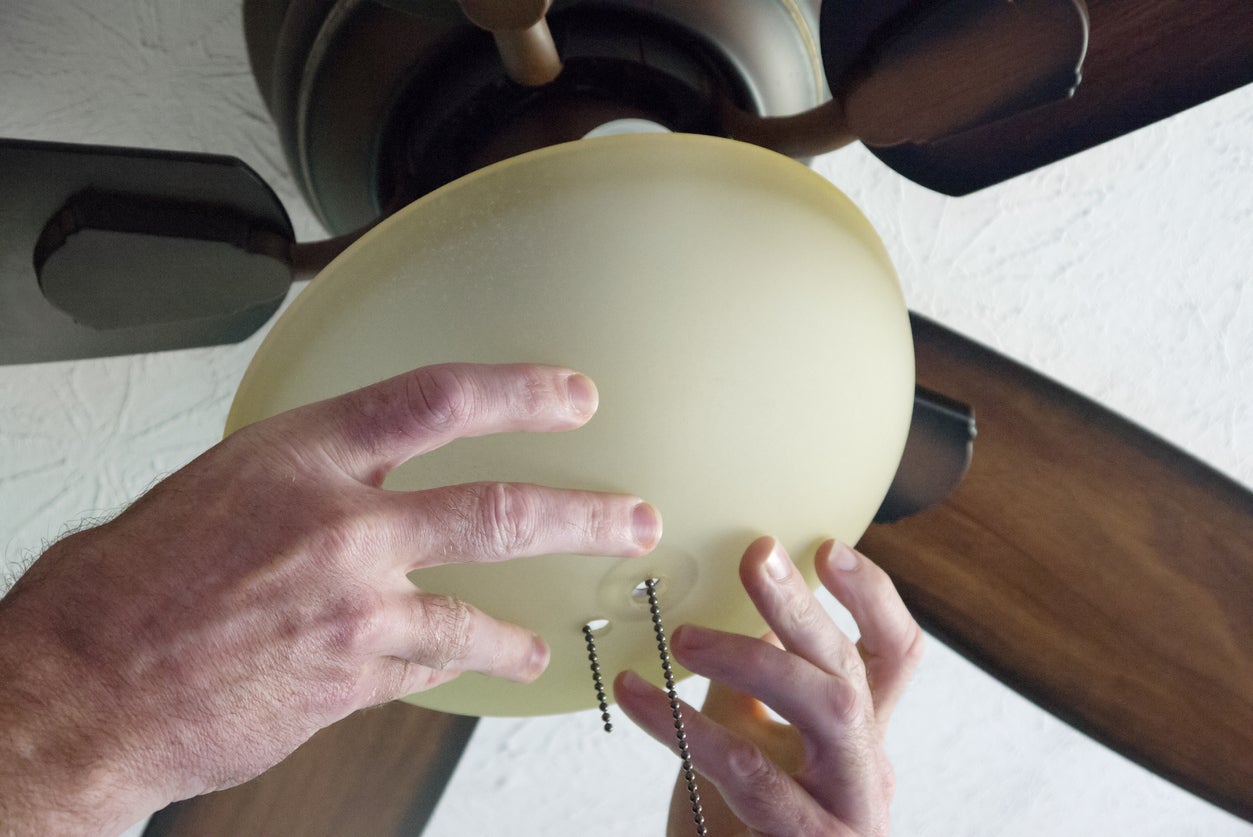
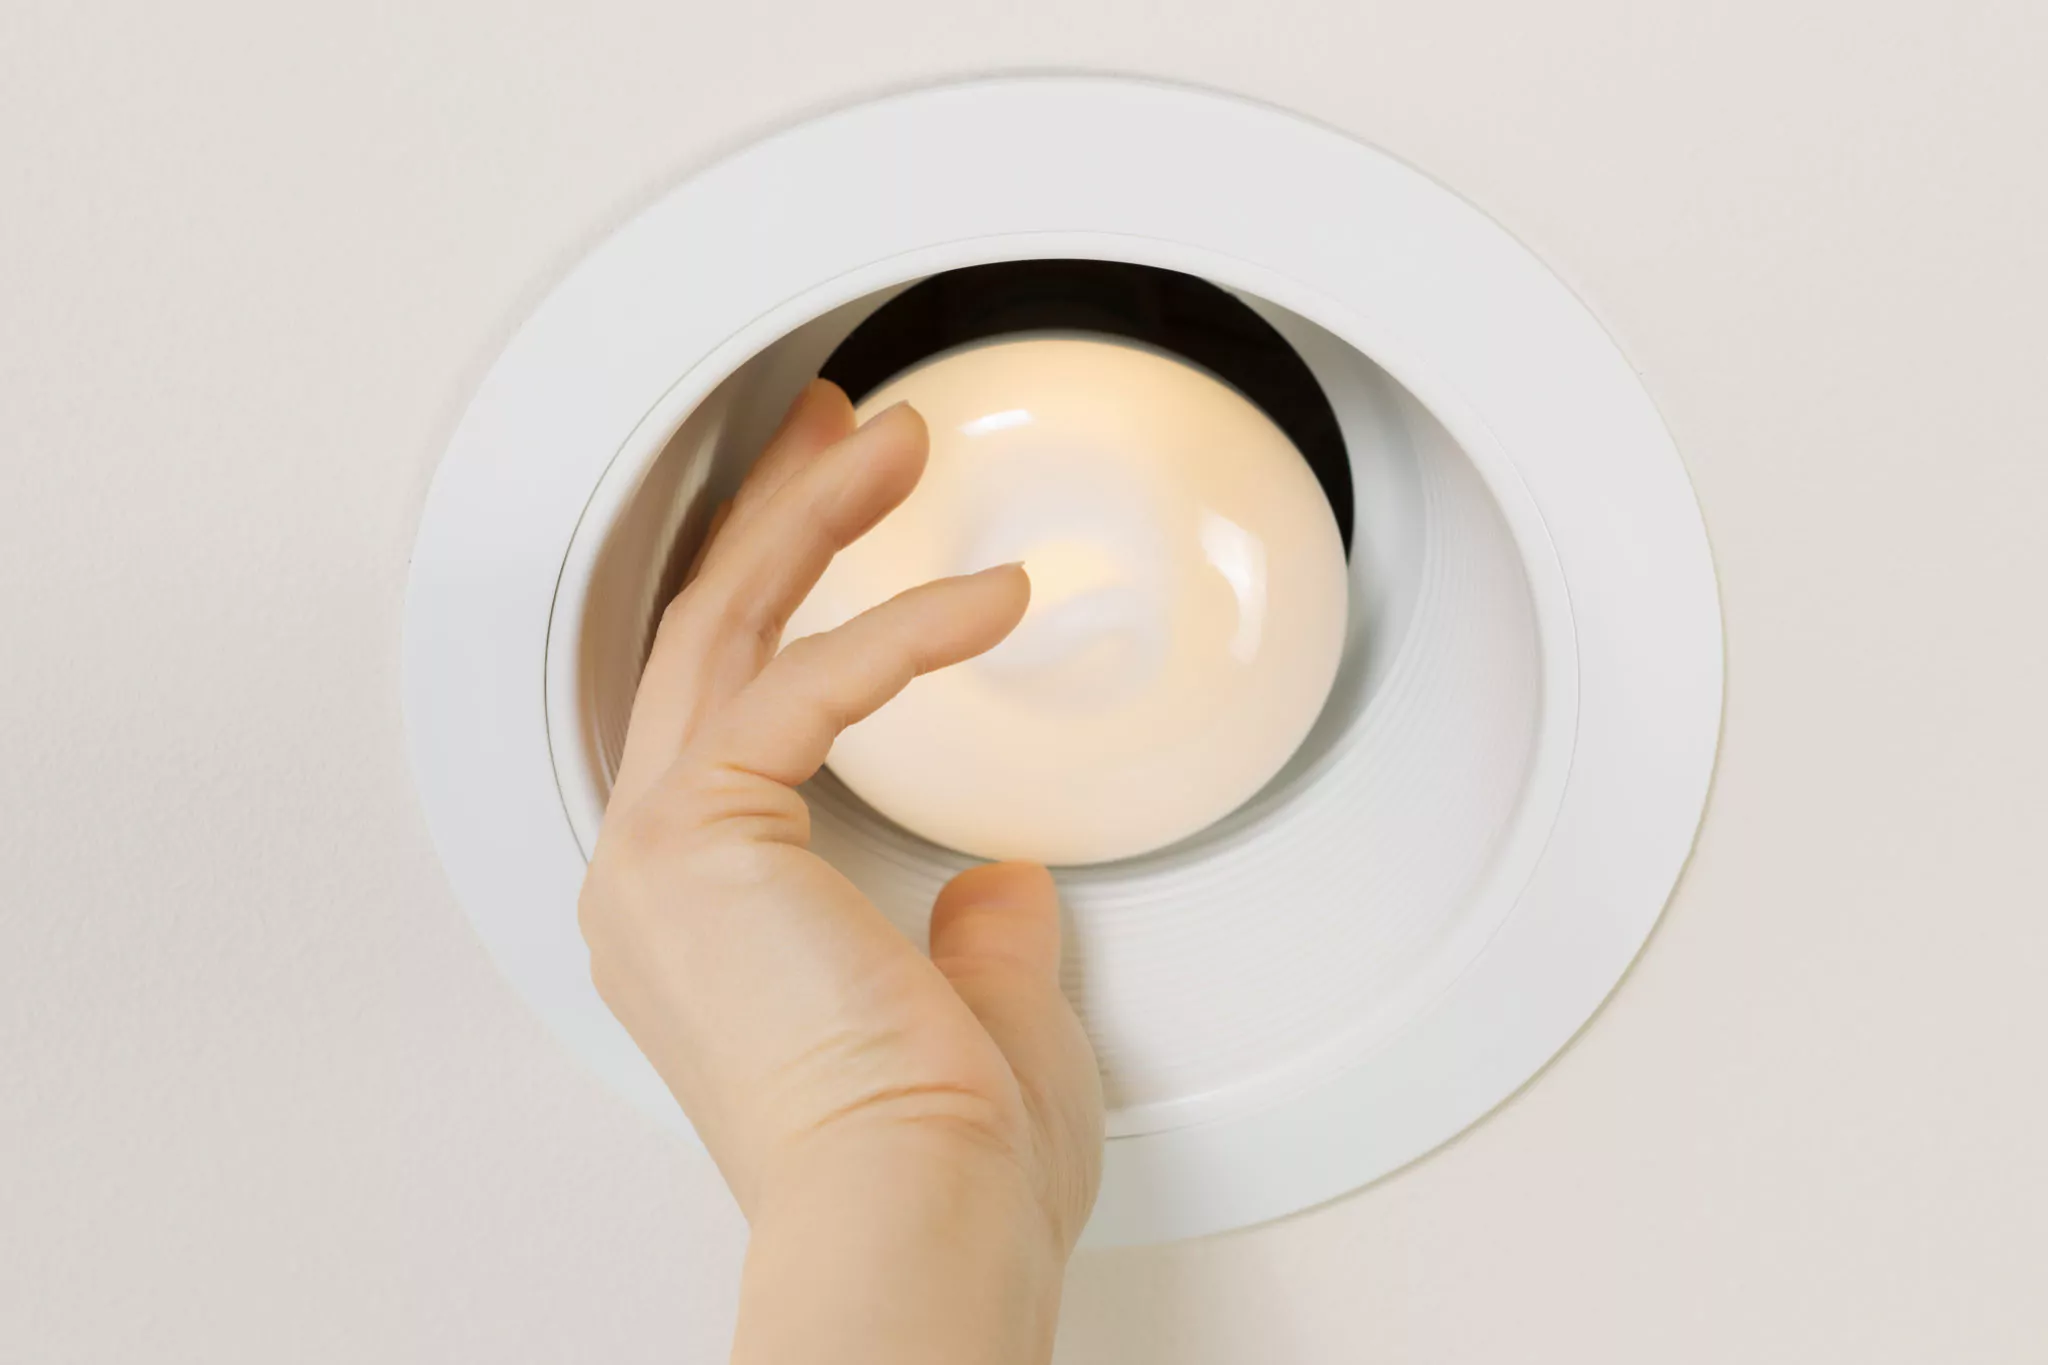
Attaching the Trim and Bulbs
Once the can lights are securely installed in the ceiling, it’s time to attach the trim and bulbs. The trim is the visible part of the light fixture that sits flush with the ceiling and provides a finished look.
Start by carefully attaching the trim to the can lights according to the manufacturer’s instructions. The trim may snap or screw into place, depending on the design. Ensure that the trim is evenly positioned and aligned with the other lights in the room.
Next, insert the appropriate bulbs into the can lights. Choose bulbs that match the desired lighting effect and brightness for the room. LED bulbs are a popular choice for their energy efficiency and longevity.
Take care not to overtighten the bulbs as it can damage the light fixture. If the can lights have adjustable features, such as directional swivels, adjust them to achieve the desired lighting angle.
By properly installing the can lights and attaching the trim and bulbs, you have now completed the installation process. The next step is to restore power and test the functionality of the lights.
Step 6: Restore Power and Test
After successfully installing the can lights in the drop ceiling, it’s time to restore power and test their functionality. Here are the two crucial steps to complete this process:
Read more: How To Remove A Drop Ceiling
Turning On the Power
Before restoring power, double-check that all the wiring is properly connected and secure. Ensure that all wire nuts are tight and there are no loose or exposed wires. Safety is of utmost importance when working with electricity.
Once you have confirmed that everything is in order, go ahead and switch the power back on at the circuit breaker or fuse box. Take note of any specific circuit assigned to the can lights and ensure it is turned on.
Checking the Functionality of Can Lights
With the power restored, it’s time to test the functionality of the can lights. Switch on the light switch or use any control mechanism to activate the lights. Take a look around the room to ensure that all the can lights are illuminated properly and there are no flickering or dim lights.
If you notice any issues, such as lights not turning on or uneven brightness, double-check the wiring connections and bulbs. Make sure the bulbs are properly inserted and securely in place. If the problem persists, consult a professional electrician to troubleshoot and resolve the issue.
Take the time to adjust the positioning of the lights if necessary. Some can lights may have adjustable features, allowing you to angle the light direction or rotate them to illuminate specific areas of the room.
Once you are satisfied with the functionality and placement of the lights, you have successfully completed the installation process!
Remember to clean up any debris or materials from the installation, and store any unused materials for future use.
Now you can enjoy the enhanced lighting and aesthetic provided by the can lights in your drop ceiling.
Conclusion
Installing can lights in a drop ceiling can greatly enhance the overall ambiance and functionality of a room. By following the step-by-step guide outlined in this article, you can successfully complete the installation process and enjoy the benefits of well-placed and aesthetically pleasing lighting.
Throughout the installation process, it is crucial to prioritize safety. Always turn off the power before starting any work and make sure all wiring is done properly by following electrical codes and regulations. If you are unsure or uncomfortable with any step, it is best to consult a professional electrician.
Remember to carefully plan the layout of the can lights, considering both the functionality and aesthetic aspects of the room. Properly measuring and marking the locations will ensure that the lights are evenly spaced and aligned, creating a balanced and visually appealing look.
When it comes to the installation itself, securely attaching the can lights to the drop ceiling and properly connecting the wiring is key. Take your time to ensure a tight fit and make any necessary adjustments before moving on to the next steps.
Once the can lights are installed, restore power and test their functionality. Check for any issues or inconsistencies in the lighting, and make necessary adjustments. With everything in working order, you can now sit back and enjoy the enhanced illumination provided by your new can lights.
Remember to adhere to proper maintenance practices for your can lights, such as regularly cleaning the trim and replacing bulbs when needed. This will help ensure that they continue to function optimally and provide the desired lighting effect for years to come.
In conclusion, installing can lights in a drop ceiling is a rewarding home improvement project that can transform the look and feel of any room. By following the steps outlined in this guide, you can confidently tackle this project and enjoy the benefits of stylish and functional lighting in your space.
Now that you've mastered installing can lights, why not deepen your understanding of the structure they're mounted on? Our detailed piece on drop ceilings offers insights on their design, benefits, and why they are preferred in many modern spaces. Perfect for those considering a ceiling revamp or simply curious about architectural choices, this article sheds light on all you need to know about these versatile ceilings.
Frequently Asked Questions about How To Install Can Lights In A Drop Ceiling
Was this page helpful?
At Storables.com, we guarantee accurate and reliable information. Our content, validated by Expert Board Contributors, is crafted following stringent Editorial Policies. We're committed to providing you with well-researched, expert-backed insights for all your informational needs.
0 thoughts on “How To Install Can Lights In A Drop Ceiling”