Home>Ideas and Tips>Upgrading Your Home’s Garage With DIY Motorized Storage Lift System

Ideas and Tips
Upgrading Your Home’s Garage With DIY Motorized Storage Lift System
Modified: October 28, 2024
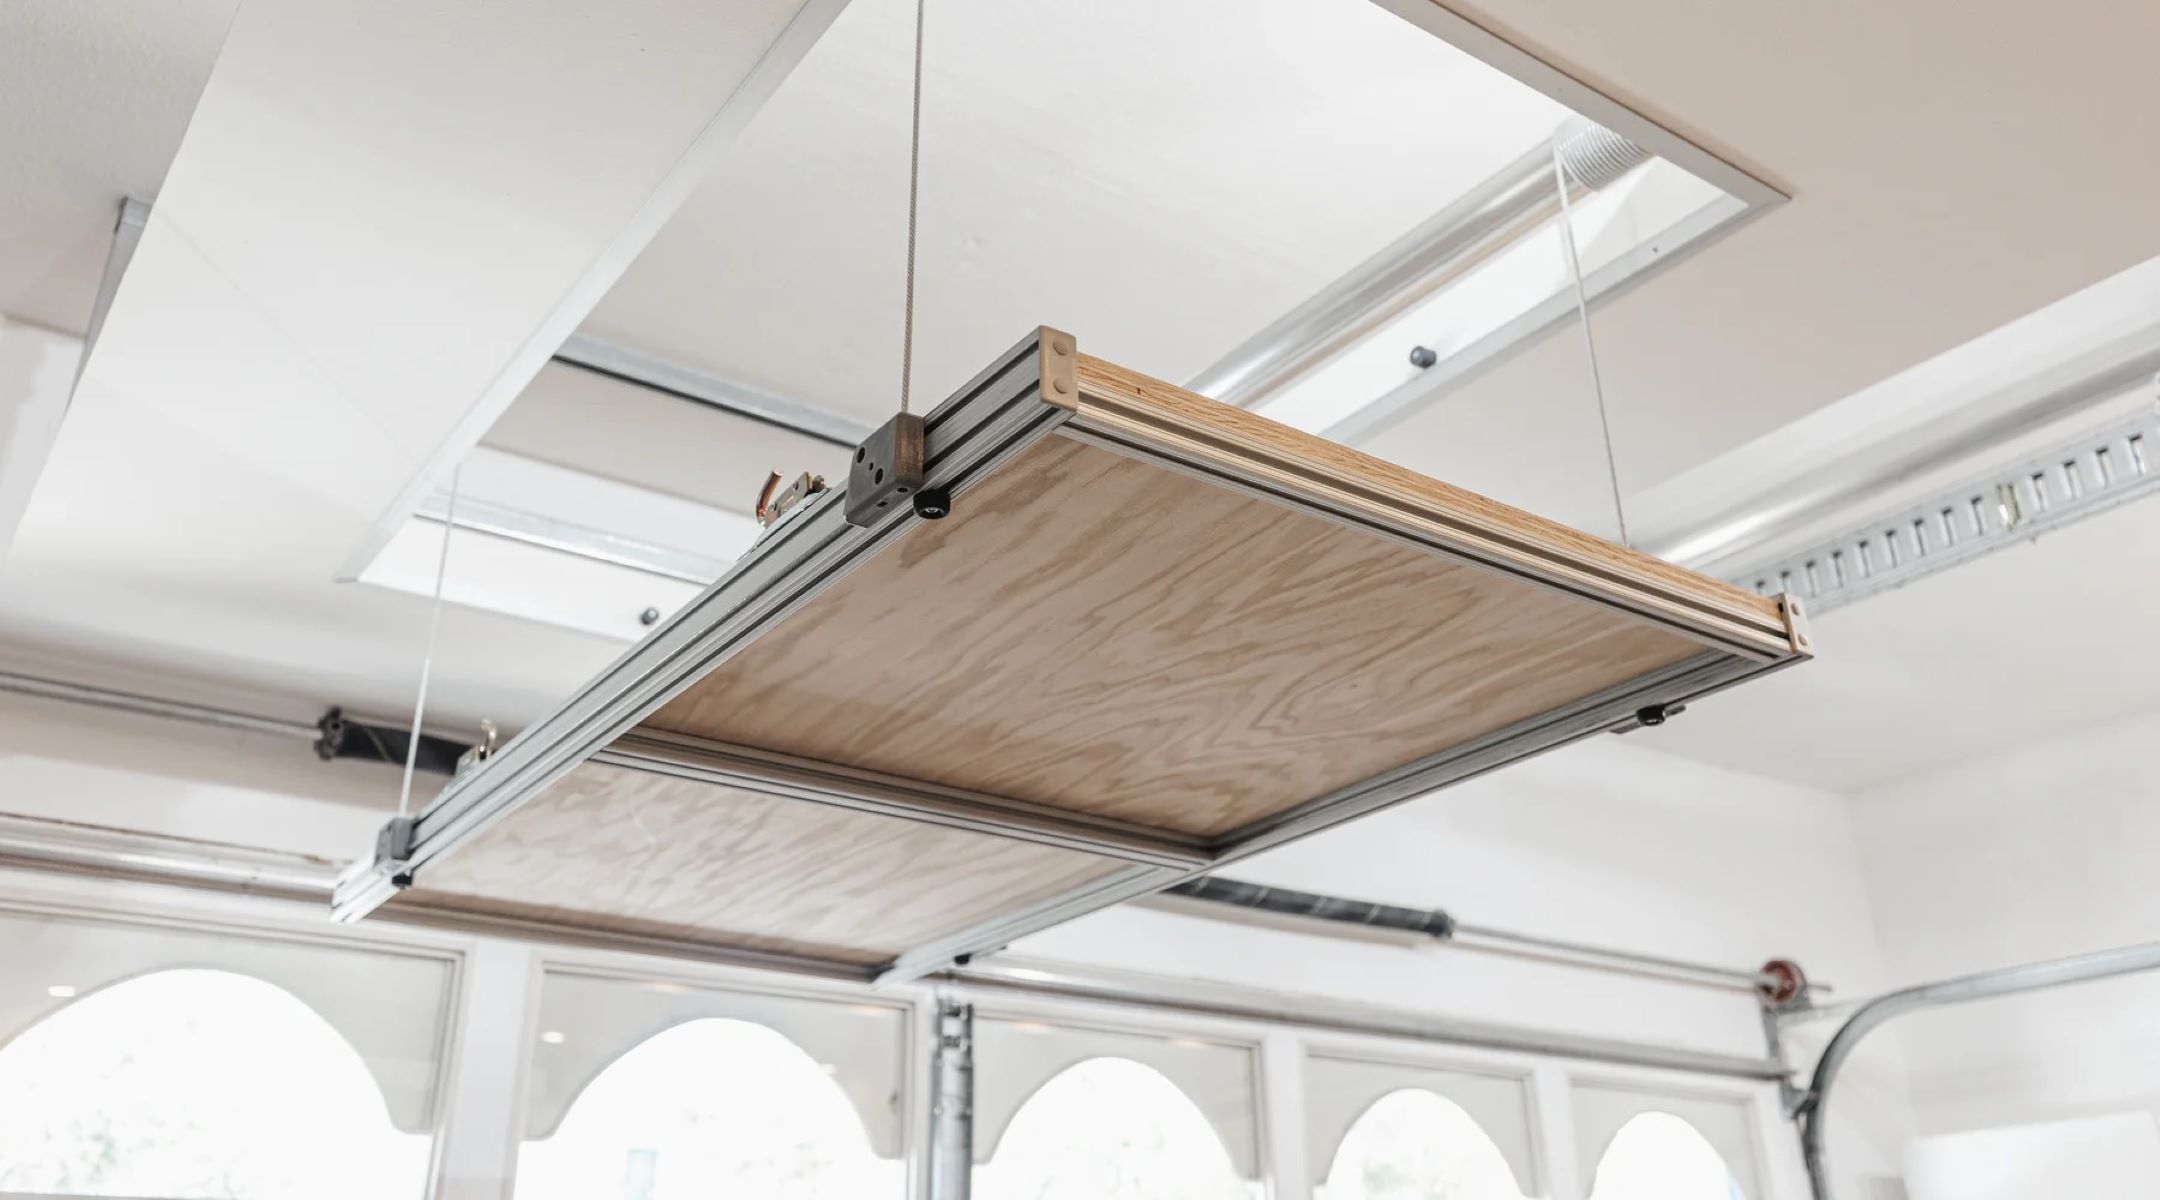
Maximize your garage space with a DIY motorized storage lift system. Learn how to build and install this efficient, convenient, and safe storage solution.
(Many of the links in this article redirect to a specific reviewed product. Your purchase of these products through affiliate links helps to generate commission for Storables.com, at no extra cost. Learn more)
Introduction
Garage storage is a perpetual challenge for many homeowners. With the constant influx of tools, equipment, and other items, it's easy for your garage to become cluttered and disorganized. However, there are innovative solutions available that can help maximize your garage space without sacrificing functionality. One such solution is the DIY motorized storage lift system. This article will guide you through the process of building and installing a motorized storage lift in your garage, providing you with the tools and knowledge needed to create a seamless and efficient storage system.
Why Choose a Motorized Storage Lift?
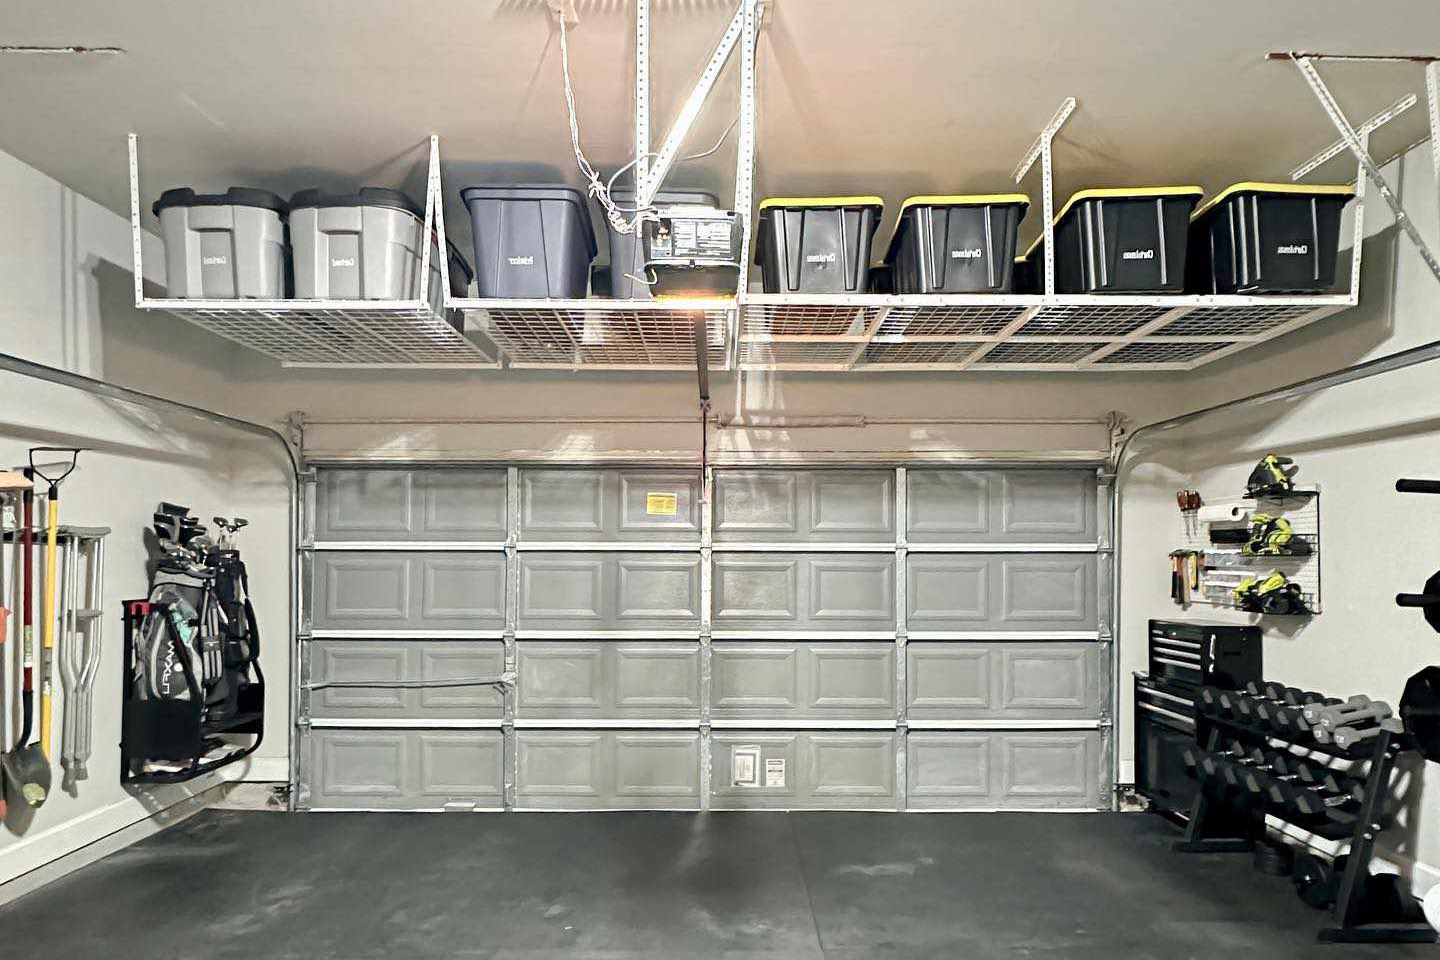
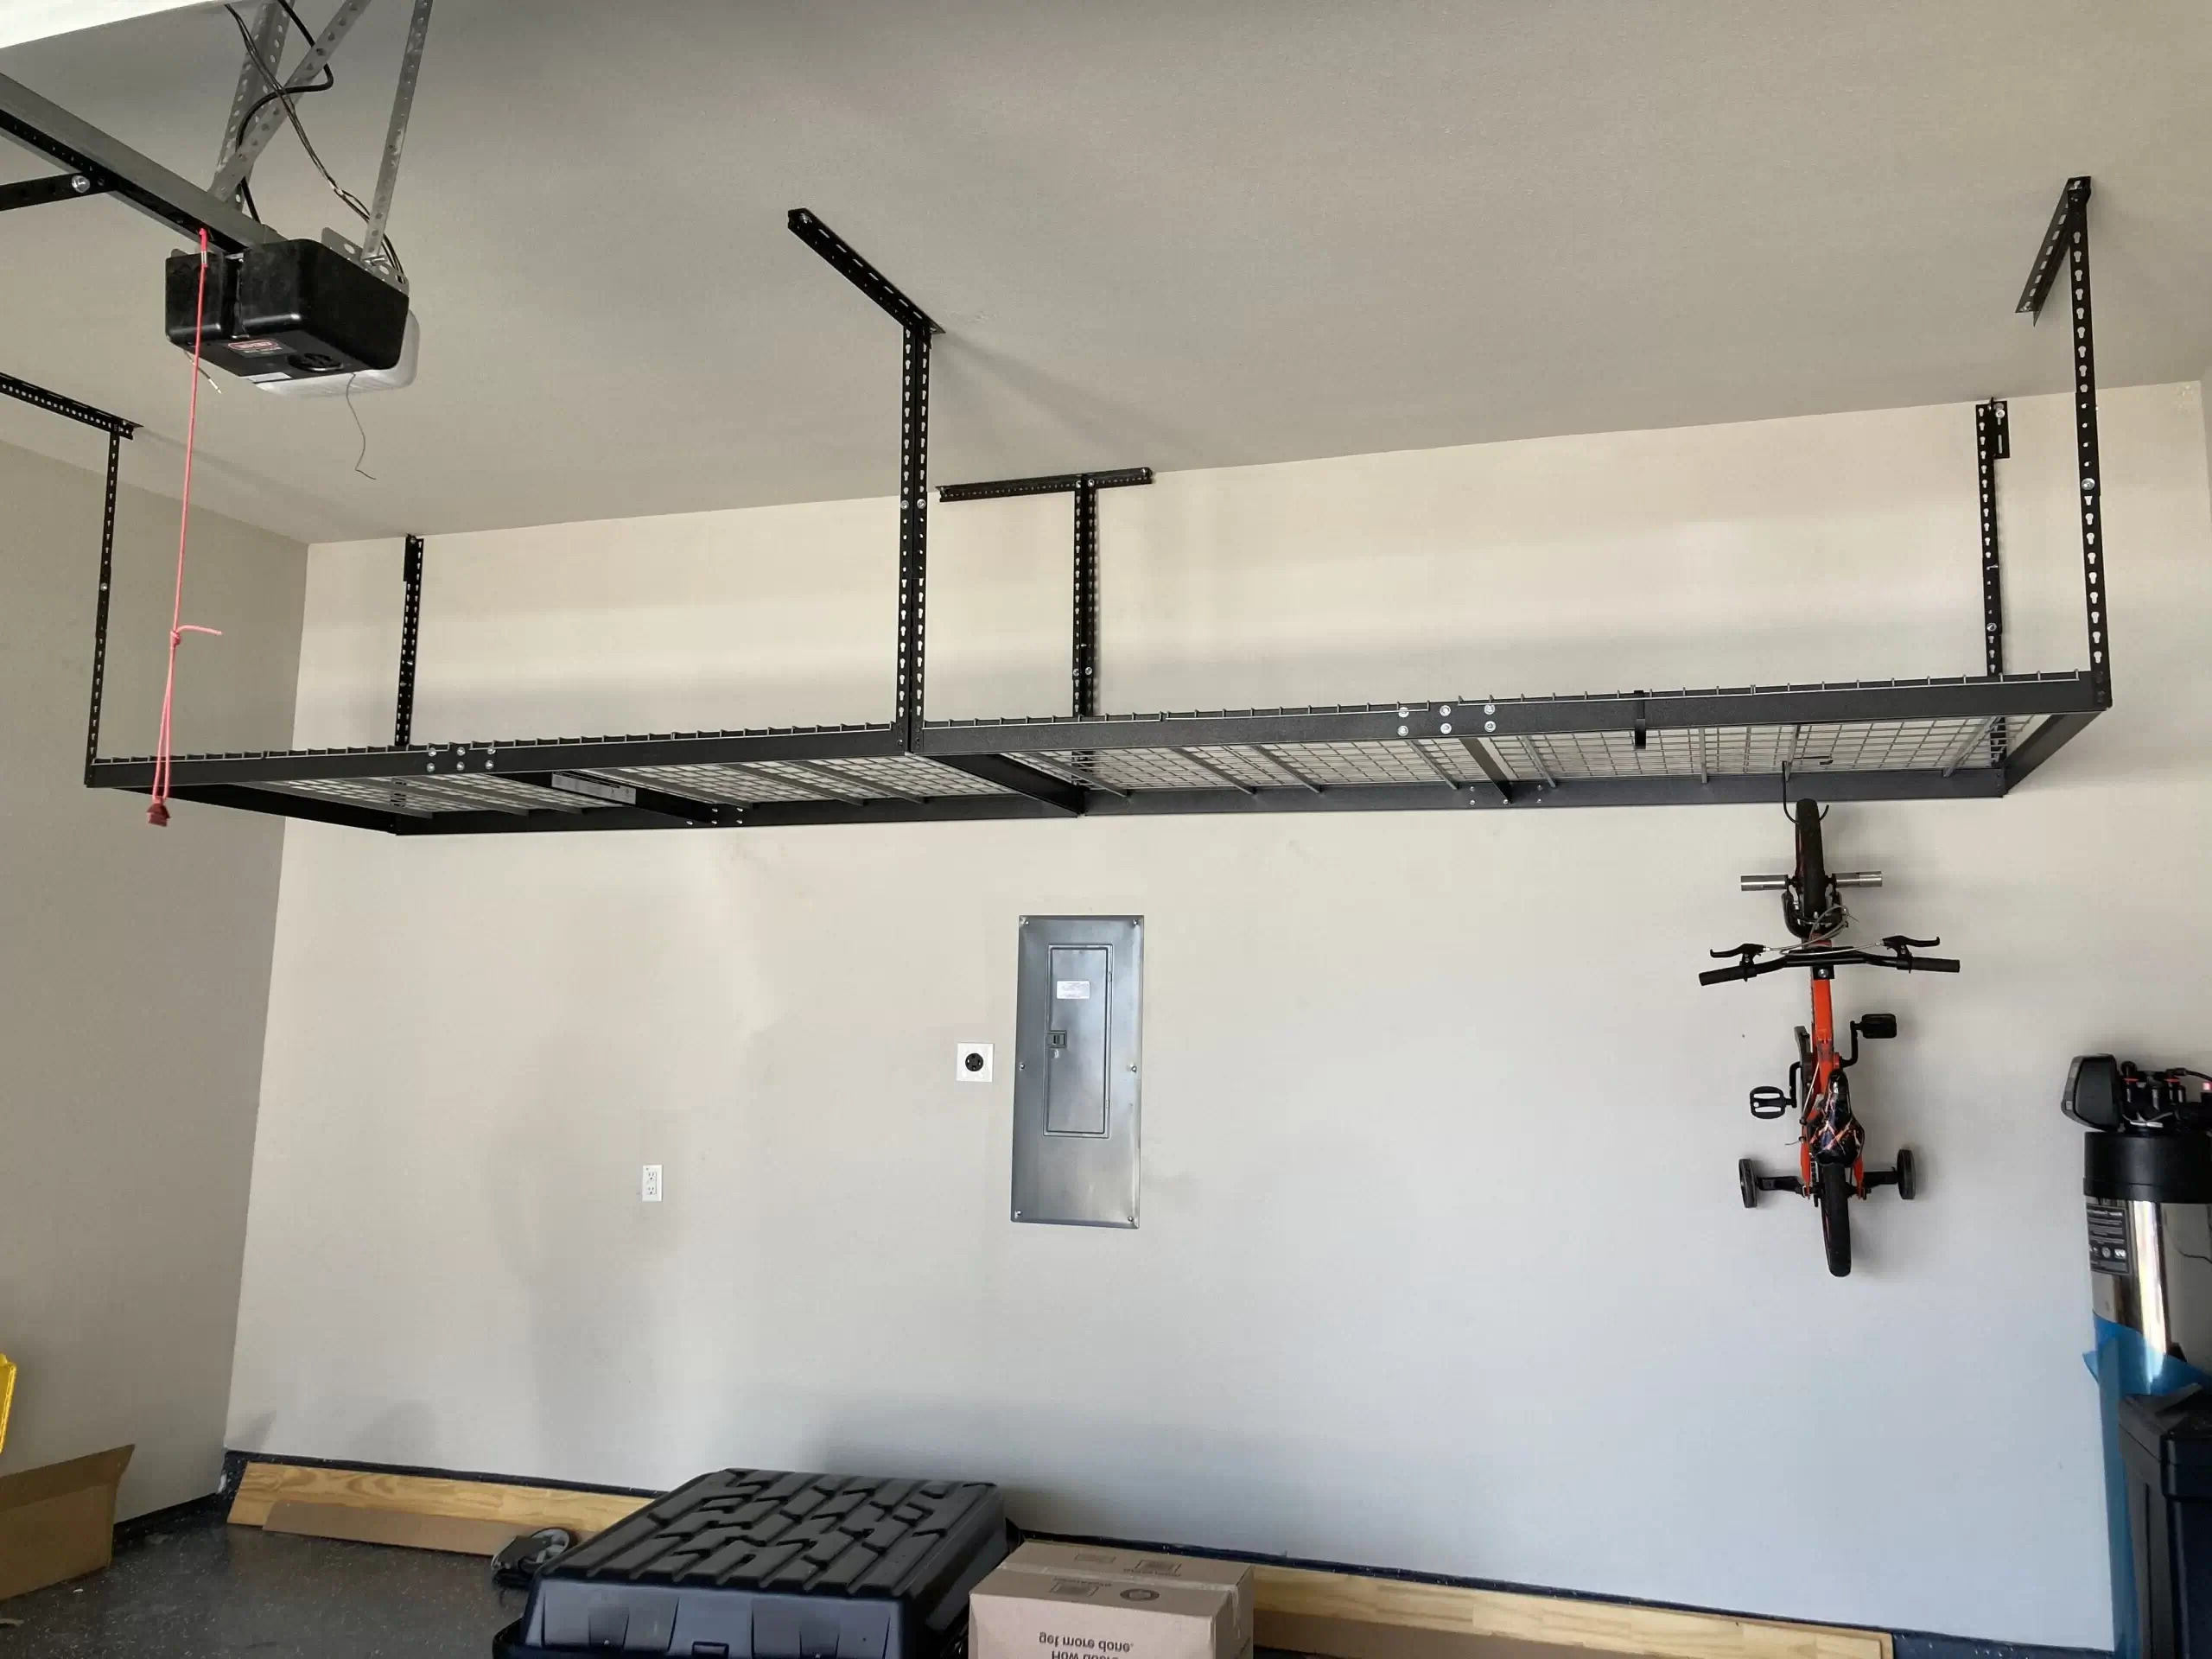
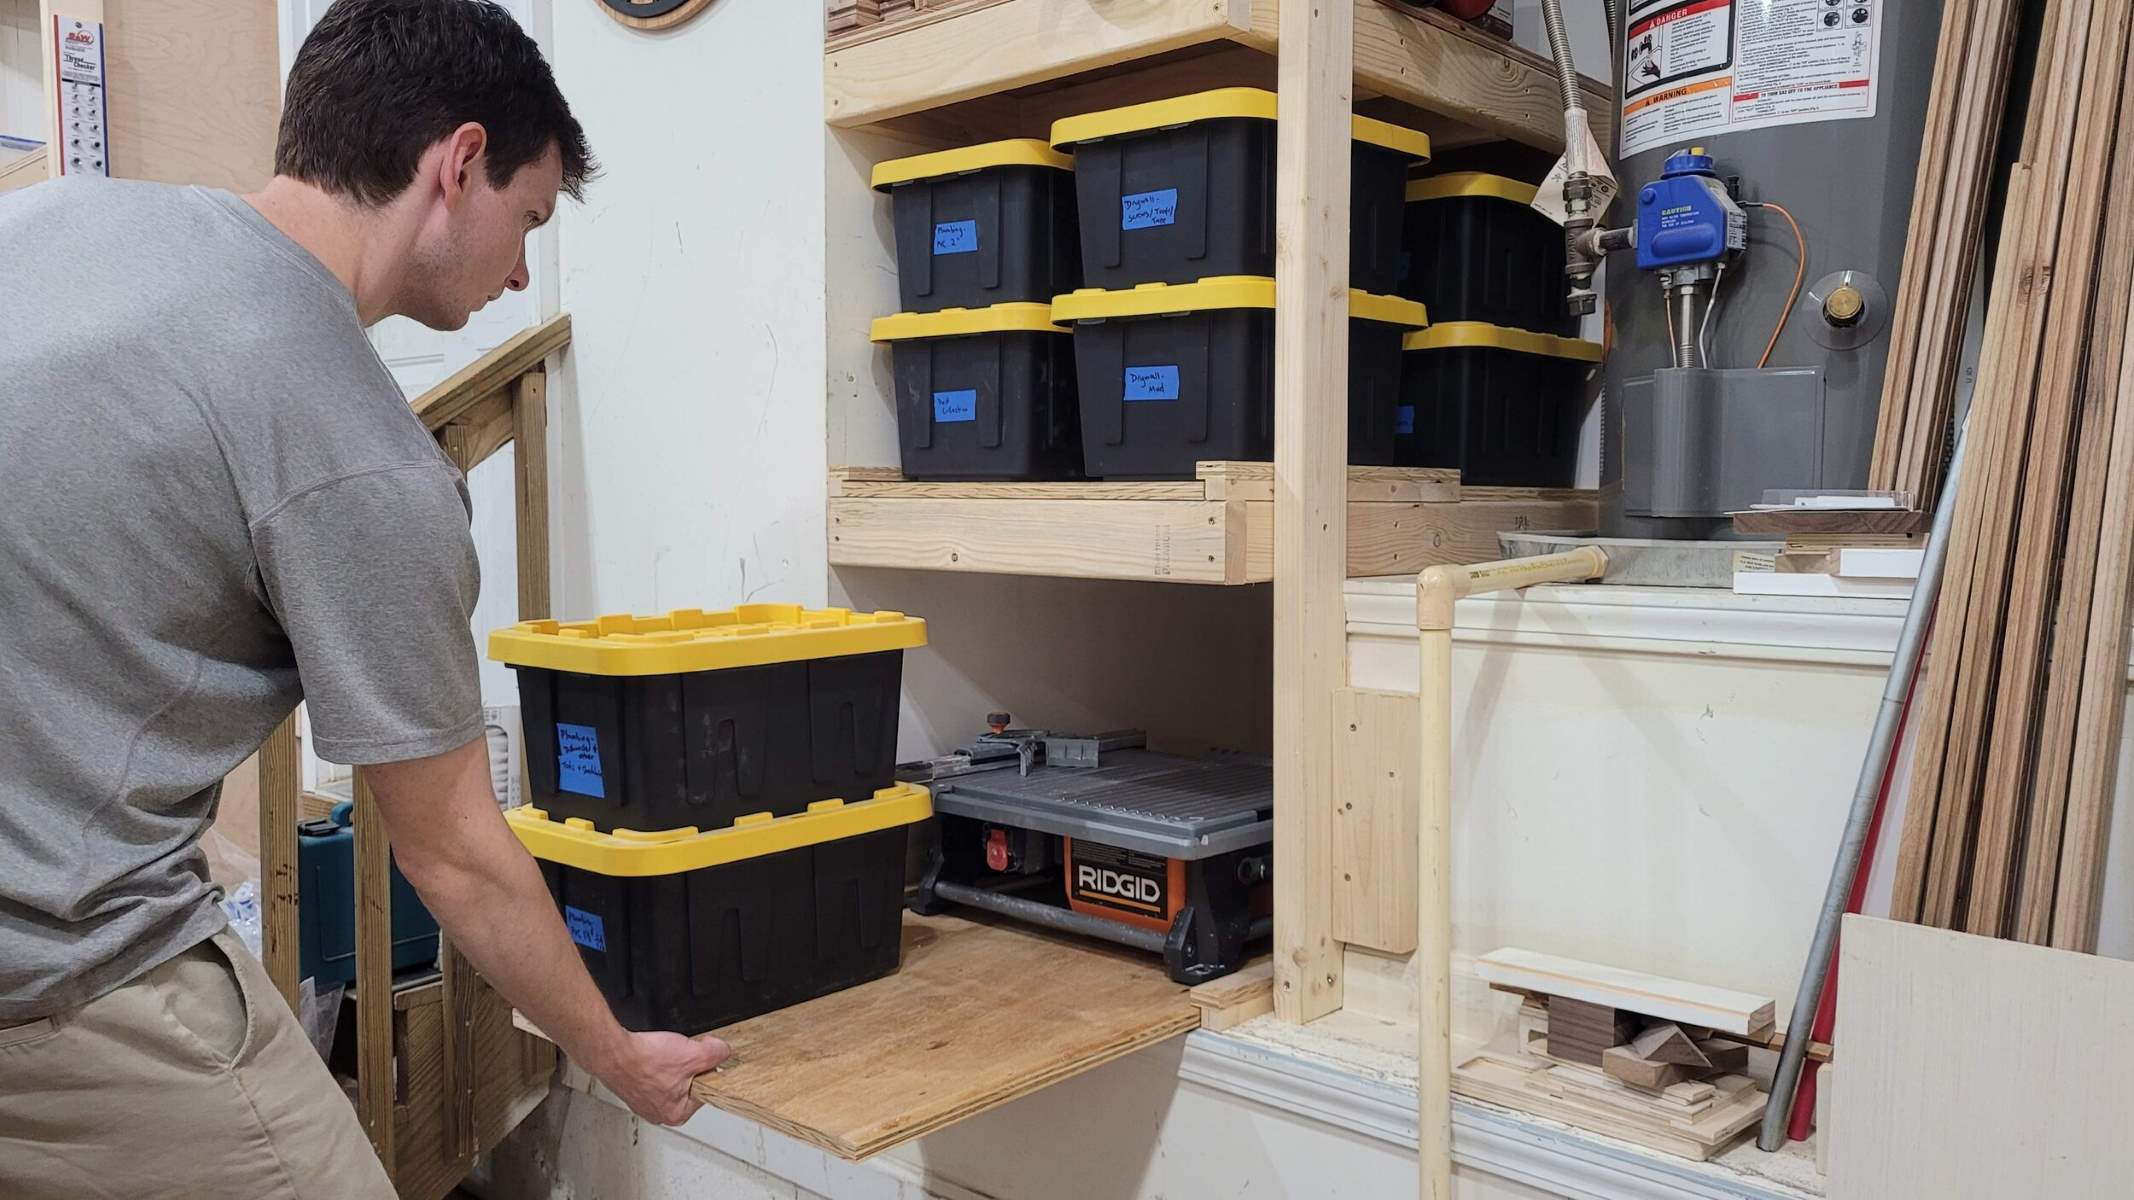
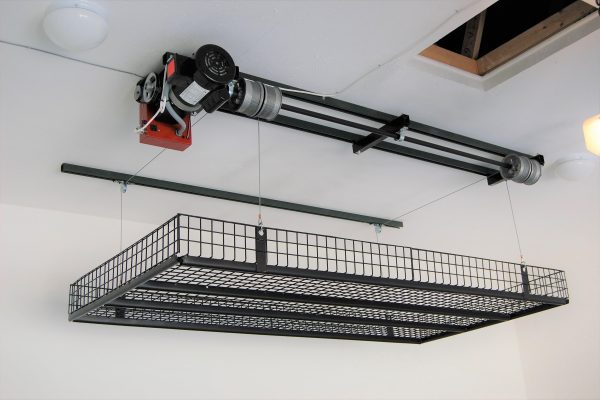
A motorized storage lift is an excellent choice for your garage for several reasons. First off, it helps you make the most of your space. By utilizing the often-wasted area near the ceiling, you can keep your floor clear and make it easier to move around. No more tripping over boxes or struggling to find a place for your tools.
Another big plus is convenience. With just the push of a button, you can easily lift and lower items. This means no more climbing ladders or manually lifting heavy objects. It's a real back-saver! Plus, it adds a layer of safety by keeping heavy items off the floor, reducing the risk of tripping or damaging your belongings.
Lastly, a motorized storage lift offers customization. You can tailor the system to fit your specific needs, whether it's for storing bikes, kayaks, or even go-karts. This flexibility makes it a versatile addition to any garage.
Materials and Tools Needed
To build a DIY motorized storage lift, you'll need the following materials and tools:
Materials:
- Linear Actuator: The heart of your motorized lift. Choose one with sufficient travel distance (stroke) and weight capacity for your needs. For example, a 40-inch stroke linear actuator rated for 450 lbs can be an excellent choice.
- Power Supply and Controller: A 12V power supply and a controller to operate the linear actuator. A wireless control module adds convenience but is optional.
- Pulleys and Rope: Essential for guiding the rope or cable that lifts your items. You can purchase pulleys at hardware stores like Home Depot or online.
- Ceiling Mounts: Eye bolts or lag screws to secure the pulleys to the ceiling. Ensure they are sturdy enough to hold the weight of your items.
- Platform or Shelf: The platform or shelf will be where you place your items. You can use plywood or other materials suitable for your needs.
- Supports and Brackets: Additional supports and brackets may be necessary to ensure stability and secure the platform in place.
Tools:
- Drill/Driver: Essential for drilling holes and driving screws.
- Socket/Ratchet Set: Useful for tightening lag screws and other bolts.
- Table Saw: Can be used to cut plywood or other materials for your platform.
- Tape Measure: Ensures accurate measurements during assembly.
- Brad Nail Gun: Helps in assembling the shelf and cabinet with precision.
Step-by-Step Guide
Step 1: Plan Your Project
Before starting your project, it's crucial to plan out the design and layout of your motorized storage lift. Here are some steps to help you get started:
- Measure Your Ceiling Space: Determine the height and width of the space where you plan to install the lift.
- Choose Your Linear Actuator: Select a linear actuator that matches your ceiling space dimensions and can handle the weight of your items.
- Create a Parts List: Make a list of all the materials and tools you'll need, including any additional supports or brackets required.
Step 2: Assemble the Shelf and Cabinet
- Cut and Label Parts: Cut all the necessary parts according to your design specifications and label them for easy identification.
- Assemble Shelf: Use basic woodworking tools like a table saw and drill/driver to assemble the shelf. Brad nails and pocket hole screws can be used for added strength.
- Attach T-Bracket: Slide the shelf and cabinet together so that the included T-bracket touches the cabinet top. Use double-sided tape on the T-bracket for precise positioning.
Step 3: Install Bulkhead
- Reattach Actuator: Once the T-bracket is screwed on, reattach the actuator in place.
- Install Bulkhead: Place the bulkhead in position and secure it with a hammer to ensure it sits flush with the plywood.
Step 4: Install Back Panel
- Use Spacer Blocks: Use spacer blocks along the inside of the cabinet to keep the back panel from sagging while you screw it in place.
- Swap Polarity (if necessary): If mounting the actuator upside down, swap lead wires so that carriage runs correctly when up or down button is pushed on remote.
Step 5: Anchor Storage Lift Firmly
- Position Cabinet Against Wall: Use a support stand to position cabinet against wall.
- Drive Lag Screws: Drive one lag screw while helper checks for plumb; then drive remaining three lag bolts securely into studs.
Step 6: Mount Shelf to Carriage
- Swing Rails Out: Swing wheel rails out enough to guide wheels into them while helper keeps shelf steady.
- Line Up Bolt Holes: Align bolt holes on shelf with actuator carriage for secure mounting.
Step 7: Adjust Rollers
- Plug in Electronics: Plug in power supply and test movement of shelf.
- Adjust Upper Wheels: Adjust upper wheels tighter if there’s a gap near top for smooth operation.
Step 8: Fit Access Panel
- Install Power Supply & Receiver: Install power supply and receiver in lower section of cabinet for wireless control module.
Additional Tips and Considerations
Safety First
- Safety System: Ensure you have a safety system in place so that motor isn’t relied upon at all times; use wire that needs unhooking before lowering items.
- Weight Capacity: Always check weight capacity of your linear actuator and ensure it can handle the weight of your items plus any additional load.
Customization Options
- Platform Size: Choose platform size based on items you plan storing; larger platforms may require additional supports or brackets for stability.
- Pulley System: Use pulley system that can handle unbalanced loads; consider using steel cable which can hold tremendous amount weight.
Read more: Upgrading Your Garage Door For Curb Appeal
Budget-Friendly Alternatives
If budget is a concern, consider using cheaper alternatives like pulleys from Home Depot or Harbor Freight which can still provide reliable service at lower cost.
Conclusion
Building a DIY motorized storage lift system is an excellent way to upgrade your home's garage by maximizing space efficiency while ensuring convenience and safety. By following these steps and considering additional tips, you can create a custom solution tailored specifically for your needs. Whether you're storing bikes, kayaks, or even go-karts, this system will help keep your garage organized and functional.
References:
- YouTube Video: Motorized Garage Storage Lift Build – YouTube (2020)
- Family Handyman Article: How to Build a DIY Mechanized Garage Lift for Increased Storage (2020)
- Reddit Discussion: Cheaper Way to Build Motorized Garage Lift – Reddit (2024)
- YouTube Video: DIY Garage Hoist / Lift System / Rooftop Tent Storage – YouTube (2024)
- YouTube Video: DIY Garage LIFT for Storage – YouTube (2024)
By following this comprehensive guide, you'll be able to transform your cluttered garage into a well-organized space that maximizes storage potential without compromising on functionality or safety.
Was this page helpful?
At Storables.com, we guarantee accurate and reliable information. Our content, validated by Expert Board Contributors, is crafted following stringent Editorial Policies. We're committed to providing you with well-researched, expert-backed insights for all your informational needs.



0 thoughts on “Upgrading Your Home’s Garage With DIY Motorized Storage Lift System”