Home>Ideas and Tips>Upgrading Your Home’s Garage With DIY Tire Rack
Ideas and Tips
Upgrading Your Home’s Garage With DIY Tire Rack
Published: September 20, 2024
Upgrade your garage with a DIY tire rack. Save money, customize your space, and keep your tires organized with our step-by-step guide.
(Many of the links in this article redirect to a specific reviewed product. Your purchase of these products through affiliate links helps to generate commission for Storables.com, at no extra cost. Learn more)
Introduction
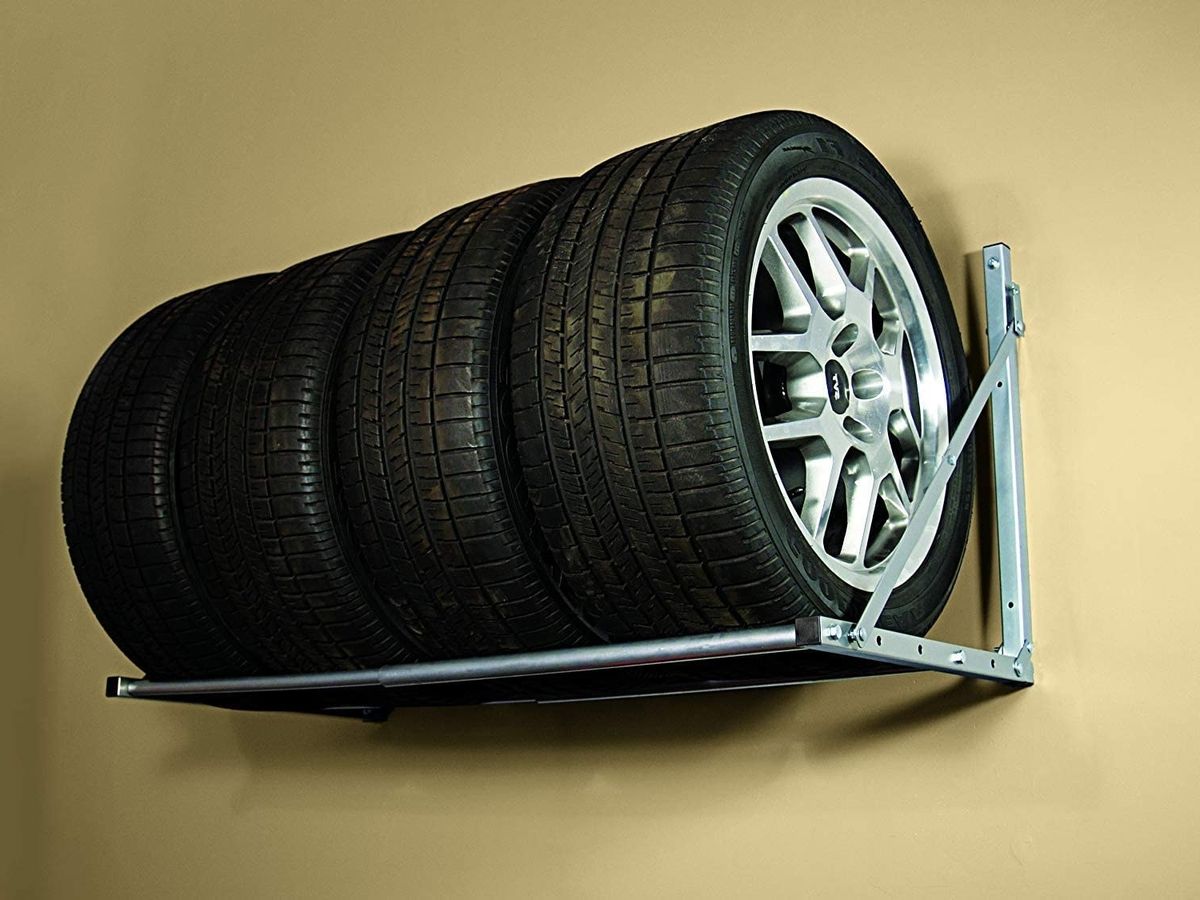
Garage organization is a crucial aspect of maintaining a well-structured and efficient home. One of the most common challenges faced by garage owners is the storage of tires and wheels. Traditional storage solutions often involve cluttered shelves or expensive commercial racks that may not meet specific needs. In this article, we will explore the benefits of creating a DIY tire rack for your garage, providing detailed instructions and tips to help you build a sturdy and space-saving solution.
Why DIY?
Building a DIY tire rack is a fantastic idea for several reasons. First off, it's cost-effective. You can save a ton of money by using materials you might already have lying around or can easily get from a local hardware store. Imagine spending just $30 instead of hundreds on a commercial rack. That's a win for your wallet!
Next, there's the customization factor. When you build something yourself, you can tailor it to fit your specific needs. Got a small garage? No problem. Need to store different types of tires? You can design your rack to handle that. It's like having a custom-made suit, but for your garage.
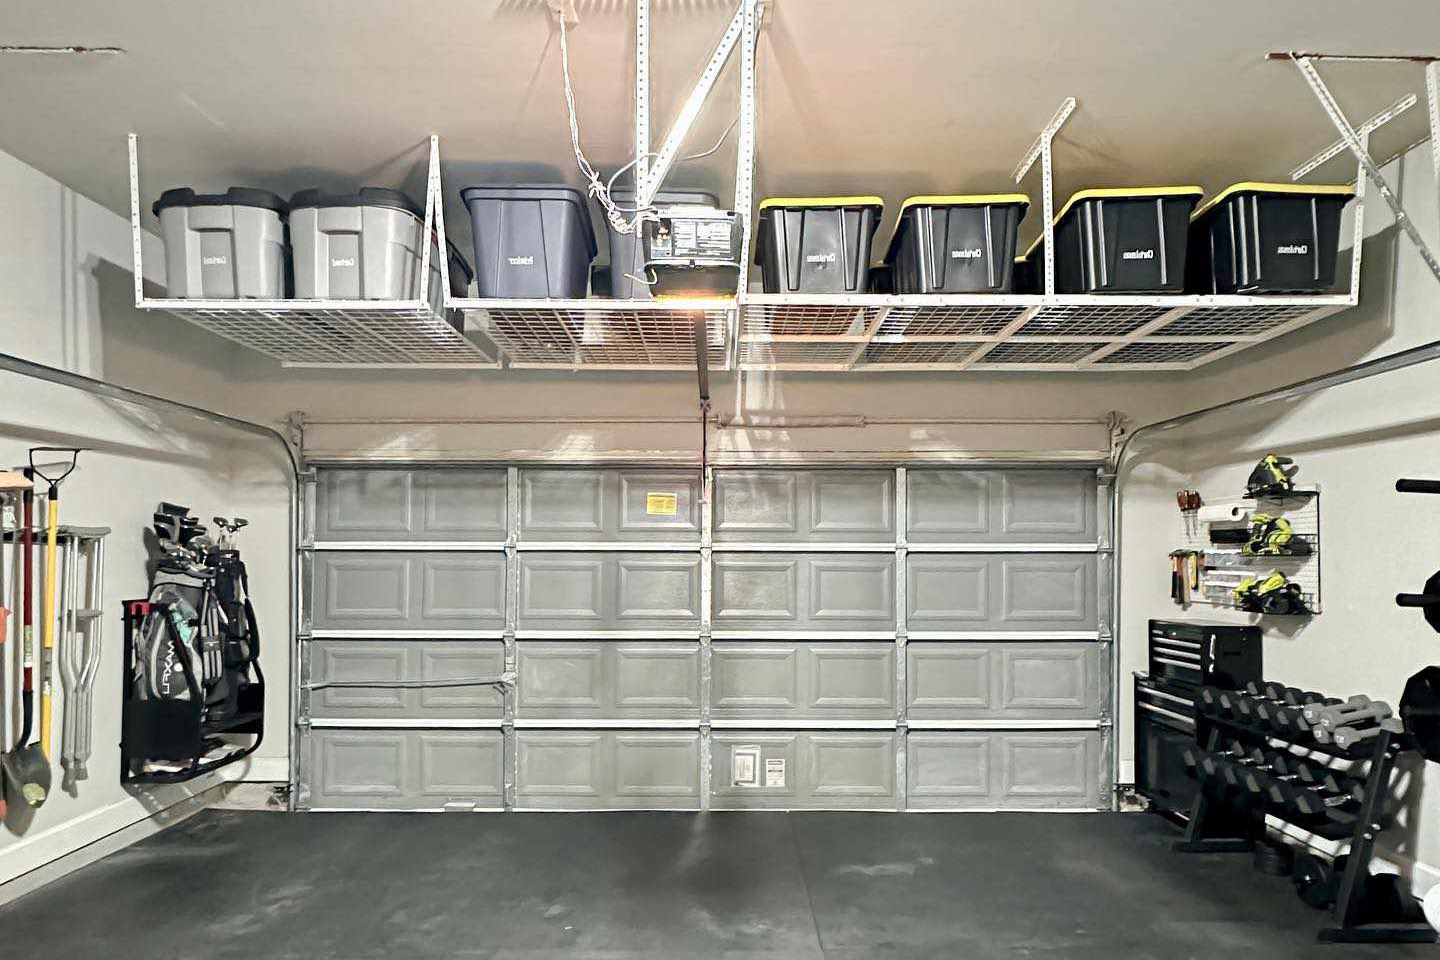
Then there's space efficiency. A well-designed DIY rack can help you make the most of your garage space. No more tripping over tires or having them take up valuable floor space. You can even build a multi-tiered rack to store more tires in the same amount of space.
Lastly, let's talk about sustainability. By using repurposed materials or opting for eco-friendly options, you're doing your bit for the environment. Plus, there's a certain satisfaction that comes from building something with your own two hands. It's a project that not only improves your garage but also gives you a sense of accomplishment.
Materials Needed
Before diving into the project, it's essential to gather all the necessary materials. Here’s a list of what you'll typically need:
- 2x4s: These are the primary building blocks for your rack. You'll need several pieces depending on the design you choose.
- Wood Screws: Various sizes of wood screws will be required for assembling the frame and attaching the shelves.
- Lag Bolts: For securing the rack to the wall if desired.
- Chain and Eye Hooks: These are optional but useful for creating a hanging system that keeps the rack stable.
- Drill and Drill Bits: A power drill with appropriate drill bits will be necessary for pre-drilling screw holes and driving screws.
- Saw: A saw (either manual or power) is required for cutting the 2x4s to the desired length.
- Tape Measure and Square: These tools ensure that your frame is square and accurately measured.
- Safety Gear: Gloves and safety glasses are essential for protecting yourself while working with power tools.
Step-by-Step Instructions
Step 1: Planning
-
Measure Your Space: Determine the dimensions of your garage and the available space where you plan to install the rack. Consider both the width and height of the rack to ensure it fits comfortably without obstructing other garage items.
-
Choose Your Design: Decide on the design of your rack. You can opt for a simple vertical rack or a more complex shelving system with multiple tiers. The Instructables project mentioned in provides a good starting point with its detailed plans and measurements.
-
Check Ceiling Height: Ensure that the height of your rack does not exceed the ceiling height of your garage. This is crucial to avoid any potential hazards or difficulties in accessing the top shelf.
Step 2: Measuring and Cutting
-
Measure Twice, Cut Once: Double-check all measurements before cutting any wood pieces. This step is crucial to avoid errors that could lead to a poorly constructed rack.
-
Cutting the 2x4s: Use a saw to cut the 2x4s into the required lengths for your design. For example, if you're building a rack with multiple tiers, you'll need shorter pieces for the shelves and longer pieces for the frame.
-
Assemble the Frame: Begin by assembling the frame of your rack using wood screws. Ensure that all corners are square and the frame is level.
Step 3: Assembling the Rack
-
Attach Shelves: Once the frame is assembled, attach the shelves using wood screws. Make sure that each shelf is securely attached to prevent any movement or instability.
-
Add Supports: If you're building a multi-tiered rack, add supports between each tier to ensure stability and prevent any sagging.
-
Pre-drill Screw Holes: Pre-drill screw holes in the wood to avoid splitting and make screwing easier.
-
Use Carpenter's Glue (Optional): Applying carpenter's glue can add extra strength to your rack, especially if you're using thinner wood pieces.
Step 4: Final Assembly
-
Attach Chain and Eye Hooks (Optional): If you're using chain and eye hooks for hanging the rack from the ceiling or wall, attach them according to your design plan.
-
Secure to Wall (Optional): If desired, secure your rack to the wall using lag bolts for added stability.
-
Final Check: Double-check all parts of your rack for stability and ensure that it can hold the weight of your tires without any issues.
Tips and Variations
Customizing Your Rack
- Adjustable Shelves: Design your rack with adjustable shelves so that it can accommodate different sizes of tires.
- Multiple Tiers: Build a multi-tiered rack to maximize storage space and keep tires organized.
- Hanging System: Use chain and eye hooks to create a hanging system that keeps the rack stable and off the floor.
- Painting: Add a touch of personalization by painting your rack to match your garage decor.
Common Mistakes to Avoid
- Inadequate Support: Ensure that your rack has adequate support to hold the weight of your tires without sagging or collapsing.
- Poor Measurement: Double-check all measurements before cutting any wood pieces to avoid errors in construction.
- Insufficient Anchoring: If securing your rack to the wall, ensure that it is anchored properly to prevent it from tipping over.
Conclusion
Creating a DIY tire rack is an excellent way to upgrade your garage's storage efficiency while saving money and adding a personal touch. By following these steps and tips, you can build a sturdy and space-saving solution that meets your specific needs. Whether you're dealing with multiple sets of winter tires or just need a place for your spare wheels, this project is both practical and rewarding. So why not give it a try? Your garage will thank you!
Additional Resources
For more detailed plans and inspiration, consider visiting the following resources:
- Instructables: Offers various DIY projects including tire racks with step-by-step instructions and user-submitted plans.
- Tire Rack Upgrade Garage: Provides industry knowledge and articles on garage organization including tire storage solutions.
- Garage Journal Forum: Features discussions on building vs. buying tire racks with user experiences and tips.
By combining these resources with the instructions provided here, you'll be well-equipped to create an efficient and customized DIY tire rack for your garage. Happy building!
Was this page helpful?
At Storables.com, we guarantee accurate and reliable information. Our content, validated by Expert Board Contributors, is crafted following stringent Editorial Policies. We're committed to providing you with well-researched, expert-backed insights for all your informational needs.


0 thoughts on “Upgrading Your Home’s Garage With DIY Tire Rack”