Home>Ideas and Tips>Upgrading Your Home’s Windows With DIY Honeycomb Shades
Ideas and Tips
Upgrading Your Home’s Windows With DIY Honeycomb Shades
Published: September 4, 2024
Upgrade your home's windows with DIY honeycomb shades for energy efficiency, light control, and modern elegance. Follow our step-by-step guide for easy installation.
(Many of the links in this article redirect to a specific reviewed product. Your purchase of these products through affiliate links helps to generate commission for Storables.com, at no extra cost. Learn more)
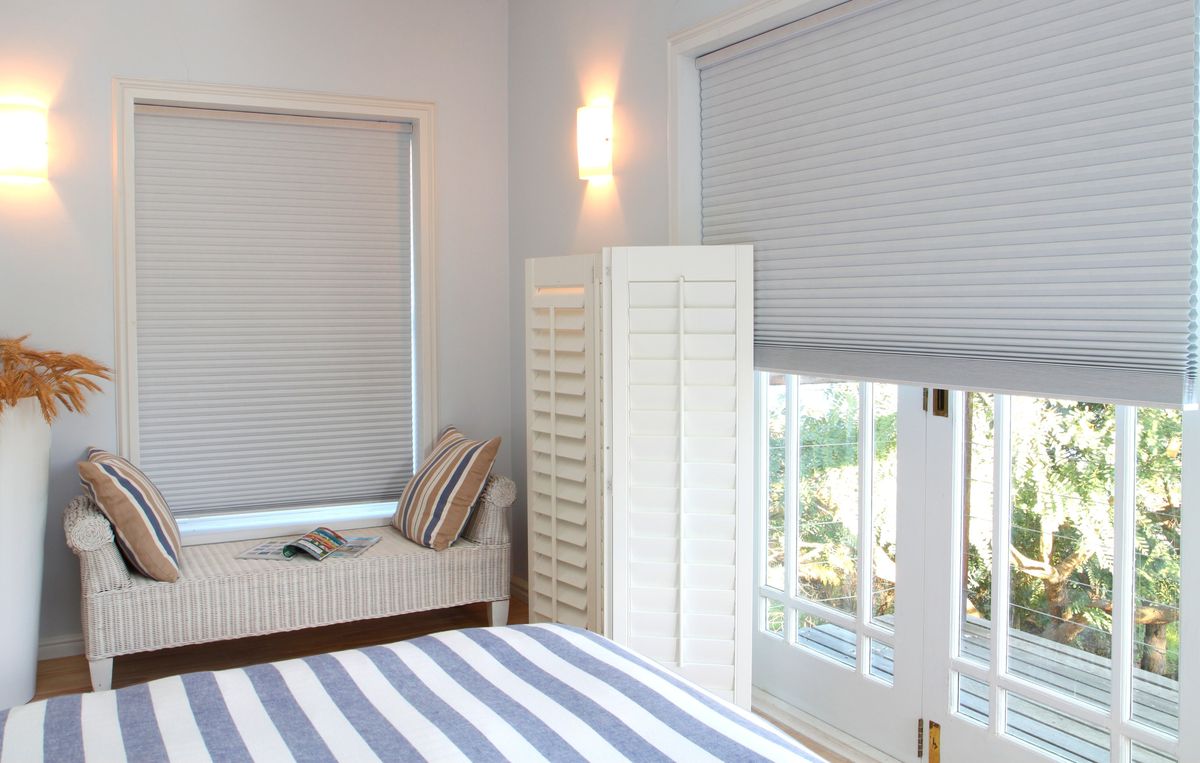
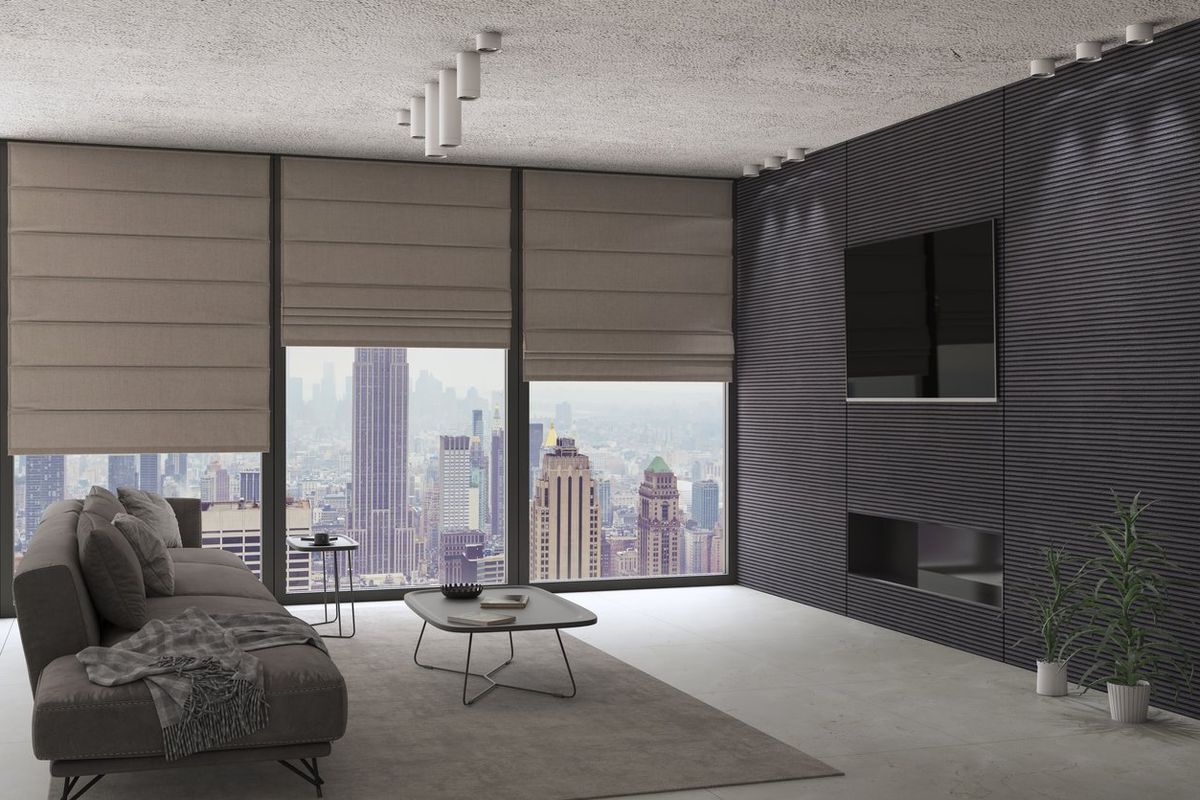
Upgrading your home's windows with DIY honeycomb shades is a fantastic idea. These shades not only enhance the look of your home but also bring a host of practical benefits. So, let's dive right in and explore why you should consider this upgrade and how you can do it yourself.
Advantages of Honeycomb Shades
Honeycomb shades have become a popular choice among homeowners for several reasons. First off, they are incredibly energy-efficient. The unique cellular structure of these shades traps air, creating an insulating barrier between your home's interior and the outside world. This means your home stays cooler in the summer and warmer in the winter, which can lead to significant savings on your energy bills. Who wouldn't want that?
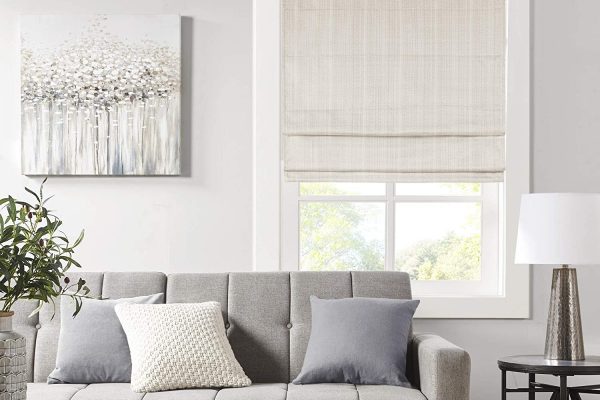
Another great advantage is light control. With honeycomb shades, you can easily adjust the amount of natural light entering your room. Whether you want a bright, sunlit space or a cozy, dimly lit room, these shades have got you covered. They come in various opacity levels, from sheer to blackout, so you can choose the one that best suits your needs.
Durability is another key benefit. Made from high-quality materials, honeycomb shades are built to last. They can withstand daily wear and tear, making them a long-term investment for your home. Plus, they're easy to clean and maintain, which is always a bonus.
Let's not forget about the aesthetic appeal. The sleek design of honeycomb shades adds a touch of modern elegance to any room. They come in a variety of colors and styles, so you can easily find a set that matches your home's décor. And if you're concerned about noise, you'll be pleased to know that the cellular structure of these shades also helps in reducing noise pollution by absorbing sound waves.
Materials Needed
Before you start your DIY project, it's essential to gather all the necessary materials. Here's a list of what you'll need:
- Honeycomb Shade Kit: You can purchase a DIY honeycomb shade kit from home improvement stores or online retailers. These kits usually include everything you need for installation.
- Measuring Tape: Accurate measurements are crucial for proper fitting.
- Level: Ensure that your shades are installed level to avoid any unevenness.
- Drill: For drilling holes into the window frame.
- Screws or Brackets: Depending on the type of window and shade kit you have, you may need screws or brackets for secure installation.
- Pencil or Marker: For marking the window frame where you'll be drilling holes.
- Utility Knife or Craft Knife: For cutting any excess material if needed.
- Step Ladder or Stool: For reaching high windows safely.
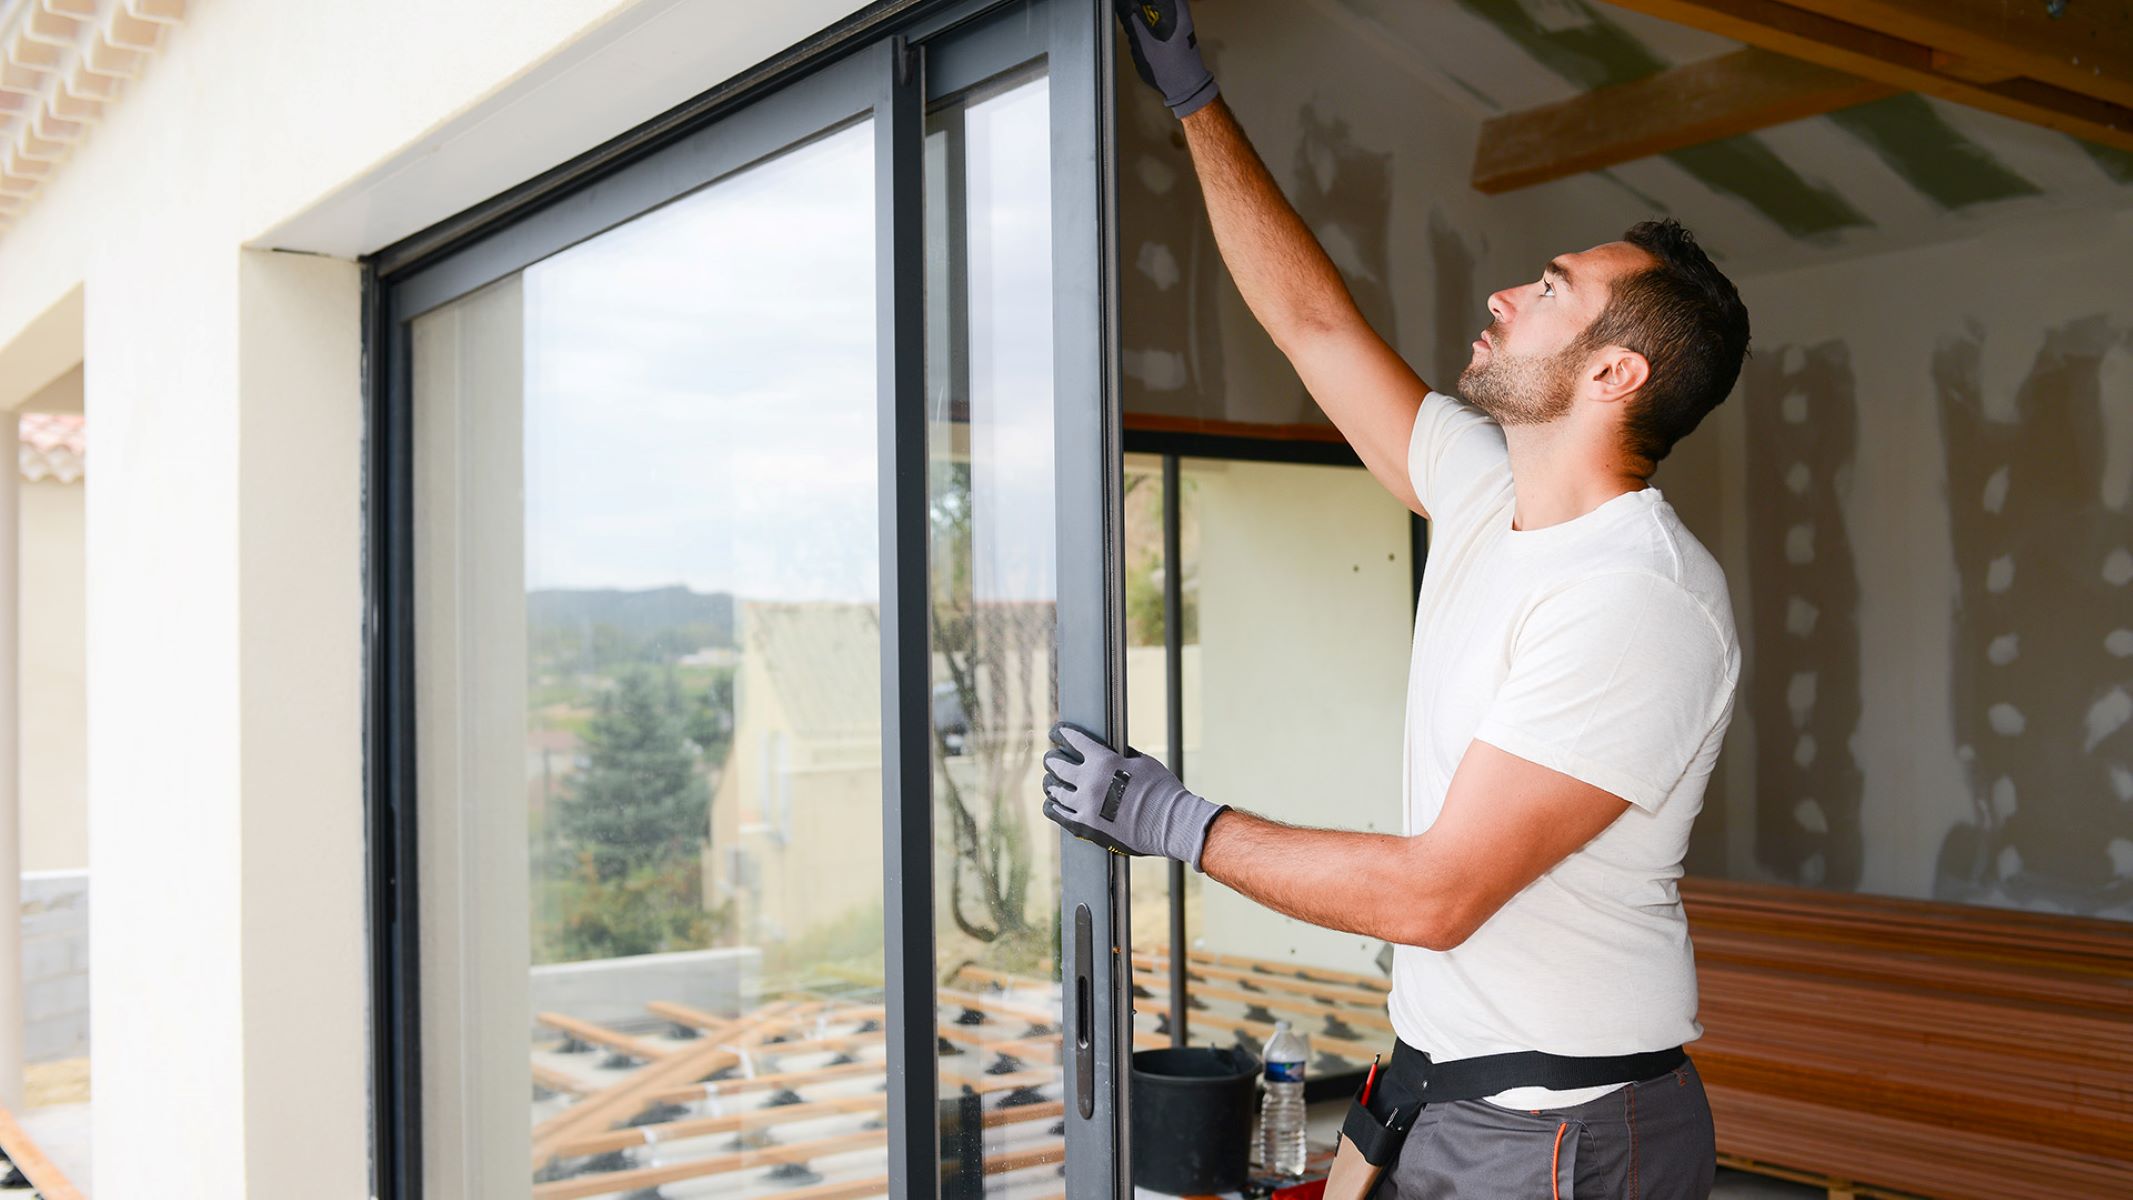
Step-by-Step Installation Guide
Installing honeycomb shades is a relatively straightforward process that can be completed with basic DIY skills. Here’s a step-by-step guide to help you through it:
-
Measure Your Window: Measure the width and length of your window carefully. Make sure to take into account any obstructions like handles or locks. Record these measurements accurately as they will be used later in the installation process.
-
Choose Your Opacity Level: Decide on the opacity level you prefer—sheer, semi-sheer, light-filtering, room-darkening, or blackout. This choice will depend on how much light you want to filter into your room.
-
Prepare Your Window Frame: Clean the window frame thoroughly to ensure a smooth installation process. Remove any old window treatments if applicable.
-
Mark the Window Frame: Using a measuring tape and pencil or marker, mark the center point of each side of the window frame where you'll be drilling holes for screws or brackets. Make sure these marks are level and evenly spaced.
-
Drill Holes: Using a drill bit slightly smaller than the screws provided with your kit, carefully drill holes at the marked points on each side of the window frame.
-
Attach Brackets or Screws: Insert screws or brackets into the holes you've drilled. These will serve as anchors for your honeycomb shades.
-
Attach Shade Headrail: Follow instructions provided with your kit to attach one end of the headrail (the top bar) to one bracket/screw on one side of the window frame. Repeat this process for attaching another end of headrail on opposite side bracket/screw.
-
Attach Shade Cells: Slide individual cells onto headrail following manufacturer’s guidelines ensuring proper alignment before proceeding further steps ahead!
-
Adjust & Secure Cells: Adjust cells so they fit snugly together forming complete cellular structure then secure them firmly onto headrail using provided mechanisms such as clips/tabs etc., depending upon specific model chosen!
-
Final Check & Test: Double-check entire assembly ensuring all parts are securely attached properly functioning smoothly without any gaps/creaks present Test operation manually pulling down/upwards checking light control/dimming effects achieved desired outcome!
Tips for Customization
While following manufacturer’s instructions ensures smooth operation initially there are several ways customize enhance overall experience beyond standard settings:
- Color Coordination: Choose colors matching existing décor elements like curtains/blinds furniture upholstery etc., creating cohesive look throughout space!
- Pattern Options: Select patterns adding texture visual interest e.g., stripes geometric designs florals etc., enhancing aesthetic appeal further!
- Motorization Upgrade: Consider upgrading manual operation motorized system providing effortless control via remote app integration making life easier especially larger spaces multiple windows involved!
- Cell Size Variations: Experiment different cell sizes achieving desired balance between light control energy efficiency depending upon specific needs preferences!
Common Issues & Troubleshooting Tips
Despite following guidelines meticulously issues arise occasionally requiring quick resolution here’s rundown common problems encountered along way along with troubleshooting tips:
-
Misaligned Cells:
- Solution: Realign cells carefully ensuring proper fitting before securing firmly onto headrail avoiding any gaps/creaks present!
-
Screw/Bolt Stripping:
- Solution: Use drill bit slightly larger than screw/bolt head preventing stripping during installation process ensuring secure hold throughout lifespan product!
-
Cell Separation:
- Solution: Apply gentle pressure along entire length ensuring cells remain intact together forming complete cellular structure preventing separation over time due wear/tear usage!
-
Light Leaks:
- Solution: Inspect entire assembly thoroughly identifying source leak addressing promptly either repositioning cells adjusting brackets/screws accordingly ensuring complete blackout achieved desired outcome!
Upgrading your home’s windows with DIY honeycomb shades offers numerous benefits ranging from enhanced energy efficiency improved light control durability aesthetic appeal noise reduction among others By following step-by-step guide provided earlier along with additional customization tips troubleshooting solutions encountered along way you’ll be able create beautiful functional space enhancing overall living experience significantly So why wait? Start your journey today transforming ordinary windows extraordinary ones effortlessly yourself thanks DIY honeycomb shades
Was this page helpful?
At Storables.com, we guarantee accurate and reliable information. Our content, validated by Expert Board Contributors, is crafted following stringent Editorial Policies. We're committed to providing you with well-researched, expert-backed insights for all your informational needs.


0 thoughts on “Upgrading Your Home’s Windows With DIY Honeycomb Shades”