Home>Articles>DIY Faux Panel Walls To Upgrade Your Home’s Look
Articles
DIY Faux Panel Walls To Upgrade Your Home’s Look
Modified: January 23, 2024
Upgrade your home with DIY faux panel walls. Discover articles that will teach you how to create a stylish and trendy look for your space.
(Many of the links in this article redirect to a specific reviewed product. Your purchase of these products through affiliate links helps to generate commission for Storables.com, at no extra cost. Learn more)
Introduction
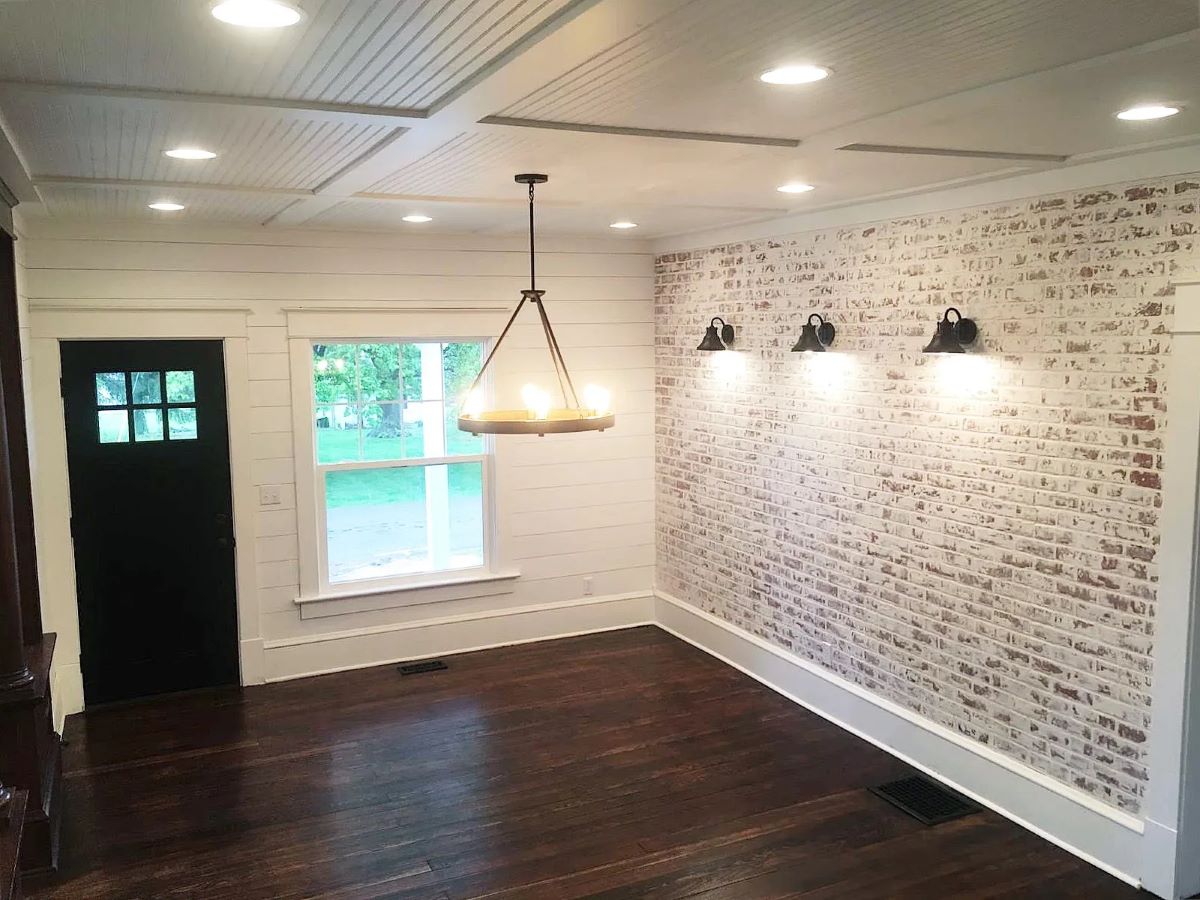
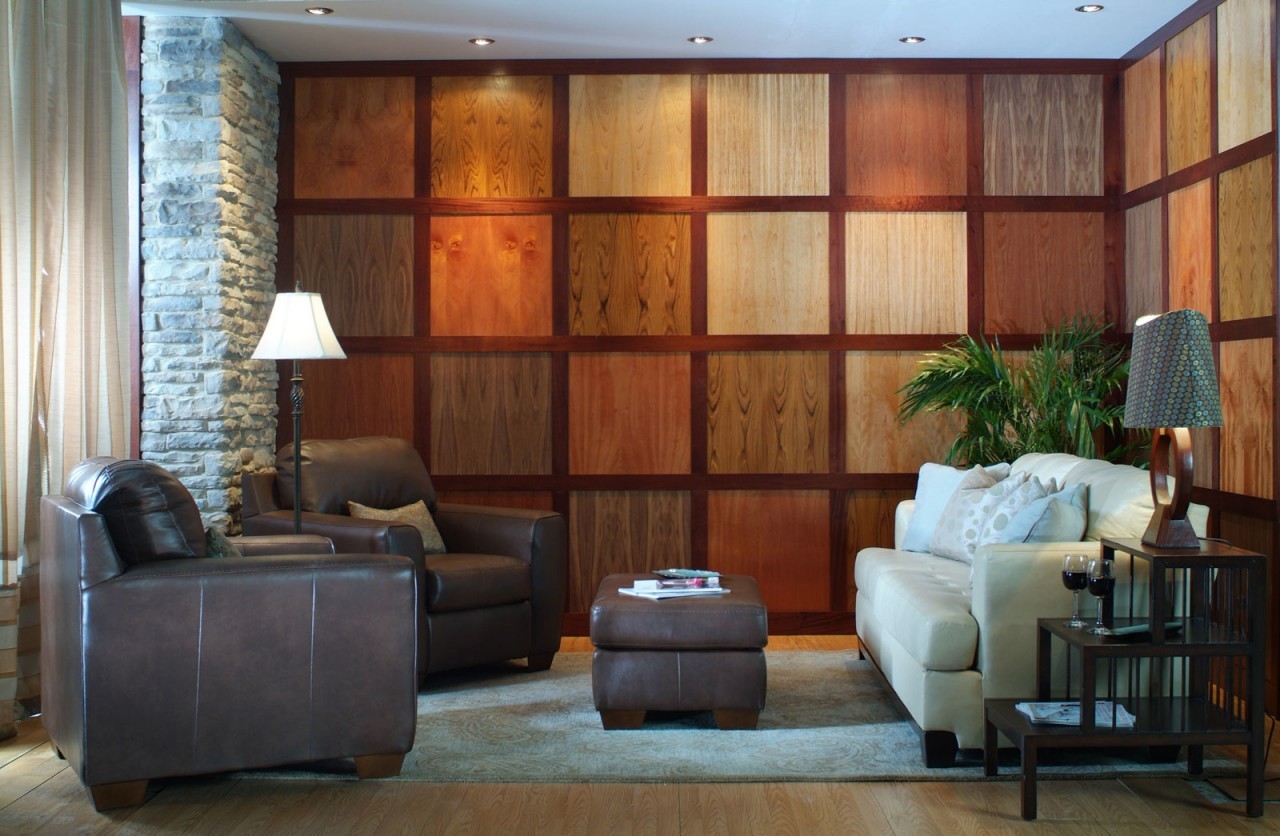
Are you looking to upgrade the look of your home without breaking the bank? One easy and stylish solution is to install DIY faux panel walls. Faux panels are a cost-effective way to elevate the aesthetic appeal of any room, giving it a stunning and luxurious look.
Unlike traditional wooden paneling or stone walls, faux panels are made from lightweight materials and are easy to install. They offer the same visual impact without the high cost and labor-intensive installation process. Whether you want to add a rustic touch to your living room, create a cozy ambiance in the bedroom, or bring a touch of elegance to your kitchen, DIY faux panel walls are the perfect choice.
Before you embark on this project, it’s important to gather all the necessary materials. Let’s take a look at what you’ll need:
Key Takeaways:
- Upgrade your home’s look affordably with DIY faux panel walls. Choose from various styles, follow the step-by-step guide, and add your personal touch with paint for a stunning transformation.
- Transform any room with lightweight, easy-to-install faux panels. From preparation to painting, achieve a professional and polished look while adding elegance, warmth, or rustic charm to your home.
Materials Needed
Before you start installing DIY faux panel walls, make sure you have the following materials on hand:
- Faux panels: Choose from a variety of styles such as brick, stone, wood, or tile. Measure your wall dimensions to determine how many panels you’ll need.
- Adhesive: Look for a heavy-duty construction adhesive that is suitable for the material of your faux panels. Make sure it is compatible with your wall surface as well.
- Saw or Utility Knife: Depending on the material of the panels, you’ll need either a saw or a utility knife to cut them to the desired size.
- Measuring Tape: Accurate measurements are crucial for a seamless installation. Invest in a good quality measuring tape.
- Marker or Pencil: Use a marker or pencil to mark the measurements on both the wall and the panels.
- Level: A level tool will help ensure that your panels are installed straight and even.
- Caulk: Choose a caulk color that matches your faux panels to fill any gaps and create a seamless look.
- Sandpaper: Smooth out any rough edges or imperfections on the panels before installation.
- Paint and Brush: If you plan on painting the faux panels, gather the necessary paint and a brush for an extra touch of customization.
- Trim: Depending on the style you want to achieve, you may need trim to frame the panels and complete the look.
- Protective Gear: Always prioritize safety. Wear gloves, safety glasses, and a mask when cutting or working with any materials.
Now that you have all the materials ready, let’s proceed to the step-by-step process of installing DIY faux panel walls.
Step 1: Preparing the Walls
Before you begin the installation process, it’s important to ensure that your walls are clean and free from any dirt, dust, or debris. Use a damp cloth or sponge to wipe down the walls and remove any loose particles. This will provide a clean surface for the adhesive to bond to.
If you have any existing wallpaper, it’s recommended to remove it before installing the faux panels. Wallpaper can hinder the adhesion process and may lead to a less secure installation. Use a wallpaper steamer or scoring tool to gently remove the wallpaper.
Inspect the walls for any damages or imperfections such as cracks or holes. Fill in any gaps with spackle or drywall compound, and use sandpaper to smooth out the surface. This step will ensure that your walls are even and ready for the faux panels.
Additionally, if you plan on painting the faux panels, now is a good time to paint the walls as well. Choose a color that complements the style of your faux panels, and allow sufficient drying time before moving on to the next step.
With your walls properly prepared, you’re now ready to measure and mark the installation points for your faux panels.
Step 2: Measuring and Marking
Accurate measurements are crucial for a successful installation of faux panels. Start by measuring the height and width of the wall that you plan to cover. Take into account any windows, doors, or other obstacles that may require custom cuts or adjustments.
Once you have the measurements, mark the starting point for your first panel. It’s recommended to begin in a corner or along a straight edge for a clean and seamless look. Use a pencil or marker to make a small mark at the top and bottom of the wall where the panel will go.
If you have multiple panels, measure and mark the spacing between them to ensure an even and symmetrical arrangement. This will help you visualize the layout and make any adjustments before moving forward.
Using a level, draw a horizontal line across the wall at the bottom mark to serve as a guide. This will help you ensure that your panels are installed straight and level. Repeat this step for the top mark as well.
Remember to consider the height of trim or baseboards that will be added later. Leave a small gap between the floor and the bottom of the panel to accommodate for the trim.
Once you have your measurements and marks in place, it’s time to move on to cutting the faux panels to fit your wall dimensions.
Step 3: Cutting the Faux Panels
With your measurements and marks in place, it’s time to cut the faux panels to fit your wall dimensions. Using either a saw or a utility knife, carefully cut the panels according to the marked measurements.
If you’re working with a material like faux wood or faux brick, a saw is typically the best tool for making clean and precise cuts. Use a fine-toothed saw blade and follow the marked lines, ensuring a straight cut.
For materials like foam or PVC, a utility knife can be used to score and snap the panels along the marked lines. Make several scoring cuts along the line, then gently snap the panel to break it apart.
Take your time during the cutting process and double-check your measurements before making any cuts. It’s better to be cautious and make smaller cuts initially, as you can always trim off more if needed.
If you come across any areas that require custom cuts, such as around windows or corners, take accurate measurements and carefully cut the panels to fit these specific areas. You may need to use a combination of saw and utility knife to achieve the desired shape.
Once all the panels are cut to size, it’s time to move on to the next step – applying adhesive to adhere the panels to the wall.
When installing faux panel walls, be sure to measure and plan the layout carefully to ensure a seamless and professional-looking finish. Use a level to ensure panels are straight and evenly spaced.
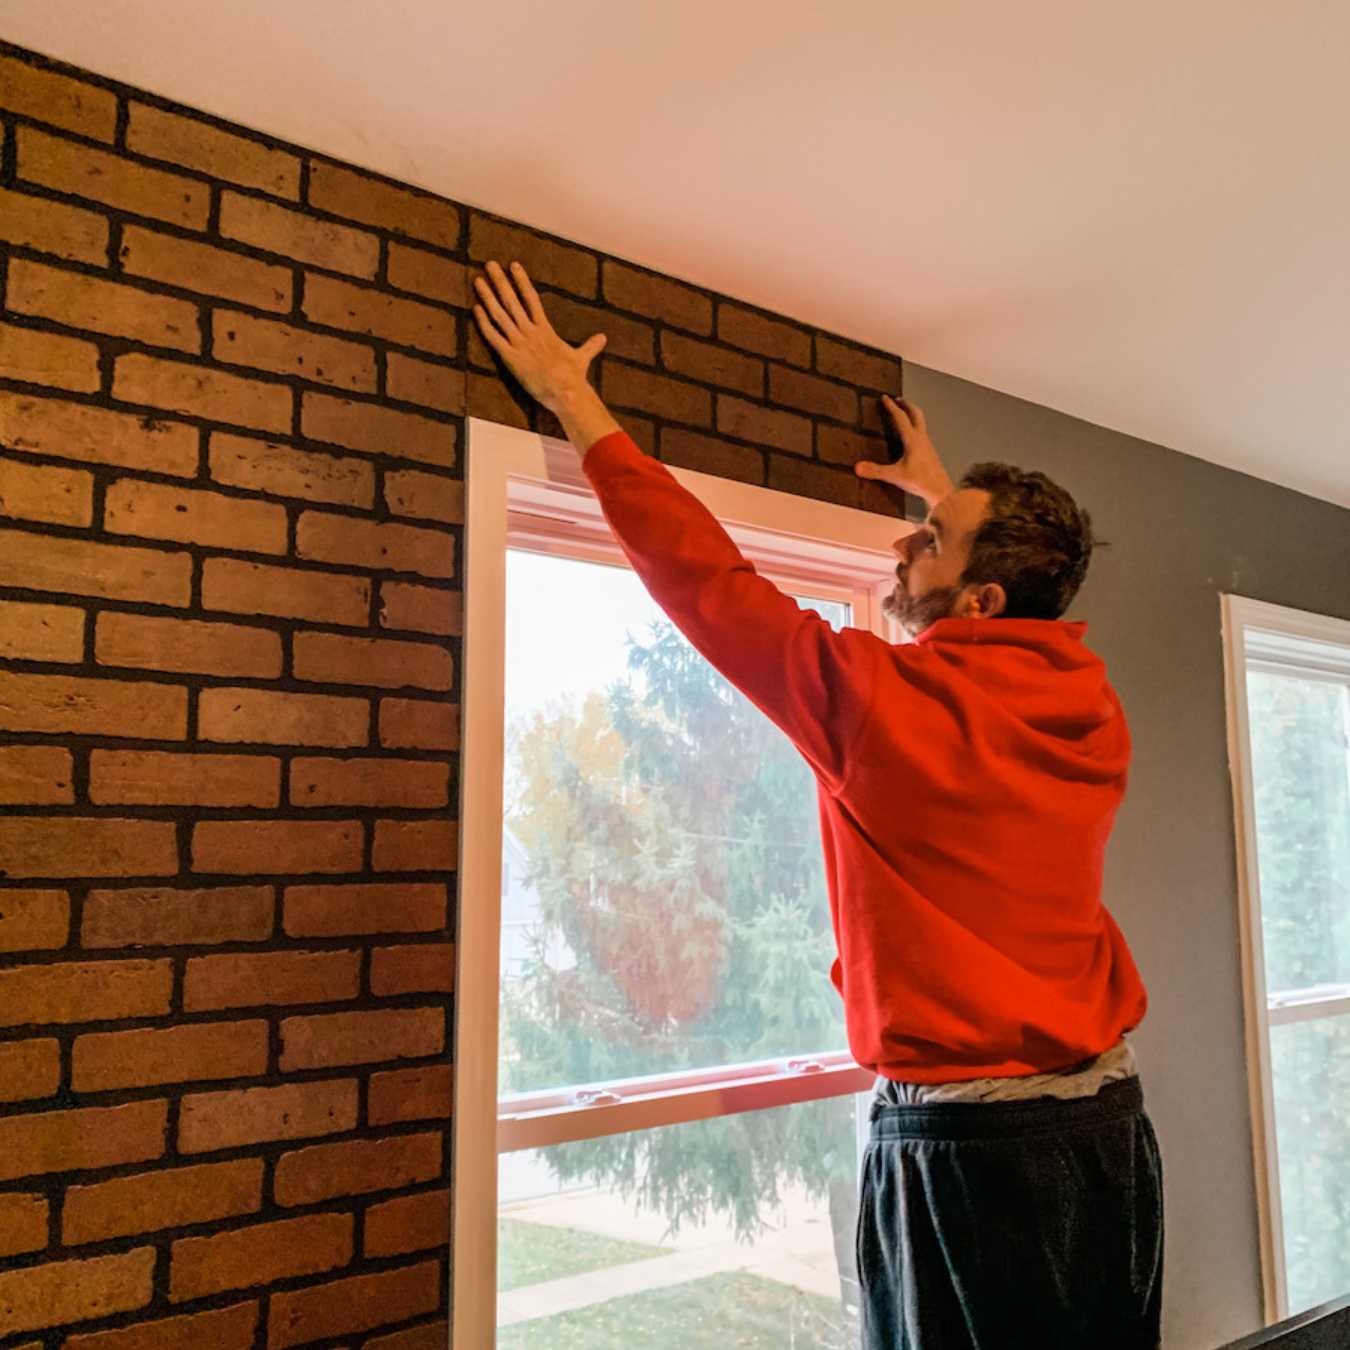
Step 4: Applying Adhesive
Now that you have your faux panels cut to size, it’s time to apply adhesive to the back of each panel and adhere them to the wall. Before you begin, read the instructions on the adhesive product and ensure that it is suitable for the material of your faux panels and the wall surface.
Using a caulk gun or a trowel, apply a generous amount of adhesive to the back of the first panel. Start at the top and carefully spread the adhesive over the entire surface, ensuring that it is evenly distributed.
Press the panel firmly against the wall, starting from the top and working your way down. Use a level to ensure that the panel is straight and aligned with your marked guidelines. Apply gentle pressure to ensure a secure bond between the panel and the wall.
Continue this process for each panel, working your way across the wall. Apply adhesive to the back of each panel and press it firmly against the wall, aligning it with the previous panel. Use a level frequently to check for straightness and adjust as necessary.
If any excess adhesive squeezes out from the sides of the panel, wipe it away immediately with a damp cloth or sponge. This will help maintain a clean and polished look.
Take your time during this step to ensure that each panel is properly adhered to the wall. Once all the panels are in place, allow the adhesive to dry and set according to the manufacturer’s instructions.
With the panels securely in place, it’s time to move on to the next step – adding trim and caulk to complete the faux panel walls.
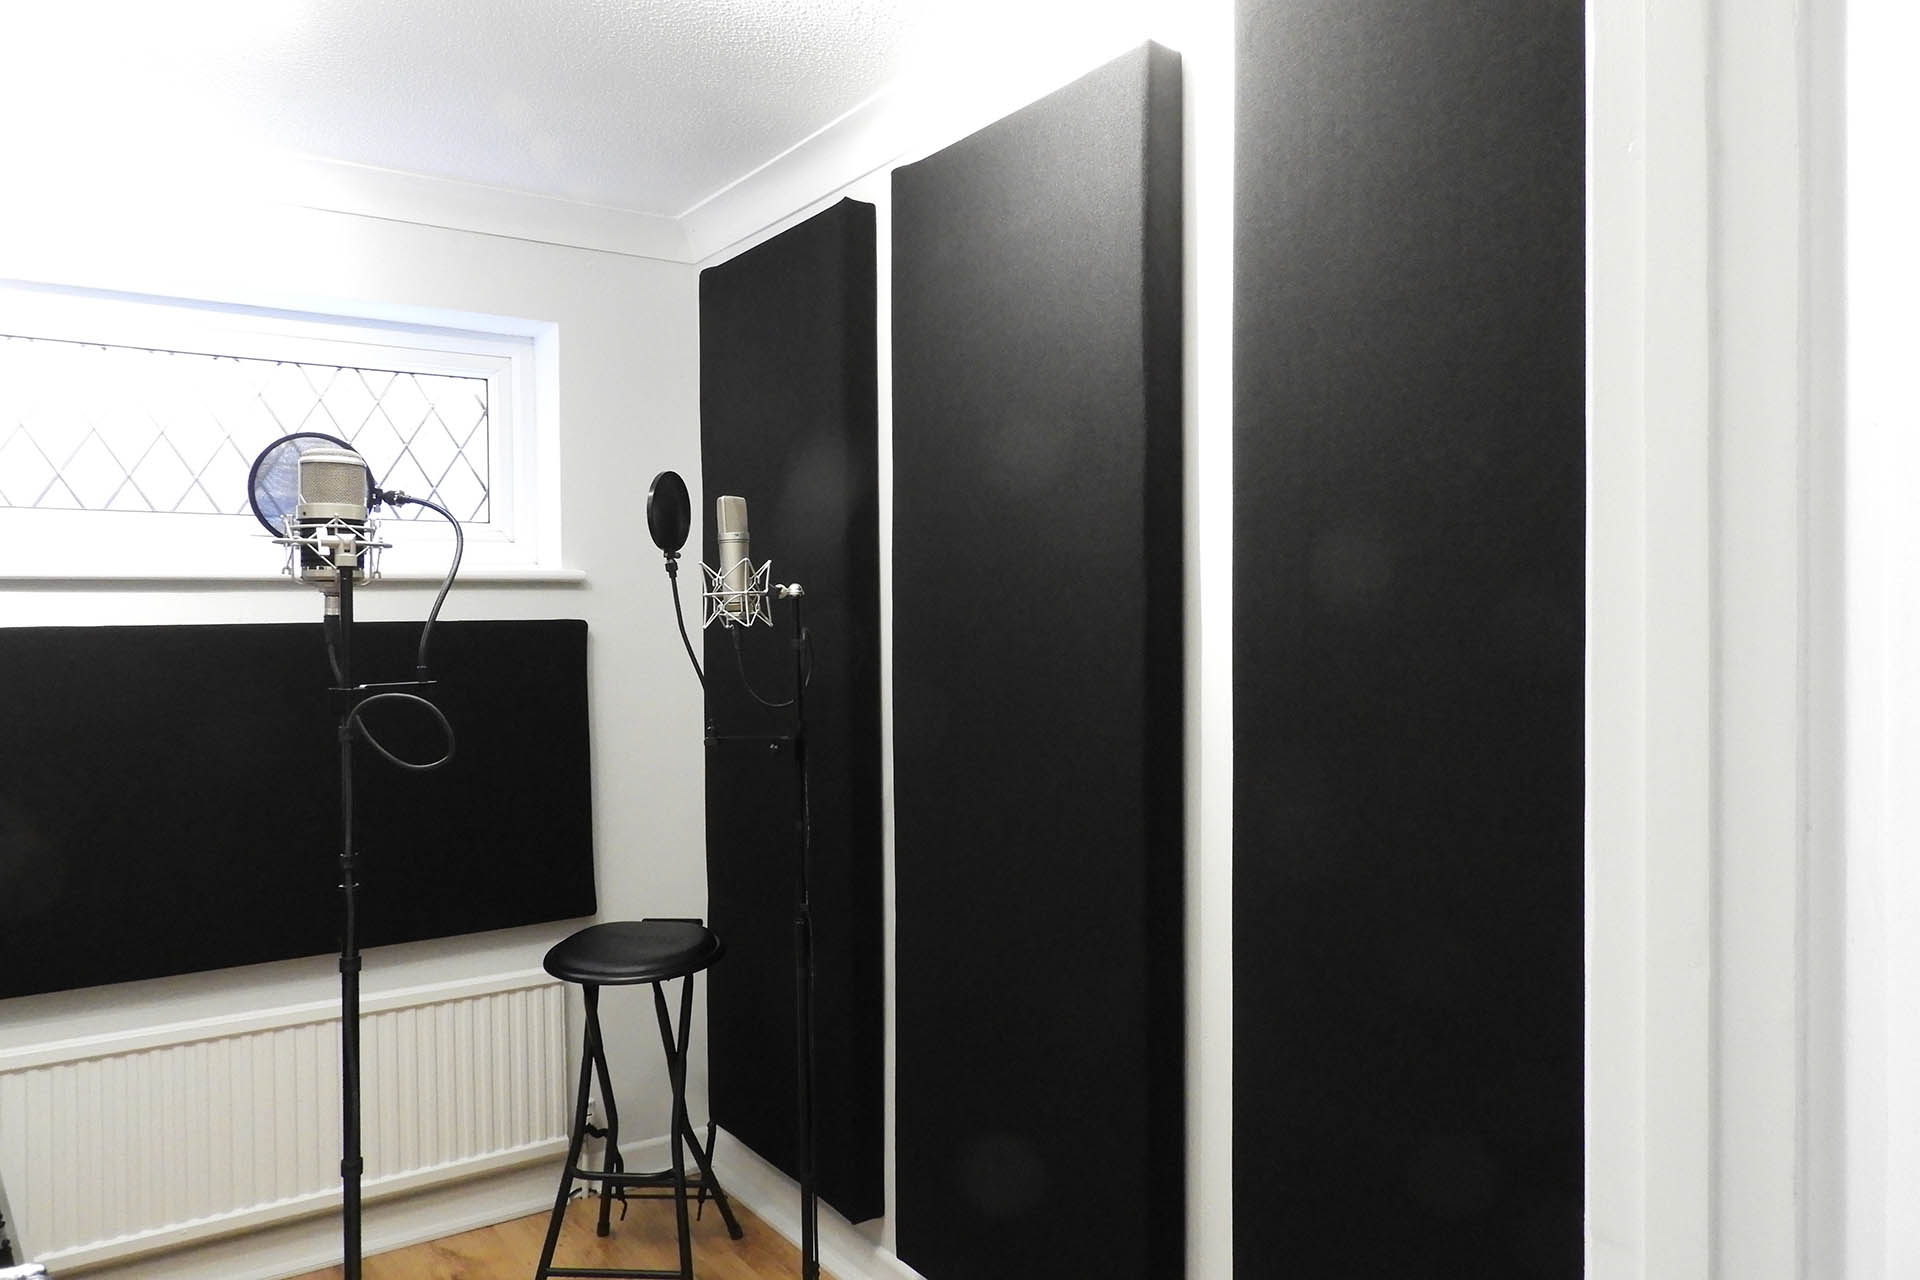
Step 5: Installing the Faux Panels
With the adhesive dry and the faux panels securely mounted on the wall, it’s time to move on to installing the panels. This step involves adding trim and caulk to complete the look and give your DIY faux panel walls a polished and professional appearance.
Start by measuring and cutting the trim pieces to fit the edges and corners of the panels. Use a saw or a miter box to make clean and precise cuts, ensuring that the trim aligns perfectly with the edges of the panels.
Apply adhesive to the back of the trim pieces and carefully position them around the panels. Press them firmly against the wall to secure them in place. Use a level to ensure that the trim pieces are straight and aligned with the panels.
At the corners, cut the trim pieces at a 45-degree angle to create clean and seamless joints. Apply adhesive to the cut edges and align them together to form a neat corner.
Once the trim is securely in place, use caulk to fill any gaps or seams between the panels and the trim, as well as any visible nail holes or imperfections. Choose a caulk color that matches the color of your faux panels for a seamless and cohesive look.
Apply a thin and even bead of caulk along the gaps and smooth it out with a caulk smoothing tool or your finger. Wipe away any excess caulk with a damp cloth or sponge to achieve a clean finish.
Allow the caulk to dry completely according to the manufacturer’s instructions. Once dry, you can move on to the final step – painting the faux panels to add the finishing touch to your DIY project.
Step 6: Adding Trim and Caulk
Adding trim and caulk is an essential part of completing the look and ensuring a professional finish for your DIY faux panel walls. This step involves installing trim pieces to frame the panels and using caulk to fill any gaps or seams, giving your walls a seamless and polished appearance.
Start by selecting the trim that complements the style of your faux panels. Measure and cut the trim pieces to fit the edges and corners of the panels. Use a saw or a miter box to make precise cuts, ensuring that the trim aligns perfectly with the edges of the panels.
Before attaching the trim, ensure that the panel’s adhesive has fully dried and cured. Apply adhesive to the back of the trim pieces, making sure to spread it evenly. Carefully position the trim pieces around the panels, ensuring they are aligned and straight. Press them firmly against the wall to secure them in place.
If you encounter corners, cut the trim pieces at a 45-degree angle to create clean and seamless joints. Apply adhesive to the cut edges and align them together to form a neat corner. Double-check the alignment and use a level to ensure that the trim pieces are straight and level.
Once the trim is securely in place, it’s time to use caulk to fill any gaps or seams between the panels and the trim, as well as any visible nail holes or imperfections. Choose a caulk color that matches the color of your faux panels for a seamless and cohesive look.
Apply a thin and even bead of caulk along the gaps and seams, using a caulk gun or a caulk tube. Smooth out the caulk using a caulk smoothing tool or your finger, ensuring a clean finish. Wipe away any excess caulk with a damp cloth or sponge to achieve a polished appearance.
Allow the caulk to dry completely according to the manufacturer’s instructions. Once dry, your DIY faux panel walls will have a seamless and professional look. They are now ready for the final touch – painting the panels to further enhance their aesthetic appeal.
Step 7: Painting the Panels
Painting the faux panels is the final step in transforming your DIY faux panel walls and adding a personal touch to the overall aesthetic. By choosing the right paint color and applying it correctly, you can enhance the appearance of the panels and create a customized look that matches your style and decor.
Before you begin painting, ensure that the adhesive and caulk have fully dried and cured. If needed, lightly sand the panels to create a smooth surface for the paint to adhere to. Remove any dust or debris from the panels with a clean cloth or sponge.
Choose a high-quality paint that is suitable for your faux panel material. Latex or acrylic paints work well for most faux panels, as they provide good coverage and durability. Consider the desired look and feel you want to achieve. Opt for a color that complements your overall interior design scheme.
Using a paintbrush or a roller, apply a thin and even coat of paint to the faux panels. Work in smooth and overlapping strokes, ensuring that the paint is applied evenly. Take care not to overload the brush or roller with paint to avoid drips or streaks.
Allow the first coat of paint to dry completely according to the manufacturer’s instructions. Depending on the coverage and desired finish, apply additional coats as needed. Ensure that each coat is fully dry before applying the next one.
If desired, you can also add texture or distress the panels to create a more unique and aged appearance. Techniques such as sponging or ragging can create interesting effects and enhance the faux texture of the panels.
Once the paint is dry, step back and admire your newly painted faux panel walls. The paint adds depth, character, and a personal touch to your DIY project, completing the transformation of your space.
With the painting complete, you can now enjoy your upgraded home with stylish and impressive DIY faux panel walls.
Conclusion
Congratulations! You have successfully completed the process of installing DIY faux panel walls to upgrade the look of your home. By following the step-by-step guide and utilizing the right materials, you have transformed your space with a stunning and cost-effective solution.
DIY faux panel walls offer a wide range of styles and textures, allowing you to add a touch of elegance, warmth, or rustic charm to any room. The lightweight and easy-to-install panels provide the visual impact of traditional wooden or stone walls without the high cost and labor-intensive installation process.
Through proper preparation, measuring, cutting, and applying adhesive, you have ensured a secure and professional installation. By adding trim and using caulk to fill any gaps, your faux panel walls have a seamless and polished appearance.
The final step of painting the panels has brought your personal touch to the project, enhancing the overall aesthetic and creating a customized look that suits your style and decor.
Remember, DIY projects like this require patience, attention to detail, and a commitment to safety. Always follow the manufacturer’s instructions for each material and product used. Use protective gear when necessary, such as gloves, safety glasses, and a mask. Take your time during each step to ensure a quality result.
Now that your DIY faux panel walls are complete, take a step back and admire the transformation of your home. These stunning walls are sure to become a focal point and conversation starter for your guests.
So go ahead and enjoy your upgraded space with pride, knowing that you have successfully elevated the look of your home with the beauty and affordability of DIY faux panel walls.
Frequently Asked Questions about DIY Faux Panel Walls To Upgrade Your Home's Look
Was this page helpful?
At Storables.com, we guarantee accurate and reliable information. Our content, validated by Expert Board Contributors, is crafted following stringent Editorial Policies. We're committed to providing you with well-researched, expert-backed insights for all your informational needs.


0 thoughts on “DIY Faux Panel Walls To Upgrade Your Home’s Look”