Home>Ideas and Tips>Upgrading Your Home’s Windows With DIY Interior Storm Windows
Ideas and Tips
Upgrading Your Home’s Windows With DIY Interior Storm Windows
Published: August 30, 2024
Enhance energy efficiency and reduce noise with DIY interior storm windows. Learn how to install them easily and cost-effectively.
(Many of the links in this article redirect to a specific reviewed product. Your purchase of these products through affiliate links helps to generate commission for Storables.com, at no extra cost. Learn more)
Introduction
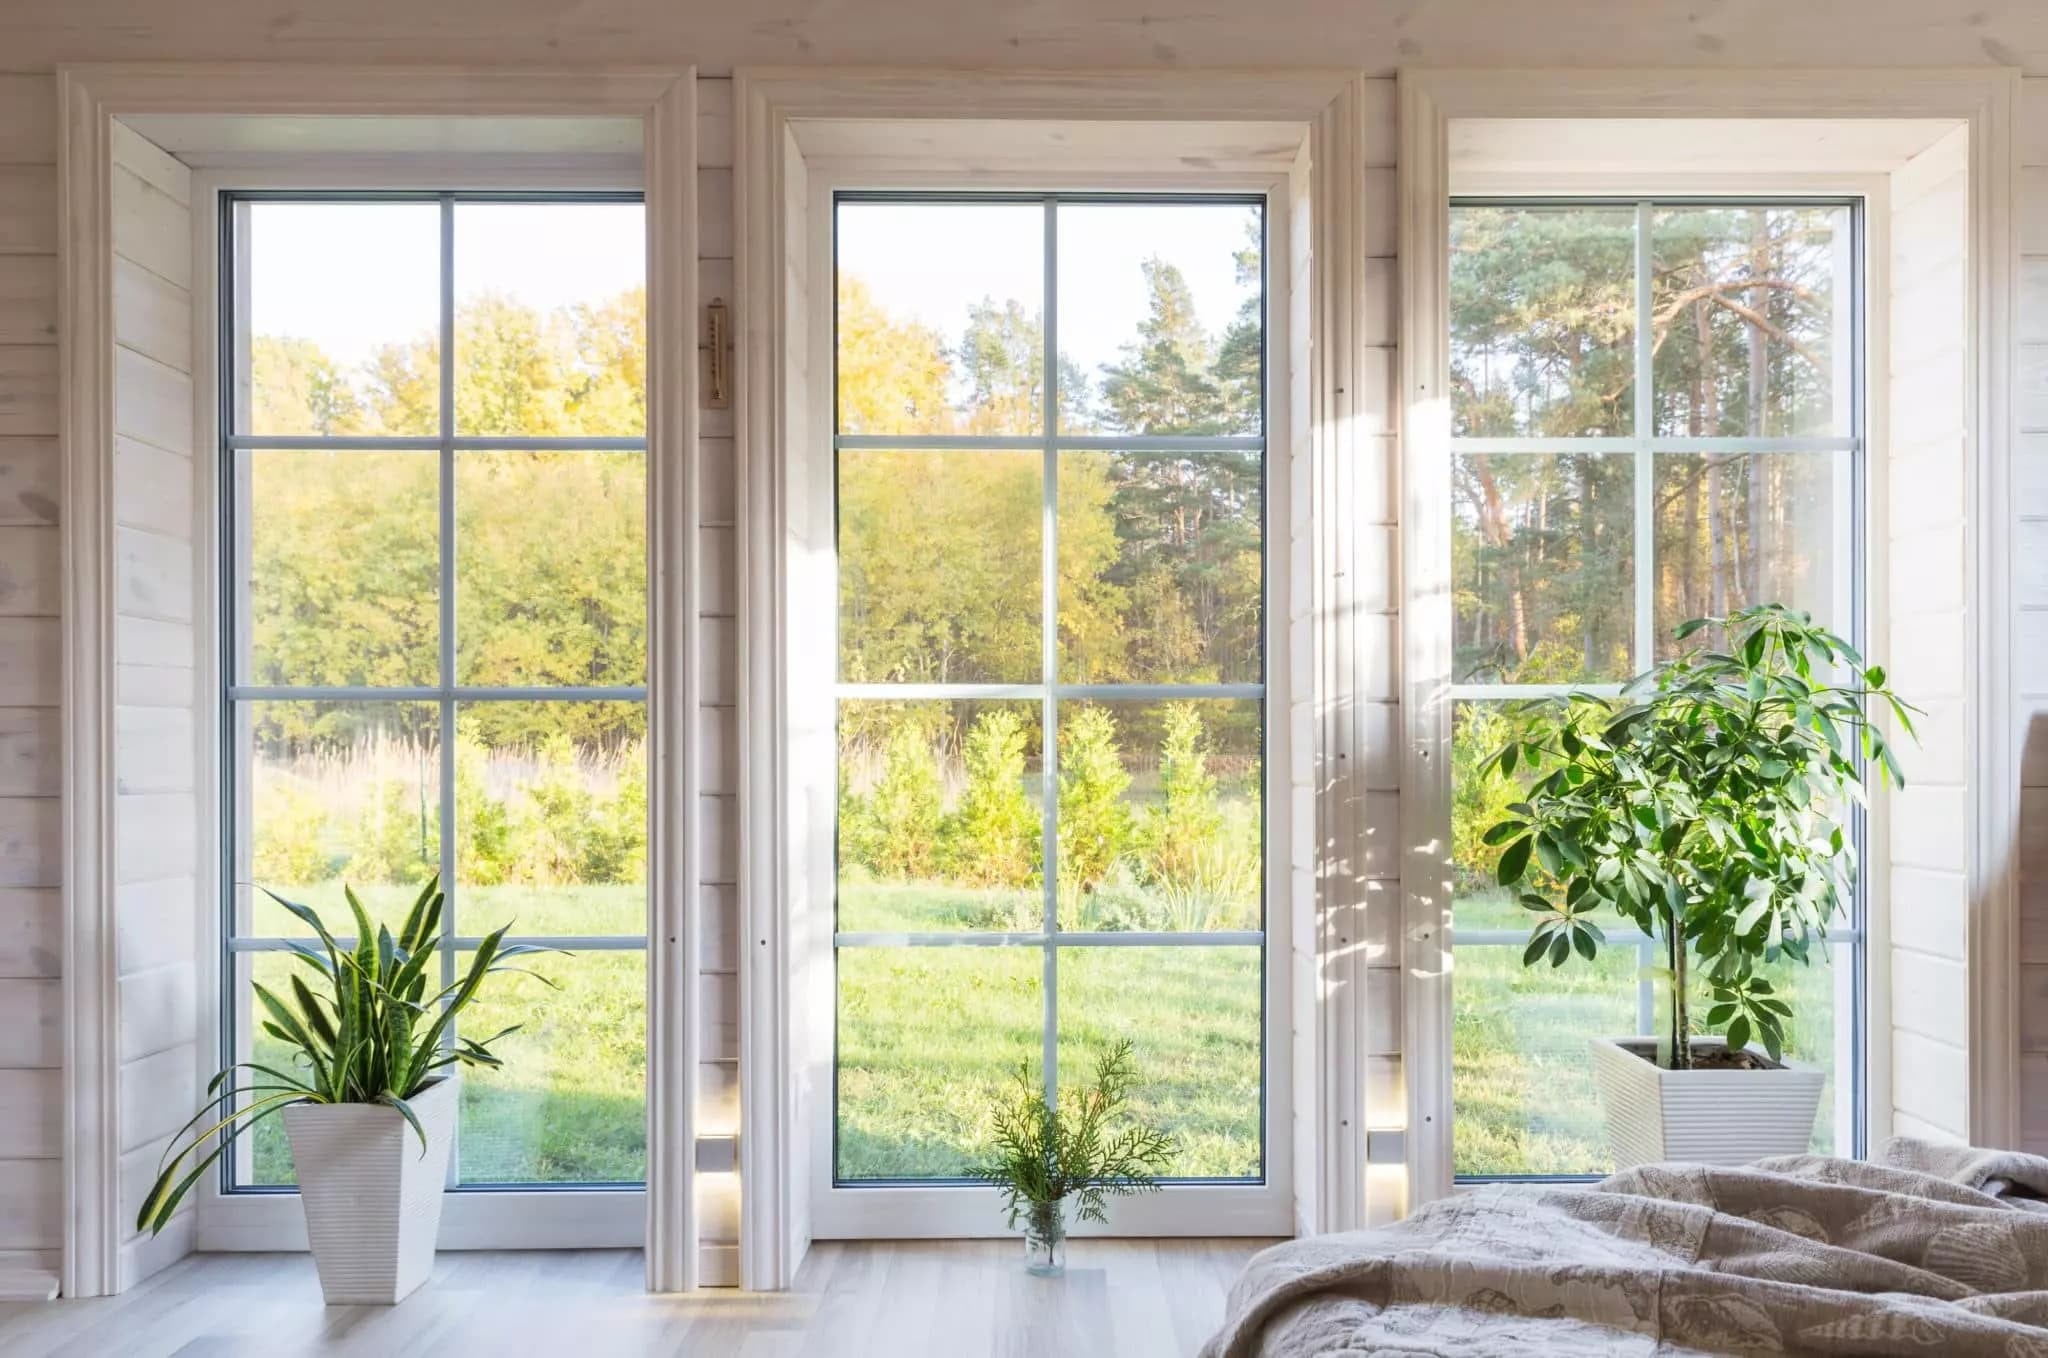
As the seasons change and weather conditions become more unpredictable, ensuring your home is well-insulated and protected from the elements is crucial. One effective way to achieve this is by installing DIY interior storm windows. These windows not only provide an additional layer of protection but also help in reducing energy costs and enhancing the overall comfort of your living space. In this article, we will delve into the benefits, materials, and step-by-step guide on how to install DIY interior storm windows.
Read more: Ultimate Guide To Storm Windows
Benefits of DIY Interior Storm Windows
-
Energy Efficiency: One of the primary benefits of installing DIY interior storm windows is their ability to reduce heat transfer. By creating an air gap between the existing window and the storm window, you can significantly lower the amount of cold air entering your home during winter and hot air during summer.
-
Noise Reduction: Storm windows act as a barrier against external noise, making your home quieter and more peaceful. This is particularly beneficial for homes located near busy streets or noisy neighbors.
-
Durability: Storm windows can extend the lifespan of your existing windows by protecting them from harsh weather conditions such as rain, snow, and extreme temperatures.
-
Cost-Effective: Compared to replacing your existing windows entirely, installing DIY interior storm windows is a cost-effective solution. It allows you to upgrade your home's insulation without breaking the bank.
-
Customization: With various materials and designs available, you can customize your storm windows to match your home's aesthetic and functional needs.
Materials Needed
To install DIY interior storm windows, you will need the following materials:
- Storm Window Frames: These can be made from wood, aluminum, or PVC. Choose a material that complements your existing window frames.
- Glass or Plastic Panels: You can use either glass or plastic panels for your storm windows. Glass provides better insulation but is heavier and more expensive.
- Adhesive or Magnetic Fasteners: These are used to attach the storm window frames to the existing window frames.
- Weatherstripping: This helps seal any gaps between the storm window and the existing window frame.
- Drill and Drill Bits: For drilling holes if necessary.
- Screwdriver: For assembling the storm window frames.
- Measuring Tape and Pencil: For measuring and marking the existing window frames.
- Safety Goggles and Gloves: For protecting yourself during installation.
Step-by-Step Guide
Step 1: Prepare Your Existing Windows
Before starting the installation process, ensure that your existing windows are clean and free of debris. Remove any old window treatments like curtains or blinds to give you clear access to the window frames.
Step 2: Measure Your Windows
Measure the width and height of your existing windows to determine the size of your storm window frames. Take note of any obstructions such as window handles or hinges.
Step 3: Cut the Storm Window Frames
Using your measurements, cut the storm window frames to size. If you're using wood, you may need to sand the edges for a smooth finish.
Step 4: Assemble the Storm Window Frames
If your storm window frames come in sections, assemble them according to the manufacturer's instructions. Typically, this involves screwing the sections together using a screwdriver.
Step 5: Attach Adhesive or Magnetic Fasteners
Apply adhesive or magnetic fasteners to the back of the storm window frames. These will be used to attach the storm windows to the existing window frames.
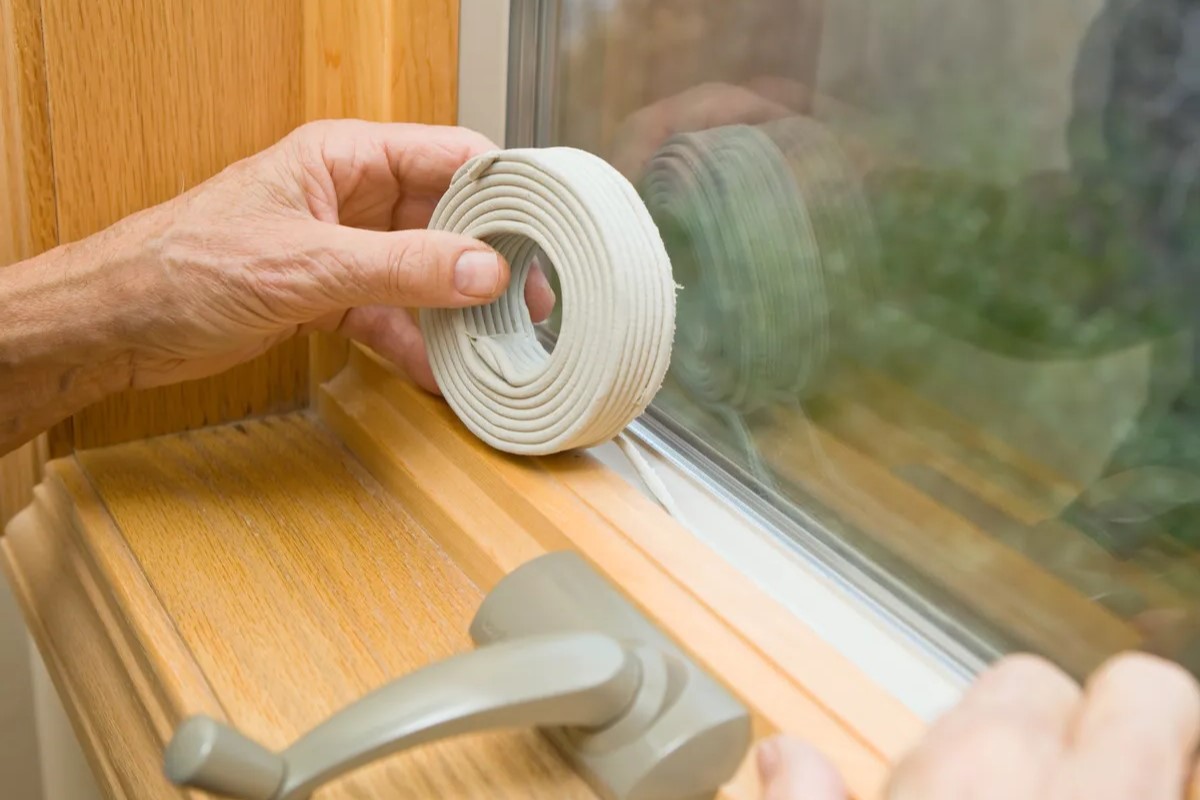
Step 6: Install Weatherstripping
Apply weatherstripping around the edges of the storm window frames to ensure a tight seal when they are attached to the existing window frames.
Step 7: Attach Storm Windows
Place the storm windows over the existing windows and press them firmly into place. If using adhesive fasteners, press them onto the existing window frames until they stick securely. If using magnetic fasteners, align them with the existing window frames and press them into place.
Step 8: Test for Air Leaks
Once installed, test each storm window for air leaks by holding a lit candle or incense stick near the edges. If there are any gaps where air escapes, reapply weatherstripping or adjust the position of the storm window.
Tips and Considerations
-
Choose the Right Material: Select a material that complements your existing window frames and meets your insulation needs. For example, if you live in an area prone to extreme weather conditions, glass might be a better choice than plastic.
-
Customize Your Design: Consider adding features like adjustable hinges or magnetic closures for easier installation and removal.
-
Energy Efficiency: Ensure that your storm windows are designed to minimize heat transfer. Look for products with low-E coatings or double-glazed panels for optimal energy efficiency.
-
Maintenance: Regularly inspect your storm windows for signs of wear and tear. Clean them regularly to maintain their effectiveness.
-
Local Building Codes: Check local building codes before starting your project to ensure compliance with regulations regarding window installations.
Conclusion
Upgrading your home's windows with DIY interior storm windows is a practical and cost-effective way to enhance energy efficiency, reduce noise pollution, and extend the lifespan of your existing windows. By following these steps and considering the tips outlined above, you can successfully install your own DIY interior storm windows without professional assistance. Whether you're looking to prepare for harsh winters or simply improve the comfort of your living space, this project offers numerous benefits that make it well worth the effort.
Additional Resources
If you're new to DIY projects or need further guidance on specific steps, consider consulting online tutorials or instructional videos available on platforms like YouTube or Home Depot's website. Additionally, local hardware stores often offer workshops and advice on various home improvement projects including window installations.
By taking the initiative to upgrade your home's windows with DIY interior storm windows, you not only improve the functionality but also add value to your property. Whether you're a seasoned DIY enthusiast or just starting out, this project offers a rewarding experience that can make a significant difference in how you enjoy your home.
Was this page helpful?
At Storables.com, we guarantee accurate and reliable information. Our content, validated by Expert Board Contributors, is crafted following stringent Editorial Policies. We're committed to providing you with well-researched, expert-backed insights for all your informational needs.


0 thoughts on “Upgrading Your Home’s Windows With DIY Interior Storm Windows”