Home>Ideas and Tips>Upgrading Your Home’s Windows With DIY Plantation Shutters
Ideas and Tips
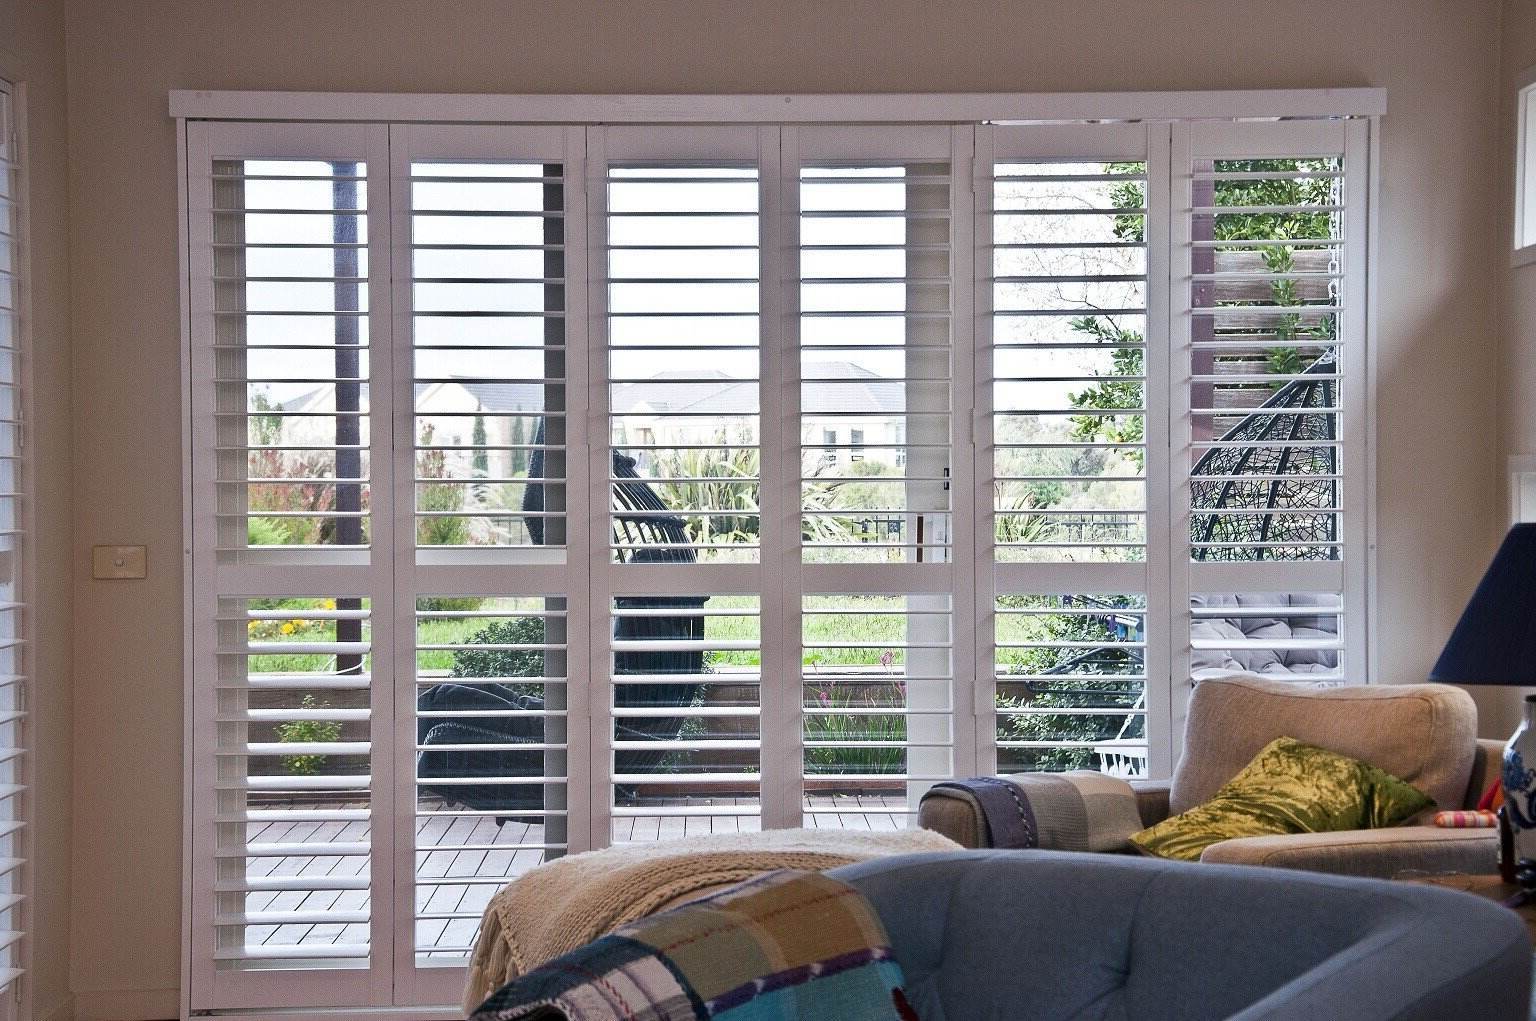
Upgrading Your Home’s Windows With DIY Plantation Shutters
Published: September 19, 2024
Enhance your home's style and efficiency with DIY plantation shutters. Learn benefits, avoid common mistakes, and follow our step-by-step installation guide.
(Many of the links in this article redirect to a specific reviewed product. Your purchase of these products through affiliate links helps to generate commission for Storables.com, at no extra cost. Learn more)
Introduction
Upgrading your home's windows with DIY plantation shutters is a fantastic way to boost both style and function. These shutters not only look great but also offer practical benefits like better energy efficiency, more privacy, and even a bump in your home's value. So, why should you consider installing them yourself? Well, doing it yourself can save you a ton of money, give you a sense of accomplishment, and let you customize the shutters to fit your exact needs. Plus, it's not as hard as you might think!
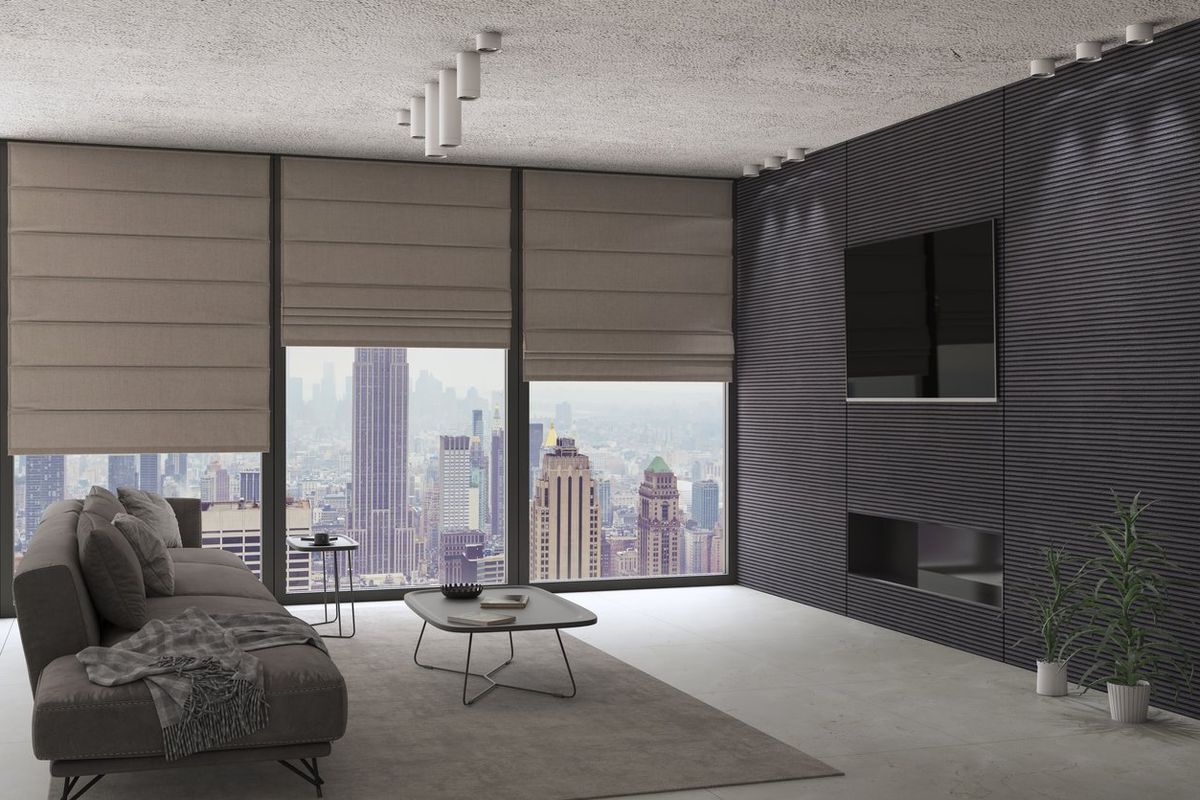
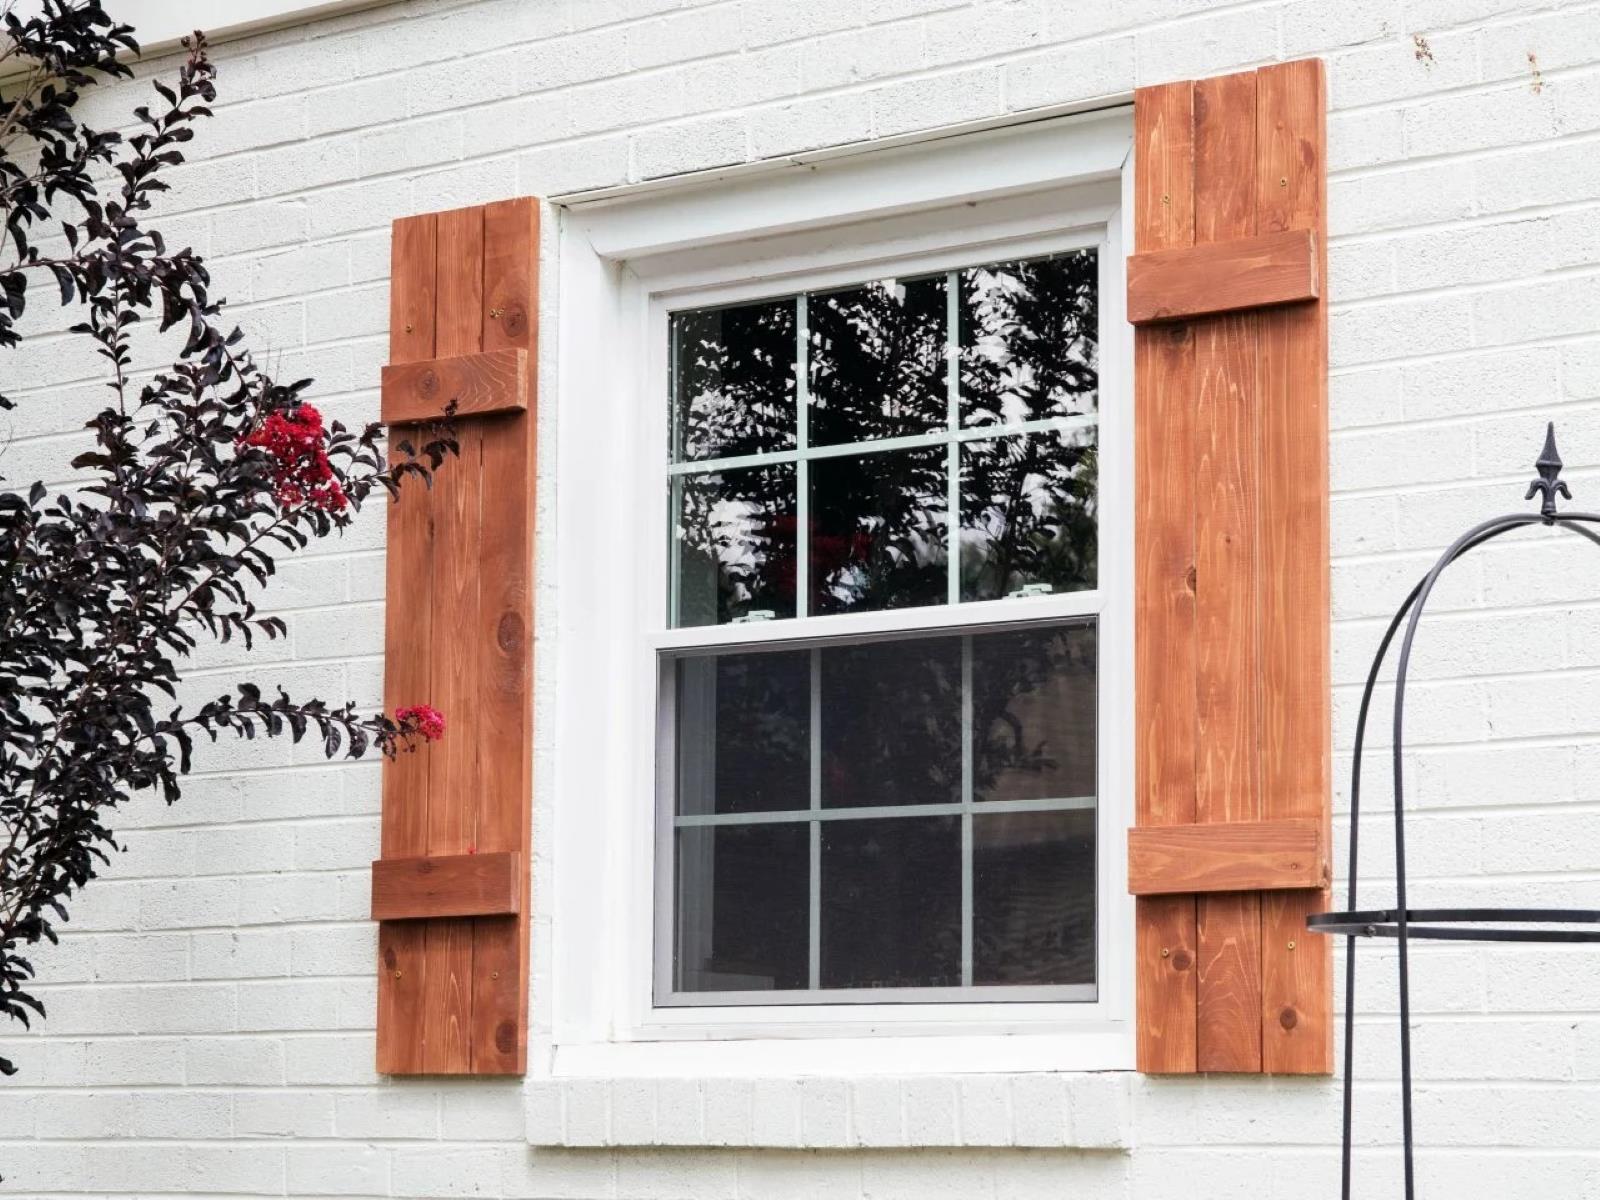
The Benefits of Plantation Shutters
Plantation shutters have been a go-to choice for homeowners looking to upgrade their windows for years. Their charm lies in their perfect mix of style, function, and durability. Here are some key perks that make them a smart investment:
-
Energy Efficiency
- These shutters are great insulators. Their thick frames and dense louvers help keep your home cool in the summer and warm in the winter. This means you won't need to crank up the AC or heater as much, saving you money on utility bills and making your home more eco-friendly.
-
Enhanced Privacy
- Unlike sheer curtains or flimsy blinds, plantation shutters give you solid privacy. You can adjust the louvers to let in light while keeping nosy neighbors out.
-
Increased Property Value
- Plantation shutters can actually make your home worth more. They're permanent fixtures that potential buyers love, making them a great addition if you're thinking about selling. Depending on the size of the window, these shutters can add up to $175 per window to your home's appraised value.
-
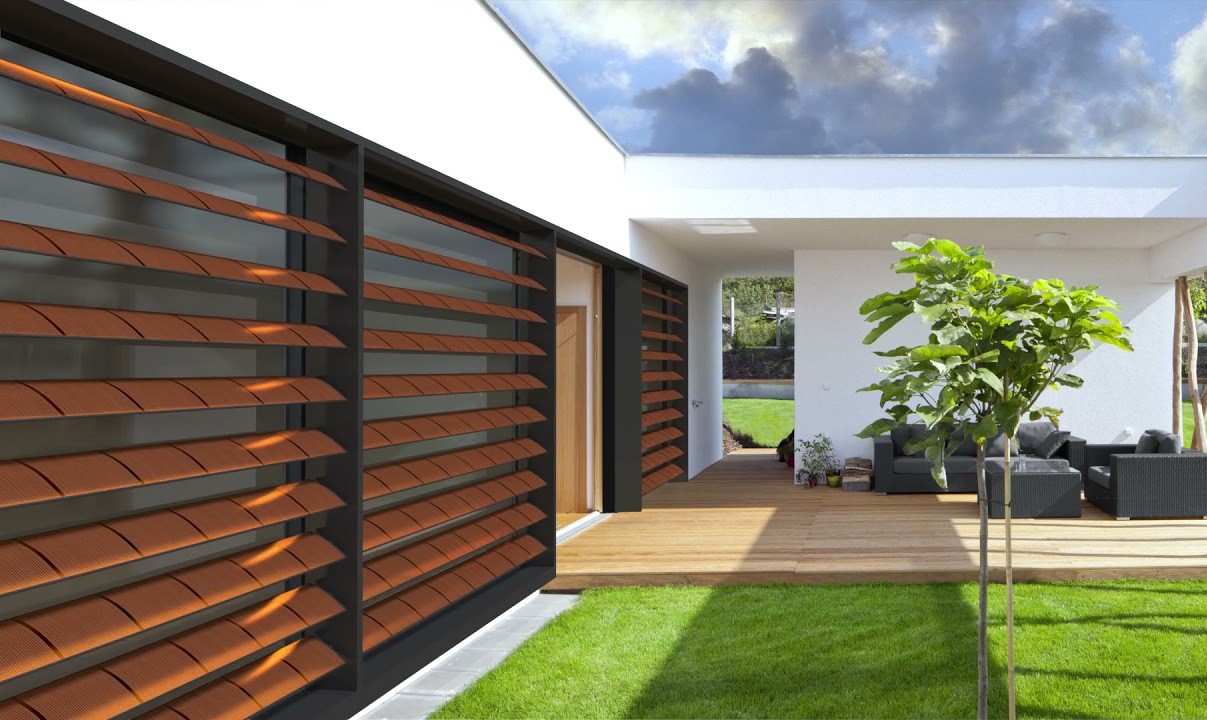
Customization Options
- One of the best things about plantation shutters is how customizable they are. Whether you want them flush against the wall, boxed out around your windows, or framed like a picture, there are tons of styles to match your home's look.
-
Durability
- Unlike blinds that can get bent, broken, or tangled, plantation shutters are built to last. They avoid the common problems of other window treatments, ensuring they stay functional for years.
Common Mistakes to Avoid
Installing DIY plantation shutters can be super rewarding, but there are some common pitfalls to watch out for:
-
Incorrect Measurements
- Getting the measurements right is crucial. If you mess this up, your shutters might not fit properly, and the louvers might not open and close smoothly.
-
Using the Wrong Materials
- The material you choose matters a lot. If you live in a humid area, go for materials that resist moisture, like aluminum or MDF shutters.
-
Not Using Proper Tools
- Having the right tools is key. You'll need a tape measure for accurate measurements, a drill for screw holes, a saw for cutting shutters to size (if needed), a screwdriver for tightening screws, and safety glasses to protect your eyes from debris.
-
Ignoring Stair Step Trim
- Stair step trim can mess up your installation. Make sure to remove any unnecessary trim steps so the shutters have enough room to open and close properly.
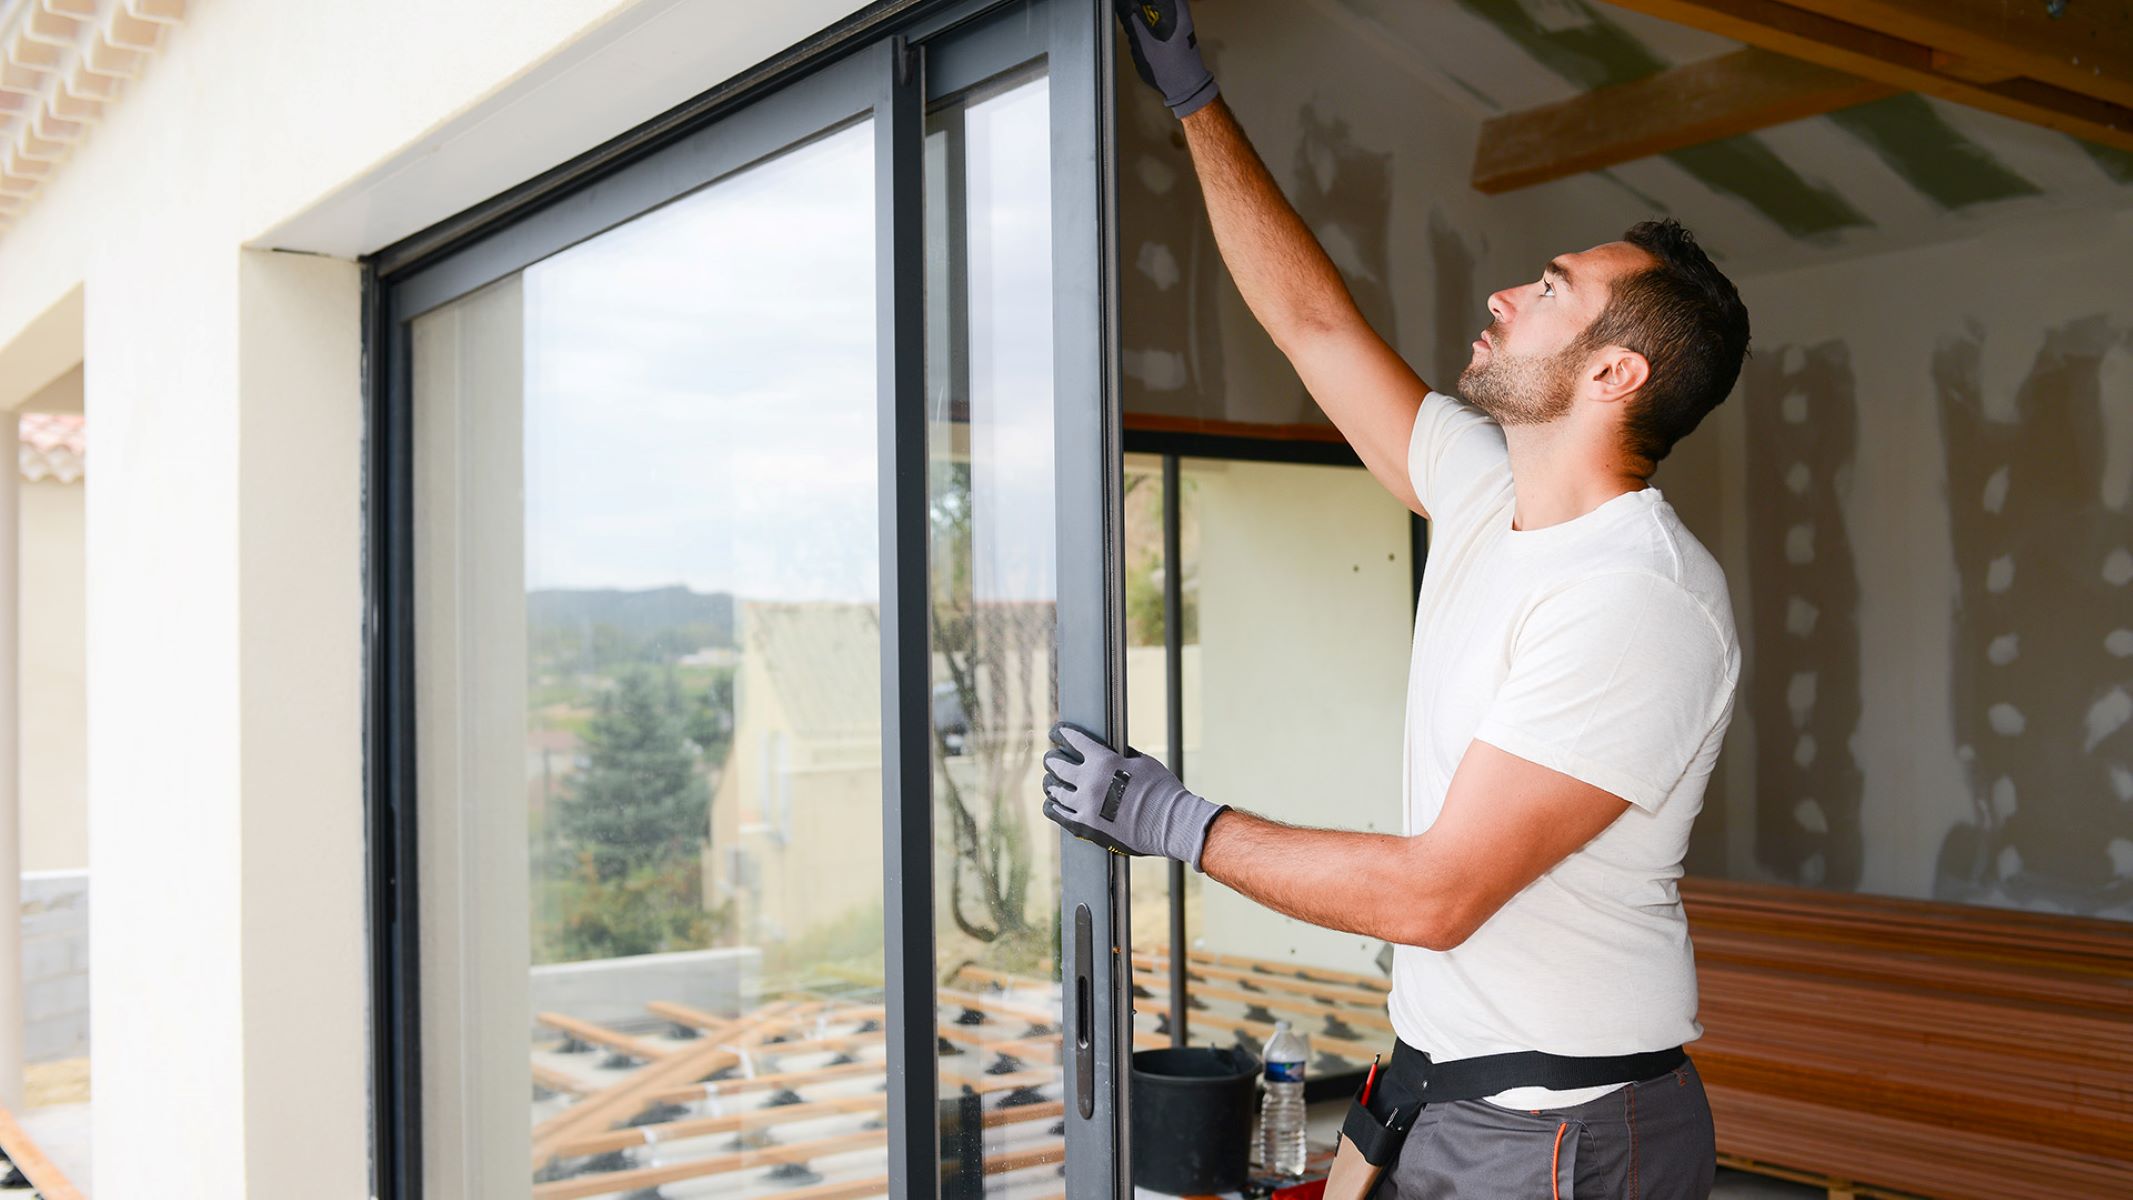
Step-by-Step Guide to Installing DIY Plantation Shutters
Ready to get started? Here's a step-by-step guide to help you install your own plantation shutters:
Step 1: Measure Your Windows
- Measure Twice: Accurate measurements are a must. Measure the width and height of your windows, including any obstructions like stair step trim.
- Consider Customization: If your windows are non-standard sizes or have unique features, you might need custom shutters. Some manufacturers offer modifications without needing entirely new shutters.
Step 2: Choose Your Materials
- Material Selection: Pick a material based on your climate and preferences. MDF shutters are usually the cheapest, while aluminum shutters are the priciest. Wood shutters fall somewhere in between and can be painted in various colors and finishes.
- Hardware Selection: Make sure you have all the necessary hardware, like screws, nails, and a caulk gun for sealing around the shutters.
Step 3: Prepare Your Windows
- Remove Old Window Treatments: Take down any existing window treatments to ensure a clean installation surface.
- Clean the Area: Clean the window frame and surrounding area to make the installation process smoother.
Step 4: Install Fill Strips (If Necessary)
- Identify Stair Step Trim: If you have stair step trim that gets in the way, figure out which step needs to be removed for clearance.
- Cut Fill Strips: Cut fill strips to fit into the empty space using a saw. Attach these strips with a nailer or hammer and nails. For extra hold, use liquid nails type products.
Step 5: Assemble Your Shutters
- Follow Manufacturer Instructions: If you're using pre-made shutters, follow the manufacturer's instructions for assembly. If custom fabrication is needed, make sure your measurements reflect any adjustments made during preparation.
- Use Level and Square Tools: Make sure your shutters are aligned properly using level and square tools to avoid any unevenness.
Step 6: Install Shutters
- Outside Mount vs Inside Mount: Decide whether you want an outside mount or inside mount based on your window size and trim. Outside mounts need more clearance between the shutter frame and window sill for proper operation.
- Drill Screw Holes: Drill screw holes according to the manufacturer's instructions or standard practices. Tighten screws securely but don't overtighten, which could damage the shutters or window frame.
Step 7: Seal Around Shutters
- Use Caulk Gun: Apply caulk around the shutters to prevent air leaks and ensure a tight seal. This step is crucial for keeping your home energy-efficient and avoiding moisture issues.
Tips for a Flawless Finish
- Counter Sink Nails: If you're using nails instead of a nailer, use a nail set tool to counter sink nails below the surface for a smooth finish. Fill holes with wood putty, sand, prime, and paint as needed.
- Add Curtains (Optional): If you want to add curtains or roman blinds along with your shutters, hang them high on the wall and let them fall all the way to the ground for maximum effect.
Conclusion
Upgrading your home's windows with DIY plantation shutters is a rewarding project that offers tons of benefits, from better privacy and energy efficiency to a higher property value. By avoiding common mistakes and following a step-by-step guide, you can get professional-looking results without spending a fortune. Whether you go for custom shutters or off-the-shelf options, plantation shutters are a great investment for any homeowner looking to spruce up their living space.
In summary:
- Measure Accurately: Make sure your measurements are spot-on for a proper fit.
- Choose Right Materials: Pick materials that suit your climate.
- Prepare Windows: Clean and remove old window treatments.
- Install Fill Strips: Fix any stair step trim issues if needed.
- Assemble Shutters: Follow the manufacturer's instructions or custom fabrication guidelines.
- Install Properly: Use level and square tools for alignment.
- Seal Around Shutters: Apply caulk for a tight seal.
By following these steps and tips, you can successfully install DIY plantation shutters that not only make your home look better but also offer long-lasting function and value.
Was this page helpful?
At Storables.com, we guarantee accurate and reliable information. Our content, validated by Expert Board Contributors, is crafted following stringent Editorial Policies. We're committed to providing you with well-researched, expert-backed insights for all your informational needs.


0 thoughts on “Upgrading Your Home’s Windows With DIY Plantation Shutters”