Home>Ideas and Tips>Upgrading Your Home’s Windows With DIY Window Films

Ideas and Tips
Upgrading Your Home’s Windows With DIY Window Films
Modified: October 19, 2024
Enhance energy efficiency, privacy, and aesthetics with DIY window films. Learn how to apply them for professional-looking results.
(Many of the links in this article redirect to a specific reviewed product. Your purchase of these products through affiliate links helps to generate commission for Storables.com, at no extra cost. Learn more)
Introduction
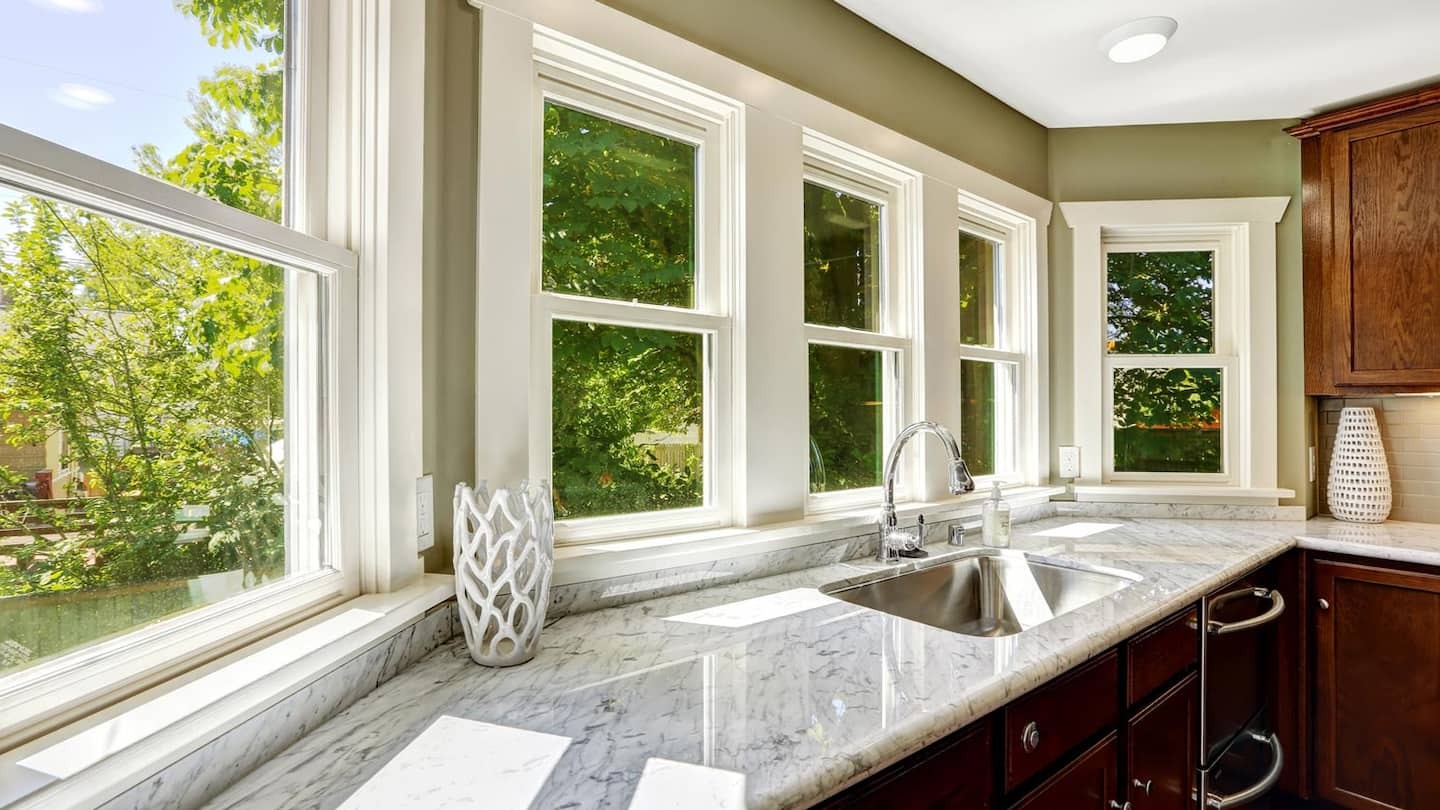
Windows are a crucial part of any home, providing natural light, ventilation, and a clear view of the outdoors. However, traditional window glass can be a significant energy drain and may not offer the level of privacy or aesthetic appeal that homeowners desire. One effective solution to these issues is using DIY window films. These films are easy to apply, customizable, and can significantly enhance the functionality and appearance of your windows.
In this article, we will explore the benefits of using DIY window films, the different types available, and provide a step-by-step guide on how to apply them. We will also discuss some common mistakes to avoid and offer tips for achieving professional-looking results.
Benefits of DIY Window Films
-
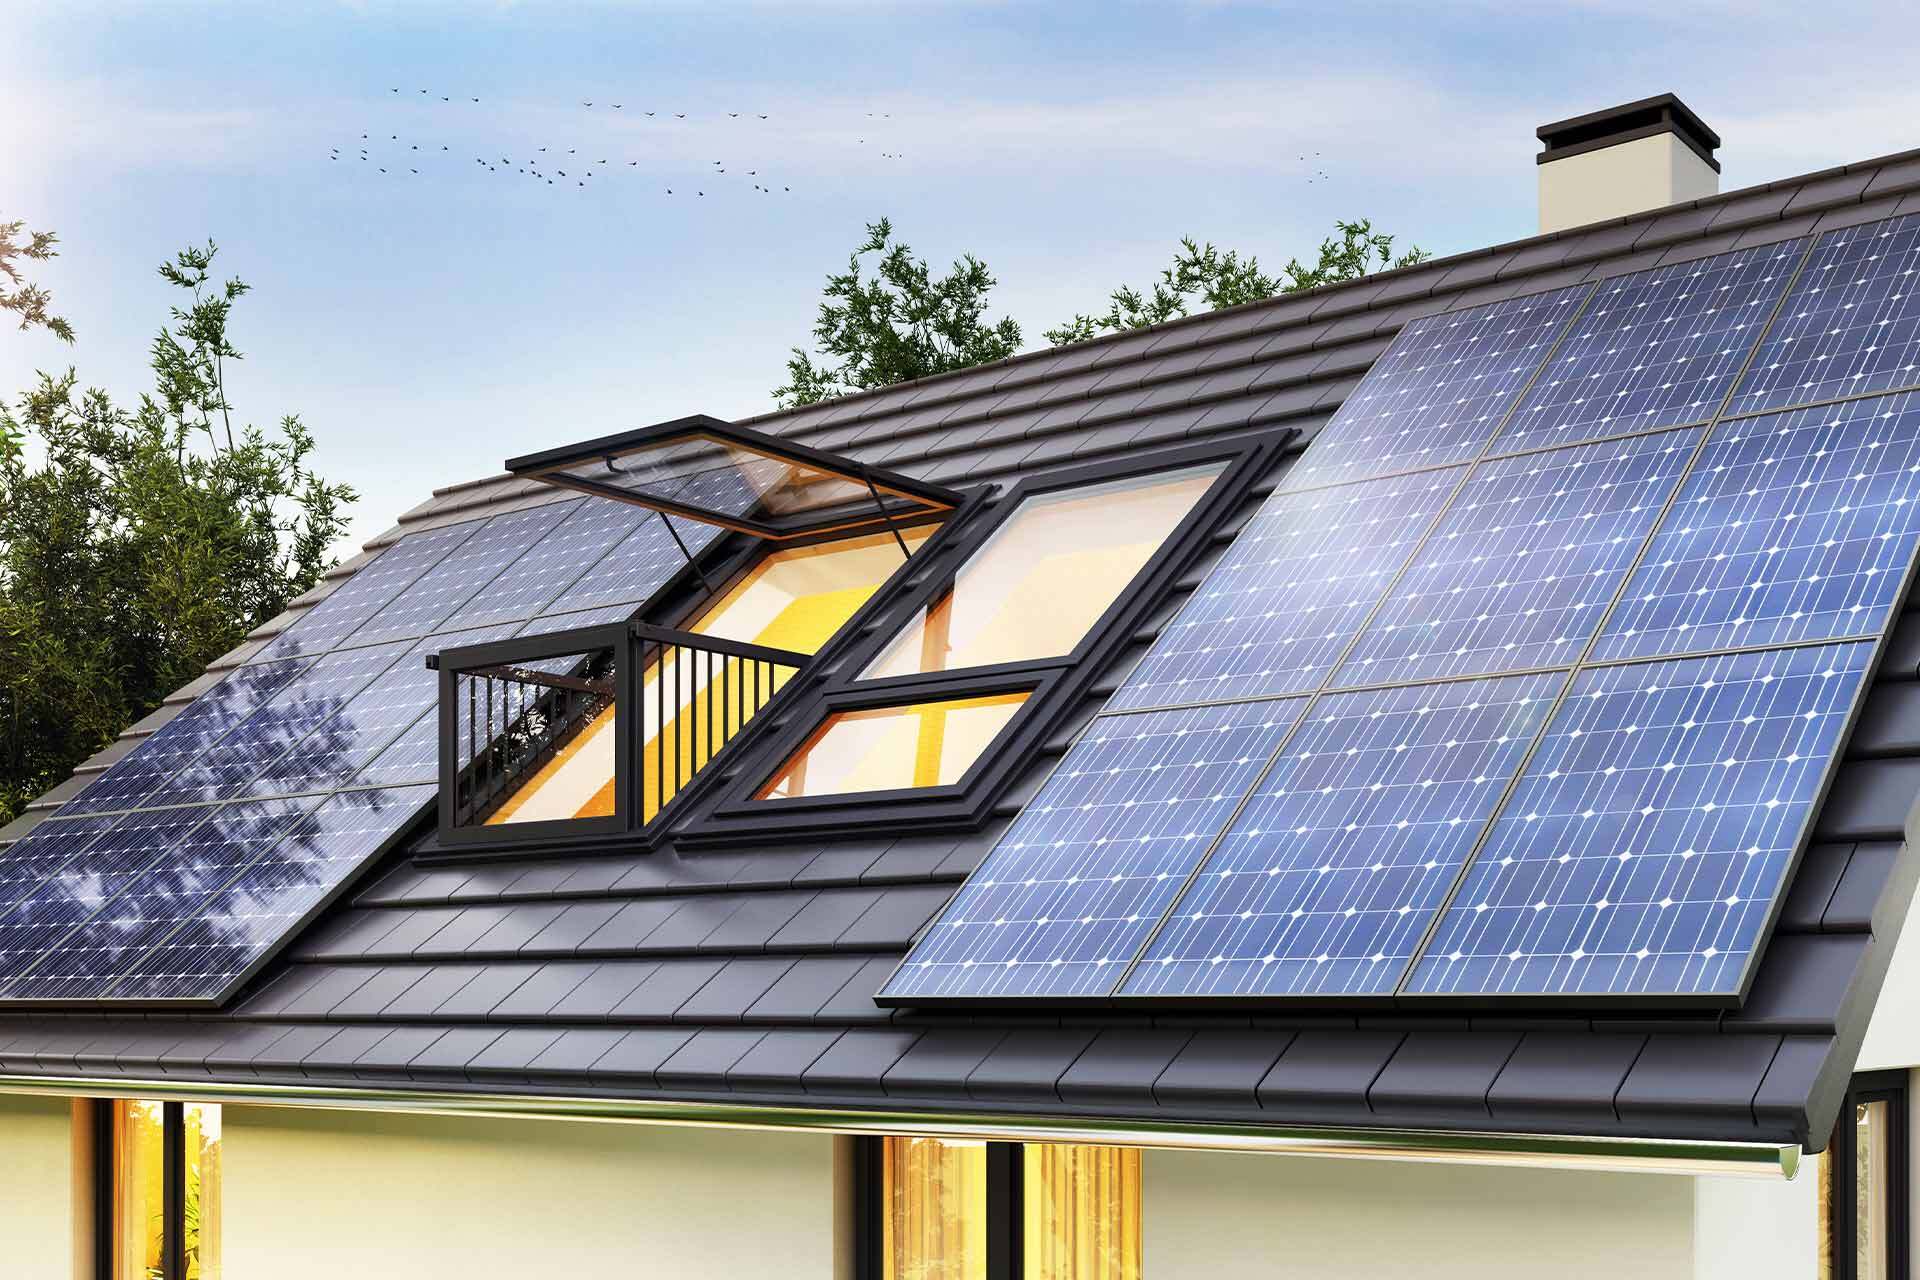
Energy Efficiency: One of the primary benefits of using window films is their ability to reduce heat transfer. By applying a film with a low-e coating, you can block UV rays and prevent heat from entering or escaping your home, thereby reducing your energy bills.
-
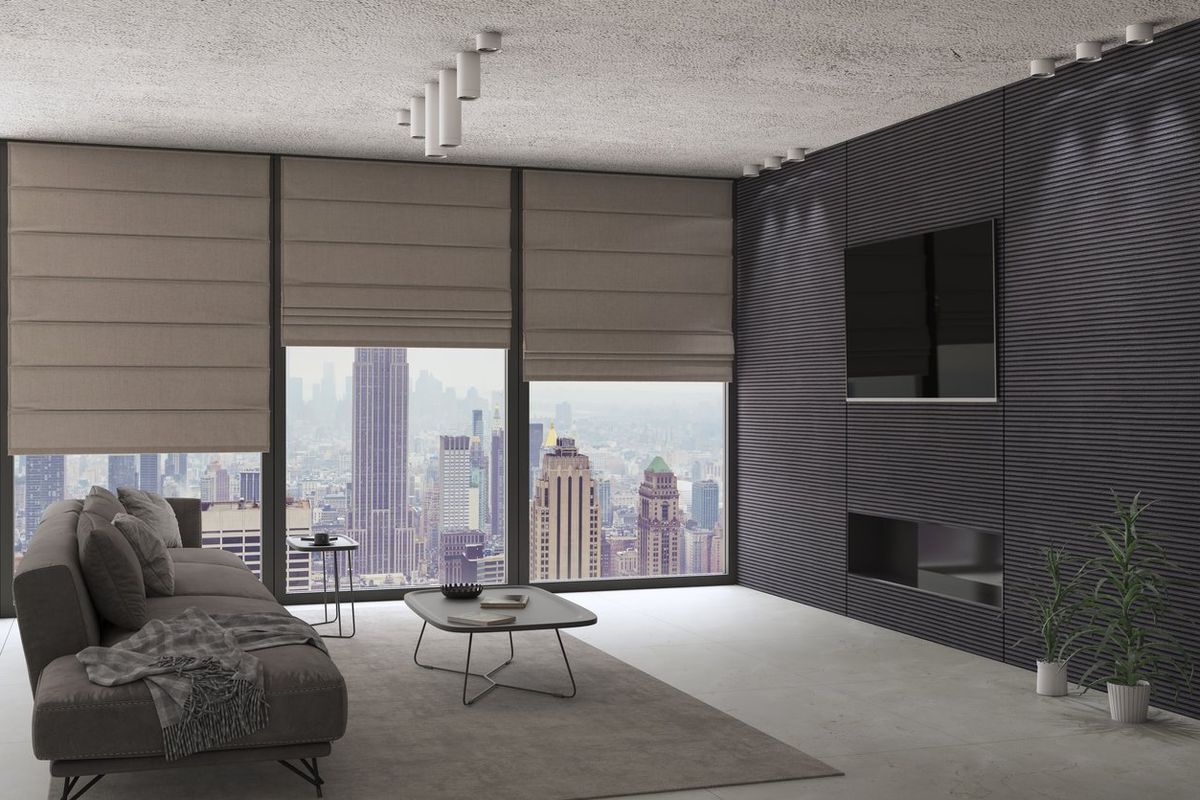
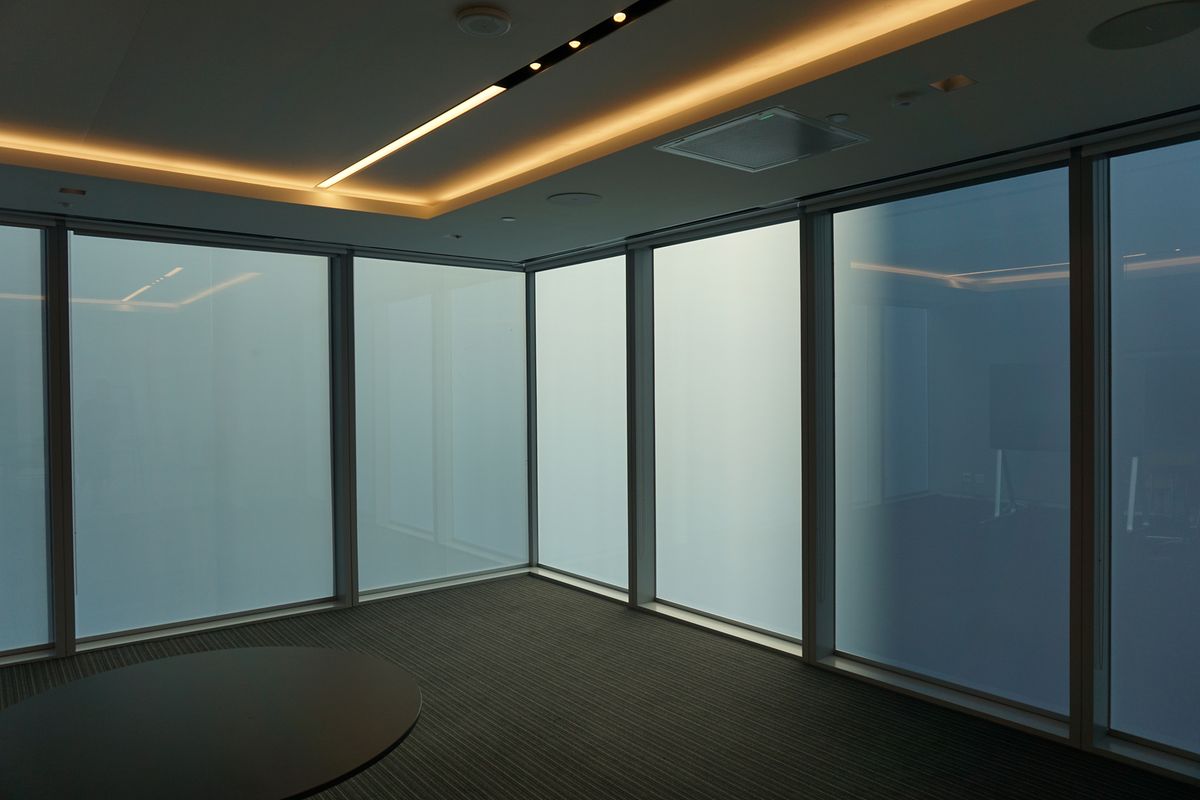
Privacy: Window films can provide an additional layer of privacy by blocking the view from outside. This is particularly useful for homes with large windows or those located in densely populated areas.
-
UV Protection: Many window films are designed to block UV rays, which can damage furniture and carpets over time. By applying a UV-blocking film, you can protect your home's interior from sun damage.
-
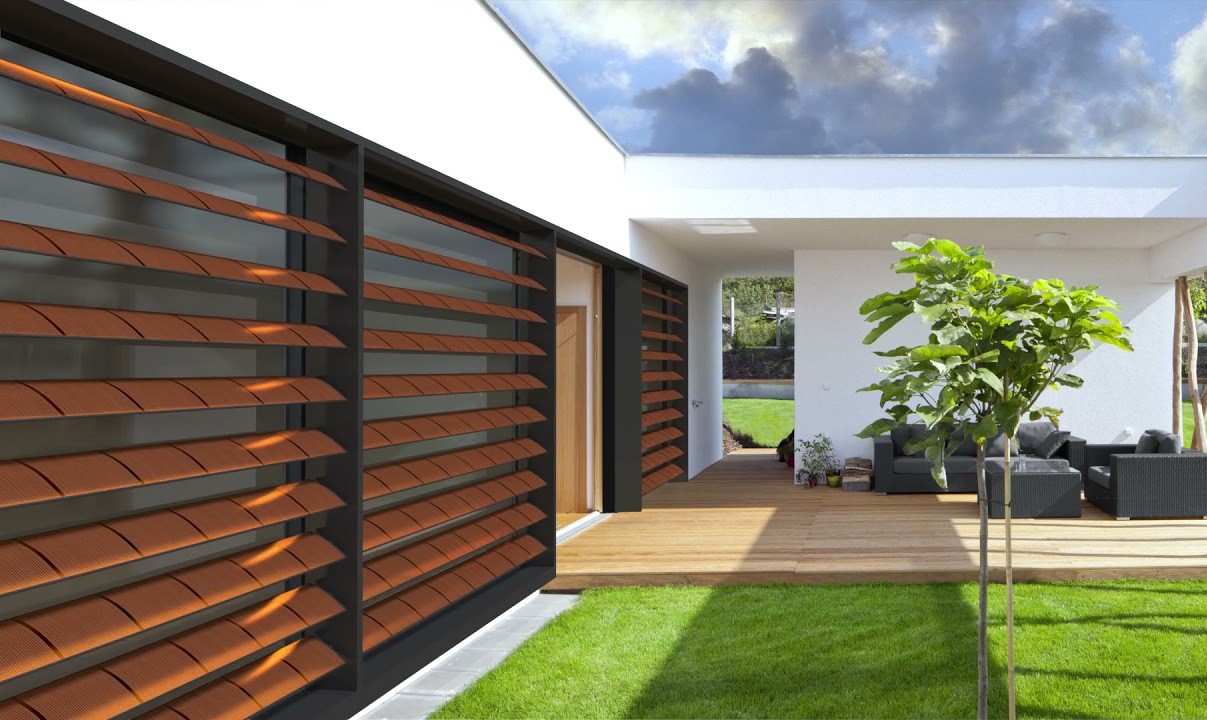
Aesthetic Appeal: DIY window films come in a variety of colors and patterns, allowing you to customize the look of your windows to match your home's decor. This can be especially useful for homes with unique architectural features or for those who want to add a personal touch.
-
Durability: High-quality window films are designed to last for many years, providing long-term benefits without the need for frequent replacements.
Types of DIY Window Films
-
Low-E Coatings: These films are coated with a thin layer of metal that reflects radiant heat rather than absorbing it. This makes them ideal for reducing energy consumption during both summer and winter months.
-
UV-Blocking Films: These films are designed specifically to block UV rays, which can cause fading and discoloration of furniture and carpets.
-
Decorative Films: These come in various colors and patterns, allowing you to customize the appearance of your windows. They can be used to create unique designs or simply to add a pop of color.
-
Privacy Films: These films are designed to block the view from outside while still allowing natural light to enter. They are available in different levels of opacity, ranging from clear to opaque.
-
Tinted Films: These films can be tinted to various shades, providing both UV protection and aesthetic appeal.
Materials Needed
Before you start your DIY project, make sure you have all the necessary materials:
- Window Film: Choose the type that best suits your needs (low-e, UV-blocking, decorative, privacy, or tinted).
- Cleaning Solution: A mixture of water and vinegar or a commercial glass cleaner.
- Squeegee: For removing air bubbles and excess water.
- Measuring Tape: To measure your windows accurately.
- Cutting Tool: A utility knife or scissors for cutting the film.
- Applicator Tool: A credit card or similar tool for smoothing out the film.
Step-by-Step Guide
-
Prepare Your Windows:
- Clean the windows thoroughly using a mixture of water and vinegar or a commercial glass cleaner. This will ensure that the film adheres properly.
- Remove any stickers or residue from previous applications.
-
Measure Your Windows:
- Use a measuring tape to determine the size of each window.
- Cut the film slightly larger than the window to allow for easy application.
-
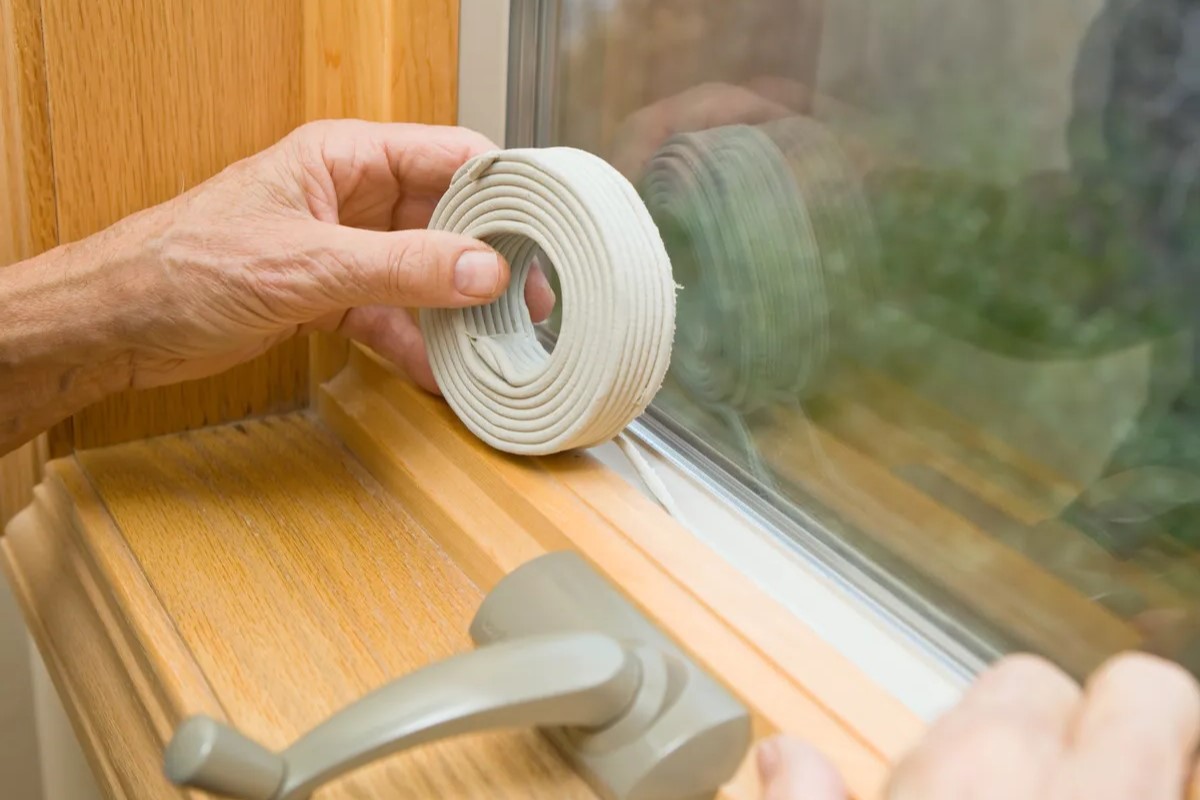
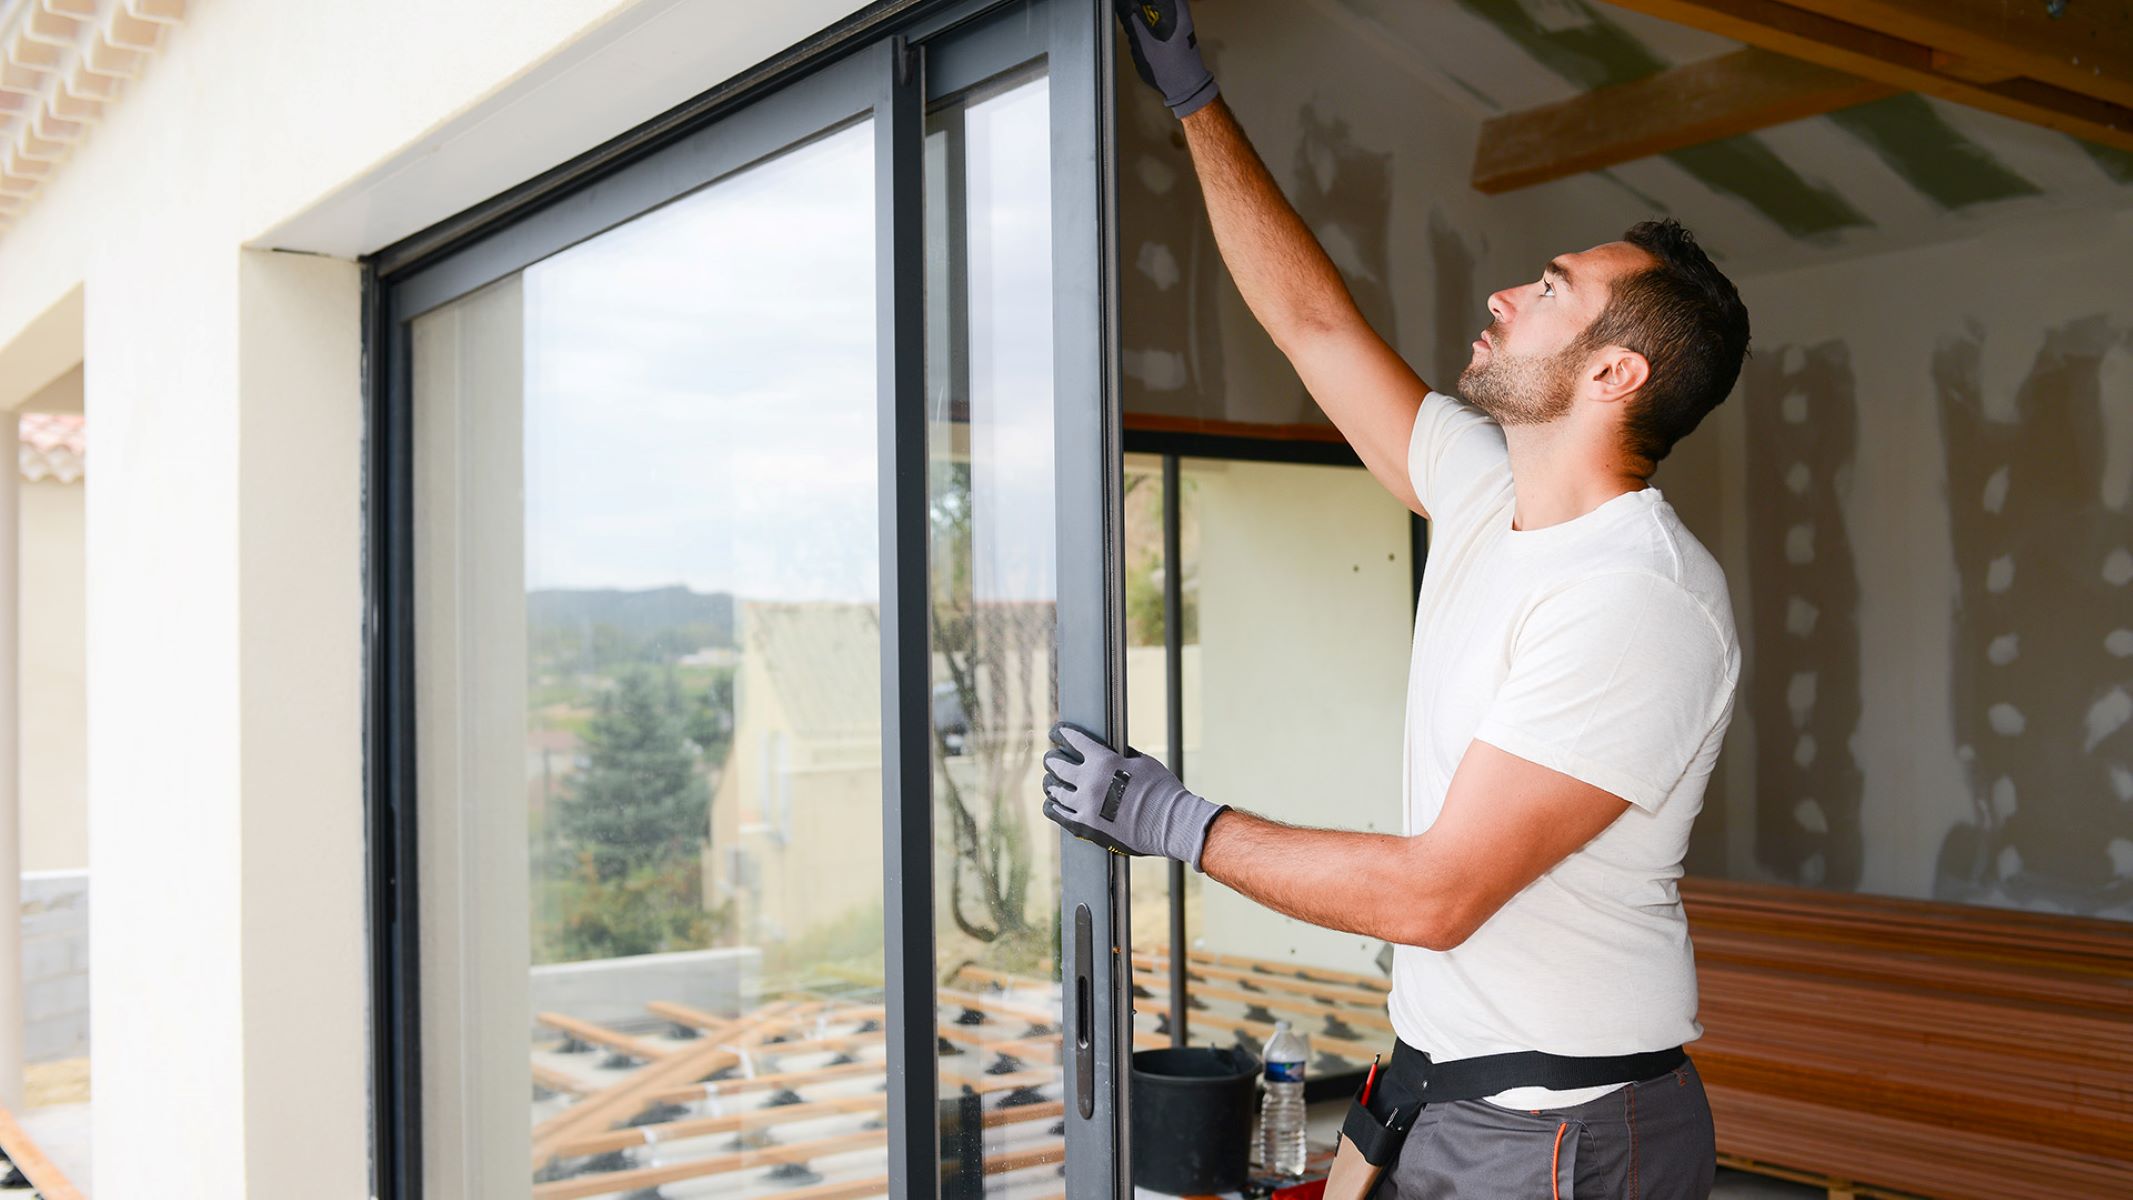
Apply the Film:
- Start by applying the film to one corner of the window, ensuring it is centered.
- Use an applicator tool (like a credit card) to smooth out the film, starting from one edge and working your way across.
- Use a squeegee to remove any air bubbles that form during application.
-
Remove Air Bubbles:
- Use a squeegee to press out any air bubbles that form under the film.
- If necessary, use a hair dryer on a low setting to heat up the film and help remove stubborn bubbles.
-
Trim Excess Film:
- Use a utility knife or scissors to trim excess film around the edges of the window frame.
- Make sure not to cut too close to the frame as this can damage it.
-
Inspect Your Work:
- Check for any remaining air bubbles or wrinkles in the film.
- If necessary, reapply the film or use a hair dryer again to smooth out any imperfections.
Common Mistakes to Avoid
-
Incorrect Measurement: Ensure that you measure your windows accurately before cutting the film. Cutting it too small can lead to multiple pieces needing to be applied, which increases the risk of air bubbles forming.
-
Poor Cleaning: Failing to clean the windows properly can result in poor adhesion of the film, leading to bubbles and wrinkles.
-
Insufficient Application Pressure: Not applying enough pressure when smoothing out the film can leave behind air bubbles and wrinkles.
-
Using Low-Quality Film: High-quality films are designed to last longer and provide better performance. Using low-quality films may lead to premature peeling or fading.
Tips for Achieving Professional-Looking Results
-
Use High-Quality Tools: Invest in good-quality squeegees and applicator tools as these will help ensure smooth application without leaving behind air bubbles or wrinkles.
-
Work in Small Sections: Divide large windows into smaller sections when applying the film. This makes it easier to manage and reduces the risk of air bubbles forming.
-
Apply Film in a Cool Environment: Applying film in a cool environment helps prevent it from stretching or distorting during application.
-
Follow Manufacturer Instructions: Always follow the manufacturer's instructions for specific application techniques recommended for different types of window films.
Conclusion
Upgrading your home's windows with DIY window films is an easy and cost-effective way to enhance their functionality and appearance. By choosing the right type of film based on your needs—whether it's energy efficiency, privacy, UV protection, aesthetic appeal, or durability—you can significantly improve your home's overall comfort and value. With these steps and tips, you can achieve professional-looking results without needing professional assistance.
Remember always to follow safety guidelines when working with glass surfaces and use high-quality materials for long-lasting results. Whether you're looking to reduce energy consumption or simply add some flair to your windows, DIY window films offer a versatile solution that can be tailored to meet any homeowner's requirements.
Was this page helpful?
At Storables.com, we guarantee accurate and reliable information. Our content, validated by Expert Board Contributors, is crafted following stringent Editorial Policies. We're committed to providing you with well-researched, expert-backed insights for all your informational needs.


0 thoughts on “Upgrading Your Home’s Windows With DIY Window Films”