Home>Storage & Organization>Closet & Wardrobe Organization>How To Organize A Craft Room

Closet & Wardrobe Organization
How To Organize A Craft Room
Published: March 2, 2024
Learn how to optimize your closet and wardrobe organization with our expert tips for organizing a craft room efficiently. Streamline your space and boost productivity today!
(Many of the links in this article redirect to a specific reviewed product. Your purchase of these products through affiliate links helps to generate commission for Storables.com, at no extra cost. Learn more)
Planning Your Craft Room Layout
When it comes to organizing a craft room, the first step is to plan the layout. Craft rooms are often multi-functional spaces, used for various activities such as sewing, scrapbooking, painting, and more. Therefore, it's essential to consider the specific needs of each craft when designing the layout. Here are some tips to help you plan your craft room layout effectively:
-
Assess the Space: Take a good look at the available space and consider the dimensions, natural light sources, and existing features such as built-in shelves or cabinets. This assessment will help you determine the best areas for different workstations and storage solutions.
-
Create Zones: Divide the room into different zones based on the types of crafts you'll be doing. For example, designate a sewing area with a table for your sewing machine, a cutting area with a large work surface, and a painting area with easels and storage for paints and brushes.
-
Consider Workflow: Think about the flow of work in the room. Ensure that the layout allows for easy movement between different workstations and that essential tools and supplies are within reach of each area.
-
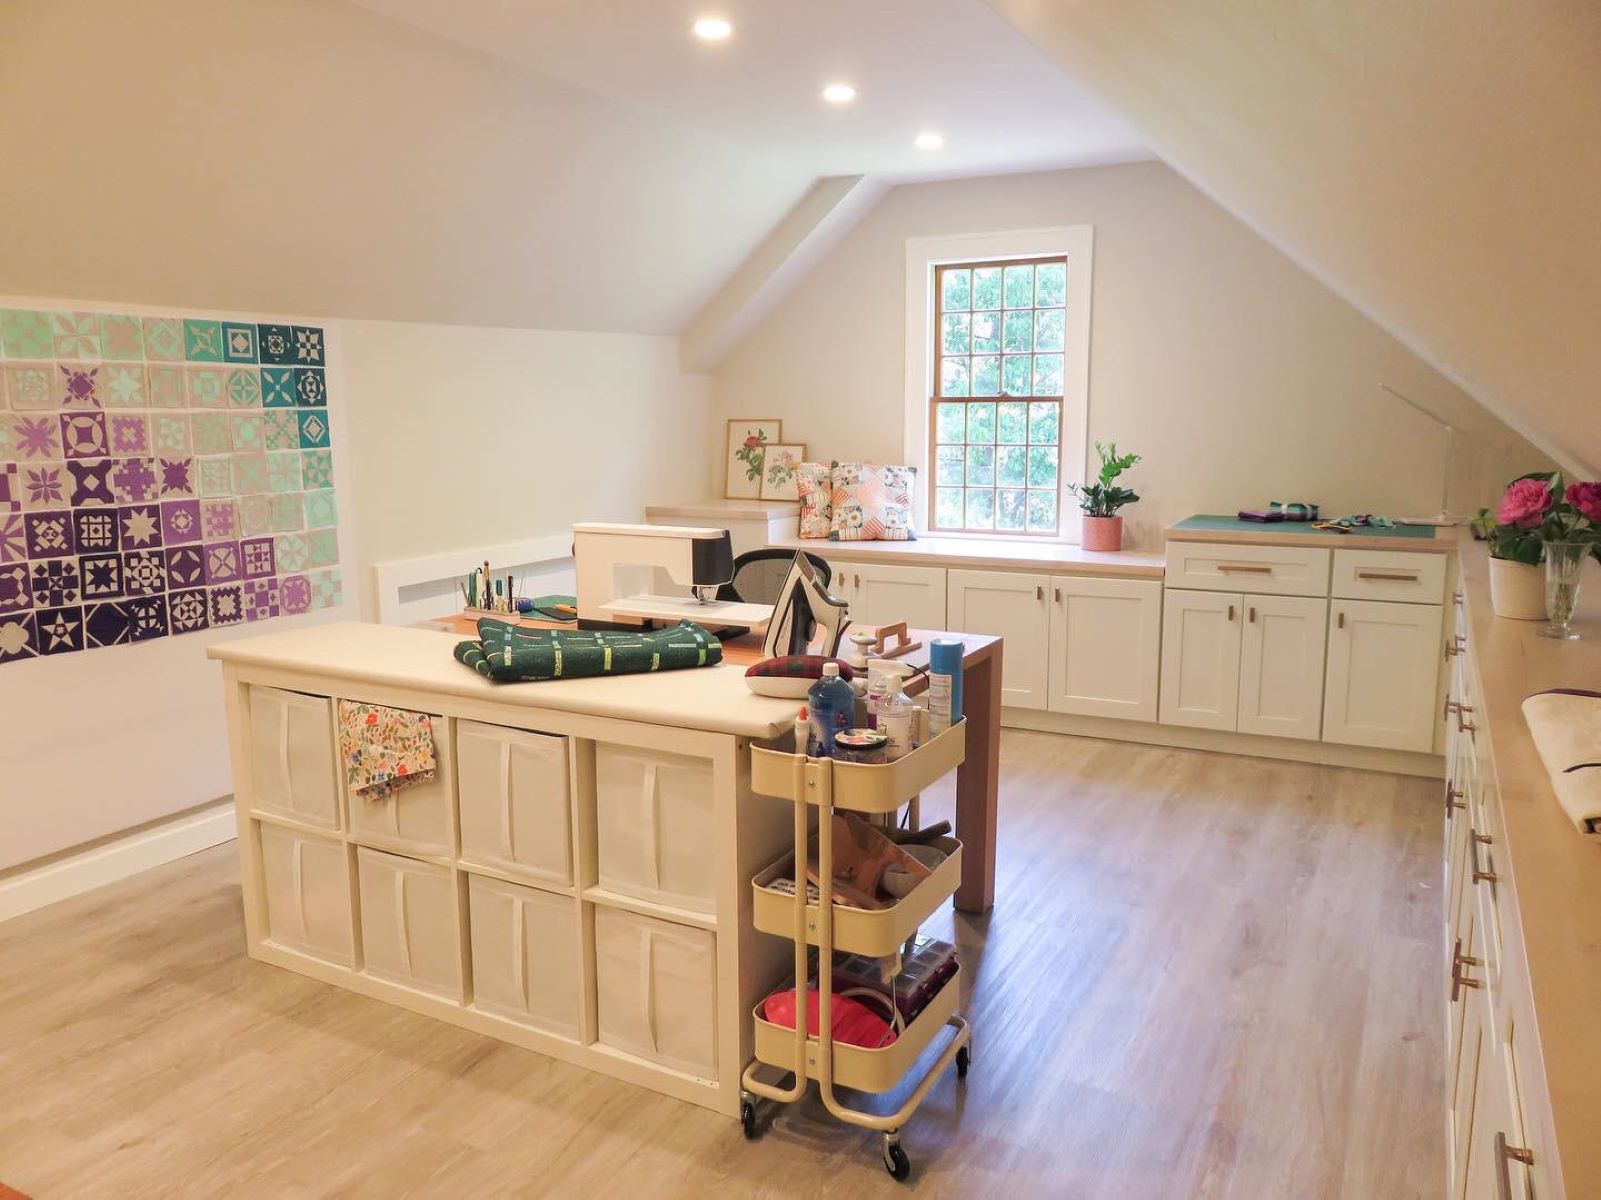
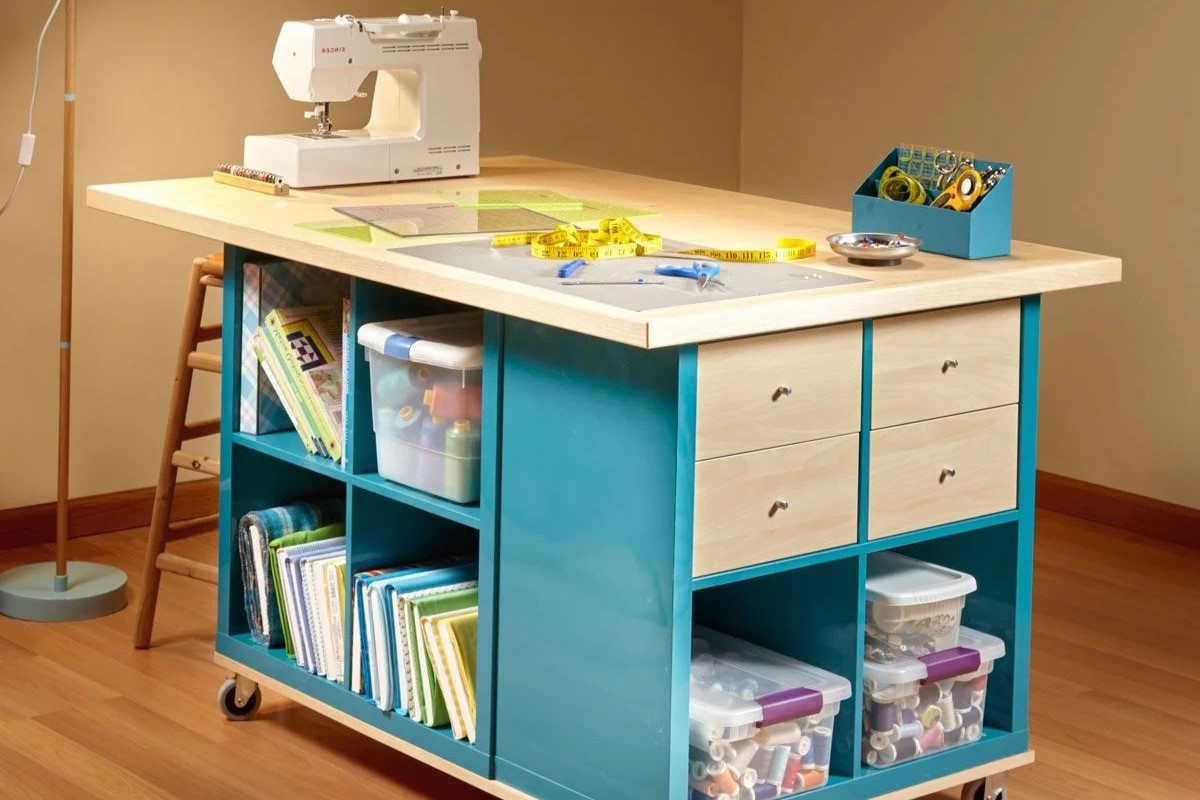
Flexible Furniture: Invest in furniture that can be easily reconfigured to adapt to different projects. Mobile storage carts, adjustable tables, and modular shelving units are great options for creating a versatile craft room layout.
-
Utilize Vertical Space: Maximize storage by using wall-mounted shelves, pegboards, and hanging organizers. This not only saves floor space but also keeps frequently used items easily accessible.
-
Lighting: Adequate lighting is crucial for a craft room. Consider incorporating task lighting, such as adjustable desk lamps or track lighting, to ensure proper illumination for detailed work.
By carefully planning the layout of your craft room, you can create a functional and inspiring space that caters to your specific crafting needs.
Key Takeaways:
- Plan your craft room layout by assessing space, creating zones, considering workflow, using flexible furniture, maximizing vertical space, and ensuring adequate lighting for a functional and inspiring workspace.
- Choose the right storage solutions by assessing needs, utilizing clear containers, adjustable shelving, open shelving, drawer organizers, pegboards, stackable storage, and labeling for an organized and efficient craft room.
Choosing the Right Storage Solutions
When it comes to organizing a craft room, having the right storage solutions is essential for keeping supplies tidy and easily accessible. Here are some tips for choosing the right storage solutions for your craft room:
-
Assess Your Storage Needs: Before selecting storage solutions, take stock of your craft supplies and equipment. Consider the types of items you need to store, such as fabric, yarn, paper, beads, and tools. This assessment will help you determine the quantity and size of storage containers and units required.
-
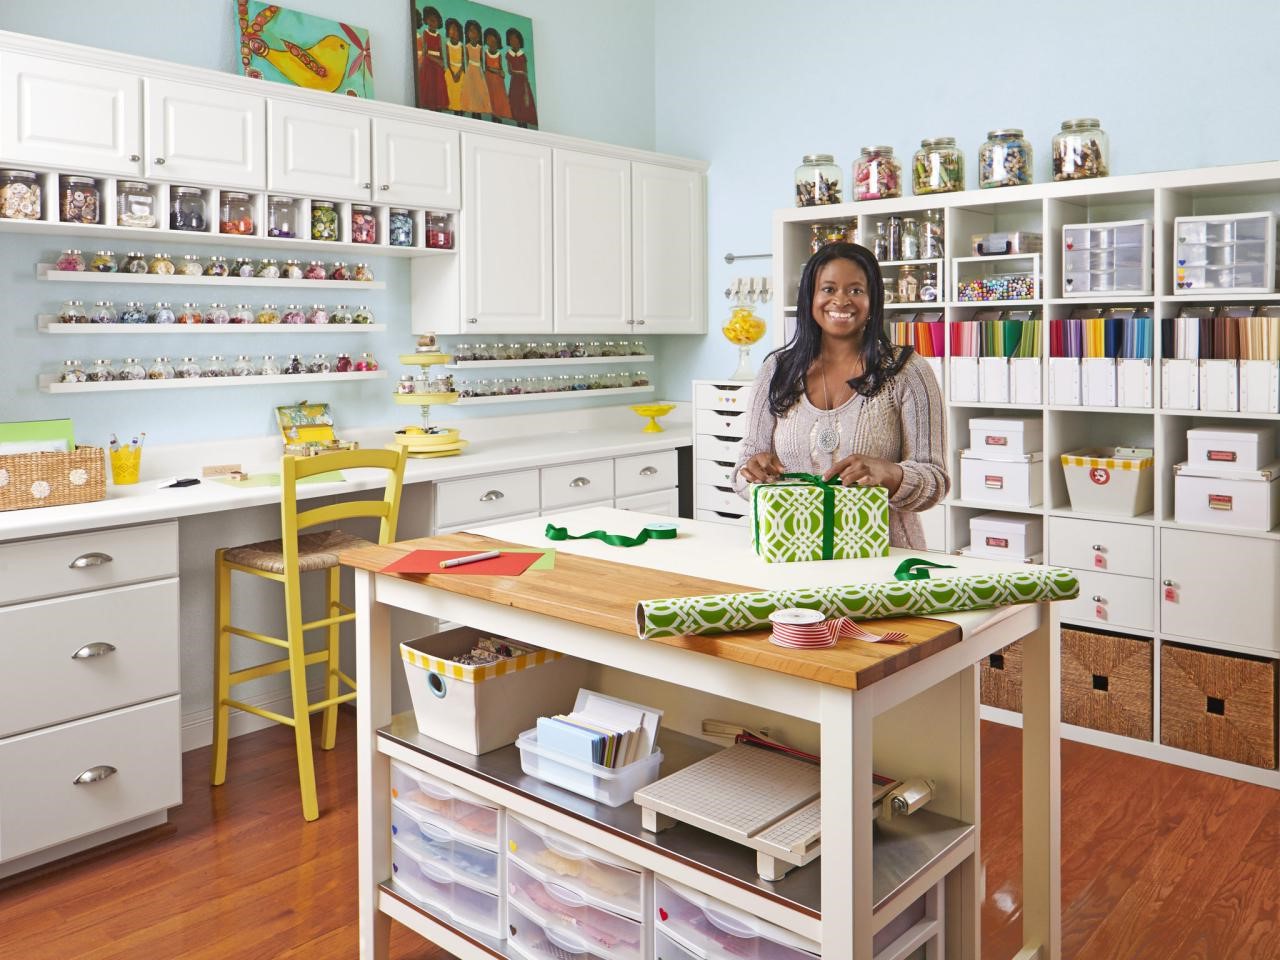
Utilize Clear Containers: Opt for clear storage containers for smaller items like buttons, ribbons, and beads. Clear containers allow you to see the contents at a glance, making it easier to find what you need without having to open multiple boxes.
-
Invest in Adjustable Shelving: Adjustable shelving units are versatile and can be customized to accommodate items of various sizes. They are ideal for storing bins, baskets, and larger crafting supplies.
-
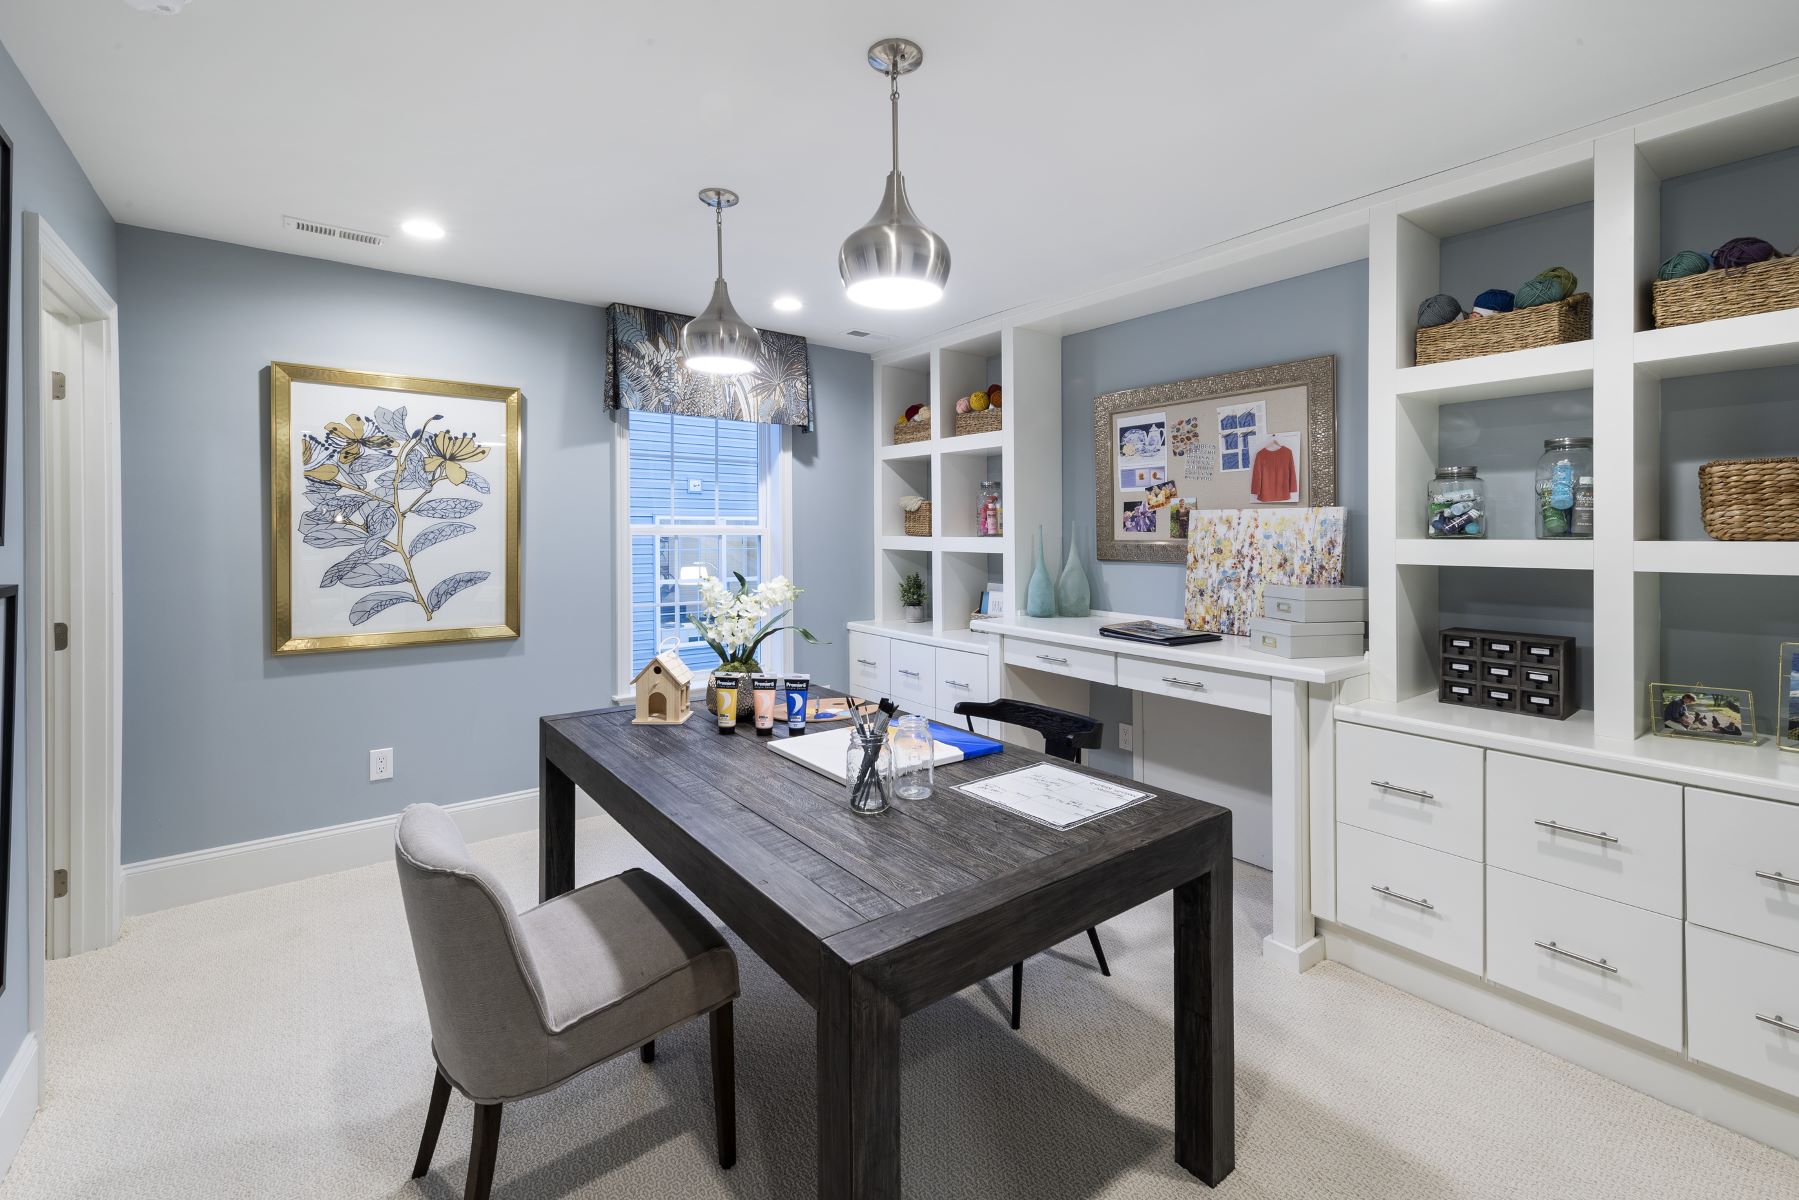
Consider Open Shelving: Open shelving provides easy access to frequently used items and can also serve as a display area for decorative jars, colorful yarn, or patterned paper. It's a great way to add visual interest to your craft room while keeping essentials within reach.
-
Drawer Organizers: Utilize drawer organizers to keep small tools, sewing notions, and other accessories neatly arranged. Dividers and compartments within drawers help prevent items from getting jumbled together.
-
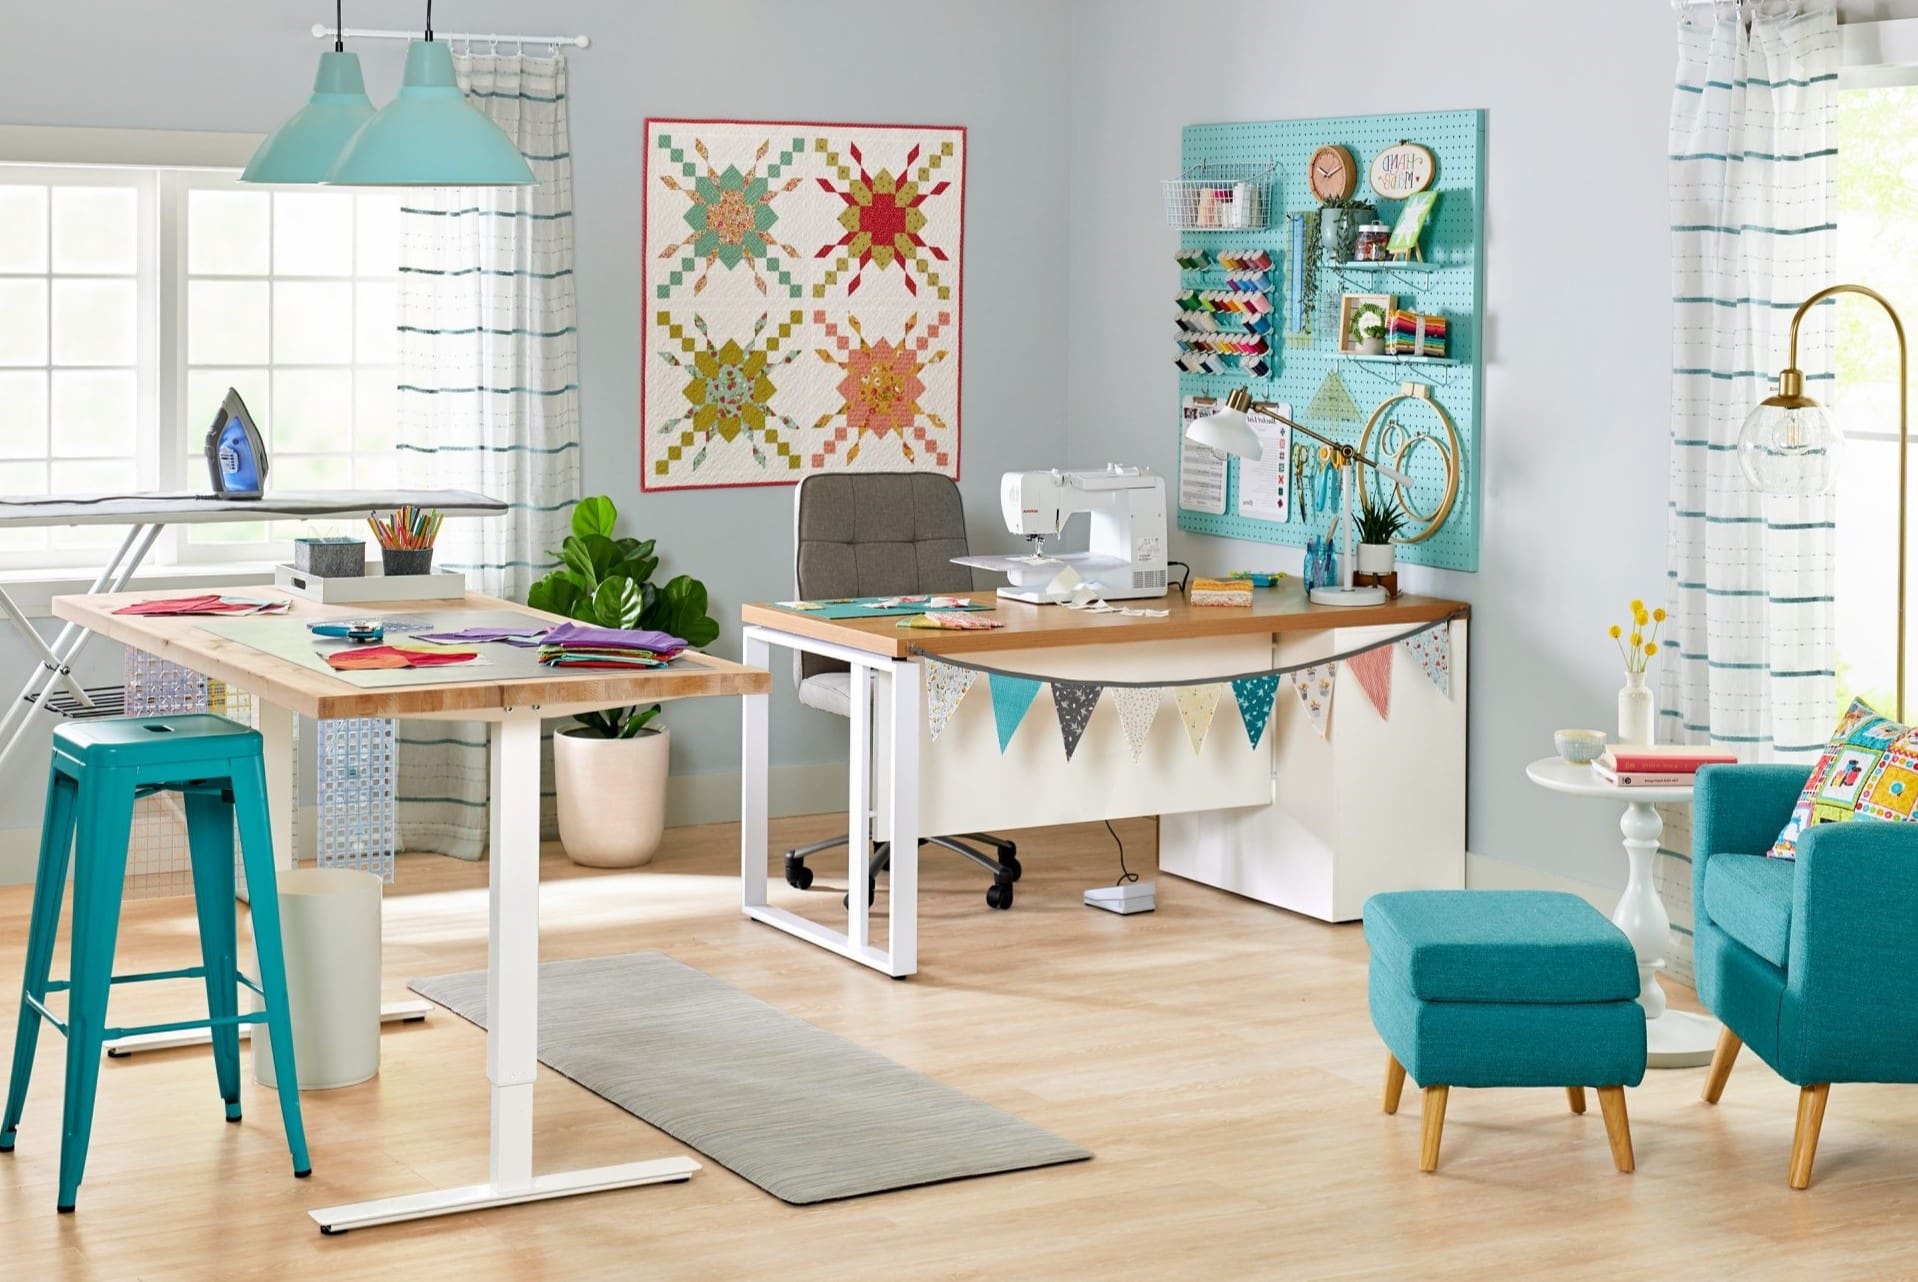
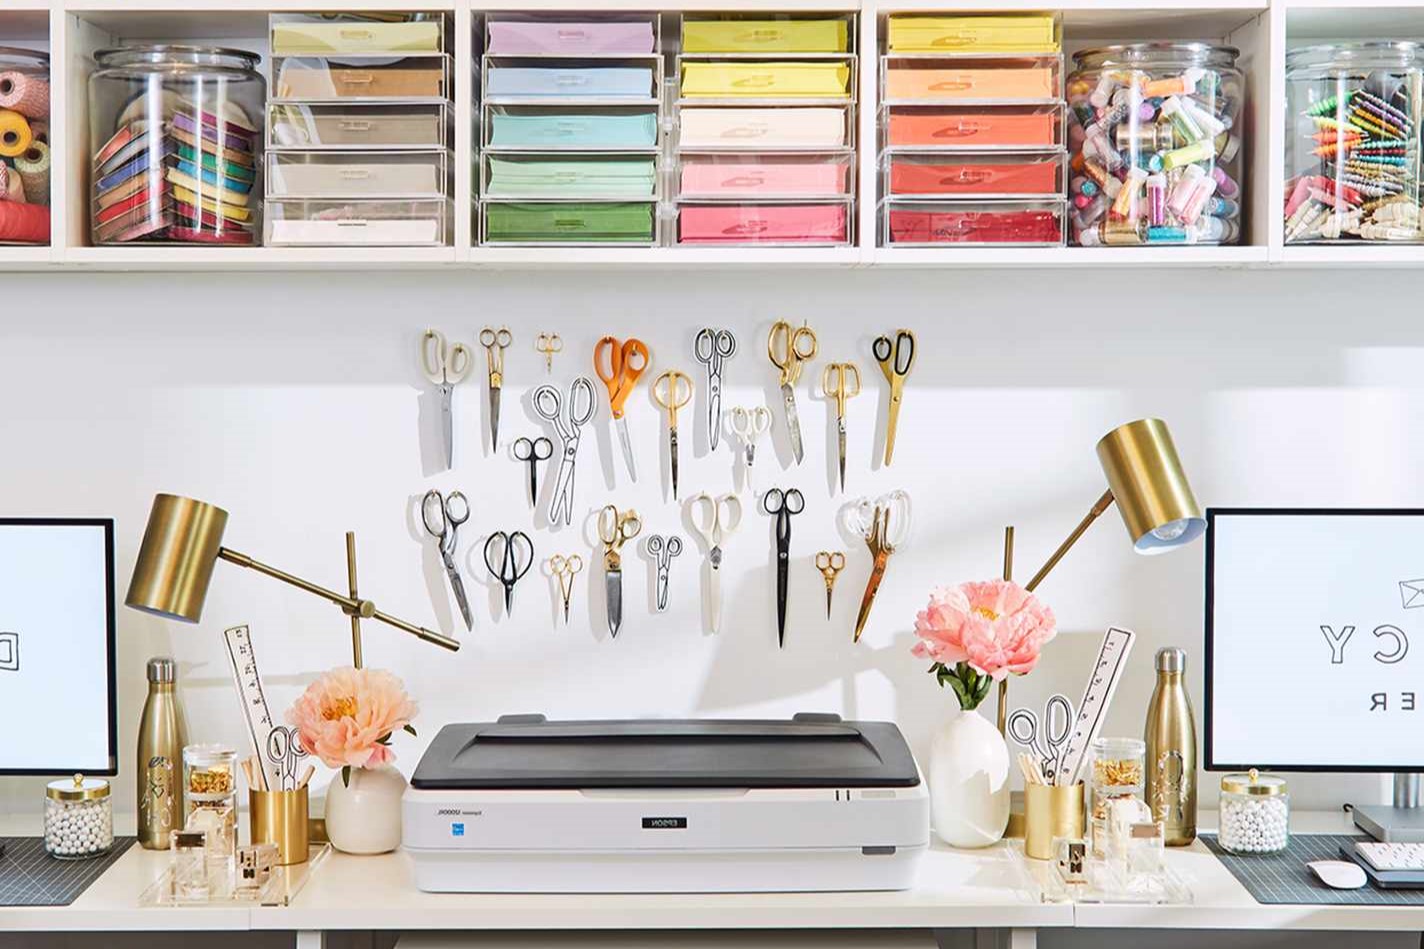
Pegboards and Hooks: Install a pegboard on the wall to hang frequently used tools such as scissors, rulers, and cutting mats. Adding hooks to the pegboard allows for easy organization and quick access to these essential items.
-
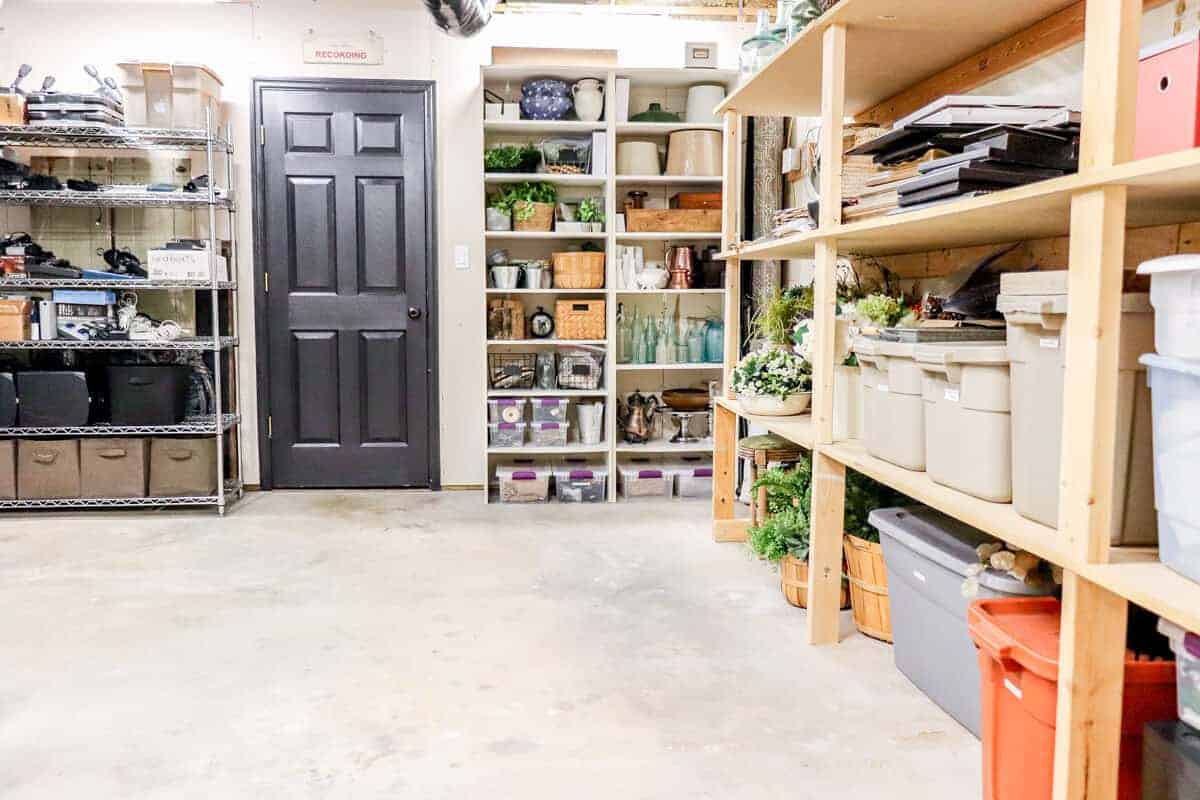
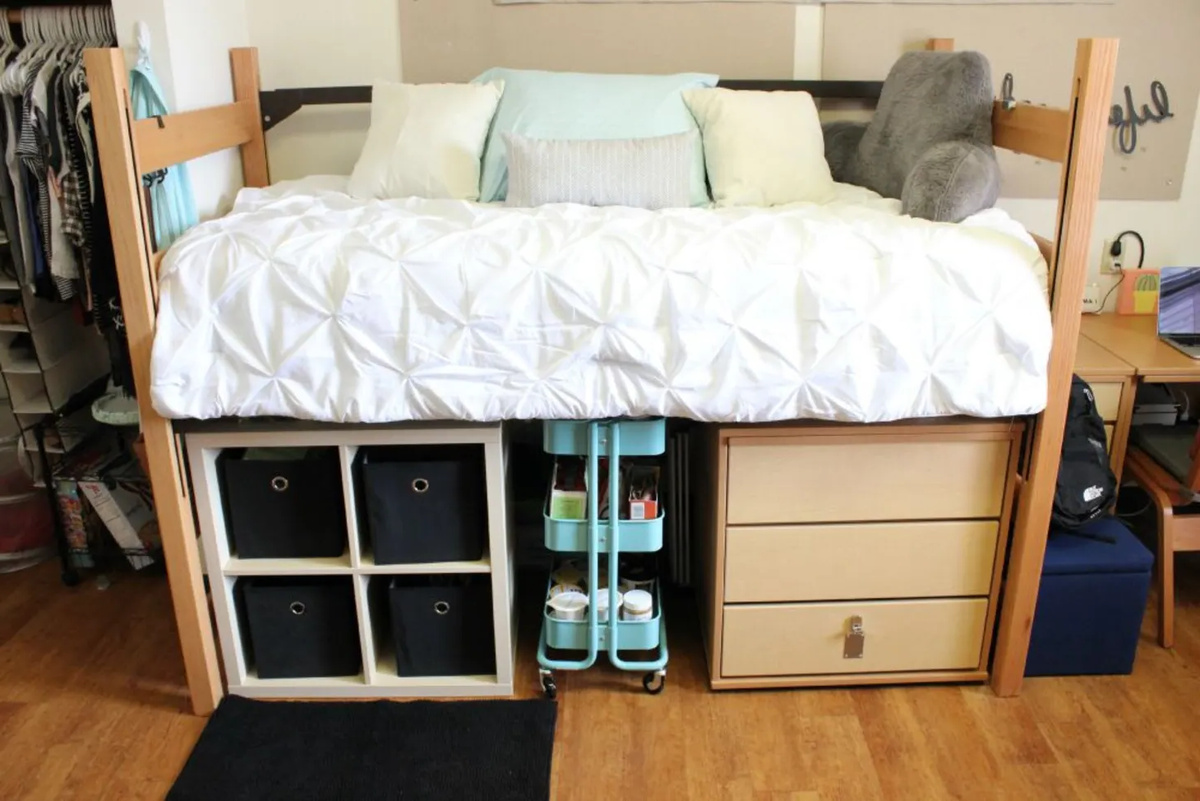
Stackable Storage: Stackable storage units are perfect for maximizing vertical space. They are great for storing fabric, yarn, and other materials, keeping them neatly organized while saving floor space.
-
Labeling: Once you have chosen your storage solutions, don't forget to label everything. Clear, descriptive labels on bins, drawers, and containers make it easy to locate specific items and maintain an organized craft room.
By choosing the right storage solutions for your craft room, you can create a well-organized space that not only looks great but also makes crafting more enjoyable and efficient.
Sorting and Decluttering Your Supplies
When it comes to organizing a craft room, sorting and decluttering your supplies is a crucial step in creating a functional and inspiring workspace. Here are some detailed steps to help you effectively sort and declutter your craft supplies:
-
Assess Your Inventory: Begin by gathering all your craft supplies in one central area. This will give you a clear view of the items you have and help you assess the quantity and types of supplies you need to organize.
-
Sort by Category: Categorize your supplies into groups such as paper products, fabric, yarn, paints, brushes, tools, and embellishments. Sorting items by category will make it easier to identify duplicates and determine the best storage solutions for each group.
-
Purge Unwanted Items: As you sort through your supplies, be ruthless in decluttering. Discard any items that are damaged, expired, or no longer spark joy. Consider donating excess supplies to schools, community centers, or other crafters who may find them useful.
-
Evaluate Frequency of Use: Consider how often you use each item. If there are supplies that have been sitting untouched for a long time, it may be time to let go of them. Focus on keeping the supplies that align with your current crafting interests and projects.
-
Organize Tools and Equipment: In addition to craft supplies, don't forget to sort and declutter your tools and equipment. Dispose of any broken or redundant tools and ensure that the remaining tools are easily accessible and well-organized.
-
Create a System for Small Items: Small items such as buttons, beads, and sequins can easily become disorganized. Invest in small containers, jars, or compartmentalized storage solutions to keep these items sorted and easily accessible.
-
Consider Storage Space: As you declutter, take note of the available storage space in your craft room. This will help you determine the quantity of supplies you can realistically keep and ensure that you have adequate storage solutions for the items you decide to retain.
-
Maintain an Organized System: Once you have sorted and decluttered your supplies, establish a system for maintaining organization. Regularly revisit your supplies to ensure that new items are promptly sorted and that the space remains clutter-free.
By following these detailed steps for sorting and decluttering your craft supplies, you can create a well-organized and efficient craft room that enhances your creativity and enjoyment of crafting.
Setting Up Workstations for Different Crafts
Setting up dedicated workstations for different crafts is essential for creating a versatile and efficient craft room. Here are detailed steps to help you set up workstations tailored to specific crafting activities:
-
Assess Craft Requirements: Begin by assessing the specific requirements of each craft you'll be accommodating in your craft room. Consider the space, lighting, and tools needed for activities such as sewing, painting, scrapbooking, and jewelry making.
-
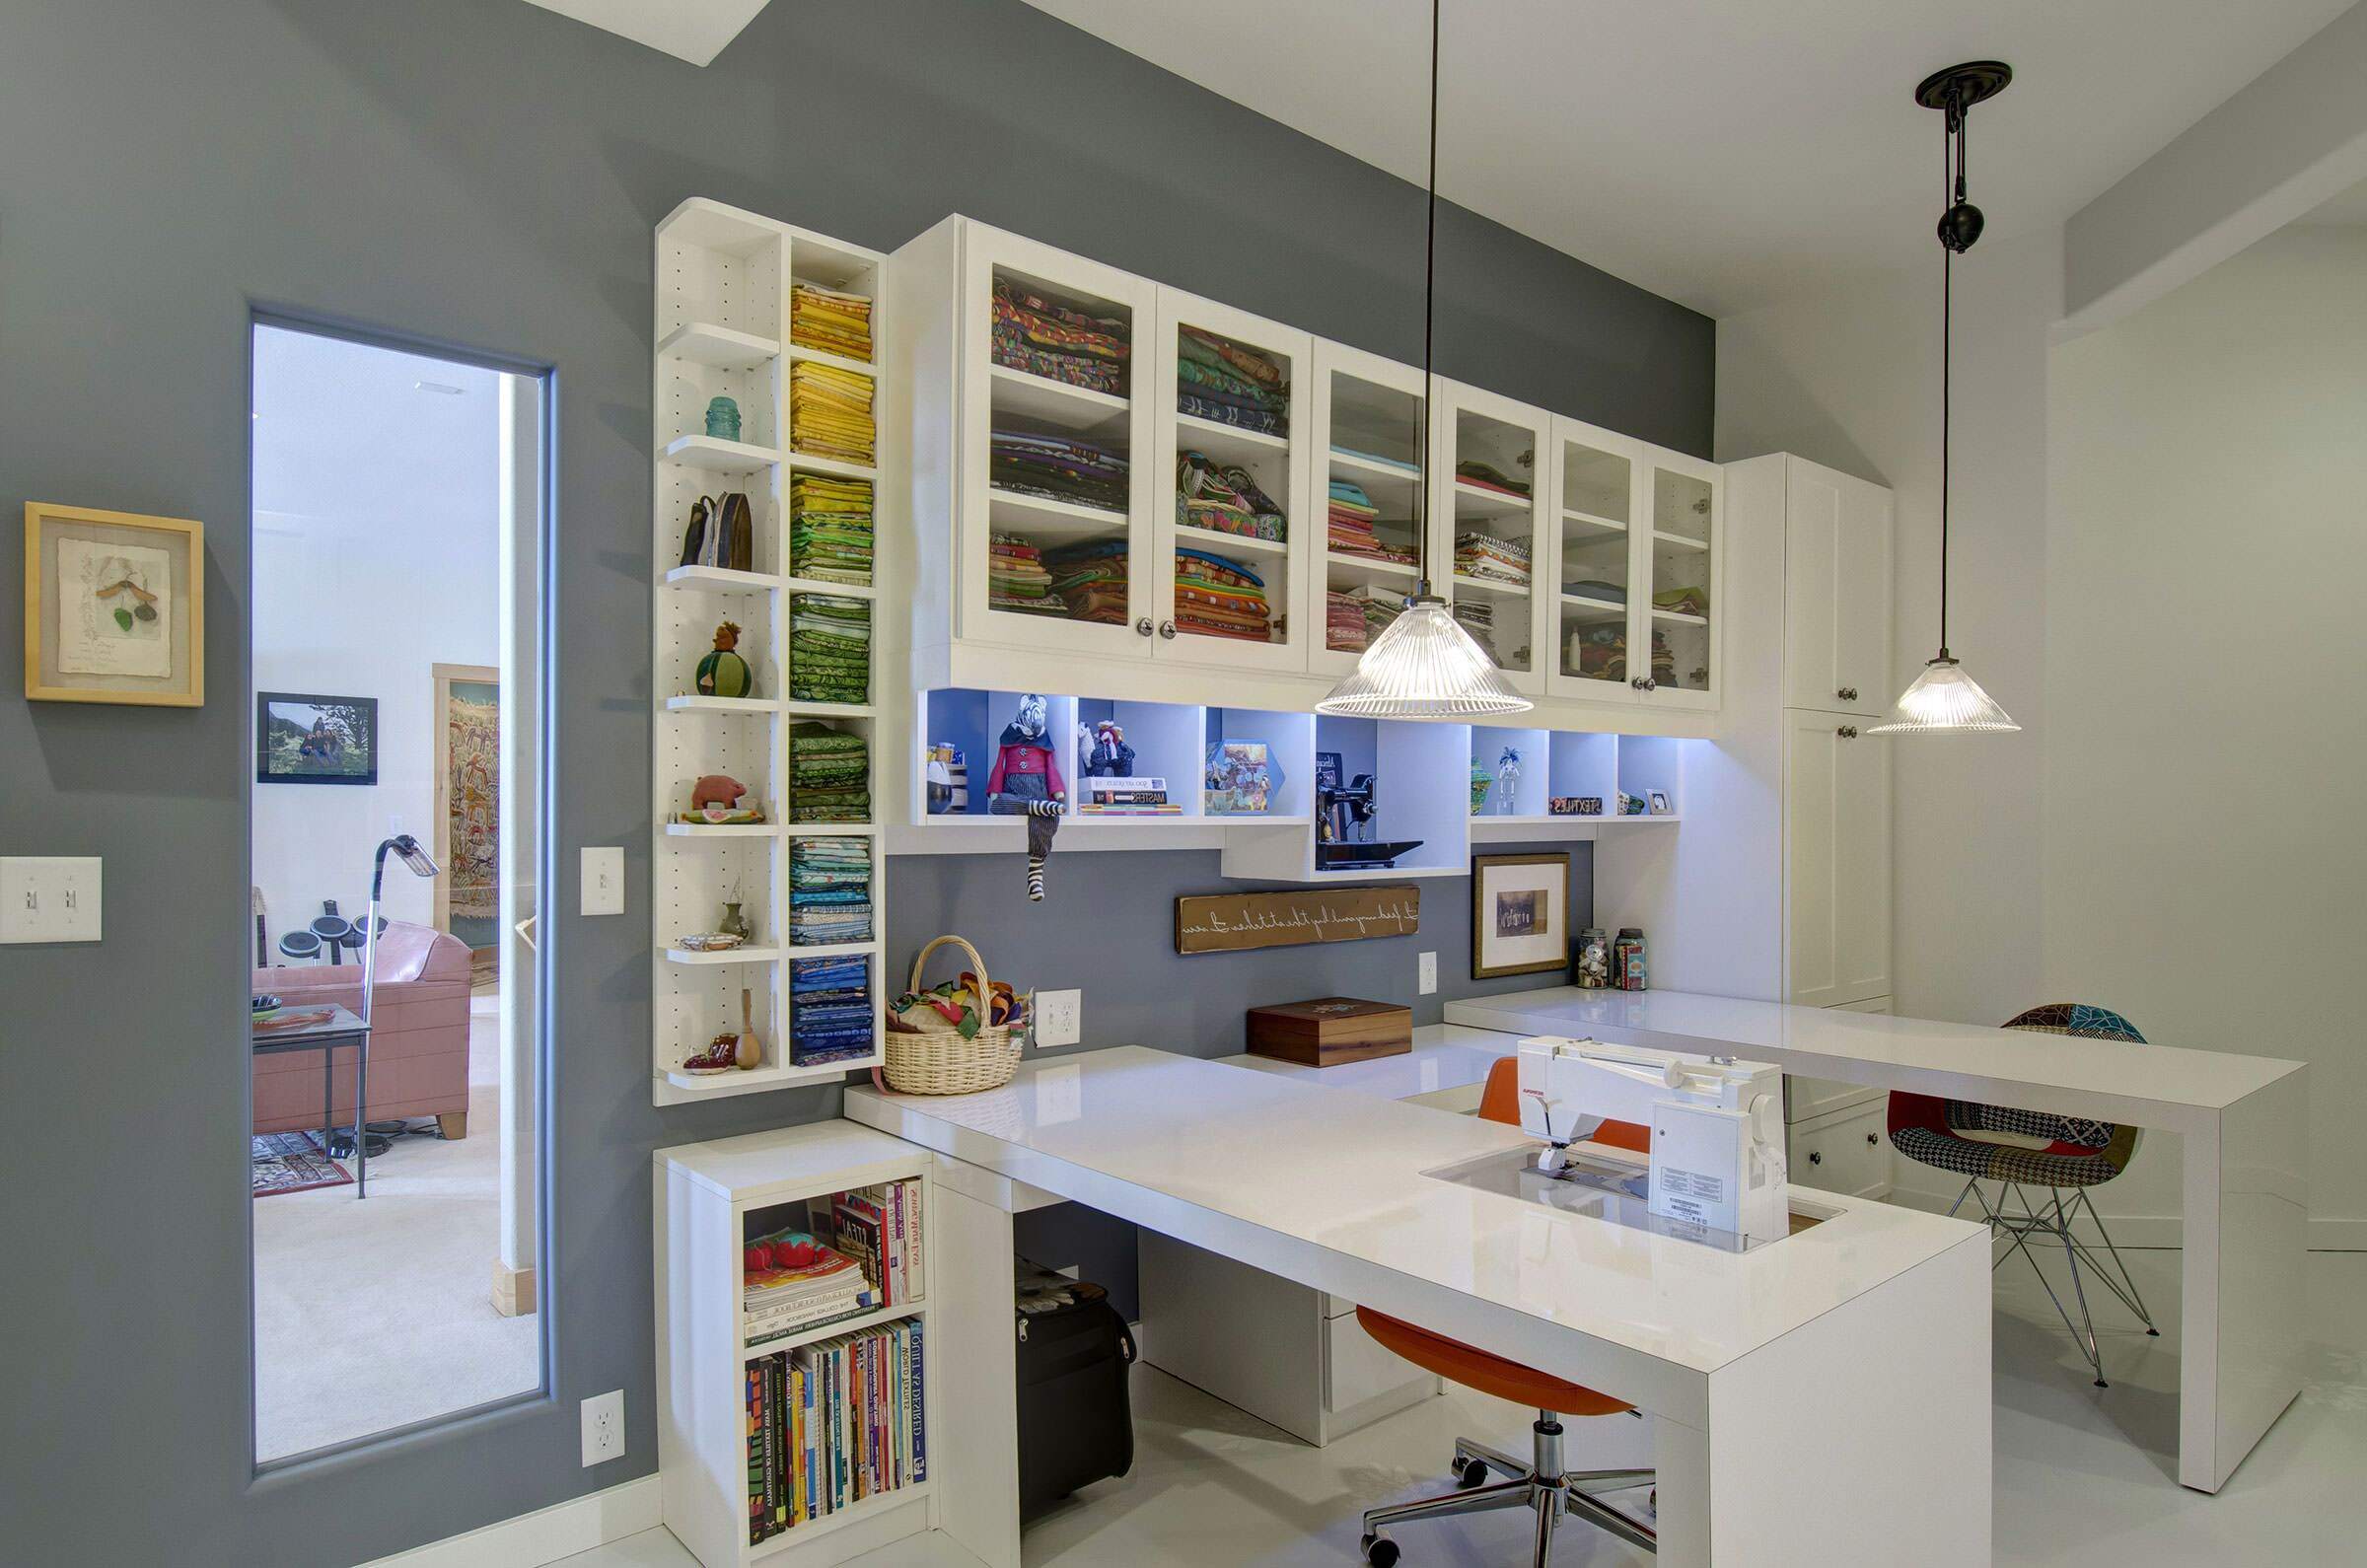
Designated Sewing Area: For sewing projects, set up a dedicated sewing area with a sturdy table for your sewing machine, ample space for fabric cutting, and storage for threads, needles, and other sewing notions. Ensure that the area is well-lit and has easy access to power outlets.
-
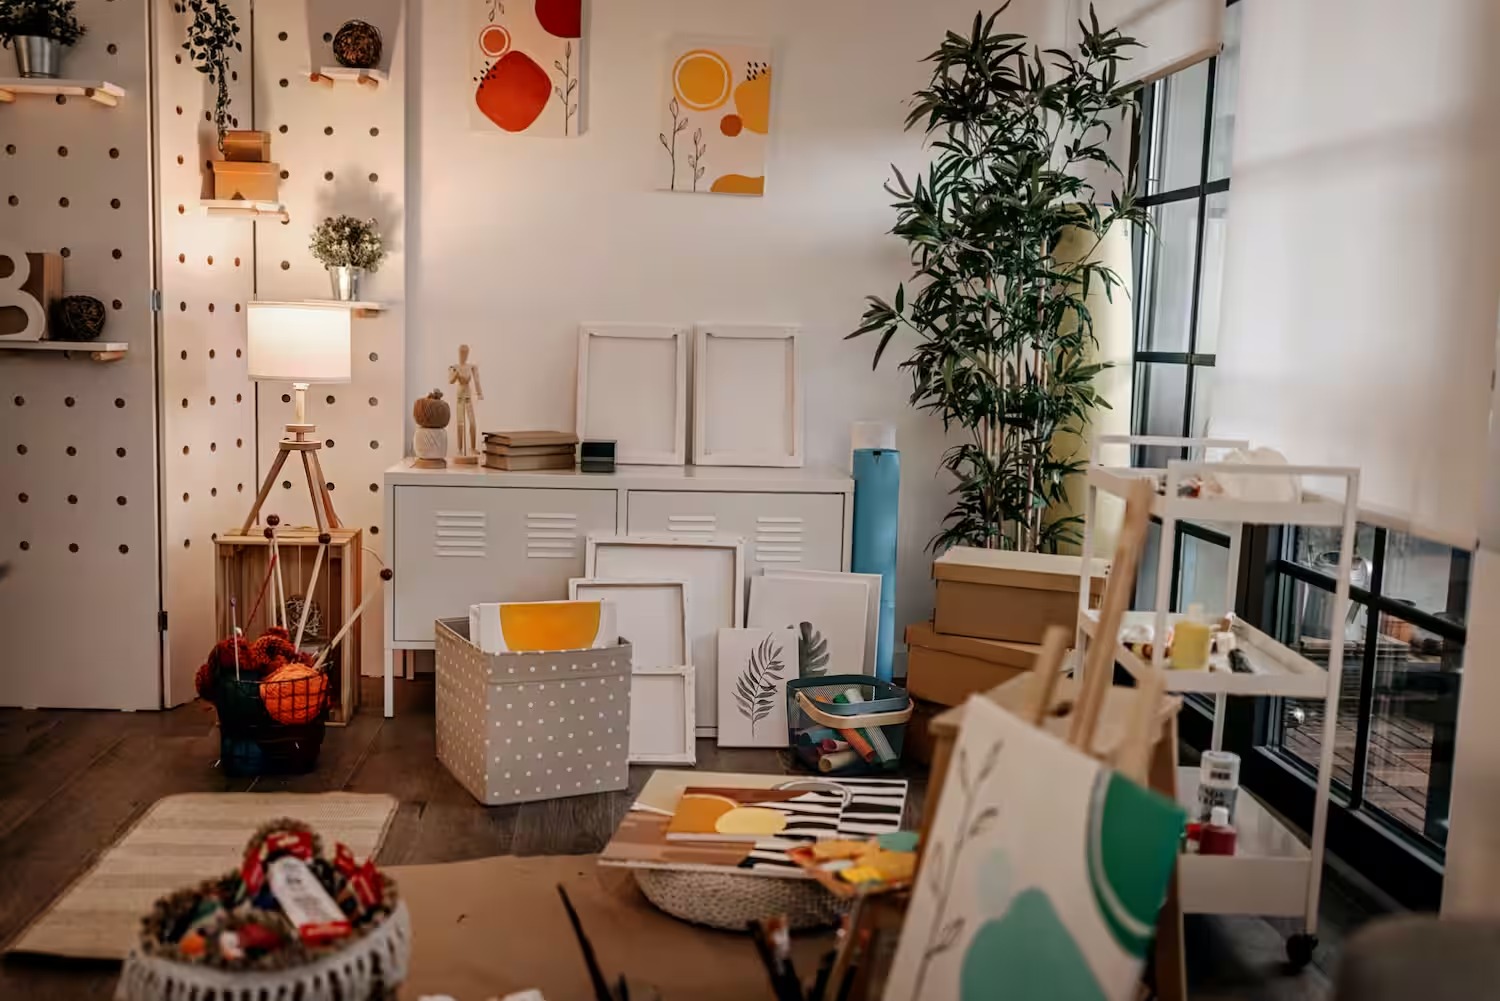
Painting Zone: Create a designated painting zone with an easel or a large table for painting projects. Consider installing a wash sink or having water and cleaning supplies nearby for easy cleanup. Adequate ventilation is also important for this area.
-
Scrapbooking Station: If you enjoy scrapbooking, set up a station with a spacious work surface for arranging photos and embellishments. Incorporate storage for paper, stickers, and other scrapbooking supplies, keeping them organized and within reach.
-
Jewelry Making Corner: For jewelry making, designate a corner with a comfortable chair and a well-lit work surface. Organize beads, wires, and tools in clear containers or drawers for easy access and visibility.
-
Multi-Purpose Workstation: Consider creating a multi-purpose workstation for crafts that require a variety of tools and materials. This area can be equipped with a versatile table, adjustable lighting, and storage solutions that can accommodate different crafting activities.
-
Ergonomic Considerations: When setting up workstations, pay attention to ergonomics. Ensure that chairs are comfortable and adjustable, and that work surfaces are at the appropriate height to prevent strain and fatigue during extended crafting sessions.
-
Flexibility and Adaptability: Design workstations with flexibility in mind. Consider furniture and storage solutions that can be easily reconfigured to accommodate different projects and crafting techniques.
By following these detailed steps, you can create specialized workstations that cater to the unique requirements of various crafts, making your craft room a versatile and inspiring space for creative pursuits.
Use clear storage containers to keep your craft supplies organized and easily accessible. Label each container with the contents to quickly find what you need.
Creating a Functional and Inspiring Workspace
Crafting is not just a hobby; it's a form of self-expression and creativity. Therefore, creating a functional and inspiring workspace is essential for fostering a productive and enjoyable crafting experience. Here are detailed steps to help you transform your craft room into a space that ignites creativity and supports your crafting endeavors:
-
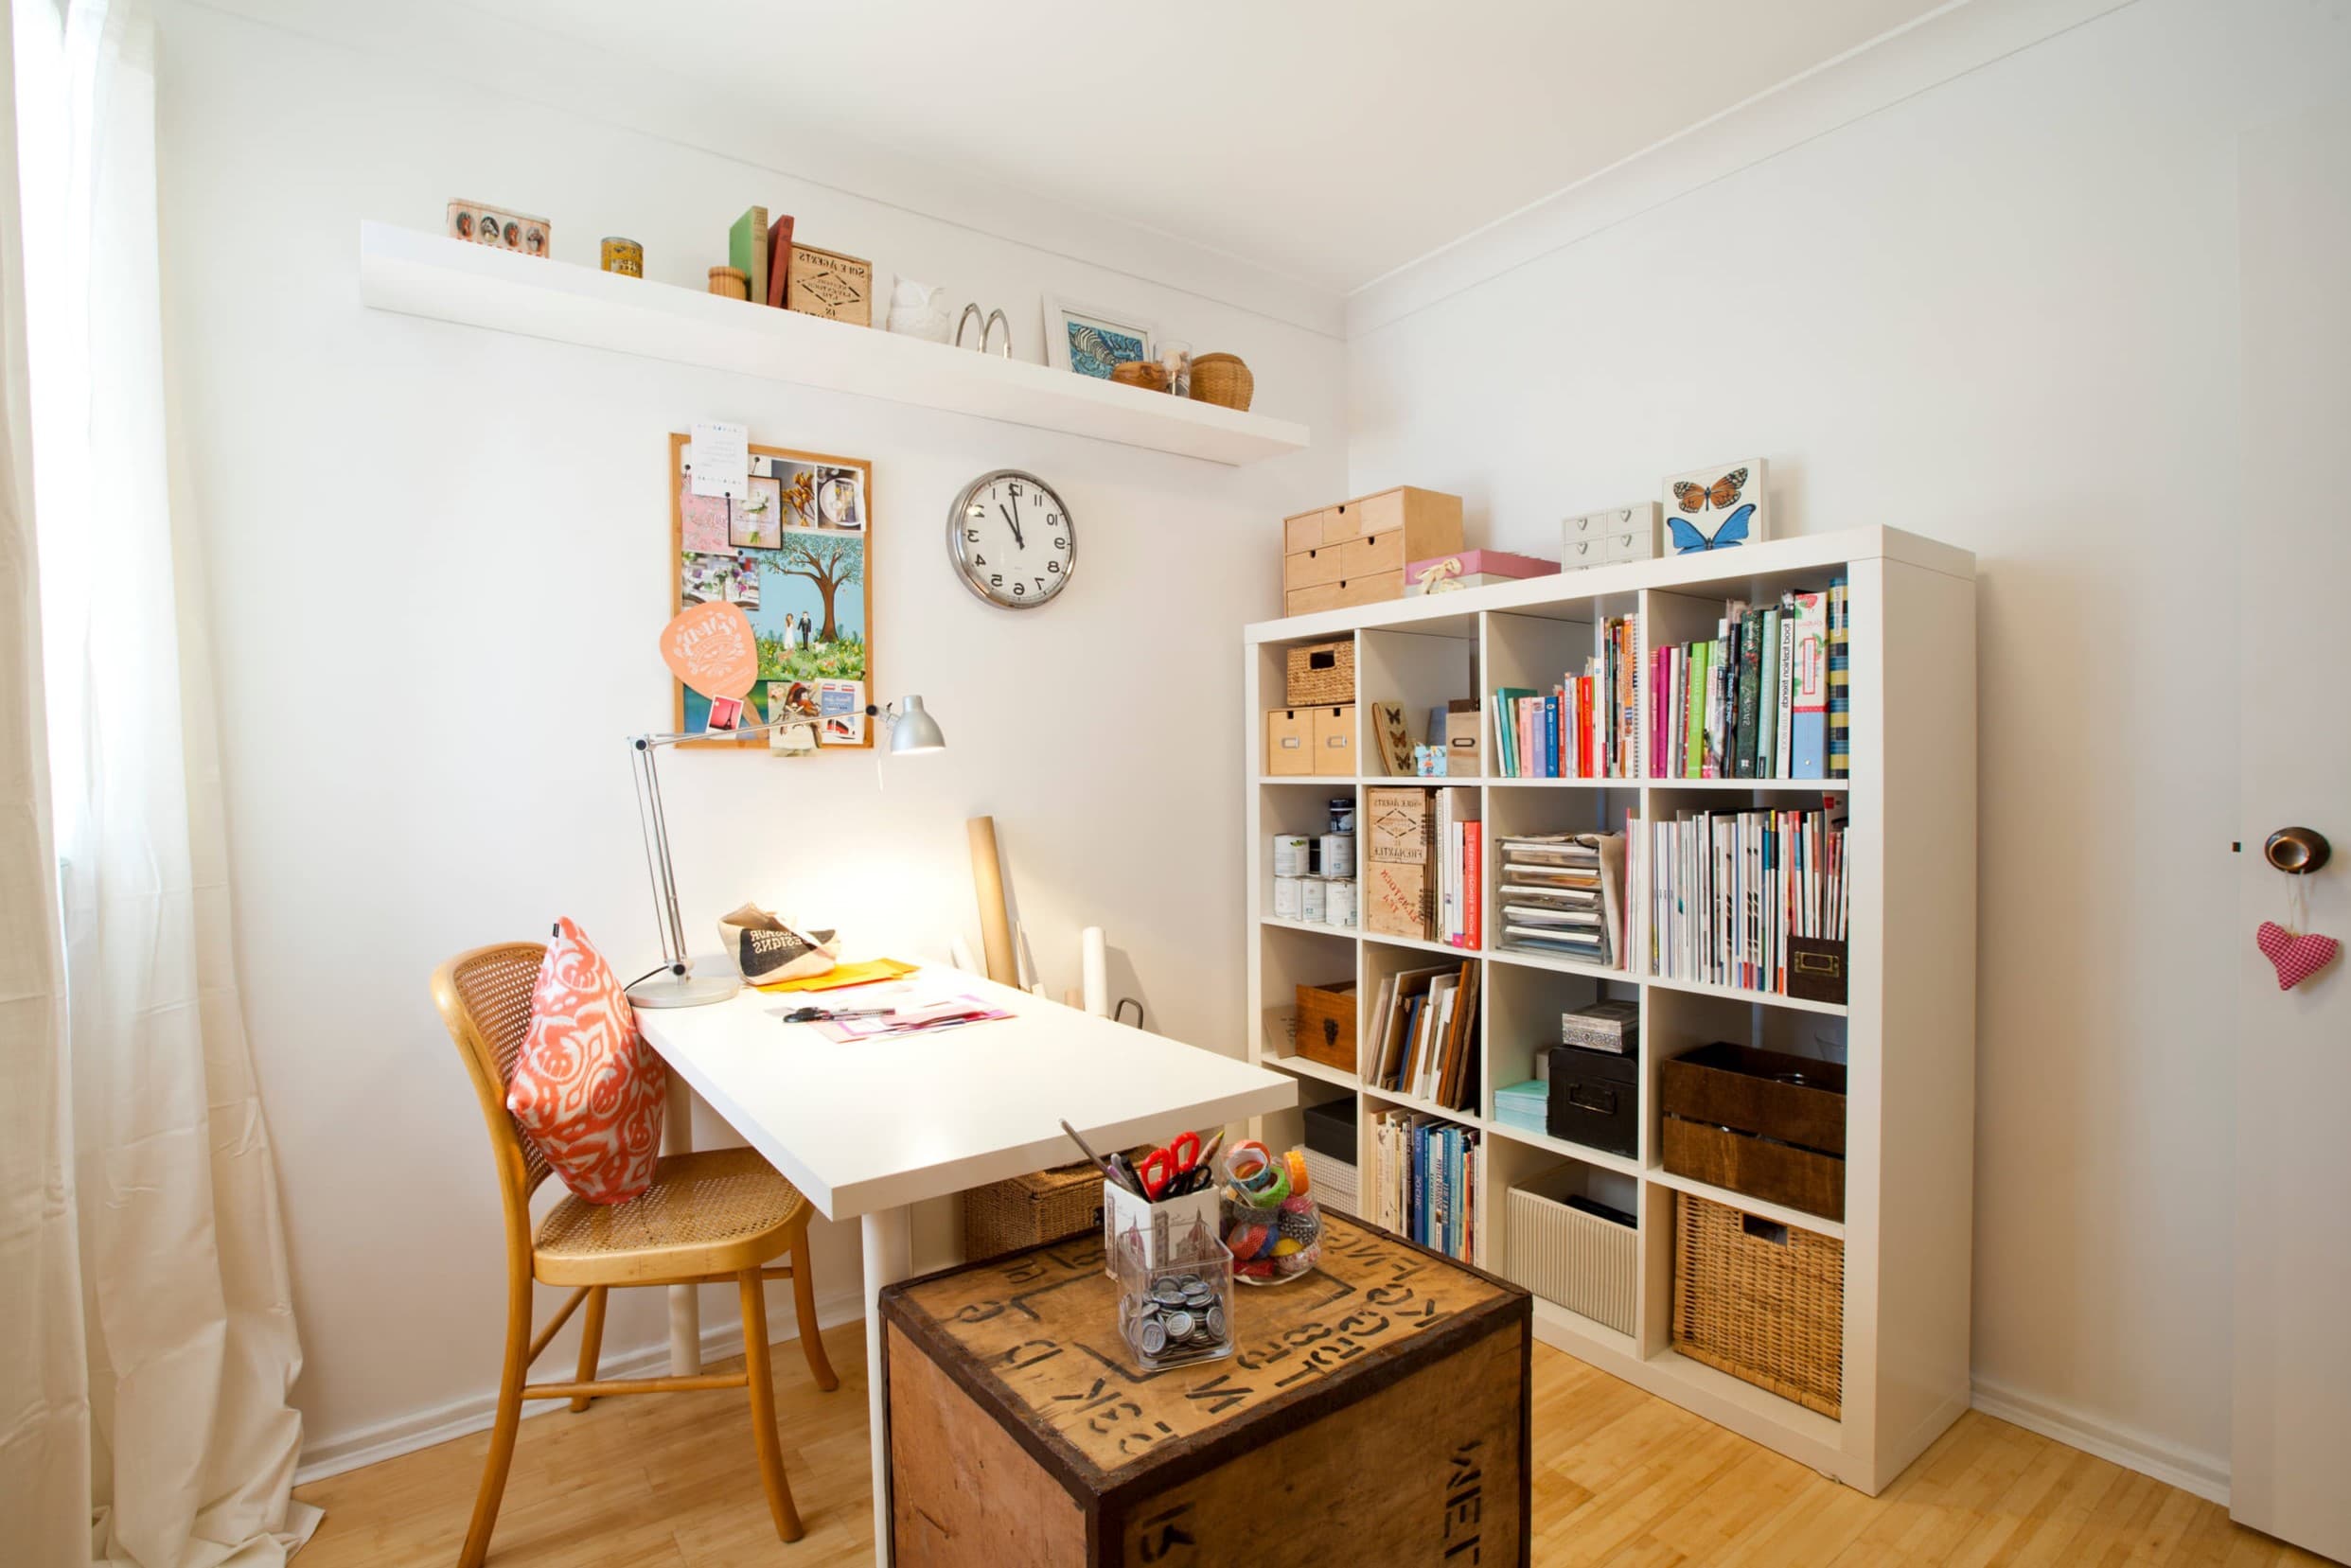
Personalize Your Space: Infuse your personality into the craft room by incorporating elements that inspire you. Whether it's displaying artwork, photographs, or inspirational quotes, surrounding yourself with things that resonate with you can fuel your creativity and make the space uniquely yours.
-
Organize with Aesthetics in Mind: While functionality is crucial, aesthetics play a significant role in creating an inspiring workspace. Choose storage solutions, furniture, and decor that not only serve a practical purpose but also contribute to the overall visual appeal of the room. Opt for colors and patterns that uplift your mood and reflect your personal style.
-
Incorporate Greenery: Introducing plants into your craft room can breathe life into the space and create a calming atmosphere. Consider adding low-maintenance indoor plants or succulents to bring a touch of nature indoors. Not only do plants enhance the visual appeal of the room, but they also contribute to a healthier indoor environment.
-
Display Your Creations: Showcase your finished projects and works in progress as a source of inspiration. Whether it's a gallery wall for displaying artwork, a quilt rack for showcasing quilts, or a dedicated shelf for pottery, seeing your creations on display can serve as a reminder of your creative journey and motivate you to continue crafting.
-
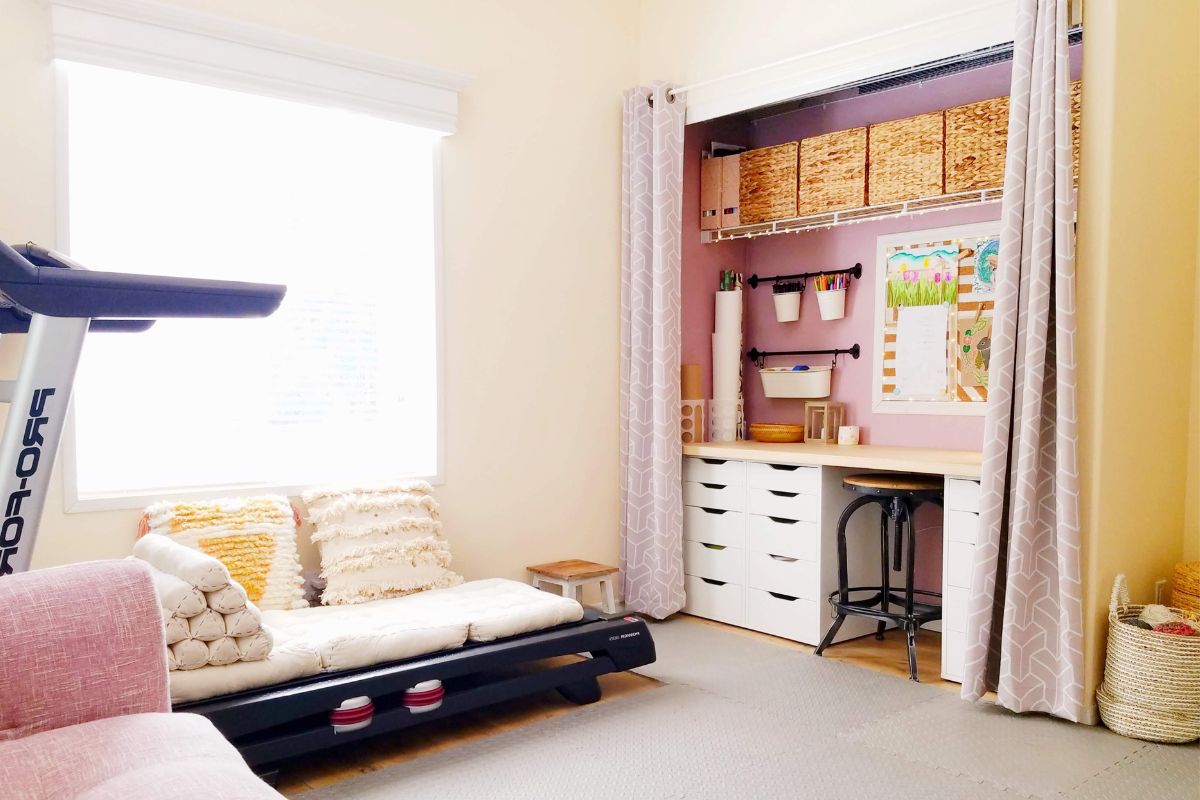
Create a Cozy Nook: Designate a cozy corner in your craft room where you can relax, read, or sketch. A comfortable armchair, a reading lamp, and a small side table can transform a corner of the room into a retreat where you can unwind and gather inspiration for your next project.
-
Inspiring Lighting: Proper lighting is essential for a functional craft room. Consider incorporating natural light as much as possible, and supplement it with task lighting for detailed work. Adjustable lighting options allow you to customize the illumination based on the specific crafting activity, creating an environment that is both practical and inspiring.
-
Music and Ambiance: Set the mood with background music or ambient sounds that enhance your creativity. Whether it's your favorite playlist, soothing instrumental music, or nature sounds, creating a pleasant auditory environment can elevate your crafting experience and keep you motivated.
By implementing these detailed steps, you can transform your craft room into a functional and inspiring workspace that nurtures your creativity and provides a welcoming environment for all your crafting pursuits.
Read more: Creating A Functional Craft Room In A Garage
Organizing Tools and Equipment
Organizing tools and equipment is a crucial aspect of creating an efficient and functional craft room. Proper organization not only ensures that your tools are easily accessible when needed but also helps maintain a clutter-free workspace. Here are detailed steps to help you effectively organize your tools and equipment:
-
Assess Your Tool Collection: Begin by gathering all your crafting tools and equipment in one place. This includes scissors, cutting mats, rulers, brushes, knitting needles, crochet hooks, and any other tools specific to your crafting activities. Assessing your entire collection will give you a clear understanding of the types and quantities of tools you need to organize.
-
Categorize and Sort: Categorize your tools based on their functions. For example, group cutting tools together, separate painting brushes from knitting needles, and organize sewing notions into distinct categories. Sorting your tools in this manner will make it easier to identify the most suitable storage solutions for each group.
-
Select Appropriate Storage: Choose storage solutions that are tailored to the specific needs of your tools. For instance, consider a wall-mounted pegboard for hanging frequently used tools such as scissors, rulers, and cutting mats. Utilize clear jars or containers for storing smaller items like beads, buttons, and pins, allowing for easy visibility and access.
-
Drawer and Cabinet Organization: Utilize drawer dividers and organizers to keep tools neatly arranged and prevent them from getting jumbled together. For larger tools and equipment, such as sewing machines or die-cutting machines, consider dedicated cabinets or storage units that offer both protection and accessibility.
-
Labeling and Accessibility: Once you have chosen your storage solutions, ensure that everything is appropriately labeled. Clear, descriptive labels on drawers, containers, and shelves make it easy to locate specific tools and maintain an organized system. Additionally, arrange your tools in a way that ensures easy access, with frequently used items placed within arm's reach of your primary workstations.
-
Consider Ergonomics: When organizing tools and equipment, consider the ergonomics of their placement. Ensure that heavier tools are stored at a comfortable height to prevent strain when lifting or reaching for them. Additionally, arrange tools in a way that minimizes the need for excessive bending or stretching during use.
-
Regular Maintenance: Establish a system for regularly maintaining the organization of your tools and equipment. Periodically review your storage solutions to ensure that they continue to meet your needs and accommodate any new tools that you acquire. Regular maintenance will help prevent clutter from accumulating and maintain an efficient workspace.
By following these detailed steps for organizing tools and equipment, you can create a well-structured and accessible system that enhances the functionality and efficiency of your craft room.
Maintaining Your Organized Craft Room
Maintaining an organized craft room is essential for sustaining a productive and enjoyable crafting environment. After investing time and effort into organizing your space, it's important to establish habits and systems that support the ongoing maintenance of a clutter-free and efficient workspace. Here are detailed steps to help you maintain the organization of your craft room:
-
Regular Tidying Sessions: Schedule regular tidying sessions to keep your craft room organized. Set aside time each week or month to assess the space, put away any stray items, and ensure that everything is in its designated place. Consistent tidying prevents clutter from accumulating and maintains the functionality of your craft room.
-
Return Items to Their Home: Develop the habit of returning items to their designated storage spaces after each crafting session. Whether it's tools, supplies, or unfinished projects, making a conscious effort to put things back where they belong helps prevent disorganization and saves time when you need to find specific items later.
-
Reassess and Adjust: Periodically reassess the layout and organization of your craft room. As your crafting needs evolve and new supplies are acquired, it's important to adjust your storage solutions and workstations accordingly. Regularly evaluate the effectiveness of your organization system and make adjustments as needed to accommodate changes in your crafting activities.
-
Label Maintenance: Check the labels on storage containers, drawers, and shelves to ensure that they remain accurate and legible. Over time, labels may become worn or outdated, leading to confusion about the contents of each storage area. Maintaining clear and up-to-date labels is crucial for efficient organization.
-
Preventative Decluttering: Regularly review your craft supplies and tools to identify items that are no longer needed or used. By periodically decluttering and purging unnecessary items, you can prevent the accumulation of excess materials and maintain a streamlined and organized craft room.
-
Clean and Dust Regularly: Keep your craft room clean and dust-free to maintain a pleasant and functional workspace. Regularly dust shelves, work surfaces, and storage units to prevent the buildup of debris. Additionally, consider incorporating a cleaning routine that includes vacuuming or mopping the floors to keep the entire space tidy.
-
Storage Maintenance: Inspect your storage solutions for any signs of wear or damage. Ensure that bins, containers, and shelving units are in good condition and functioning as intended. Replace any damaged or inadequate storage solutions to maintain an efficient organization system.
-
Mindful Crafting Practices: Develop mindful crafting practices that prioritize organization and cleanliness. Encourage yourself and others who use the craft room to be mindful of maintaining the organization of the space. By fostering a culture of respect for the organization system, you can collectively contribute to the ongoing maintenance of an organized craft room.
By implementing these detailed steps for maintaining your organized craft room, you can ensure that your workspace remains functional, inspiring, and conducive to your creative pursuits. Regular maintenance and thoughtful organization practices will help you sustain a well-organized craft room that supports your crafting endeavors.
Frequently Asked Questions about How To Organize A Craft Room
Was this page helpful?
At Storables.com, we guarantee accurate and reliable information. Our content, validated by Expert Board Contributors, is crafted following stringent Editorial Policies. We're committed to providing you with well-researched, expert-backed insights for all your informational needs.


0 thoughts on “How To Organize A Craft Room”