
Articles
How Long To Cook Cornish Hen In Air Fryer
Modified: October 19, 2024
Discover the perfect cooking time for Cornish hen in an air fryer with these expert articles. Cook your hens to perfection every time!
(Many of the links in this article redirect to a specific reviewed product. Your purchase of these products through affiliate links helps to generate commission for Storables.com, at no extra cost. Learn more)
Introduction
Cornish hens are a delicious and versatile poultry option that can be prepared in a variety of ways. One popular method of cooking Cornish hens is using an air fryer. Air fryers have gained popularity in recent years for their ability to cook food quickly and with less oil, resulting in healthier and crispy dishes.
If you are new to using an air fryer or simply looking for a new way to cook your Cornish hens, this article will guide you through the process. We will cover everything from preparing the hens to seasoning them, preheating the air fryer, cooking the hens to perfection, checking for doneness, and serving the final dish.
By the end of this article, you will have all the necessary information and tips to confidently cook Cornish hens in an air fryer. So, let’s get started!
Key Takeaways:
- Enjoy tender and juicy Cornish hens with crispy skin by cooking them in an air fryer. Follow the steps for preparation, seasoning, and cooking to achieve a delicious and healthier poultry dish.
- Rest and serve the cooked Cornish hens with creativity and flair. Pair them with a variety of sides and sauces to create a well-rounded and satisfying meal, perfect for any occasion.
Read more: How Long To Cook Cornish Hen On Stove Top
Preparing the Cornish Hen
The first step in cooking Cornish hens in an air fryer is properly preparing the hens. Start by ensuring that the hens are fully thawed if you have frozen hens. Thawing the hens in the refrigerator overnight is the best method to ensure even thawing.
Once the hens are thawed, remove them from the packaging and pat them dry with a paper towel. This step is essential as it helps the seasonings adhere better to the skin of the hens.
Next, you can consider whether you want to leave the hens whole or split them in half. Splitting the hens in half will allow for quicker cooking and a crispier skin. To split the hen, place it breast-side down on a cutting board and use a sharp knife or kitchen shears to cut along both sides of the backbone. Remove the backbone and press down firmly on the breastbone to flatten the hen. Repeat the process for each hen.
If you prefer to cook the hens whole, you can skip the splitting step.
After preparing the hens, it’s important to season them with your desired flavors. Let’s move on to the next section to learn how to season the Cornish hens for the best results.
Seasoning the Cornish Hen
Seasoning the Cornish hens is a crucial step in enhancing their flavor and creating a delicious meal. There are numerous seasoning options available, and you can use a variety of herbs, spices, and marinades to impart your desired taste.
One simple and commonly used seasoning method is to create a dry rub. In a small bowl, combine your preferred spices such as paprika, garlic powder, onion powder, salt, black pepper, and any other spices that suit your taste. Mix the spices well, ensuring they are evenly blended.
Before applying the dry rub, lightly coat the hens with olive oil or melted butter. This will help the seasoning adhere to the skin and contribute to a crispy texture.
Once you have coated the hens in oil or butter, generously rub the prepared dry rub mixture onto the skin, making sure to cover all areas. Massage the seasonings into the hens to ensure they are evenly coated.
If you prefer a more intense flavor, you can marinate the hens for a few hours or overnight. To marinate, prepare a mixture of your choice – it can be a combination of herbs, spices, oil, vinegar, citrus juices, or even soy sauce. Place the hens in a Ziploc bag or a shallow dish and pour the marinade over them. Make sure the hens are fully submerged in the marinade. Allow the hens to marinate in the refrigerator for at least 2 hours or overnight for maximum flavor infusion.
Remember, the seasoning choices are entirely up to your preference, so feel free to experiment with different flavors and combinations to create a unique and delicious taste for your Cornish hens.
Now that the hens are properly seasoned, it’s time to move on to the next step – preheating the air fryer.
Preheating the Air Fryer
Preheating the air fryer is an important step to ensure that the Cornish hens cook evenly and thoroughly. Just like preheating an oven, preheating the air fryer allows it to reach the desired cooking temperature before you place the hens inside.
Start by plugging in your air fryer and choosing the appropriate temperature setting for your recipe. In most cases, preheating is done at around 400°F (200°C). Consult your air fryer’s manual for specific preheating instructions and temperature recommendations.
Once you have selected the temperature, set the timer for a few minutes, usually around 3-5 minutes, and allow the air fryer to preheat. During this time, the heating element inside the fryer will warm up and reach the designated temperature.
It’s important to note that not all air fryers have a preheat function. In such cases, you can simply set the cooking temperature and let the air fryer run for a few minutes without any food inside. This will serve as a form of preheating and ensure that the air fryer is adequately heated before cooking the hens.
While the air fryer is preheating, take this time to prepare any sides or additional accompaniments you plan to serve with the Cornish hens. This will ensure that everything is ready to be enjoyed once the hens are cooked to perfection.
Once the air fryer has finished preheating, it’s time to move on to the next step and start cooking the Cornish hens.
Preheat the air fryer to 360°F. Place the seasoned Cornish hen in the air fryer basket and cook for 25-30 minutes, flipping halfway through. Use a meat thermometer to ensure the internal temperature reaches 165°F before serving. Enjoy!
Cooking the Cornish Hen
Now that the air fryer is preheated and the Cornish hens are seasoned and ready to go, it’s time to cook them to perfection.
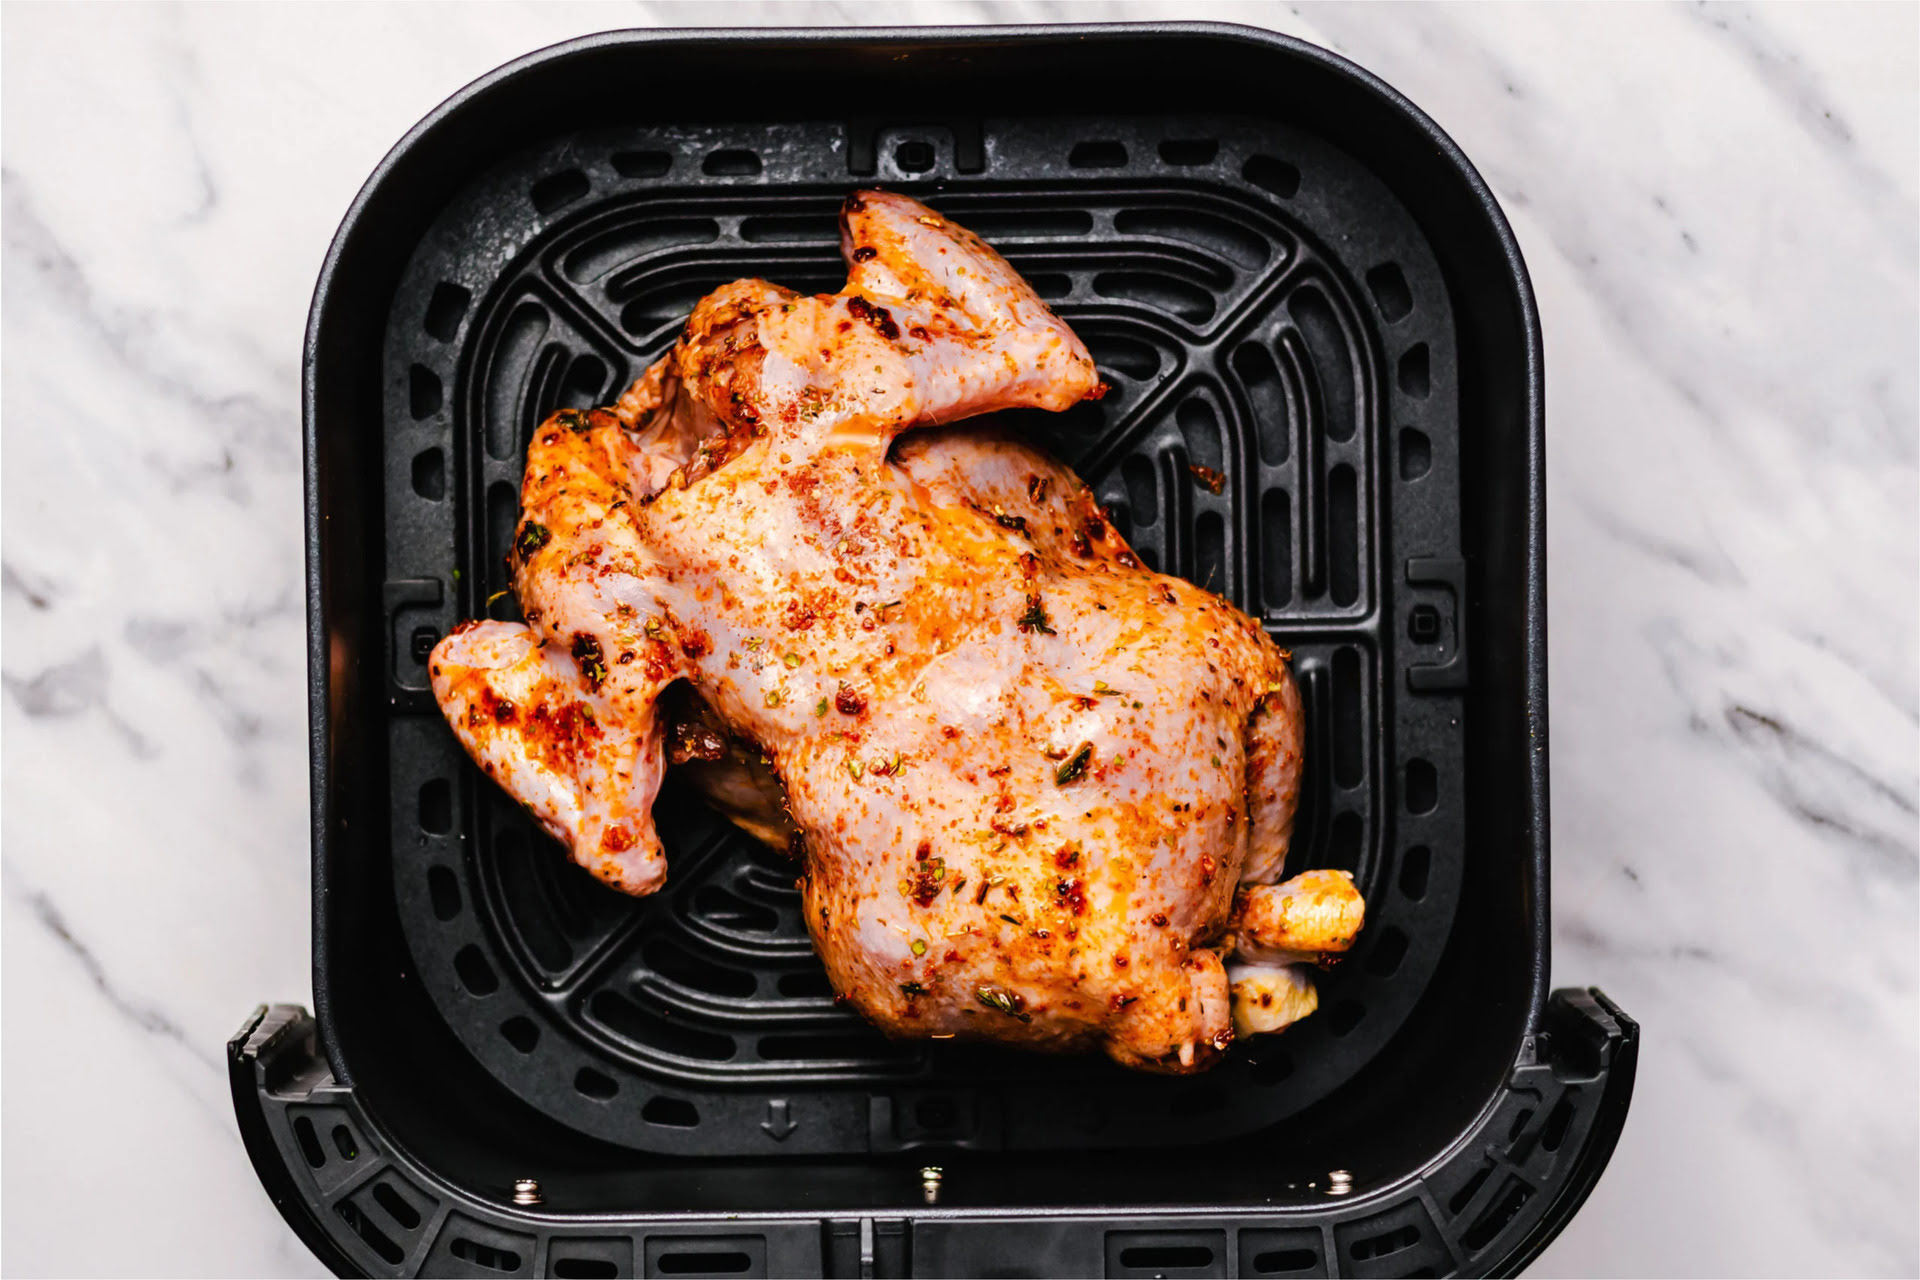
Start by placing the hens in the air fryer basket or on the air fryer rack, depending on the model you are using. If you have split the hens in half, ensure they are placed skin-side up.
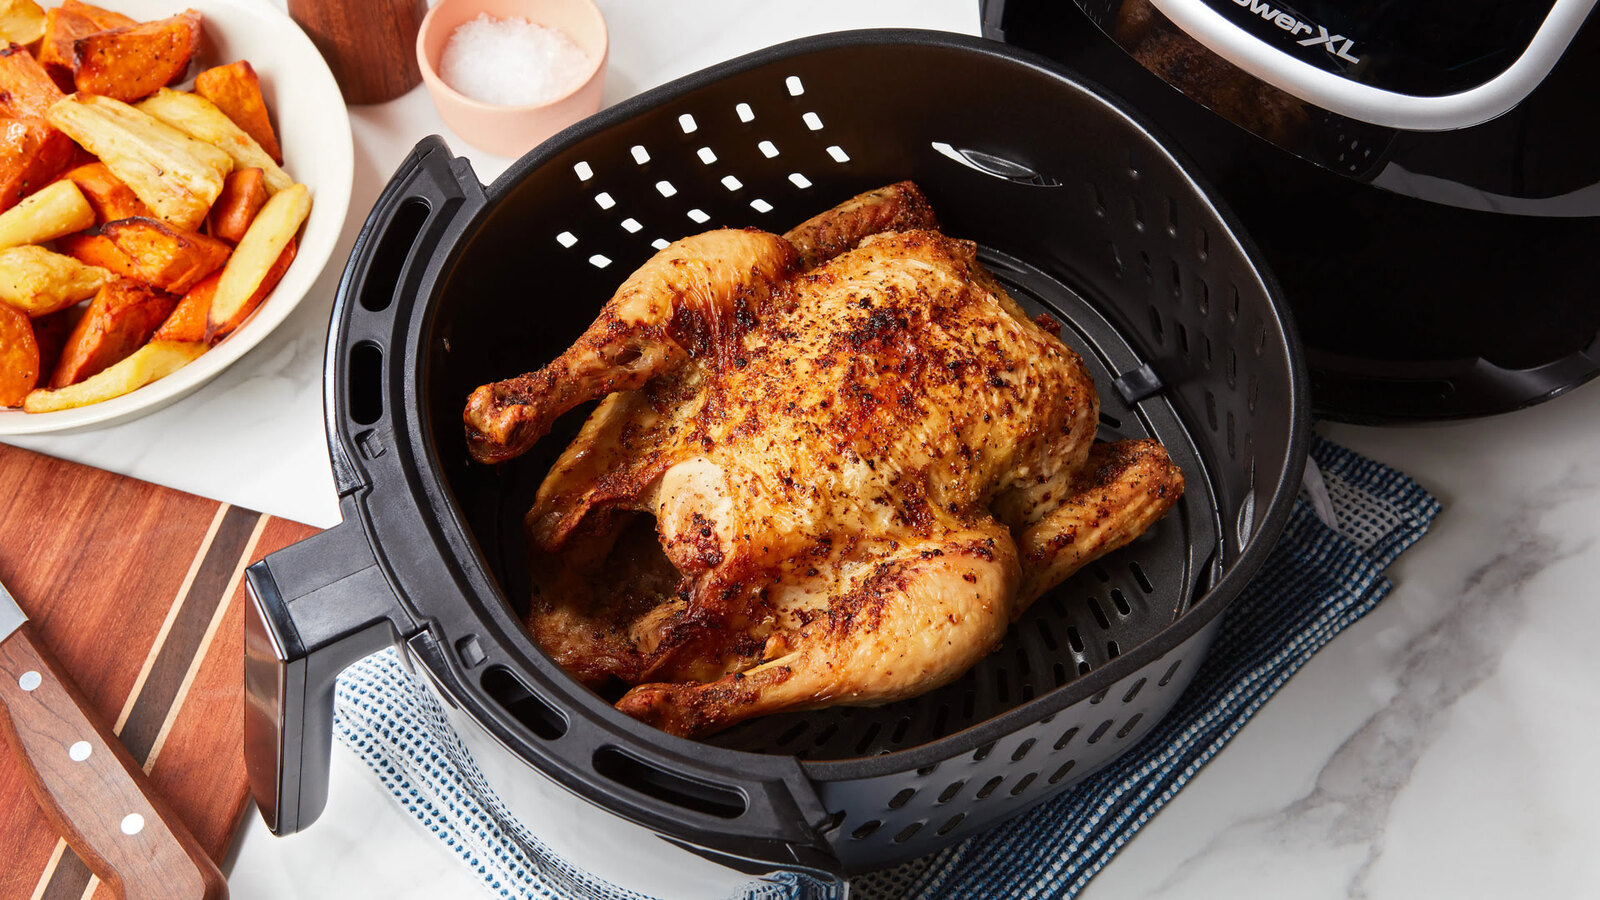
Close the air fryer and set the cooking time and temperature according to your recipe or the size of the hens. As a general guideline, cook the Cornish hens at 375°F (190°C) for approximately 25-30 minutes. However, cooking times may vary depending on the size of the hens and the specific air fryer model, so it’s essential to consult your air fryer’s manual or follow the recipe instructions for accurate cooking times.
During the cooking process, it’s advisable to check the hens periodically and give the basket a shake to ensure even cooking and browning. This will help to distribute the heat and crisp up the skin.
If you prefer a more golden and crispy skin, you can increase the temperature to 400°F (200°C) for the final few minutes of cooking. Be sure to keep a close eye on the hens during this time to prevent overcooking or burning.
Once the cooking time is up, carefully remove the hens from the air fryer using tongs or oven mitts, as they will be hot. Place them on a cutting board or a serving dish to rest before serving.
Now that the hens are cooked to perfection, it’s time to check for doneness to ensure they are cooked through and safe to eat.
Move on to the next section to learn how to check for doneness.
Read more: How To Cook Cornish Hens In Slow Cooker
Checking for Doneness
Before serving the Cornish hens, it’s crucial to check for doneness to ensure they are cooked through and safe to eat. While the cooking time and temperature provided in the previous section are generally reliable, it’s always a good idea to double-check the doneness of the hens using a meat thermometer.
Insert a meat thermometer into the thickest part of the hens, avoiding contact with the bone. The temperature should read at least 165°F (74°C) to ensure that the hens are fully cooked and safe to consume. If the temperature is lower, return the hens to the air fryer and continue cooking for a few more minutes before re-checking the temperature.
Additionally, you can visually check the hens for signs of doneness. The skin should be golden brown and crispy, and the juices should run clear when the hens are pierced with a fork. The meat itself should be opaque and moist.
Remember that cooking times may vary depending on the size of the hens and the specific air fryer model, so it’s essential to adjust the cooking time accordingly to achieve the desired level of doneness.
Once the hens are cooked through and properly checked for doneness, it’s time to let them rest before serving.
Move on to the next section to learn about the importance of resting the hens and how to serve them.
Resting and Serving the Cornish Hen
After the Cornish hens have finished cooking and been checked for doneness, it is crucial to allow them to rest before serving. Resting the hens allows the juices to redistribute throughout the meat, ensuring a moist and flavorful result.
Transfer the cooked hens to a cutting board and tent them loosely with aluminum foil. Let them rest for about 5-10 minutes. This resting period also gives you time to prepare any additional side dishes or garnishes.
Once the hens have rested, it’s time to serve them. You can serve them whole or portion them into individual servings by using a sharp knife to separate the hens into quarters or halves.
Garnish the cooked hens with fresh herbs, such as parsley or thyme, to add a pop of color and freshness. You can also drizzle them with a squeeze of lemon juice or serve them with a side of your favorite sauce or gravy.
Pair the cooked Cornish hens with a variety of side dishes, such as roasted vegetables, mashed potatoes, or a garden salad, to create a balanced and satisfying meal.
Remember to let the flavors shine by presenting the dish attractively on a serving platter or individual plates. This will not only please the eyes but also enhance the overall dining experience.
Now that you’ve learned how to rest and serve the Cornish hens, it’s time to conclude our cooking adventure.
Conclusion
Cooking Cornish hens in an air fryer is a fantastic way to prepare a delicious and flavorful meal. With the right preparation, seasoning, and cooking techniques, you can enjoy tender and juicy hens with a crispy skin, all without the need for excessive oil or complicated cooking methods.
Throughout this article, we have covered the essential steps to cook Cornish hens in an air fryer. From preparing the hens to seasoning them, preheating the air fryer, cooking them to perfection, checking for doneness, and finally, resting and serving, each step plays a crucial role in achieving a delicious end result.
Remember to follow the recommended cooking times and temperatures as a guide, but also rely on visual and temperature cues to check for doneness. Adjust the cooking time based on the size of the hens and the specific air fryer model used to achieve the desired level of doneness.
Once the hens are cooked and rested, feel free to get creative with your presentation and garnishing. Add your personal touch by pairing them with a variety of sides and sauces to create a well-rounded and satisfying meal.
Whether you are cooking for a special occasion or simply want to treat yourself to a delicious meal, cooking Cornish hens in an air fryer is a great option. Enjoy the convenience, health benefits, and incredible flavors that this cooking method offers.
So, why not give it a try? Take your air fryer, prepare those Cornish hens, and embark on a culinary journey that will leave your taste buds satisfied and your guests impressed. Happy cooking!
Frequently Asked Questions about How Long To Cook Cornish Hen In Air Fryer
Was this page helpful?
At Storables.com, we guarantee accurate and reliable information. Our content, validated by Expert Board Contributors, is crafted following stringent Editorial Policies. We're committed to providing you with well-researched, expert-backed insights for all your informational needs.

0 thoughts on “How Long To Cook Cornish Hen In Air Fryer”