Articles
How To Build 9×12 Area Rugs
Modified: December 7, 2023
Discover helpful articles on how to build 9x12 area rugs for your home. Get tips, tricks, and expert advice on creating stunning rugs.
(Many of the links in this article redirect to a specific reviewed product. Your purchase of these products through affiliate links helps to generate commission for Storables.com, at no extra cost. Learn more)
Introduction
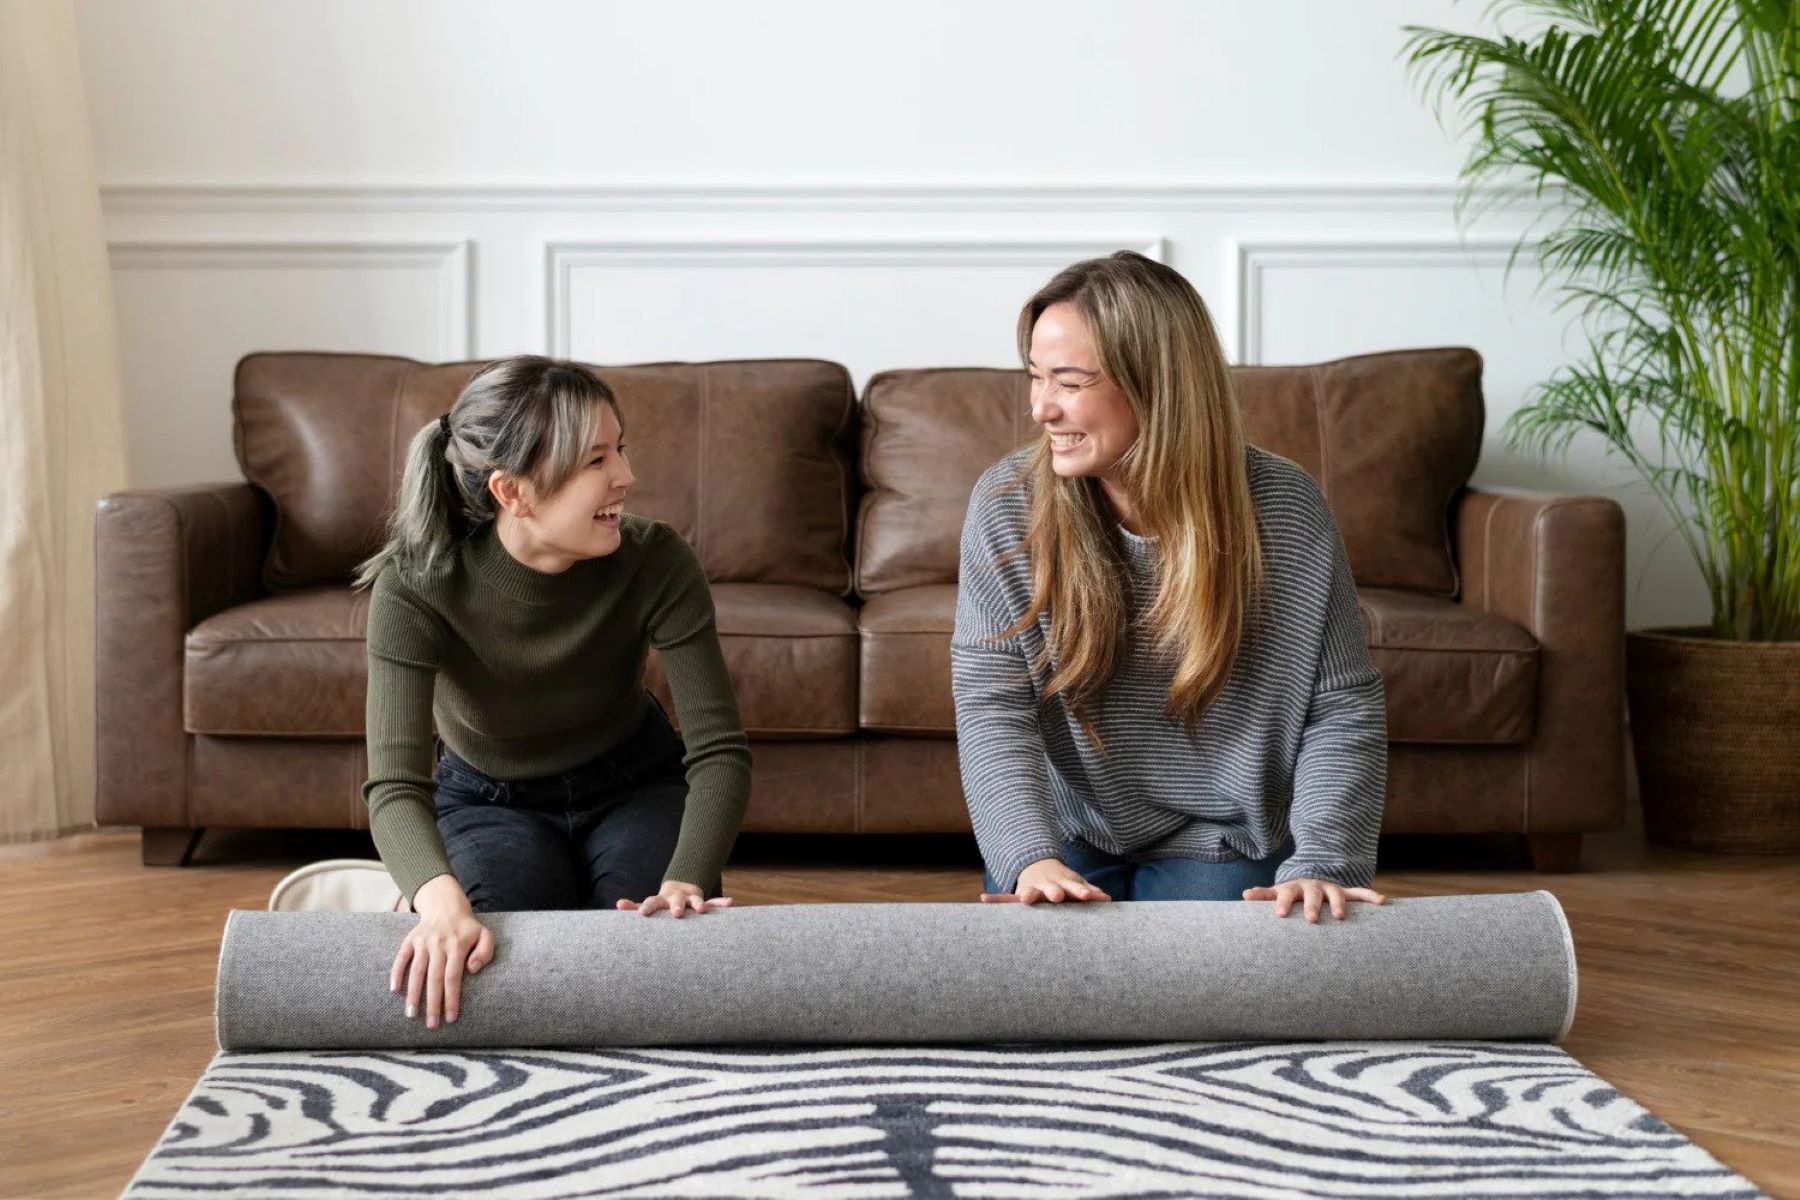
Welcome to the world of DIY rug making! If you’re looking to add a touch of charm and warmth to your home, building your own 9×12 area rug is a fantastic project to undertake. Not only does it allow you to customize the design and colors to match your interior decor, but it can also be a creative and fulfilling endeavor.
Whether you’re a seasoned crafter or a beginner looking to explore a new hobby, this step-by-step guide will walk you through the process of building a 9×12 area rug from scratch. From selecting materials to adding the finishing touches, we’ve got you covered.
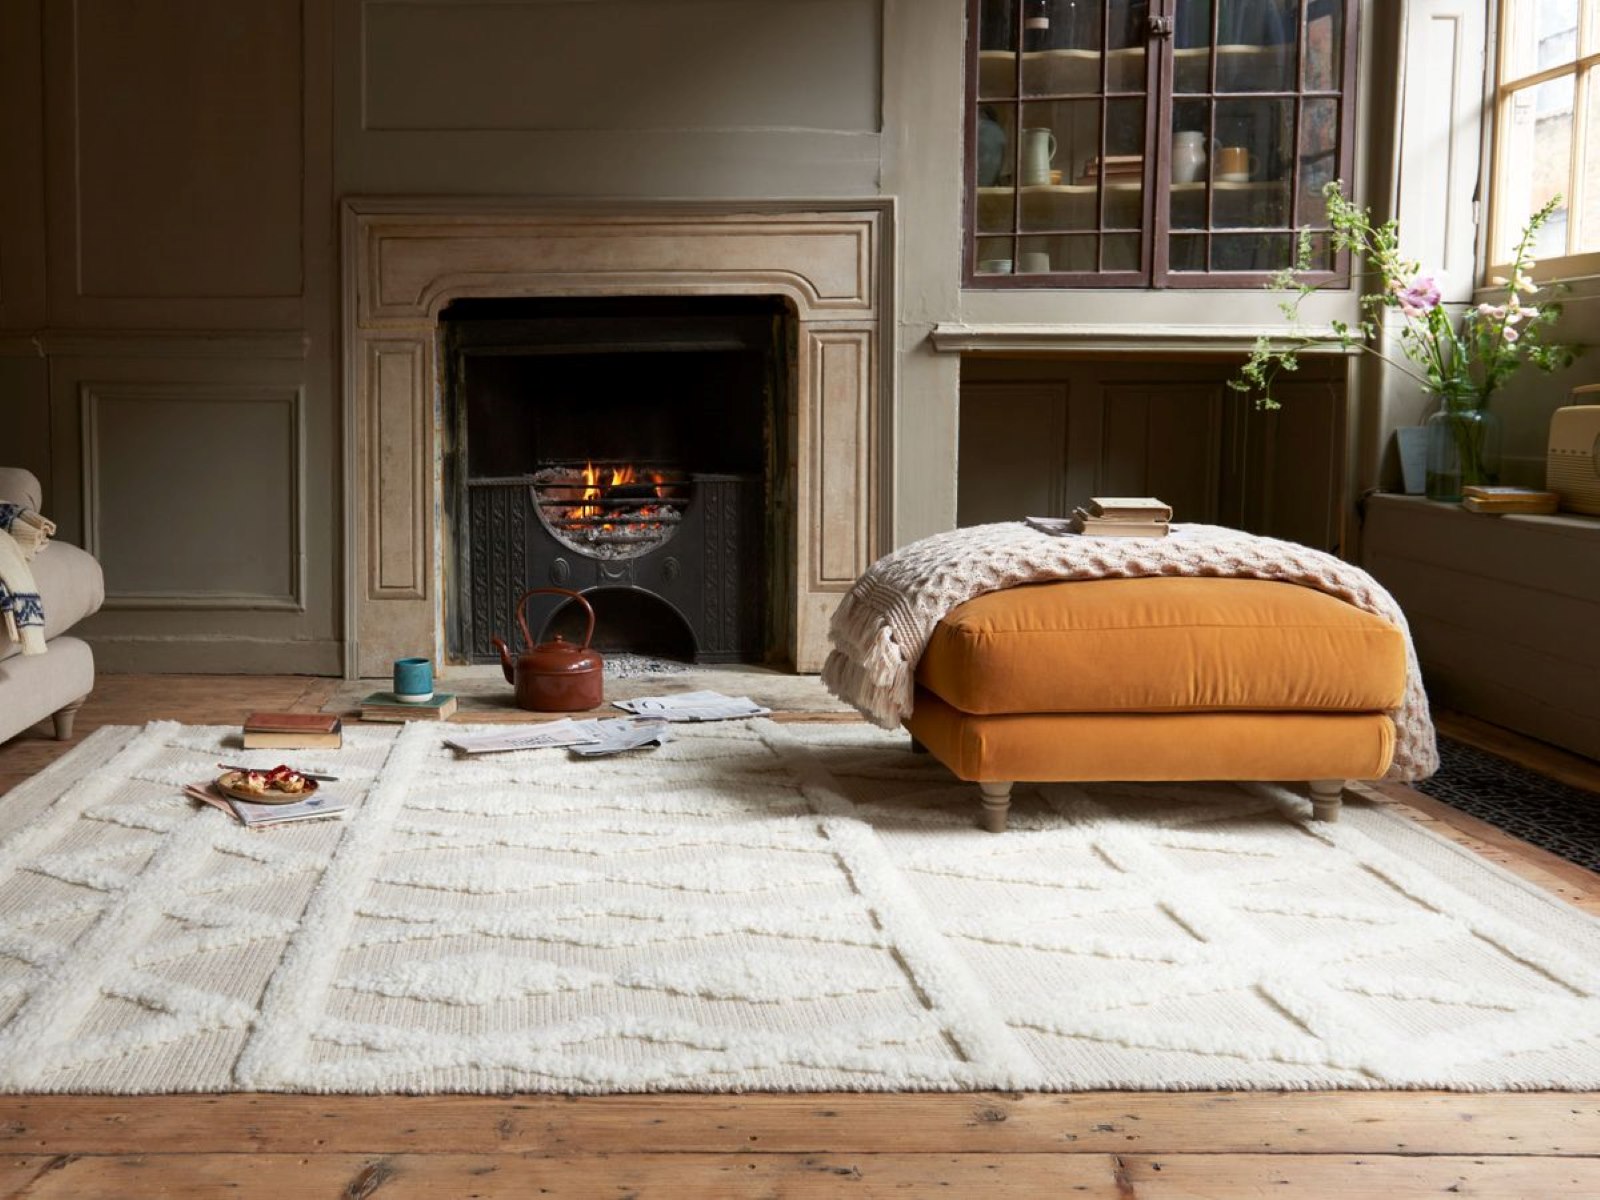
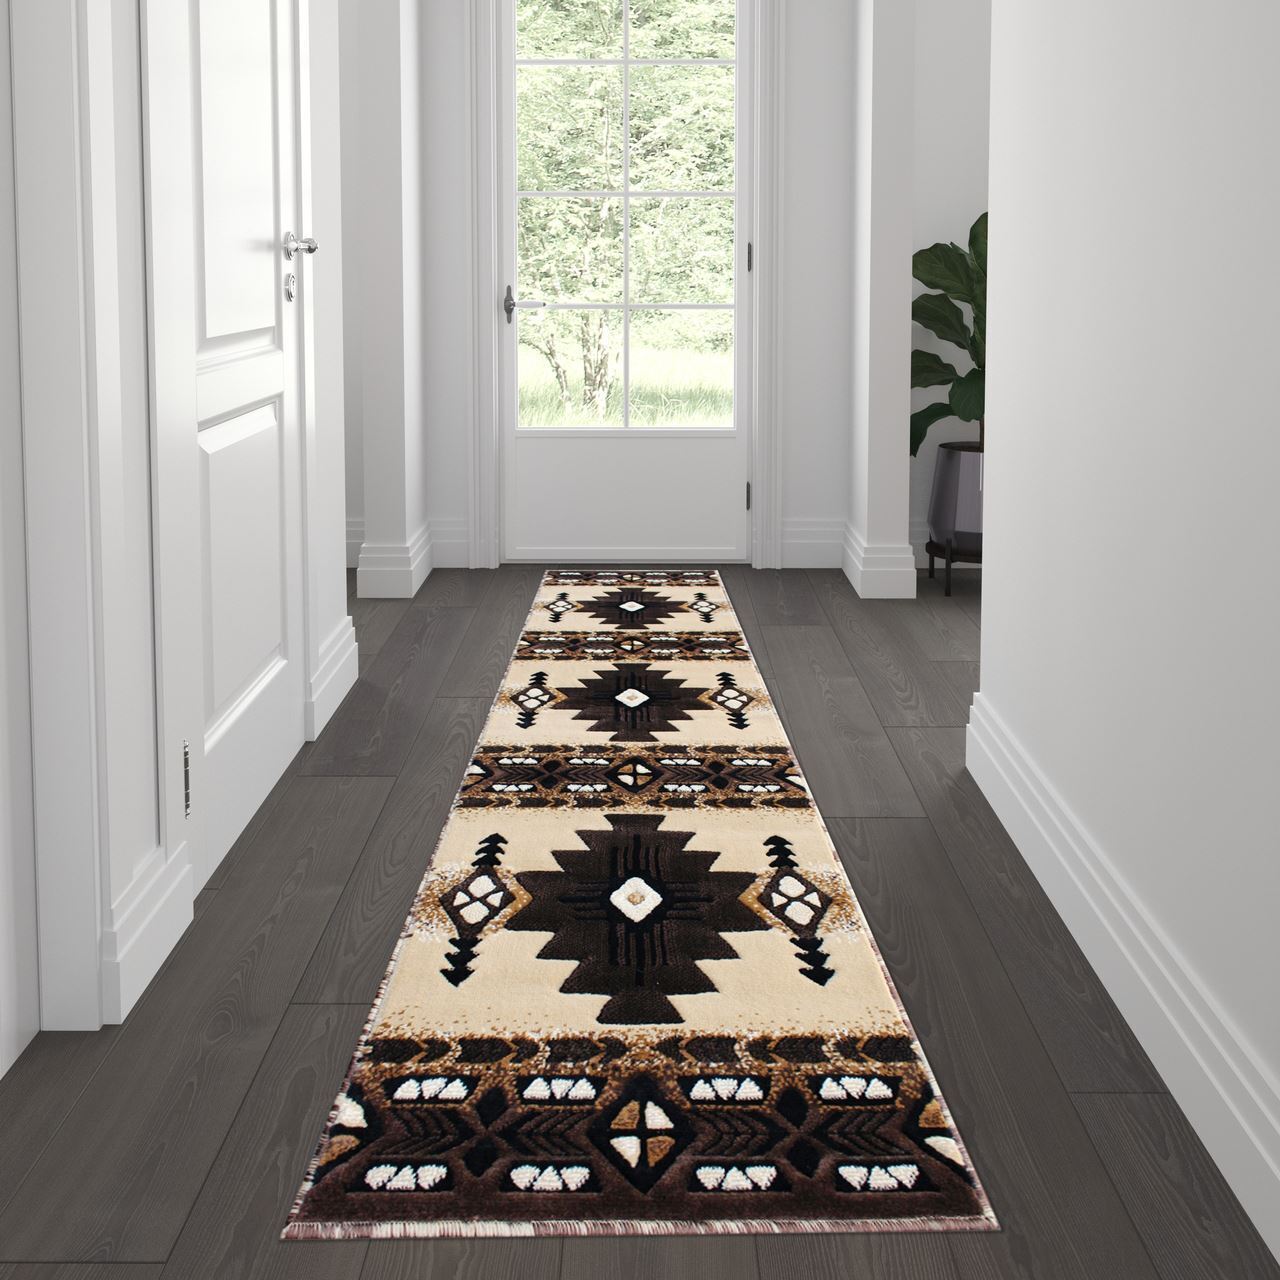
Before we dive into the details, let’s take a moment to understand the significance of a well-chosen rug. An area rug can transform the look and feel of a room, adding texture, warmth, and a focal point to your space. It can define seating areas, anchor furniture arrangements, and create a cozy ambiance.
Now that we have the motivation to embark on this DIY project, let’s get started with the first step: selecting the right materials and tools.
Key Takeaways:
- Building a 9×12 area rug is a creative and fulfilling DIY project that allows you to customize the design and colors to match your interior decor, adding a touch of charm and warmth to your home.
- Attention to detail, patience, and a little bit of creativity are essential for constructing a professional-looking DIY rug. Embrace imperfections and enjoy the process of seeing your rug come to life.
Read more: How To Decorate With Area Rugs
Step 1: Selecting Materials and Tools
Before you can begin building your 9×12 area rug, it’s important to gather all the necessary materials and tools. This includes choosing the right rug backing, deciding on the type of fabric, and ensuring you have the right equipment on hand.
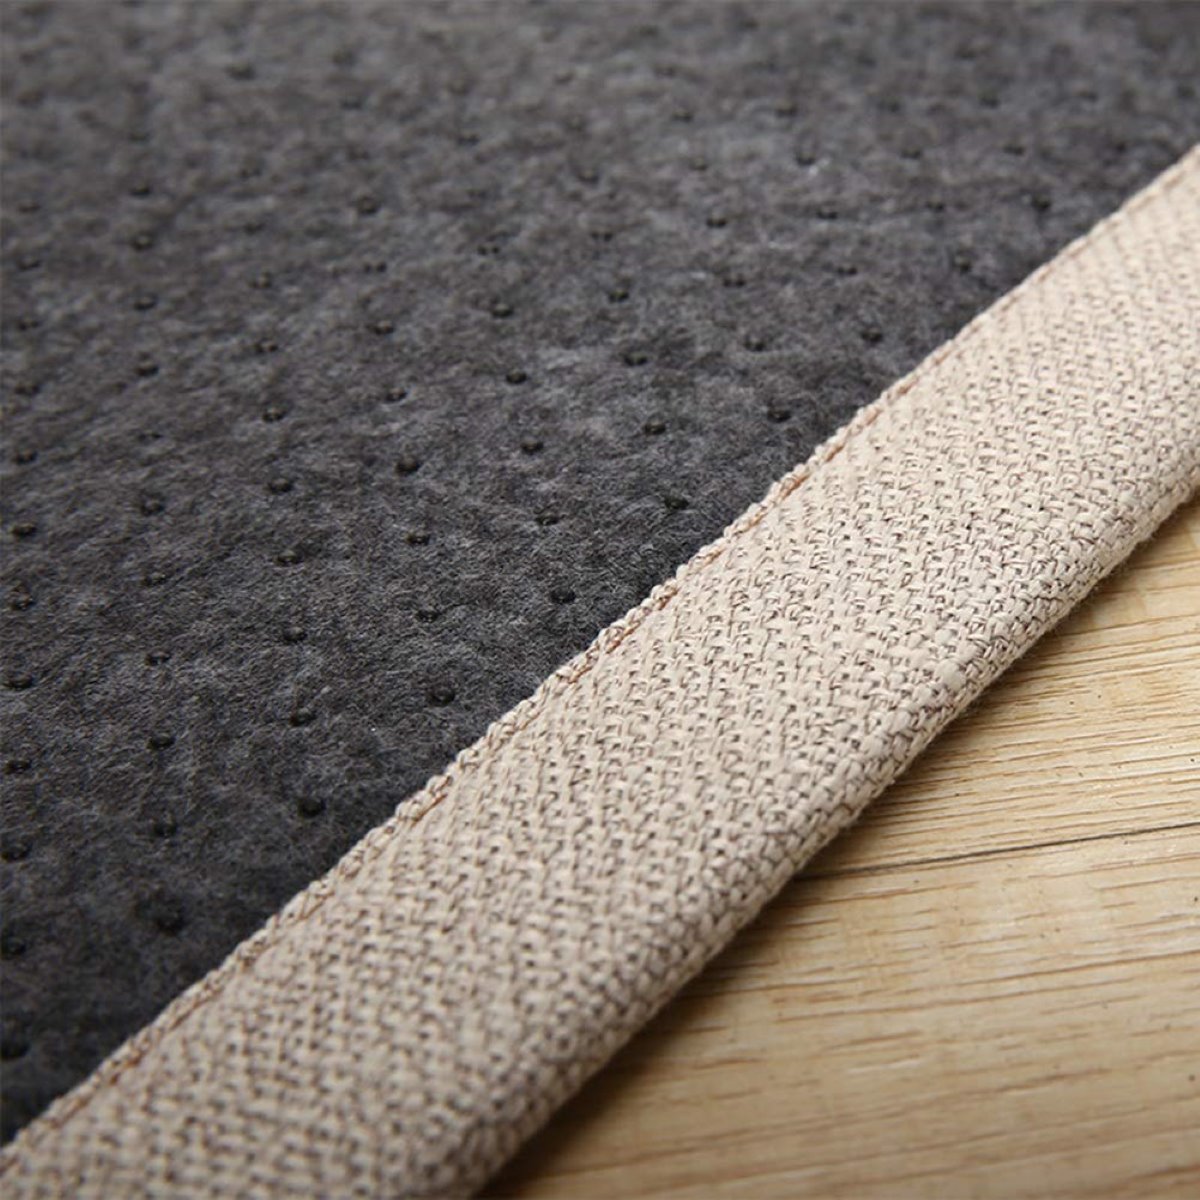
The first consideration is the rug backing. This is the foundation of your rug, providing stability and support. There are various types of rug backings available, such as rubberized mesh, non-slip pads, or even a traditional rug pad. The choice depends on your preference and the type of flooring in your space. Consider factors such as grip, durability, and ease of maintenance when making your selection.
Next, you’ll need to decide on the type of fabric for your rug. This will determine the overall look and feel of the finished product. Options range from natural fibers like wool or cotton to synthetic materials such as nylon or polyester. Each fabric has its own unique characteristics, so take the time to research and choose one that aligns with your desired aesthetic and functional needs.
Once you’ve chosen the rug backing and fabric, it’s time to gather the necessary tools and equipment. You’ll likely need a sturdy pair of fabric scissors for cutting the fabric, as well as a measuring tape to ensure accurate dimensions. A fabric glue or adhesive is essential for attaching the fabric to the rug backing, while a smooth, flat surface like a table or floor will provide a suitable workspace. Don’t forget about safety equipment like gloves and goggles to protect yourself during the construction process.
With all the materials and tools in place, you’re now prepared to move on to the next step: measuring and cutting the rug backing.
Step 2: Measuring and Cutting the Rug Backing
Now that you have your materials and tools ready, it’s time to measure and cut the rug backing for your 9×12 area rug. This step is crucial to ensure that your rug will fit perfectly in your space.
The first task is to measure the dimensions of the rug. Start by determining the desired length and width for your 9×12 rug. Use a measuring tape to accurately measure the floor area where you plan to place the rug. Take into account any furniture or objects that will be on the rug, as you may need to leave some extra space around them.
Once you have the exact measurements, it’s time to transfer those onto the rug backing. Lay the rug backing flat on a smooth surface, ensuring that it is free from any wrinkles or creases. Take your measuring tape and mark the dimensions on the backing using a fabric marker or chalk. Double-check your measurements to ensure accuracy.
Now that the dimensions are marked on the rug backing, it’s time to cut it to the correct size. Use a pair of fabric scissors or a rotary cutter to carefully trim along the marked lines. Take your time and make sure to cut straight and evenly. It’s better to cut slightly outside the marked lines and then trim more if needed, as you can always adjust the size later, but you can’t add fabric back once it’s cut.
After cutting the rug backing to the correct size, lay it out on the floor to verify that it matches the desired dimensions. Ensure that it fits well within the intended space and that it aligns with your initial vision.
With the rug backing measured and cut, you’re now ready to move on to the next step: preparing the fabric that will be attached to it.
Step 3: Preparing the Fabric
Now that you have measured and cut the rug backing, it’s time to prepare the fabric that will be attached to it. Properly preparing the fabric ensures a clean and professional-looking finish to your 9×12 area rug.
The first step in preparing the fabric is to wash and iron it. This is important to remove any dirt, dust, or wrinkles that may be present. Follow the care instructions provided with the fabric to determine the appropriate washing method. Once washed, lay the fabric flat to air dry or use a dryer on a gentle setting. Once the fabric is dry, iron it on a low heat setting to remove any remaining wrinkles. This will help ensure a smooth surface for attaching it to the rug backing.
After washing and ironing the fabric, take the time to trim any uneven edges or loose threads. Use a pair of fabric scissors to carefully trim along the edges, making sure to cut in a straight line. This will help create clean and neat edges for your rug. Additionally, inspect the fabric for any loose threads and trim them as well to avoid any unraveling or fraying.
By washing, ironing, and trimming the fabric, you are ensuring that it is in the best possible condition for attaching it to the rug backing. This step may seem simple, but it plays a crucial role in achieving a professional-looking result.
With the fabric properly prepared, you are now ready to move on to the next step: attaching the fabric to the rug backing.
When building a 9×12 area rug, make sure to use a high-quality rug pad to prevent slipping and provide cushioning. This will also help extend the life of the rug.
Step 4: Attaching the Fabric to the Rug Backing
Now that the fabric is prepared, it’s time to attach it to the rug backing. This step requires precision and attention to detail to ensure a secure and professional-looking attachment.
Start by applying fabric glue or adhesive to the rug backing. Use a brush or a spatula to spread an even layer of glue onto the surface of the backing. Be sure to cover the entire area where the fabric will be attached. It’s essential to choose a fabric glue or adhesive that is suitable for the type of fabric you are using. Follow the manufacturer’s instructions for the specific adhesive you have chosen.
Once the glue is applied, carefully lay the fabric over the rug backing, aligning it with the edges. Start from one end and gradually press the fabric onto the glue, working your way towards the other end. Be attentive to any wrinkles or bubbles that may form and smooth them out as you go. It’s helpful to have an extra pair of hands to assist with this step, ensuring that the fabric is applied evenly and without any folds.
As you press the fabric onto the rug backing, make sure to do so firmly to ensure a secure attachment. You want the fabric to adhere to the backing without any gaps or loose areas. Take your time and work slowly, paying close attention to the edges and corners to ensure they are properly adhered.
To achieve a smooth and wrinkle-free attachment, gently smooth the fabric with your hands as you go. Use light pressure to smooth out any wrinkles or uneven areas, working from the center towards the edges. If necessary, you can use a flat item, like a book or a rolling pin, to help press the fabric down evenly and remove any remaining wrinkles.
By following these steps, you will achieve a secure and smooth attachment of the fabric to the rug backing. With the fabric securely in place, you’re now ready to move on to the next step: securing the edges.
Read more: What Are Area Rugs
Step 5: Securing the Edges
With the fabric firmly attached to the rug backing, it’s time to focus on securing the edges of your 9×12 area rug. This step will not only provide a clean and finished look to your rug but also ensure its longevity and durability.
Start by folding and gluing the edges of the fabric. Fold the excess fabric over the edges of the rug backing, creating a neat border. Use fabric glue or adhesive to secure the folded edges in place. Apply the glue evenly along the edge, and then press the folded fabric onto it firmly. Take care to work in small sections, as the glue may dry quickly.
Alternatively, you can use fabric tape or binding to secure the edges. Fabric tape is a convenient option as it can be easily applied along the edges of the rug, providing a clean and professional finish. Fabric binding, on the other hand, involves using a strip of fabric to encase the raw edge of the rug and stitching it in place. This method adds an extra layer of reinforcement and a decorative element to the rug.
When using fabric tape or binding, make sure to follow the manufacturer’s instructions for the proper application method. It’s essential to secure the edges securely and evenly to ensure a neat and durable finish.
As you fold, glue, or apply fabric tape/binding, take the time to smooth out any wrinkles or folds in the fabric. This will ensure a clean and uniform look along the edges of the rug. Pay attention to the corners, as they may require extra effort to achieve a neat and seamless finish.
By securing the edges of your rug, you are adding the final touch to your 9×12 area rug project. This step not only enhances the appearance of the rug but also helps protect it from fraying and unraveling over time.
With the edges secured, it’s time for the final step: adding the finishing touches to your DIY rug.
Step 6: Adding Finishing Touches
You’re almost there! In this final step of building your 9×12 area rug, we’ll cover some important finishing touches to perfect the overall look and ensure the longevity of your creation.
Start by trimming any excess fabric or threads that may be hanging from the edges of your rug. Use fabric scissors to carefully cut off any loose or uneven areas. Pay close attention to corners and intricate designs to achieve a clean and polished finish.
After trimming, thoroughly inspect your rug for any loose areas. Gently press down on the fabric and rug backing to check for any sections that may not be securely attached. If you find any, apply additional fabric glue or adhesive to those areas and firmly press down to secure them.
Next, take a moment to check that the entire rug is smooth and wrinkle-free. Smooth out any remaining wrinkles or folds in the fabric, ensuring that the surface is even and free from any imperfections. This step may require some gentle stretching or adjusting of the fabric, but be careful not to overstretch or distort the design.
Additionally, double-check the edges of your rug to ensure that they are properly folded, glued, taped, or bound. The final result should be clean and well-defined, with no loose or frayed edges. Pay attention to any areas that may require extra reinforcement, such as heavy traffic areas or corners.
Once you have trimmed excess fabric, secured loose areas, and ensured a smooth surface, step back and admire your finished 9×12 area rug. You’ve successfully built a unique piece that adds personality and warmth to your space!
Remember, building an area rug requires patience, attention to detail, and a little bit of creativity. Enjoy the process, embrace any imperfections, and be proud of your accomplishment. Your homemade rug will not only enhance the aesthetics of your home but also serve as a reminder of your creativity and craftsmanship.
Congratulations on completing your DIY 9×12 area rug! Now it’s time to place it in your desired space and enjoy the cozy ambiance it brings.
If you found this guide helpful, don’t hesitate to share it with fellow craft enthusiasts or those looking to add a personal touch to their home decor. Happy rug making!
Conclusion
Building your own 9×12 area rug is a rewarding and fulfilling endeavor that allows you to create a unique and personalized piece for your home. Throughout this step-by-step guide, we have covered the essential tasks and techniques involved in constructing a DIY rug that is not only visually appealing but also durable and long-lasting.
From selecting the right materials and tools to measuring, cutting, and attaching the fabric to the rug backing, each step is crucial in achieving a professional result. Taking the time to properly prepare the fabric, secure the edges, and add finishing touches ensures that your rug looks polished and stands the test of time.
Remember that rug making is a creative process, and it’s perfectly alright to let your imagination take the lead. Experiment with different fabrics, patterns, and colors to design a rug that complements your unique style and home decor. Whether you follow a specific design or create your own, the joy and satisfaction of crafting your own rug cannot be overstated.
As you embark on this DIY project, don’t be afraid to embrace any imperfections or unexpected challenges along the way. These are the elements that make handmade items truly special and one-of-a-kind. Embrace the journey and enjoy the process of seeing your rug come to life.
Lastly, don’t be shy about showing off your completed rug! Share your creation with family and friends, and let it serve as a testament to your creativity and craftsmanship. Your handmade rug will not only elevate the look of your space but also become a treasured piece that adds warmth and personality to your home.
Thank you for choosing this guide as your companion in building your 9×12 area rug. We hope you found it informative and inspiring. Now, go ahead and create a rug that truly reflects your style and passion. Happy rug making!
Frequently Asked Questions about How To Build 9x12 Area Rugs
Was this page helpful?
At Storables.com, we guarantee accurate and reliable information. Our content, validated by Expert Board Contributors, is crafted following stringent Editorial Policies. We're committed to providing you with well-researched, expert-backed insights for all your informational needs.


0 thoughts on “How To Build 9×12 Area Rugs”