Articles
How To Clean Area Rug On Hardwood Floor
Modified: December 7, 2023
Learn the best techniques for cleaning an area rug on a hardwood floor with our informative articles. Keep your floors looking pristine with our expert tips and advice.
(Many of the links in this article redirect to a specific reviewed product. Your purchase of these products through affiliate links helps to generate commission for Storables.com, at no extra cost. Learn more)
Introduction
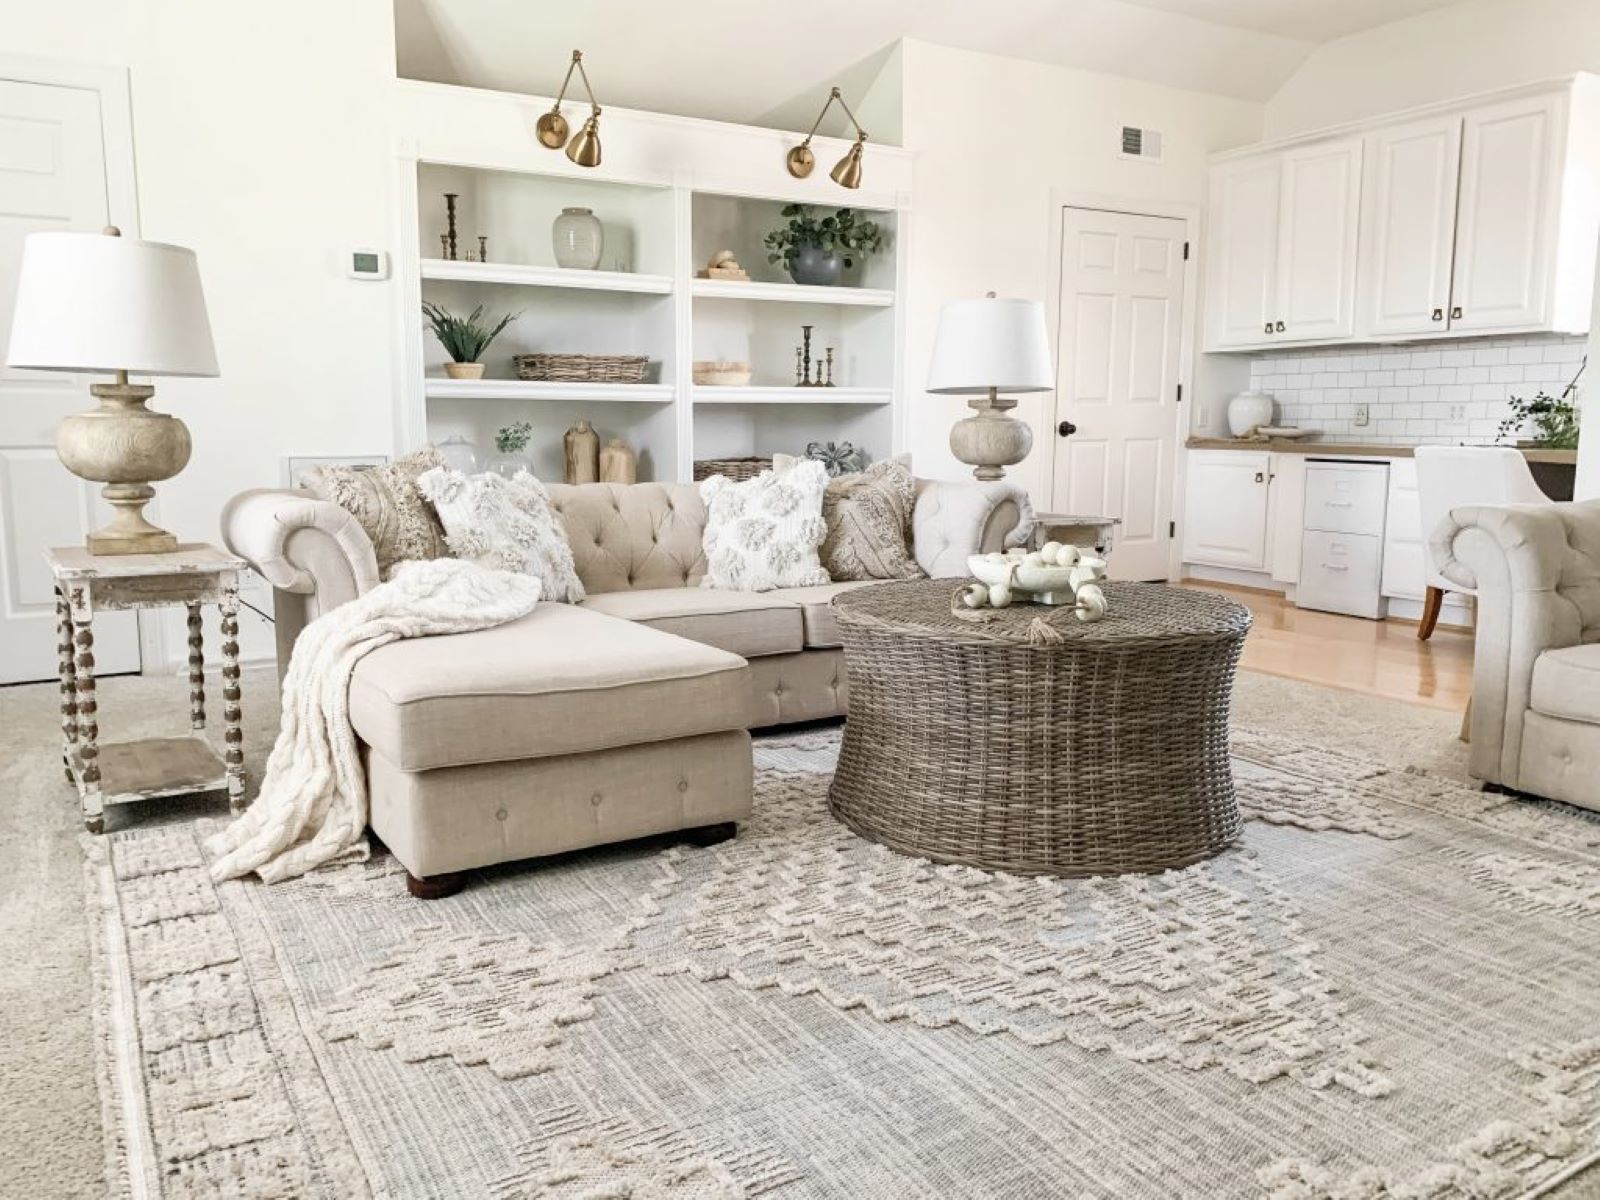
Area rugs can add warmth, style, and a cozy feel to any room. Whether you have a beautiful Persian rug, a plush shag rug, or a simple geometric patterned rug, it’s important to keep it clean to maintain its beauty and prolong its lifespan. Cleaning an area rug on a hardwood floor may seem like a daunting task, but with the right materials and steps, it can be done effectively and efficiently.
In this article, we will guide you through the process of cleaning an area rug on a hardwood floor. We will provide you with a step-by-step approach that is easy to follow and will leave your rug looking fresh and vibrant. So, gather your cleaning supplies and let’s get started!
Key Takeaways:
- Keep your area rug clean and vibrant by following a step-by-step process, including testing cleaning solutions and gentle scrubbing to remove dirt and stains. Regular maintenance is key to preserving its beauty and comfort.
- Clear the area, vacuum thoroughly, and use a gentle cleaning solution to effectively clean your area rug on a hardwood floor. Proper drying and regular maintenance will help maintain its beauty and prolong its lifespan.
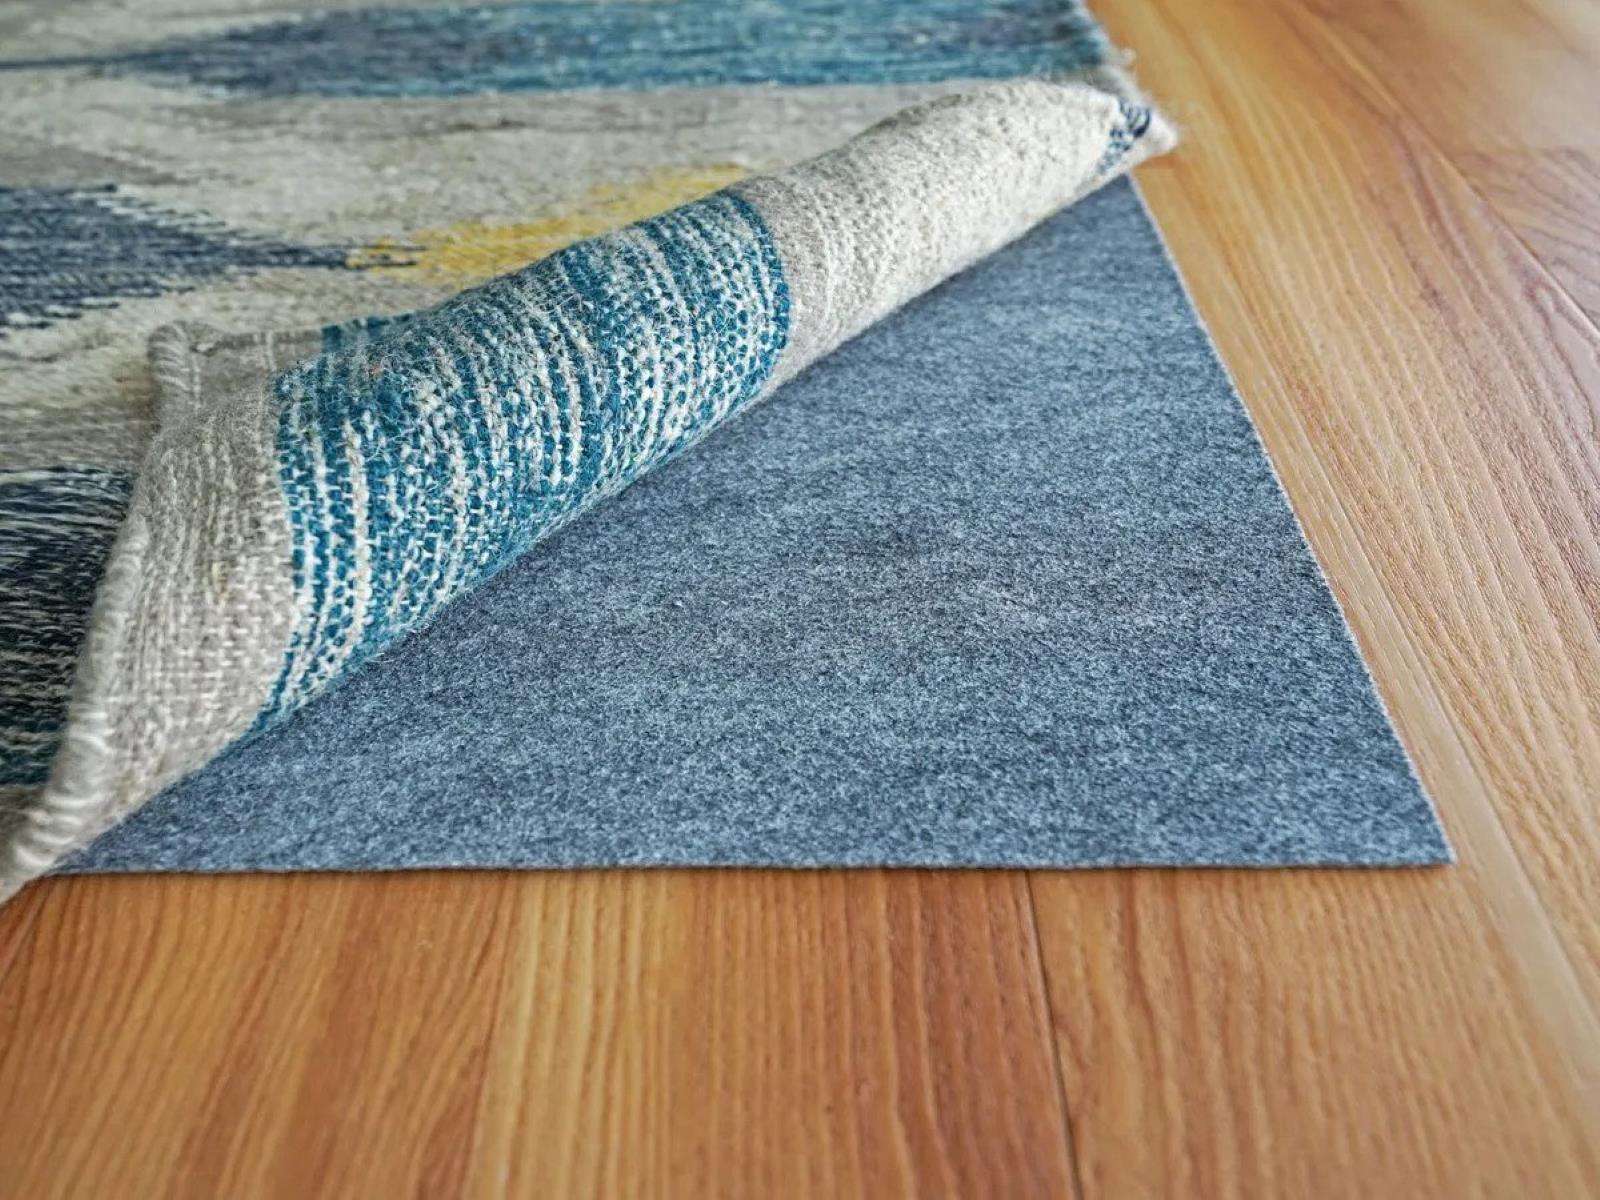
Read more: How To Place Area Rugs On Hardwood Floors
Materials Needed
Before we begin, make sure you have the following materials ready:
- Vacuum cleaner – A vacuum with a brush attachment is ideal for removing loose dirt and debris from the rug.
- Bucket – You will need a bucket to mix the cleaning solution.
- Gentle cleaning solution – Look for a mild detergent or rug cleaner that is suitable for your type of rug. Avoid using harsh chemicals or bleach.
- Soft-bristled brush – A brush with soft bristles will help in gently scrubbing the rug without causing any damage.
- Clean, white towels or sponge – These will be used for blotting and removing excess water from the rug.
- Fans or air circulation – You will need proper air circulation to help the rug dry faster.
Now that you have gathered all the necessary materials, we can move on to the step-by-step process of cleaning your area rug on a hardwood floor.
Step 1: Clear the Area
Before you begin cleaning your area rug, it’s important to clear the surrounding area. Remove any furniture or objects that may obstruct your cleaning process. This will not only make it easier to maneuver and clean the rug but also prevent any damage to the furniture or objects.
Take the time to carefully lift and move any lightweight furniture such as chairs or small tables. For heavier furniture, consider placing protective pads or sliders underneath to prevent scratching your hardwood floor while moving them.
Make sure there are no loose items or debris on the floor that could get caught in the vacuum or interfere with the cleaning process. Sweep or vacuum the floor to remove any loose dirt or dust that may have accumulated.
By clearing the area and preparing the space, you’ll have a smooth and spacious environment to work with while cleaning your area rug.
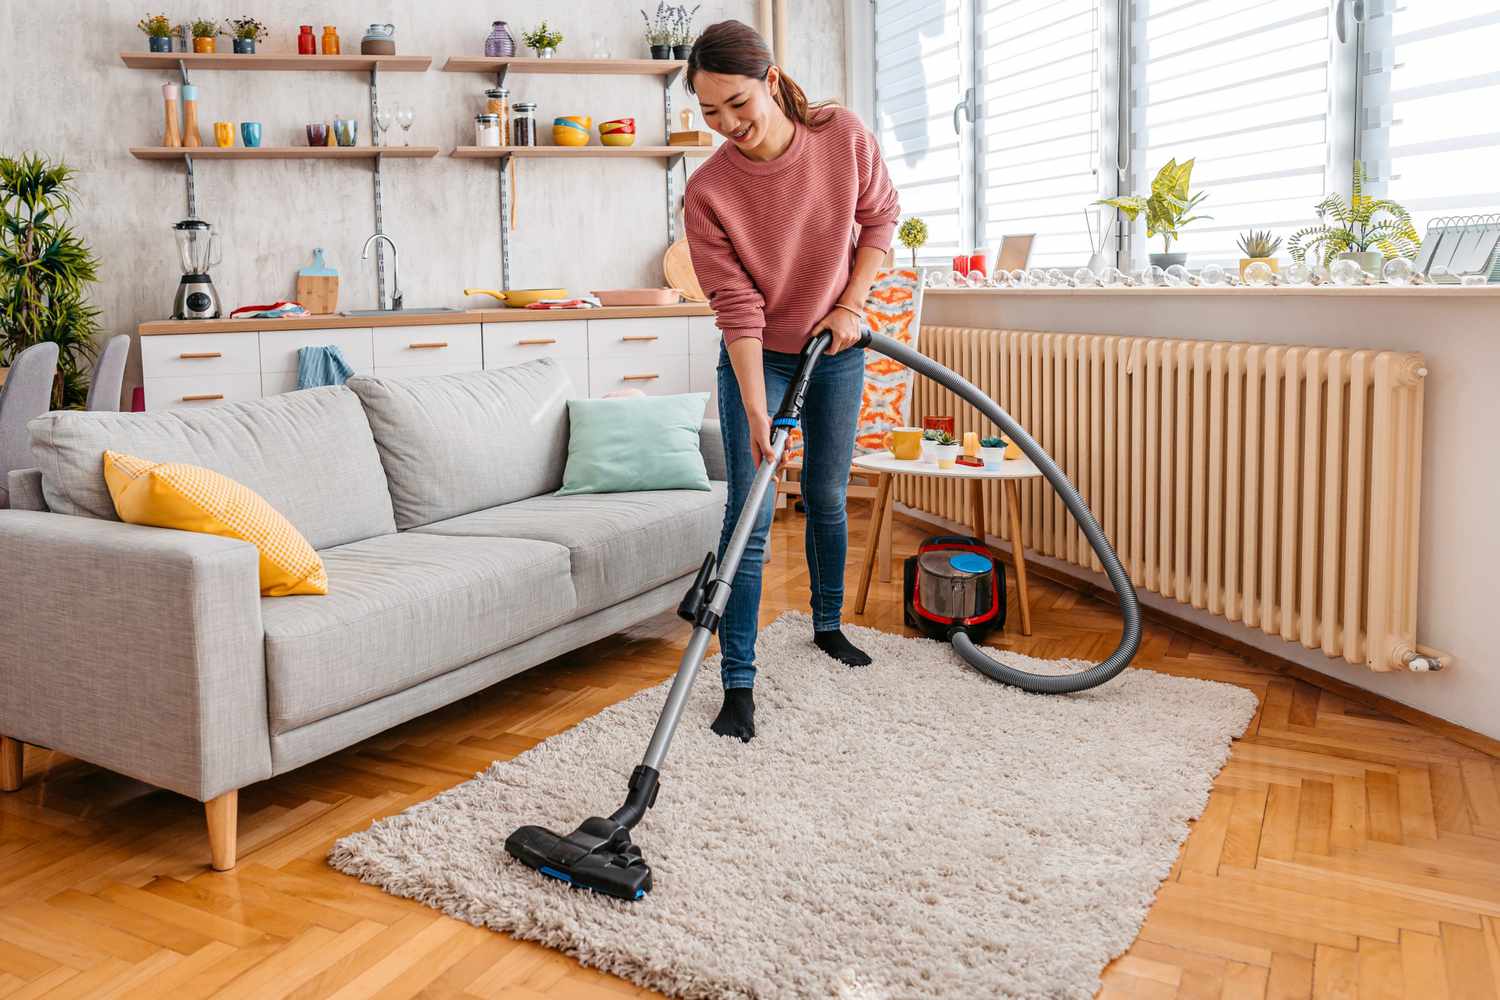
Step 2: Vacuum the Rug
Once the area is clear, it’s time to give your rug a thorough vacuuming. Start by using a vacuum cleaner with a brush attachment or a handheld vacuum to remove any loose dirt, dust, and debris from the surface of the rug. Be sure to vacuum both sides of the rug to ensure a comprehensive cleaning.
When vacuuming, move the vacuum in the direction of the rug’s pile to lift the dirt and ensure a thorough cleaning. Take your time and go over the entire surface of the rug, paying extra attention to high-traffic areas and areas where dirt tends to accumulate.
If your rug has fringes, be cautious while vacuuming around them to prevent any tangling or damage. You can gently lift the fringes away from the rug and vacuum near the edges using the nozzle attachment to avoid tangling or pulling them.
Vacuuming the rug before cleaning it will help remove loose debris and make the subsequent cleaning process more effective. It will also prevent the dirt from getting embedded deeper into the rug fibers, making it easier to clean.
Once you have finished vacuuming both sides of the rug, you’re ready to move on to the next step.
Step 3: Prepare a Cleaning Solution
Now that you have vacuumed the rug, it’s time to prepare a cleaning solution. The specific cleaning solution you use will depend on the type of rug you have and any manufacturer’s recommendations. It’s essential to use a gentle cleaning solution that won’t damage the rug fibers or the hardwood floor.
If you’re unsure about the appropriate cleaning solution, a mixture of mild dish soap and warm water is a safe and effective option for most rugs. Fill a bucket with warm water and add a small amount of the dish soap, mixing it gently until it forms a soapy solution.
Alternatively, you can also use a specialized rug cleaner that is specifically designed for your type of rug. Follow the instructions on the cleaner’s packaging to determine the appropriate amount of cleaner to use and how to mix it with water.
Remember, it’s important not to use excessive amounts of cleaning solution, as it can leave a sticky residue on the rug or seep into the hardwood floor. A little goes a long way in cleaning your area rug.
Once your cleaning solution is ready, proceed to the next step in the cleaning process.
Read more: How To Clean Area Rugs On Wood Floors
Step 4: Test the Cleaning Solution
Before applying the cleaning solution to your entire rug, it’s important to test it on a small, inconspicuous area first. This will help determine if the solution is safe for your rug and won’t cause any discoloration or damage.
Choose a small corner or edge of the rug that is not easily visible and apply a small amount of the cleaning solution using a clean cloth or sponge. Gently blot the area and let it sit for a few minutes. Then, check for any color bleeding, fading, or adverse reactions.
If there are no negative effects on the test area, you can proceed with confidence to the next step. However, if you notice any discoloration or damage, discontinue using the cleaning solution and consider seeking professional help or using an alternative cleaning method.
Testing the cleaning solution beforehand is crucial to ensure that it doesn’t cause any harm to your rug, and allows you to make any necessary adjustments before cleaning the entire area rug.
Once you have successfully tested the cleaning solution, you can move on to applying it to the rest of the rug in the next step.
Step 5: Apply the Cleaning Solution
Now that you have tested the cleaning solution and confirmed its compatibility with your rug, it’s time to apply it to the rest of the area rug. Follow these steps to ensure an effective and thorough cleaning:
- Dip a clean sponge, soft brush, or cloth into the cleaning solution.
- Gently wring out any excess liquid to avoid over-saturating the rug.
- Start from one corner of the rug and work your way towards the opposite corner.
- Using gentle, circular motions, apply the cleaning solution to the rug’s surface.
- Pay extra attention to any stained or heavily soiled areas, giving them a little more scrubbing.
- Continue applying the cleaning solution until the entire rug is covered.
Take your time and make sure every part of the rug is treated with the cleaning solution. This step helps to break down dirt, stains, and odors that may be trapped within the rug fibers.
Remember to avoid excessive scrubbing or abrasive motions that could damage the rug. Be gentle and let the cleaning solution do its work.
Once you have applied the cleaning solution to the entire rug, proceed to the next step to continue the cleaning process.
Use a vacuum with a hardwood floor attachment to remove loose dirt and debris. Then, spot clean any stains with a mixture of mild detergent and water, blotting the area with a clean cloth. Allow the rug to air dry completely before placing it back on the hardwood floor.
Step 6: Scrub the Rug Gently
Now that the cleaning solution has been applied to the entire rug, it’s time to gently scrub the surface to remove any dirt, stains, or grime. Follow these steps to ensure a thorough yet gentle scrubbing:
- Using a soft-bristled brush or sponge, start scrubbing the rug in a circular motion.
- Focus on any heavily soiled or stained areas, giving them a bit more attention.
- Ensure that you’re using a gentle amount of pressure to avoid damaging the rug fibers.
- Continue scrubbing the entire surface of the rug, covering all areas that were treated with the cleaning solution.
- Be mindful of any fringes or delicate edges, avoiding excessive scrubbing in those areas.
The gentle scrubbing motion helps to loosen and remove dirt, stains, and grime from the rug fibers. However, it’s important to avoid aggressive scrubbing that could cause the fibers to fray or become damaged.
If you are finding it difficult to remove stubborn stains or heavy dirt, you can apply a bit more cleaning solution to the affected area and allow it to sit for a few minutes before gently scrubbing again.
Once you have scrubbed the rug, it’s time to proceed to the next step to rinse off the cleaning solution.
Step 7: Rinse the Rug
After gently scrubbing the rug, it’s crucial to thoroughly rinse off the cleaning solution to ensure there is no residue left behind. Follow these steps to effectively rinse your area rug:
- Fill a clean bucket with cool water.
- Using a sponge or cloth, soak it in the clean water and wring out any excess liquid.
- Starting from one corner of the rug, gently blot and rinse the surface with the damp sponge or cloth.
- Continue rinsing the entire rug, covering all areas that were treated with the cleaning solution.
- Ensure that you’re using clean water for rinsing and not reusing the dirty water from the previous step.
While rinsing, make sure to remove all traces of the cleaning solution from the rug. This step helps to prevent any residue buildup that could attract more dirt in the future.
Ensure that you’re not oversaturating the rug with water during the rinsing process. It’s important to strike a balance between rinsing thoroughly and avoiding excessive moisture which can damage the rug or the hardwood floor beneath.
Once you have completed the rinsing process, move on to the next step to remove any excess water from the rug.
Read more: What Kind Of Rugs To Use On Hardwood Floors
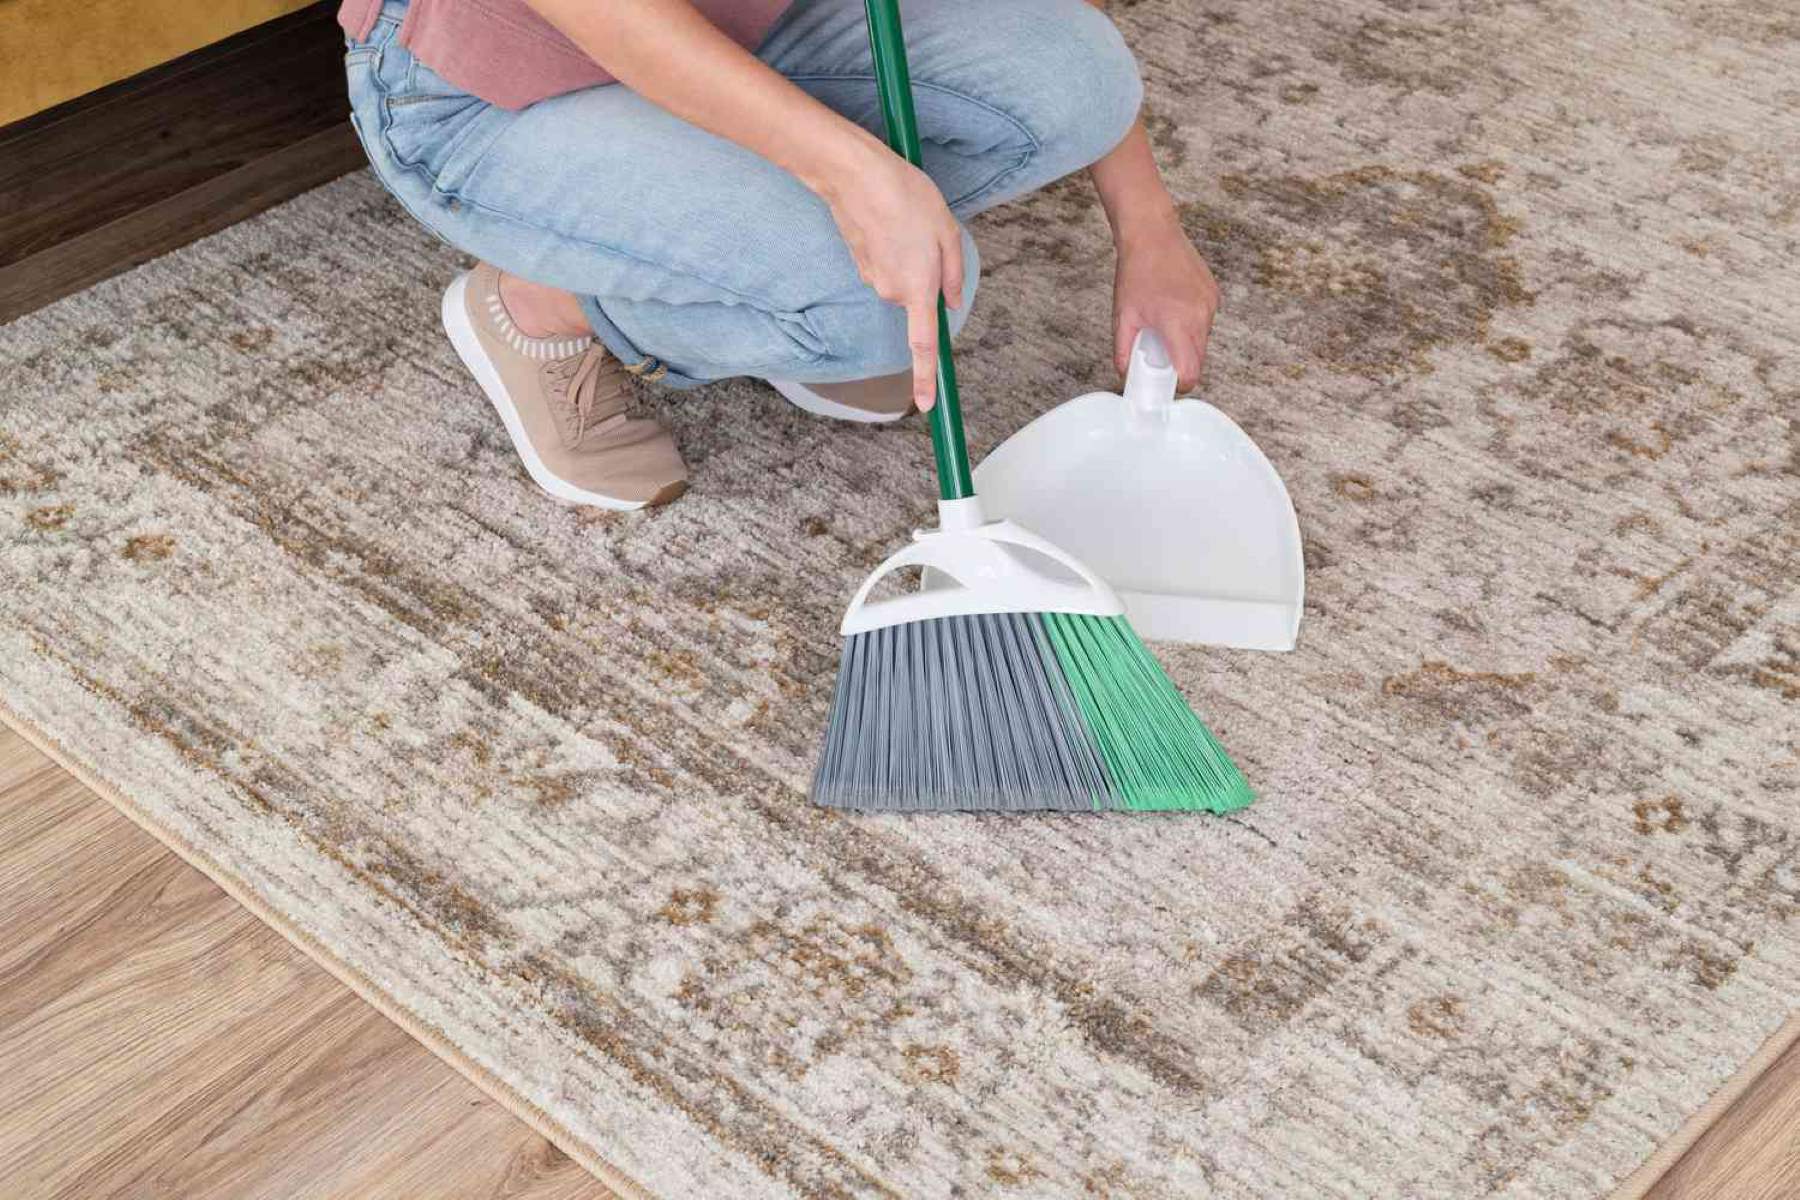
Step 8: Remove Excess Water
After rinsing the rug, it’s time to remove any excess water to aid in the drying process. Follow these steps to effectively remove the water from your area rug:
- Using clean, white towels or absorbent sponges, gently blot the surface of the rug to soak up the water.
- Continue blotting until no more water is being absorbed by the towels or sponges.
- Be careful not to rub or scrub the rug vigorously, as it can damage the delicate fibers.
- If the rug is still quite damp, you may need to repeat the blotting process with fresh towels or sponges.
Remember, the goal is to remove as much moisture as possible without applying excessive pressure or causing damage to the rug. Make sure to place the towels or sponges on the rug’s surface and gently press down to soak up the water.
If you’re dealing with a larger area rug, you can also use a wet-dry vacuum or a fan to help speed up the drying process. Gently run the wet-dry vacuum over the surface of the rug or place fans strategically to promote air circulation and aid in evaporation.
Once you have removed the excess water, it’s time to allow the rug to dry completely. Proceed to the next step for the final drying process.
Step 9: Allow the Rug to Dry
After removing excess water, it’s crucial to allow your area rug to dry completely before placing it back on the hardwood floor. Follow these steps to ensure proper drying:
- Find a well-ventilated area where you can lay the rug flat to air dry.
- Avoid direct sunlight or intense heat sources, as they may cause shrinkage or color fading.
- If possible, elevate the rug using a drying rack or by propping it up with books to allow proper air circulation.
- Depending on the size and thickness of the rug, drying may take anywhere from a few hours to a couple of days.
- Periodically check the rug’s dampness by touching the surface or using a moisture meter to ensure it’s completely dry.
During the drying process, make sure the rug is not folded or creased, as this can lead to permanent damage. Ensure the rug is flat and evenly spread out to prevent any uneven drying or shape distortion.
If you’re dealing with a larger rug that is difficult to move, you can also consider professional rug drying services or consult a specialist for guidance.
Once the rug is completely dry, proceed to the final step to ensure it’s clean and ready to be placed back on your hardwood floor.
Step 10: Vacuum Again
Once your area rug is completely dry, it’s important to give it a final vacuuming to remove any loose dirt or debris that may have accumulated during the drying process. Follow these steps to effectively vacuum your rug:
- Attach a clean brush or nozzle attachment to your vacuum cleaner.
- Starting from one end of the rug, slowly pass the vacuum over the entire surface, making overlapping strokes.
- Prioritize high-traffic areas, as they tend to collect more dirt and require additional attention.
- Be thorough and take your time to ensure you capture all the loose dirt and debris.
- If your rug has fringes, use caution while vacuuming around them to avoid tangling or causing damage.
Vacuuming the rug again not only helps in removing any remaining dirt particles but also fluffs up the fibers, making the rug look refreshed and revitalized. It’s the final step in the cleaning process to restore your rug’s cleanliness and appearance.
Remember to regularly vacuum your rug as part of your routine maintenance to prevent dirt accumulation and prolong its lifespan.
With your rug now clean and free of debris, you can confidently place it back on your hardwood floor and enjoy its beauty and comfort once again.
Conclusion
Cleaning an area rug on a hardwood floor may seem like a daunting task, but with the right materials and steps, it can be done effectively and efficiently. By following the step-by-step process outlined in this article, you can ensure that your area rug remains clean and vibrant, maintaining its beauty and extending its lifespan.
Starting with clearing the area and vacuuming the rug, you lay the foundation for a thorough cleaning. Preparing a gentle cleaning solution and testing it on a small area helps ensure that it’s safe for your rug. Applying the solution and gently scrubbing the rug helps remove dirt, stains, and grime.
Rinsing off the cleaning solution and removing excess water are crucial in preventing any residue buildup and aiding in the drying process. Allowing the rug to dry completely before vacuuming it again ensures that it’s clean and ready to be placed back on your hardwood floor.
Remember, regular maintenance is essential in keeping your area rug in top condition. Vacuuming periodically and addressing spills or stains promptly can help prevent dirt buildup and potential damage to the rug fibers. It’s also a good idea to consult the manufacturer’s instructions or seek professional cleaning advice for specific rug types.
By following these steps and incorporating regular cleaning into your routine, you can enjoy a clean and inviting area rug that enhances the beauty and comfort of your hardwood floor. So, roll up your sleeves, gather your materials, and give your area rug the care it deserves!
Frequently Asked Questions about How To Clean Area Rug On Hardwood Floor
Was this page helpful?
At Storables.com, we guarantee accurate and reliable information. Our content, validated by Expert Board Contributors, is crafted following stringent Editorial Policies. We're committed to providing you with well-researched, expert-backed insights for all your informational needs.


0 thoughts on “How To Clean Area Rug On Hardwood Floor”