
Articles
How To Clean Bat Poop In Attic
Modified: December 7, 2023
Learn effective methods for cleaning up bat poop in your attic with these informative articles. Safely remove feces and prevent health risks.
(Many of the links in this article redirect to a specific reviewed product. Your purchase of these products through affiliate links helps to generate commission for Storables.com, at no extra cost. Learn more)
Introduction
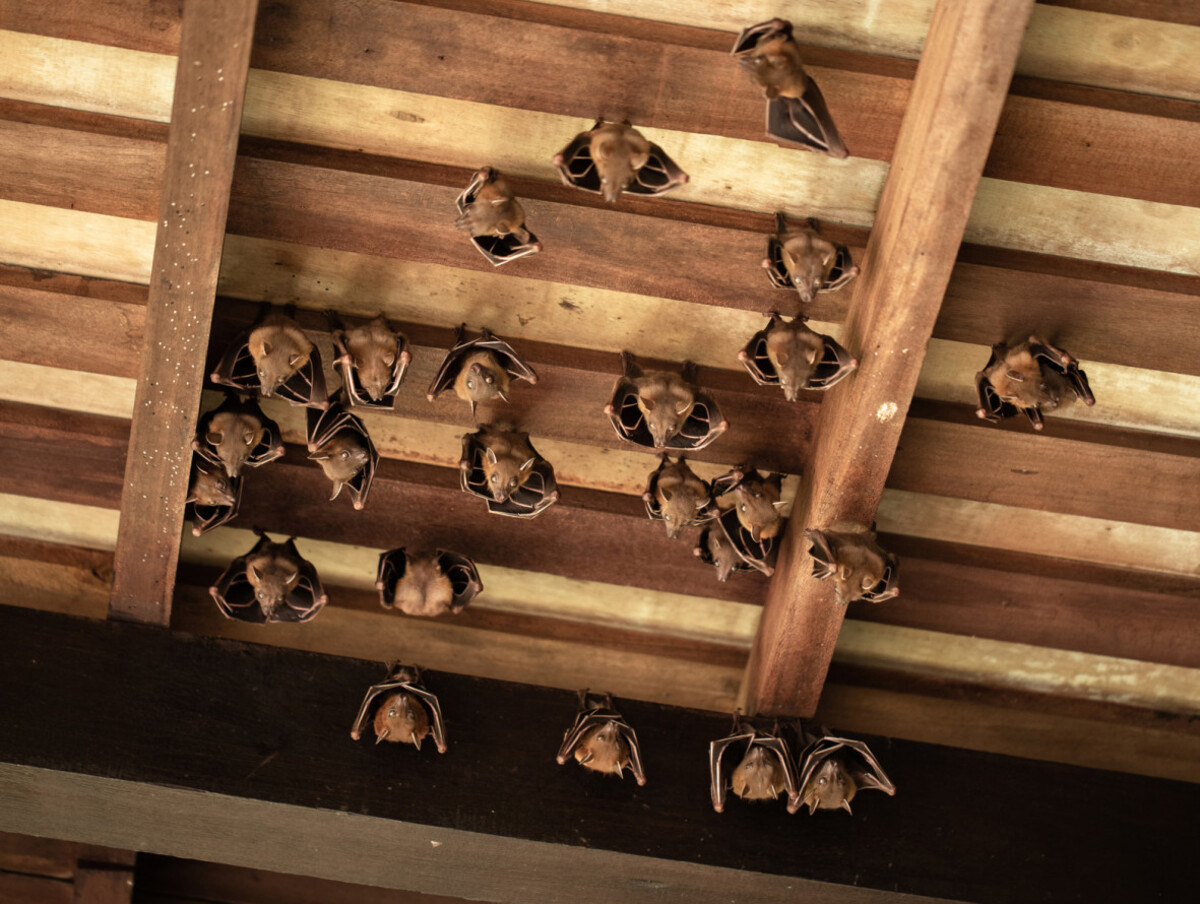
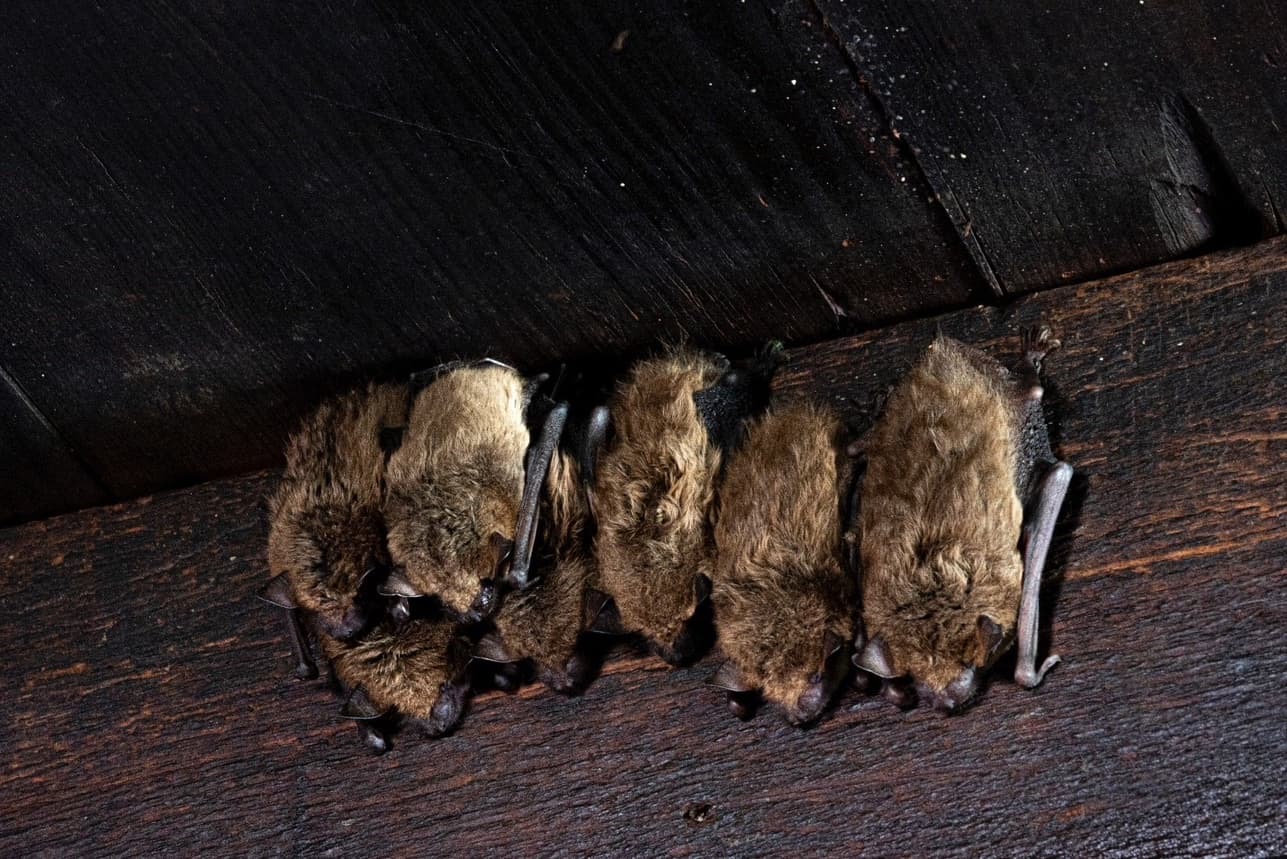
Bats are fascinating creatures that play a vital role in our ecosystem. Unfortunately, they can sometimes find their way into our attics, creating a messy situation with their droppings. Bat poop, also known as guano, not only leaves behind an unpleasant odor but can also pose health risks due to its potential to carry diseases.
Removing bat droppings from your attic requires caution and the right approach to ensure a safe and thorough cleaning process. In this article, we will guide you through the necessary steps to clean bat poop in your attic effectively.
Before we start, it’s important to note that if you suspect a large bat infestation or have any concerns about handling bat droppings, it is highly recommended to seek professional assistance. They have the knowledge, skills, and protective gear to handle the situation safely.
Now, let’s dive into the step-by-step process of cleaning bat poop in your attic.
Key Takeaways:
- Safety First!
Prioritize safety when cleaning bat poop in your attic by wearing protective gear, isolating the area, and keeping pets and children away. Proper ventilation and cautious handling are crucial for a safe and effective cleanup. - Prevention is Key
After cleaning, take proactive measures to prevent future bat infestations, such as sealing entry points, installing exclusion devices, and maintaining proper attic ventilation. Regular inspections and consulting with professionals can help ensure a bat-free and clean attic space.
Read more: How To Get Rid Of Bats In The Attic
Step 1: Safety Precautions
Before you begin cleaning bat poop in your attic, it’s crucial to prioritize your safety. Bats can carry diseases like histoplasmosis, which is caused by inhaling fungal spores found in bat droppings. To protect yourself, follow these safety precautions:
- Wear Protective Gear: Put on a pair of gloves, a face mask, and safety goggles to shield yourself from direct contact with bat droppings and potential airborne particles.
- Ensure Proper Ventilation: Open windows or use fans to keep the area well-ventilated while cleaning. This helps in reducing the concentration of any airborne particles.
- Isolate the Area: Close off the attic from the rest of the house to prevent the spread of dust and contaminants. Use plastic sheets or tarps to seal off any openings or vents.
- Keep Pets and Children Away: Make sure to keep pets and young children away from the cleaning area to avoid exposing them to potential health hazards.
Paying attention to these safety measures will help ensure that you minimize the risk of exposure to harmful substances and maintain a safe environment throughout the cleaning process.
Step 2: Gather Necessary Supplies
Before embarking on the task of cleaning bat poop in your attic, it’s essential to gather all the necessary supplies. Here is a list of items you will need:
- Protective Gear: Wear a pair of disposable gloves, a face mask, and safety goggles to protect yourself from direct contact with bat droppings and potential airborne particles.
- Trash Bags: Have several sturdy trash bags on hand to collect the bat droppings and any contaminated materials.
- Tarp or Plastic Sheets: Use tarp or plastic sheets to cover the floor or any other vulnerable surfaces, making cleanup easier.
- Broom or Brush: A broom or brush with stiff bristles will help in loosening hardened bat droppings and debris from surfaces.
- Scrub Brush: A scrub brush with firm bristles will be useful for scrubbing the affected area and removing any residue.
- Mild Detergent or Bat Guano Cleaner: Choose a mild detergent or specialized bat guano cleaner to clean the affected surfaces thoroughly.
- Bleach or Disinfectant: Use bleach or a suitable disinfectant to kill any remaining bacteria or pathogens after cleaning.
- Shop Vacuum or Dustpan: A shop vacuum or dustpan can be used to collect loose bat droppings and debris.
- Plastic Spray Bottles: Fill plastic spray bottles with water or a cleaning solution for wetting down the area and facilitating the cleaning process.
- Disposable Wipes or Rags: Have disposable wipes or rags on hand to wipe down surfaces and dispose of afterward to avoid cross-contamination.
Make sure you have all the necessary supplies before you start the cleaning process. This will save you time and keep the workflow uninterrupted, resulting in a more efficient and thorough cleanup.
Step 3: Assess the Situation
Before diving into the actual cleaning process, it’s important to assess the situation in your attic. Take the time to evaluate the extent of the bat poop and any potential damage caused by the bats. Here’s what you should do:
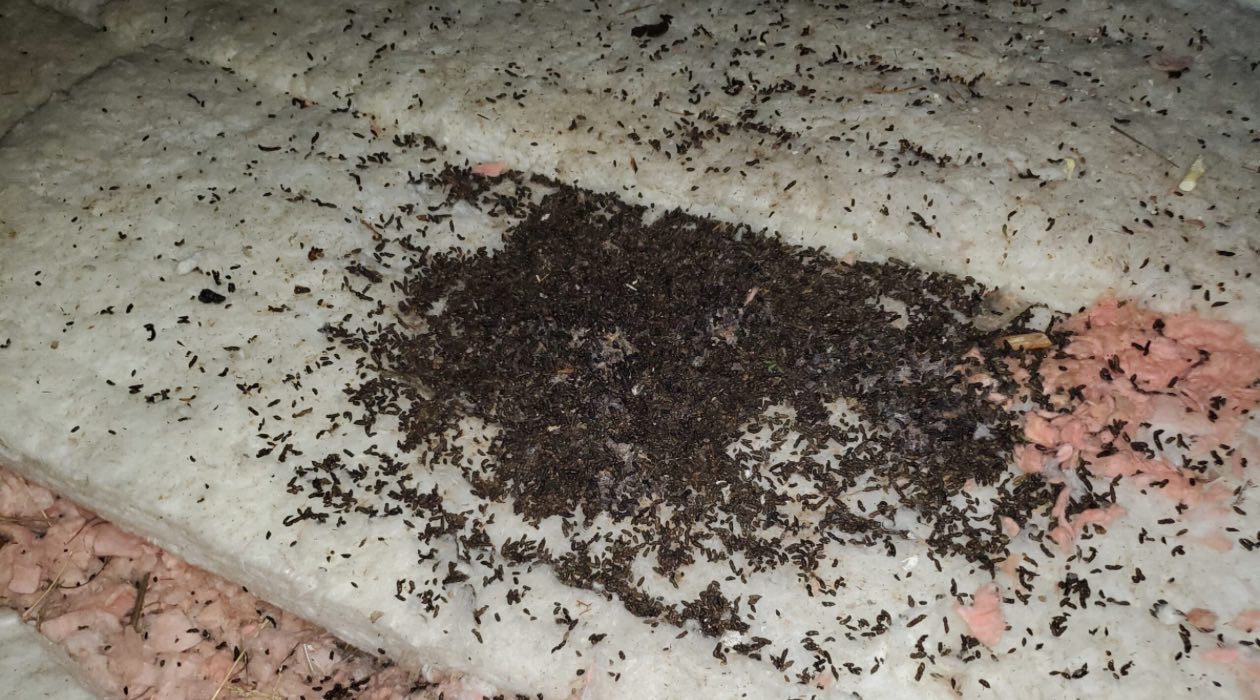
- Inspect the Area: Carefully look around your attic to identify the areas where bat droppings are concentrated. Take note of any stains, damage to insulation, or signs of a bat infestation.
- Measure the Amount: Estimate the quantity of bat droppings present in your attic. This will help you determine the time and effort required for the cleaning process.
- Identify Entry Points: Look for potential entry points where bats might be gaining access to your attic. Seal off any openings to prevent future infestations.
- Check for Mold or Mildew: Inspect the affected area for any signs of mold or mildew growth. If you notice any, take appropriate measures to address the issue.
- Assess Damage to Insulation or Structures: Examine the insulation and structures in your attic for any damage caused by bat droppings or the presence of bats. Make a note of any repairs that may be necessary.
Assessing the situation will allow you to have a clearer understanding of the scope of the cleaning process and any additional measures that need to be taken. If the situation seems overwhelming or you’re unsure about how to proceed, consider consulting with a professional wildlife removal service.
Step 4: Remove Bat Droppings
Now that you have assessed the situation, it’s time to remove the bat droppings from your attic. Follow these steps for effective removal:
- Put on Protective Gear: Before starting the removal process, ensure that you are wearing disposable gloves, a face mask, and safety goggles to protect yourself from direct contact with the droppings.
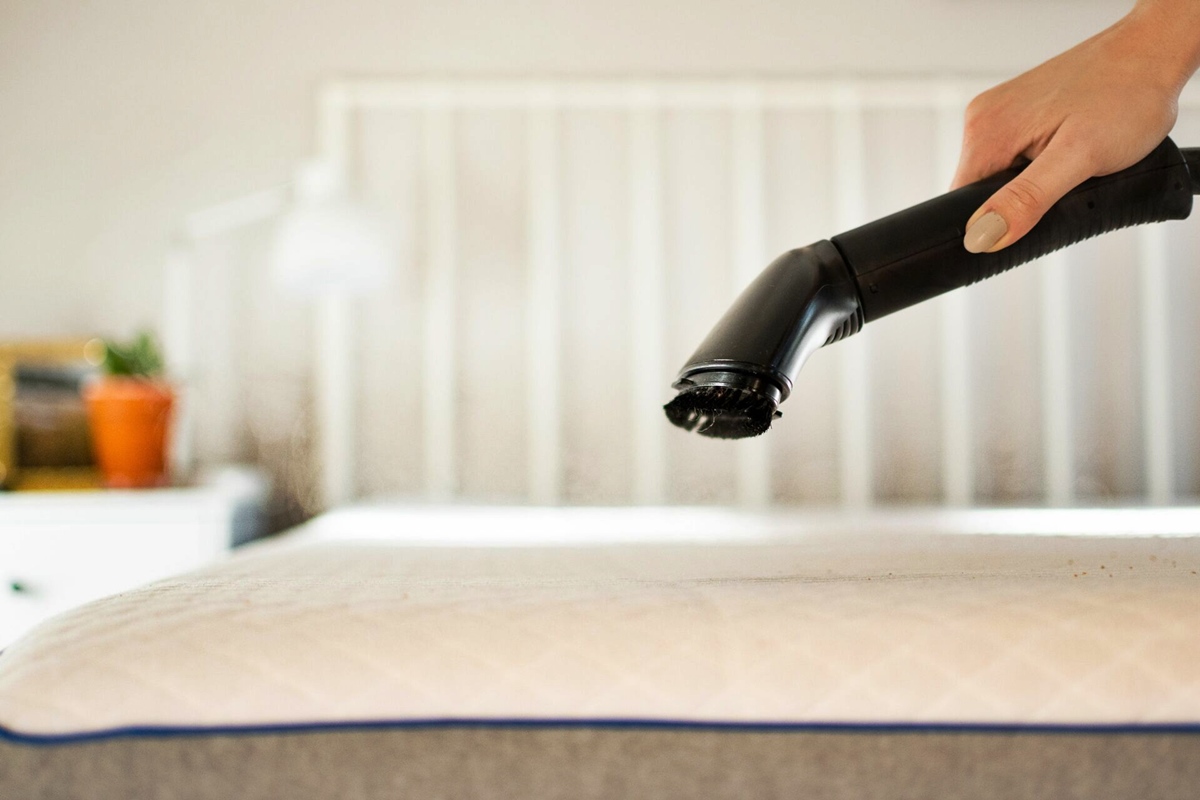
- Use a Shop Vacuum or Dustpan: If the bat droppings are loose and not heavily soiled, you can use a shop vacuum or dustpan to collect them. For larger accumulations, a shop vacuum with a HEPA filter is highly recommended to prevent the spread of airborne particles.
- Scrape or Brush off Dried Droppings: For hardened bat droppings, use a broom or brush with stiff bristles to scrape or loosen them from surfaces. Be cautious not to damage any underlying materials or insulation.
- Collect Droppings in Trash Bags: Collect the bat droppings and debris in sturdy trash bags. Double bagging is recommended to prevent any leaks or spills.
- Dispose of Waste Properly: Seal the bags tightly and dispose of them according to your local regulations. Contact your waste management provider for guidance on the proper disposal of biological waste.
- Clean Tools and Equipment: After removing the bat droppings, clean your tools and equipment thoroughly to avoid cross-contamination. Use a disinfectant or bleach solution to sanitize the vacuum, dustpan, broom, or any other tools used during the process.
Remember to work systematically, focusing on one area at a time, to ensure a thorough cleanup. Take breaks as needed and avoid overexertion.
If the bat droppings are heavily soiled or cover a large area, it’s advisable to seek professional assistance to ensure the job is done safely and effectively.
Wear protective gear like gloves and a mask before cleaning bat poop in the attic to avoid exposure to harmful pathogens. Use a vacuum with a HEPA filter to remove the droppings and disinfect the area afterwards.
Step 5: Clean the Affected Area
After removing the bat droppings, it’s crucial to clean the affected area to eliminate any remaining residue and odors. Follow these steps to properly clean the area:
- Prepare a Cleaning Solution: Fill a bucket with warm water and add a mild detergent or a specialized bat guano cleaner. Follow the manufacturer’s instructions for dilution ratios if using a specific cleaner.
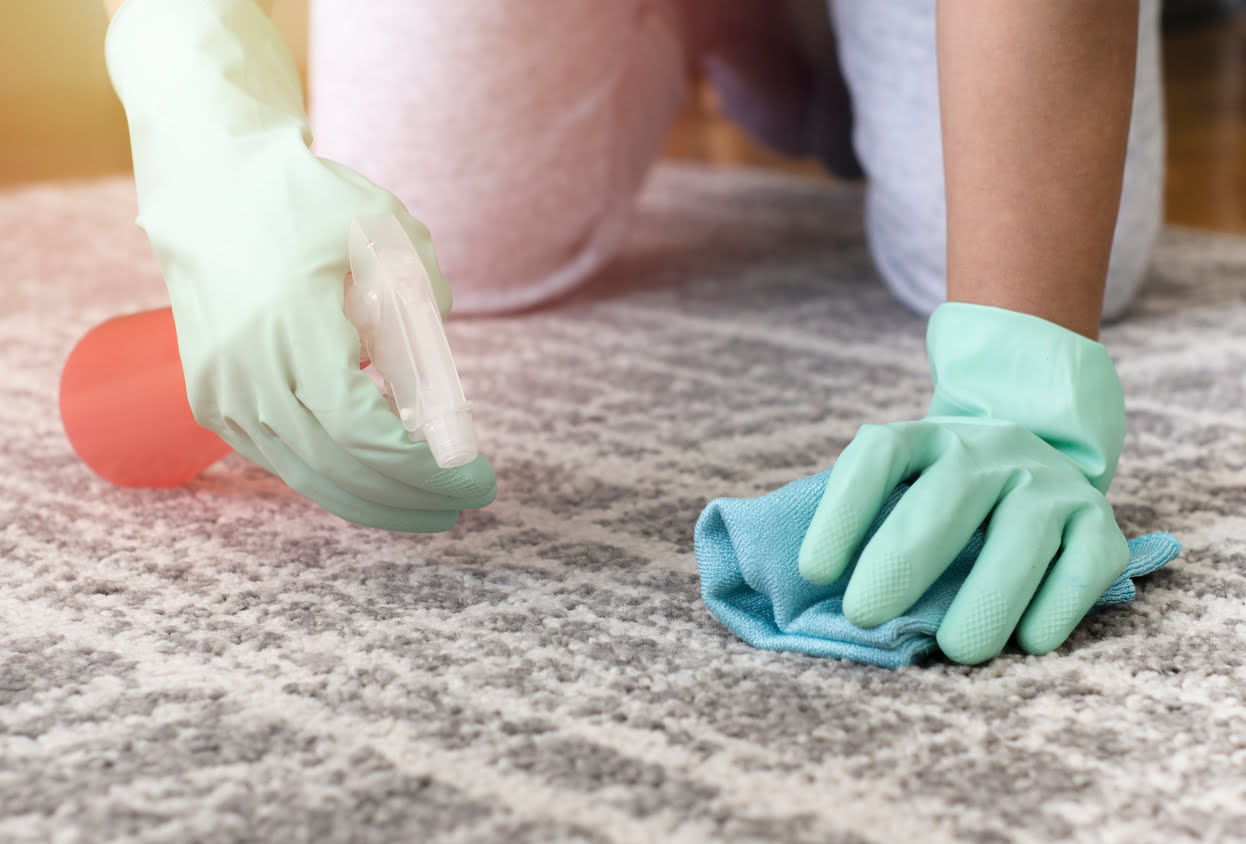
- Wet the Area: Use a plastic spray bottle to wet down the area with the cleaning solution. This helps to loosen any remaining residue and facilitates the cleaning process.
- Scrub the Surfaces: Dip a scrub brush with firm bristles into the cleaning solution and scrub the affected surfaces thoroughly. Pay close attention to all areas where bat droppings were present.
- Rinse the Surfaces: After scrubbing, rinse the surfaces with clean water to remove any soapy residue. This will help prevent any damage or discoloration caused by the cleaning solution.
- Dry the Area: Use clean towels or rags to dry the cleaned surfaces. Properly ventilate the area to ensure that it dries completely and prevent the growth of mold or mildew.
It’s important to note that if you encounter extensive staining or damage to the surfaces, it may be necessary to consult with a professional restoration service or contractor for repairs.
Remember to dispose of any cleaning materials or rags that come into contact with bat droppings in sealed plastic bags to minimize the risk of contamination.
Cleaning the affected area is a crucial step in restoring a safe and hygienic environment in your attic.
Step 6: Disinfect and Deodorize
Once you have cleaned the affected area, it’s essential to disinfect and deodorize to ensure a hygienic and odor-free environment. Follow these steps to effectively disinfect and deodorize your attic:
- Prepare a Disinfectant Solution: Fill a bucket with water and add bleach or a suitable disinfectant according to the manufacturer’s instructions. Ensure proper ventilation while working with bleach.
- Wear Protective Gear: Put on gloves, a face mask, and safety goggles to protect yourself during the disinfection process.
- Apply the Disinfectant: Dip a clean cloth or sponge into the disinfectant solution and thoroughly wipe down all surfaces. Pay special attention to areas that were heavily soiled with bat droppings.
- Let the Disinfectant Sit: Allow the disinfectant to sit on the surfaces for the recommended contact time specified by the manufacturer before rinsing.
- Rinse the Surfaces: Rinse the surfaces with clean water to remove any residue from the disinfectant.
- Deodorize the Area: To eliminate any lingering odors, you can use odor neutralizers or deodorizing sprays specifically designed for removing animal odors. Follow the product instructions for proper application.
Keep in mind that some disinfectants and deodorizers may require multiple applications to effectively eliminate strong odors.
Properly disposing of any materials used during the disinfection process, such as gloves or cleaning cloths, is crucial to prevent cross-contamination.
Disinfecting and deodorizing your attic will provide an added layer of protection against potential health hazards and create a more pleasant environment.
Step 7: Prevent Future Infestations
After cleaning and disinfecting your attic, it is essential to take steps to prevent future bat infestations. Here are some measures you can take:
- Seal Entry Points: Inspect your attic thoroughly for any openings or gaps that bats can use for entry. Seal them with caulk, steel wool, or other appropriate materials to prevent bats from re-entering.
- Install Bat Exclusion Devices: Consider installing bat exclusion devices, such as one-way doors or escape nets, on potential entry points. These devices allow bats to leave but prevent them from returning.
- Trim Overhanging Branches: Trim any tree branches that may be close to your house and could provide bats with an easy path to your attic.
- Keep the Attic Well-Ventilated: Ensure proper ventilation in your attic to prevent it from becoming an attractive nesting spot for bats. Good airflow can also help to deter other pests.
- Remove Attractants: Remove any potential food sources or nesting materials that might attract bats to your property. Clean up fallen fruits, secure garbage cans, and maintain a tidy yard to discourage bats from settling nearby.
- Consider Bat Houses: Install bat houses in your yard as an alternative roosting option for bats. Providing them with an alternative habitat can help to redirect them away from your attic.
- Consult with Professionals: If you are experiencing persistent bat infestations or if you are uncertain about how to effectively prevent bat entry, it is best to consult with a professional wildlife removal service. They have the expertise to assess your situation and provide suitable solutions.
By taking proactive measures to prevent future infestations, you can ensure the long-term protection of your attic and minimize the need for extensive cleaning and maintenance in the future.
Remember to stay vigilant and regularly inspect your attic for any signs of bat activity to address potential issues at the earliest opportunity.
Conclusion
Cleaning bat poop in your attic is an important task to ensure a safe and hygienic living environment. By following the step-by-step process outlined in this article, you can effectively remove bat droppings and minimize the risk of health hazards associated with them.
From taking safety precautions and gathering the necessary supplies to assessing the situation, removing the droppings, and cleaning and disinfecting the affected area, each step plays a vital role in a thorough cleaning process.
Additionally, it is crucial to take measures to prevent future bat infestations by sealing entry points, installing bat exclusion devices, maintaining proper attic ventilation, and removing potential attractants. Consulting with professionals can provide expert advice and assistance for preventing future infestations.
Remember to always prioritize your safety by wearing protective gear and following proper cleaning and disposal procedures
By taking these steps and maintaining a proactive approach, you can ensure a bat-free and clean attic space, providing you with peace of mind and a healthier living environment.
However, it’s important to note that if you encounter a large bat infestation, have any doubts, or feel uncomfortable handling bat droppings, it is highly recommended to seek professional assistance to ensure the job is done safely and effectively.
Frequently Asked Questions about How To Clean Bat Poop In Attic
Was this page helpful?
At Storables.com, we guarantee accurate and reliable information. Our content, validated by Expert Board Contributors, is crafted following stringent Editorial Policies. We're committed to providing you with well-researched, expert-backed insights for all your informational needs.



0 thoughts on “How To Clean Bat Poop In Attic”