Articles
How To Make Slipcovers For Throw Pillows
Modified: February 24, 2024
Learn how to make slipcovers for throw pillows with our comprehensive articles. Enhance your home decor and give your pillows a fresh new look.
(Many of the links in this article redirect to a specific reviewed product. Your purchase of these products through affiliate links helps to generate commission for Storables.com, at no extra cost. Learn more)
Introduction
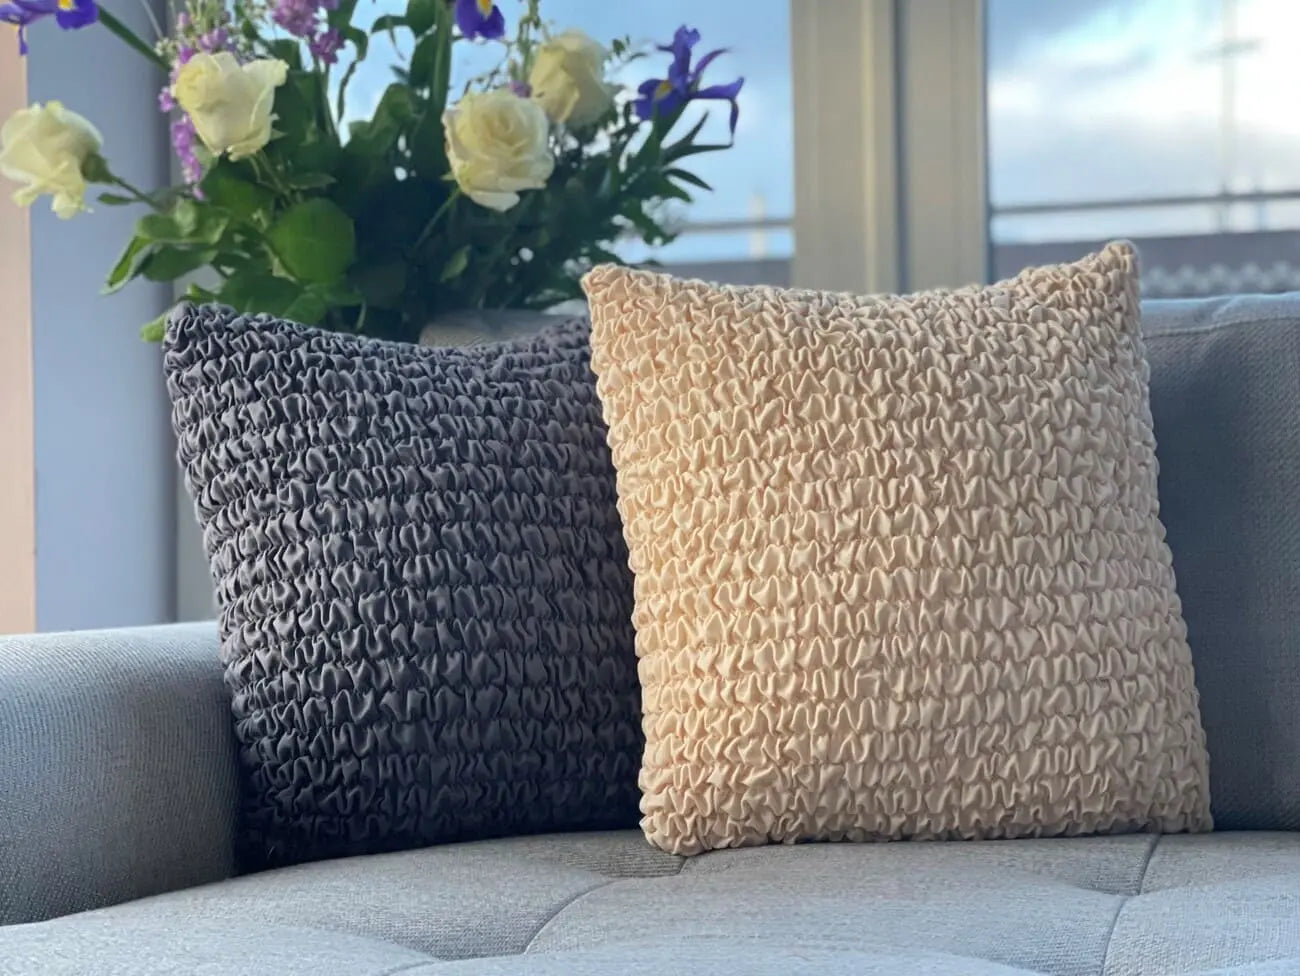
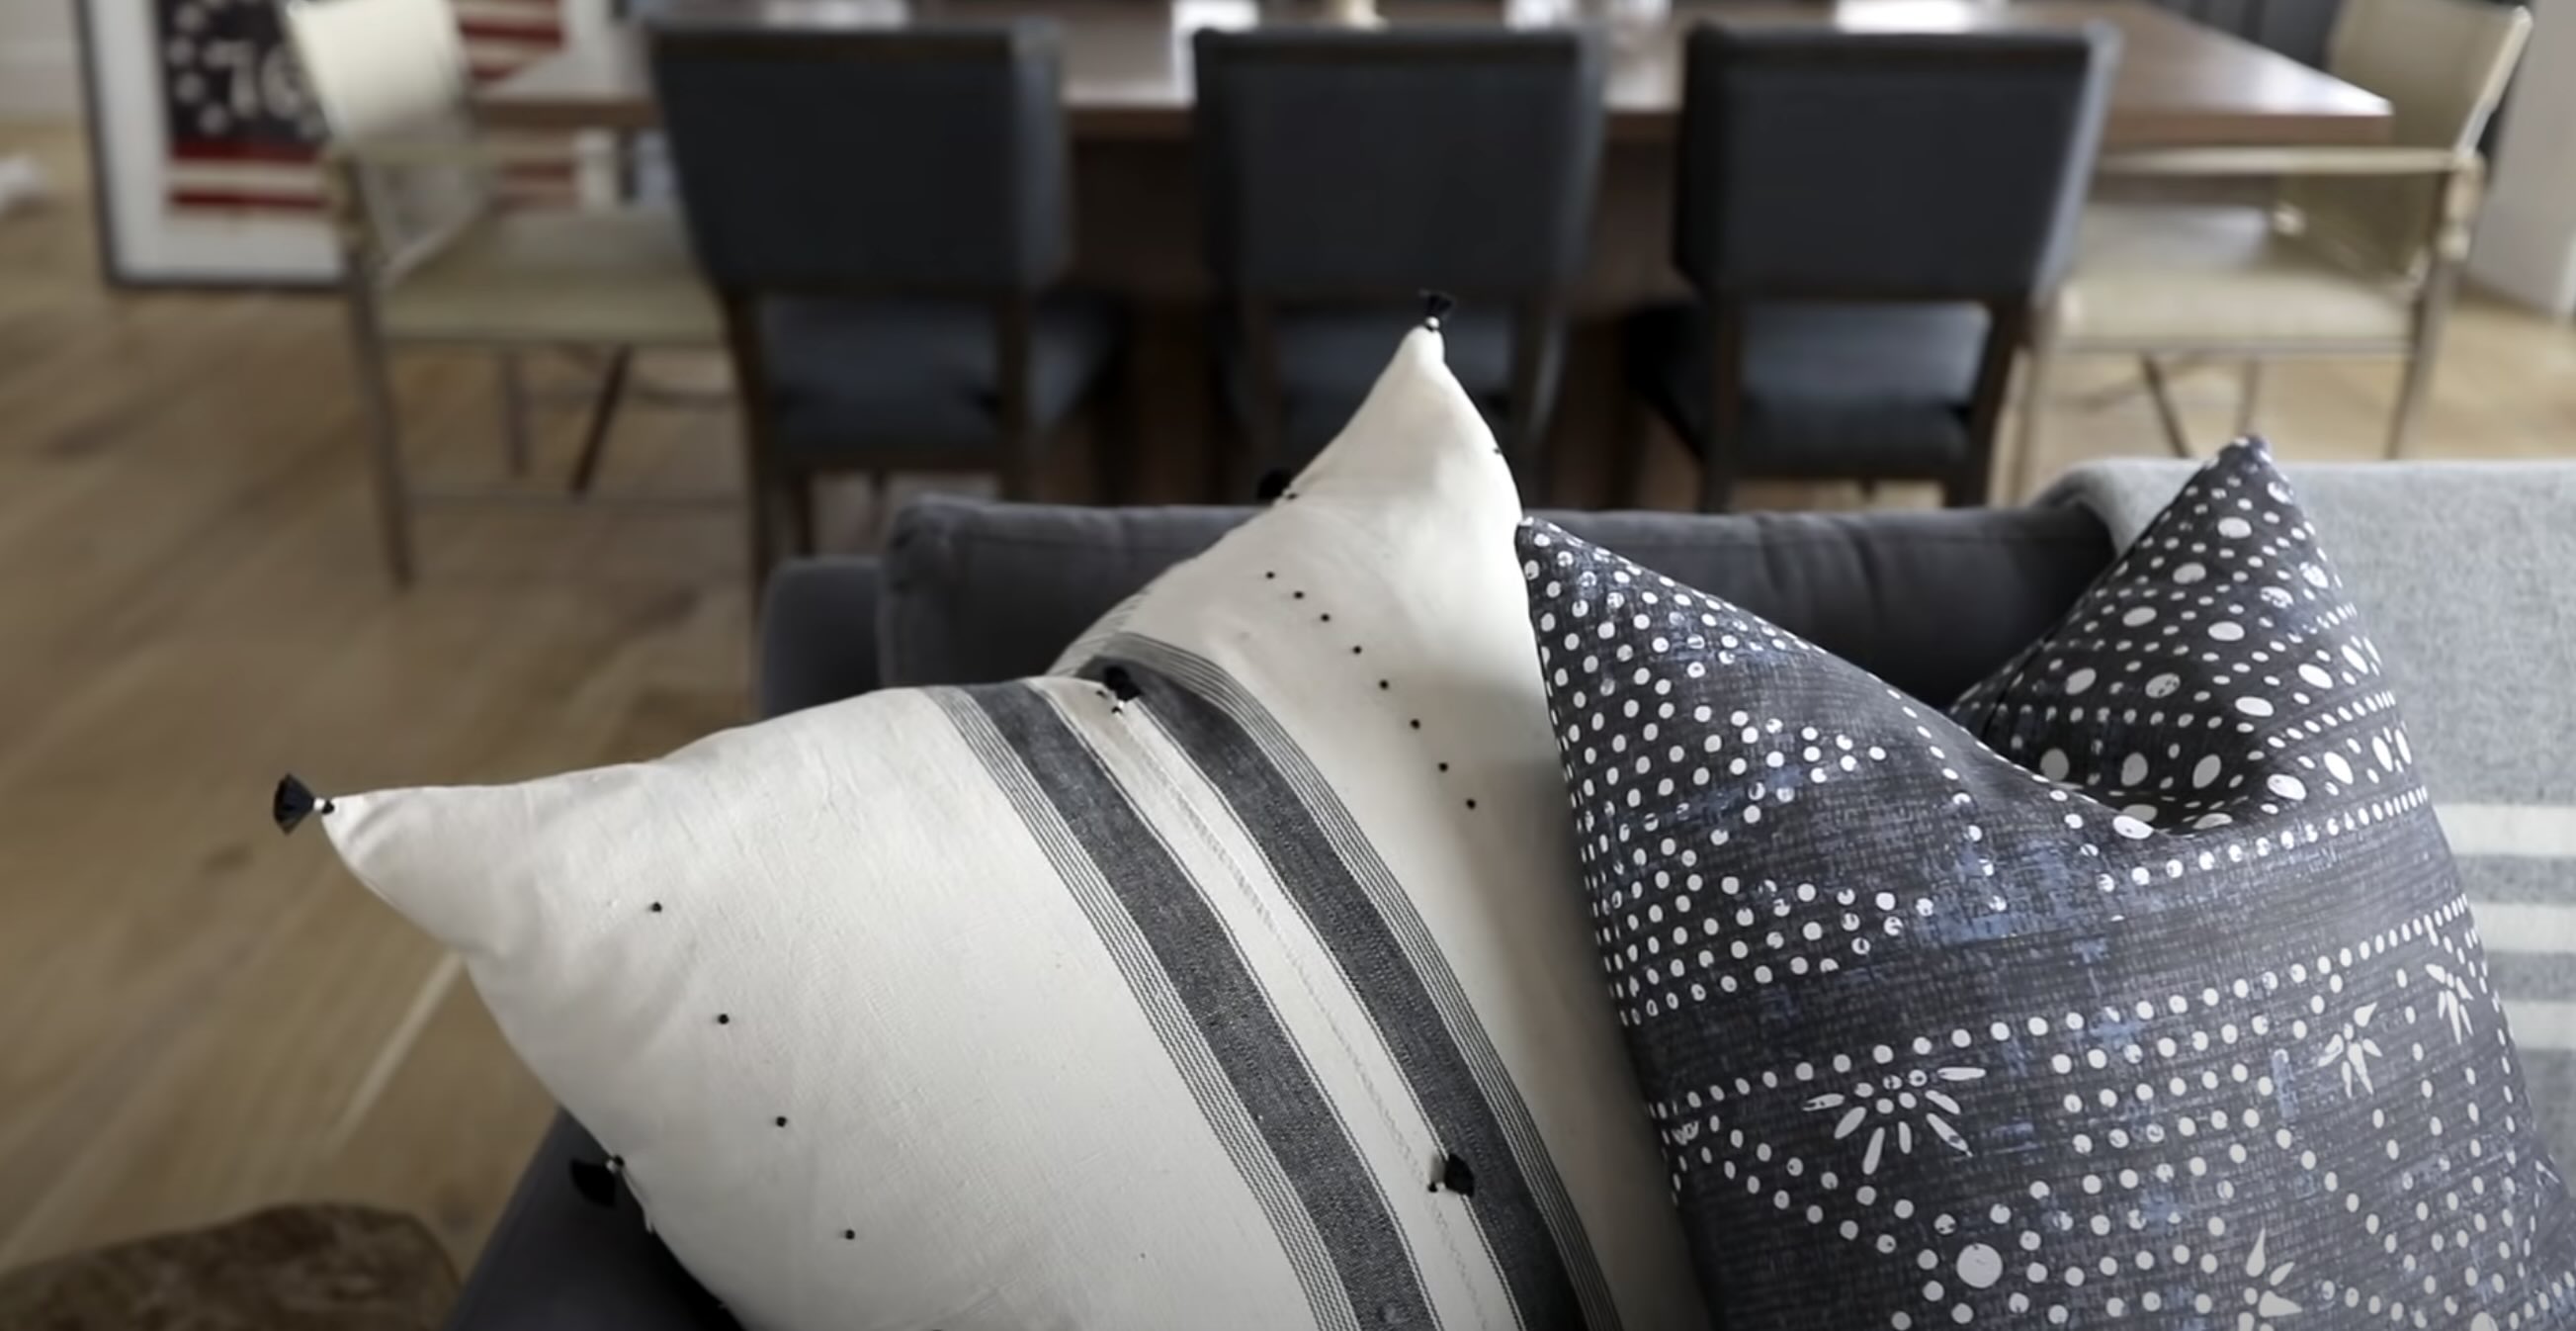
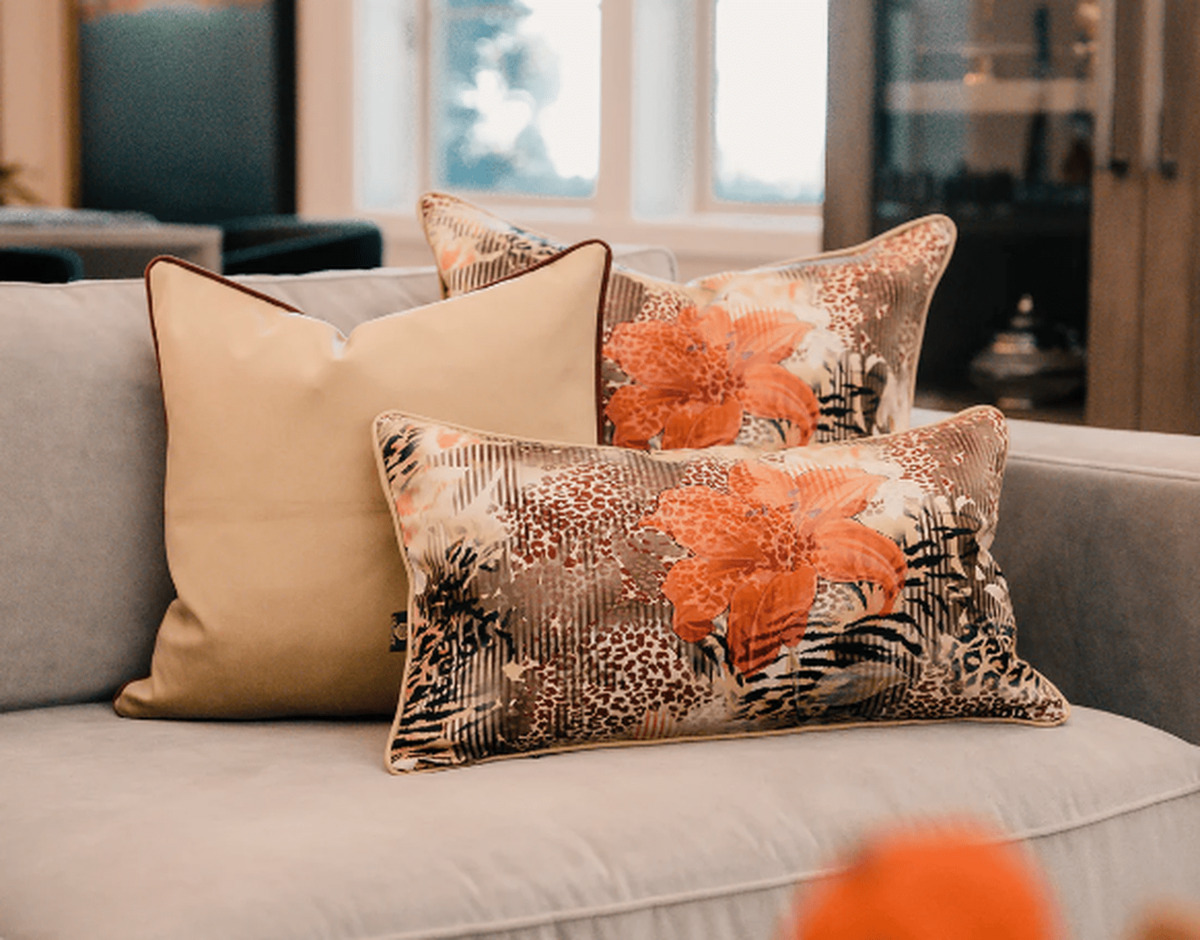
Throw pillows are a simple yet impactful way to update the look of any room. However, constantly buying new throw pillows can be expensive and wasteful. That’s where slipcovers come in. Making slipcovers for your throw pillows is not only a cost-effective solution, but it also allows you to personalize and change the look of your pillows whenever you want.
In this article, we will guide you through the process of making slipcovers for your throw pillows. Whether you’re a seasoned sewing enthusiast or a beginner, you’ll find this DIY project both rewarding and enjoyable. Let’s dive in!
Key Takeaways:
- Transform your throw pillows with personalized slipcovers using durable, stylish fabrics. Add decorative details for a unique touch and enjoy a cost-effective, sustainable way to update your home decor effortlessly.
- Embrace creativity and sustainability by making slipcovers for throw pillows. Express your style, save money, and reduce waste while enjoying the flexibility to change your home decor with ease.
Read more: How To Make Piping For Throw Pillows
Materials Needed
To make slipcovers for your throw pillows, you will need the following materials:
- Fabric of your choice
- Measuring tape
- Scissors
- Sewing machine
- Sewing needles
- Pins
- Thread
- Iron
- Optional: Decorative trim, buttons, or appliques
Before starting the project, make sure you have all the materials on hand. These can be easily found at your local fabric or craft store. Additionally, choose a fabric that suits your style and complements the existing decor in your home. Consider the durability and texture of the fabric to ensure that it will withstand regular use.
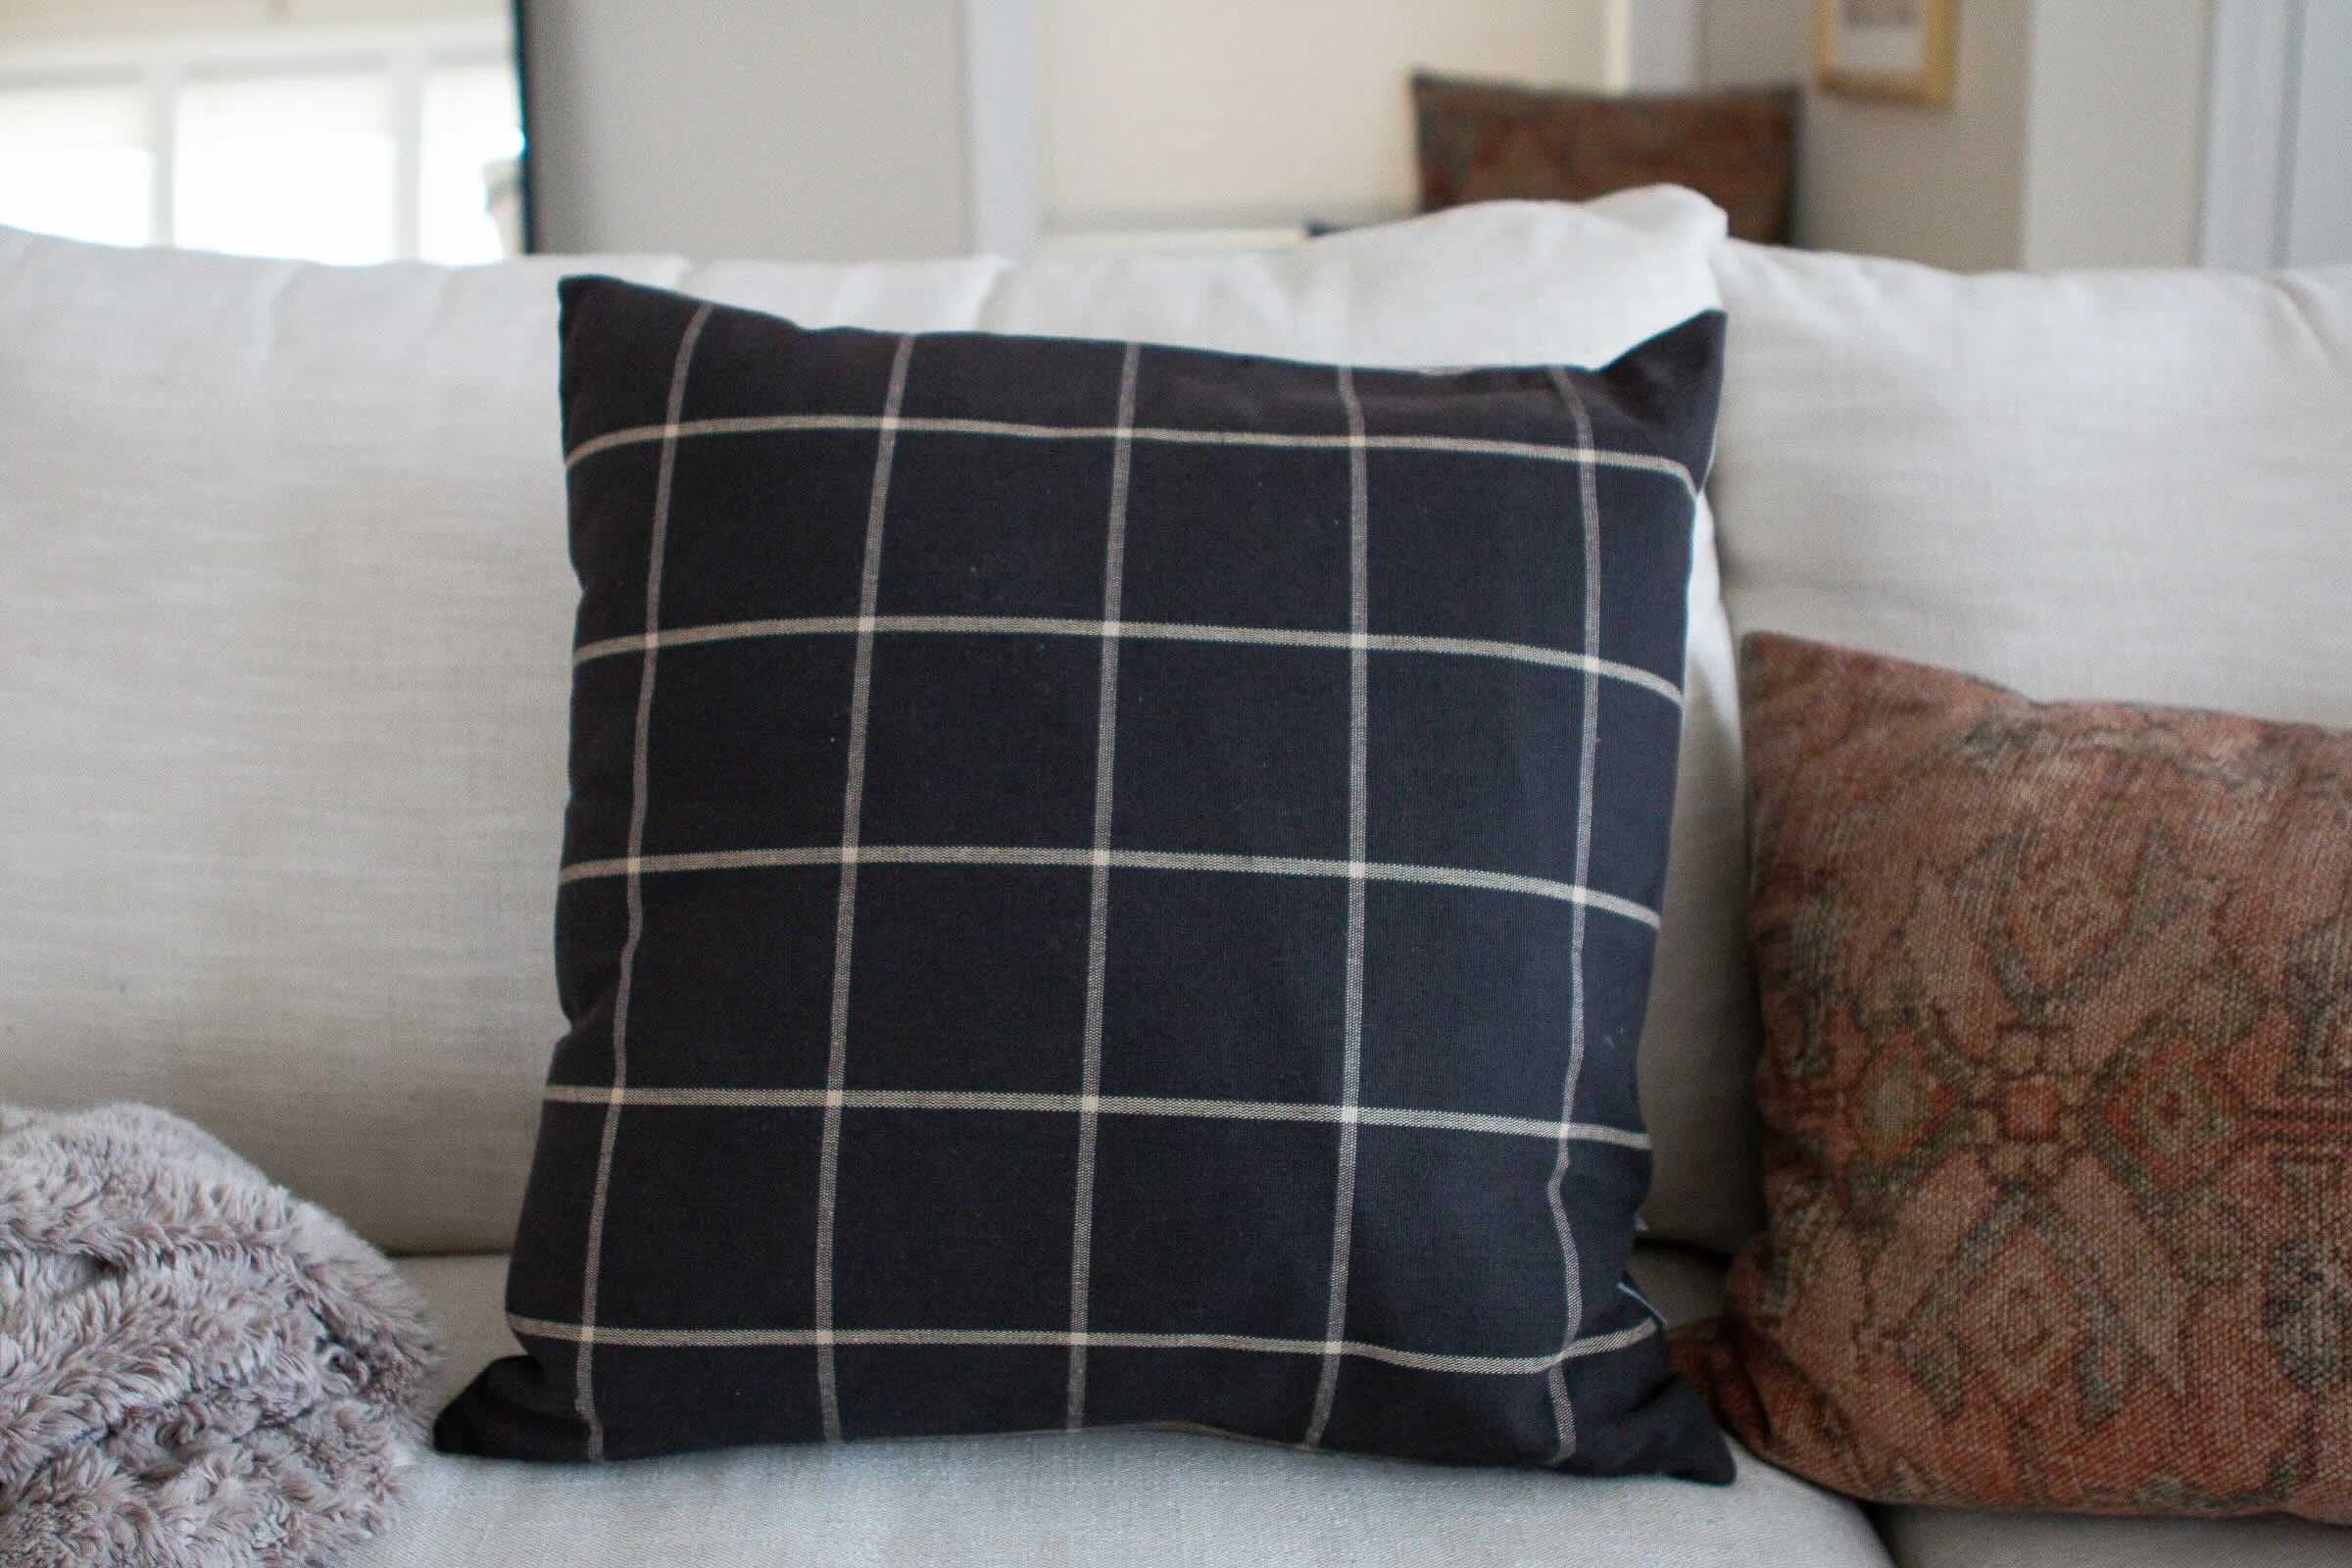
Choosing Fabric
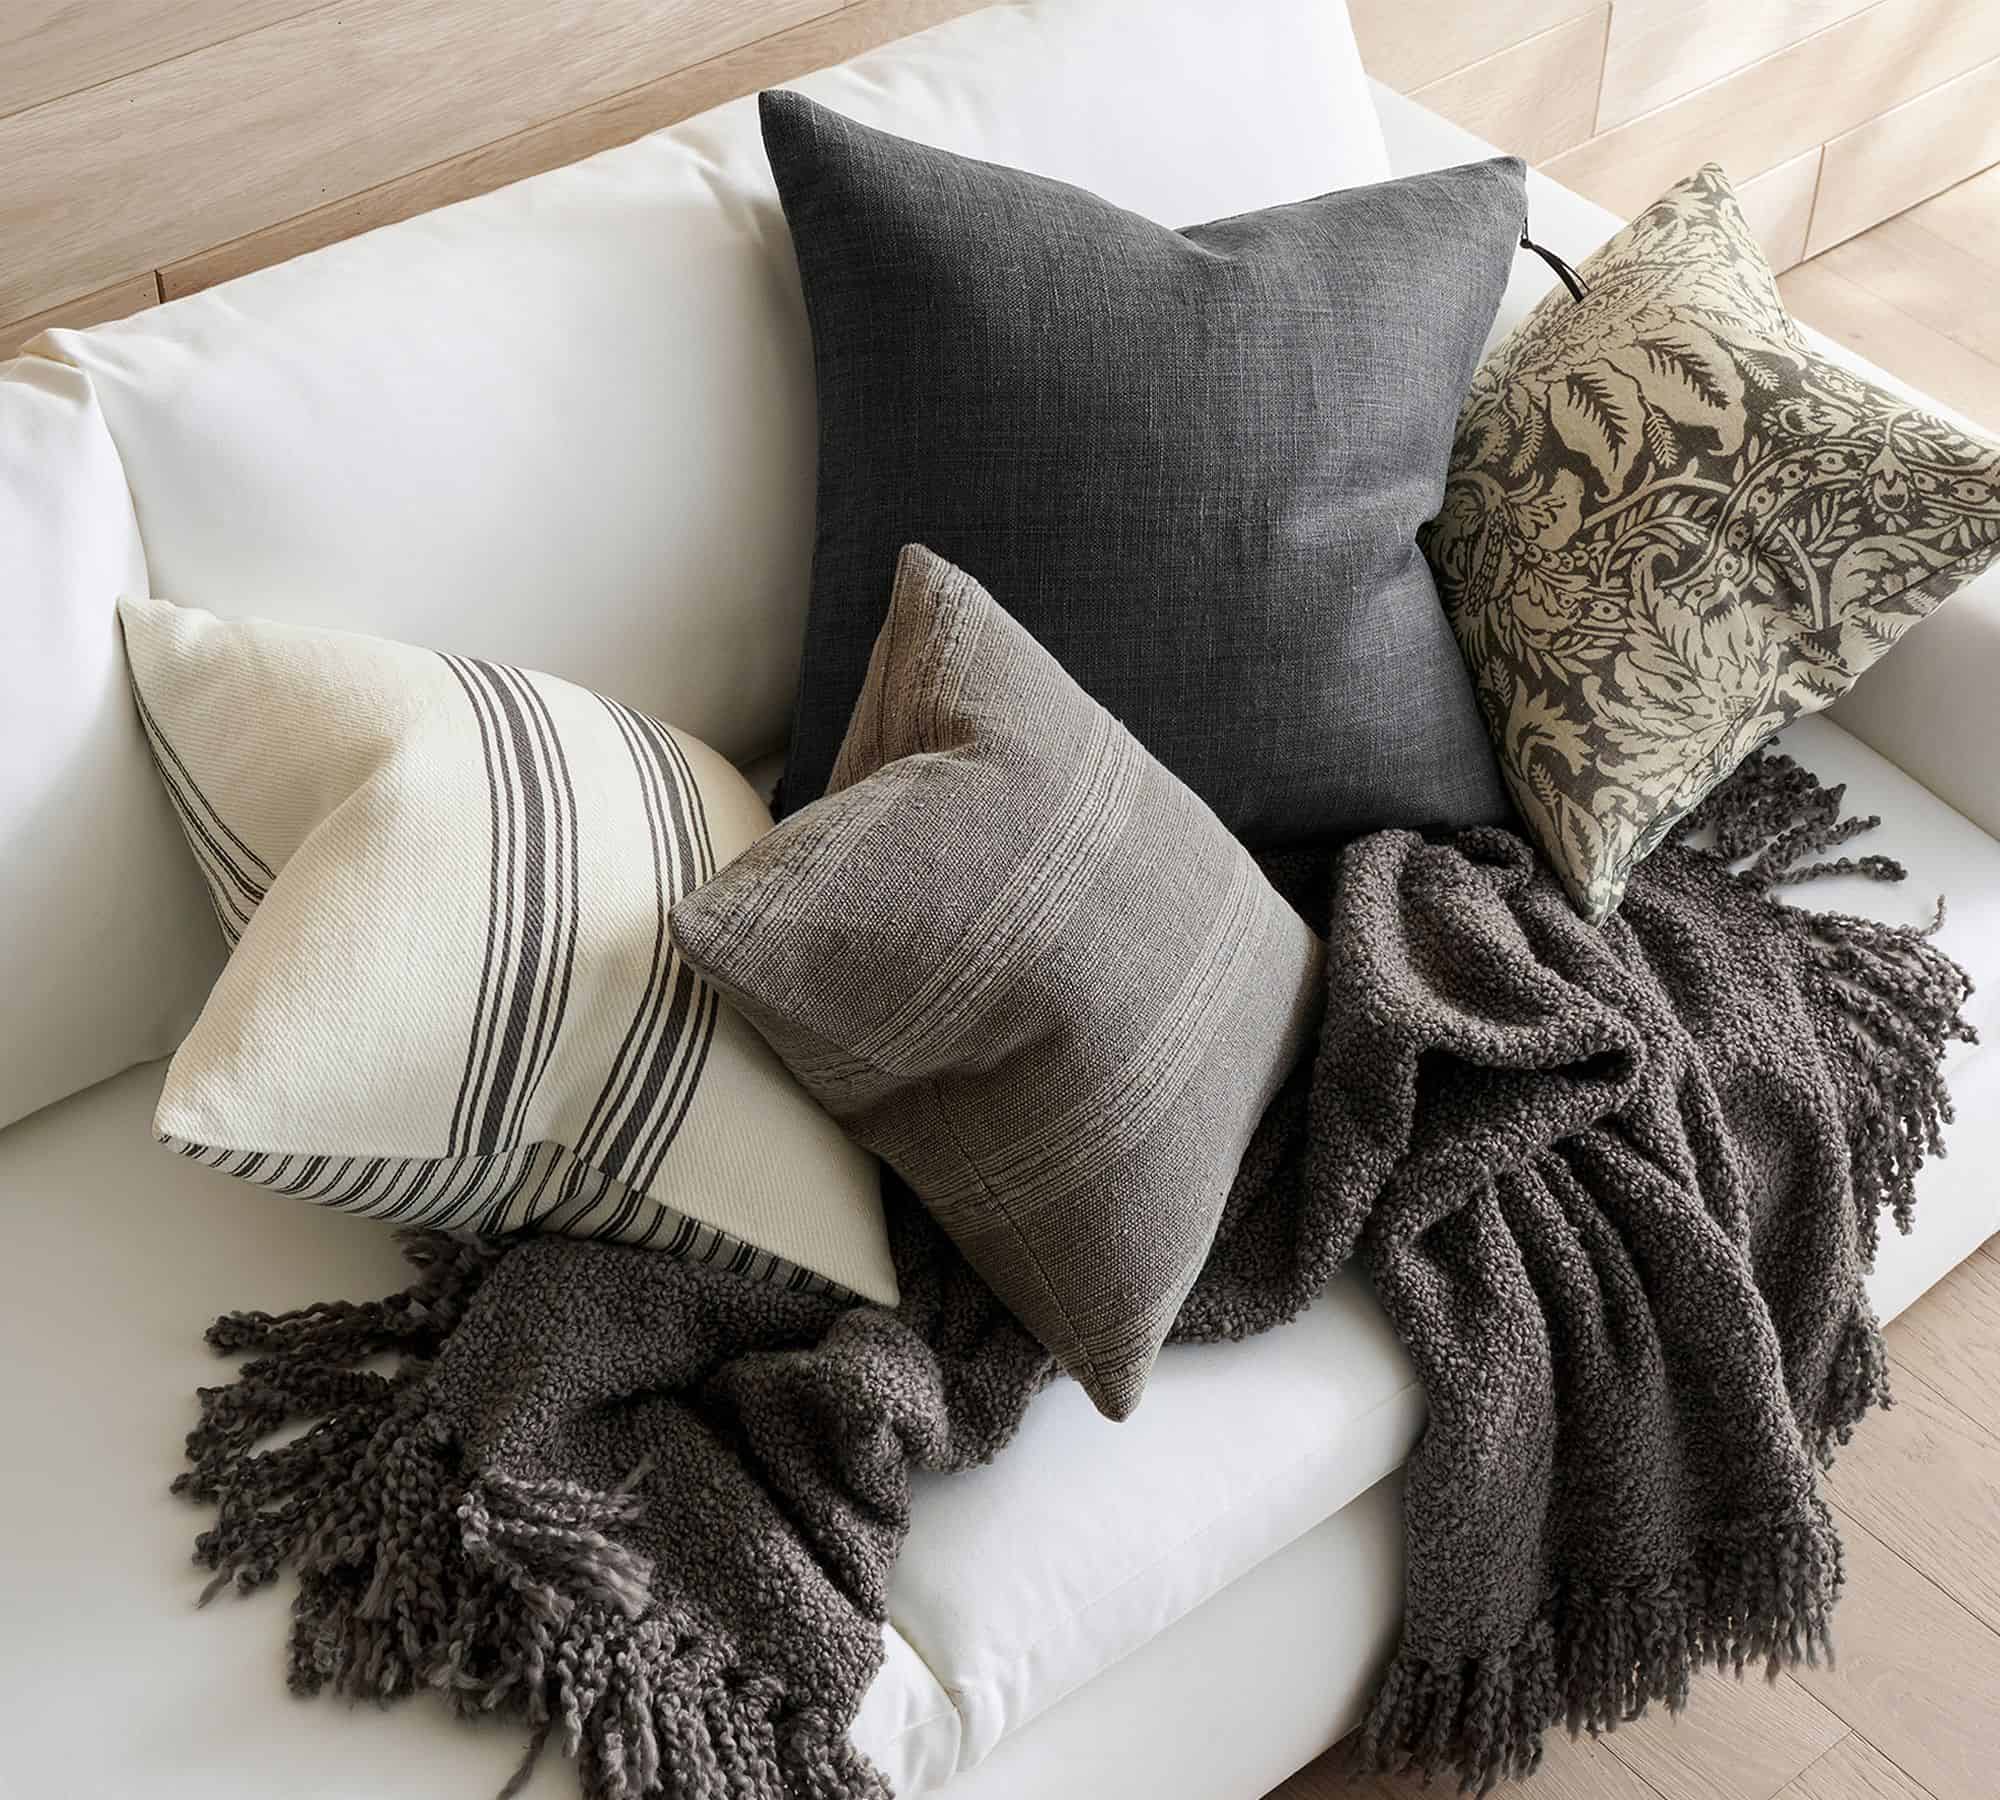
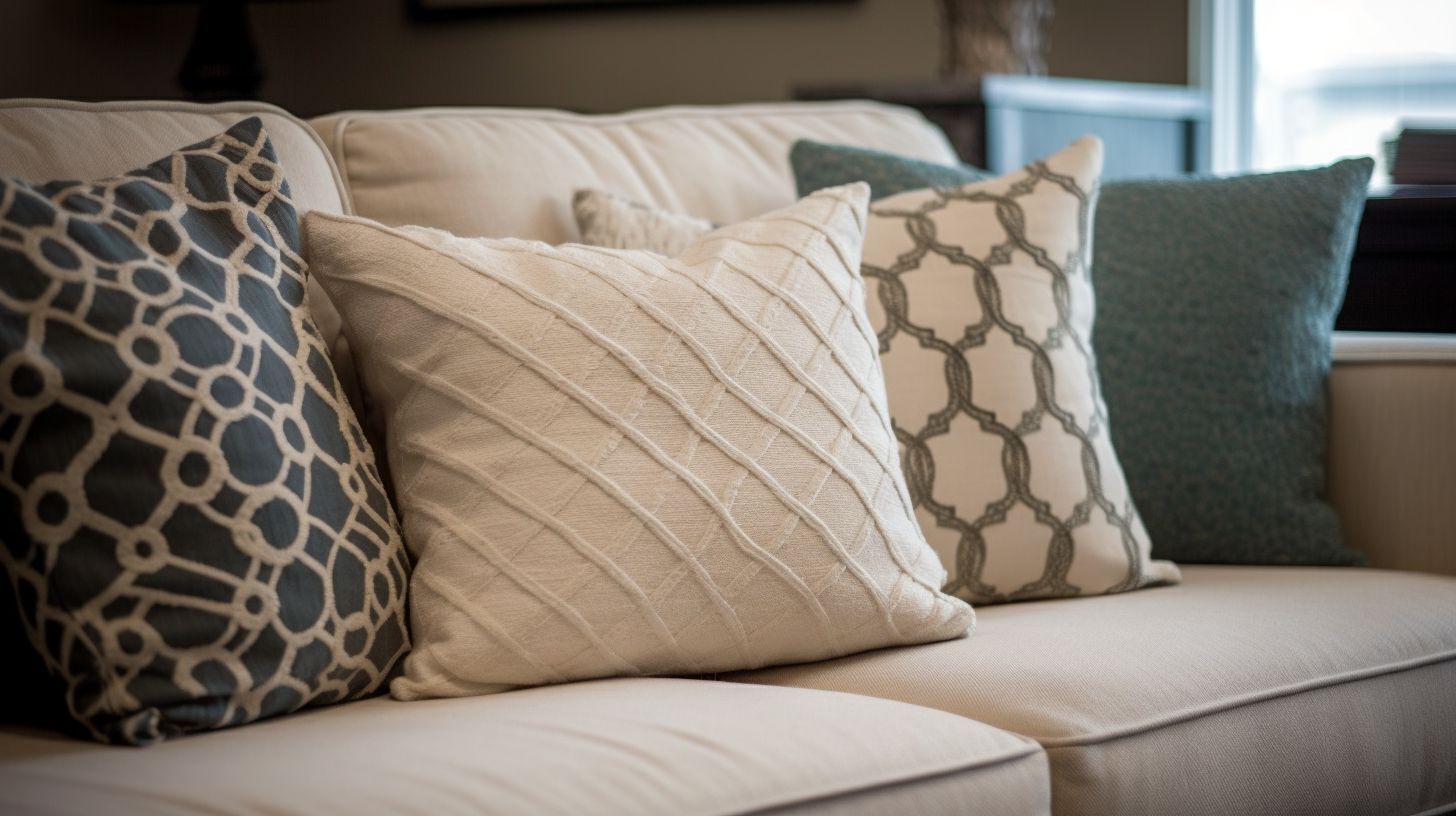
When it comes to choosing the fabric for your slipcovers, there are a few factors to consider. The first is durability. Since throw pillows are often used for lounging and decoration, it’s important to select a fabric that can withstand frequent use.
Consider opting for upholstery fabric, which is designed to be durable and stain-resistant. It is usually made from materials like linen, cotton, or synthetic blends. These fabrics are not only sturdy but also offer a wide variety of patterns and colors to choose from.
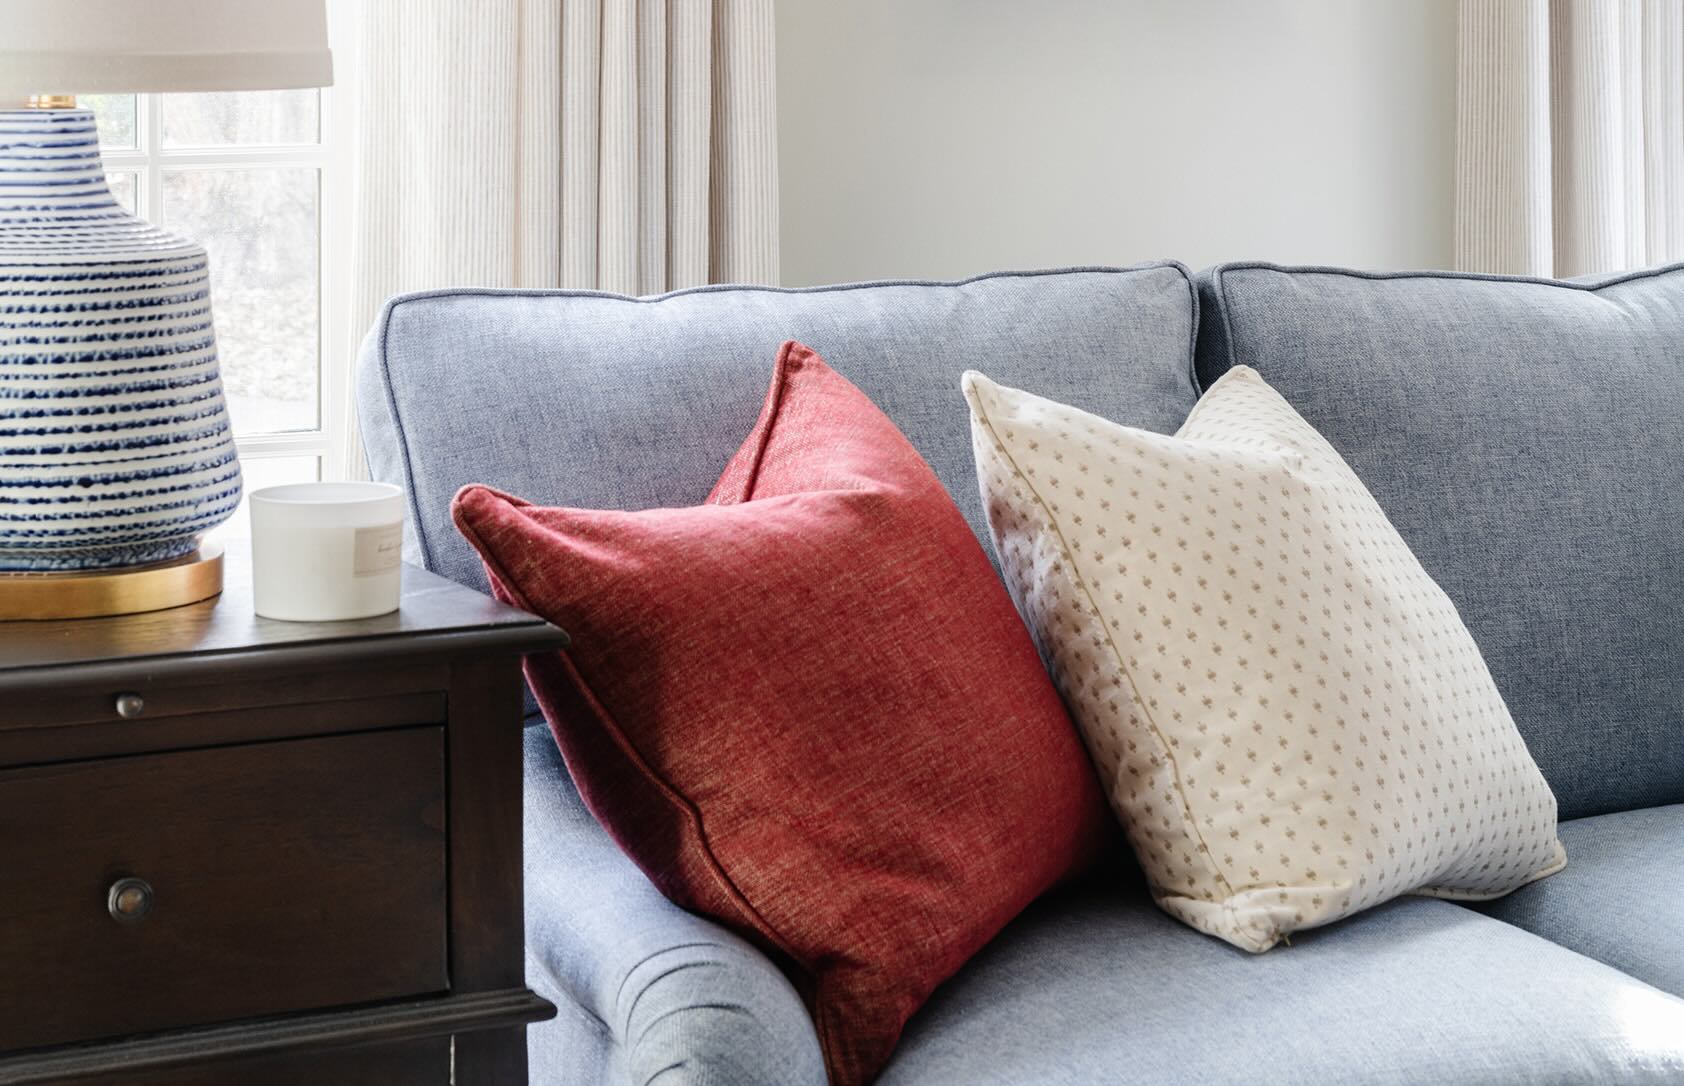
In addition to durability, think about the texture of the fabric. If you want a sleek and sophisticated look, consider choosing a smooth and satin-like fabric. On the other hand, if you prefer a cozier and more relaxed feel, opt for a soft and plush material like velvet or chenille.
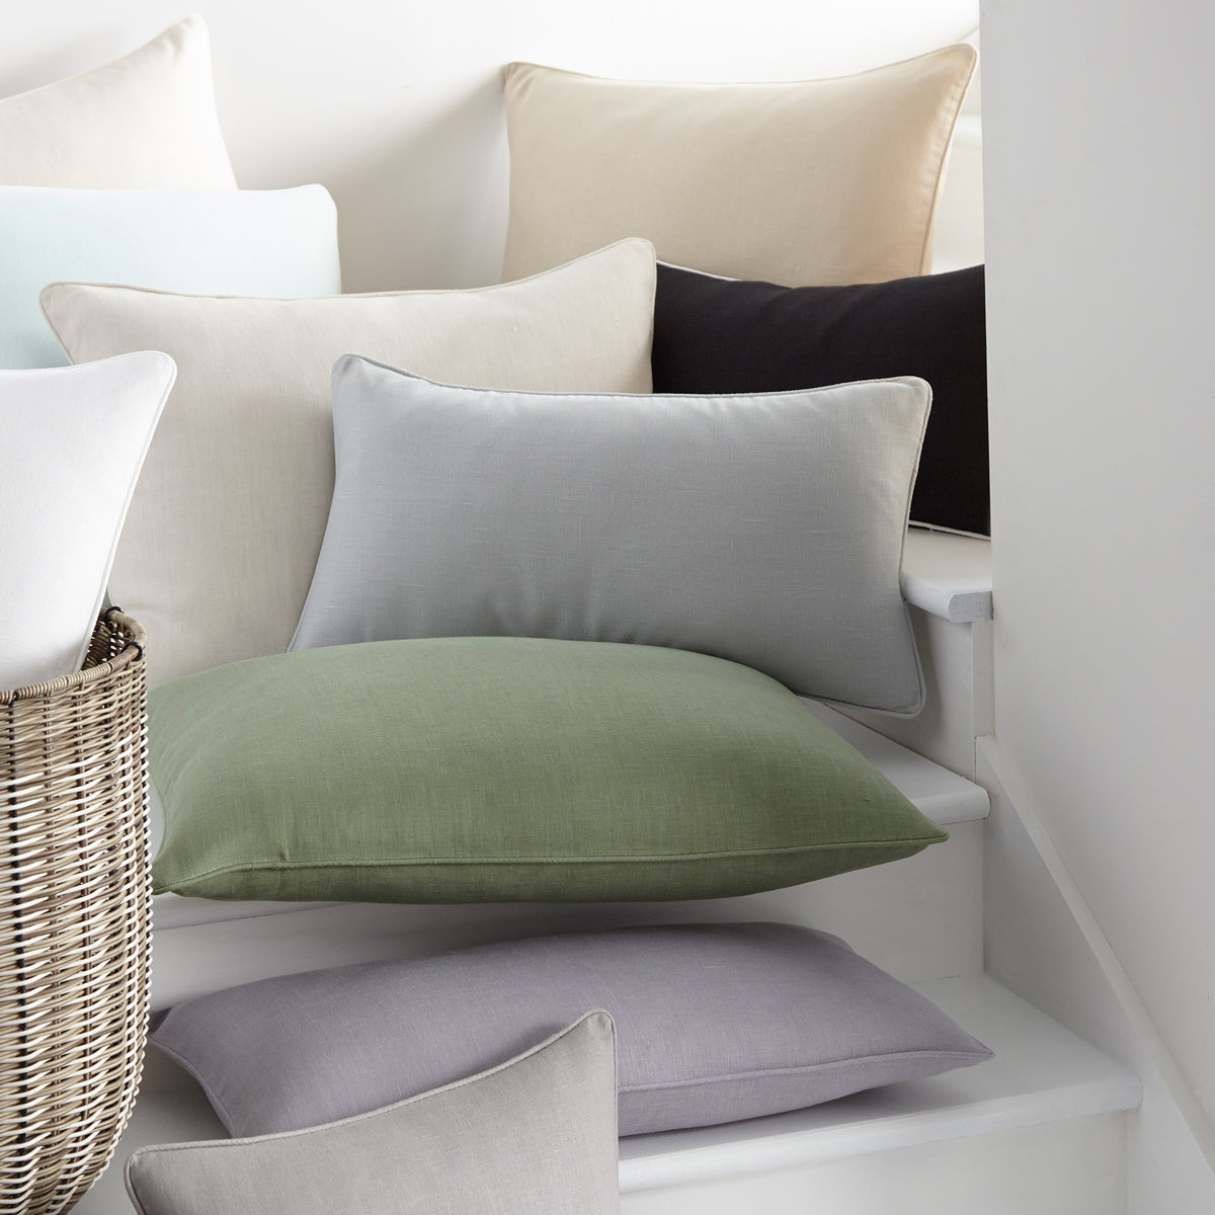
Another aspect to consider when choosing fabric is its compatibility with your home’s decor. Take into account the color scheme, patterns, and aesthetic of the room where the throw pillows will be placed. Choose a fabric that will complement the existing decor and enhance the overall look of the space.
Lastly, consider your personal preference and style. This is an opportunity to express your creativity and individuality. Whether you prefer bold and vibrant prints or subtle and neutral tones, choose a fabric that resonates with your taste and fits well within your home’s aesthetics.
Remember, slipcovers can be easily replaced, so don’t be afraid to experiment with different fabrics and patterns. This allows you to change up the look of your throw pillows whenever you feel like refreshing your space.
Measuring and Cutting the Fabric
Before you begin sewing the slipcovers, you’ll need to measure your throw pillows and cut the fabric accordingly. Here’s a step-by-step guide:
- Start by measuring the dimensions of your throw pillows. Measure the length, width, and height of each pillow, making sure to account for any decorative trim or piping.
- Add an extra 1 inch allowance on all sides to ensure a snug fit for the slipcover. This will allow for seam allowances and ease of inserting the pillow.
- Using your measurements, mark and cut out the fabric pieces. You will need two rectangular pieces for the front and back of the slipcover, and two square or rectangular pieces for the sides.
- Make sure to align the fabric pattern or design if applicable. For a seamless and cohesive look, pay attention to the placement of the pattern on each piece.
- Use fabric scissors to cut the fabric along the marked lines. Take your time and cut as accurately as possible to ensure a polished and professional finish.
Double-check your measurements and cuts before moving on to the next step. It is always better to be cautious and make adjustments if needed. Remember, precision is key in achieving a well-fitted slipcover.
Once you have cut out all the fabric pieces, set them aside and prepare your sewing machine for the next step.
When making slipcovers for throw pillows, be sure to measure your pillows accurately to ensure a snug fit. Use durable fabric and consider adding a zipper for easy removal and washing.
Sewing the Slipcover
Now that you have your fabric pieces ready, it’s time to sew the slipcover for your throw pillows. Follow these steps to complete the sewing process:
- Take one of the rectangular fabric pieces (front or back) and place it face up on your work surface.
- Position one of the side fabric pieces along the edge of the rectangular piece, right sides together. Pin the fabric pieces together to hold them in place.
- Using a straight stitch on your sewing machine, sew along the pinned edge with a 1/2-inch seam allowance. Backstitch at the beginning and end of the seam to secure the stitches. Repeat this step for the other side fabric piece.
- Next, take the remaining rectangular fabric piece and place it face down on top of the sewn pieces. Align the edges and pin them together.
- Starting at one corner, sew around the edges of the slipcover using a 1/2-inch seam allowance. Leave a small opening on one side for inserting the pillow.
- Trim the corners diagonally to reduce bulk and create sharp corners when the slipcover is turned right side out.
- Carefully turn the slipcover right side out through the opening. Use a pencil or a blunt instrument to push out the corners for a clean finish.
- Press the slipcover with an iron to smooth out any wrinkles and create crisp edges.
- Insert the throw pillow through the opening, making sure it sits snugly inside the slipcover.
- To close the slipcover, hand stitch the opening using a slip stitch or ladder stitch. Make small and inconspicuous stitches to secure the fabric together.
Once you’ve sewn and closed the slipcover, give it a final press with the iron to make it look neat and presentable. Your slipcover is now ready to be used!
Remember, you can always customize your slipcover by adding decorative details like trim, buttons, or appliques. Get creative and make it unique to your style and preferences.
Read more: How To Pick Throw Pillows
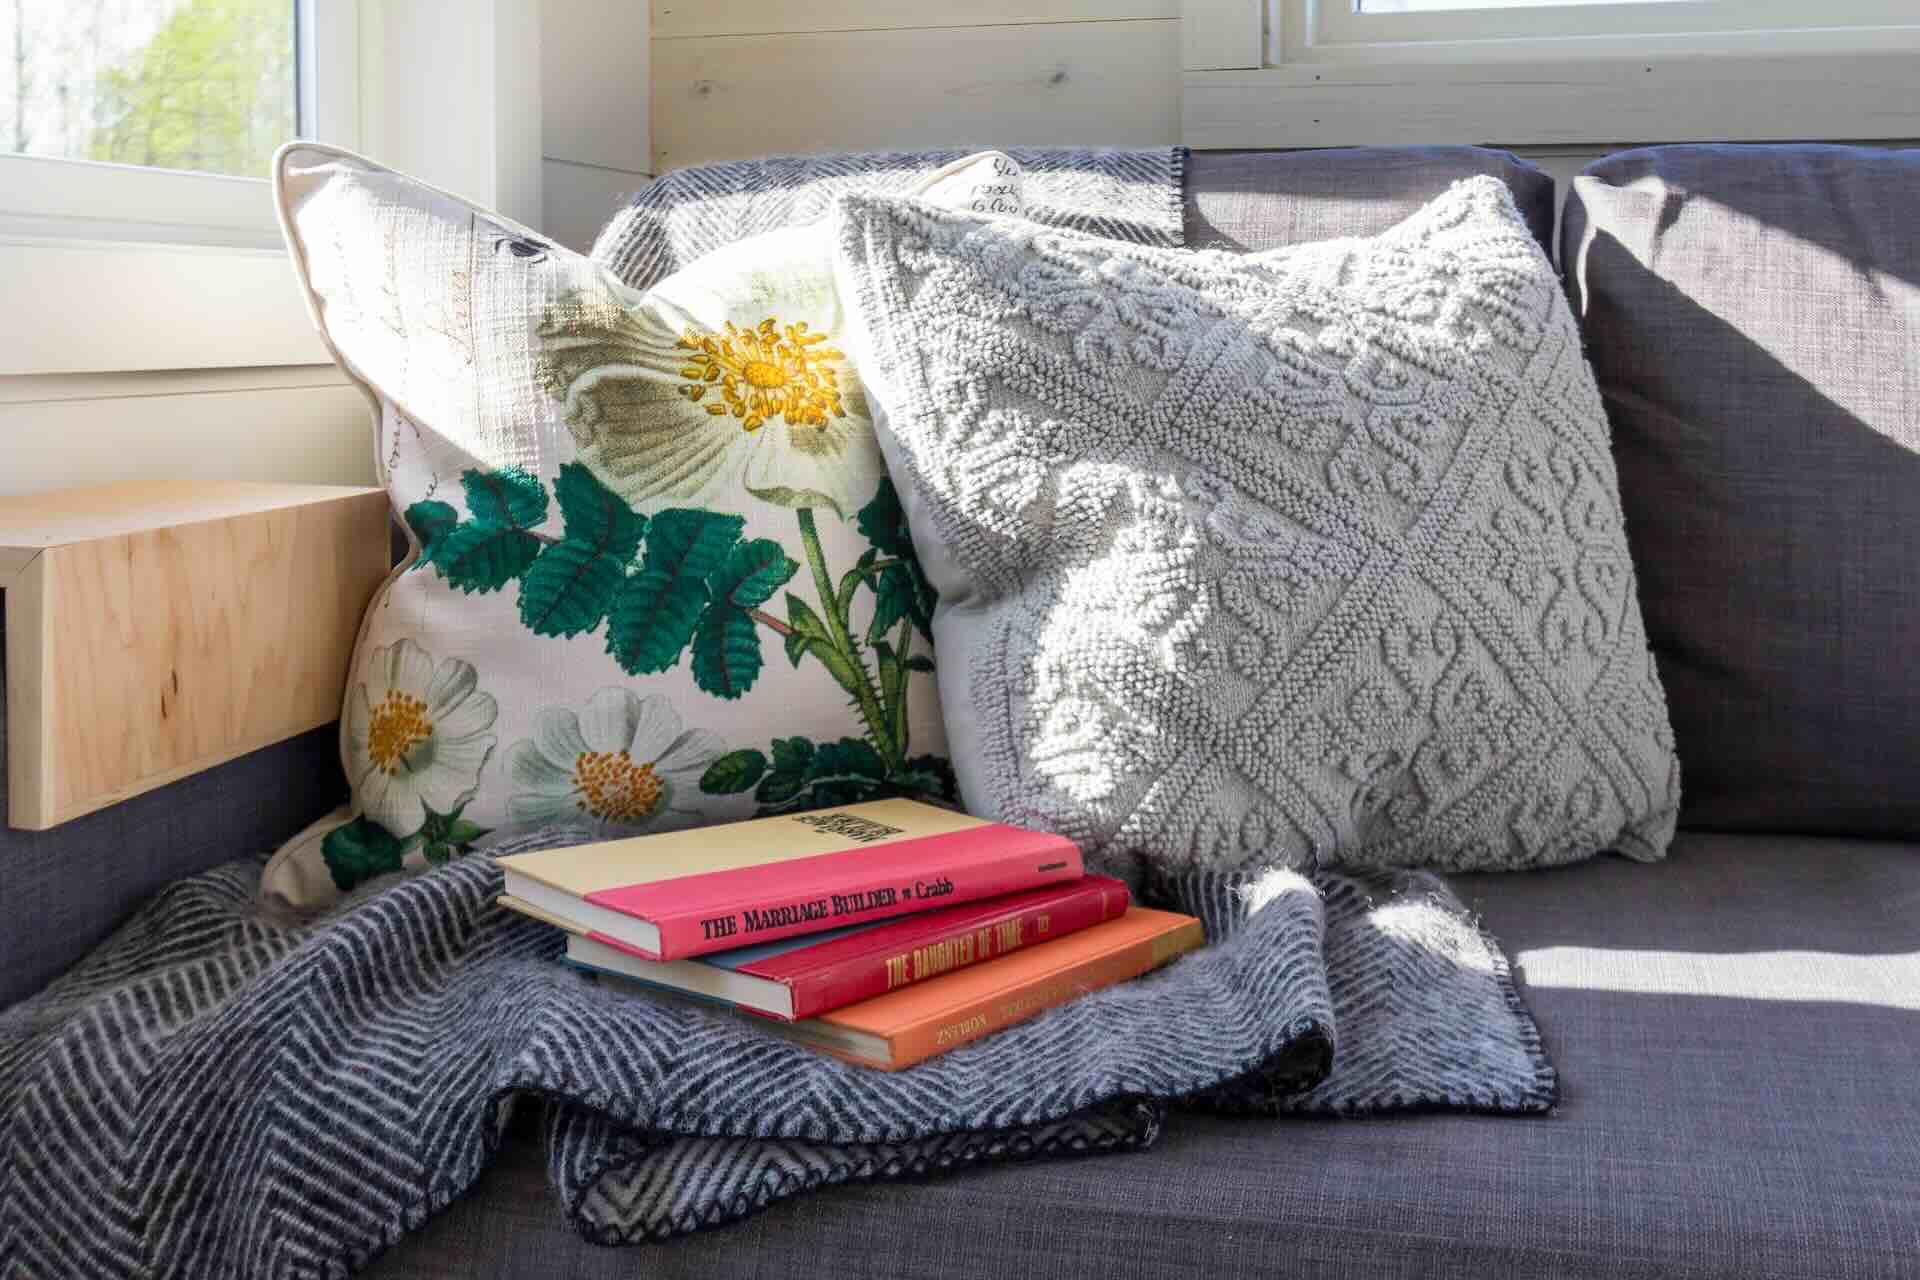
Adding Decorative Details
Adding decorative details to your slipcovers can elevate their visual appeal and give them a personalized touch. Here are some ideas to inspire you:
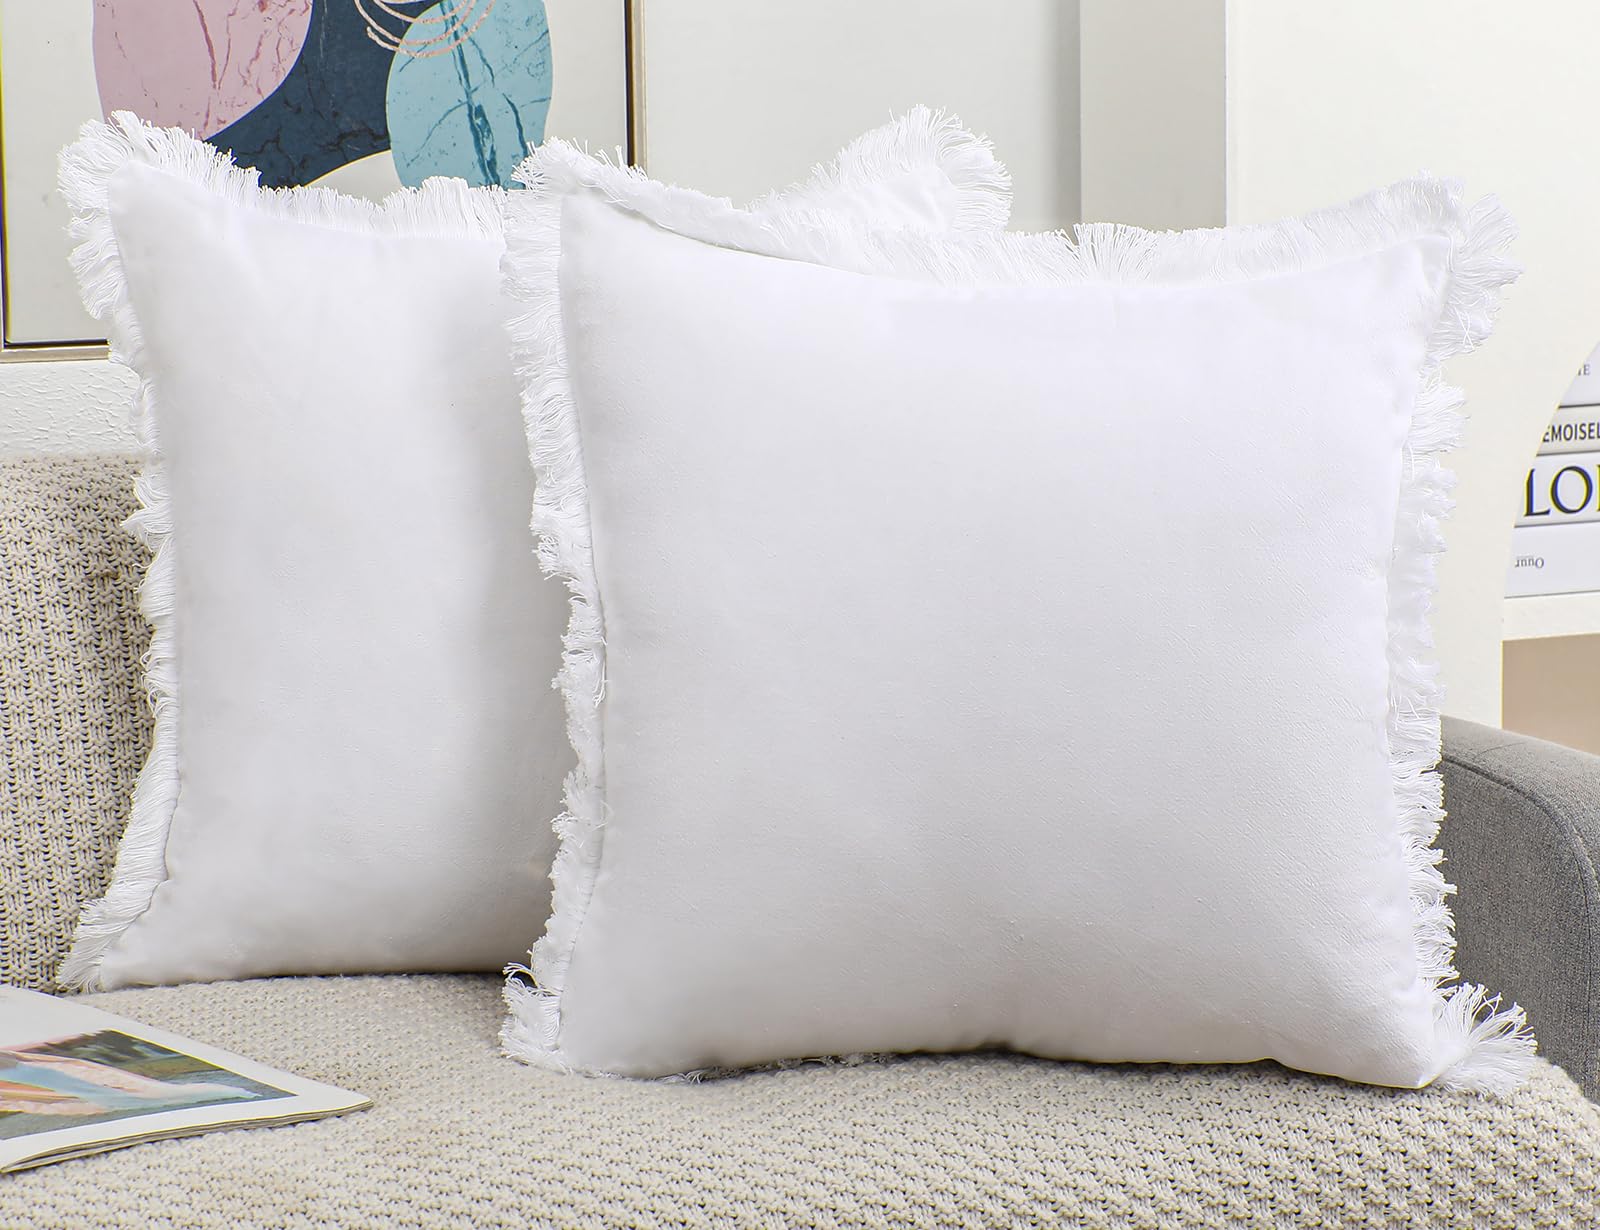
- Trim: Embellish the edges of your slipcovers with decorative trim. Whether it’s a pom-pom trim, ruffled lace, or a contrasting fabric border, trim can add a playful or elegant element to your pillows.
- Buttons: Sewing buttons onto the slipcovers can create a charming and vintage-inspired look. You can arrange buttons in a pattern or place them at the corners for a unique touch.
- Appliques: Consider adding fabric appliques to your slipcovers to create visual interest. Appliques come in various shapes and designs, such as flowers, animals, or geometric patterns, and can be hand-stitched or adhered using fabric glue.
- Embroidery: If you enjoy embroidery, you can incorporate it into your slipcovers. Embroider a monogram, a simple design, or even a quote to make your slipcovers one-of-a-kind.
- Piping: Piping is a great way to add structure and definition to your slipcovers. You can use a self-made or pre-made piping cord and sew it along the seams or edges to create a polished and tailored look.
- Contrasting fabrics: Consider using contrasting fabrics for certain parts of the slipcover, such as the sides or the back. This technique can create visual interest and make your slipcovers stand out.
These are just a few ideas to get you started. Feel free to mix and match different decorative details or come up with your own unique ideas. The goal is to add a personal touch to your slipcovers and make them reflect your style and personality.
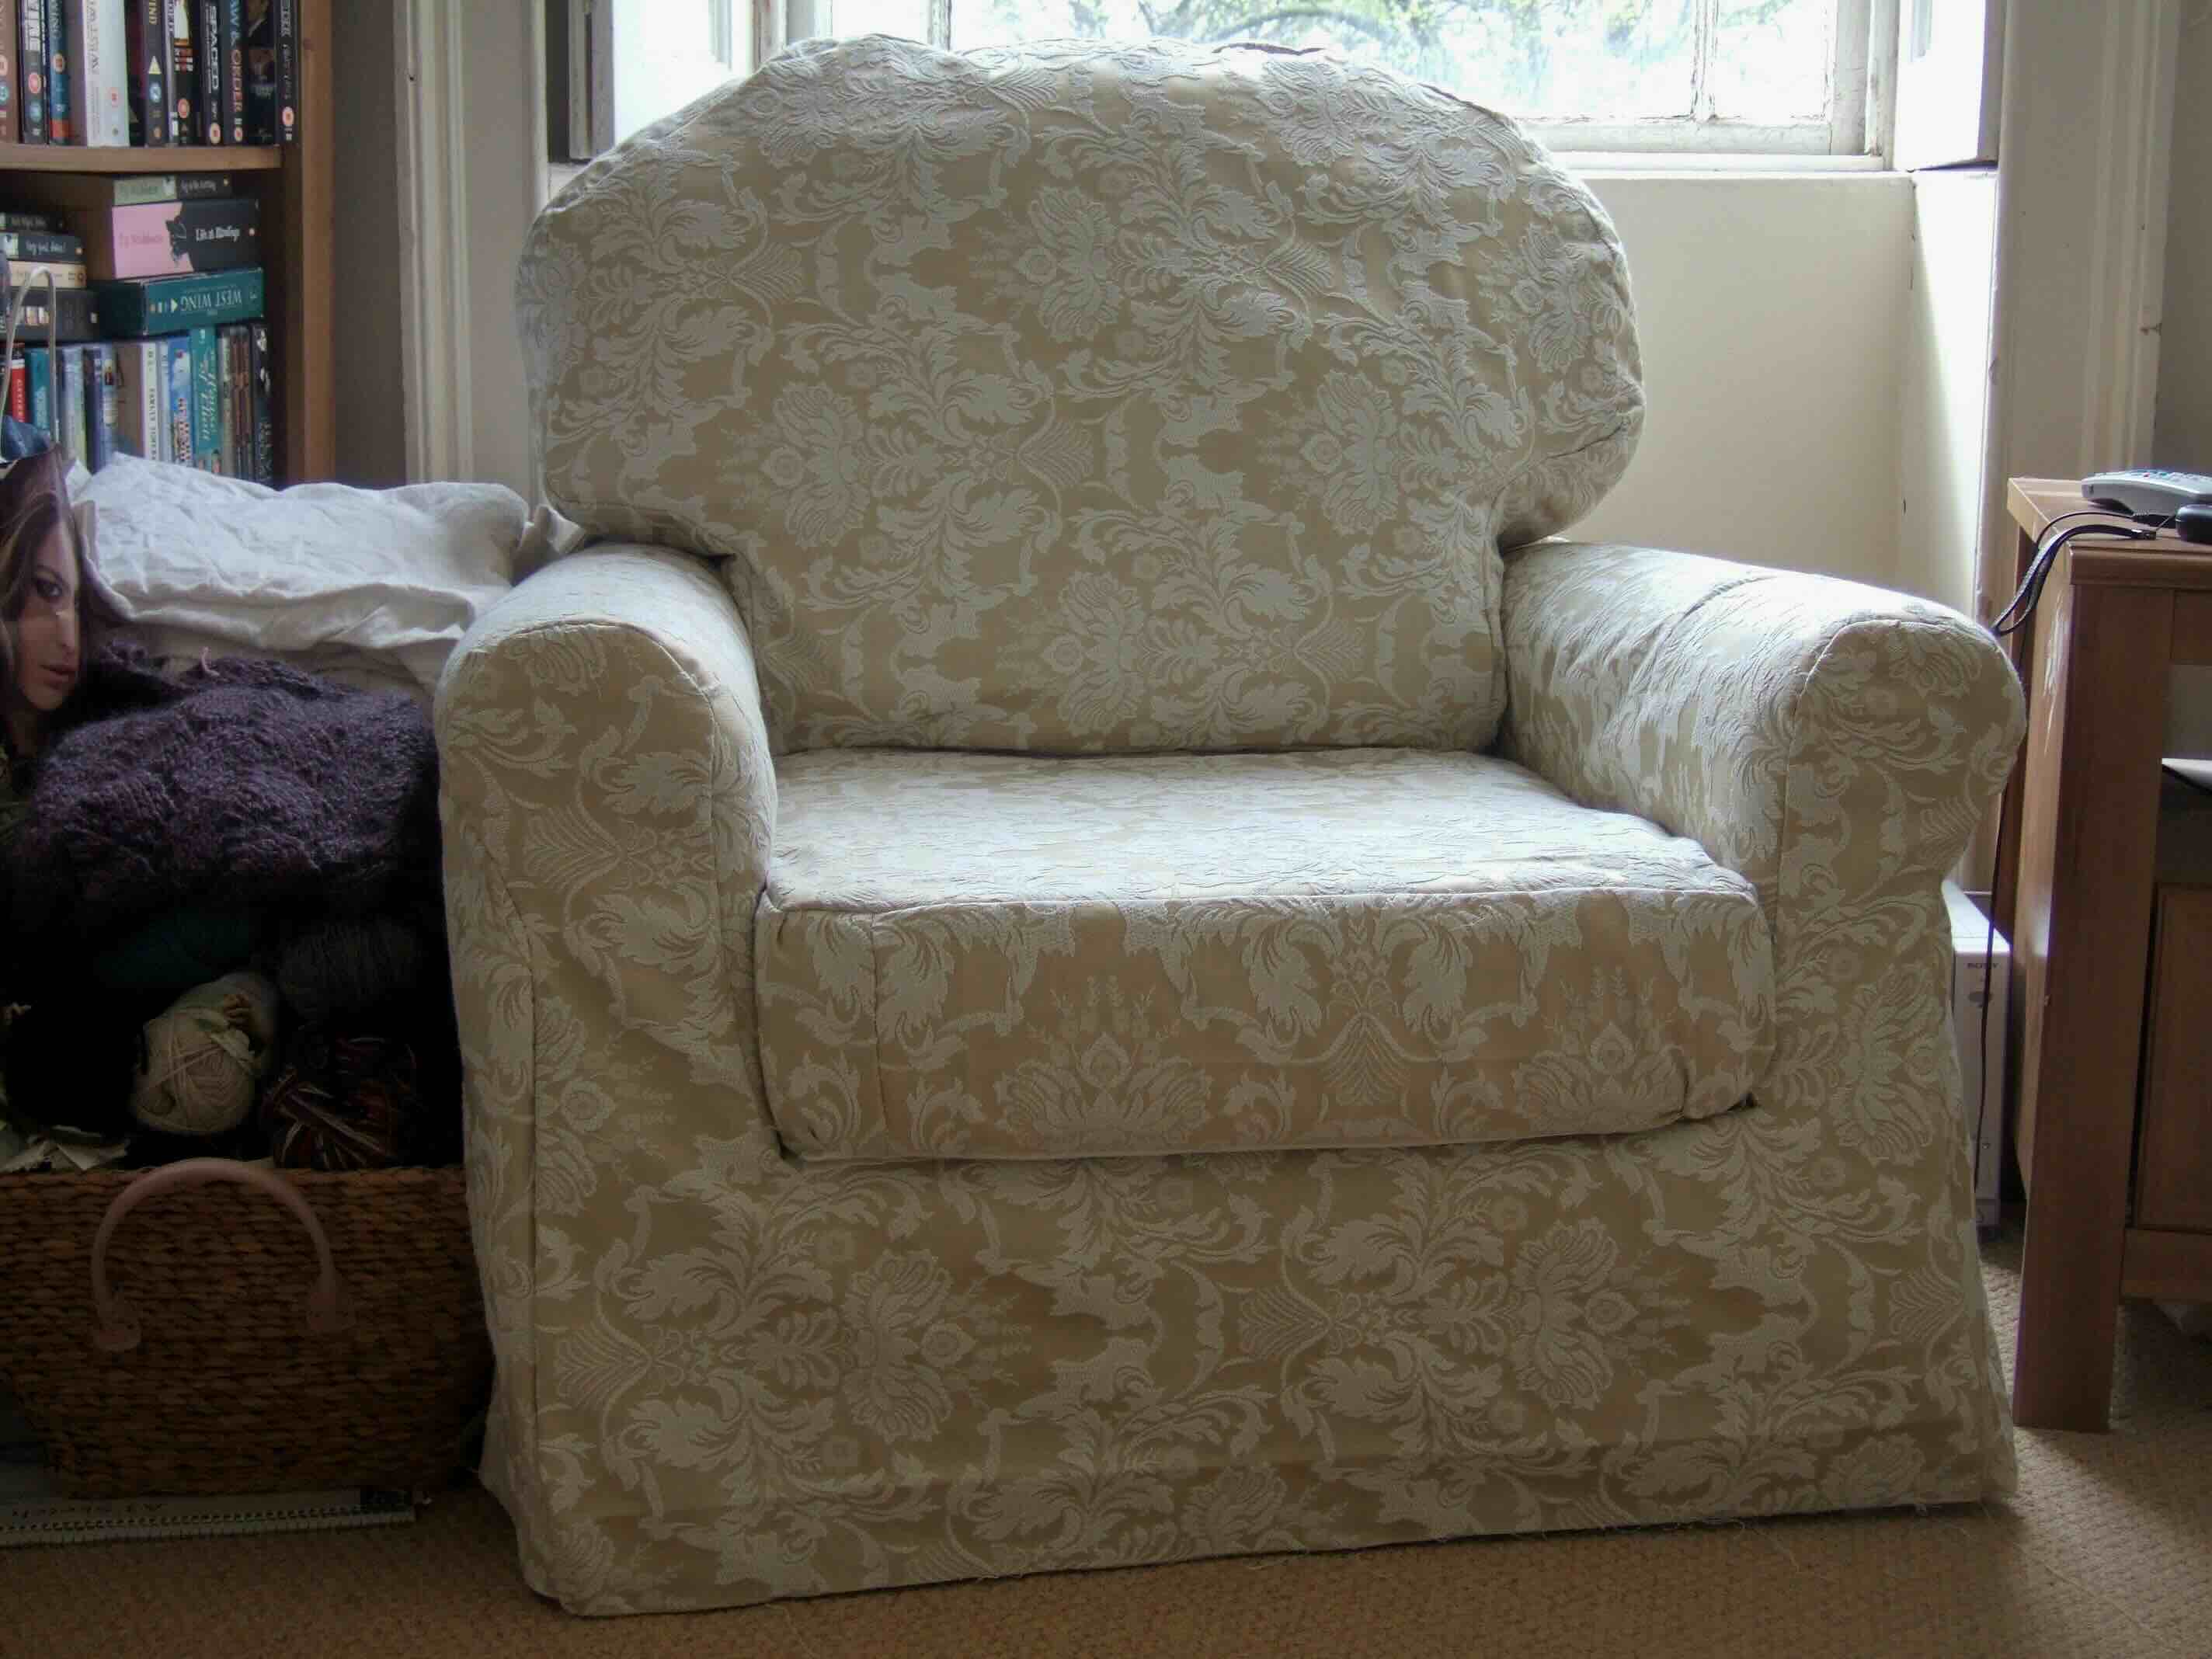
Finishing Touches
When it comes to finishing touches for your slipcovers, attention to detail can make all the difference. Here are some final steps to consider:
- Check for any loose threads and trim them with scissors. It’s important to have clean and tidy edges for a polished look.
- Give your slipcovers a final press with an iron to smooth out any wrinkles or creases. This will ensure that your slipcovers look crisp and professional.
- Try the slipcovers on your throw pillows to make sure they fit properly and align with your desired look. Make any necessary adjustments or alterations if needed.
- Consider labeling your slipcovers to help you easily identify and organize them. You can use fabric pens or labels to write the sizes or themes of the slipcovers for future reference.
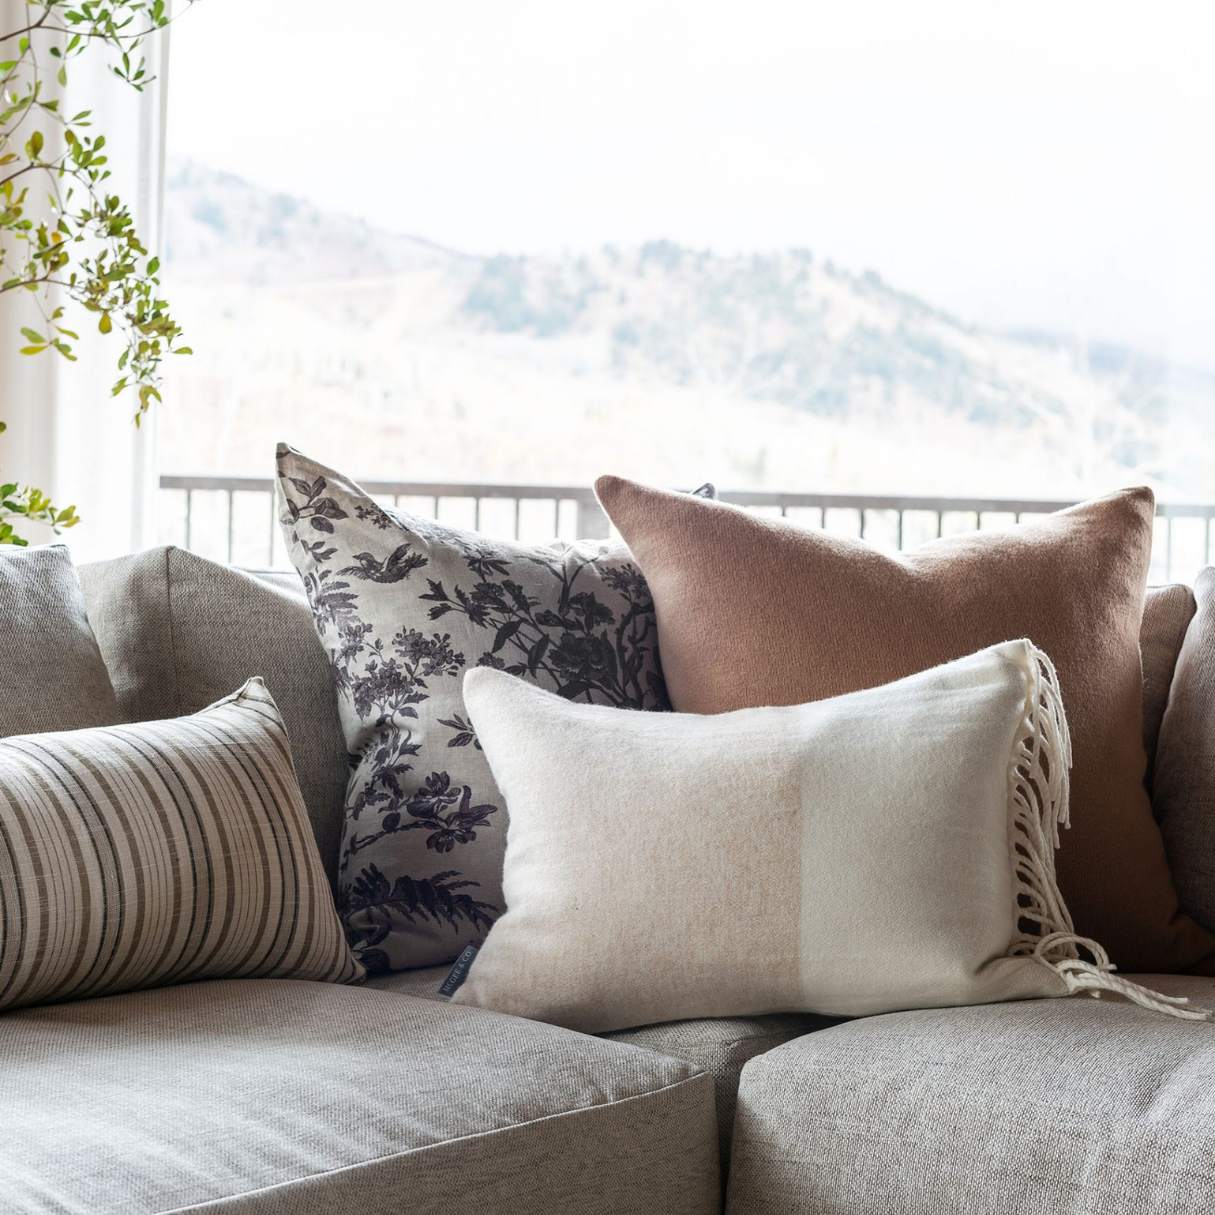
- Carefully place your slipcovered throw pillows on your furniture or display them on your bed or couch. Stand back and admire your handiwork! Your custom slipcovers have transformed your throw pillows into stylish and coordinated accents.
Remember to regularly clean your slipcovers according to the fabric’s care instructions. This will help maintain their appearance and keep them looking fresh and inviting.
Don’t forget to enjoy the process of making slipcovers and have fun experimenting with different fabrics, patterns, and decorative elements. This DIY project allows you to express your creativity and refresh the look of your home effortlessly.
With the finished slipcovers, you can easily change the style of your throw pillows to match the season, occasion, or your evolving taste. Slipcovers provide a cost-effective and sustainable alternative to constantly replacing throw pillows, ensuring that you can enjoy a fresh and updated look for your home without breaking the bank.
Conclusion
Creating slipcovers for your throw pillows is an enjoyable and rewarding DIY project that allows you to personalize your home decor while saving money. By following the steps outlined in this article, you can easily make slipcovers that fit your throw pillows perfectly and reflect your unique style and preferences.
From choosing the right fabric to adding decorative details, every step of the process allows you to showcase your creativity and transform ordinary throw pillows into eye-catching accents. Slipcovers give you the flexibility to change the look of your pillows whenever you desire, whether for a seasonal update or a quick refresh.
Remember to pay attention to the little details, such as measuring and cutting the fabric accurately, sewing with precision, and adding those special finishing touches. These details will ensure a polished and professional result that you’ll be proud to display in your home.
By making slipcovers for your throw pillows, you not only enhance the aesthetic appeal of your space but also contribute to a more sustainable lifestyle. Instead of continually buying new pillows, you can reuse and update your existing ones, reducing waste and minimizing your environmental impact.
So, why wait? Gather your materials, unleash your creativity, and start making slipcovers for your throw pillows. With a little time and effort, you can transform your home decor and enjoy a fresh and personalized look that reflects your personal style.
Get ready to impress your friends and family with your beautifully crafted slipcovers, and enjoy the satisfaction of completing a DIY project that combines practicality, creativity, and sustainability!
Frequently Asked Questions about How To Make Slipcovers For Throw Pillows
Was this page helpful?
At Storables.com, we guarantee accurate and reliable information. Our content, validated by Expert Board Contributors, is crafted following stringent Editorial Policies. We're committed to providing you with well-researched, expert-backed insights for all your informational needs.


0 thoughts on “How To Make Slipcovers For Throw Pillows”