Tableware
How To Make Placemats With Batting
Modified: August 28, 2024
Learn how to make stylish and functional placemats with batting. Enhance your tableware with this easy DIY project.
(Many of the links in this article redirect to a specific reviewed product. Your purchase of these products through affiliate links helps to generate commission for Storables.com, at no extra cost. Learn more)
Introduction
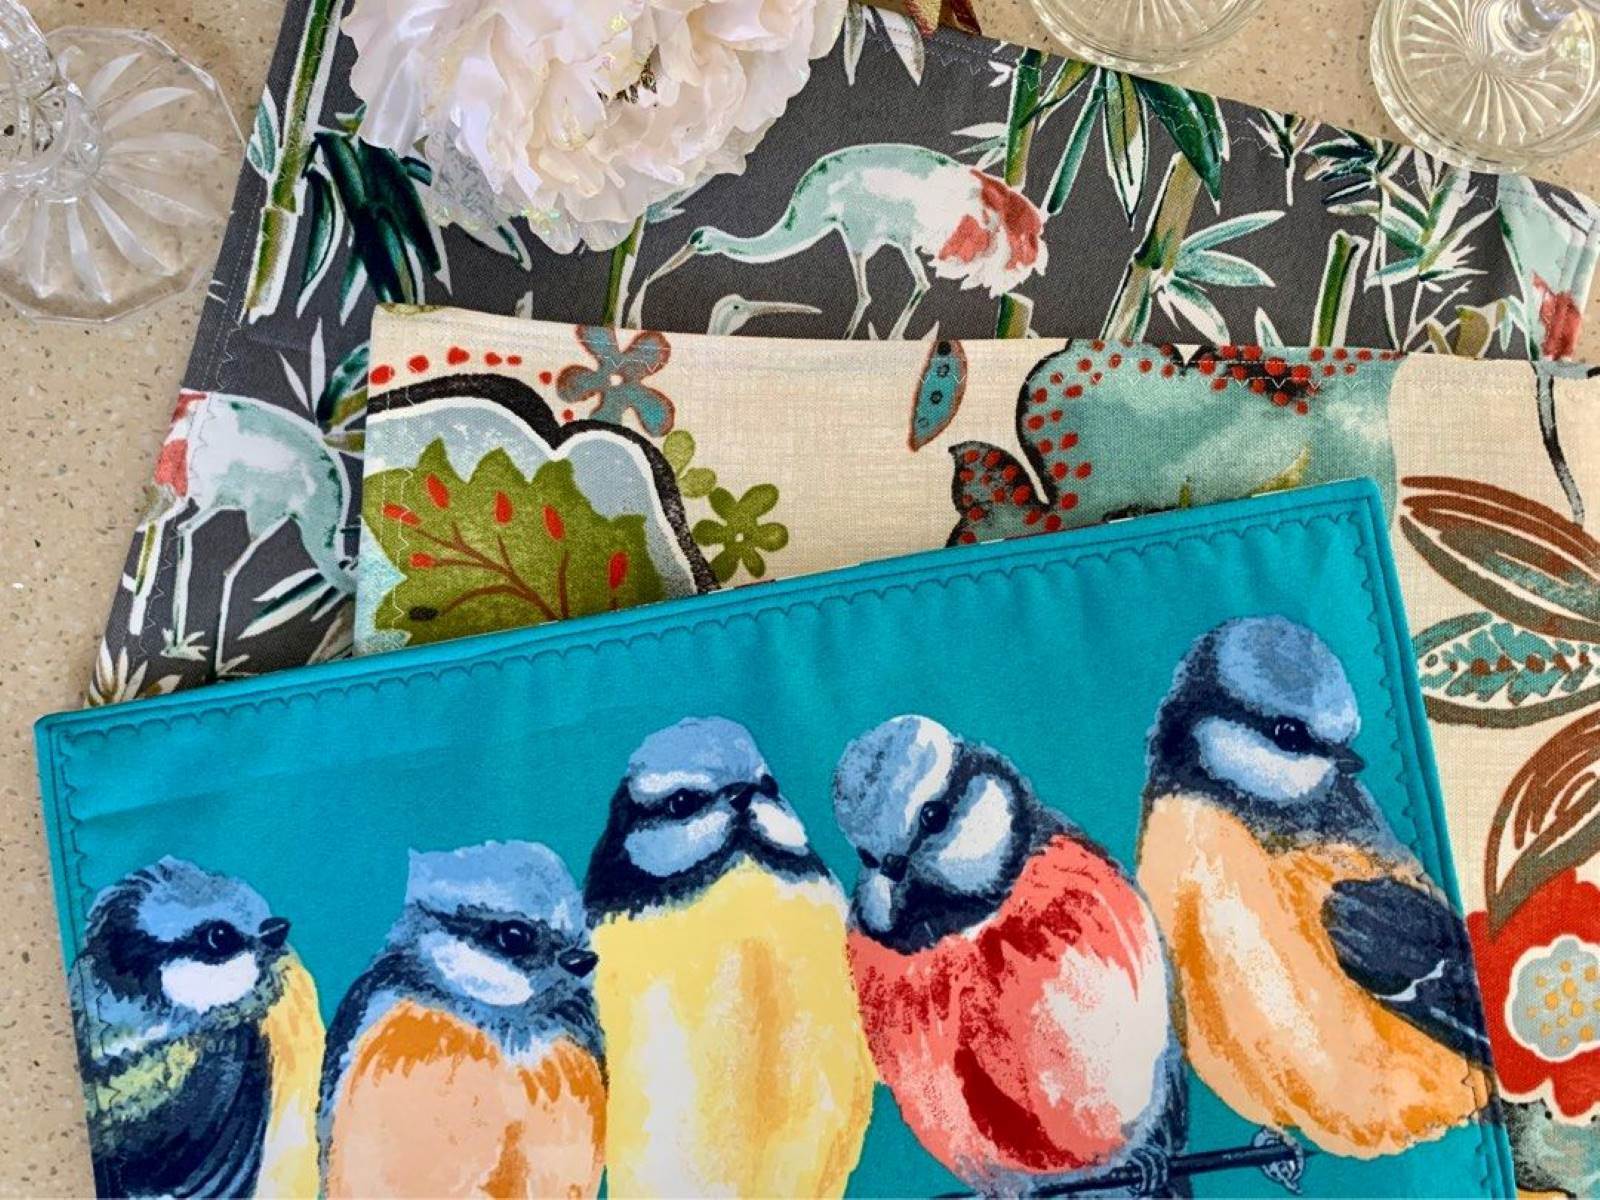
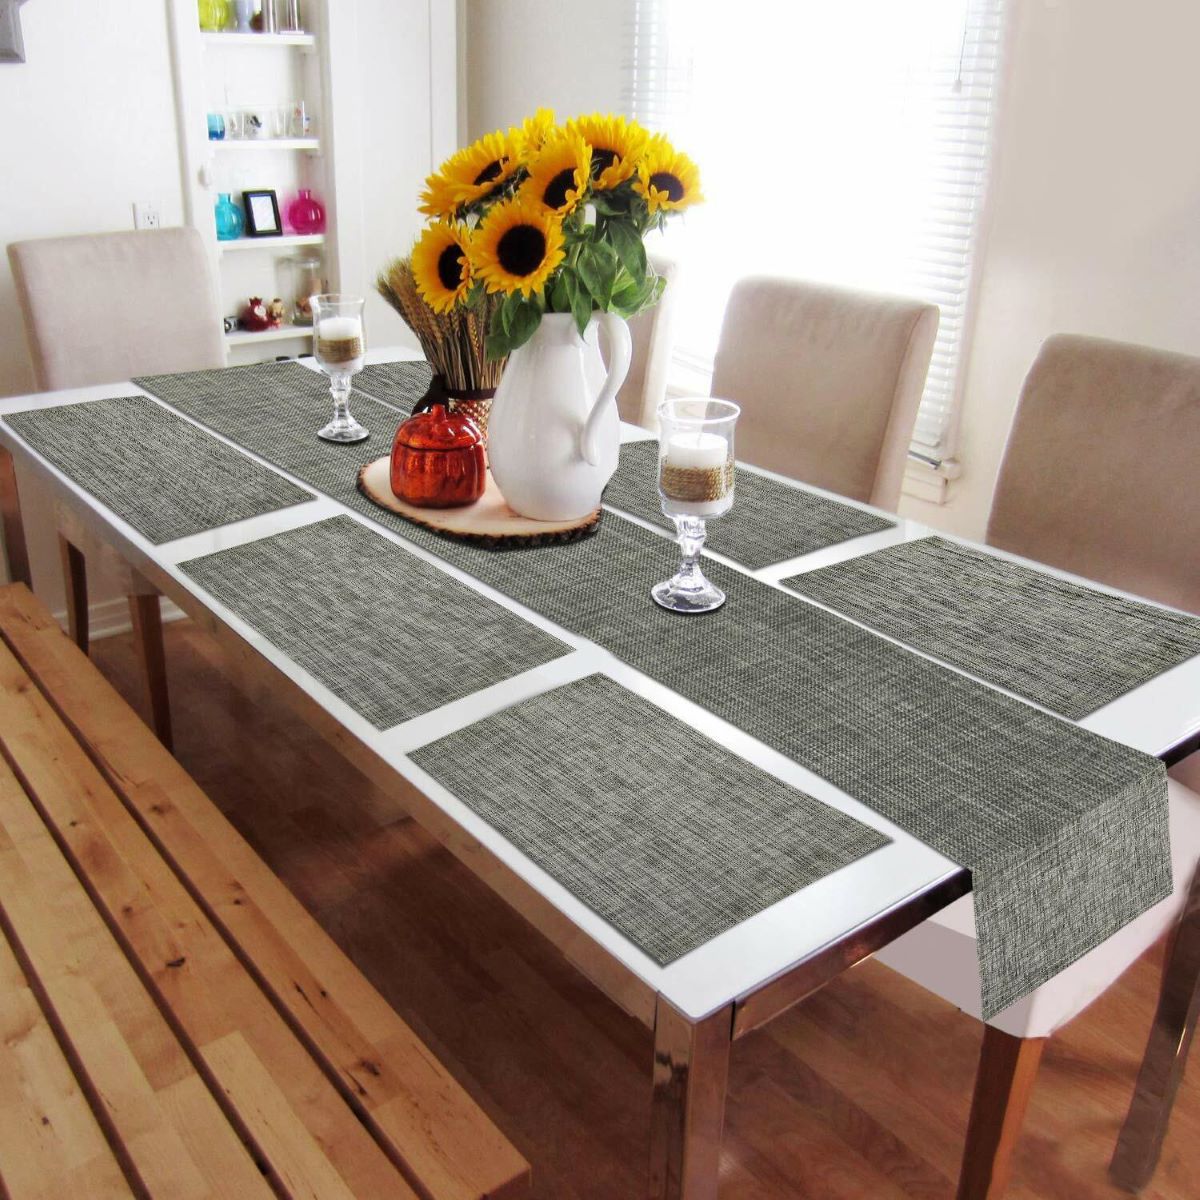
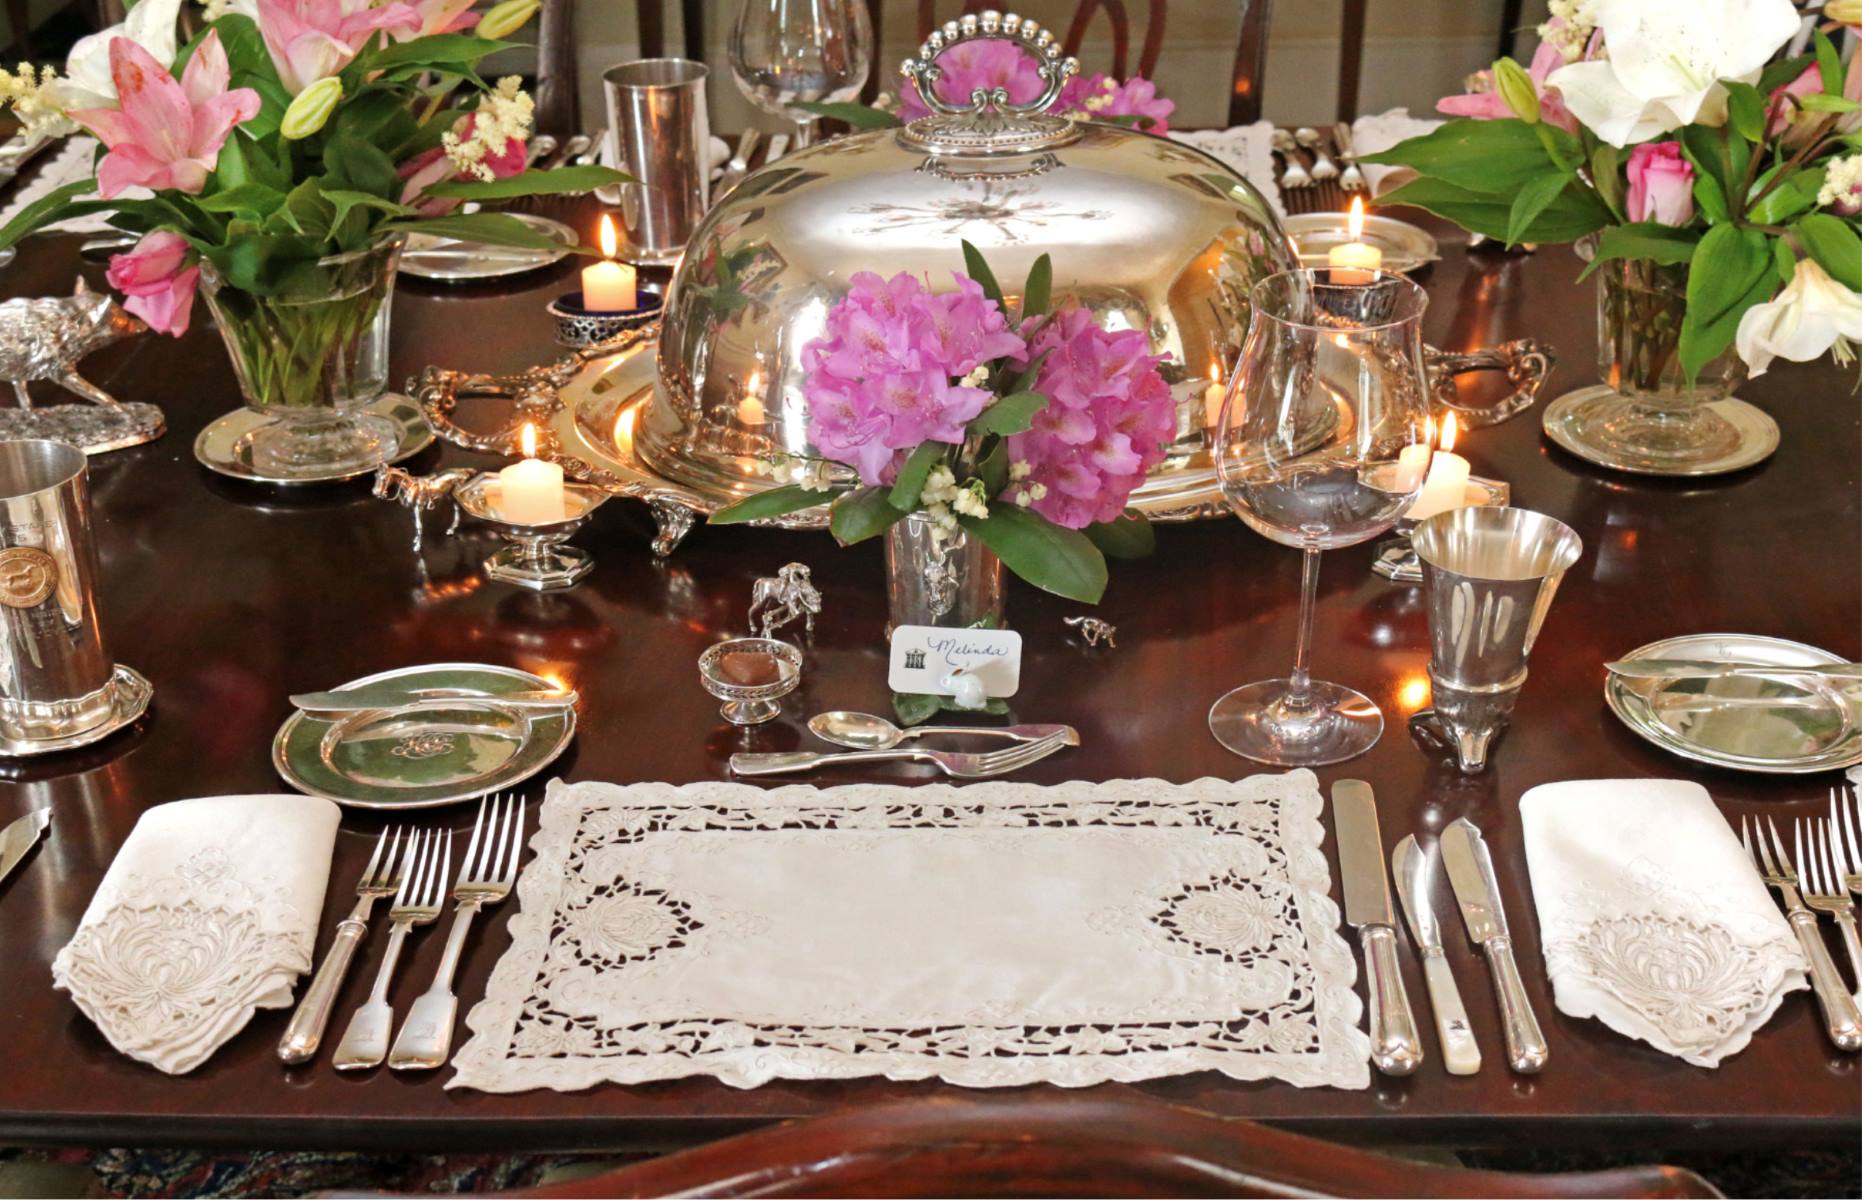
When it comes to setting a beautiful table, placemats are an essential element that can add style and functionality. Whether you’re hosting a formal dinner party or simply want to elevate your everyday dining experience, creating your own placemats can be a rewarding and creative project.
In this article, we will guide you through the process of making placemats with batting, a soft and cushiony material that provides both insulation and a luxurious feel. With just a few materials and some basic sewing skills, you can make personalized placemats that reflect your unique style.
Not only will making your own placemats allow you to choose the fabric and pattern that complements your existing tableware, but it will also give you the satisfaction of creating something handmade for your home. So, let’s gather the necessary materials and get started on this fun and practical DIY project!
Key Takeaways:
- Elevate your dining experience by creating personalized placemats with batting, adding a handmade touch that reflects your unique style and enhances the visual appeal of your table setting.
- With just a few materials and basic sewing skills, you can make stylish and functional placemats that provide comfort, protection, and insulation for your tabletop, while showcasing your creativity and sewing expertise.
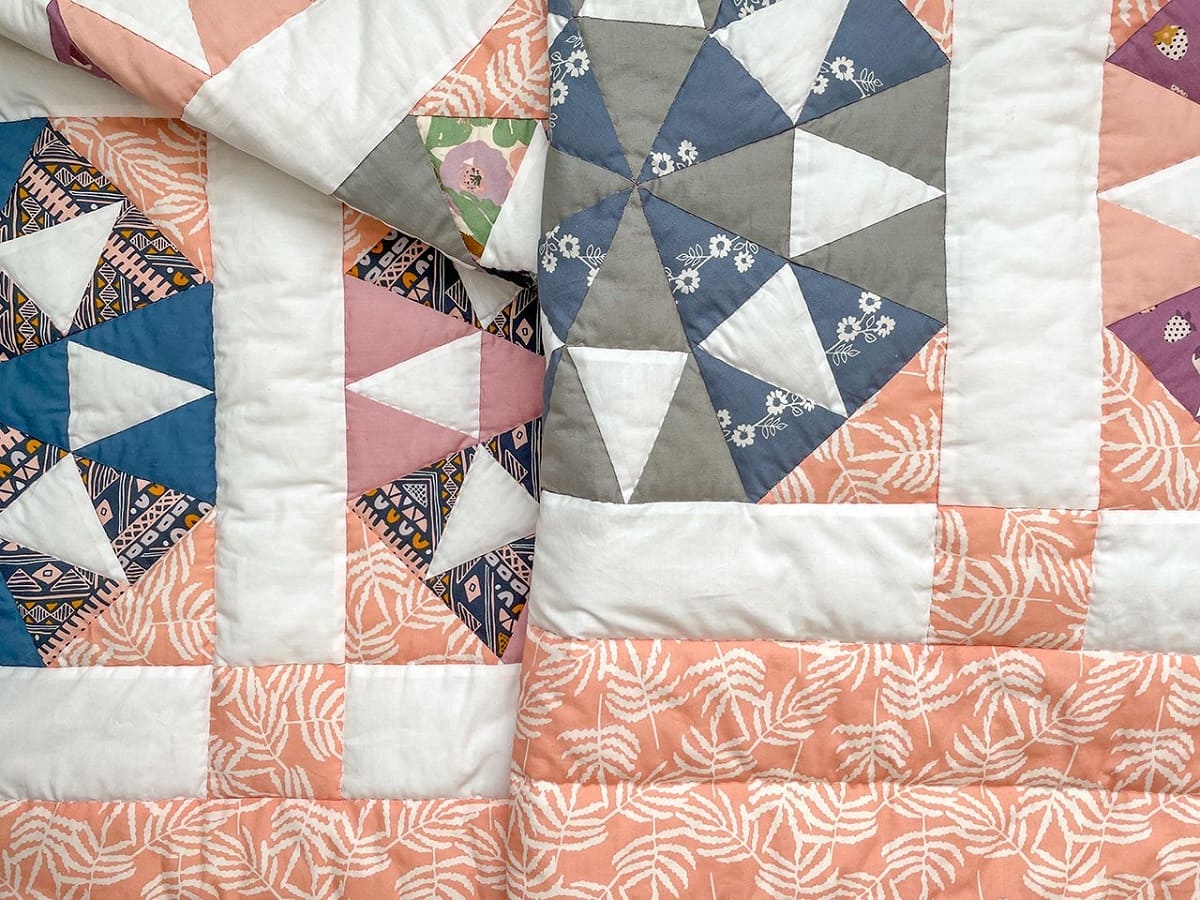
Read more: How To Make A Quilted Placemat
Materials Needed
Before you begin making your placemats with batting, make sure you have the following materials on hand:
- Fabric: Choose a fabric that suits your style and complements your tableware. Consider both the aesthetic appeal and practicality of the fabric. Cotton or linen fabrics are popular choices due to their durability and ease of maintenance.
- Batting: This is the key component that provides insulation and padding for your placemats. Look for low-loft or medium-loft batting, which will give your placemats a comfortable thickness without being overly bulky.
- Ruler or Measuring Tape: Accurate measurements are crucial to ensure that your placemats are evenly sized. A ruler or measuring tape will help you achieve precise cuts.
- Scissors or Rotary Cutter: You will need either scissors or a rotary cutter to cut your fabric and batting. Choose the tool that you are most comfortable using.
- Sewing Machine: Although hand sewing is an option, using a sewing machine will save you time and provide a more professional finish. Make sure your sewing machine is in good working condition and has the appropriate needles and thread.
- Sewing Pins or Clips: These will be used to hold the fabric and batting layers together while you sew.
- Iron and Ironing Board: Having an iron on hand is essential for pressing the fabric and achieving crisp, well-defined edges.
- Thread: Select a thread color that matches or complements your fabric, as this will enhance the overall appearance of your placemats.
- Binding: To finish the edges of your placemats, you will need binding. You can purchase pre-made binding or make your own using coordinating fabric.
- Needle and Thread for Hand Sewing: If you plan to hand sew the binding, make sure to have a needle and thread that are suitable for the task.
Once you have gathered these materials, you are ready to move on to the next step: cutting the fabric for your placemats.
Step 1: Cutting the Fabric
Before you can start sewing your placemats, you need to cut the fabric into the desired size and shape. Here’s how:
- Measure and Mark: Using a ruler or measuring tape, determine the dimensions you want for your placemats. A standard size is around 12 inches by 18 inches, but feel free to adjust the measurements to suit your preference.
- Place the Fabric: Lay your fabric flat on a clean, smooth surface. Ensure that there are no wrinkles or creases to ensure accurate cutting.
- Cut the Fabric: Using a pair of scissors or a rotary cutter, carefully cut along the marked lines to create rectangular or square pieces of fabric for each placemat. It’s a good idea to use a ruler or straight edge as a guide to ensure even cuts.
Remember to account for seam allowances when cutting the fabric. Typically, a 1/2 inch seam allowance is sufficient, but you can adjust this measurement based on your personal preference.
Once you have cut the fabric pieces for your placemats, set them aside as you prepare the batting in the next step.
Step 2: Preparing the Batting
Now that you have cut the fabric for your placemats, it’s time to prepare the batting. Follow these steps:
- Measure and Cut: Measure the batting to match the size of your fabric pieces. Use the same dimensions you used when cutting the fabric in the previous step.
- Trimming (Optional): If your batting is slightly larger than the fabric pieces, you can use scissors or a rotary cutter to trim it down to the correct size. It’s important to have the batting evenly aligned with the fabric to ensure a smooth and professional finish.
Once the batting is cut and trimmed, you’re ready to move on to the next step: layering the materials to create the placemats.
Step 3: Layering the Materials
Now that you have your fabric pieces and batting ready, it’s time to layer them together to create the body of your placemats. Follow these steps:
- Place the Fabric: Start by laying one fabric piece right side down on your work surface. This will be the back of your placemat.
- Add the Batting: Next, place the batting on top of the fabric piece, aligning the edges.
- Top it off with Fabric: Finally, place another fabric piece right side up on top of the batting. This will be the front of your placemat.
Make sure all the edges of the fabric pieces and batting are aligned before moving on to the next step. You can use sewing pins or clips to hold the layers securely in place.
By layering these materials together, you create a soft and padded surface for your placemats, providing both comfort and insulation.
Now that the layers are securely in place, it’s time to start sewing the edges. Move on to the next step to learn how to do this.
When making placemats with batting, be sure to use a walking foot on your sewing machine to help prevent shifting and bunching of the layers. This will ensure a smooth and professional finish to your placemats.
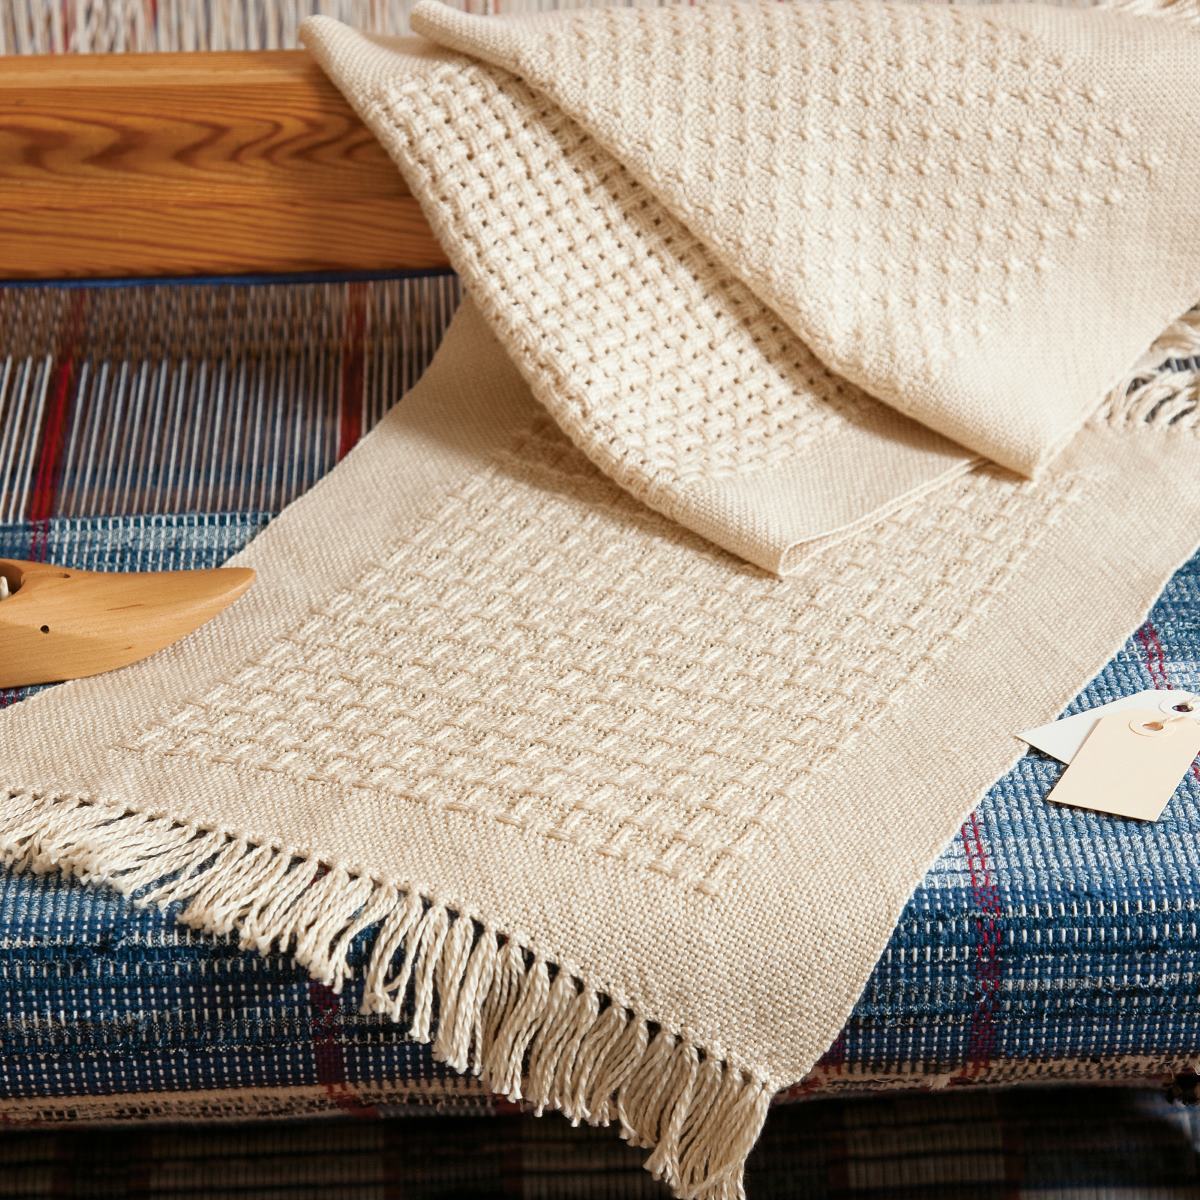
Read more: How To Make Woven Placemats
Step 4: Sewing the Edges
With the layers of fabric and batting securely in place, it’s time to sew the edges to give your placemats a neat and professional finish. Follow these steps:
- Prepare the Sewing Machine: Set up your sewing machine with the appropriate needle and thread. Select a thread color that matches or complements your fabric.
- Start Sewing: Begin sewing along one edge of the placemat, about 1/2 inch from the edge. Use a straight stitch, backstitching at the beginning and end to secure the thread. Sew all the way around the placemat, maintaining a consistent distance from the edge.
- Corner Technique: When you reach a corner, stop sewing with the needle down in the fabric, lift the presser foot, and pivot the fabric 90 degrees. Lower the presser foot and continue sewing along the next edge.
- Continue Sewing: Repeat the previous step until you have sewn along all four edges of the placemat, ending with a backstitch to secure the thread. Take your time to ensure even stitching and smooth corners.
Once you have completed sewing all the edges, your placemat will have a sturdy and finished look. Now, it’s time to add the final touch: the binding.
Move on to the next step to learn how to add binding to your placemat and give it a polished appearance.
Step 5: Adding the Binding
Adding binding to your placemats not only gives them a clean and professional look but also helps to protect the edges and increase their durability. Follow these steps to add binding to your placemats:
- Prepare the Binding: If you are using pre-made binding, unfold it and press it to remove any wrinkles. If you are making your own binding, cut fabric strips that are 2.5 inches wide and long enough to cover each edge of your placemat.
- Attach the Binding: Starting in the middle of one edge, place the raw edge of the fabric strip against the raw edge of the placemat. Pin or clip the binding in place, ensuring an even overhang on both ends.
- Start Sewing: Using a straight stitch, begin sewing the binding to the placemat, starting at one end of the binding. Sew along the edge, about 1/4 inch from the edge, removing pins or clips as you go.
- Miter the Corners: When you reach a corner, stop sewing about 1/4 inch before the corner. Fold the binding diagonally to create a mitered corner, and then fold it back over itself to continue sewing along the next edge. This will create a crisp and professional look for your corners.
- Continue Sewing: Repeat the previous step until you have reached the starting point, overlapping the ends of the binding. Trim the excess binding, leaving a 1/2 inch overlap.
- Finish the Binding: Fold the raw end of the binding under and tuck it inside the folded end. Sew along the edge to secure the binding in place.
Once you have added the binding to all the edges, your placemat will have a finished and polished appearance. Now it’s time for the final step to complete your project.
Step 6: Final Trim and Finishing Touches
With the binding in place, you’re almost done with your placemats. The final step involves trimming any excess fabric and adding a few finishing touches. Follow these steps to complete your project:
- Trim Excess Fabric: Carefully trim any excess fabric or batting that may be extending beyond the binding. Be mindful not to cut too close to the stitching, as this may cause the fabric to unravel.
- Press the Placemats: Use an iron on a low to medium heat setting to press your placemats. This will help create crisp edges and eliminate any wrinkles or creases that may have formed during the sewing process.
- Add Embellishments (Optional): If desired, you can further personalize your placemats by adding embellishments such as decorative buttons, fabric appliques, or embroidery. Be creative and let your imagination run wild!
- Inspect and Make Corrections: Take a moment to inspect your finished placemats. Check for any loose threads, uneven stitching, or other imperfections. If necessary, make any corrections or adjustments to ensure a clean and polished look.
Once you are satisfied with the final result, your placemats are ready to grace your dining table. Enjoy the fruits of your labor and admire the handmade touch that adds a special touch to your table setting.
With this step-by-step guide, you now have the knowledge and skills to make your own placemats with batting. Experiment with different fabrics, patterns, and colors to create a unique set that complements your tableware and suits your style.
Now it’s time to gather your materials, unleash your creativity, and embark on the delightful journey of making your own beautiful and functional placemats!
Conclusion
Congratulations! You have successfully learned how to make placemats with batting. By creating your own placemats, you have not only added a personal touch to your dining experience but also showcased your creativity and sewing skills.
Throughout this DIY project, you learned how to cut the fabric, prepare the batting, layer the materials, sew the edges, add binding, and add the final trim and finishing touches. These steps have allowed you to create placemats that are not only stylish but also functional, providing comfort and protection to your tabletop.
By using batting, your placemats have a soft and cushiony feel, making mealtime even more enjoyable. The added insulation provided by the batting ensures that your table remains protected from hot dishes or spills.
Remember, when choosing fabric for your placemats, consider both the aesthetic appeal and practicality. Opt for fabrics like cotton or linen that offer durability and ease of maintenance. This way, your placemats will not only look stunning but will also withstand the test of time.
Now that you know the process, feel free to get creative with different fabric patterns, colors, and embellishments. Let your imagination run wild and make placemats that reflect your personal style and add a unique flair to your dining table.
So, gather your materials, set up your sewing machine, and enjoy the satisfaction of creating something handmade for your home. Whether you’re hosting a special occasion or enjoying everyday meals, your handmade placemats with batting will enhance the visual appeal and functionality of your table setting.
Thank you for joining us on this DIY journey. We hope you had fun and are excited to showcase your new placemats!
Frequently Asked Questions about How To Make Placemats With Batting
Was this page helpful?
At Storables.com, we guarantee accurate and reliable information. Our content, validated by Expert Board Contributors, is crafted following stringent Editorial Policies. We're committed to providing you with well-researched, expert-backed insights for all your informational needs.


0 thoughts on “How To Make Placemats With Batting”