
Articles
How To Clean Pillows In Washer
Modified: August 27, 2024
Learn how to clean your pillows in the washer with these easy-to-follow articles. Make your pillows fresh and clean again!
(Many of the links in this article redirect to a specific reviewed product. Your purchase of these products through affiliate links helps to generate commission for Storables.com, at no extra cost. Learn more)
Introduction
When it comes to maintaining hygiene and freshness in your home, cleaning your pillows should be at the top of your to-do list. Pillows, just like any other bedding item, can accumulate dirt, sweat, oils, and even allergens over time. While many people may be unsure about how to clean their pillows, the good news is that most pillows can be safely washed in a washing machine, provided that the proper steps are followed.
Cleaning your pillows not only helps to eliminate odors and stains but also prolongs their lifespan. Regular cleaning can also reduce the risk of allergies and keep your sleep environment fresh and hygienic. In this article, we will guide you through a step-by-step process on how to clean your pillows in the washer, ensuring that you can enjoy a healthier and more comfortable sleep.
Key Takeaways:
- Regularly cleaning your pillows in the washer not only removes dirt and odors but also reduces allergens, creating a healthier and more comfortable sleep environment.
- Following the care label instructions and proper drying techniques can help maintain the quality and extend the lifespan of your pillows, ensuring a fresh and cozy night’s sleep.
Read more: How To Clean Furry Pillows
Step 1: Check the care label
Before you begin the process of cleaning your pillows in the washer, it’s essential to check the care label attached to them. The care label will provide important information about how to properly care for your specific type of pillow. Look for any specific instructions or warnings regarding washing or drying methods.
Some pillows may be labeled as machine washable, while others may need special care or to be hand-washed. Additionally, the care label will indicate the recommended water temperature and any other precautions you should take. Following the instructions on the care label will ensure that you clean your pillows effectively without causing any damage.
If the care label is missing or illegible, and you are unsure of the pillow’s material or care instructions, it is best to err on the side of caution. In such cases, it is recommended to proceed with hand-washing instead of using a washing machine. This will help prevent any potential damage to the pillows and allow you to control the cleaning process more closely.
Once you have thoroughly examined the care label and are confident that your pillows are safe to be washed in a machine, you can proceed to the next step of the cleaning process: removing the pillowcases and covers.
Step 2: Remove pillowcases and covers
To properly clean your pillows in the washer, you need to remove any pillowcases, covers, or protectors. These outer layers may accumulate dirt, dust, and sweat over time, so it’s important to launder them separately. Check the care instructions for the pillowcases and covers, as they may require a different washing method or water temperature.
After removing the pillowcases and covers, give them a once-over to check for any stains or spots. Pre-treat any visible stains with a stain remover or a mixture of mild detergent and water. Allow the pre-treatment solution to sit for a few minutes before laundering them according to the care instructions.
By removing the pillowcases and covers, you’ll be able to clean the pillows more effectively and ensure that no dirt or debris becomes trapped in the washer during the cleaning process. Once the outer layers are taken care of, you can move on to the next step: pre-treating any stubborn stains on the pillows themselves.
Step 3: Pre-treat stains
Before tossing your pillows into the washer, it’s a good idea to pre-treat any stains or spots that may be present. Stains from sweat, oils, or spills can build up over time and may not be completely removed during the regular wash cycle. Taking the time to pre-treat stains will increase the chances of removing them successfully.
To pre-treat stains, you can use a stain remover specifically designed for fabric or create a homemade solution using mild detergent and water. Apply the stain remover directly to the affected areas, gently rubbing it in with a soft cloth or sponge. Allow the stain remover to penetrate the fabric for 10-15 minutes before proceeding.
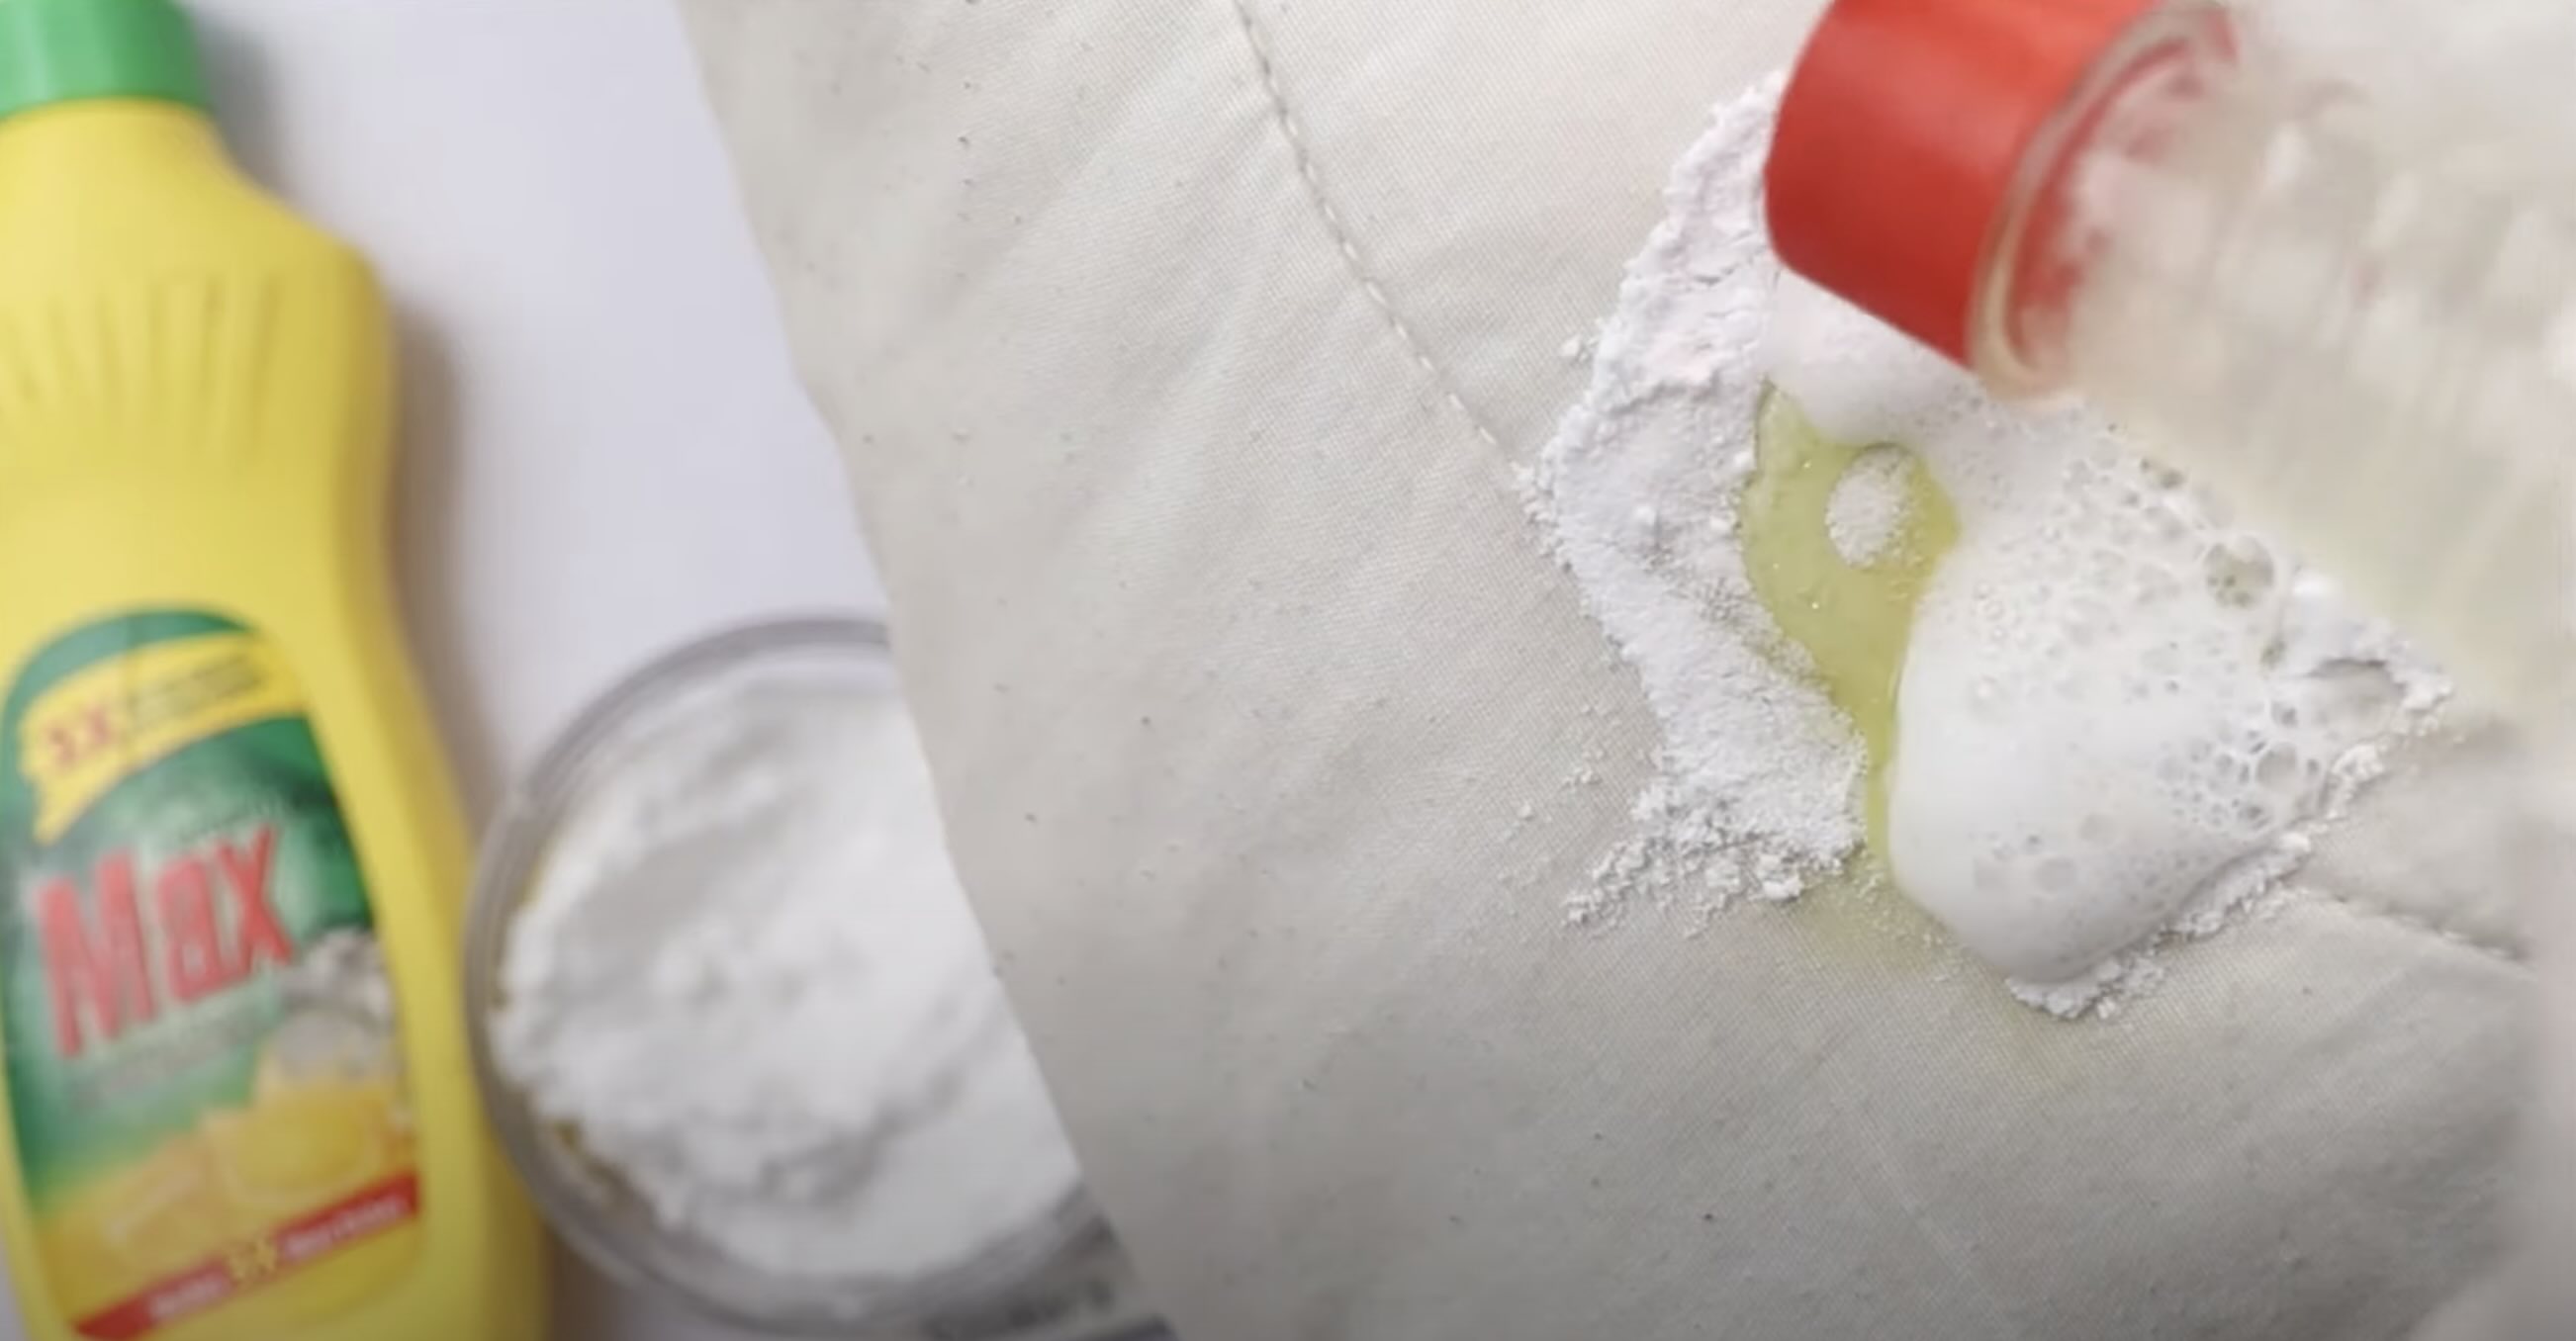
For particularly stubborn stains, you can create a paste using equal parts baking soda and water. Apply the paste to the stained area and let it sit for 30 minutes before rinsing it off. The baking soda helps to break down the stain and remove any discoloration.
After pre-treating the stains, check the care label once again to ensure that there are no specific instructions or warnings regarding stain removal. If the care label advises against using any type of stain remover, it’s best to skip this step and proceed with the regular wash cycle.
Now that you have pre-treated any stubborn stains on your pillows, you’re ready to load them into the washing machine and move on to the next step: selecting the appropriate wash cycle.
Step 4: Load the pillows into the washer
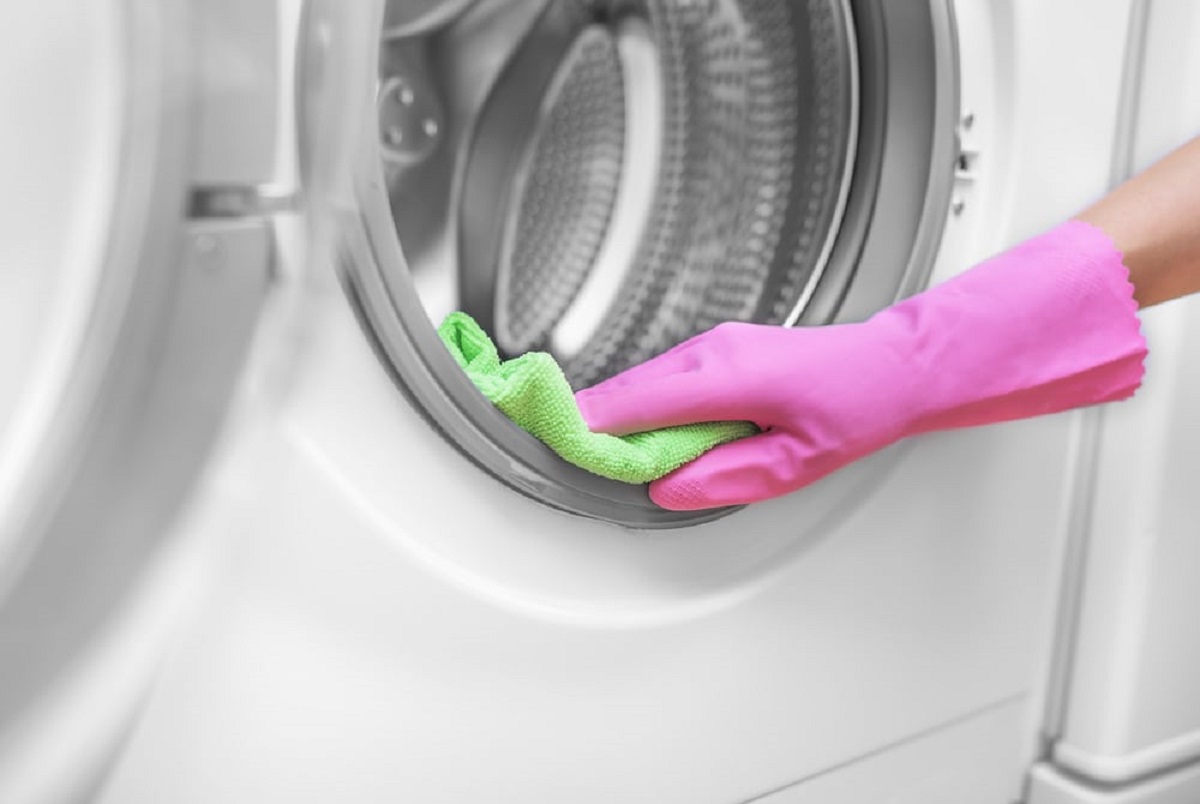
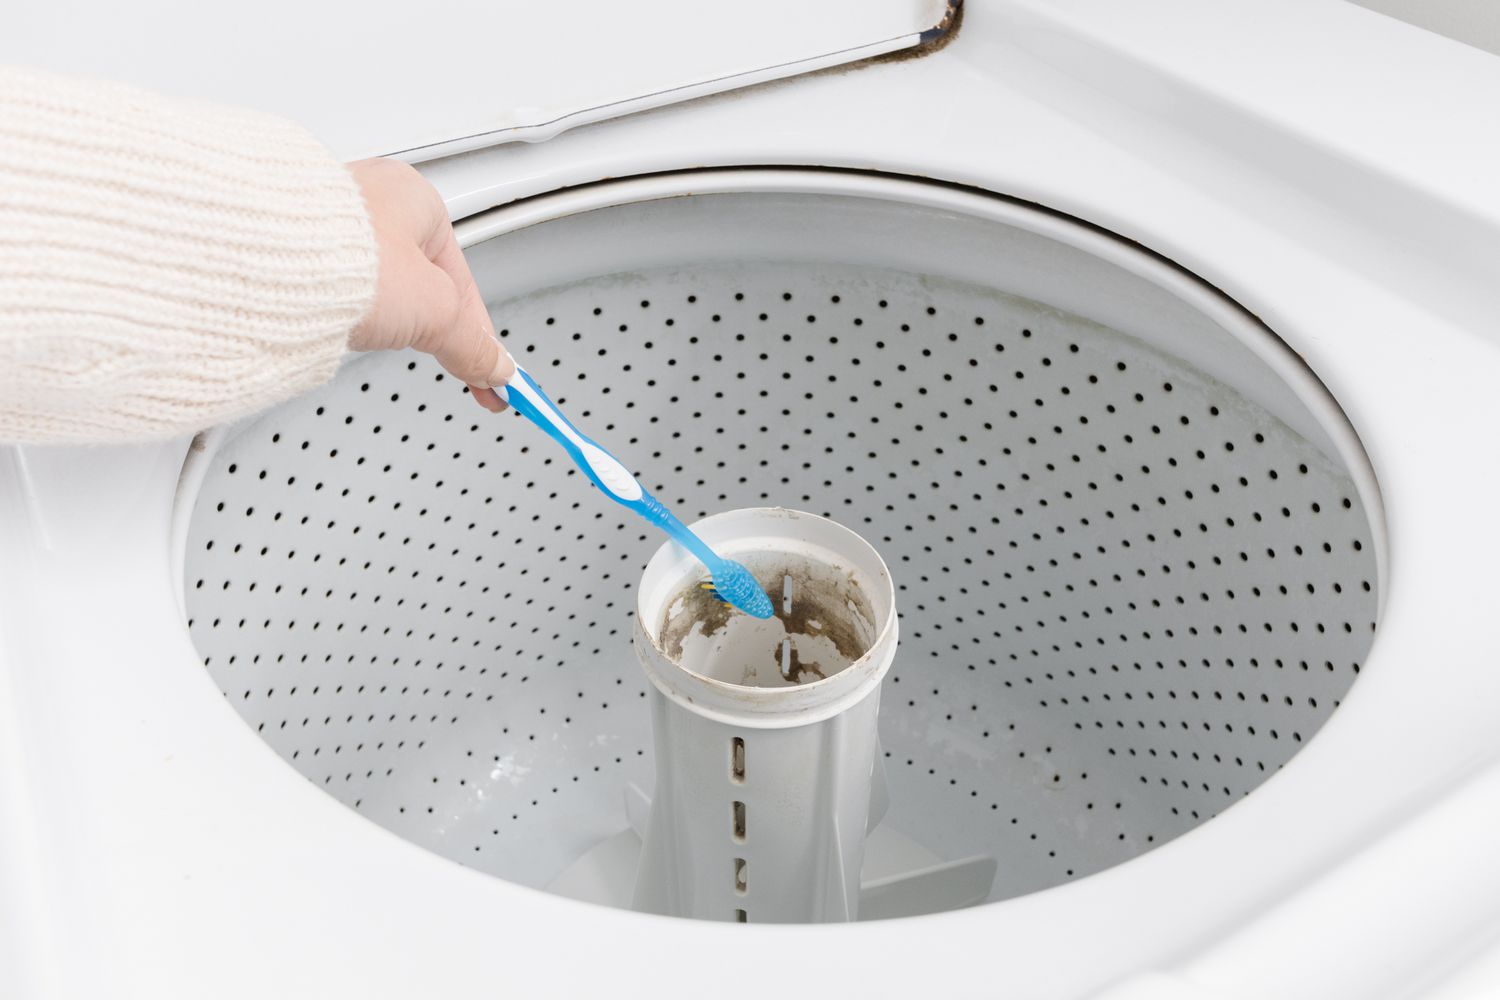
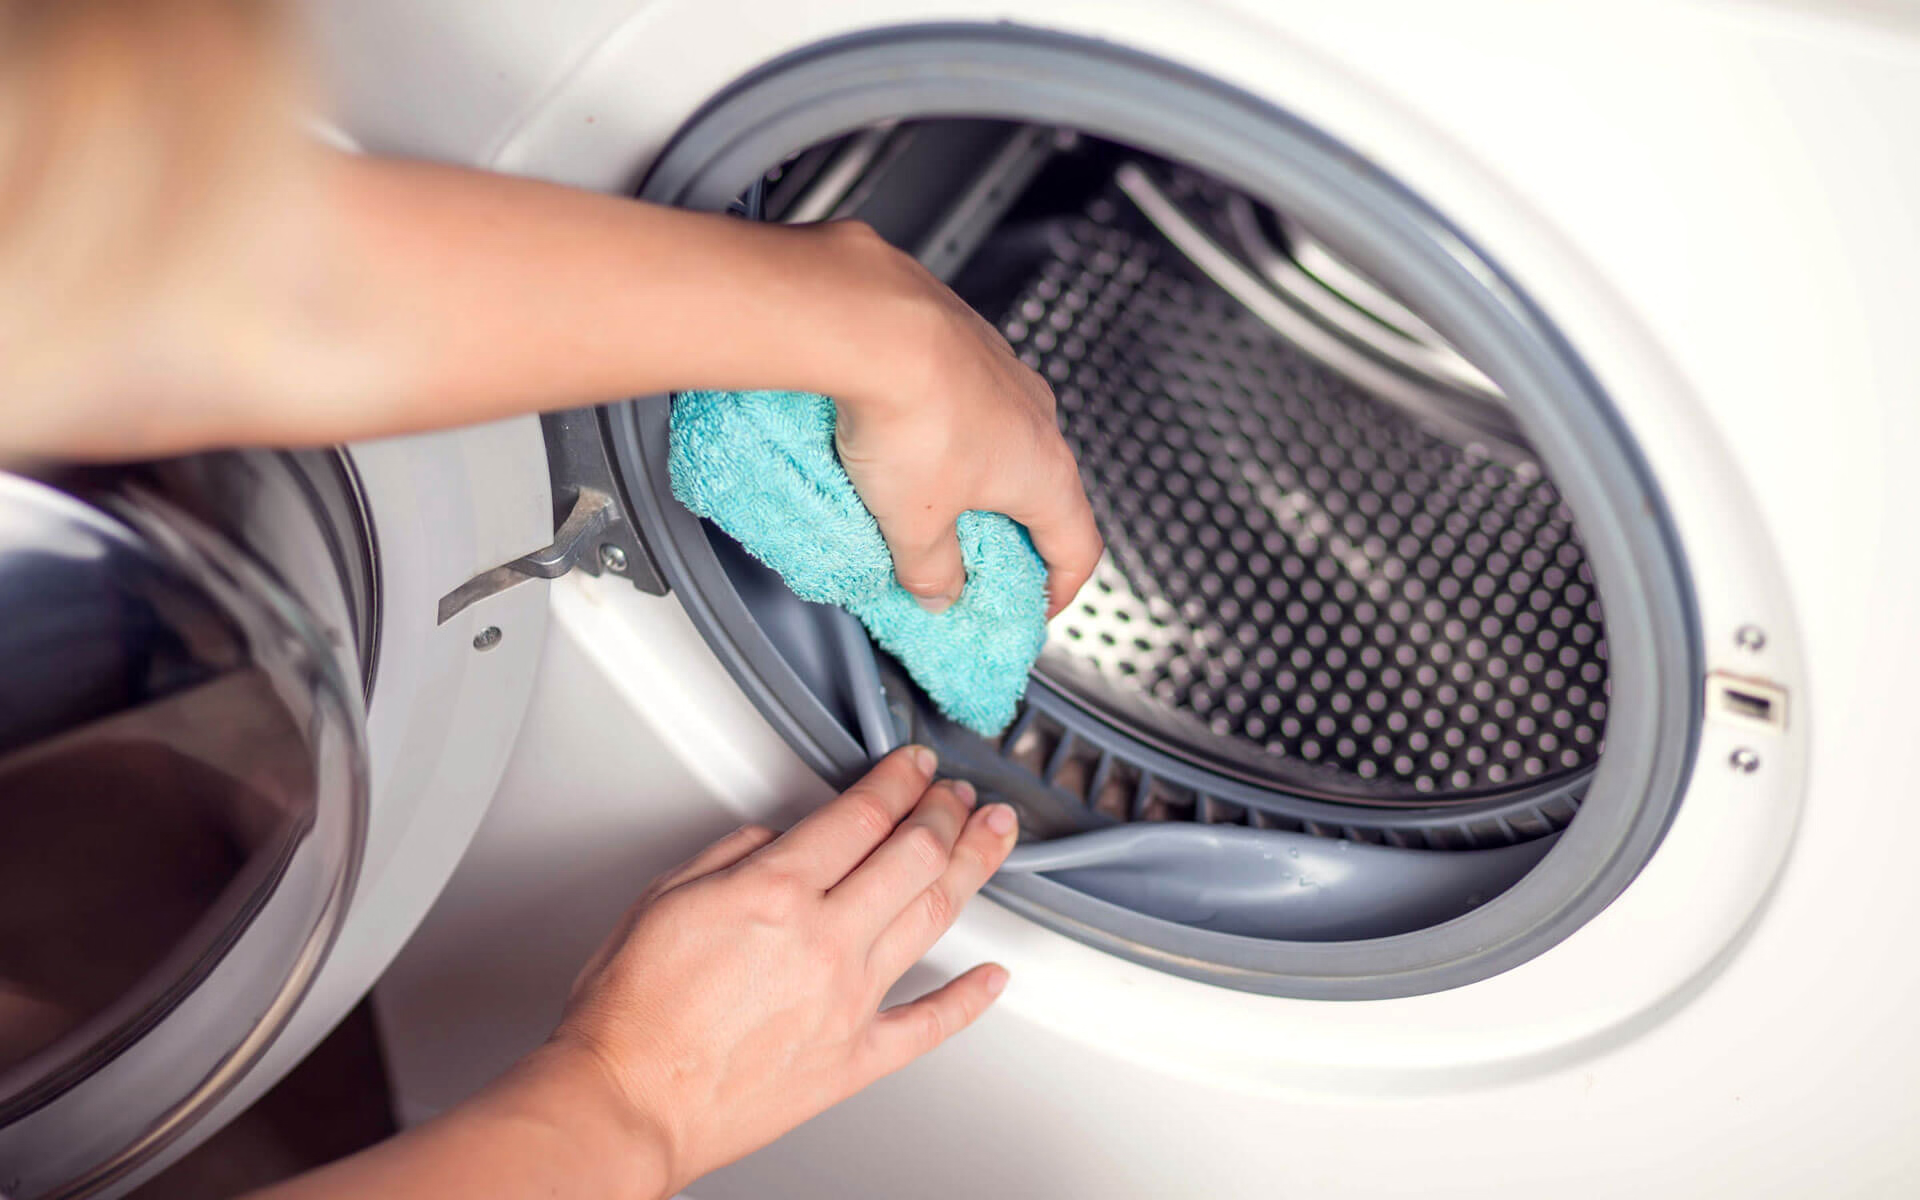
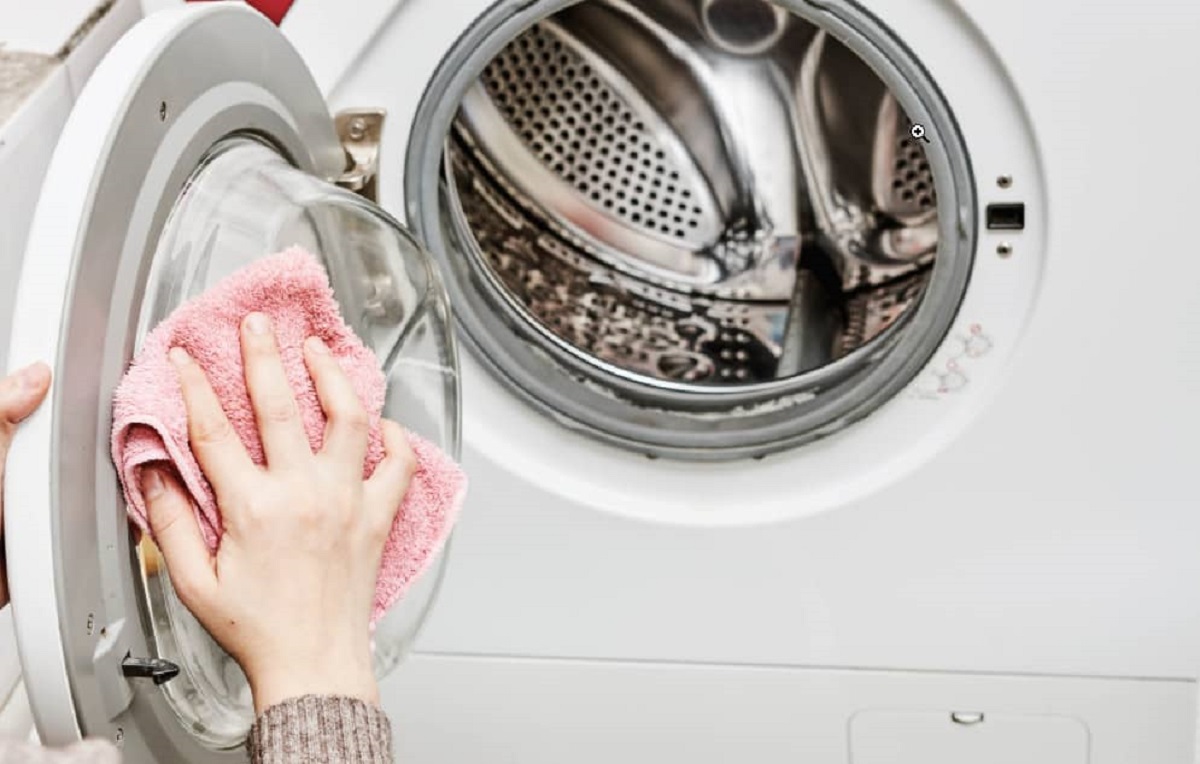
Now that you have pre-treated any stains on your pillows, it’s time to load them into the washing machine. Before doing so, make sure your washing machine is empty and clean to avoid any cross-contamination. Remove any debris or lint in the drum and wipe down the interior if necessary.
Check the capacity of your washing machine and ensure that there is enough space for the pillows to move around freely during the wash cycle. Overloading the machine can lead to ineffective cleaning and may strain the machine itself.
To prevent tangling and uneven washing, it’s advisable to wash two pillows at a time. This will allow for proper agitation and rinsing, resulting in a more thorough cleaning. Place the pillows vertically in the drum to distribute the weight evenly and prevent them from becoming lopsided during the wash.
It’s important to note that different types of pillows require different washing methods. Synthetic pillows can usually be washed in a regular cycle, while down or feather-filled pillows may require a gentle cycle. Always refer to the care label for specific instructions on the appropriate wash cycle and water temperature settings for your pillows.
Once the pillows are loaded into the washing machine, you’re ready to move on to the next step: selecting the appropriate wash cycle.
Read more: How To Spot Clean Pillows
Step 5: Select the appropriate wash cycle
Choosing the right wash cycle is crucial to ensure the pillows are cleaned effectively without causing any damage. The wash cycle you select will depend on the type of pillows you have and the care instructions provided on the pillow’s label.
For most synthetic fiber-filled pillows, a regular or normal wash cycle will suffice. This cycle typically involves a longer agitation time and a higher water temperature, ensuring a thorough cleaning. However, always check the care label to confirm the water temperature and any specific cycle recommendations for your specific pillows.
On the other hand, down or feather-filled pillows require a more delicate approach. Opt for a gentle or delicate wash cycle to minimize the risk of damaging the filling of the pillows. This cycle involves shorter agitation times and mild water temperature, protecting the natural fibers and maintaining the fluffiness.
When selecting the wash cycle, it’s highly recommended to avoid using a heavy-duty or bulky cycle as it can put too much stress on the pillows, causing them to lose their shape or tear.
Additionally, if your pillows are exceptionally dirty or heavily soiled, you may consider adding an extra pre-wash cycle to loosen the dirt and grime before the main wash. This can be especially helpful for pillows that haven’t been cleaned in a long time.
Once you have selected the appropriate wash cycle for your pillows, it’s time to move on to the next step: using a mild detergent to clean them effectively.
To clean pillows in the washer, use a mild detergent and wash on a gentle cycle. Add a couple of tennis balls to help fluff the pillows. Dry thoroughly on a low heat setting.
Step 6: Use a mild detergent
Using the right detergent is crucial to maintain the quality and longevity of your pillows while ensuring a thorough cleaning. It’s important to opt for a mild detergent that is suitable for your specific type of pillow and does not contain harsh chemicals or additives.
For most pillows, a gentle, hypoallergenic detergent is a safe choice. These detergents are formulated to be milder on fabrics, reducing the risk of skin irritation and damage to the pillows. They are also effective in removing dirt, oils, and stains without leaving behind residue or unwanted fragrances.
When measuring the detergent, be sure to follow the recommended amount specified on the detergent packaging. Using too much detergent can result in excess suds, which may be difficult to rinse out thoroughly from the pillows. Conversely, using too little detergent may leave the pillows inadequately cleaned.
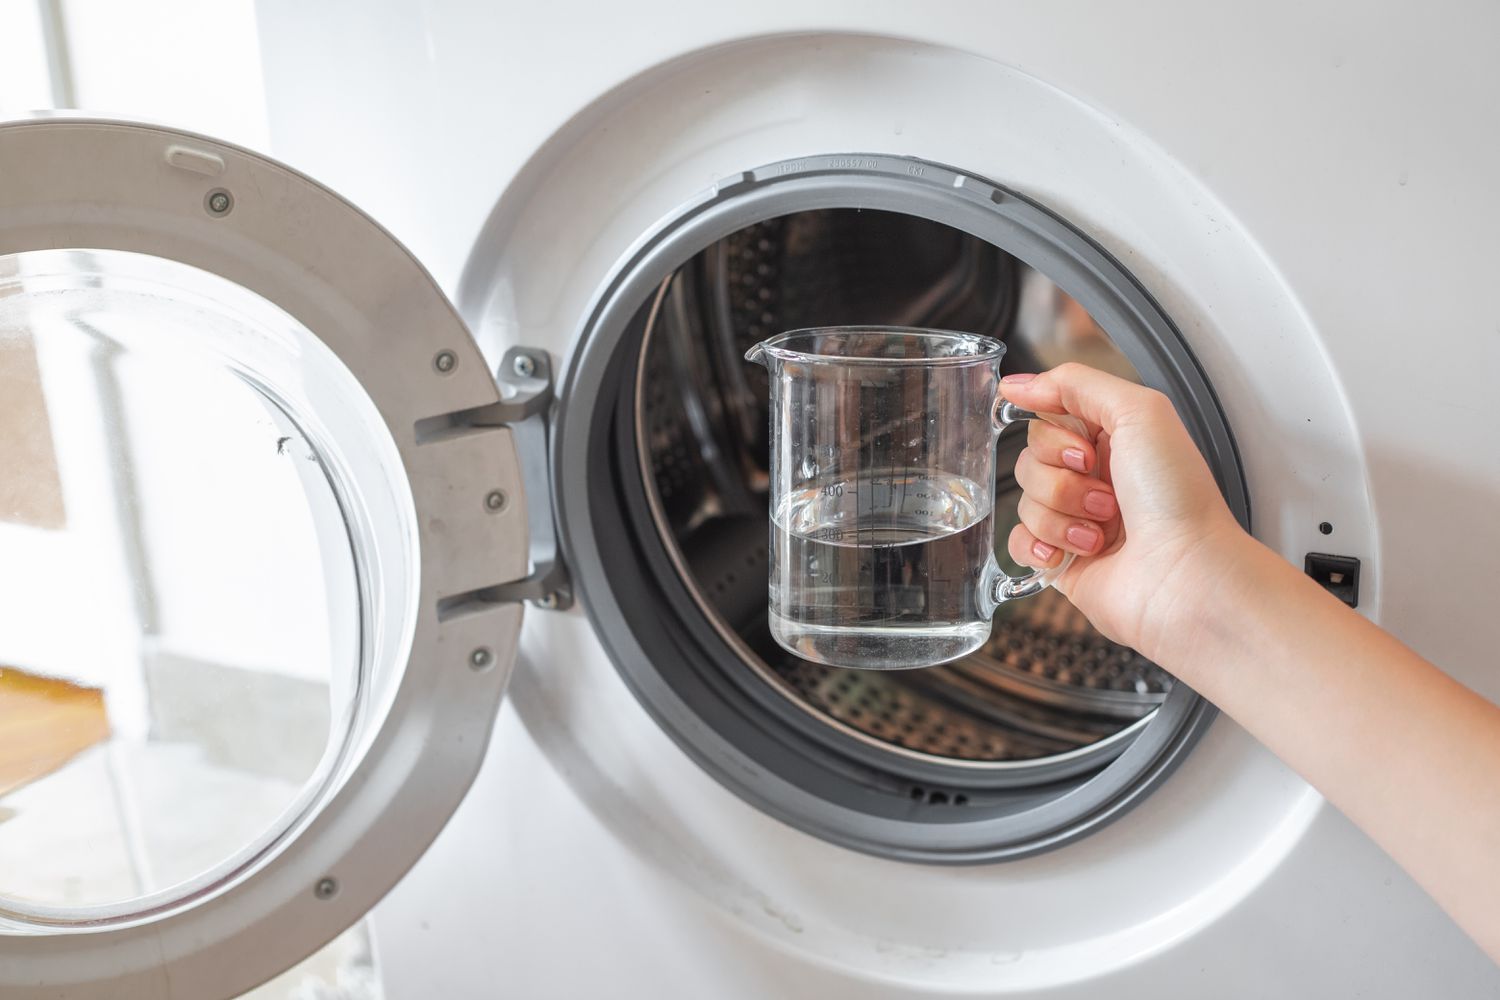
If you prefer a more natural approach, you can also opt for homemade laundry detergents. These can be made with simple ingredients such as baking soda, vinegar, and essential oils, providing a gentle yet effective cleaning solution for your pillows.
Once you’ve added the appropriate amount of detergent to the washing machine, you’re ready to move on to the next step: considering the addition of an extra rinse cycle.
Step 7: Add extra rinse cycle
Adding an extra rinse cycle to your pillow cleaning process can help ensure that all traces of detergent are thoroughly removed. This step is particularly important for individuals with sensitive skin or allergies, as any detergent residue left behind may cause irritation.
To add an extra rinse cycle, simply check the settings on your washing machine and select the option for an additional rinse. This will ensure that the pillows are rinsed more thoroughly, removing any remaining detergent from the fabric.
By adding an extra rinse cycle, you can also help to prevent any buildup of soap residue, which could lead to a dull or stiff texture in your pillows. This step will leave your pillows fresh, clean, and free from any unwanted detergent remnants.
Once the extra rinse cycle is added, the washing machine will proceed with the rinsing process. After the rinsing is complete, it’s time to move on to the next step: drying the pillows properly.
Keep in mind that adding an extra rinse cycle may extend the overall duration of the washing process, but it’s a worthwhile step to ensure the pillows are thoroughly rinsed and ready for the next phase.
Step 8: Dry the pillows properly
Properly drying your pillows is essential to avoid moisture buildup, which can lead to unpleasant odors or the growth of mold and mildew. While some pillows can be tumble-dried, others may require air-drying or a combination of both methods. Check the care label for specific instructions on drying your pillows.
If your pillows are machine-washable and can be tumble-dried, set the dryer to a low heat or delicate cycle. Adding a few clean, dry towels to the dryer can help speed up the drying process and prevent the pillows from clumping together. It’s important to note that drying on high heat can damage or shrink certain types of pillows, so it’s best to err on the side of caution.
For pillows that cannot be tumble-dried, such as those filled with down or feathers, air-drying is the preferred method. Lay the pillows flat on a clean surface or hang them on a clothesline in a well-ventilated area, away from direct sunlight. Fluff and rotate the pillows periodically to ensure even drying.
Regardless of the drying method you choose, be patient as it may take several hours or even overnight for the pillows to completely dry. Avoid using the pillows until they are completely dry to prevent any moisture that may be trapped inside from promoting bacterial growth and unpleasant odors.
Once the pillows are fully dry, you can move on to the final step: fluffing and reshaping the pillows to restore their original shape and comfort.
Properly drying your pillows will not only leave them fresh and clean but also help maintain their quality and extend their lifespan.
Read more: How To Clean Buckwheat Pillows
Step 9: Fluff and reshape the pillows
After your pillows have been cleaned and dried, it’s essential to fluff and reshape them to restore their original loft and comfort. Fluffing the pillows helps to evenly distribute the filling and prevents them from becoming lumpy or flat.
Start by gently kneading and squeezing the pillows to break up any clumps or compacted areas. This will help loosen the filling and create a more uniform texture. You can also give the pillows a few firm taps on the sides to further fluff them up.
Next, carefully reshape the pillows back to their original form. With your hands, gently pull and stretch the fabric to adjust the shape as needed. For feather or down-filled pillows, give them a gentle shake to redistribute the filling and regain their fluffy appearance.
If your pillows have maintained their shape well throughout the cleaning process, you can skip the reshaping step and move on to placing them back on your bed or in their respective pillowcases. However, if your pillows have lost some of their firmness or have become misshapen, it’s important to spend a little extra time fluffing and reshaping them to ensure optimal comfort and support.
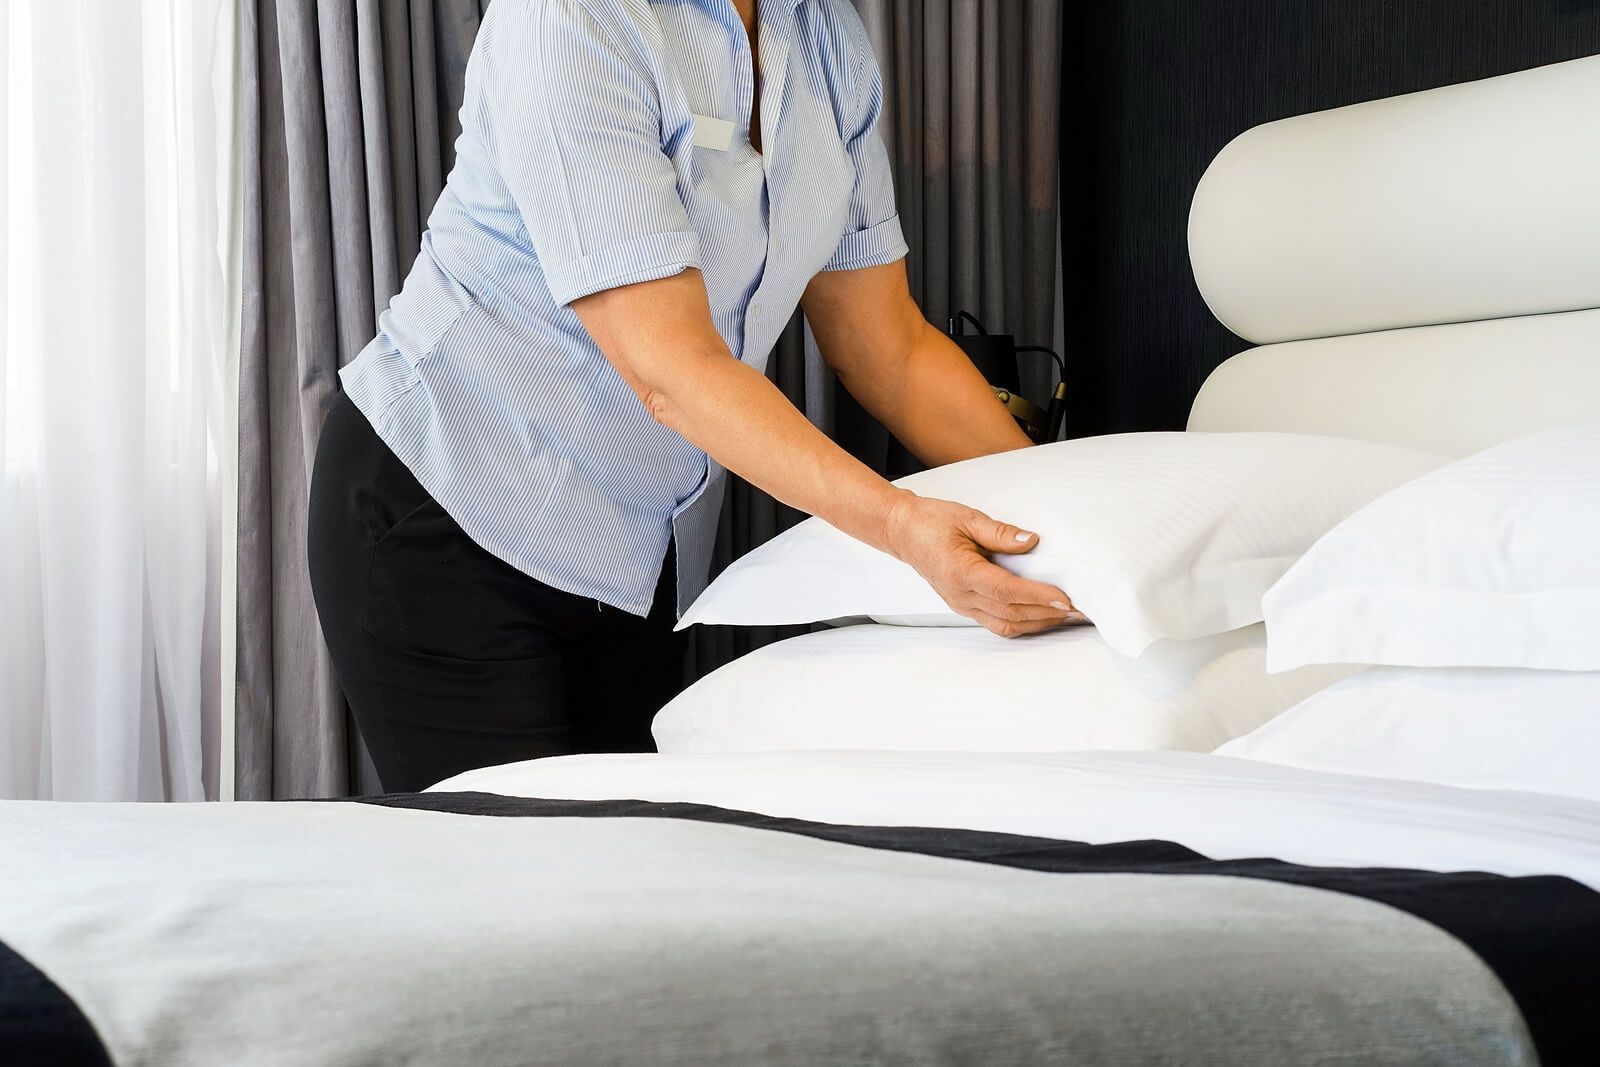
Once your pillows are fluffed and reshaped, they are ready to be enjoyed once again. Remember to protect them with clean pillowcases and covers to maintain their cleanliness and freshness for as long as possible.
By following these steps and properly fluffing and reshaping your pillows, you can ensure they not only look great but also provide the utmost comfort and support for a good night’s sleep.
Conclusion
Cleaning your pillows in the washer is a simple yet important step in maintaining a fresh and hygienic sleep environment. By following the proper steps outlined in this guide, you can effectively remove dirt, stains, and odors from your pillows, ensuring they remain clean, comfortable, and allergen-free.
Remember to always check the care label on your pillows for specific instructions and recommendations. Different types of pillows may require different washing methods and drying techniques. By adhering to the care instructions, you can prevent damage to the pillows and prolong their lifespan.
Regularly cleaning your pillows not only improves their appearance and freshness but also helps to eliminate allergens and create a healthier sleeping environment. Dust mites, sweat, and oils can build up over time, leading to potential allergies and discomfort. By regularly cleaning your pillows, you can reduce the risk of these issues and enjoy a better night’s sleep.
Additionally, proper maintenance and cleaning can help extend the life of your pillows. Keeping them clean and free of dirt and debris can prevent premature wear and maintain their shape and support.
So, the next time you notice your pillows could use a refresh, don’t hesitate to give them a thorough cleaning in the washer. Follow the steps outlined in this guide to ensure a successful and effective cleaning process.
By investing a little time and effort into cleaning your pillows, you can enjoy the benefits of a fresh, hygienic, and comfortable sleep environment. Say goodbye to odors, stains, and allergens, and say hello to a rejuvenated and cozy night’s sleep!
Frequently Asked Questions about How To Clean Pillows In Washer
Was this page helpful?
At Storables.com, we guarantee accurate and reliable information. Our content, validated by Expert Board Contributors, is crafted following stringent Editorial Policies. We're committed to providing you with well-researched, expert-backed insights for all your informational needs.



0 thoughts on “How To Clean Pillows In Washer”