Articles
How To Clean Washer Smell
Modified: August 30, 2024
Learn effective ways to clean and eliminate unpleasant odors from your washer with these helpful articles.
(Many of the links in this article redirect to a specific reviewed product. Your purchase of these products through affiliate links helps to generate commission for Storables.com, at no extra cost. Learn more)
Introduction
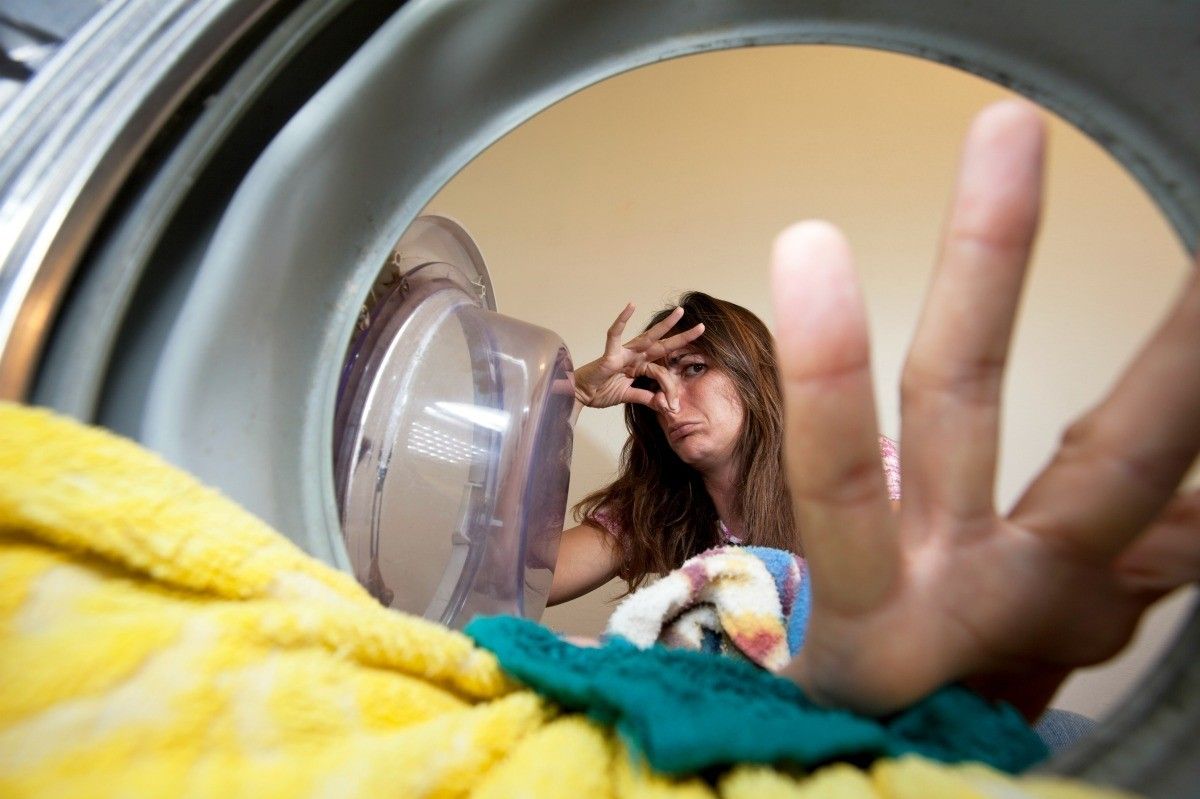
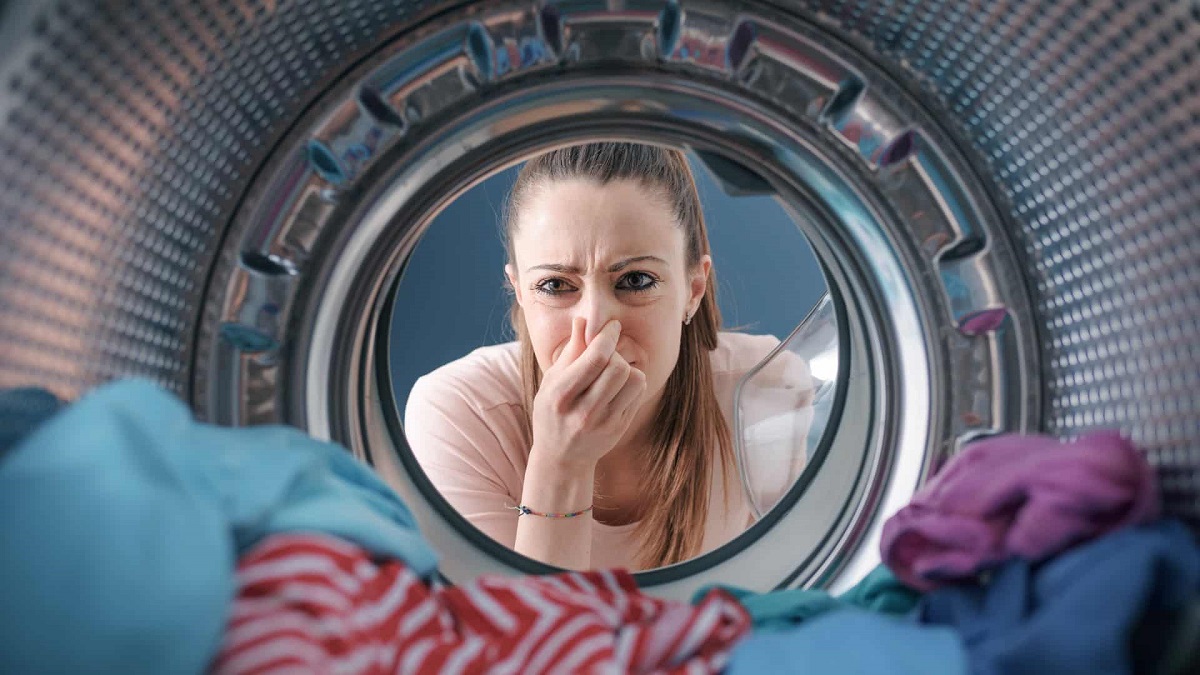
Having a clean and fresh-smelling washer is essential for maintaining hygienic laundry and pleasant laundry experiences. However, over time, washers can develop an unpleasant odor that can transfer onto your clothes. This can be caused by a variety of factors, such as mold, mildew, soap residue, and bacteria buildup.
In this article, we will explore the causes of washer smell and provide you with a step-by-step guide on how to effectively clean your washer to eliminate odors. Additionally, we will share some tips on preventing future smells from occurring, so you can enjoy clean and fresh laundry every time.
Before we dive into the cleaning process, let’s take a closer look at the common causes of washer smell.
Key Takeaways:
- Regularly cleaning the rubber gasket, dispenser drawer, and drum with natural agents like vinegar and baking soda can effectively eliminate odors and maintain a fresh-smelling washer for hygienic laundry experiences.
- Implementing preventive measures such as leaving the washer door open, using the correct amount of detergent, and performing regular maintenance can help prevent future odors, ensuring long-term cleanliness and freshness in your laundry space.
Read more: How To Clean A Recliner From Smells
Causes of Washer Smell
Understanding the underlying causes of washer smell is crucial for effectively treating and preventing it. Here are some common culprits:
- Mold and Mildew: The warm and damp environment inside your washer is ideal for mold and mildew to thrive. If the washer is not properly ventilated, cleaned regularly, or left with moisture after each use, these fungi can start to grow and produce a musty odor.
- Soap Residue: Excessive use of detergent or using the wrong type for your washer can leave behind residue. Over time, this residue can build up, creating a breeding ground for bacteria and causing an unpleasant odor.
- Bacteria Buildup: Moisture, combined with leftover soap and fabric debris, can create a breeding ground for bacteria. These bacteria can produce foul-smelling gases, resulting in a lingering stench in your washer.
- Dirty Rubber Gasket: The rubber gasket around the door of front-loading washers is prone to collecting dirt, hair, and debris. If not cleaned regularly, these trapped materials can emit a foul odor.
- Uncleaned Dispenser Drawer: The dispenser drawer where you add detergent, fabric softener, and bleach can become a breeding ground for mold, mildew, and bacteria. If not regularly cleaned, these areas can contribute to washer odor.
Now that we have identified the common causes of washer smell, let’s move on to the materials you will need in order to effectively clean your washer.
Materials Needed for Cleaning
Before you begin the cleaning process, gather the following materials:
- Vinegar: White vinegar is a natural cleaning agent that helps to remove odor-causing bacteria and residue.
- Baking Soda: Baking soda is excellent for absorbing odors and can help to eliminate any lingering smells in your washer.
- Microfiber Cloth: A microfiber cloth is ideal for wiping down the interior and exterior surfaces of your washer.
- Toothbrush or Small Brush: This will be used to clean hard-to-reach areas, such as the rubber gasket or dispenser drawer.
- Hot Water: Hot water is effective in loosening and removing dirt, grime, and soap residue.
- Bleach (optional): If you’re dealing with a particularly stubborn odor or mold growth, bleach can be used as a disinfectant.
With these materials at hand, you’re ready to begin the step-by-step cleaning process to eliminate washer smell. Let’s get started!
Step-by-Step Instructions
Follow these step-by-step instructions to effectively clean your washer and eliminate any unpleasant odors:
- Empty the Washer: Start by emptying your washer of any laundry or items. Make sure the drum is completely empty before proceeding.
- Clean the Rubber Gasket: The rubber gasket around the door of the washer is a common area for mold and mildew buildup. Mix equal parts of water and vinegar and use a toothbrush or small brush to scrub the gasket thoroughly. Pay extra attention to any visible mold or mildew. Wipe the gasket dry with a microfiber cloth.
- Clean the Dispenser Drawer: Remove the dispenser drawer and rinse it under hot water to remove any visible residue. Use a toothbrush or small brush to scrub away any stubborn buildup. If there is significant mold or mildew, soak the drawer in a solution of water and vinegar for about 30 minutes before scrubbing. Rinse the drawer thoroughly, then dry it completely before reinserting it back into the washer.
- Clean the Drum: To clean the drum, mix a solution of 1/4 cup of baking soda and 1/4 cup of water to form a paste. Use a clean cloth or sponge to apply the paste to the inside of the drum, making sure to cover all surfaces. Let the paste sit for about 15 minutes to allow it to work. Meanwhile, dampen a cloth with vinegar and clean the agitator or impeller if your washer has one. Once the 15 minutes have passed, use a damp cloth to wipe away the baking soda paste from the drum.
- Run a Cleaning Cycle: After cleaning the drum, it’s time to run a cleaning cycle to further eliminate any remaining odors. Pour 2 cups of vinegar into the detergent dispenser or directly into the drum. Run the washer on a hot water cycle without any laundry. If your washer has a specific cleaning cycle, follow the manufacturer’s instructions. If not, select the longest and hottest cycle available. This will help to flush out any remaining residue and bacteria.
- Wipe Down the Exterior: While the cleaning cycle is running, take the opportunity to wipe down the exterior surfaces of your washer using a vinegar-dampened microfiber cloth. Pay attention to any buttons, knobs, and control panels, as they can collect dirt and residue.
By following these step-by-step instructions, you can effectively clean your washer and eliminate any lingering odors. However, it’s also important to take steps to prevent future smells from occurring in your washer.
Let’s explore some preventative measures in the next section.
Empty the Washer
The first step in cleaning your washer is to empty it of any laundry or items. It’s important to start with a completely empty drum to ensure that you can effectively clean all the surfaces and eliminate any trapped odors.
To empty the washer, remove any clothes, towels, or other items that may be inside. Check all pockets to make sure there are no small objects, like coins or buttons, that could potentially damage the washer or clog the drain. Once the drum is empty, close the washer door or lid securely.
By emptying the washer before cleaning, you can have a clear and unobstructed space to work with. This will allow for more efficient cleaning and ensure that no items are accidentally damaged during the process.
Once you have emptied the washer, you can move on to the next step in the cleaning process.
Note: If you notice any visible dirt or debris on the drum or in the rubber gasket, you can use a soft brush or cloth to gently remove it. This will help to prepare the surfaces for thorough cleaning.
Read more: How To Clean Recliner From Smells
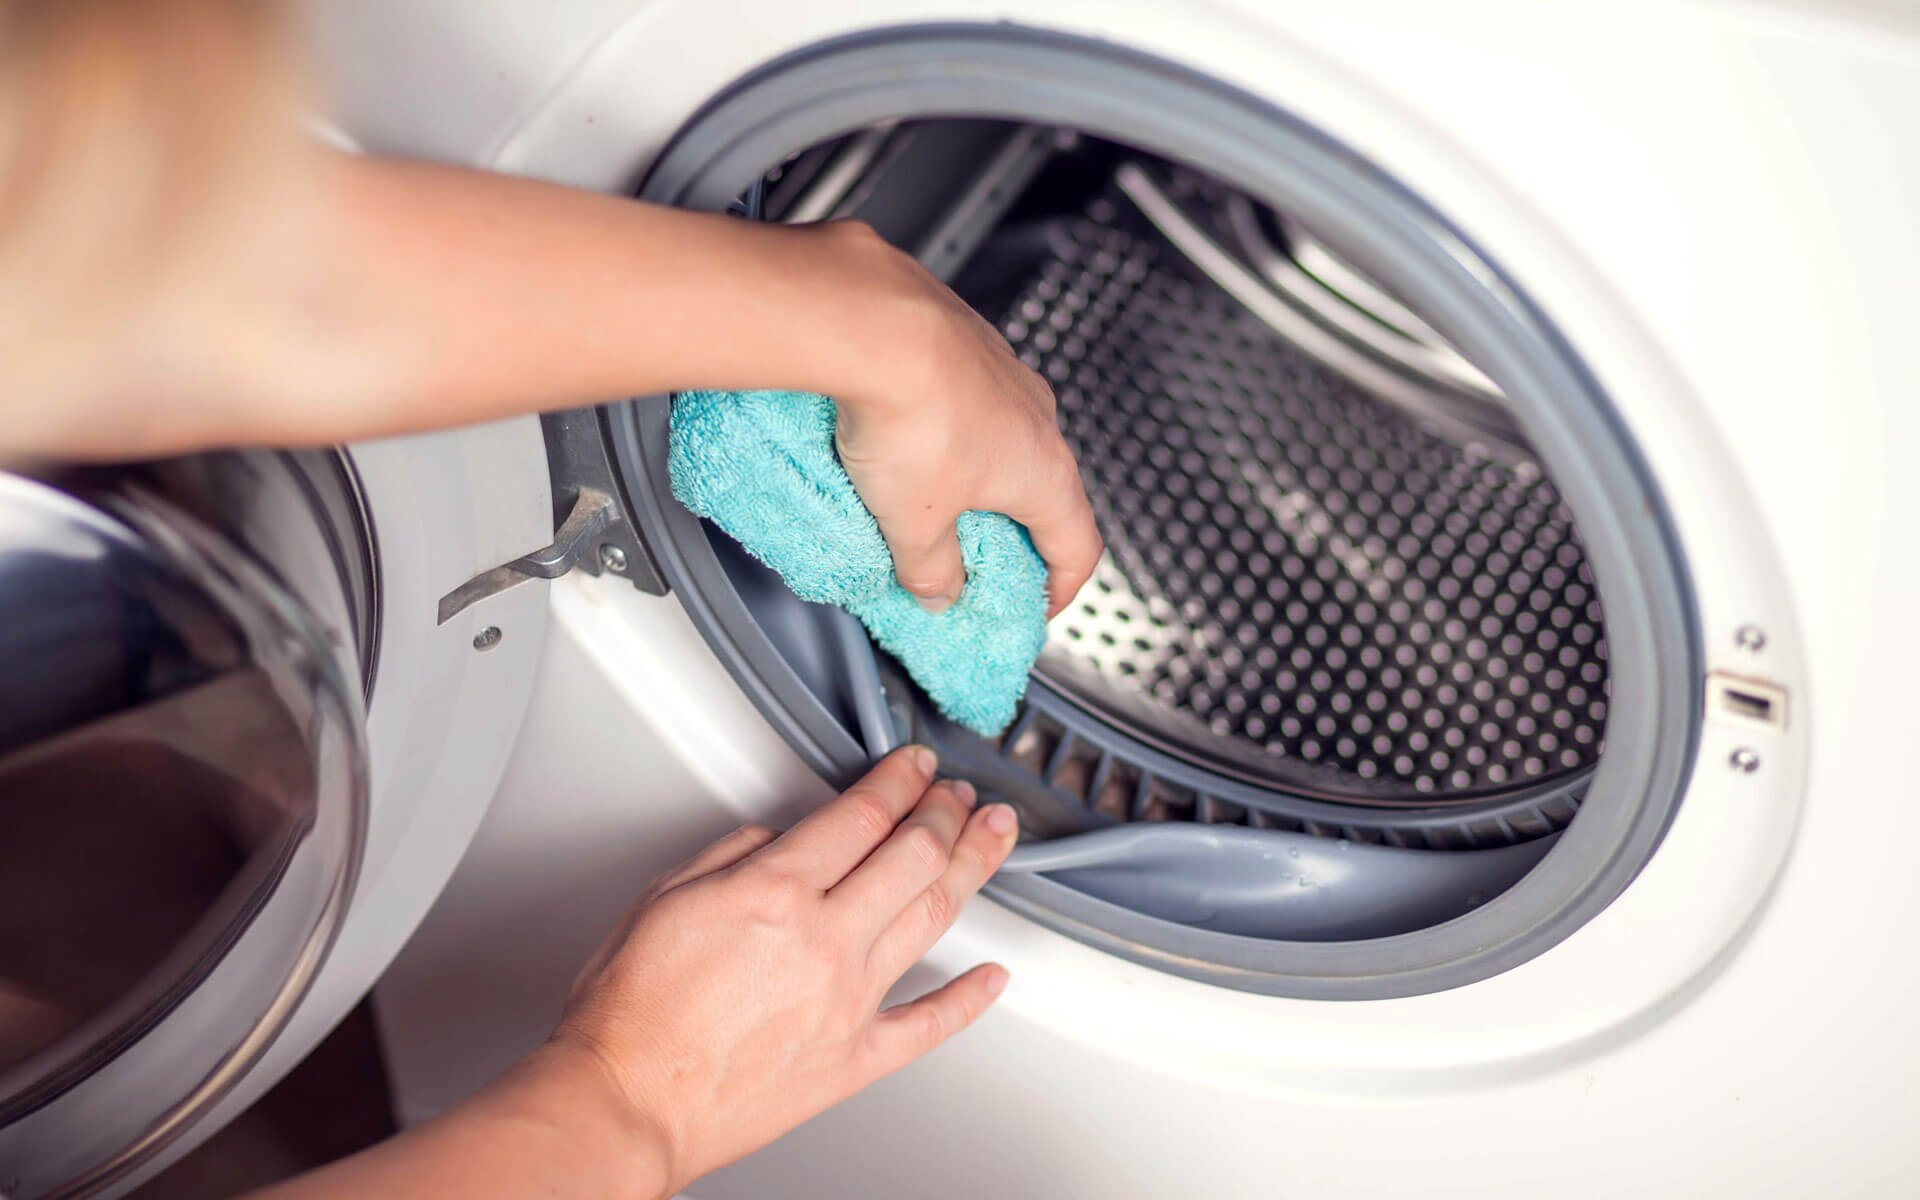
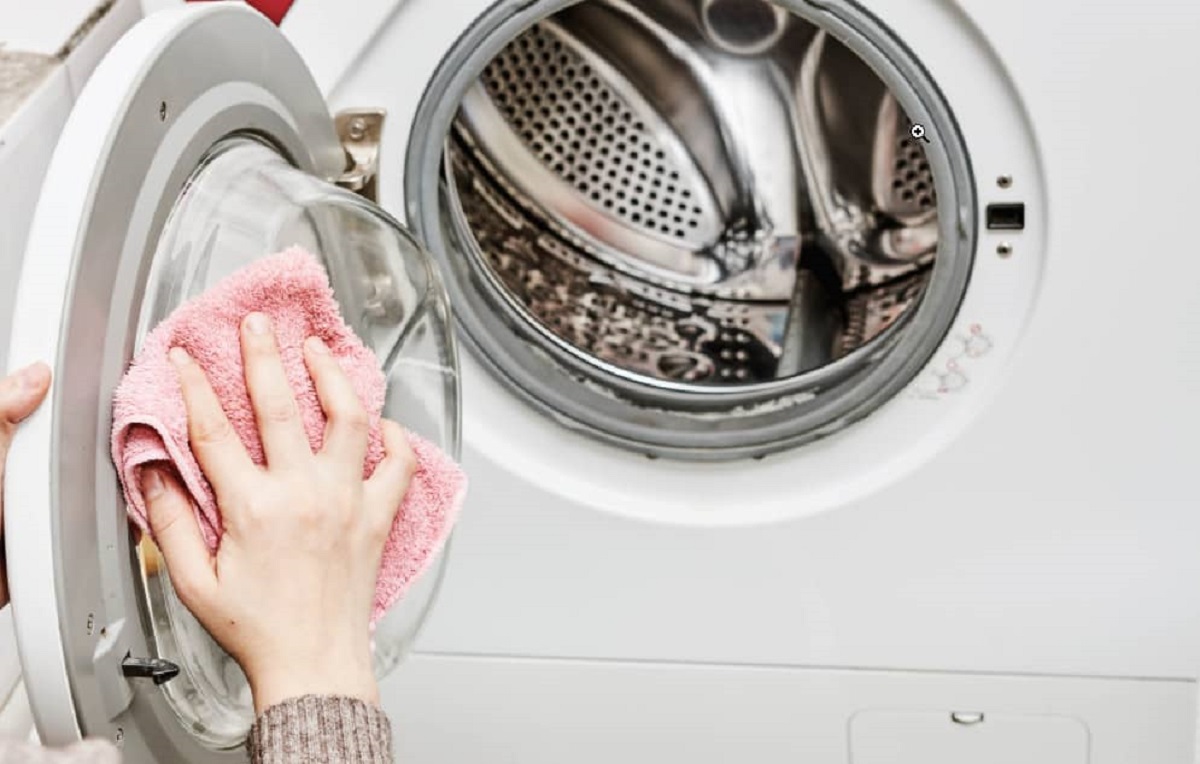
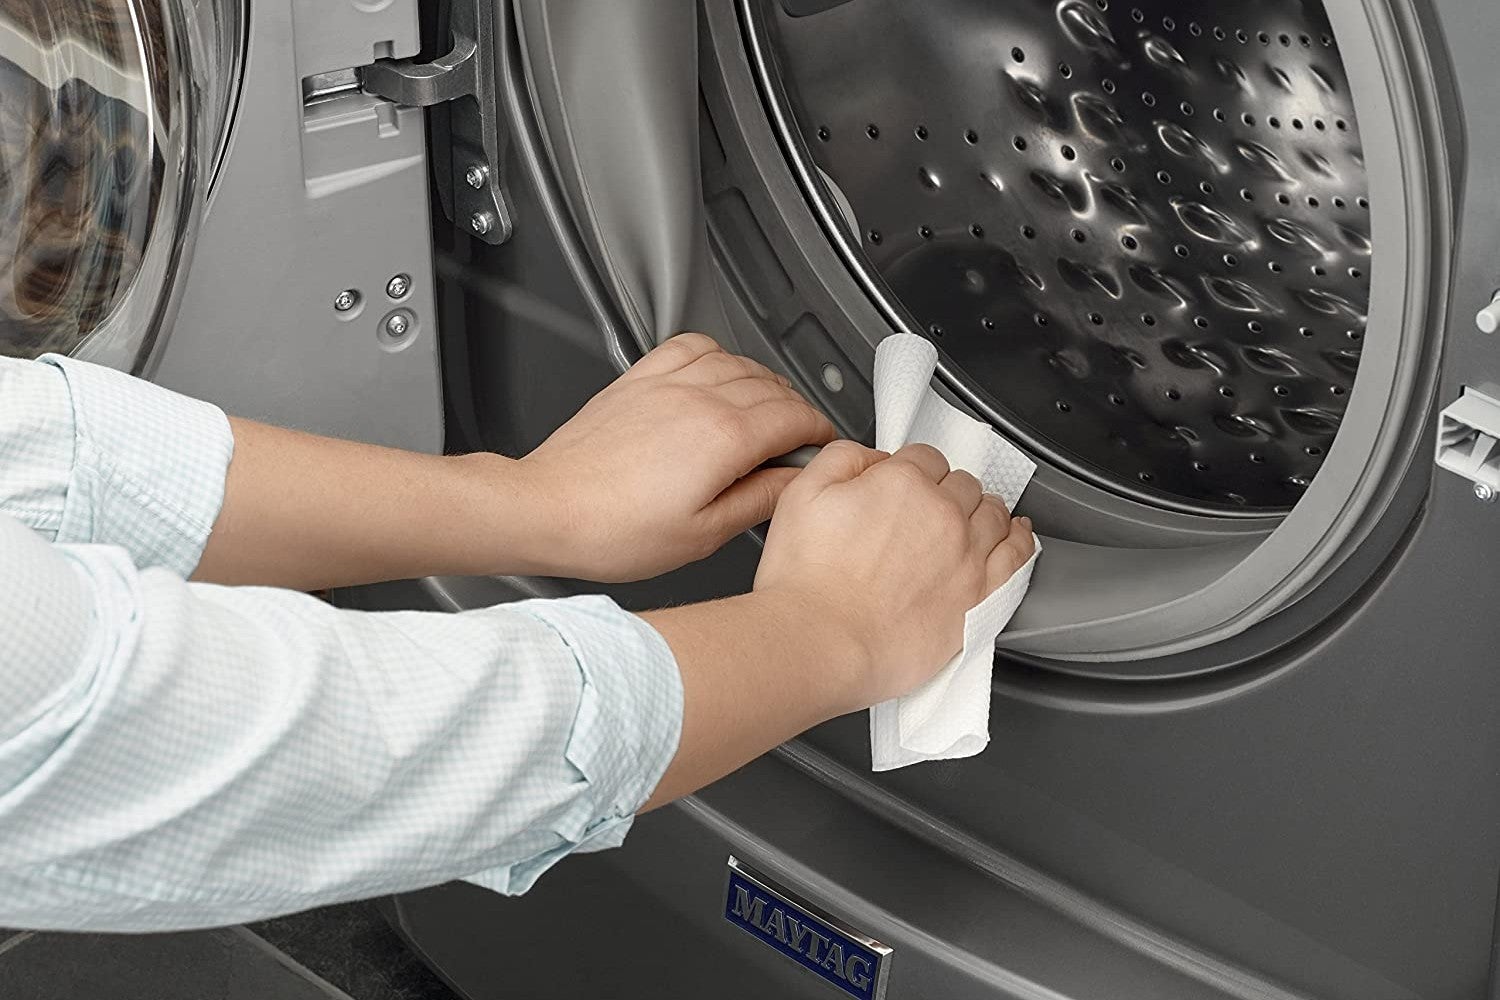
Clean the Rubber Gasket
The rubber gasket around the door of your washer is a common area for mold, mildew, and dirt to accumulate. Cleaning the rubber gasket regularly is essential for preventing unpleasant odors and maintaining a hygienic laundry environment.
To clean the rubber gasket, follow these steps:
- Mix a solution of equal parts water and vinegar in a spray bottle or a bowl. Vinegar is a natural cleaning agent that helps to remove mold, mildew, and bacteria.
- Dampen a clean cloth or sponge with the vinegar solution.
- Gently wipe down the rubber gasket, paying special attention to any visible mold or mildew. Be sure to reach into the folds and crevices of the gasket.
- If there are stubborn stains or mold growth, use a toothbrush or small brush dipped in the vinegar solution to scrub the affected areas.
- After cleaning, rinse the rubber gasket with water to remove any leftover vinegar or residue.
- Use a dry cloth to thoroughly dry the gasket, keeping it free from moisture to prevent mold and mildew growth.
It’s recommended to clean the rubber gasket at least once a month or more frequently if you notice any signs of mold or mildew. By regularly cleaning this area, you can prevent odors and maintain a clean and fresh-smelling washer.
Once you have finished cleaning the rubber gasket, you can proceed to the next step in the cleaning process.
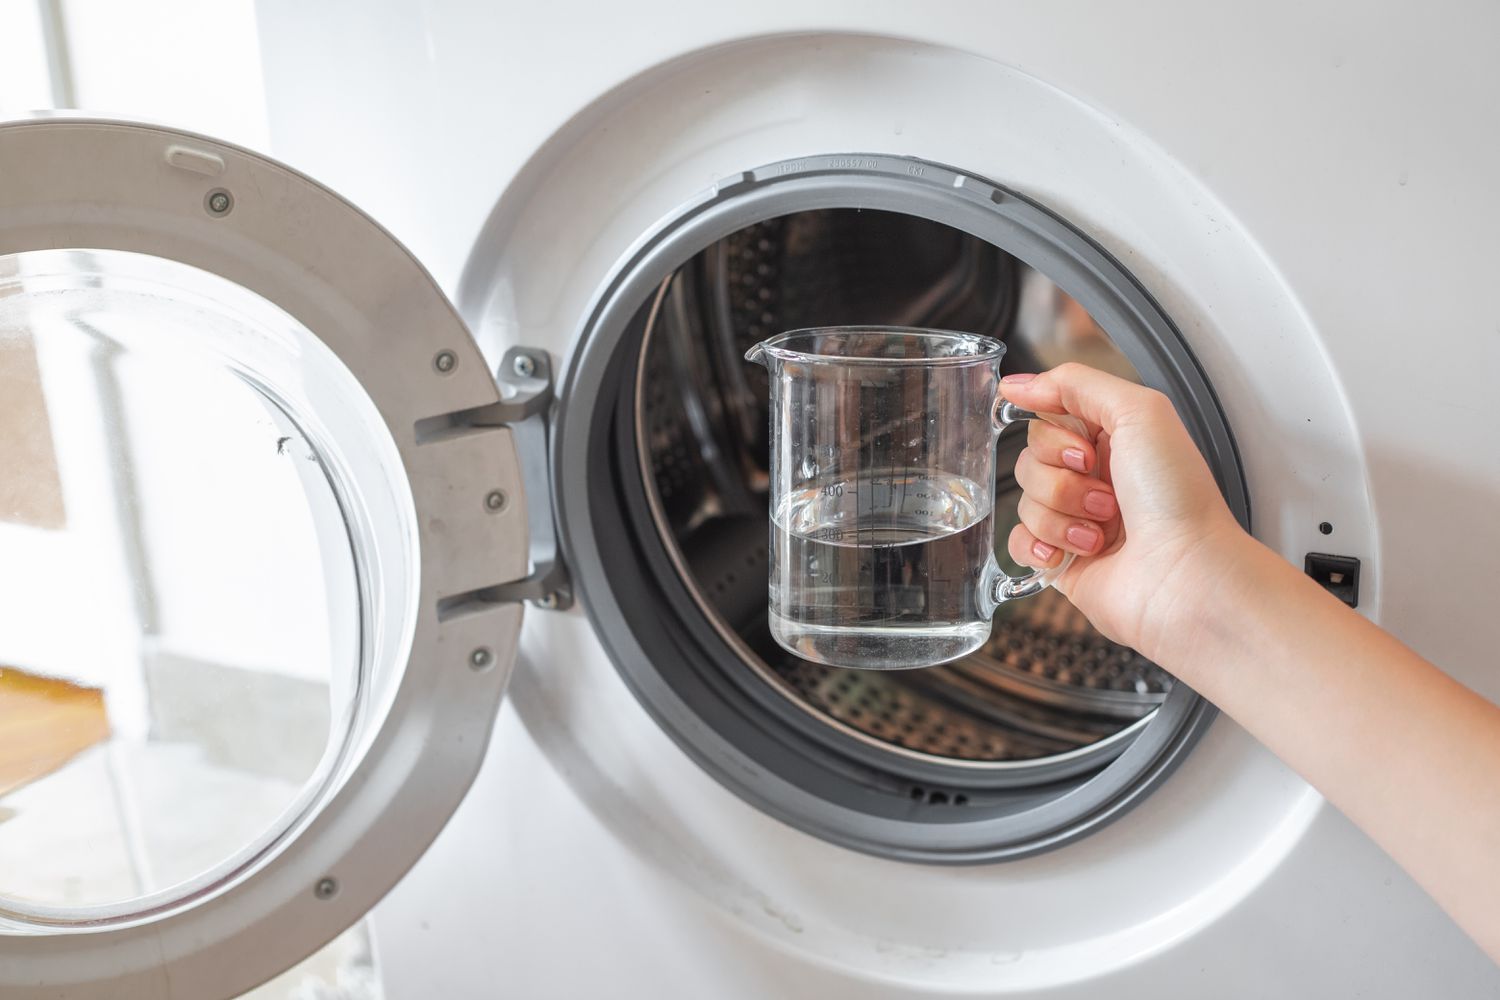
Run a hot water cycle with vinegar to clean and deodorize your washer. Add 2 cups of white vinegar to the detergent dispenser and run the machine on the hottest setting. This will help remove any built-up residue and eliminate odors.
Clean the Dispenser Drawer
The dispenser drawer of your washer is where you add detergent, fabric softener, and bleach. Over time, residue from these products can build up and contribute to unpleasant odors. Cleaning the dispenser drawer regularly is essential to prevent the growth of mold, mildew, and bacteria.
To clean the dispenser drawer, follow these steps:
- Remove the dispenser drawer from the washer. Refer to your washer’s manual for specific instructions on how to remove the drawer.
- Rinse the dispenser drawer under hot water to remove any visible residue.
- Inspect the drawer for any mold, mildew, or stubborn stains.
- If there is significant buildup or mold growth, create a solution of equal parts water and vinegar.
- Submerge the dispenser drawer in the vinegar solution and let it soak for about 30 minutes.
- Use a toothbrush or small brush to scrub the dispenser drawer, paying extra attention to any areas with visible residue or mold.
- Rinse the dispenser drawer thoroughly with water to remove any vinegar or residue.
- Ensure that the dispenser drawer is completely dry before reinserting it back into the washer.
By regularly cleaning the dispenser drawer, you can prevent buildup, mold growth, and unpleasant odors. It’s recommended to clean the dispenser drawer at least once a month or more frequently if you notice any signs of residue or mold.
With the dispenser drawer clean and dry, you’re ready to move on to the next step in the cleaning process.
Clean the Drum
Keeping the drum of your washer clean is essential for eliminating odors and maintaining a fresh-smelling laundry experience. Over time, dirt, grime, and soap residue can accumulate inside the drum, creating a breeding ground for bacteria and causing unpleasant smells.
To effectively clean the drum of your washer, follow these steps:
- Mix a solution of 1/4 cup of baking soda and 1/4 cup of water in a bowl. The baking soda will help to absorb odors and remove residue.
- Using a clean cloth or sponge, apply the baking soda paste to the inside of the drum, making sure to cover all surfaces.
- Allow the paste to sit for about 15 minutes. This will give the baking soda time to work and break down any stubborn residue.
- While the paste is sitting, dampen a cloth with vinegar and clean the agitator or impeller if your washer has one. These components can also accumulate dirt and residue.
- After 15 minutes, use a damp cloth to wipe away the baking soda paste from the drum. Be thorough and make sure to remove all traces of the paste.
It’s important to note that if you have a front-loading washer, you should also clean the rubber gasket (as mentioned in a previous step) before cleaning the drum. This ensures that any mold or mildew from the gasket does not transfer back into the freshly cleaned drum.
By following these steps to clean the drum of your washer, you can remove residue, eliminate odors, and maintain a clean and fresh-smelling laundry environment.
With the drum cleaned, it’s time to move on to the next step in the cleaning process.
Run a Cleaning Cycle
Running a cleaning cycle is an effective way to further eliminate any remaining odors, bacteria, and residue from your washer. This step helps to flush out any buildup and leave your washer smelling fresh and clean.
Follow these steps to run a cleaning cycle:
- Pour 2 cups of vinegar into the detergent dispenser or directly into the drum. Vinegar is a natural cleaning agent that helps to remove bacteria and residue.
- Select the hottest water setting on your washer. Hot water is effective in loosening and removing dirt, grime, and soap residue.
- Start the washer, allowing it to run through a full cycle without any laundry. If your washer has a specific cleaning cycle, follow the manufacturer’s instructions. If not, select the longest and hottest cycle available.
- Once the cleaning cycle is complete, open the washer door or lid to allow the drum to air out and dry.
During the cleaning cycle, the vinegar will work to dissolve any remaining residue while the hot water helps to flush it out of the system. This combination effectively removes odors and leaves your washer clean and fresh-smelling.
It’s important to note that if you have a front-loading washer, you should also wipe down the rubber gasket and the dispenser drawer while the cleaning cycle is running. This will help to remove any remaining residue or buildup in those areas.
With the cleaning cycle completed, it’s time to move on to the final step in the cleaning process.
Read more: How To Clean Washer And Dryer
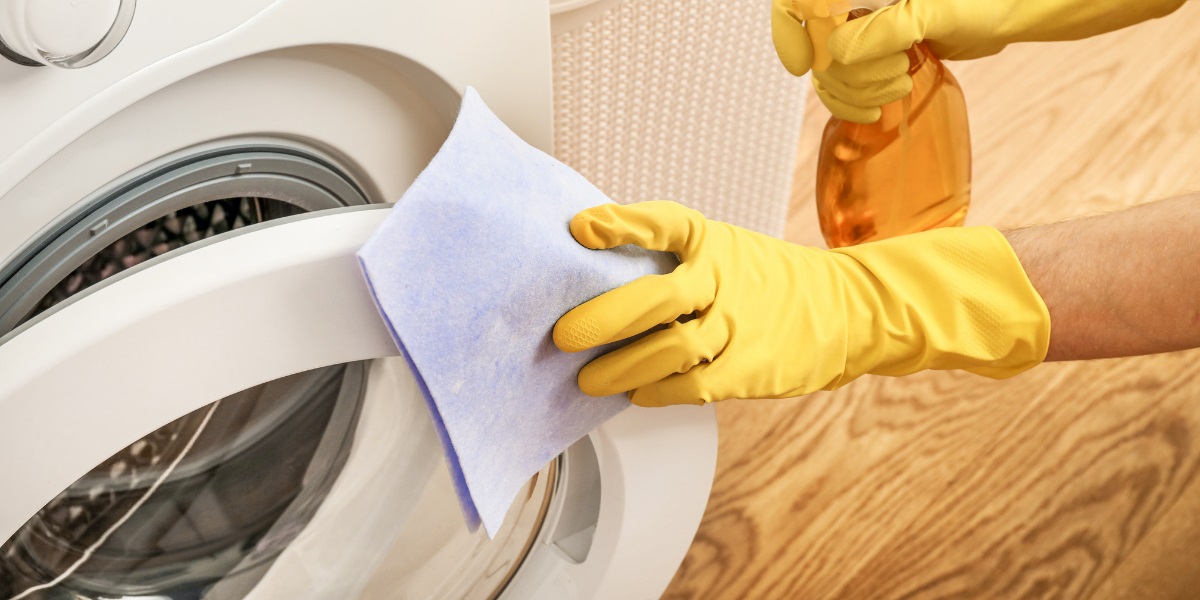
Wipe Down the Exterior
While the cleaning cycle is running, take the opportunity to wipe down the exterior surfaces of your washer. Over time, dirt, dust, and residue can accumulate on the outside of the machine, which can contribute to unpleasant odors and a less-than-clean appearance.
Follow these steps to properly clean the exterior of your washer:
- Dampen a microfiber cloth with vinegar. Vinegar is a natural cleaning agent that helps to remove dirt, grime, and residue.
- Gently wipe down the exterior surfaces of the washer, including the top, sides, front, back, and control panel. Pay attention to any buttons, knobs, or control dials, as they can collect dirt and residue.
- If there are any stubborn stains or residue, use a toothbrush or small brush dipped in vinegar to scrub the affected areas.
- Once all surfaces are wiped clean, use a dry microfiber cloth to thoroughly dry the exterior of the washer.
By regularly wiping down the exterior of your washer, you can maintain a clean and fresh appearance while preventing the buildup of dirt and residue. This step not only helps to eliminate odors but also enhances the overall cleanliness of your laundry space.
With the exterior of your washer now clean and dry, it’s time to move on to the final section where we will discuss some tips for preventing future odors.
Preventing Future Odors
Now that you have successfully cleaned your washer and eliminated any unpleasant odors, it’s important to take steps to prevent them from returning in the future. By implementing these preventive measures, you can maintain a clean and fresh-smelling washer:
- Leave the Washer Door Open: After each use, leave the washer door or lid open to allow air to circulate and prevent moisture buildup. This will help to prevent the growth of mold and mildew.
- Wipe Down the Rubber Gasket: Regularly clean and dry the rubber gasket to prevent the accumulation of dirt, moisture, and residue.
- Clean the Dispenser Drawer: Clean the dispenser drawer regularly, removing any residue or buildup that can lead to odors.
- Use the Correct Amount of Detergent: Avoid using excessive amounts of detergent, as it can leave behind residue. Follow the manufacturer’s guidelines for the correct dosage.
- Choose the Right Detergent: Use a high-quality detergent that is suitable for your washer type. Avoid using harsh chemicals or bleach in excess.
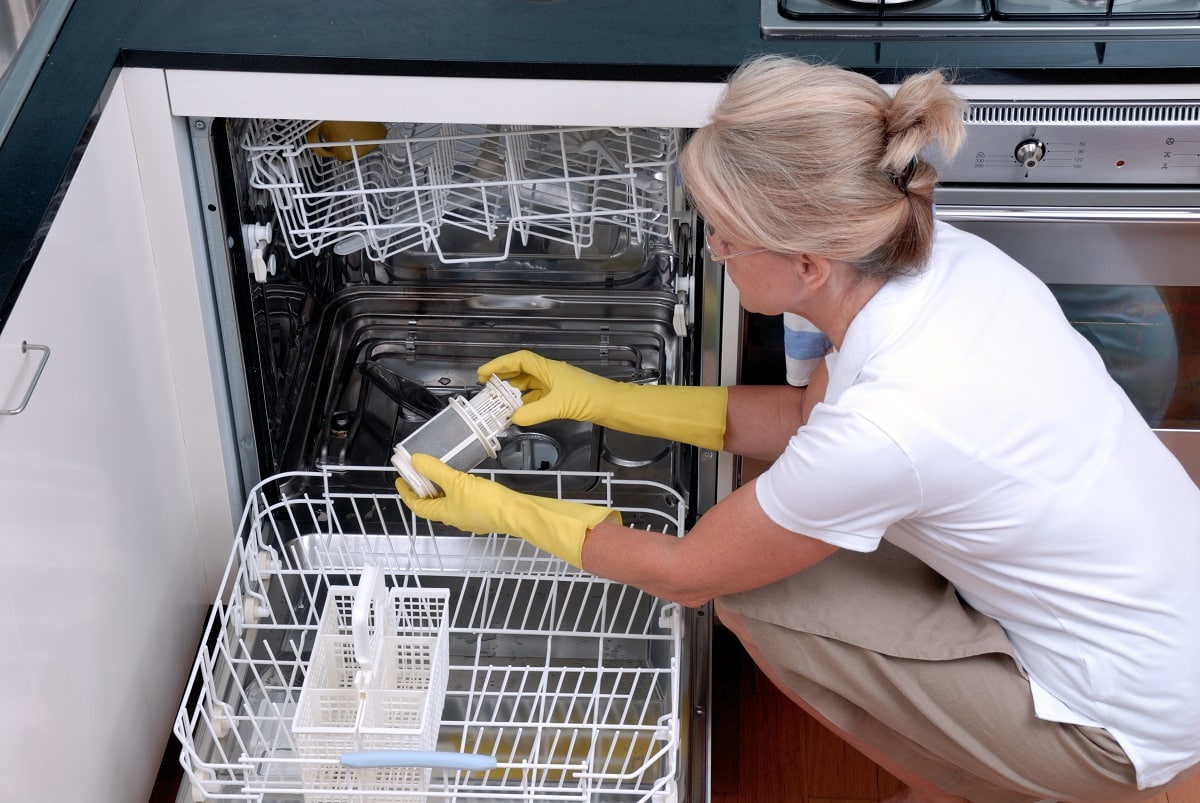
- Perform Regular Maintenance: Follow your washer’s maintenance guidelines, including cleaning filters and checking hoses, to ensure optimal performance and prevent odors caused by clogs or malfunctions.
By following these preventive measures and incorporating them into your laundry routine, you can maintain a clean and fresh-smelling washer over the long term. Regular cleaning and maintenance will help to prevent the growth of mold, mildew, and bacteria, ensuring hygienic and odor-free laundry experiences.
Now that you are equipped with the knowledge and steps to clean your washer and prevent future odors, you can enjoy fresh and clean laundry every time!
Conclusion
Keeping your washer clean and free from unpleasant odors is essential for maintaining hygienic and fresh-smelling laundry. By understanding the causes of washer smell and following the step-by-step cleaning instructions provided in this article, you can effectively eliminate odors and ensure a clean and pleasant laundry experience.
We explored the common causes of washer smell, such as mold, mildew, soap residue, and bacteria buildup. Understanding these factors helps us take the necessary steps to address and prevent them from occurring in the future.
We discussed the materials needed for cleaning, including vinegar, baking soda, microfiber cloth, toothbrush or small brush, hot water, and optional bleach. These materials are readily available and effective in removing dirt, residue, and odor-causing elements from your washer.
The step-by-step instructions provided clear guidance on emptying the washer, cleaning the rubber gasket, dispenser drawer, drum, and running a cleaning cycle. Each step plays a vital role in effectively removing odors and maintaining a clean and fresh washer.
In addition, we emphasized the importance of wiping down the exterior and implementing preventive measures to avoid future odors. Leaving the washer door open, regular cleaning, using the correct amount of detergent, and performing maintenance tasks are all key elements in preventing odor accumulation in your washer.
By following these guidelines and incorporating them into your laundry routine, you can enjoy a laundry room that smells clean and fresh, ensuring that your clothes come out odor-free and ready to wear.
Remember, regular maintenance and cleaning are essential for a well-functioning and odor-free washer. By investing a little time and effort into cleaning your washer, you can enjoy the benefits of a fresh and hygienic laundry experience for years to come.
Happy cleaning!
Frequently Asked Questions about How To Clean Washer Smell
Was this page helpful?
At Storables.com, we guarantee accurate and reliable information. Our content, validated by Expert Board Contributors, is crafted following stringent Editorial Policies. We're committed to providing you with well-researched, expert-backed insights for all your informational needs.


0 thoughts on “How To Clean Washer Smell”