Articles
How To Clean A Whirlpool Duet Washer
Modified: October 20, 2024
Learn the step-by-step process of cleaning your Whirlpool Duet washer in this comprehensive article. Discover expert tips and techniques to keep your washer in top condition.
(Many of the links in this article redirect to a specific reviewed product. Your purchase of these products through affiliate links helps to generate commission for Storables.com, at no extra cost. Learn more)
Introduction
Cleaning your Whirlpool Duet washer is an essential task that helps keep it running efficiently and smelling fresh. Over time, dirt, grime, and detergent residue can build up in various parts of the washer, which can affect its performance and lead to unpleasant odors. By following a few simple steps, you can ensure that your Whirlpool Duet washer stays clean and in optimal working condition.
In this article, we will guide you through the process of cleaning your Whirlpool Duet washer, from the exterior to the interior components. We will also provide you with valuable tips and safety precautions to ensure that you carry out the cleaning process effectively and without any mishaps.
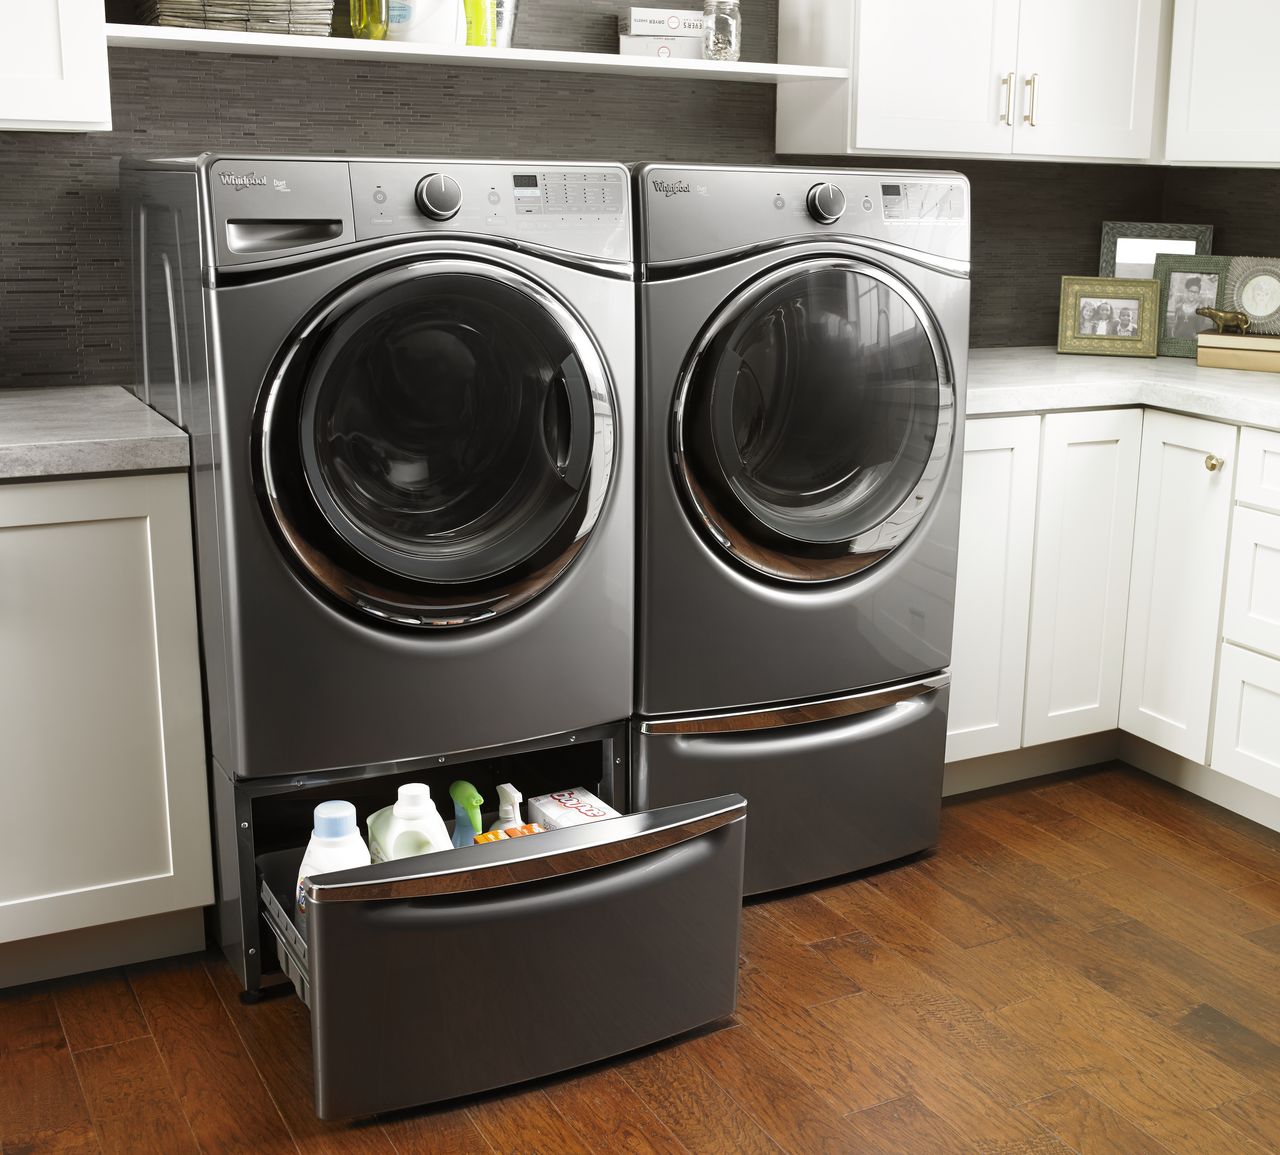
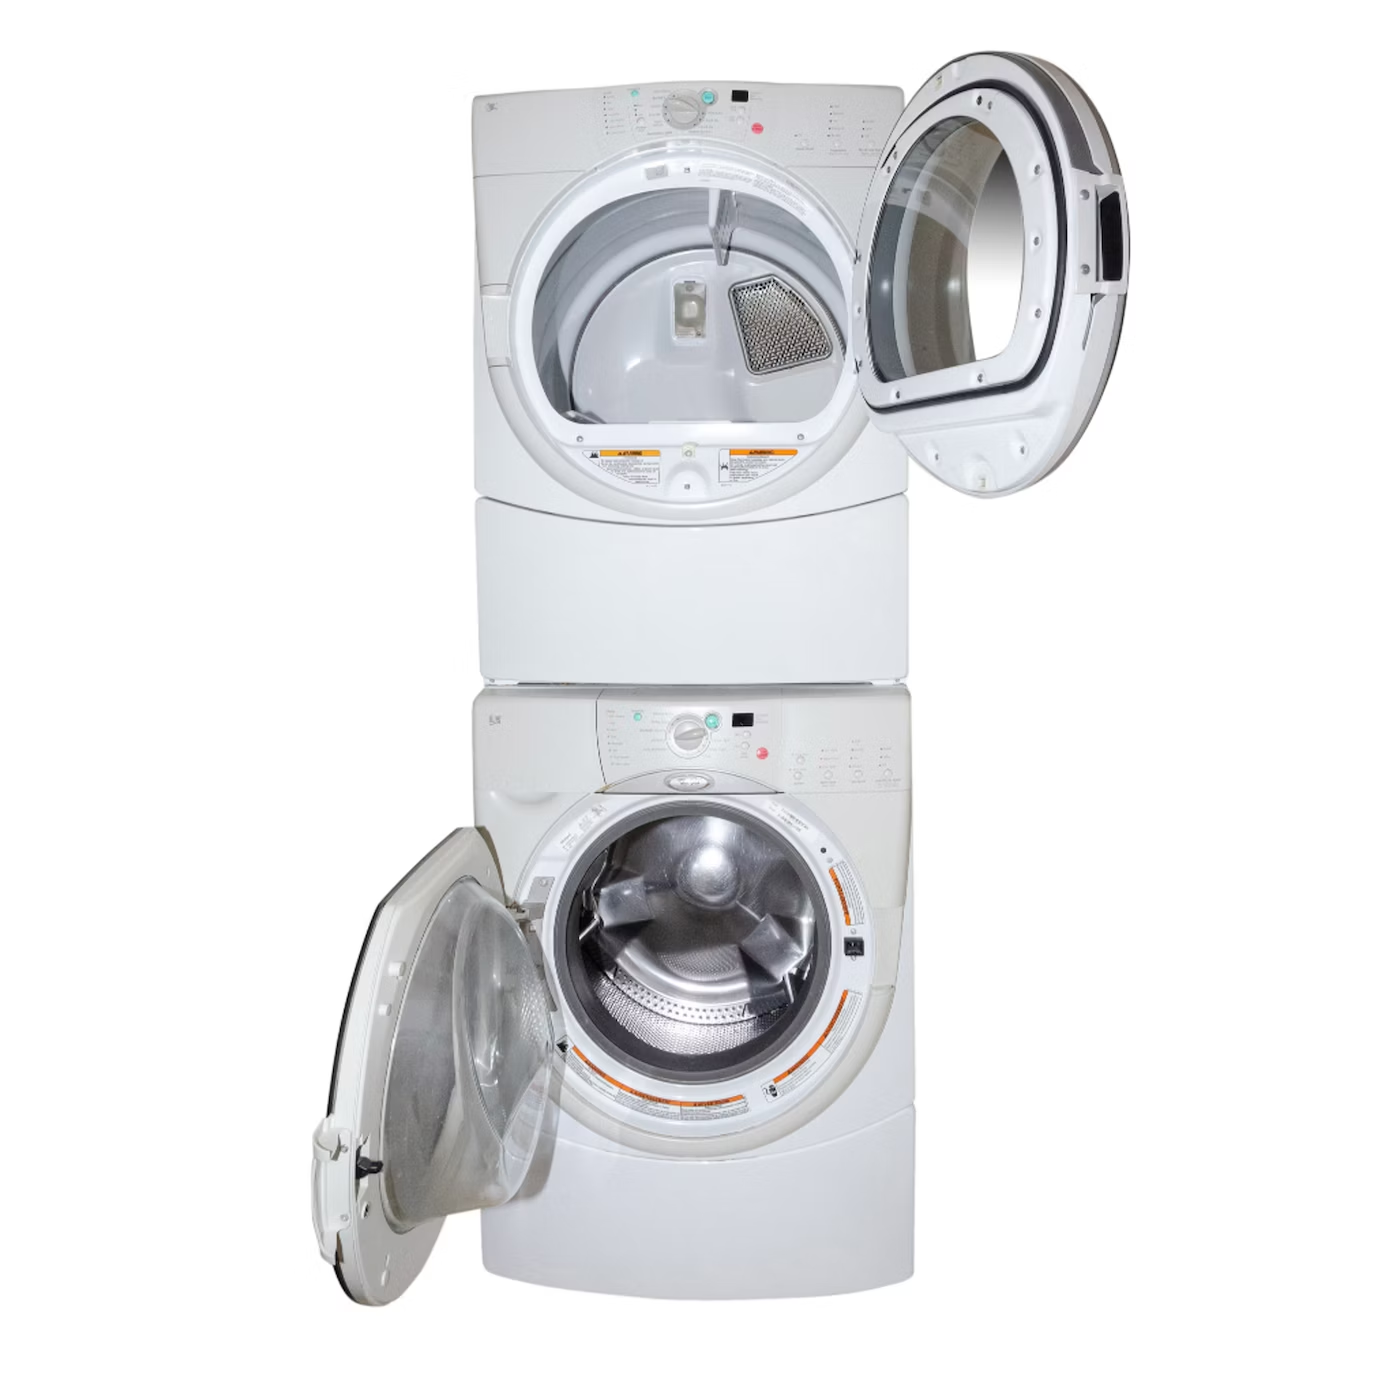
Before we begin, it’s important to note that these instructions are specifically for Whirlpool Duet front-loading washers. If you have a different model or type of washer, the cleaning steps may vary, so it’s always best to consult the manufacturer’s instructions or reach out to their customer support for guidance.
Now, let’s dive into the step-by-step process of cleaning your Whirlpool Duet washer and get it looking and smelling as good as new!
Key Takeaways:
- Regularly cleaning your Whirlpool Duet washer’s exterior, detergent dispenser, drum, filter, and hoses ensures optimal performance and prevents unpleasant odors, extending the lifespan of your machine.
- Prioritize safety by unplugging the washer, wearing protective gloves, and using appropriate cleaning solutions. Regular maintenance and cleaning will keep your Whirlpool Duet washer running efficiently and smelling fresh.
Read more: How To Reset A Whirlpool Duet Washer
Safety Precautions
Before you begin cleaning your Whirlpool Duet washer, it’s important to take some safety precautions to protect yourself and prevent any accidents or damage. Here are a few key safety measures to keep in mind:
- 1. Unplug the washer: Always start by unplugging the washer from the power source to avoid any electrical shocks or accidents.
- 2. Wear protective gloves: It’s a good idea to wear a pair of rubber gloves to protect your hands from any harsh chemicals or debris during the cleaning process.
- 3. Use designated cleaning products: Whirlpool recommends using their Affresh washer cleaner or a mild detergent to clean your washer. Avoid using harsh chemicals or abrasive cleaners as they can damage the machine.
- 4. Keep the area well-ventilated: Make sure to open windows or doors to allow proper ventilation while cleaning, especially if you’re using any cleaning agents with strong odors.
- 5. Avoid excessive moisture: When cleaning the interior components, make sure not to oversaturate them with water. Excessive moisture can lead to mildew or damage the machine’s electrical parts.
- 6. Follow the manufacturer’s instructions: While these general instructions will guide you through the process, it’s always important to refer to your Whirlpool Duet washer’s user manual for any specific cleaning guidelines or warnings.
By following these safety precautions, you can ensure a safe and effective cleaning process for your Whirlpool Duet washer. Now that we’ve covered the necessary safety measures, let’s move on to the tools and supplies you’ll need to get started.
Tools and Supplies Needed
Before you begin cleaning your Whirlpool Duet washer, make sure you have the following tools and supplies on hand:
- 1. Affresh washer cleaner or mild detergent: Whirlpool recommends using their Affresh washer cleaner or a mild detergent specifically designed for washing machines. These products help remove built-up residue and eliminate odors.
- 2. Rubber gloves: Protect your hands by wearing rubber gloves during the cleaning process.
- 3. Soft cloths or sponges: Use soft cloths or sponges to clean the exterior and interior components of the washer.
- 4. Scrub brush or toothbrush: A small scrub brush or toothbrush can be helpful for removing stubborn stains or grime from hard-to-reach areas.
- 5. Bucket or basin: Have a bucket or basin ready to hold water and cleaning solution.
- 6. Vinegar: White vinegar is a natural and effective cleaner that can help remove soap scum and mineral deposits from the washer.
- 7. Water: You’ll need water for rinsing and diluting cleaning solutions.
Having these tools and supplies readily available will make the cleaning process more efficient. Additionally, it’s a good practice to gather all the necessary items before you start cleaning to avoid interruptions or delays.
Now that you have everything you need, let’s move on to the step-by-step process of cleaning your Whirlpool Duet washer.
Step 1: Unplug the Washer
Before you begin cleaning your Whirlpool Duet washer, the first and most important step is to unplug it from the power source. This is crucial to ensure your safety during the cleaning process and to prevent any electrical accidents.
Locate the power cord at the back of the washer and gently unplug it from the wall socket. Make sure the washer is completely disconnected from any power source before proceeding to the next steps.
Unplugging the washer will not only protect you from electrical hazards but will also prevent any accidental activation of the machine while you’re cleaning it.
Once you have safely unplugged the washer, you can proceed to the next step of cleaning the exterior surfaces of the machine.
Note: If you find it difficult to reach the power cord, you may need to move the washer away from the wall or ask for assistance to ensure you can unplug it safely.
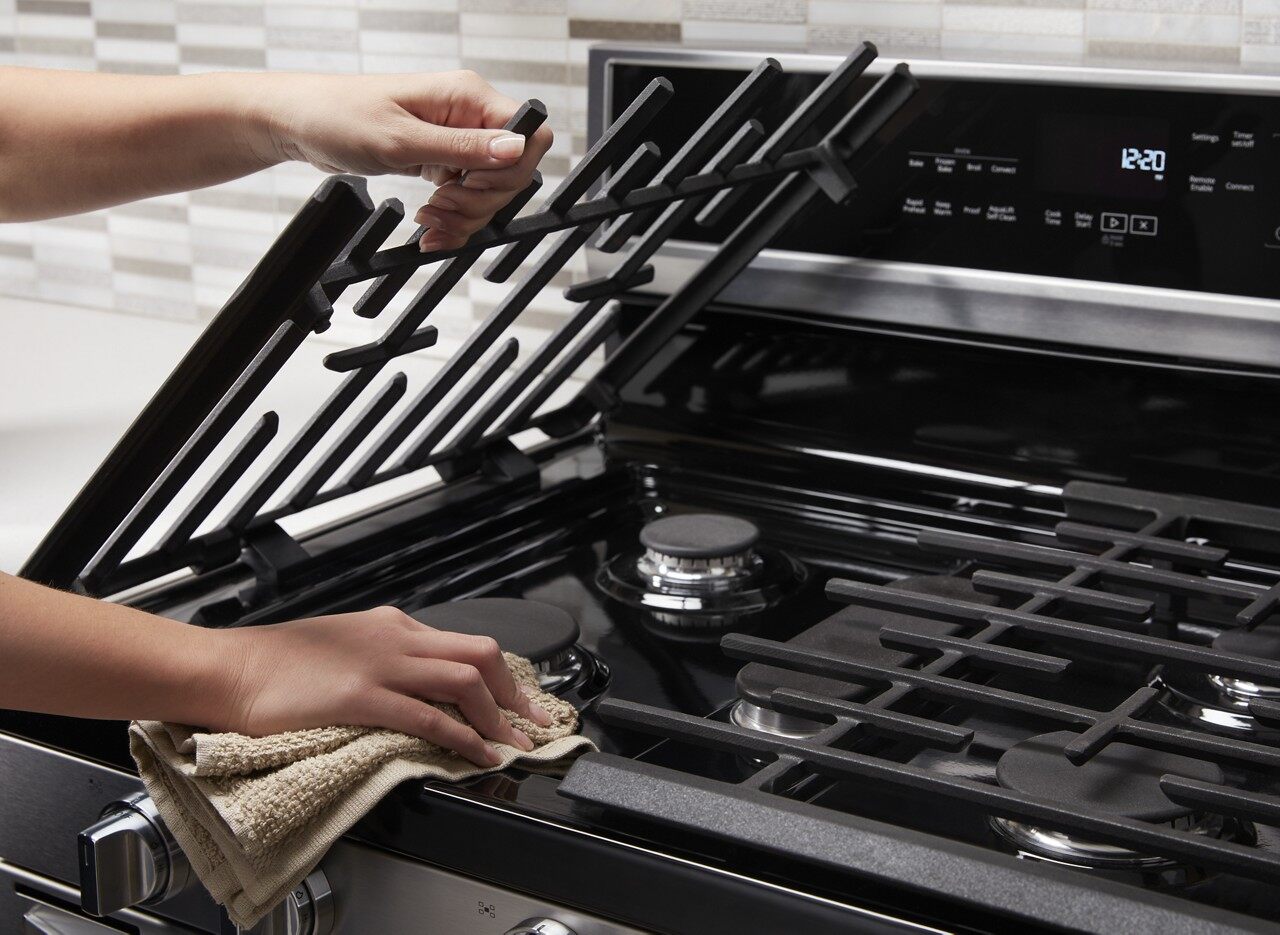
Step 2: Clean the Exterior
Now that the washer is unplugged, it’s time to clean the exterior surfaces. Over time, dust, dirt, and stains can accumulate on the outside of your Whirlpool Duet washer, so giving it a thorough cleaning will not only improve its appearance but also help maintain its overall cleanliness.
Here’s how you can clean the exterior of your Whirlpool Duet washer:
- Prepare a mixture of warm water and a mild detergent or a few drops of dish soap in a bucket or basin.
- Dip a soft cloth or sponge into the soapy water solution, wring out any excess liquid, and gently wipe down the exterior surfaces of the washer. Pay special attention to any visible stains or spills.
- If there are any stubborn stains or residue on the exterior, you can use a non-abrasive scrub brush or toothbrush to gently scrub the affected areas.
- Rinse the cloth or sponge with clean water and wipe away any soapy residue from the washer.
- For stainless steel surfaces, you can use a stainless steel cleaner or a mixture of equal parts vinegar and water to remove fingerprints and restore shine. Apply the cleaner or vinegar solution with a soft cloth and wipe in the direction of the grain.
- Once you’ve finished cleaning the exterior, use a dry cloth to wipe away any remaining moisture and give it a final polish.
It’s important to avoid using abrasive cleaners, bleach, or harsh chemicals as they can damage the surface of your washer. Stick to mild detergents and non-abrasive cleaning agents to ensure the longevity of your Whirlpool Duet washer.
By regularly cleaning the exterior of your washer, you can keep it looking sleek and clean. With the exterior taken care of, it’s time to move on to cleaning the detergent dispenser in the next step.
Step 3: Clean the Detergent Dispenser
The detergent dispenser in your Whirlpool Duet washer can accumulate residue from detergent, fabric softener, and other laundry products over time. Cleaning the dispenser is essential to ensure proper detergent distribution and prevent clogs or buildup that can affect the washer’s performance.
Follow these steps to clean the detergent dispenser:
- Remove the detergent dispenser drawer by pulling it out gently.
- Separate the different compartments of the drawer if possible.
- Fill a basin or sink with warm water and add a mild detergent.
- Place the detergent dispenser drawer and its components into the soapy water solution and let them soak for a few minutes.
- Use a soft brush or toothbrush to scrub away any residue or buildup from the compartments of the dispenser. Pay close attention to any small holes or nozzles where detergent flows.
- Rinse the dispenser drawer and its components thoroughly with clean water to remove any soap or debris.
- Wipe down the exterior of the dispenser drawer with a clean cloth dampened with water.
- Allow the dispenser drawer and its components to air dry completely before reinserting them into the washer.
Cleaning the detergent dispenser regularly will help maintain its functionality and prevent any clogs that could affect the washing performance. Now that you’ve cleaned the dispenser, it’s time to move on to the next step: cleaning the drum and seal of the washer.
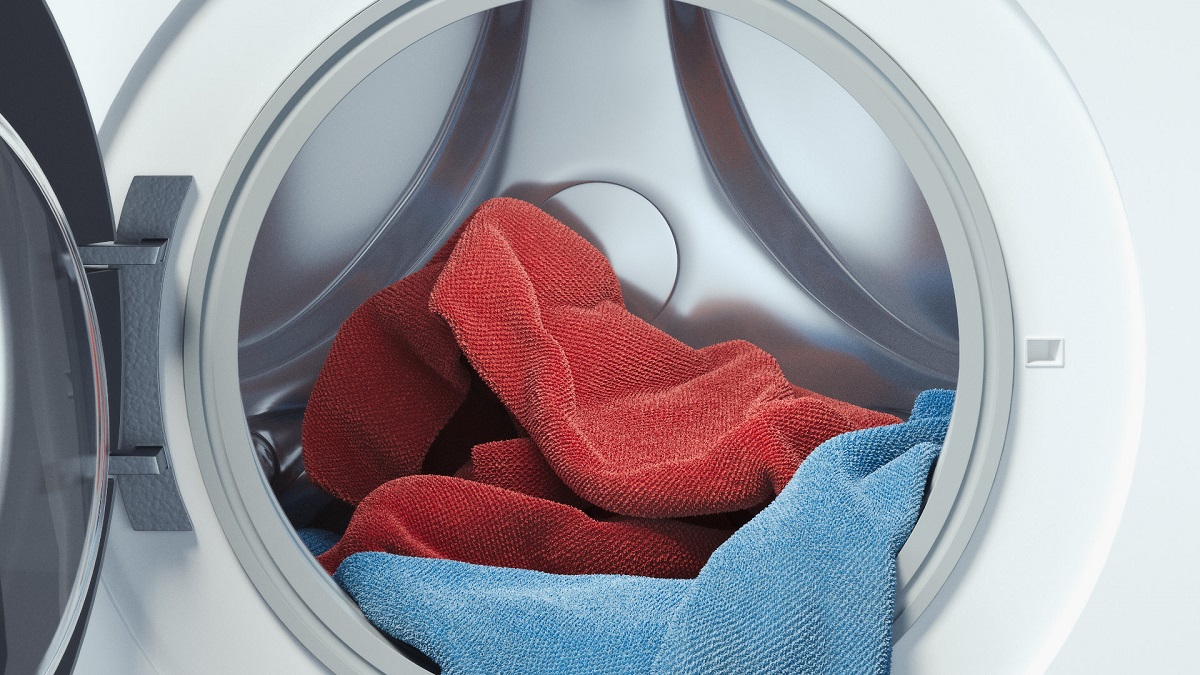
Step 4: Clean the Drum and Seal
The drum and seal of your Whirlpool Duet washer can accumulate dirt, grime, and residue from laundry products over time. Cleaning these components is essential to keep your washer running efficiently and to prevent any unpleasant odors. Here’s how you can clean the drum and seal:
- Prepare a cleaning solution by mixing equal parts of water and white vinegar in a spray bottle.
- Spray the vinegar and water mixture directly onto a soft cloth or sponge. Alternatively, you can spray it directly into the drum.
- Wipe down the drum and seal with the vinegar-soaked cloth or sponge. Pay close attention to any visible stains or spots.
- If there are stubborn stains or residue, you can use a non-abrasive scrub brush or toothbrush to gently scrub the affected areas.
- After scrubbing, wipe down the drum and seal with a clean, damp cloth to remove any vinegar residue.
- To prevent mildew or mold growth, leave the door or lid of the washer open for a few hours to allow air circulation and drying.
Regularly cleaning the drum and seal not only helps maintain the cleanliness of your washer but also ensures optimal washing performance. Additionally, using white vinegar as a cleaning agent can help remove any odors caused by bacteria or mildew.
With the drum and seal cleaned, it’s time to move on to the next step: cleaning the filter of the washer.
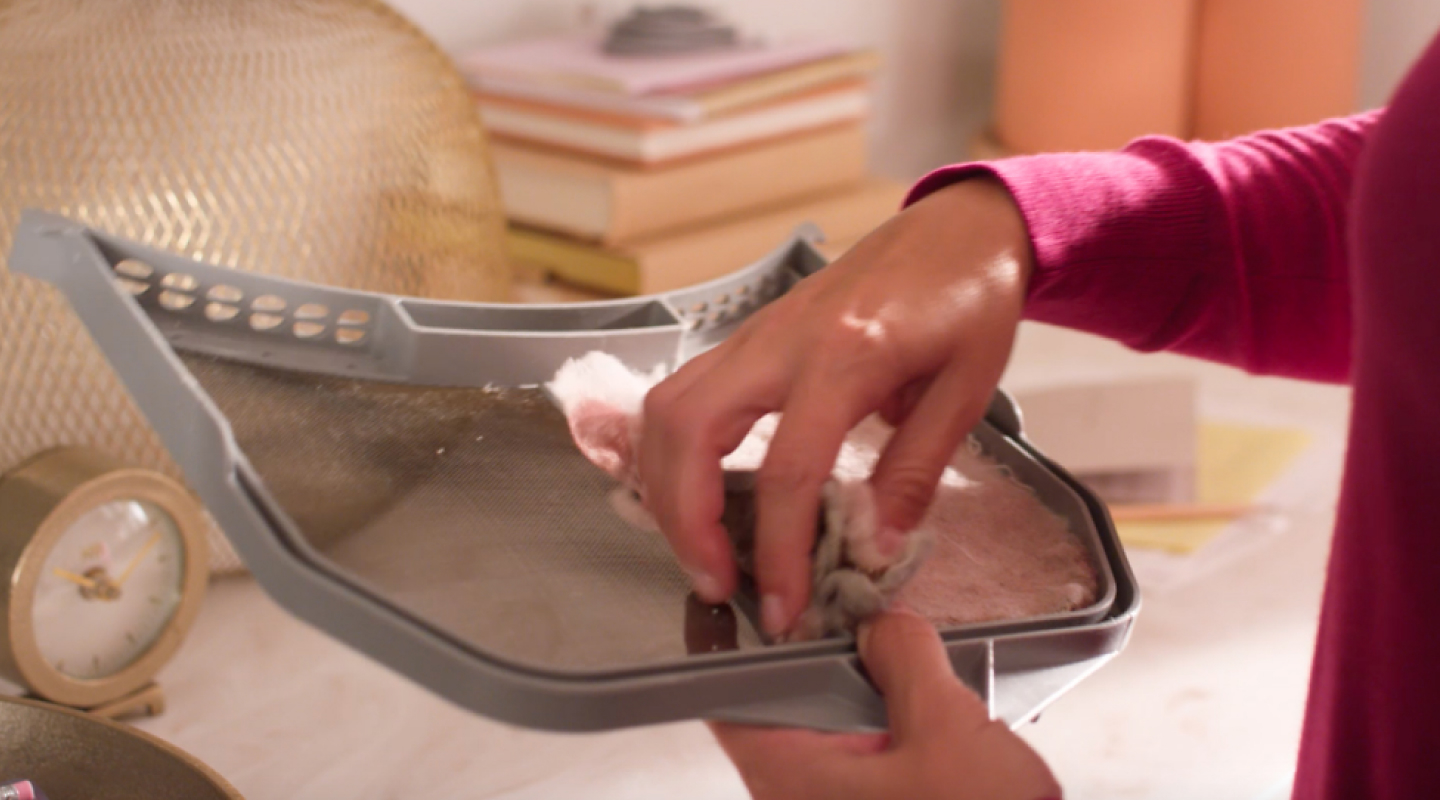
Step 5: Clean the Filter
The filter in your Whirlpool Duet washer plays a crucial role in trapping lint, debris, and small objects that may have been left in your laundry. It is important to clean the filter regularly to maintain the washer’s performance and prevent any blockages. Here’s how you can clean the filter:
- Locate the filter. In most Whirlpool Duet washers, the filter is located at the front, near the bottom of the machine. Consult your owner’s manual if you’re unsure of its location.
- Place a towel or small basin beneath the filter to catch any water or debris that may come out.
- Turn the filter counterclockwise to remove it. Be prepared for water or residual detergent to drain out.
- Inspect the filter for any clogs, lint, or debris. Use a soft brush or toothbrush to gently remove any buildup.
- Rinse the filter under running water to ensure it is clean and free from any residue.
- Once the filter is clean, reinsert it back into the washer. Make sure it is securely tightened in a clockwise direction.
Regularly cleaning the filter will help keep your Whirlpool Duet washer running efficiently and prevent any issues with draining or water flow. It is recommended to clean the filter at least once a month or more frequently if needed, depending on the amount of laundry you do.
Now that the filter is clean, let’s move on to the next step: cleaning the drain hose.
To clean a Whirlpool Duet washer, run a cleaning cycle with hot water and a cup of white vinegar to remove any built-up residue and odors. Wipe down the door seal and detergent dispenser regularly to prevent mold and mildew.
Step 6: Clean the Drain Hose
The drain hose in your Whirlpool Duet washer is responsible for removing dirty water from the machine during the rinse and drain cycles. Over time, this hose can become clogged with lint, debris, or other obstructions, resulting in poor drainage and potential issues with your washer. Cleaning the drain hose regularly will help maintain its efficiency and ensure smooth operation. Here’s how you can clean the drain hose:
- Locate the drain hose at the back of your washer. It is typically connected to a drain pipe or laundry sink.
- Check for any visible debris or blockages within the drain hose. Use a flashlight if needed to get a better view.
- If you notice any obstructions, gently remove them using a long brush or a flexible pipe cleaner. Make sure to avoid pushing the debris further into the hose.
- Next, detach the drain hose from the drain pipe or sink. Place a towel or basin beneath it to catch any water that may spill out.
- Run water through the drain hose to flush out any remaining debris. You can use a garden hose or place the end of the drain hose in a large bucket filled with water.
- Inspect the drain hose carefully for any signs of damage or wear. If you notice any cracks or leaks, it may be best to replace the hose.
- Once the drain hose is clean and free from obstructions, reattach it securely to the drain pipe or sink.
Cleaning the drain hose periodically will help prevent clogs and ensure proper drainage, allowing your Whirlpool Duet washer to operate efficiently. If you continue to experience drainage issues after cleaning the hose, it may be necessary to check for blockages in the plumbing system or consult a professional plumber.
Now that the drain hose is clean, let’s move on to the next step: cleaning the pump filter.
Read more: How To Clean Whirlpool Washer Filter
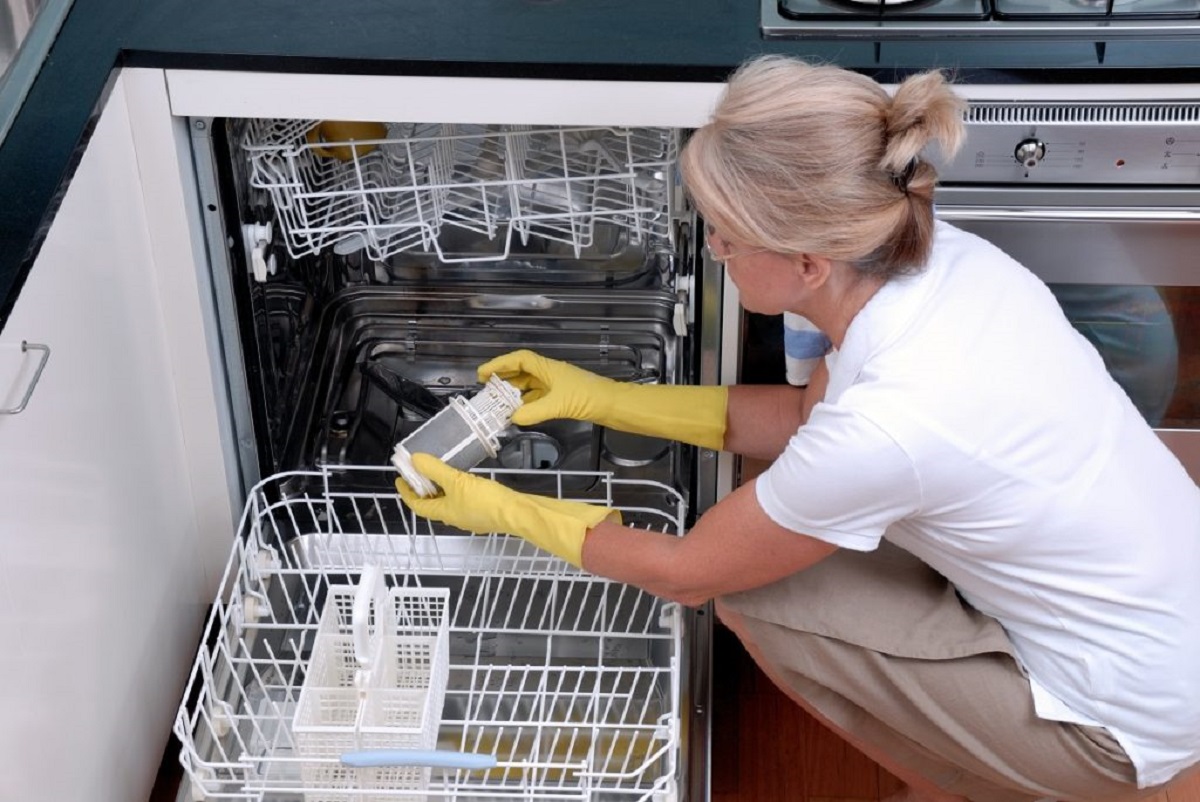
Step 7: Clean the Pump Filter
The pump filter in your Whirlpool Duet washer plays a crucial role in removing any large objects, coins, or debris that may have been accidentally left in your laundry. Cleaning the pump filter regularly is essential to prevent clogs and maintain the efficiency of your washer. Here’s how you can clean the pump filter:
- Locate the pump filter. In most Whirlpool Duet washers, it is located at the front, near the bottom of the machine. Refer to your owner’s manual if you’re unsure of its location.
- Place a towel or small basin beneath the pump filter to catch any water that may spill out.
- Use a coin or a flat-head screwdriver to rotate the pump filter counterclockwise and remove it. Be prepared for water to drain out.
- Inspect the pump filter for any debris or objects. Remove any visible items and discard them.
- Rinse the pump filter under running water to remove any remaining debris.
- While the pump filter is removed, check inside the pump housing for any additional debris or obstructions. Use a flashlight if needed.
- Once the pump filter and pump housing are clean, reinsert the filter and tighten it securely in a clockwise direction.
Regularly cleaning the pump filter will help prevent clogs and keep your Whirlpool Duet washer running smoothly. It is recommended to clean the pump filter every few months or as needed, depending on your laundry habits and the amount of debris that may accumulate in the filter.
Now that the pump filter is clean, let’s move on to the next step: cleaning the door seal.
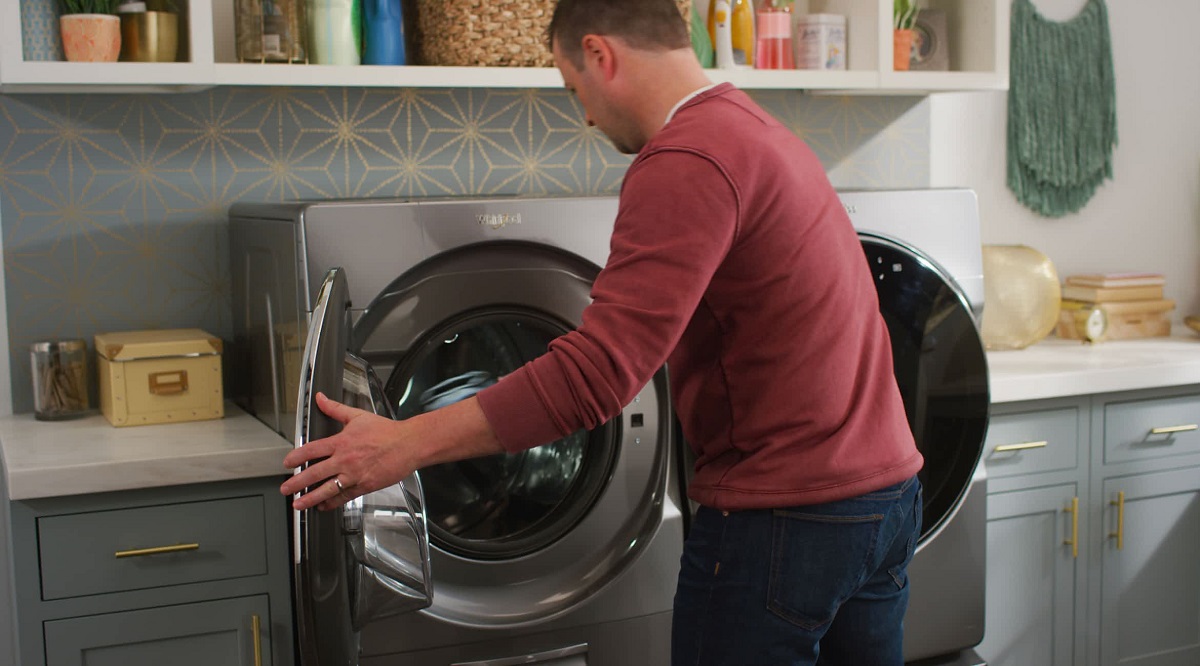
Step 8: Clean the Door Seal
The door seal of your Whirlpool Duet washer, also known as the gasket, can trap moisture, dirt, and detergent residue over time. Cleaning the door seal is crucial to prevent mold or mildew growth and keep your washer smelling fresh. Here’s how you can clean the door seal:
- Inspect the door seal for any visible debris, mold, or mildew. Pay close attention to any folds or crevices.
- Prepare a cleaning solution by mixing equal parts of water and white vinegar in a spray bottle.
- Spray the vinegar and water mixture directly onto a soft cloth or sponge.
- Gently wipe down the door seal, making sure to reach into the folds and crevices. Use a toothbrush if needed for harder-to-reach areas.
- If there are stubborn stains or mold growth, you can create a paste by mixing baking soda with water. Apply the paste to the affected areas and let it sit for a few minutes before scrubbing.
- Rinse the door seal with a clean, damp cloth to remove any vinegar or baking soda residue.
- Once the door seal is clean, use a dry cloth to wipe away any remaining moisture.
- Leave the washing machine door open for a few hours to allow air circulation and ensure the door seal is completely dry.
Regularly cleaning the door seal will prevent any buildup of mold or mildew, ensuring a fresh and clean-smelling washer. It is recommended to clean the door seal every few weeks or as needed, depending on the level of moisture and dirt present.
With the door seal clean, let’s move on to the next step: cleaning the control panel.
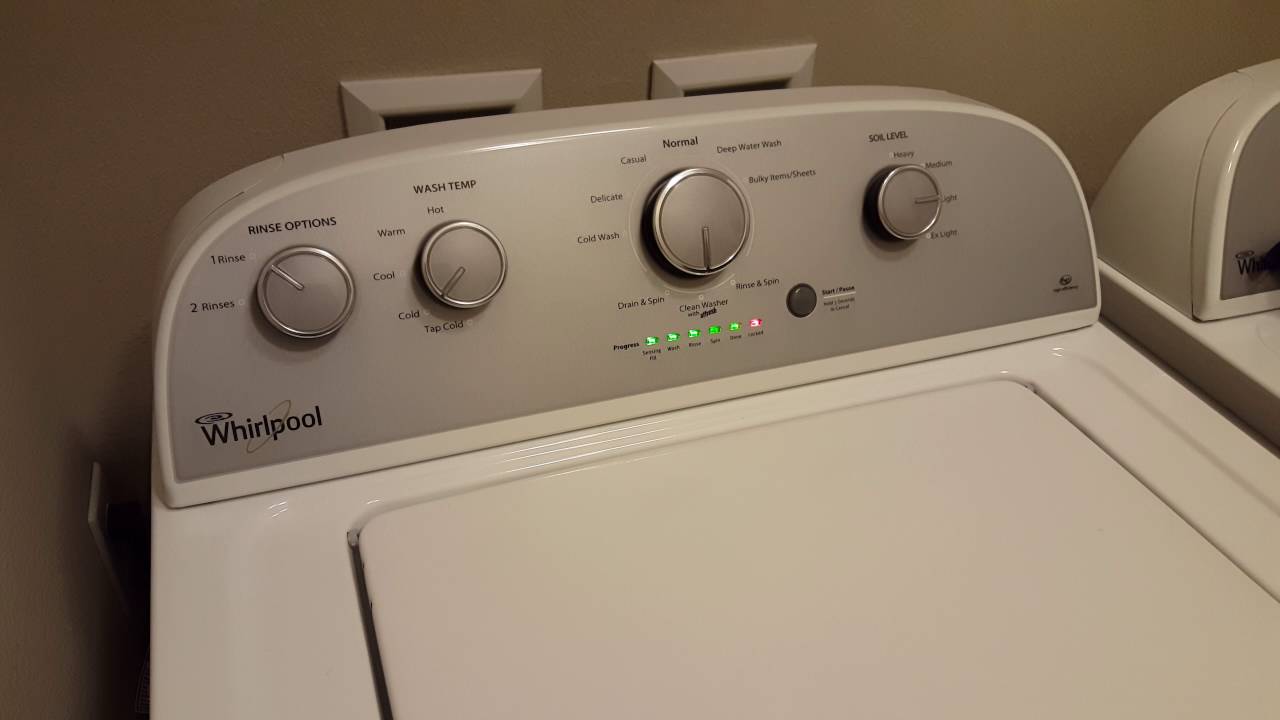
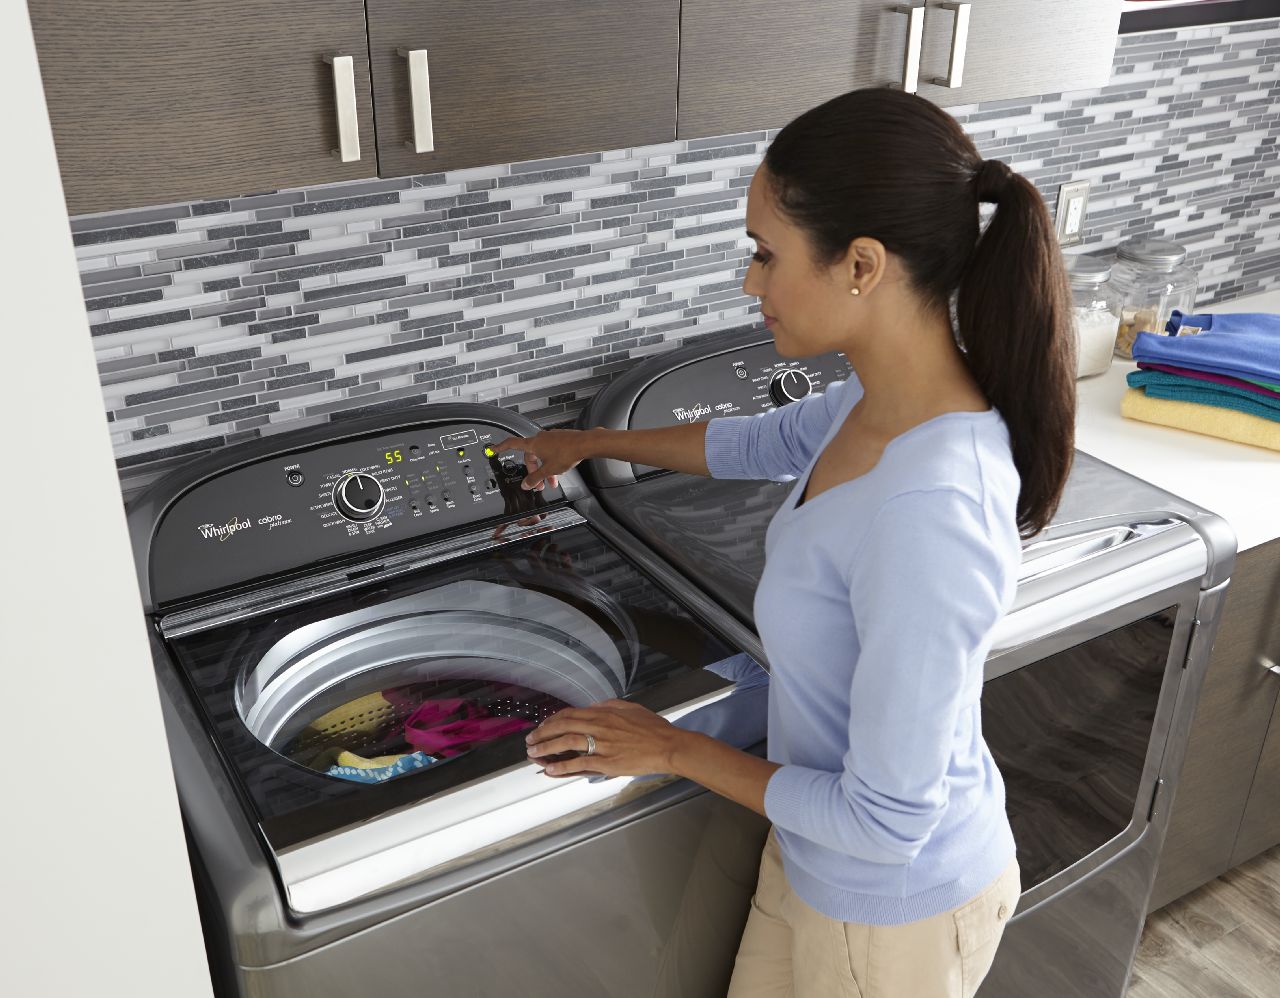
Step 9: Clean the Control Panel
The control panel of your Whirlpool Duet washer can accumulate dust, fingerprints, and spills over time. Cleaning the control panel is essential to maintain its functionality and keep your washer looking clean and presentable. Here’s how you can clean the control panel:
- Ensure that the washer is unplugged from the power source to avoid any electrical accidents.
- Take a soft cloth or sponge and dampen it with water. Wring out any excess water to avoid dripping.
- Gently wipe down the control panel, being careful not to apply excessive pressure or get any liquid into the control buttons or display.
- If there are stubborn stains or sticky residue, you can use a mild detergent or glass cleaner. Apply a small amount to the cloth and carefully wipe the affected areas.
- Make sure to wipe away any cleaning solution residue with a clean, damp cloth to avoid leaving streaks.
- For touch screens or sensitive control panels, it’s best to use a microfiber cloth to avoid scratching the surface.
- Allow the control panel to air dry completely before plugging the washer back in and using it.
Regularly cleaning the control panel will ensure smooth operation and help prevent any issues caused by buildup or dirt. It’s recommended to clean the control panel every few weeks or as needed, depending on how often the washer is used and the level of dirt or spills present.
With the control panel clean, let’s move on to the next step: cleaning the inlet hoses.
Step 10: Clean the Inlet Hoses
The inlet hoses in your Whirlpool Duet washer are responsible for bringing in hot and cold water for the wash cycles. Over time, sediment, minerals, and debris can accumulate in these hoses, leading to decreased water flow and potential issues with your washer. Cleaning the inlet hoses periodically is important to ensure optimal performance. Here’s how you can clean the inlet hoses:
- Turn off the hot and cold water supply valves connected to the washer. These valves are typically located near the water pipes in your laundry room.
- Disconnect the inlet hoses from the washer by unscrewing them counterclockwise.
- Place the disconnected hoses in a basin or sink filled with a mixture of warm water and a mild detergent.
- Let the hoses soak in the soapy water solution for about 15-20 minutes to loosen any built-up residue.
- Use a brush with soft bristles or a cloth to scrub the inner surfaces of the hoses, removing any sediment or debris.
- Rinse the hoses thoroughly with clean water to remove any soap residue.
- Inspect both the hoses and the rubber washers for any signs of damage or wear. If necessary, replace worn washers or damaged hoses with new ones.
- Reconnect the inlet hoses to the appropriate hot and cold water supply valves on the washer. Ensure that they are securely tightened in a clockwise direction.
- Turn on the water supply valves and check for leaks. Tighten any connections as needed.
Regularly cleaning the inlet hoses will help maintain proper water flow and prevent blockages that can affect your Whirlpool Duet washer. It’s recommended to clean the hoses every few months or more frequently if you notice a decrease in water flow or if you live in an area with hard water that may contribute to mineral buildup.
With the inlet hoses cleaned, let’s move on to the final step: reassembling the washer and plugging it back in.
Step 11: Reassemble and Plug in the Washer
After thoroughly cleaning the various components of your Whirlpool Duet washer, it’s time to reassemble everything and plug it back in. Follow these steps to complete the cleaning process:
- Make sure all the cleaned components, such as the detergent dispenser, drum seal, filter, drain hose, and pump filter, have been properly reinstalled according to the manufacturer’s instructions.
- Double-check that all connections are secure and tightened, including the inlet hoses and control panel.
- Ensure that the washer is properly aligned and level to prevent any issues during operation.
- Plug the power cord back into a grounded electrical outlet.
- Turn on the hot and cold water supply valves, and check for any leaks around the inlet hoses.
- Close the washer’s door or lid, making sure it is fully sealed.
- With everything reassembled and connected, you are now ready to start using your Whirlpool Duet washer once again.
Congratulations! You have successfully completed the cleaning process for your Whirlpool Duet washer. By regularly performing these cleaning steps, you can maintain the efficiency, functionality, and longevity of your washer while ensuring clean and fresh laundry.
Remember to consult your washer’s user manual or reach out to Whirlpool’s customer support if you have any specific cleaning recommendations or concerns related to your particular model. Happy washing!
If you have any HTML questions, feel free to ask. I’m here to help!
Conclusion
Cleaning your Whirlpool Duet washer is a necessary task to maintain its performance, efficiency, and overall cleanliness. By following the step-by-step guide outlined in this article, you can ensure that your washer continues to operate smoothly and efficiently, while also keeping it looking and smelling fresh.
Throughout the cleaning process, we covered important steps such as unplugging the washer, cleaning the exterior surfaces, detergent dispenser, drum and seal, filter, drain hose, pump filter, door seal, control panel, and inlet hoses. Each of these components requires regular cleaning to prevent buildup, blockages, and potential issues.
Remember to always prioritize safety by wearing protective gloves, using appropriate cleaning solutions, and following the manufacturer’s instructions. Unplugging the washer before cleaning is crucial to avoid any electrical accidents.
Regular maintenance and cleaning of your Whirlpool Duet washer will not only help it run efficiently but also extend its lifespan. By removing dirt, grime, and residue, you can prevent mold, mildew, and unpleasant odors, ensuring that your laundry comes out fresh and clean.
Refer to your washer’s user manual or contact Whirlpool’s customer support for any specific cleaning recommendations or concerns regarding your particular model.
Now it’s time to put these cleaning steps into action and enjoy the benefits of a well-maintained Whirlpool Duet washer. Happy cleaning!
If you have any HTML questions or need further assistance, feel free to reach out. I’m here to help!
Frequently Asked Questions about How To Clean A Whirlpool Duet Washer
Was this page helpful?
At Storables.com, we guarantee accurate and reliable information. Our content, validated by Expert Board Contributors, is crafted following stringent Editorial Policies. We're committed to providing you with well-researched, expert-backed insights for all your informational needs.

0 thoughts on “How To Clean A Whirlpool Duet Washer”