Articles
How To Cook Bulgur In Rice Cooker
Modified: August 25, 2024
Learn how to cook bulgur in a rice cooker with this informative article. Discover helpful tips and techniques for delicious results.
(Many of the links in this article redirect to a specific reviewed product. Your purchase of these products through affiliate links helps to generate commission for Storables.com, at no extra cost. Learn more)
Introduction
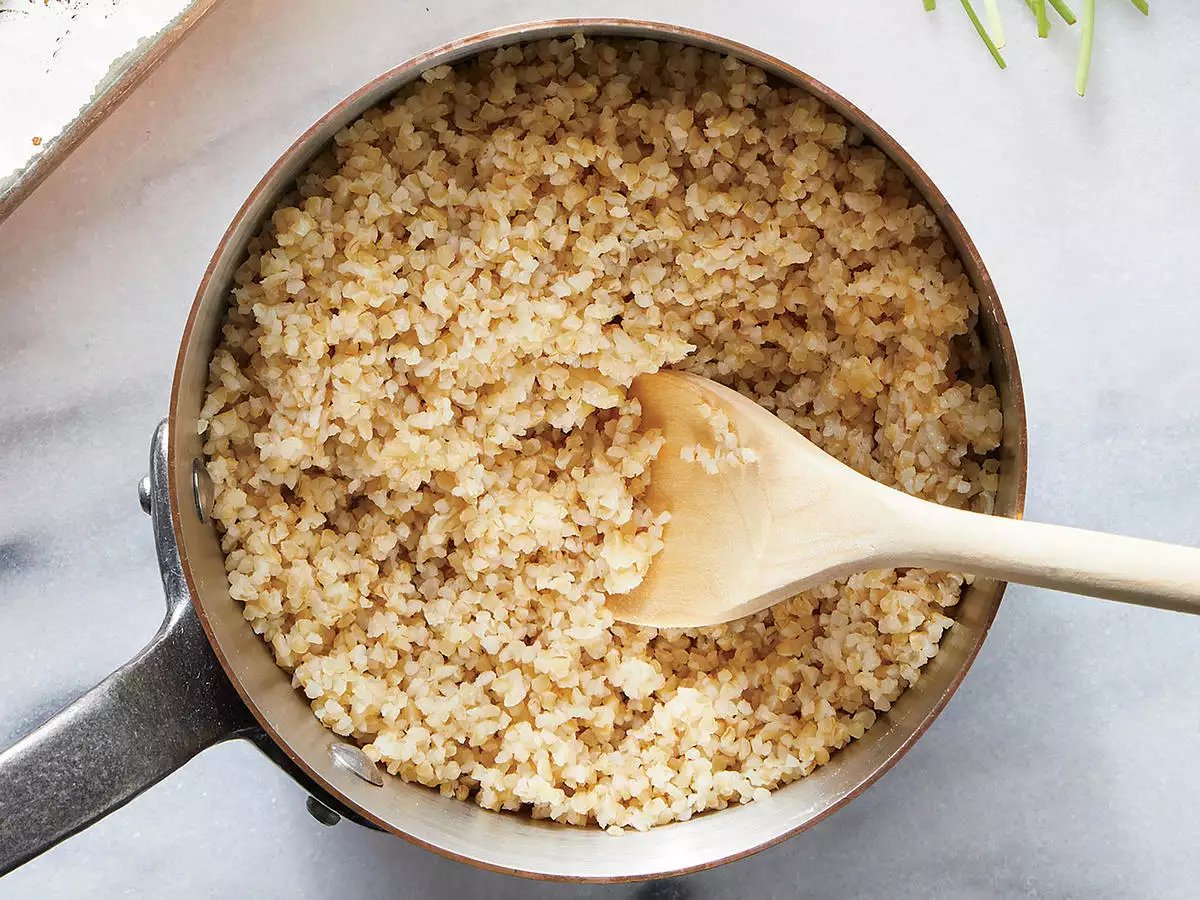
Bulgur is a nutritious and versatile grain that has been a staple in Middle Eastern and Mediterranean cuisine for centuries. Made from cracked whole wheat kernels that have been parboiled and dried, bulgur is rich in fiber, protein, and essential nutrients. It is a popular ingredient in dishes like pilafs, salads, and soups.
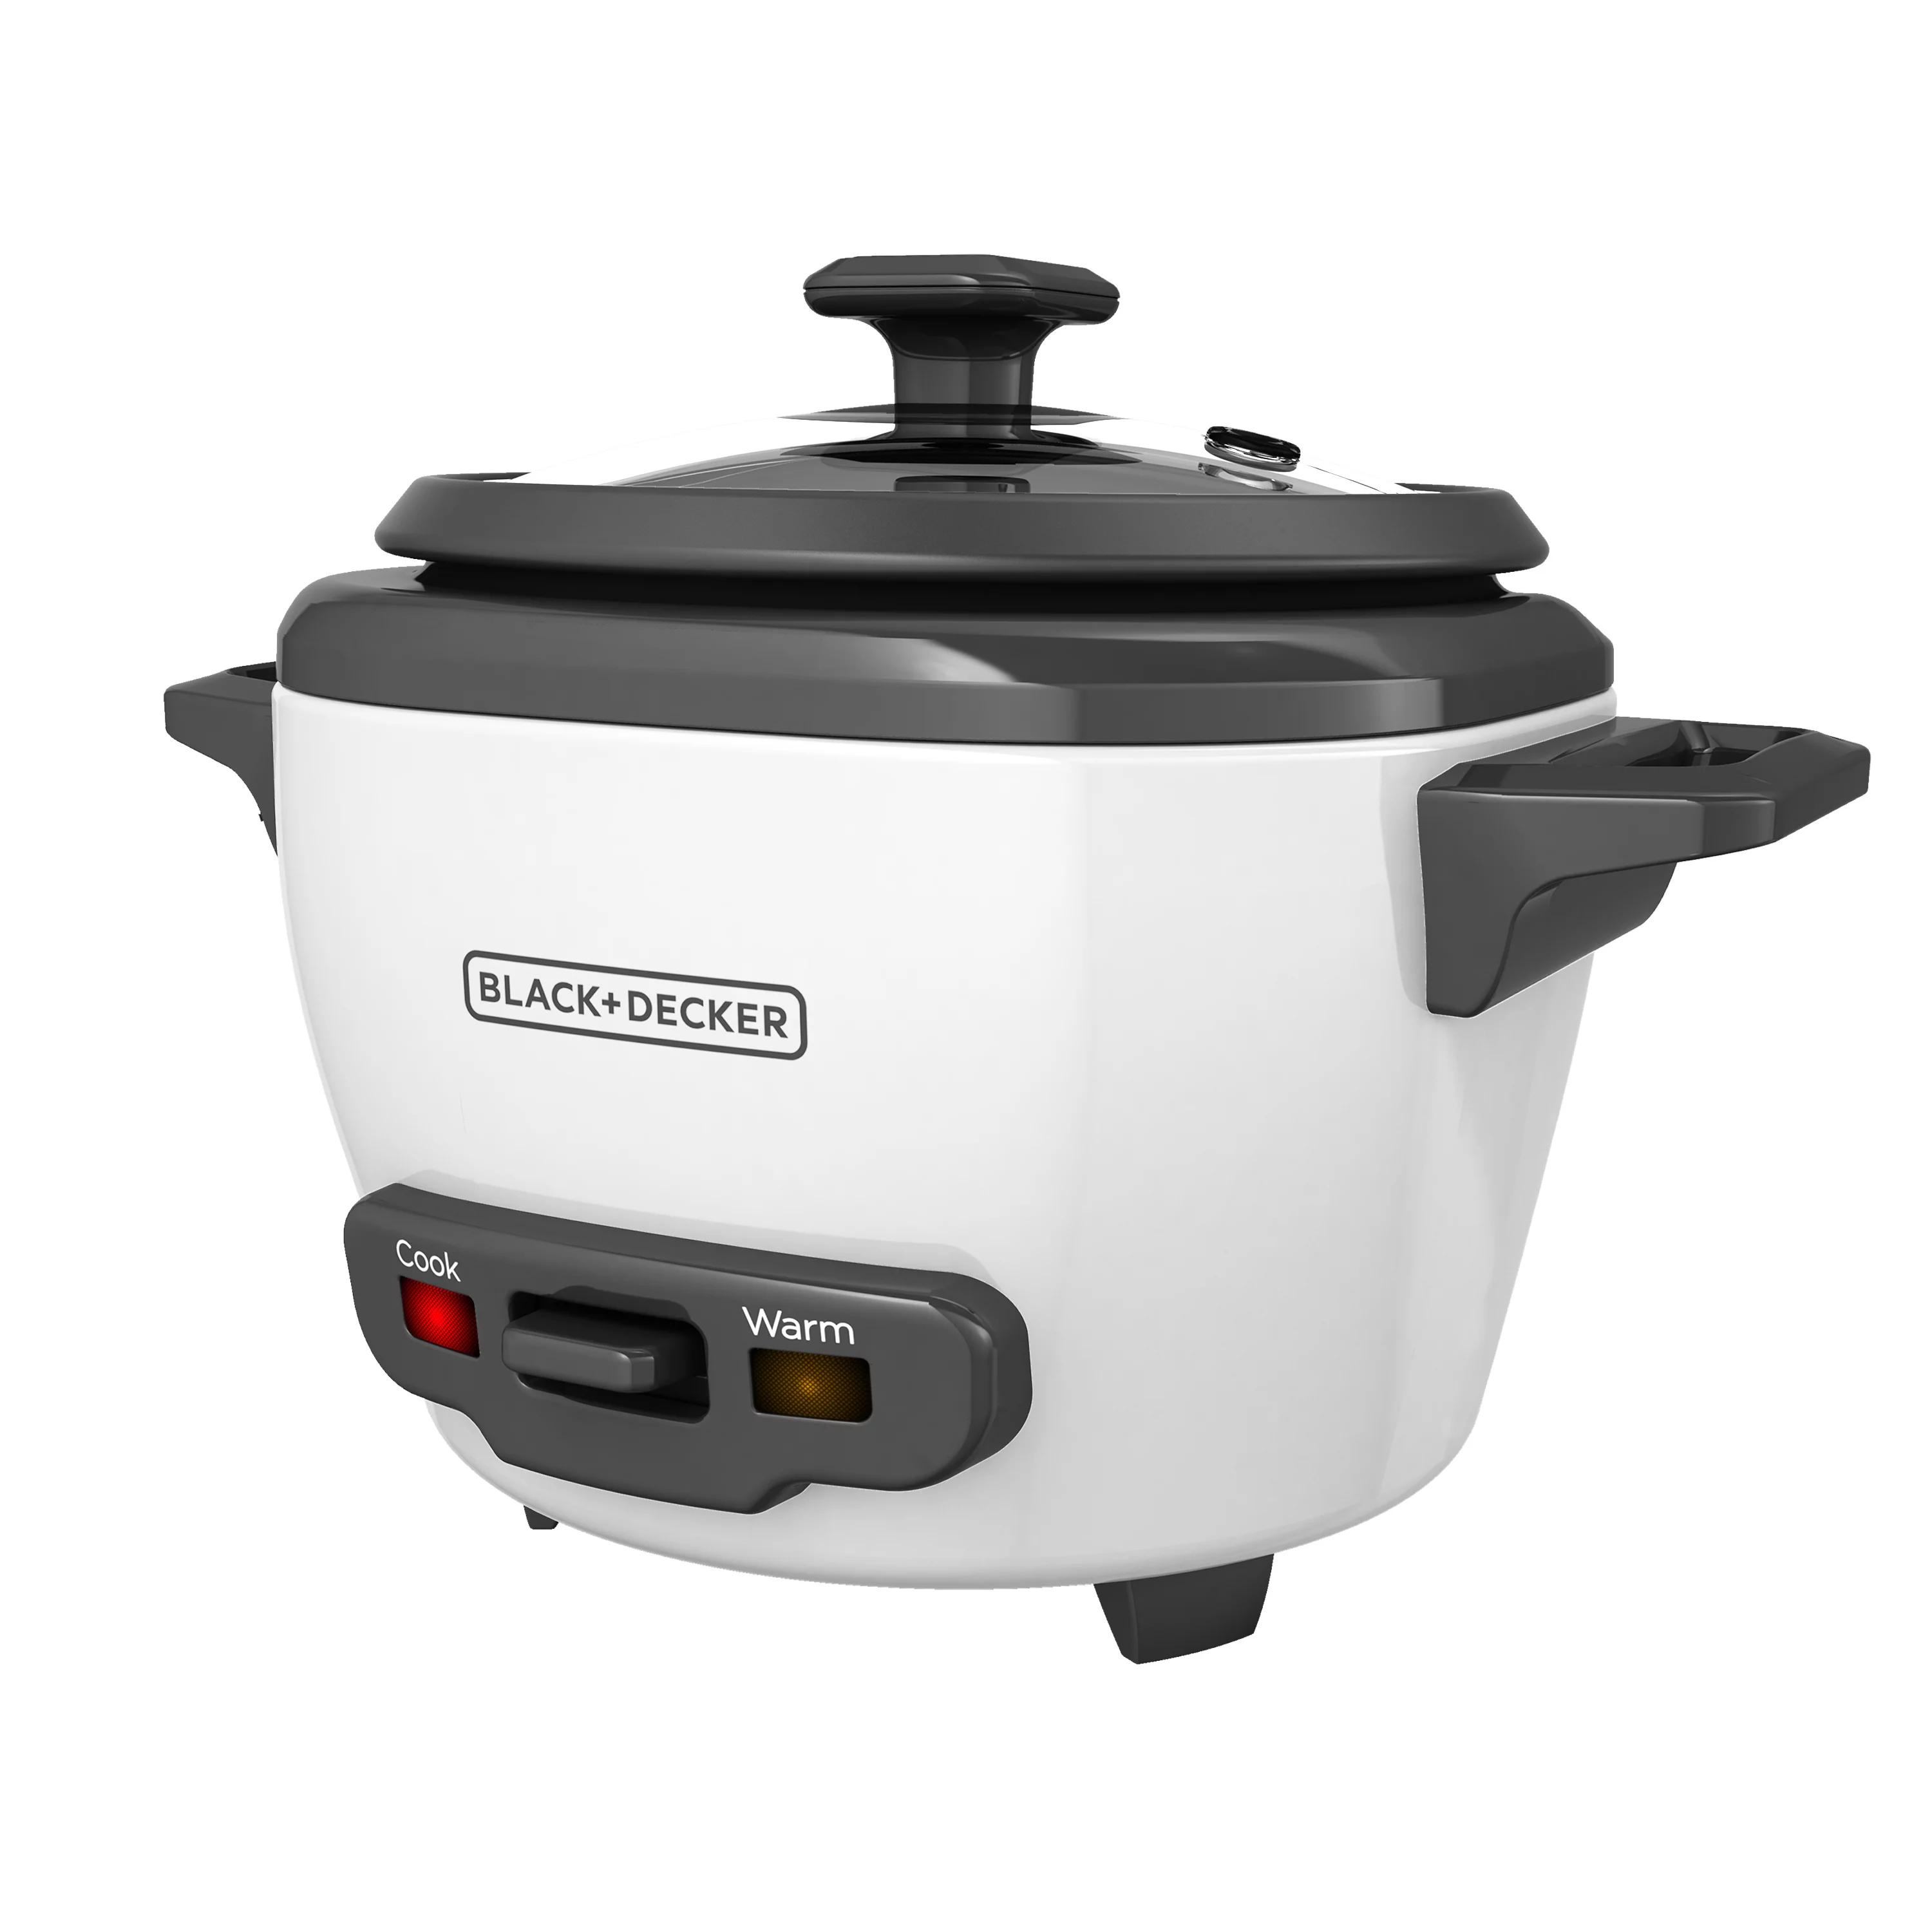
Traditionally, bulgur is cooked on the stovetop using the absorption method, which requires constant monitoring and stirring to ensure that the grains are cooked evenly. However, cooking bulgur in a rice cooker can be a convenient and foolproof alternative. The rice cooker provides a consistent heat source and automatically switches to the “keep warm” setting once the bulgur is cooked, eliminating the need for constant supervision.
In this article, we will explore the benefits of cooking bulgur in a rice cooker and provide you with a step-by-step guide to prepare perfectly cooked bulgur every time. So, grab your rice cooker and let’s get started!
Key Takeaways:
- Cooking bulgur in a rice cooker offers convenience, consistent results, and time-saving benefits. The versatile appliance ensures perfectly cooked grains without the need for constant monitoring, making meal preparation effortless and efficient.
- Selecting the right bulgur, proper preparation, and utilizing the rice cooker’s features are essential for successful bulgur cooking. With the right techniques and creativity, you can enjoy flavorful and nutritious meals with ease.
Read more: How Much Rice For Rice Cooker
Benefits of Cooking Bulgur in a Rice Cooker
There are several advantages to cooking bulgur in a rice cooker:
- Convenience: Using a rice cooker to cook bulgur is incredibly convenient. Once you set it up, you can walk away and attend to other tasks while the cooker does the work. You don’t have to constantly check and stir like you would when cooking on the stovetop.
- Consistent results: Rice cookers are designed to provide even heat distribution, ensuring that every grain of bulgur is cooked to perfection. This eliminates the risk of overcooking or undercooking the grains.
- Time-saving: Cooking bulgur in a rice cooker is a time-saving method. While it may take a little longer than cooking on the stovetop, it frees up your hands and allows you to multitask.
- No sticking or burning: Rice cookers are equipped with a non-stick inner pot, preventing the bulgur from sticking or burning. This makes cleaning up a breeze.
- Keeps warm until ready to serve: Once the bulgur is cooked, the rice cooker automatically switches to the “keep warm” setting, ensuring that the bulgur stays warm and ready to serve whenever you are.
- Versatility: While rice cookers are mainly designed for cooking rice, they can also be used to cook other grains like bulgur. This versatility makes it a worthwhile investment for those who enjoy a variety of grain-based dishes.
By utilizing a rice cooker to cook bulgur, you can enjoy all these benefits and effortlessly prepare flavorful and nutritious meals without the hassle of stovetop cooking.
Step 1: Choosing the Right Bulgur
When cooking bulgur in a rice cooker, it’s important to select the right type of bulgur for your dish. Bulgur is available in various grain sizes, ranging from fine to coarse. The grain size you choose depends on the texture and cooking time you desire.
Here are some considerations when choosing the right bulgur:
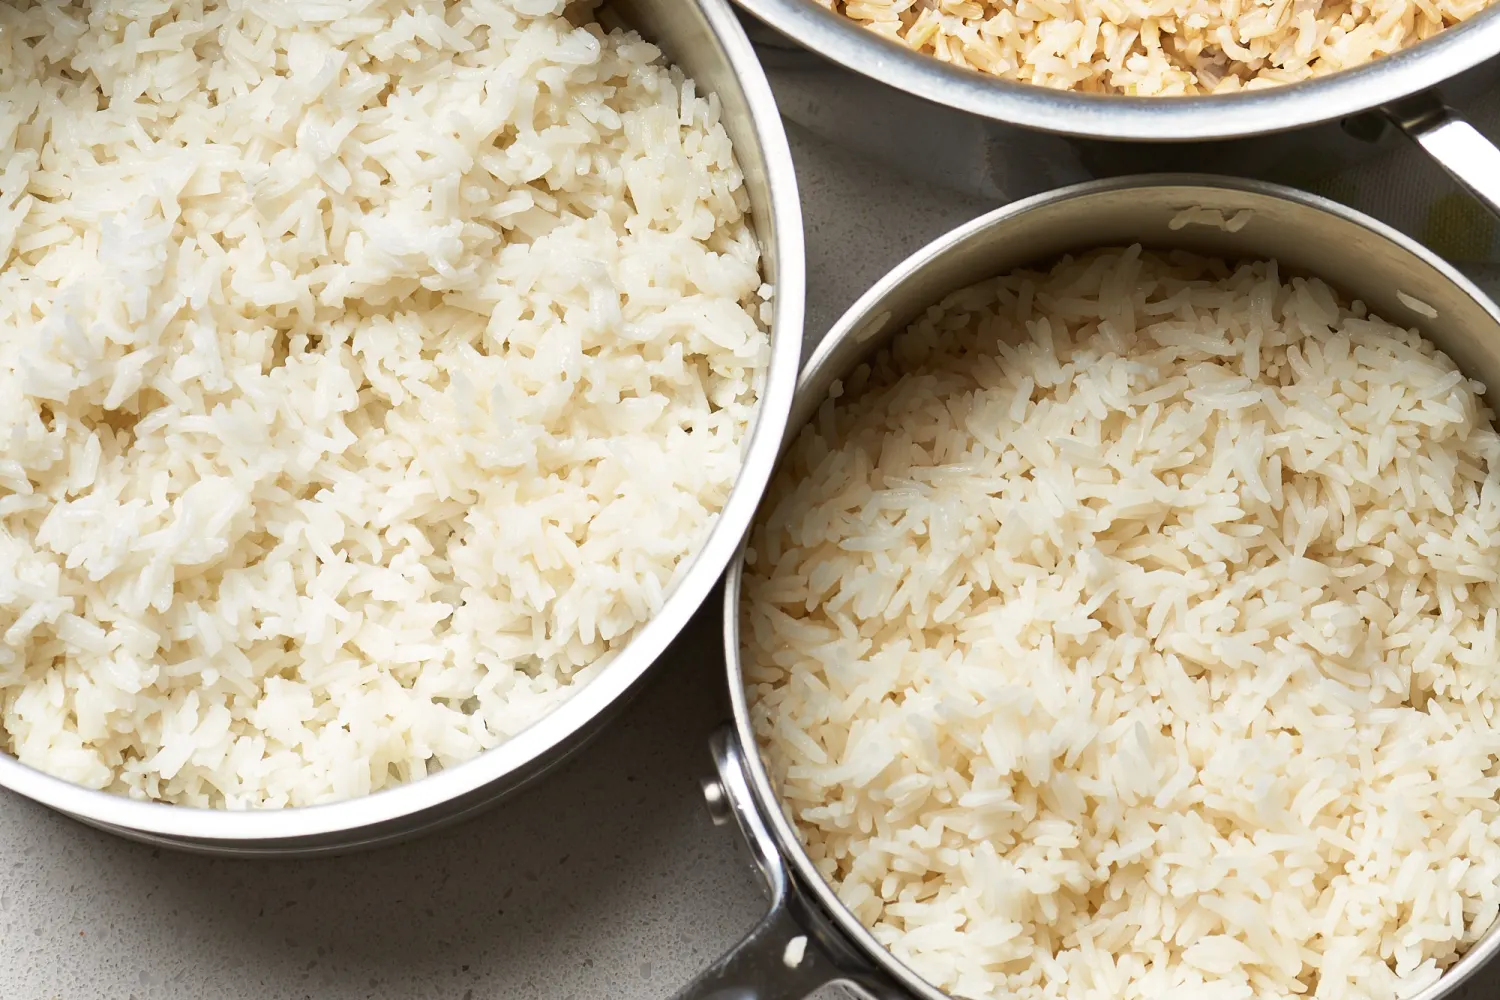
- Fine Bulgur: Fine bulgur has the smallest grain size and cooks relatively quickly. It is perfect for dishes like tabbouleh or as a base for pilafs. Fine bulgur is also ideal for recipes that require a smoother texture, such as porridge or baby food.
- Medium Bulgur: Medium bulgur has a slightly larger grain size compared to fine bulgur. It takes slightly longer to cook but offers a heartier texture. Medium bulgur is often used in salads, soups, or stews where some texture is desired.
- Coarse Bulgur: Coarse bulgur has the largest grain size and takes the longest to cook. It has a chewy texture and adds a robust bite to dishes. Coarse bulgur is commonly used in dishes like stuffed vegetables or as a side dish accompanied by meats or vegetables.
Consider the specific recipe you are preparing and the desired texture when selecting the appropriate grain size of bulgur. Generally, fine and medium bulgur are more versatile and can be used interchangeably in most recipes.
In addition to the grain size, you may also come across different processing methods for bulgur, such as instant or quick-cooking bulgur. These types of bulgur have undergone additional processing to reduce the cooking time even further. While they can be convenient, be mindful that they may have a slightly different texture compared to traditional bulgur.
Once you have chosen the right bulgur for your recipe, you are ready to move on to the next step of preparing the bulgur for cooking in the rice cooker.
Step 2: Preparing the Bulgur for Cooking
Before cooking bulgur in a rice cooker, it’s essential to properly prepare the grains to ensure even cooking and optimal texture. Here are the steps to prepare the bulgur:
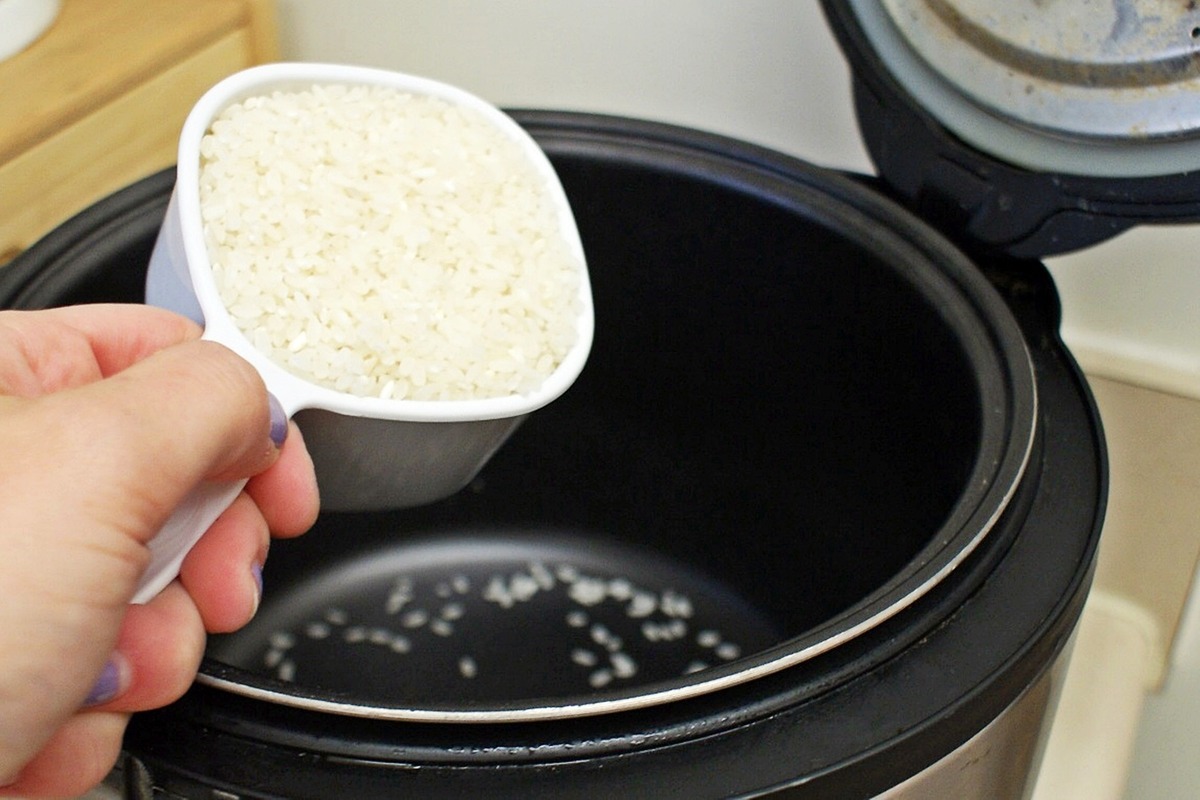
- Measure the bulgur: Start by measuring the desired amount of bulgur using a measuring cup. The general ratio for cooking bulgur is 1 cup of bulgur to 2 cups of water or broth. Adjust the quantity based on your recipe or desired serving size.
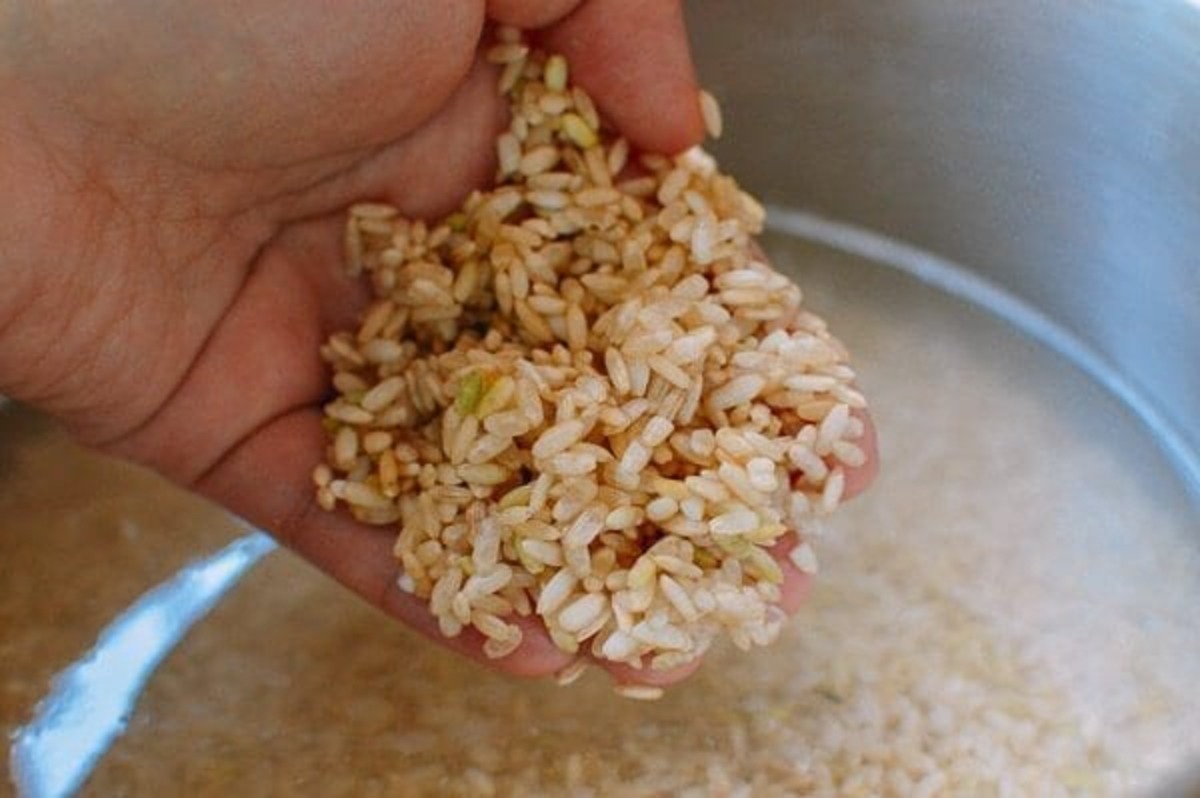
- Rinse the bulgur: Place the measured bulgur in a fine-mesh sieve and rinse it under cold water. Gently agitate the bulgur with your fingers to remove any debris or excess starch. Continue rinsing until the water runs clear.
- Soak the bulgur (optional): If you prefer a softer texture or quicker cooking time, you can choose to soak the bulgur before cooking. Place the rinsed bulgur in a bowl and cover it with water or broth. Allow it to soak for about 15-20 minutes, or until the grains have absorbed the liquid and become plump.
By rinsing the bulgur, you remove any impurities, enhance the flavor, and ensure a cleaner final product. Soaking the bulgur can help reduce the cooking time, making it faster and more efficient.
Once you have prepared the bulgur, you are ready to move on to the next step of setting up the rice cooker for cooking.
Step 3: Setting up the Rice Cooker
Setting up the rice cooker properly is crucial to ensure that the bulgur cooks evenly and to prevent any sticking or burning. Follow these steps to set up your rice cooker for cooking bulgur:
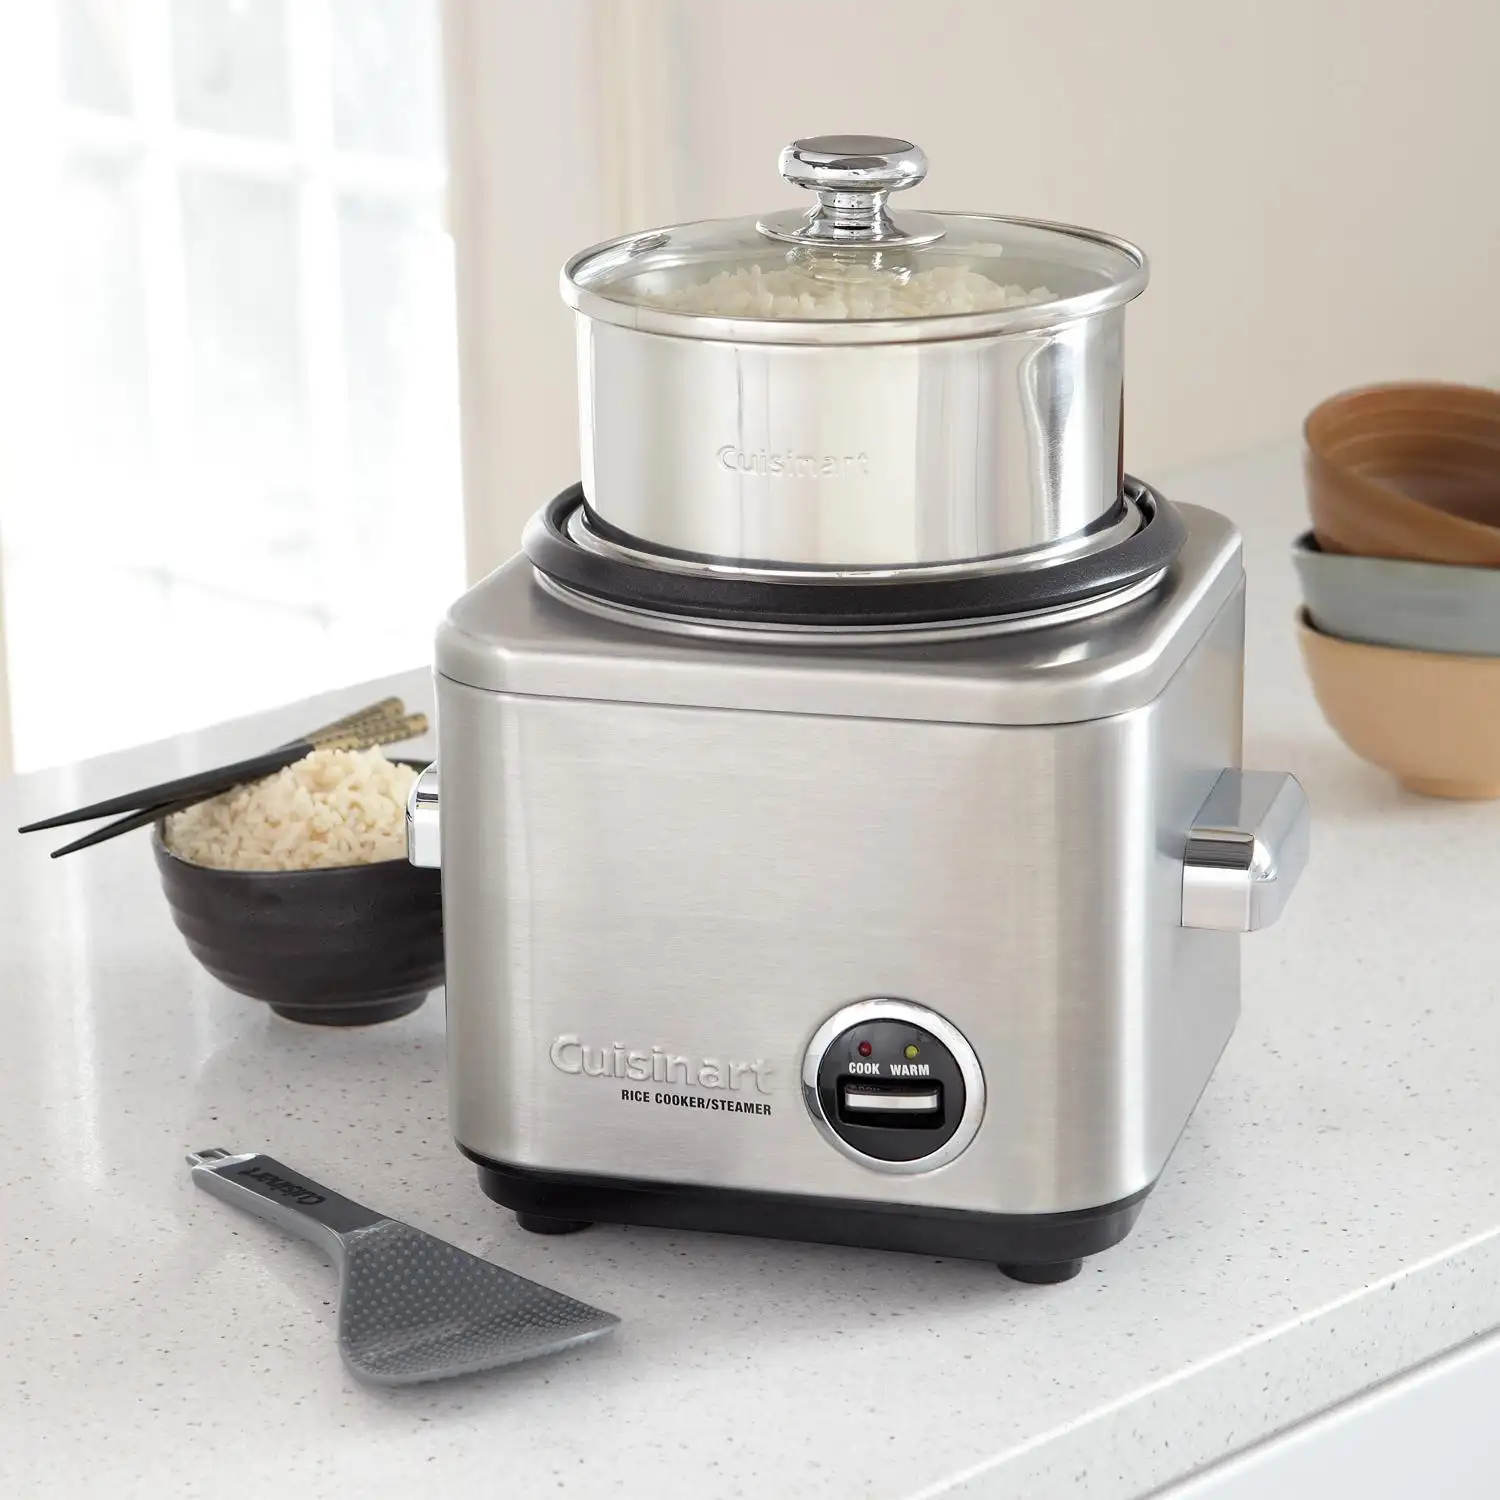
- Prepare the rice cooker: Start by cleaning the rice cooker and ensuring that the inner pot is dry. Make sure to read the manufacturer’s instructions for your specific rice cooker model.
- Add the prepared bulgur: Transfer the rinsed and soaked (if applicable) bulgur to the inner pot of the rice cooker.
- Add liquid: Measure the desired amount of liquid based on the ratio mentioned earlier (1 cup of bulgur to 2 cups of water or broth). Pour the liquid over the bulgur in the rice cooker.
- Add flavorings (optional): If desired, you can add flavorings like salt, spices, or herbs to enhance the taste of the cooked bulgur. Stir gently to distribute the flavorings evenly.
Once you have set up the rice cooker with the bulgur and liquid, it’s time to cook the bulgur to perfection. Proceed to the next step for the cooking instructions.
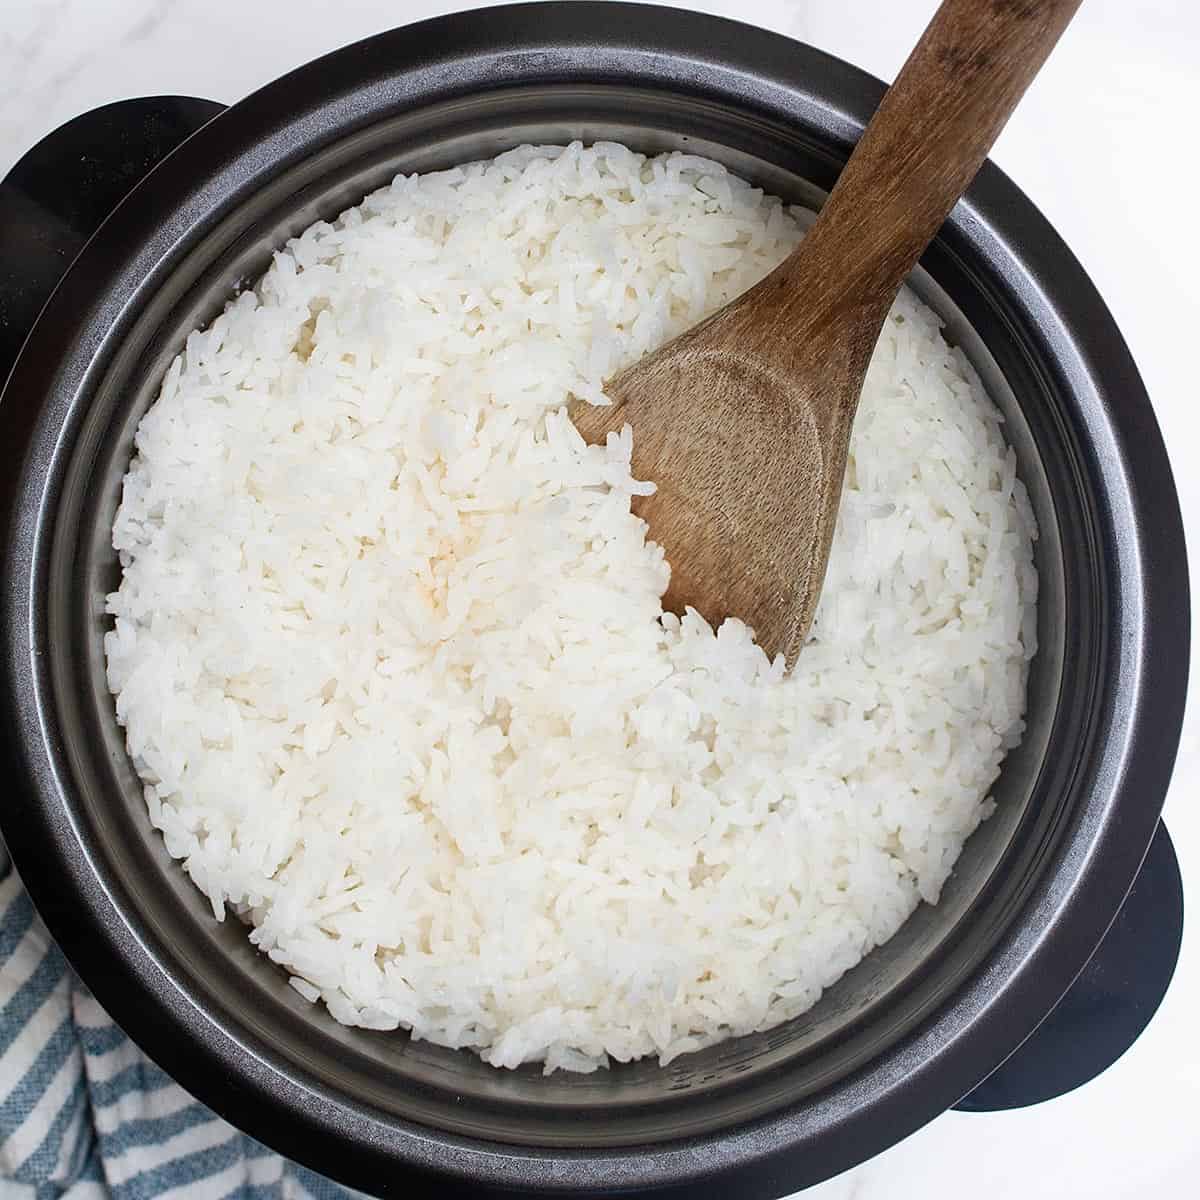
Add 1 cup of bulgur and 2 cups of water or broth to the rice cooker. Close the lid and set it to the “white rice” setting. Once it’s done, fluff the bulgur with a fork and let it sit for a few minutes before serving.
Read more: How To Cook Fluffy Rice In A Rice Cooker
Step 4: Cooking the Bulgur
With the rice cooker set up and ready, it’s time to start cooking the bulgur. Follow these steps to ensure perfectly cooked bulgur:
- Close the rice cooker: Place the lid securely on the rice cooker to create a tight seal.
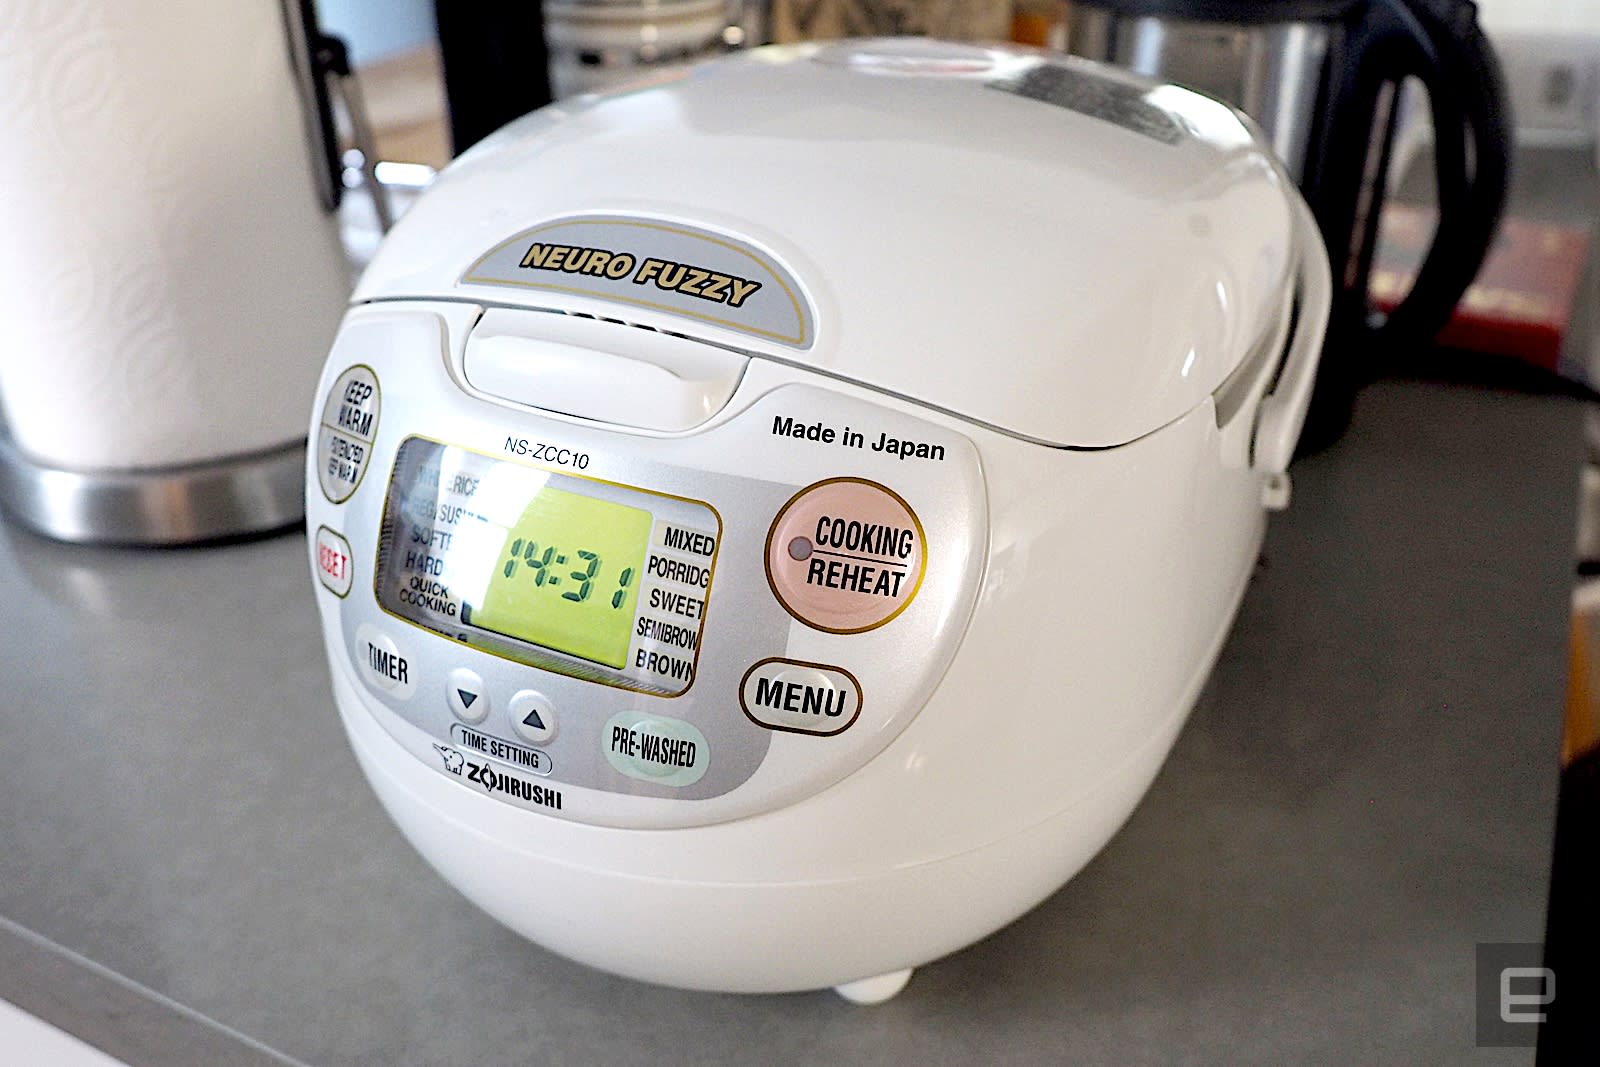
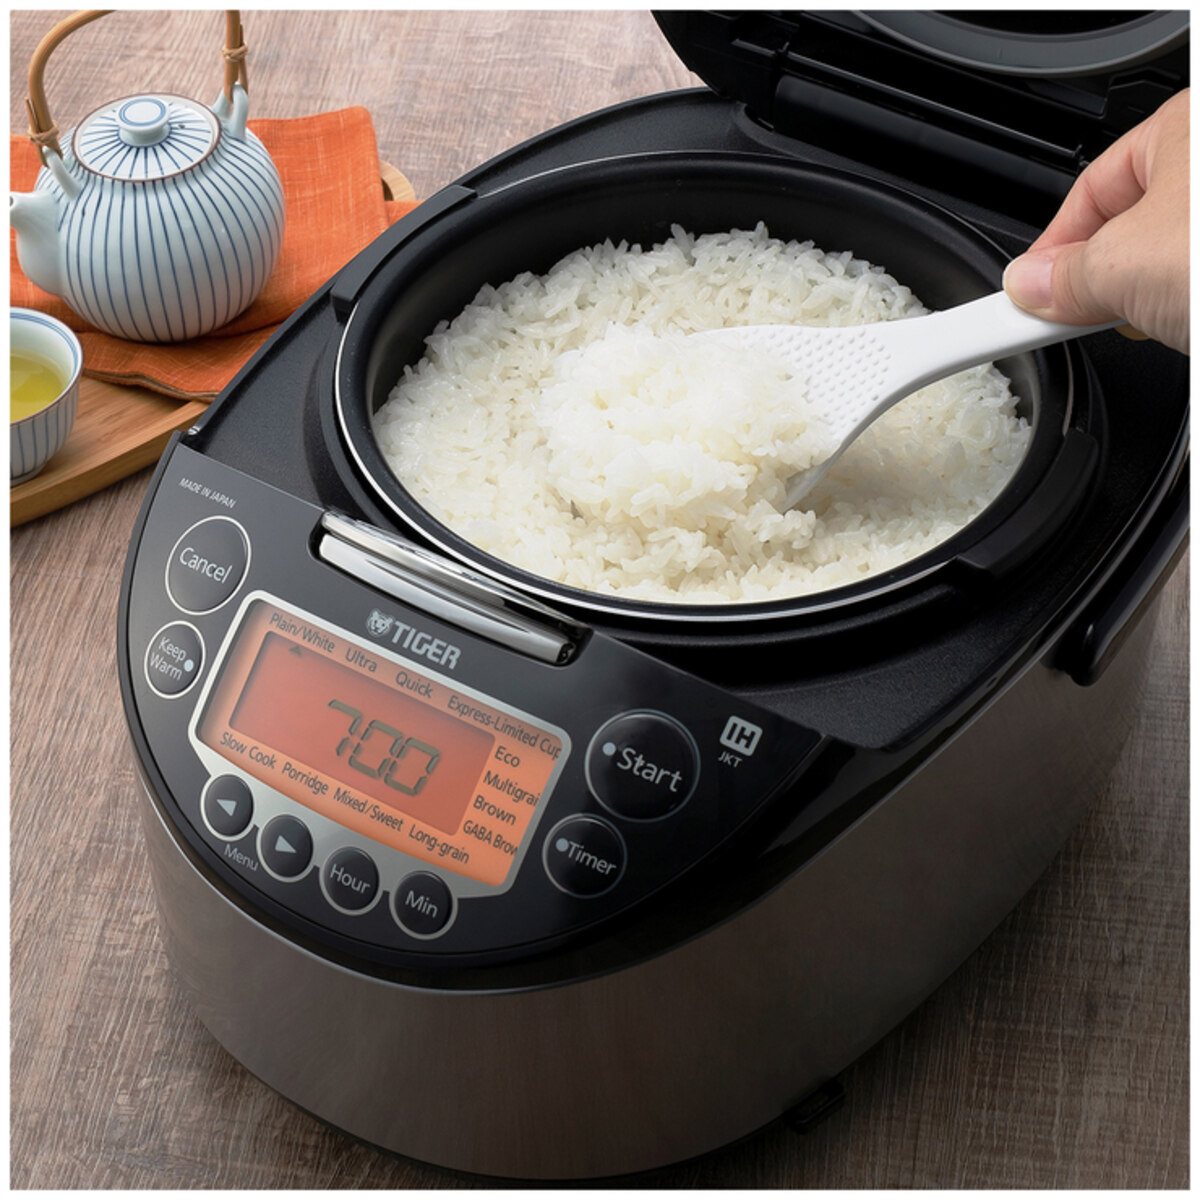
- Select the cooking mode: Depending on your rice cooker model, choose the appropriate cooking mode. Most rice cookers have a “Cook” or “Start” button that you need to press to begin the cooking process.
- Allow the bulgur to cook: The rice cooker will automatically adjust the cooking time based on the amount of bulgur and liquid. It will cook the bulgur at a steady temperature to ensure even cooking. Avoid opening the rice cooker lid during the cooking process to prevent heat loss.
- Monitor the cooking time: Keep an eye on the rice cooker’s display or timer to monitor how long the bulgur has been cooking. Cooking times may vary depending on the type and size of bulgur, so it’s essential to refer to the packaging instructions or use a general guideline (around 15-20 minutes for fine bulgur, slightly longer for medium or coarse bulgur).
During the cooking process, the rice cooker will automatically adjust the heat to maintain a consistent temperature and prevent the bulgur from burning or sticking to the bottom. Once the bulgur is cooked, the rice cooker will switch to the “keep warm” mode.
Now that the bulgur is cooked, it’s time to fluff it and serve it. Move on to the next step to learn how to finish the cooking process and enjoy your perfectly cooked bulgur.
Step 5: Fluffing and Serving the Cooked Bulgur
After the bulgur has finished cooking in the rice cooker, it’s important to fluff the grains to separate them and achieve a light and fluffy texture. Here’s how you can do it:
- Unplug the rice cooker: Before you begin, make sure to unplug the rice cooker to prevent any accidents or heat-related issues.
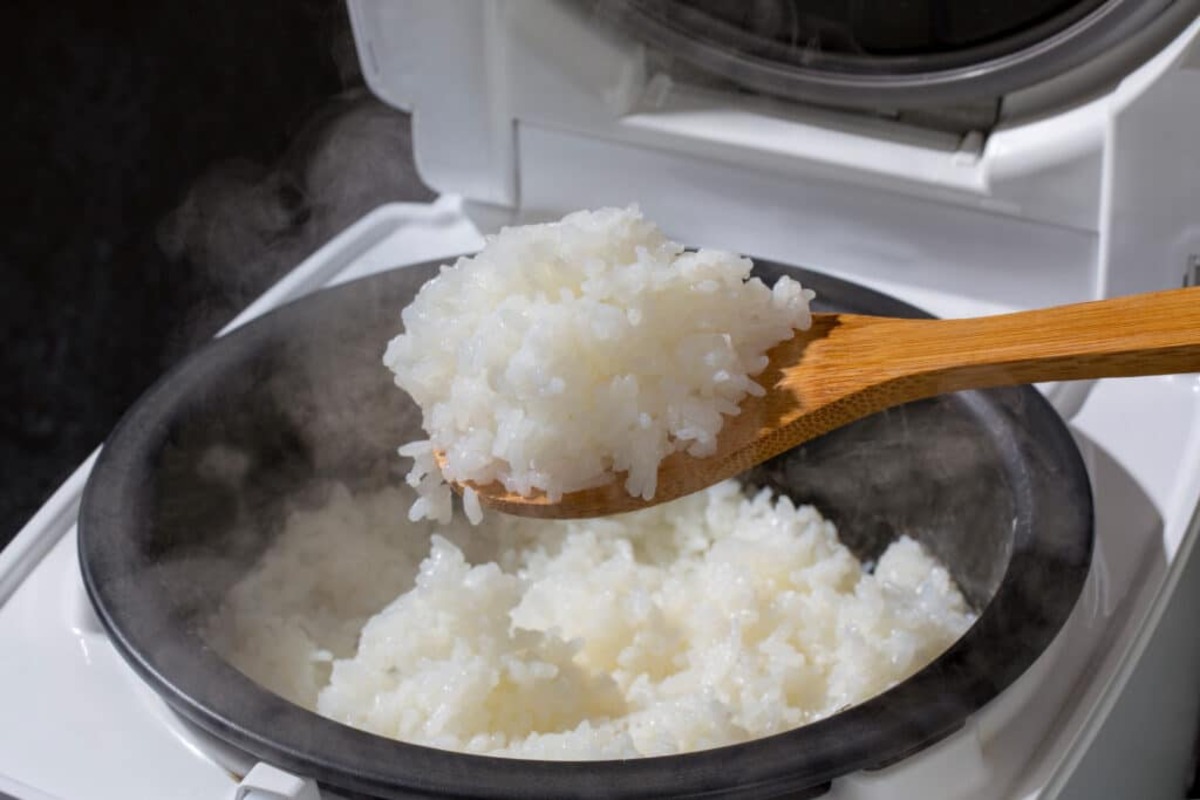
- Open the rice cooker lid: Carefully open the lid of the rice cooker, taking caution as steam may escape.
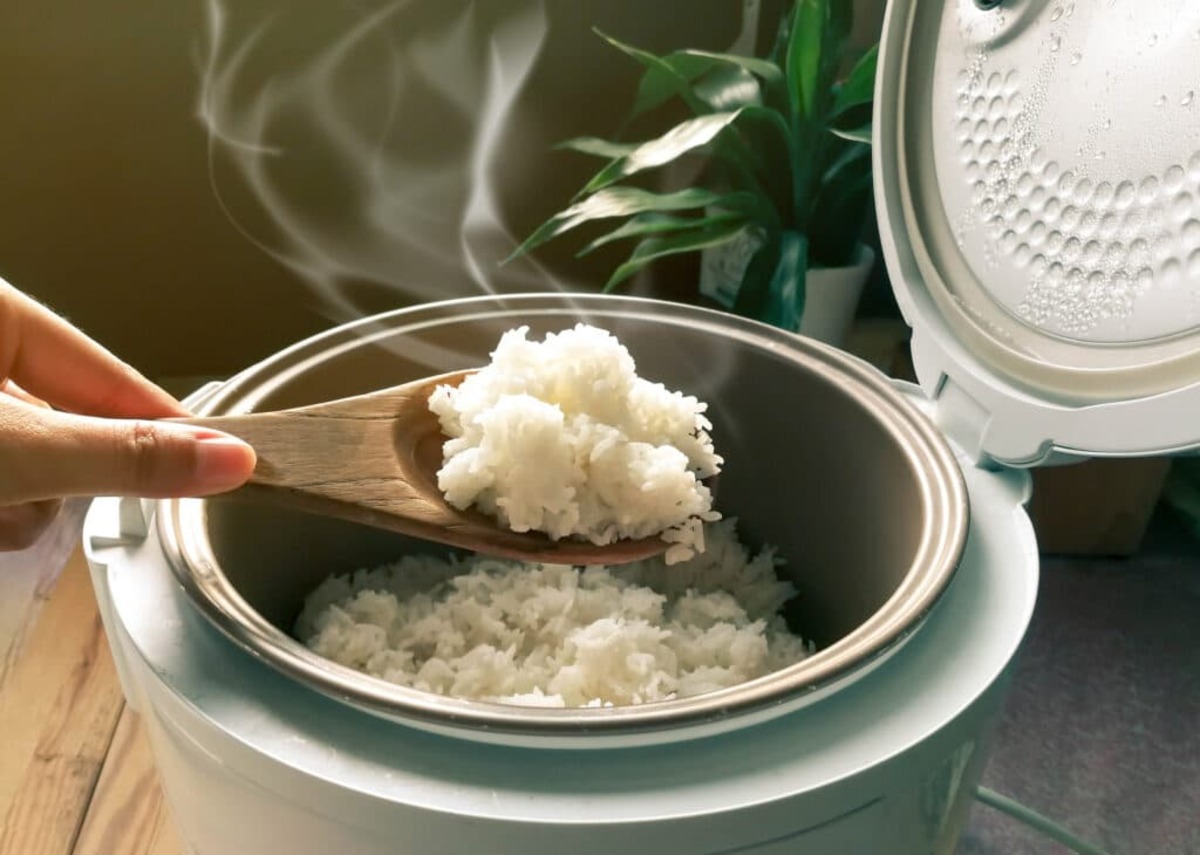
- Fluff the bulgur: Use a rice paddle or a fork to fluff the bulgur gently. Stir the grains, breaking up any clumps and ensuring that the steam is released.
- Let it sit: After fluffing, let the cooked bulgur sit for a few minutes to allow any excess moisture to evaporate and for the flavors to meld together.
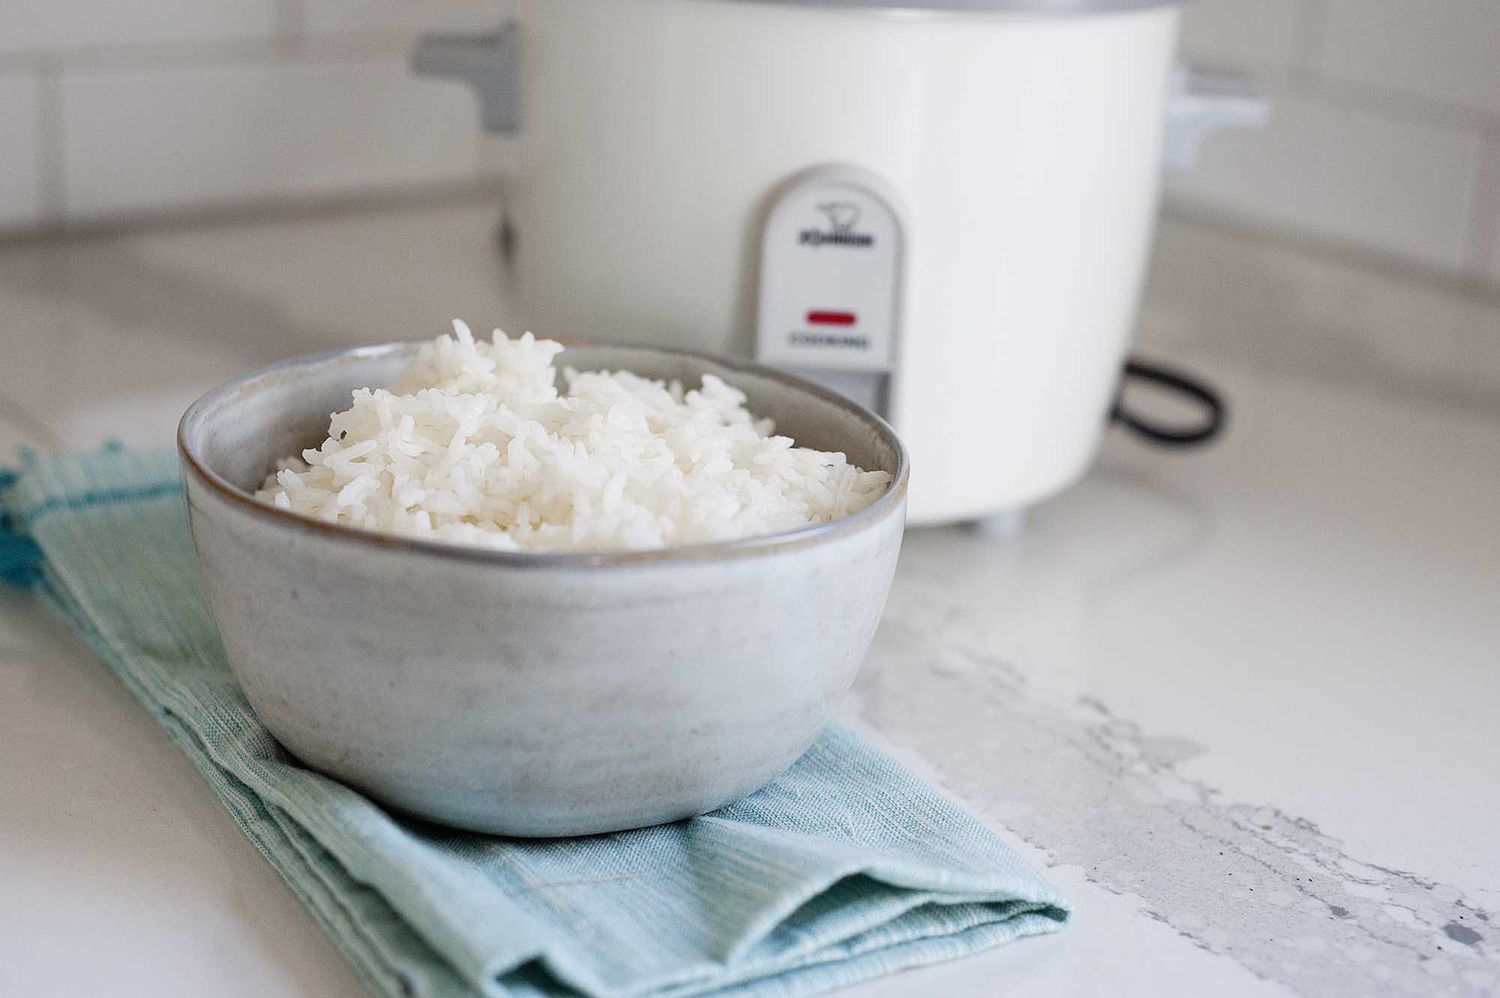
- Serve and enjoy: Once the bulgur has rested, it is ready to be served. You can enjoy the cooked bulgur as a side dish, in salads, or as a base for various recipes.
Remember to adjust the seasoning if needed, such as adding salt, herbs, or a drizzle of olive oil, according to your taste preferences. The cooked bulgur is versatile and can be incorporated into a wide range of dishes.
Now that you have fluffed the bulgur, it’s time to put your culinary skills to the test and serve it up for a delicious and nutritious meal!
Tips and Tricks for Cooking Bulgur in a Rice Cooker
Cooking bulgur in a rice cooker can be a straightforward process, but here are some tips and tricks to ensure the best results:
- Use the right liquid: While water is commonly used to cook bulgur, using vegetable or chicken broth can add extra flavor to your dish. Experiment with different liquids to enhance the taste of your bulgur.
- Add extra flavorings: Aside from using flavored liquids, you can also add spices, herbs, or aromatics like garlic, onions, or bay leaves to infuse the bulgur with more flavor as it cooks.
- Customize the cooking time: Adjust the cooking time to achieve your desired texture. If you prefer a firmer bulgur, decrease the cooking time slightly. For a softer texture, increase the cooking time a little.
- Consider soaking the bulgur for a shorter cooking time: Soaking the bulgur for 15-20 minutes before cooking can help reduce the cooking time, especially for coarser grains. This method can be particularly useful if you’re short on time.
- Avoid lifting the lid during cooking: Resist the temptation to check on the bulgur by lifting the lid during the cooking process. This can release heat and disrupt the cooking time, resulting in unevenly cooked bulgur.
- Flavor the bulgur after cooking: If you want to infuse the bulgur with additional flavors, consider adding ingredients like lemon juice, olive oil, fresh herbs, or chopped vegetables after it has finished cooking. This will help maintain the vibrant flavors of the added ingredients.
- Use the “keep warm” setting: Once the bulgur is cooked, allow it to sit in the rice cooker using the “keep warm” function. It will stay warm and ready to serve without drying out or becoming overcooked.
- Experiment with different grains: While bulgur is a popular choice for rice cooker cooking, don’t be afraid to try other grains like quinoa, couscous, or farro. Rice cookers can be versatile appliances for cooking various grains, allowing you to explore different flavors and textures.
By following these tips and tricks, you can elevate your bulgur cooking skills and create delicious and customized dishes in your rice cooker.
Conclusion
Cooking bulgur in a rice cooker is a convenient and foolproof method that allows you to enjoy perfectly cooked grains every time. With the ability to set it and forget it, a rice cooker takes the guesswork out of the cooking process, providing consistent heat and automatically switching to the “keep warm” mode once the bulgur is cooked.
Whether you’re a fan of fine, medium, or coarse bulgur, the rice cooker can accommodate them all. You can easily adjust the cooking time and customize the flavors to suit your preferences. From salads and pilafs to side dishes and even breakfast porridge, bulgur cooked in a rice cooker can lend its nutty flavor and chewy texture to a wide range of dishes.
Remember to select the right bulgur for your recipe, rinse and prepare it properly, and set up the rice cooker with the appropriate amount of liquid and additional flavorings. Monitor the cooking time, fluff the grains, and let them rest before serving. With a little experimentation and creativity, you can make delicious and nutritious meals using bulgur in your rice cooker.
So, if you have a rice cooker tucked away in your kitchen cabinet, dust it off and give it a try. Discover the convenience and versatility of cooking bulgur in a rice cooker, and elevate your culinary skills in the process. Enjoy the delightful flavors and textures that bulgur brings to your dishes, all with the ease and simplicity of your trusty rice cooker.
Frequently Asked Questions about How To Cook Bulgur In Rice Cooker
Was this page helpful?
At Storables.com, we guarantee accurate and reliable information. Our content, validated by Expert Board Contributors, is crafted following stringent Editorial Policies. We're committed to providing you with well-researched, expert-backed insights for all your informational needs.


0 thoughts on “How To Cook Bulgur In Rice Cooker”